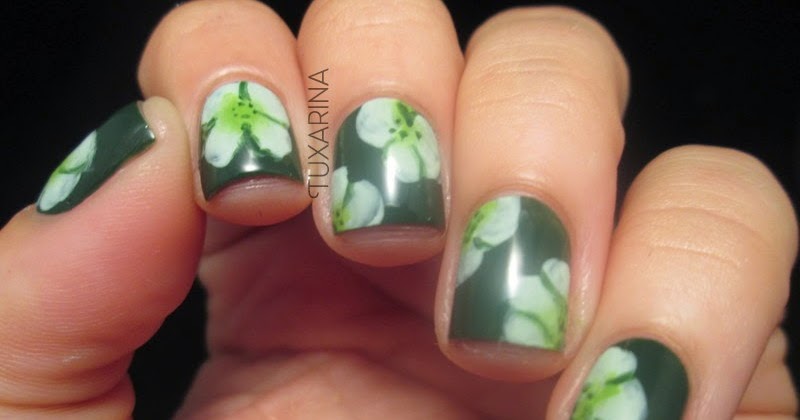
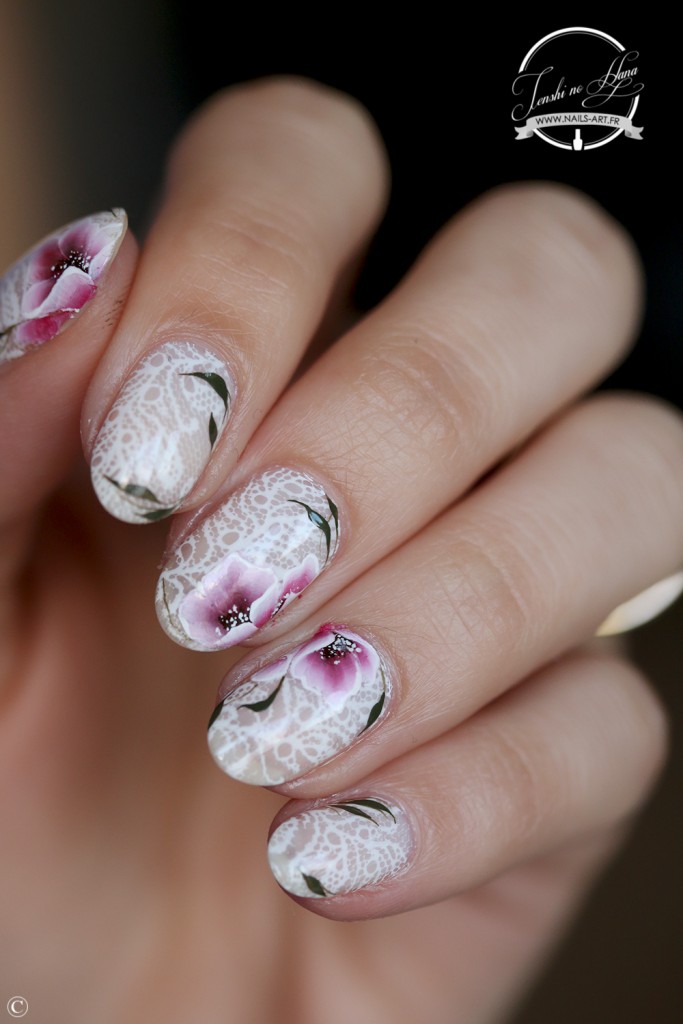
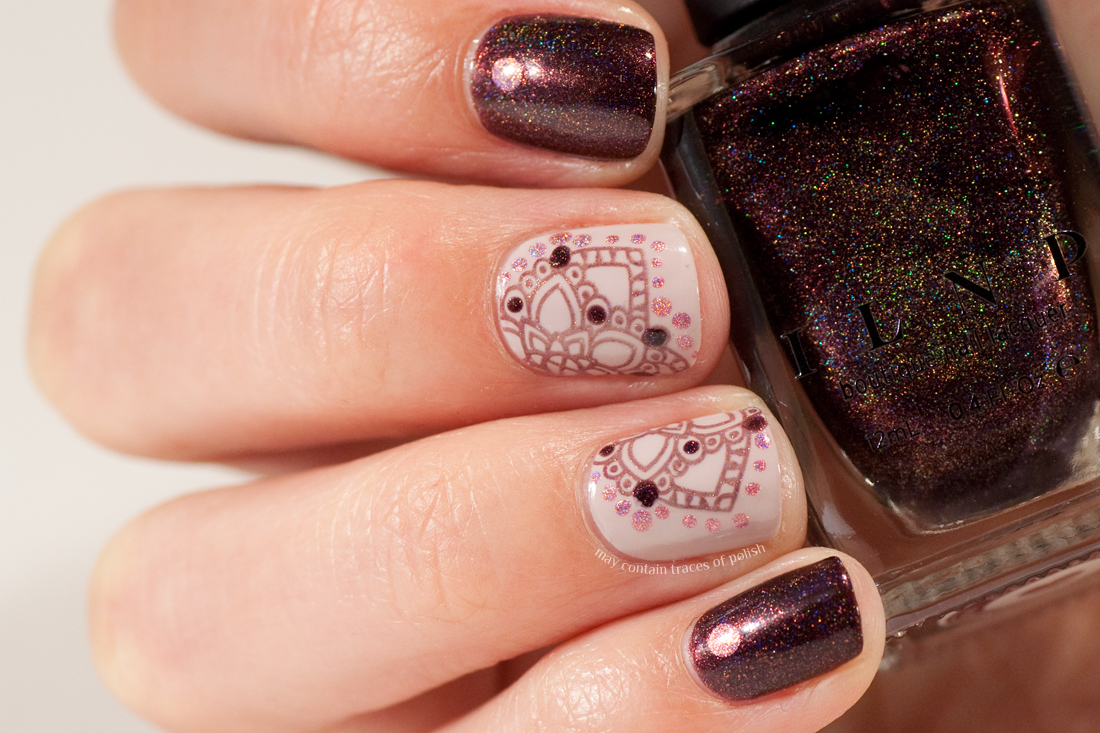
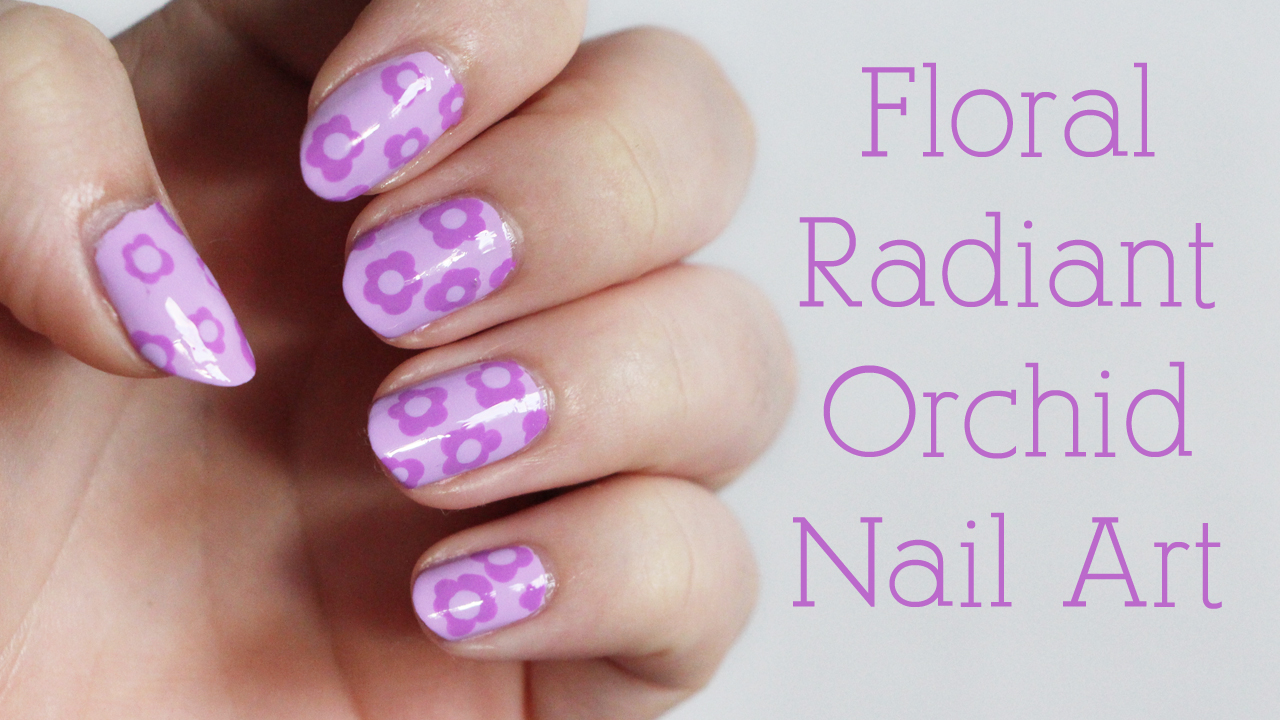
Are you looking for a beautiful and unique nail art design to try? Look no further than one stroke nail art orchid! This stunning design is perfect for anyone who loves floral designs and wants to add a touch of elegance to their nails. In this tutorial, we will walk you through the steps to create your own one stroke orchid nail art. So, get your nail polish ready and let's get started!One Stroke Nail Art Tutorial - Orchid Flower


One Stroke Nail Art Tutorial - Orchid Flower
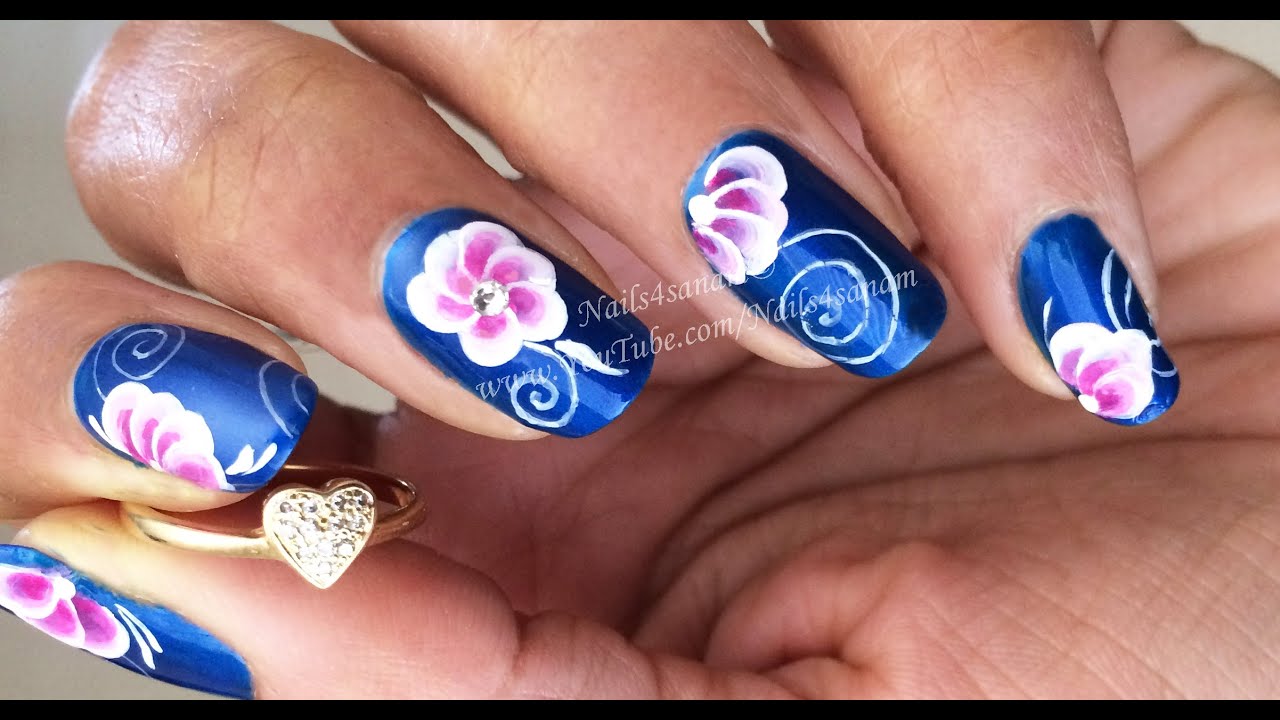

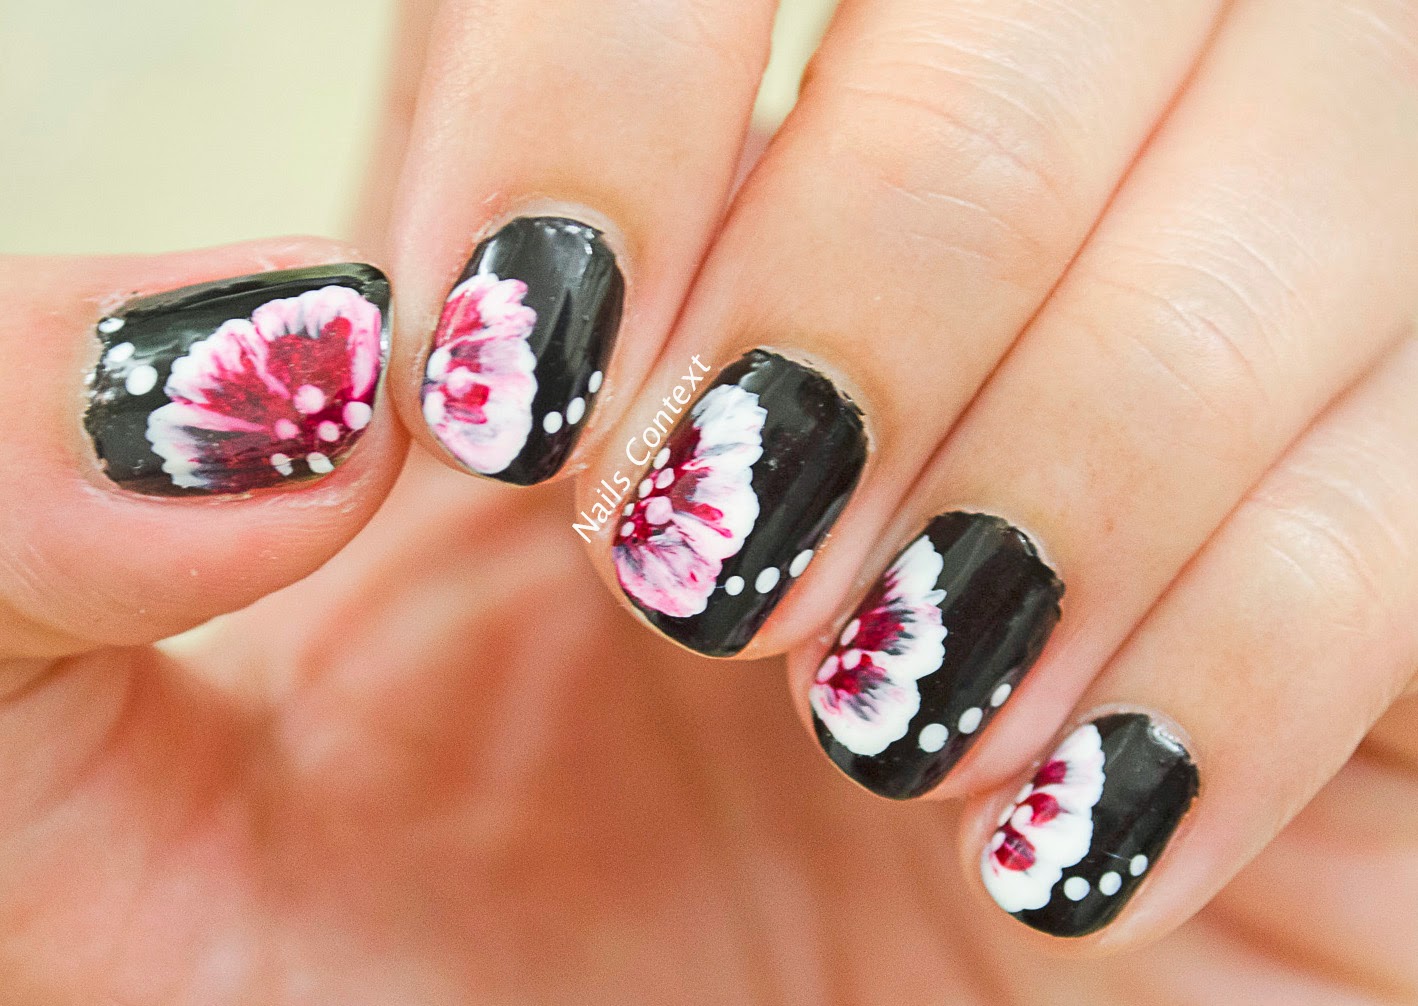

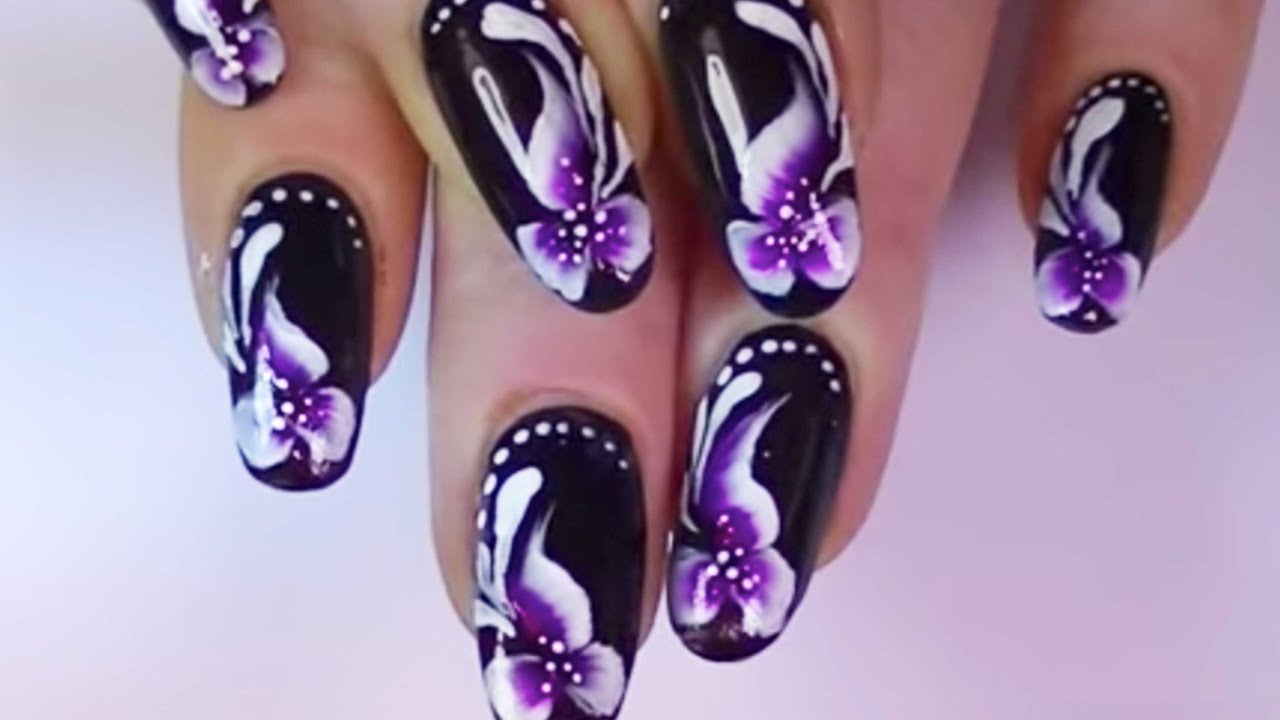
To start, you will need a few essential tools: a flat brush, a small round brush, and two or three different shades of nail polish. Make sure to choose colors that will compliment each other and give a realistic look to the orchid flower. You can also add some glitter or rhinestones for an extra touch of glam.One Stroke Orchid Nail Art Tutorial


One Stroke Orchid Nail Art Tutorial


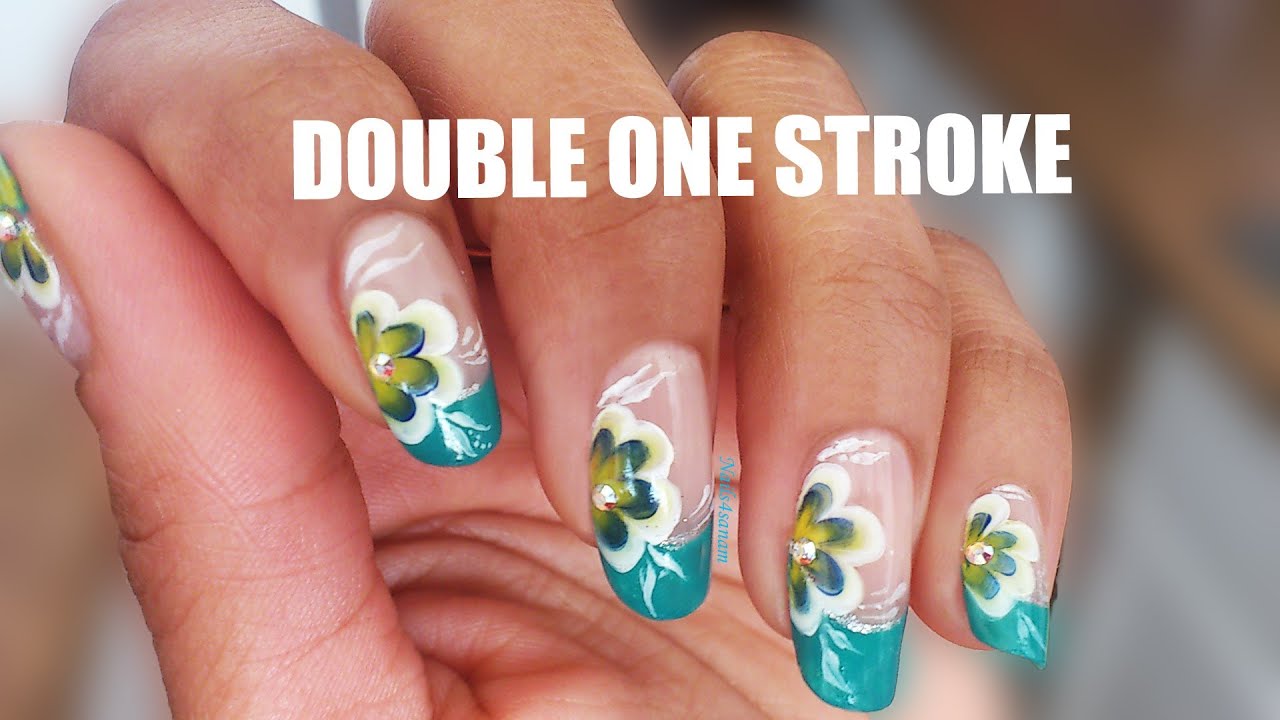
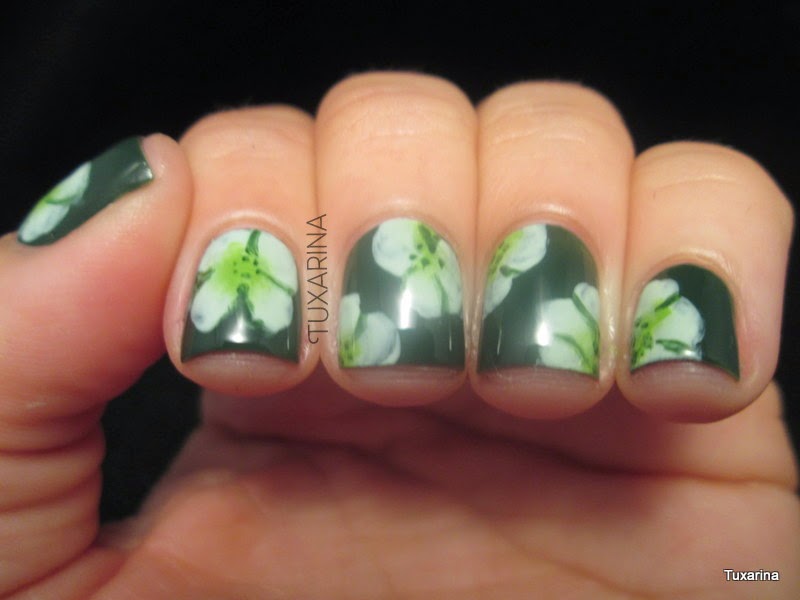
The one stroke technique involves loading two different colors on the brush at the same time, creating a gradient effect. This technique is perfect for creating intricate and detailed designs, such as the orchid flower. The key is to have a steady hand and to practice the strokes before applying them to your nails.One Stroke Nail Art Orchid Design


One Stroke Nail Art Orchid Design


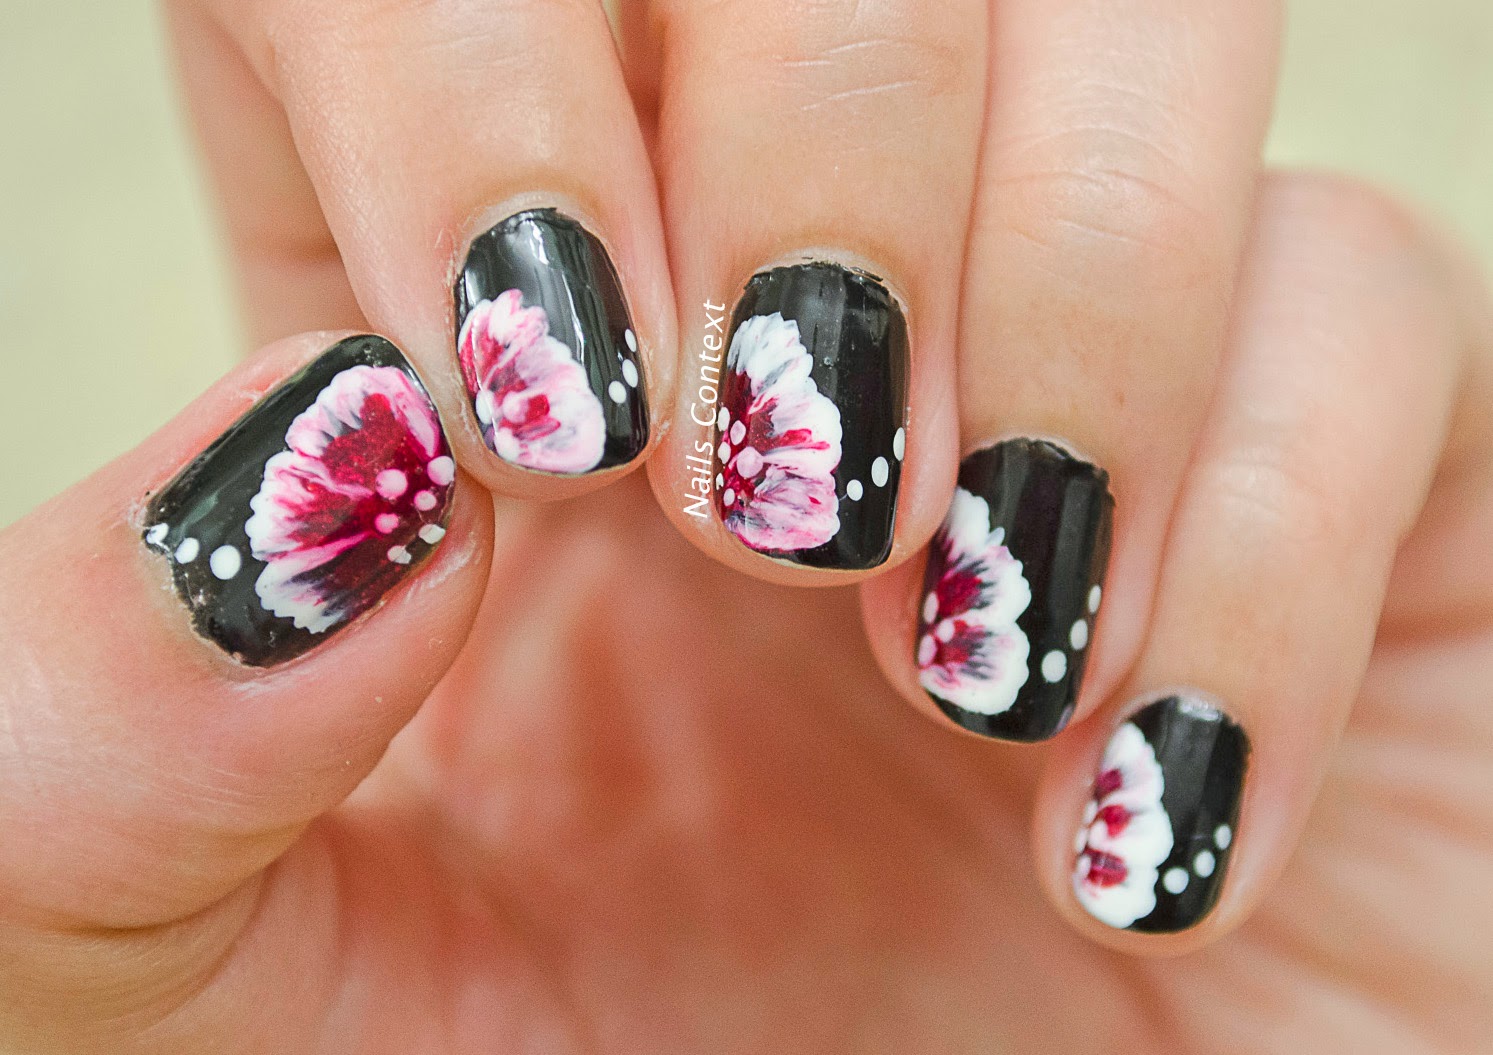
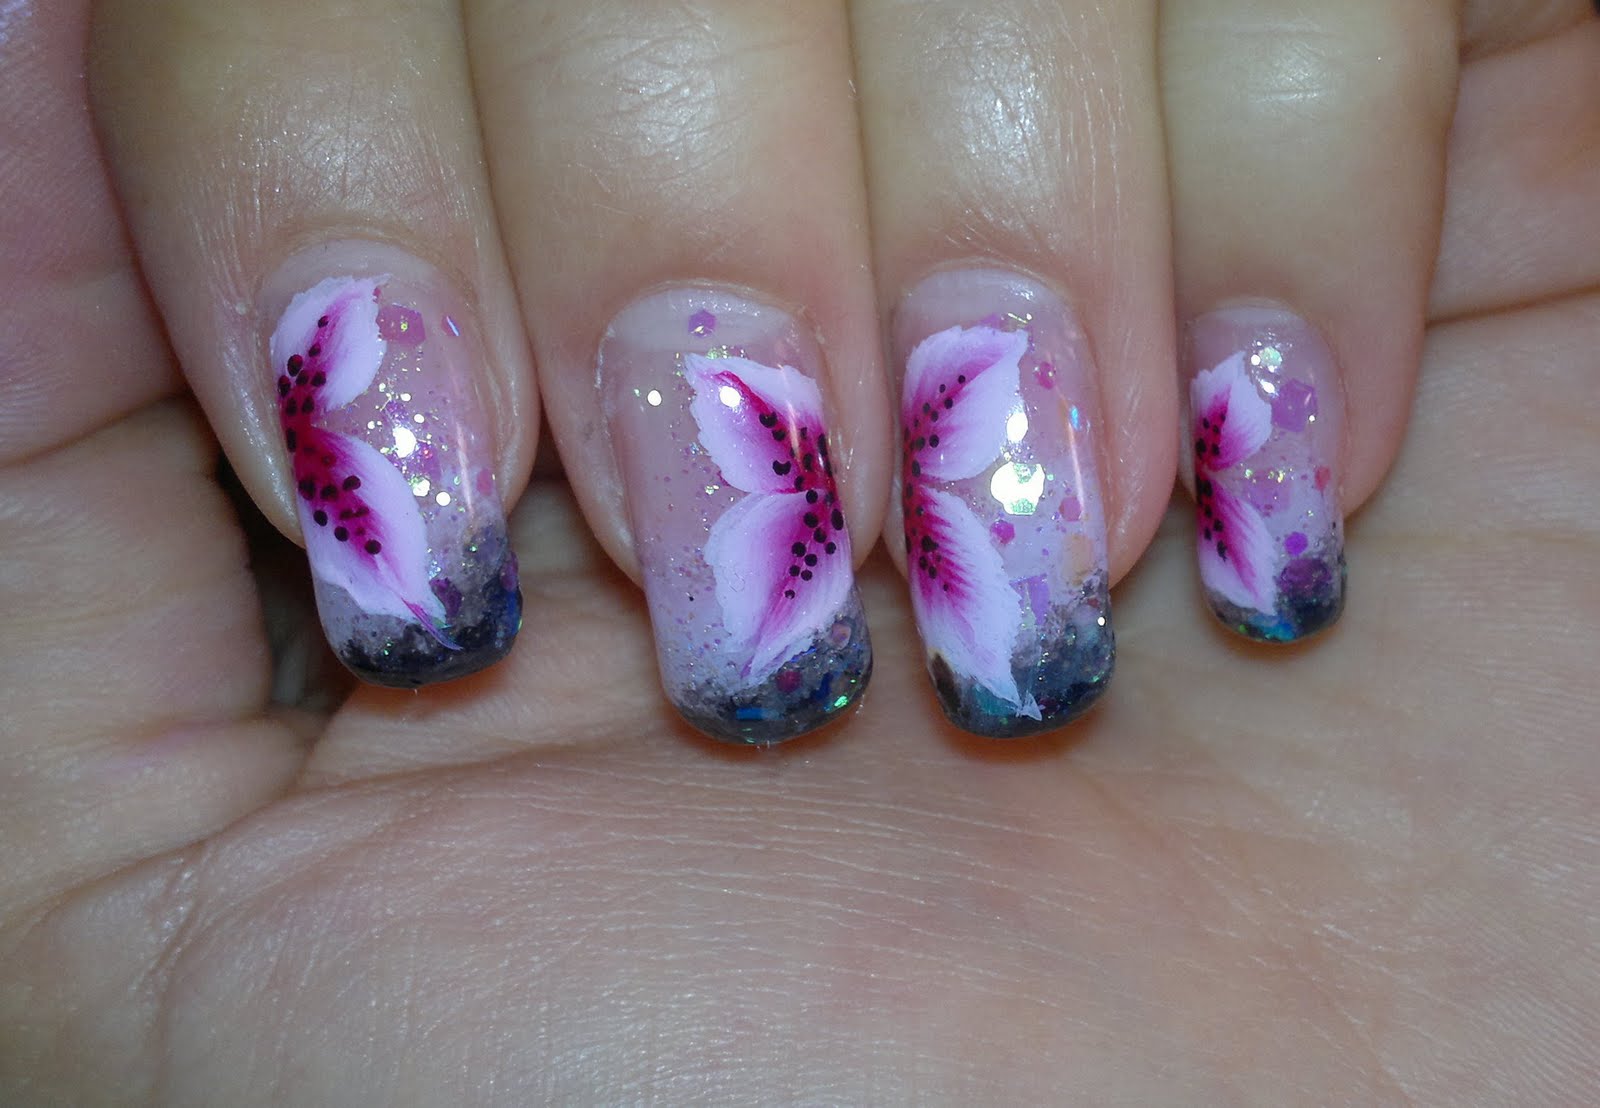
Start by painting your nails with a base color of your choice. Then, using the flat brush, add a small amount of your first color to one side of the brush and a different color to the other side. This will create a gradient effect on the brush.One Stroke Nail Art Orchid Tutorial

One Stroke Nail Art Orchid Tutorial


Next, using the flat side of the brush, gently press down and twist in a circular motion on your nail to create the first petal of the orchid. Repeat this step to create three more petals, making sure to overlap them slightly to give a natural appearance.One Stroke Nail Art Orchid Step by Step


One Stroke Nail Art Orchid Step by Step


Now, switch to the small round brush and add a darker shade of the first color to the tip of the brush. Using the same circular motion, create a small line in the center of each petal. This will create depth and dimension to the petals.One Stroke Nail Art Orchid Technique
One Stroke Nail Art Orchid Technique


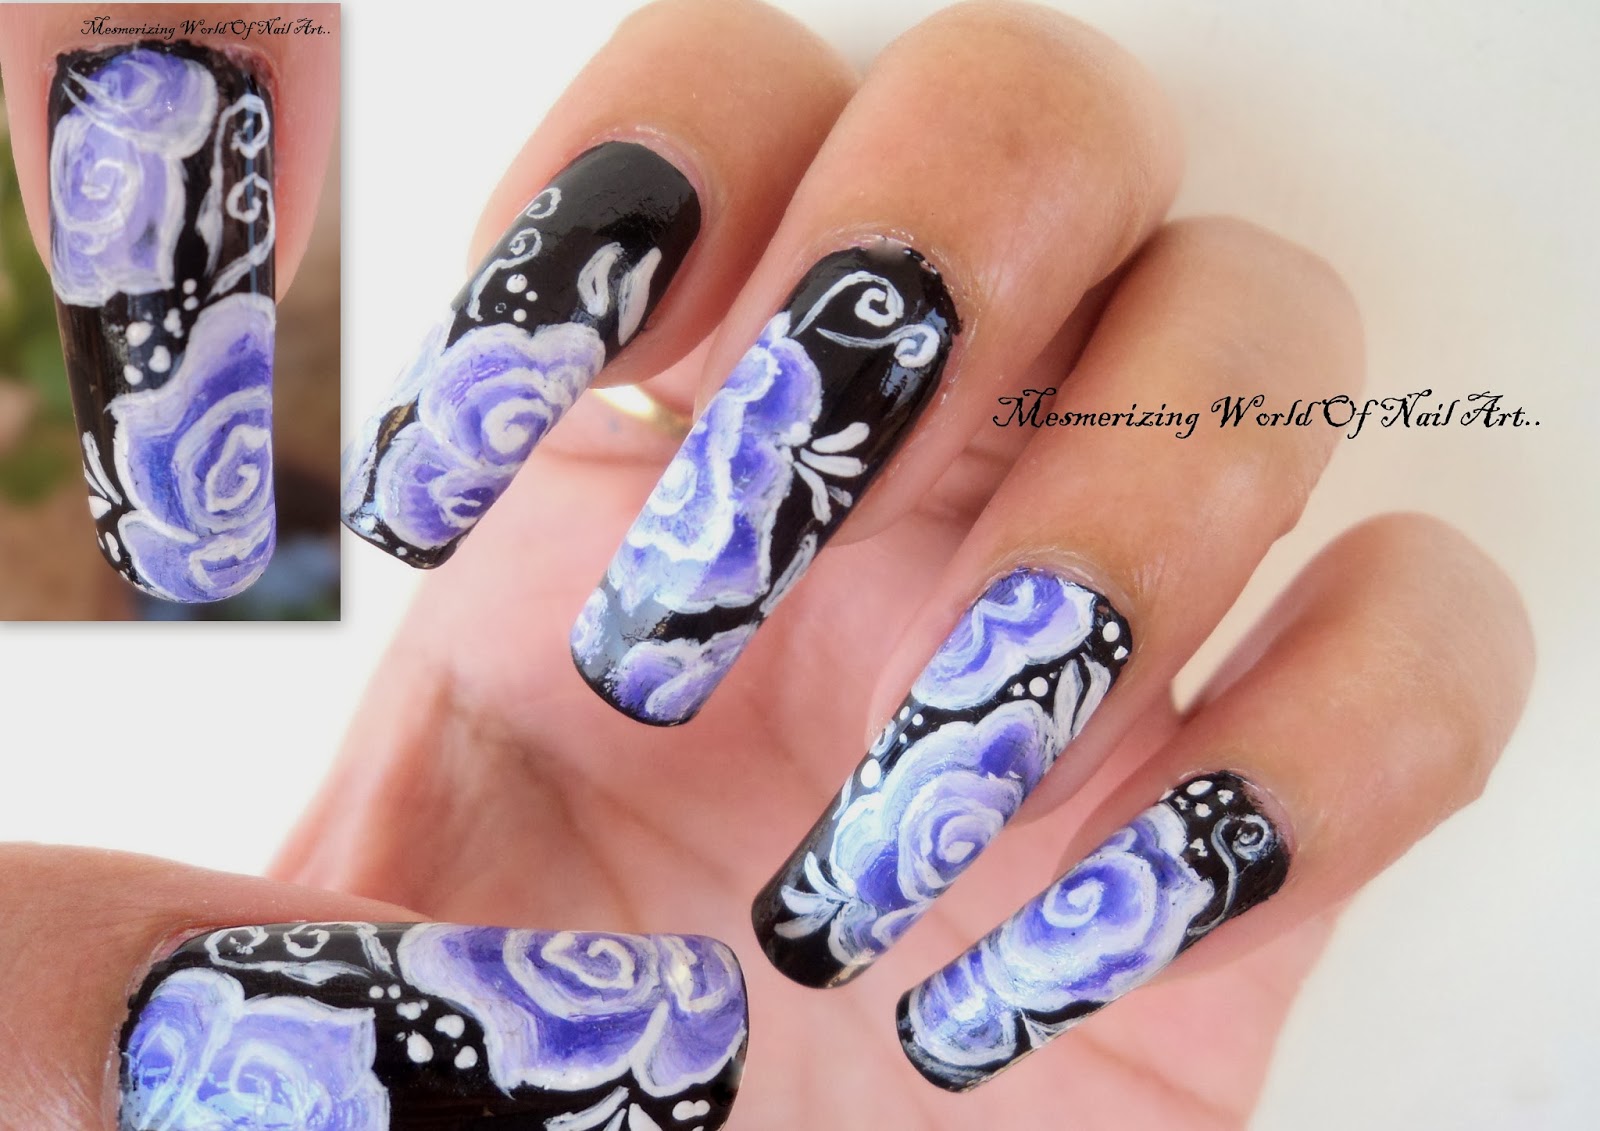
Using the same technique, add a few more petals to your orchid, making sure to vary the size and shape. You can also add some smaller petals around the main flower to give it a fuller look. Don't worry about making them perfect, as this will add to the natural look of the flower.One Stroke Nail Art Orchid Painting


One Stroke Nail Art Orchid Painting
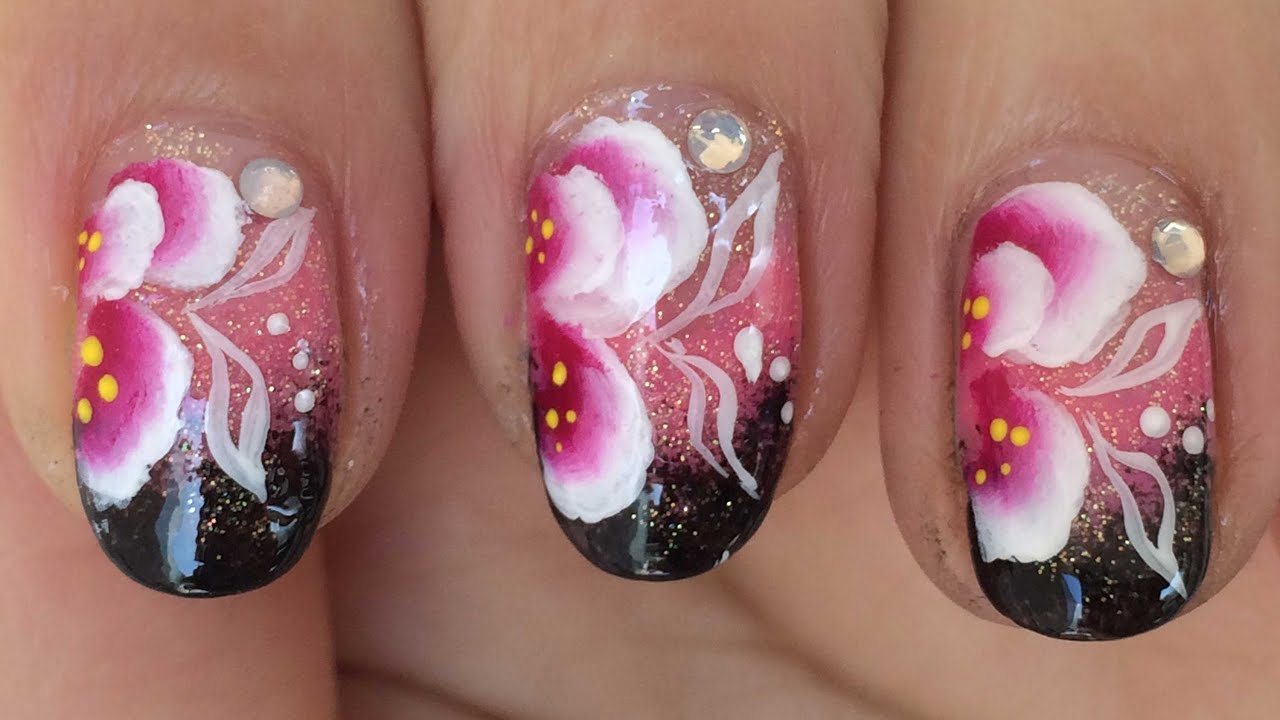

For the final touch, use the small round brush to add some green nail polish to create the leaves of the orchid. Dip the tip of the brush into the green polish and gently press and twist to create a leaf shape. You can add as many leaves as you like, depending on your preference.One Stroke Nail Art Orchid Brush

One Stroke Nail Art Orchid Brush
Once your design is complete, let it dry completely before adding a top coat to seal in your beautiful one stroke orchid nail art. You can also add some glitter or rhinestones to add some extra sparkle to your nails.One Stroke Nail Art Orchid Petals

One Stroke Nail Art Orchid Petals

Congratulations, you have now mastered the one stroke technique and created a stunning orchid flower on your nails! This design is perfect for any special occasion or for anyone who loves floral nail art. With some practice, you can create different variations of this design and customize it to your liking. So, grab your brushes and nail polish and unleash your creativity with one stroke nail art orchid!One Stroke Nail Art Orchid Leaves


One Stroke Nail Art Orchid Leaves

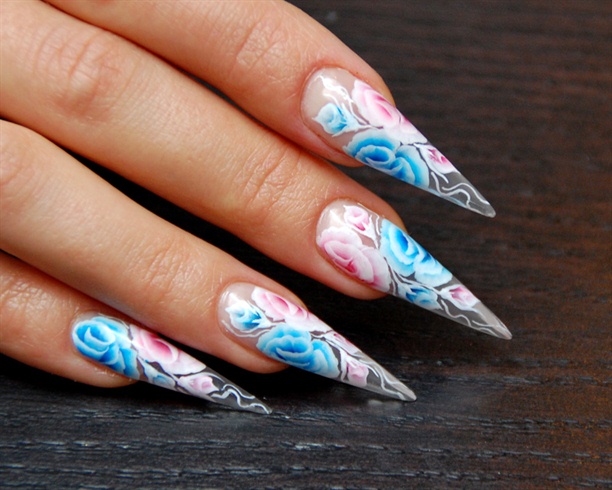
Nail Art Orchid One Stroke: A Stunning Addition to Your House Design
 When it comes to house design, every detail counts. From the furniture to the color scheme, each element plays a crucial role in creating a cohesive and visually appealing space. One often overlooked aspect of house design is the
nail art orchid one stroke
, which can add a touch of elegance and uniqueness to your home.
When it comes to house design, every detail counts. From the furniture to the color scheme, each element plays a crucial role in creating a cohesive and visually appealing space. One often overlooked aspect of house design is the
nail art orchid one stroke
, which can add a touch of elegance and uniqueness to your home.
The Art of One Stroke
 One stroke is a technique in nail art that involves using a single brush stroke to create intricate and detailed designs. Originating in Japan, this technique has gained popularity in recent years due to its versatility and stunning results. The
nail art orchid one stroke
is a prime example of the beauty and intricacy that can be achieved with this technique.
One stroke is a technique in nail art that involves using a single brush stroke to create intricate and detailed designs. Originating in Japan, this technique has gained popularity in recent years due to its versatility and stunning results. The
nail art orchid one stroke
is a prime example of the beauty and intricacy that can be achieved with this technique.
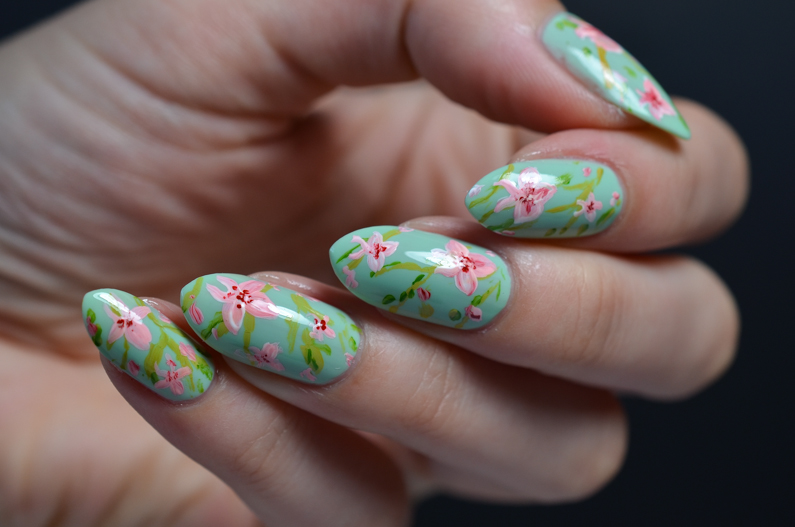
Bringing Nature Indoors
 One of the main reasons why the
nail art orchid one stroke
is a perfect addition to house design is its ability to bring nature indoors. Orchids are known for their exquisite blooms and delicate appearance, making them a popular choice for home decor. With the one stroke technique, these flowers can be recreated on your nails, adding a touch of nature and beauty to your house design.
One of the main reasons why the
nail art orchid one stroke
is a perfect addition to house design is its ability to bring nature indoors. Orchids are known for their exquisite blooms and delicate appearance, making them a popular choice for home decor. With the one stroke technique, these flowers can be recreated on your nails, adding a touch of nature and beauty to your house design.
Unmatched Elegance
 In addition to the natural element, the
nail art orchid one stroke
also exudes elegance. The intricate brush strokes and delicate details create a stunning and sophisticated look that is unmatched by any other nail art technique. Whether you opt for a simple design or a more elaborate one, the
nail art orchid one stroke
will add a touch of class and refinement to your house design.
In addition to the natural element, the
nail art orchid one stroke
also exudes elegance. The intricate brush strokes and delicate details create a stunning and sophisticated look that is unmatched by any other nail art technique. Whether you opt for a simple design or a more elaborate one, the
nail art orchid one stroke
will add a touch of class and refinement to your house design.
Customizable to Your Taste
 One of the best things about the
nail art orchid one stroke
is its versatility. It can be customized to fit your personal taste and style, making it a unique addition to your house design. You can choose from a range of colors, designs, and sizes to create a look that complements the overall aesthetic of your home.
In conclusion, the
nail art orchid one stroke
is a stunning addition to any house design. Its ability to bring nature indoors, unmatched elegance, and customizable options make it an excellent choice for those looking to add a touch of creativity and beauty to their home. So, why not give this technique a try and see the difference it can make in your house design?
One of the best things about the
nail art orchid one stroke
is its versatility. It can be customized to fit your personal taste and style, making it a unique addition to your house design. You can choose from a range of colors, designs, and sizes to create a look that complements the overall aesthetic of your home.
In conclusion, the
nail art orchid one stroke
is a stunning addition to any house design. Its ability to bring nature indoors, unmatched elegance, and customizable options make it an excellent choice for those looking to add a touch of creativity and beauty to their home. So, why not give this technique a try and see the difference it can make in your house design?


