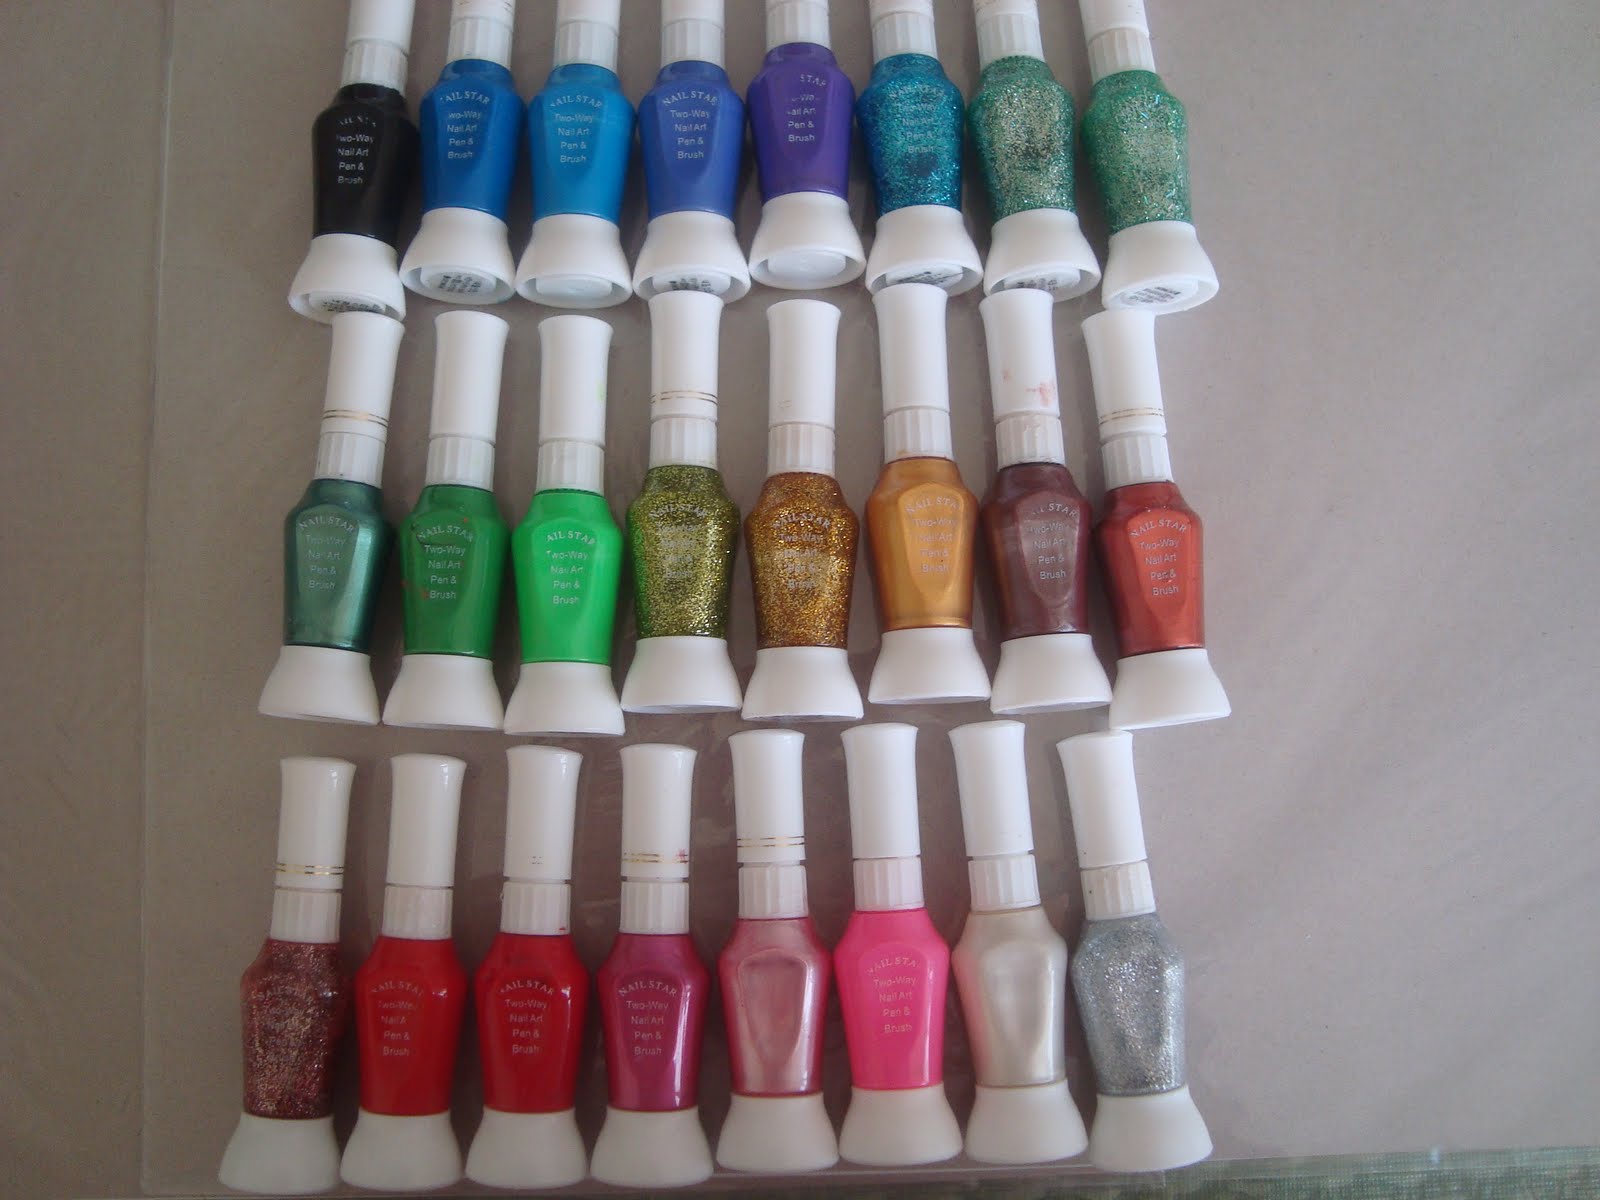
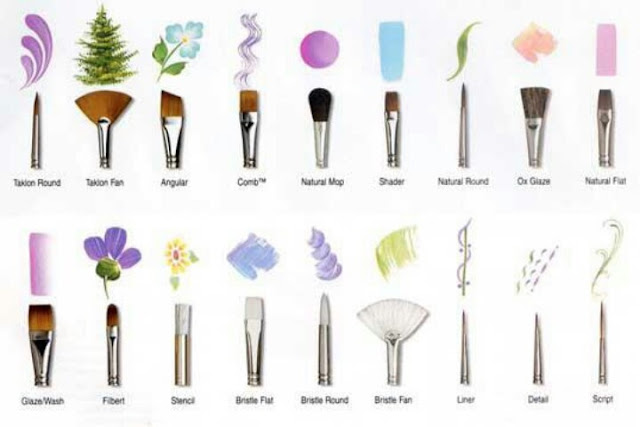
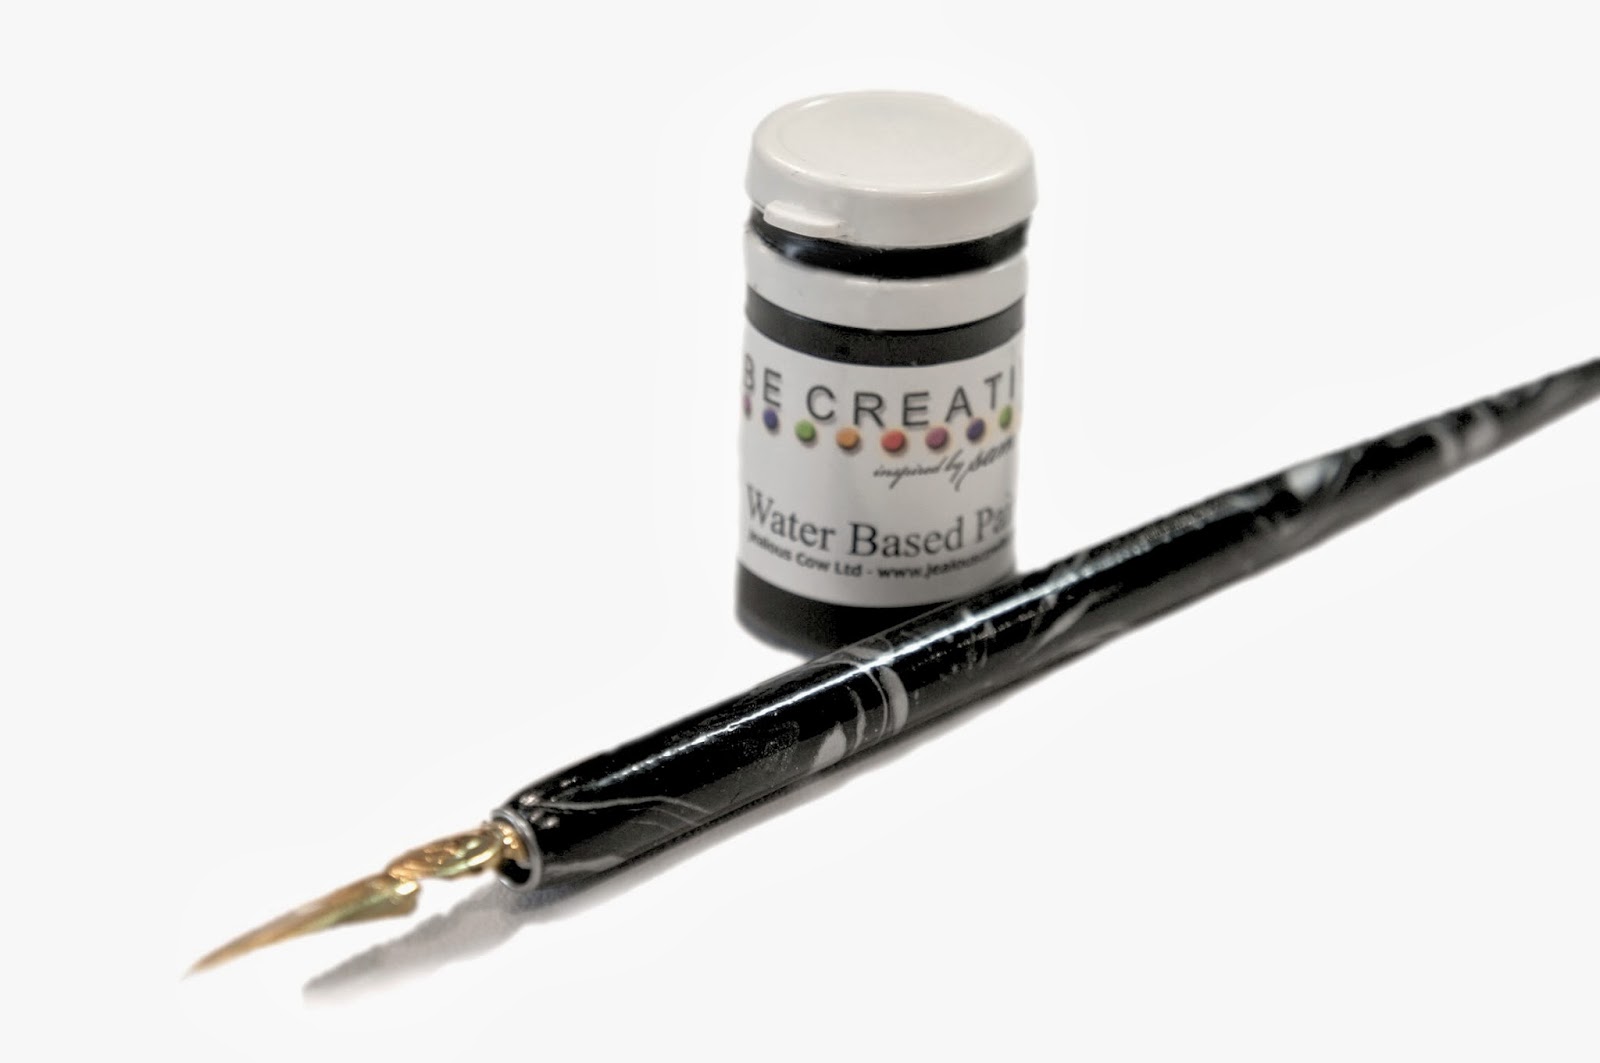
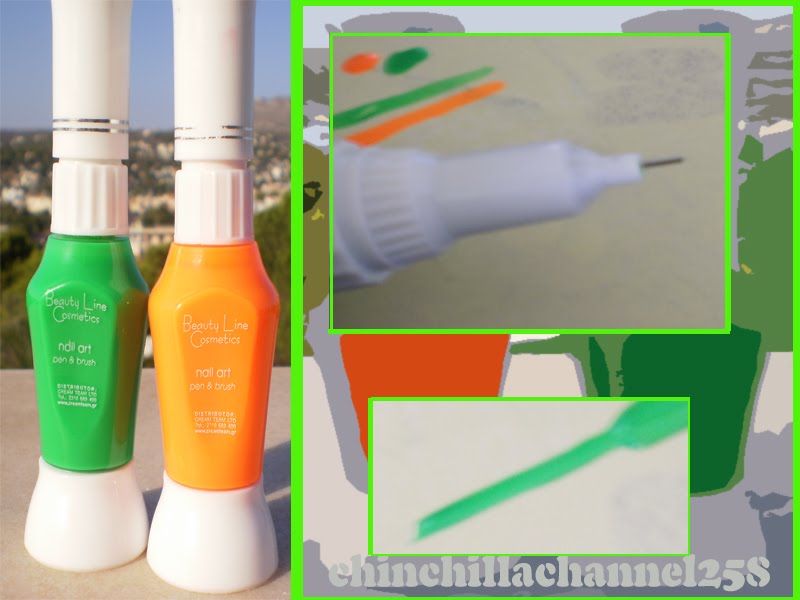
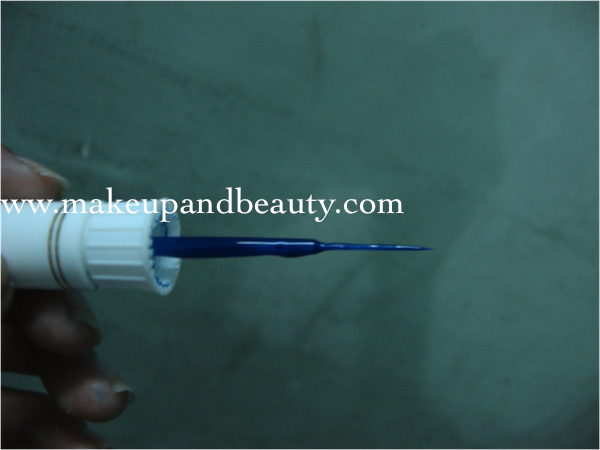
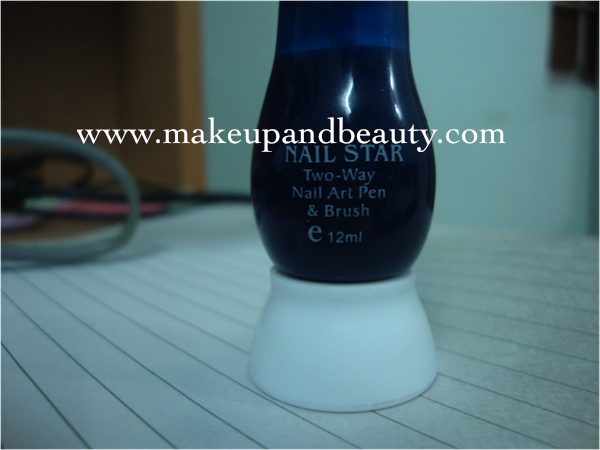
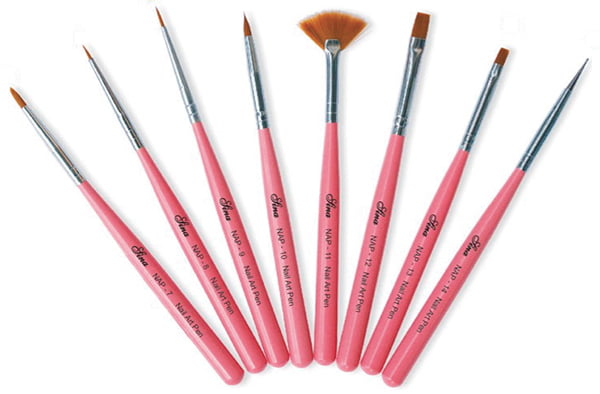
Nail art has become a popular form of self-expression and creativity, and using a nail art pen and brush is a great way to take your nail game to the next level. However, if you're new to using these tools, it can be a bit intimidating. Here's a step-by-step guide on how to use a nail art pen and brush to create stunning designs on your nails. Step 1: Choose Your Tools When it comes to nail art pens and brushes, there are many options available in the market. Some are designed specifically for creating intricate designs, while others are more suitable for simple lines and shapes. It's important to choose the right tools that will work best for the design you have in mind. Step 2: Prep Your Nails Before you begin, make sure your nails are clean and free of any old nail polish. File and shape your nails to your desired length and apply a base coat to protect your natural nails. Step 3: Start with Basic Designs If you're new to using a nail art pen and brush, it's best to start with simple designs. Begin by creating lines and dots on your nails to get a feel for how the tool works and to build your confidence. Step 4: Practice, Practice, Practice Practice makes perfect, and the more you use your nail art pen and brush, the better you will become at creating intricate designs. Don't be discouraged if your first few attempts don't turn out as expected. Keep practicing and you'll see improvement in no time. Step 5: Experiment with Different Techniques Once you've mastered the basics, it's time to get creative and experiment with different techniques. You can create ombre nails, use the pen and brush to create textures, or even try out different color combinations. Step 6: Seal Your Design with a Top Coat To ensure your nail art lasts, make sure to seal your design with a top coat. This will help protect your design from chipping and keep it looking fresh for longer. Step 7: Practice Some More As with any new skill, practice is key. Keep trying out new designs and techniques to improve your skills and create unique and eye-catching nail art.1. How to Use a Nail Art Pen and Brush


1. How to Use a Nail Art Pen and Brush


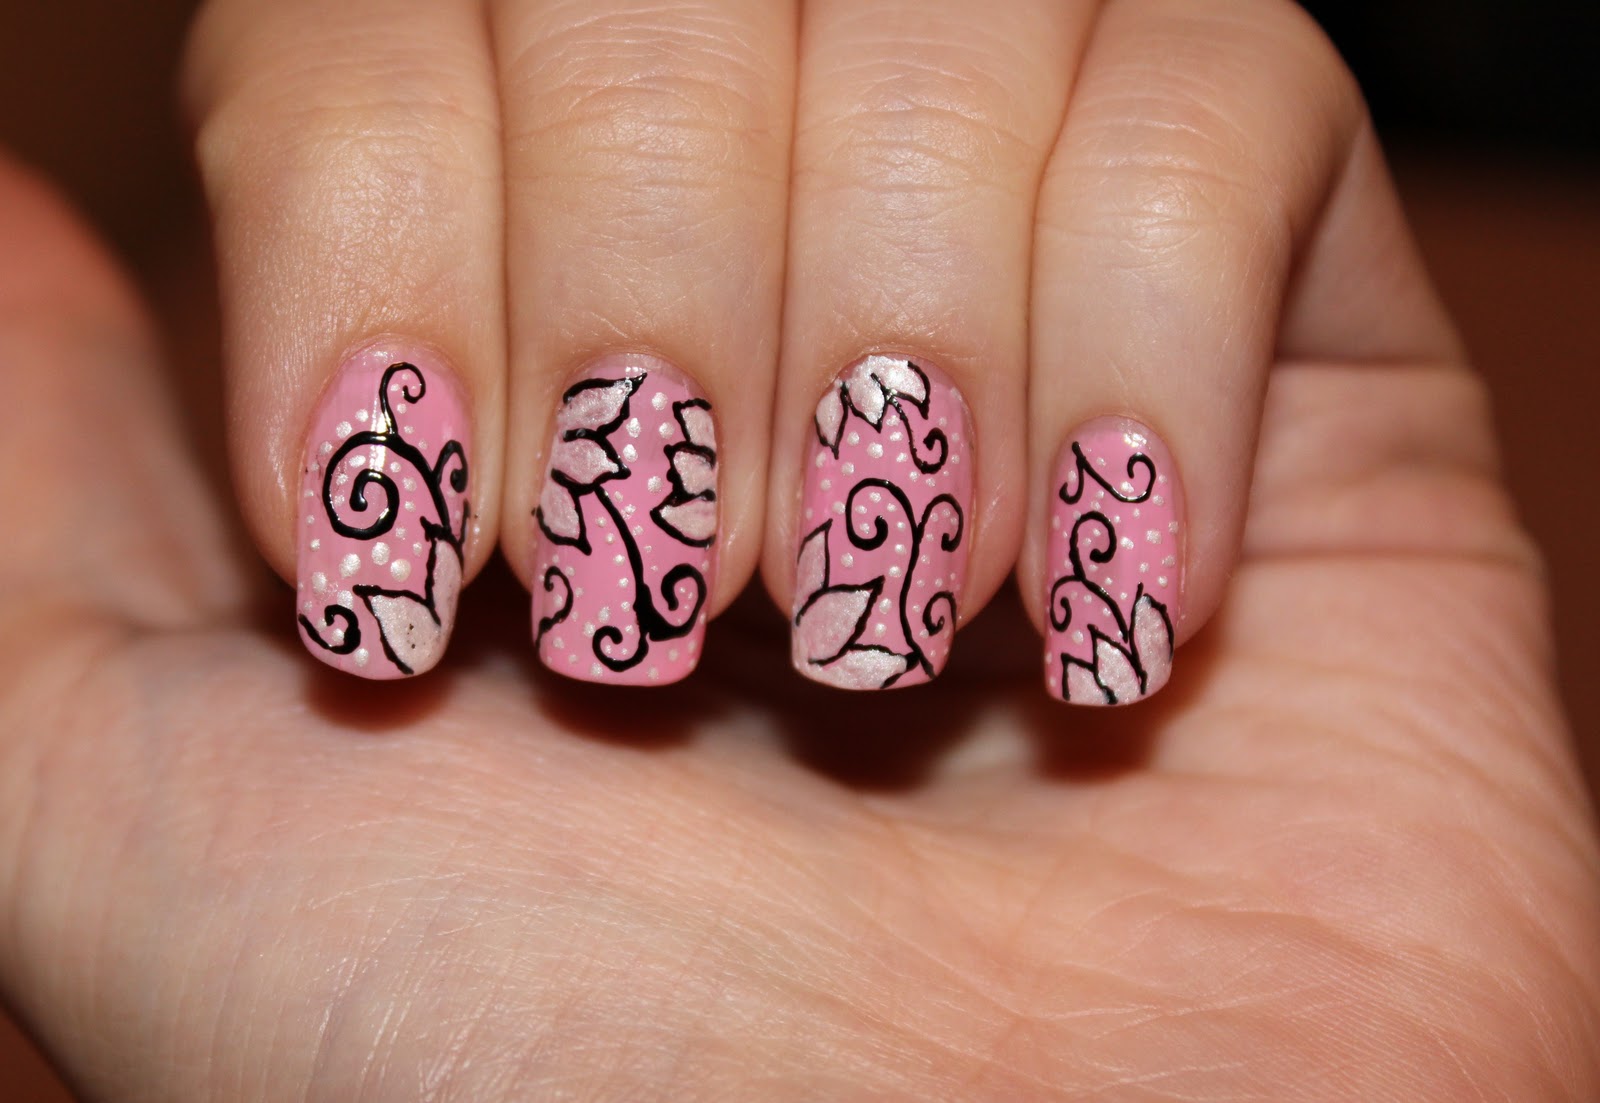

If you're struggling to come up with nail art designs or want to learn new techniques, this step-by-step tutorial will guide you through creating a beautiful design using a nail art pen and brush. Step 1: Prep Your Nails Begin by prepping your nails as mentioned in the previous section. Make sure they are clean, filed, and have a base coat applied. Step 2: Choose Your Colors Select two or three shades of nail polish that you want to use for your design. You can also add a glitter or metallic polish for some extra sparkle. Step 3: Create a Base Color Apply your base color to all your nails and let it dry completely. This will serve as the background for your design. Step 4: Start with the Nail Art Pen Using the nail art pen, create a simple design on one of your nails. This can be a floral pattern, geometric shapes, or even just random lines and dots. Remember to keep it simple if you're new to using the pen. Step 5: Fill in the Design with the Brush Once your design is complete, use the brush to fill in the spaces with your chosen colors. You can use different colors for each section or stick to one color for a more cohesive look. Step 6: Add Details Using the pen, add any extra details to your design. This could be adding small dots or lines to create texture or adding a pop of glitter to make your design stand out. Step 7: Seal with a Top Coat Apply a top coat to seal your design and give it a glossy finish. This will also help to make your design last longer. Step 8: Repeat on Other Nails Repeat the same process on your other nails, creating different designs for each one. You can also keep the same design on all nails for a more uniform look. Step 9: Experiment with Different Designs Once you've mastered this tutorial, feel free to experiment with different designs and techniques using your nail art pen and brush.2. Step-by-Step Nail Art Pen and Brush Tutorial


2. Step-by-Step Nail Art Pen and Brush Tutorial


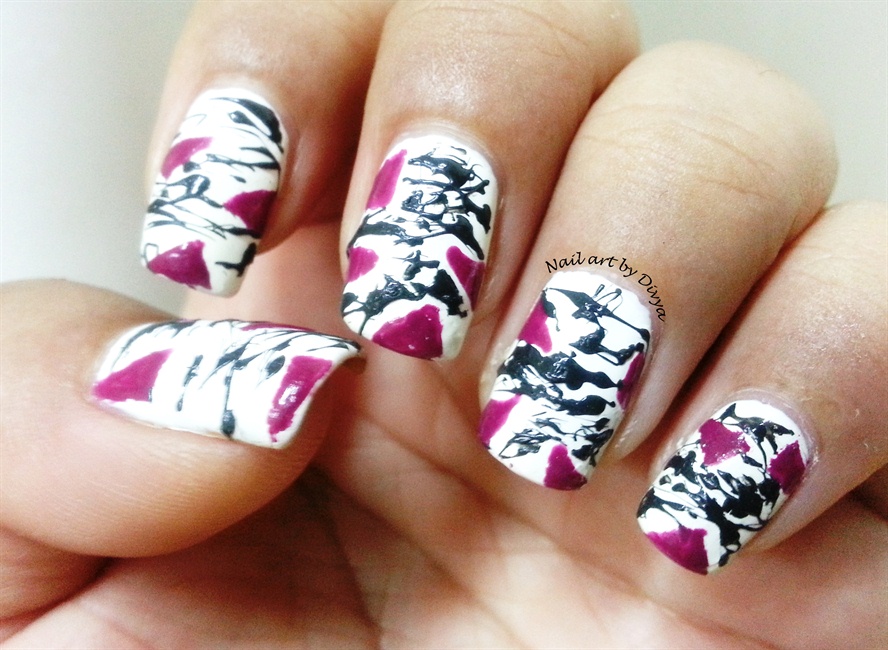

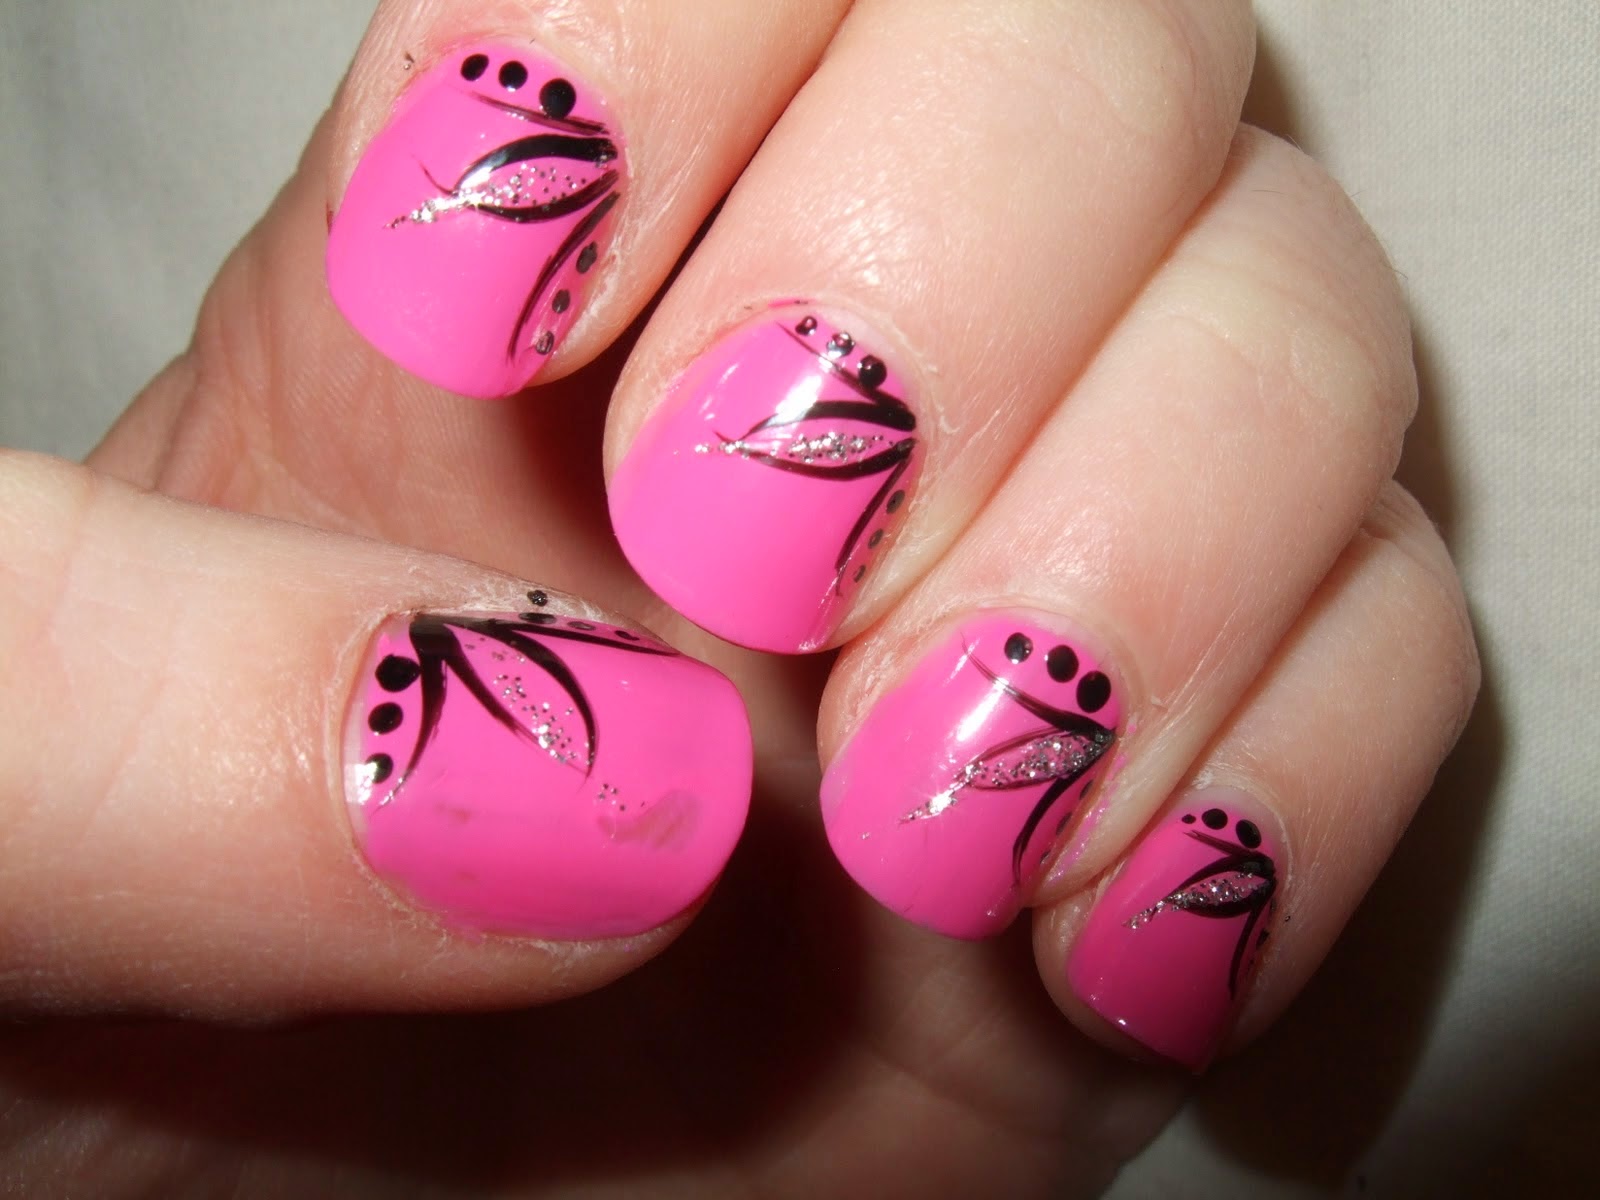
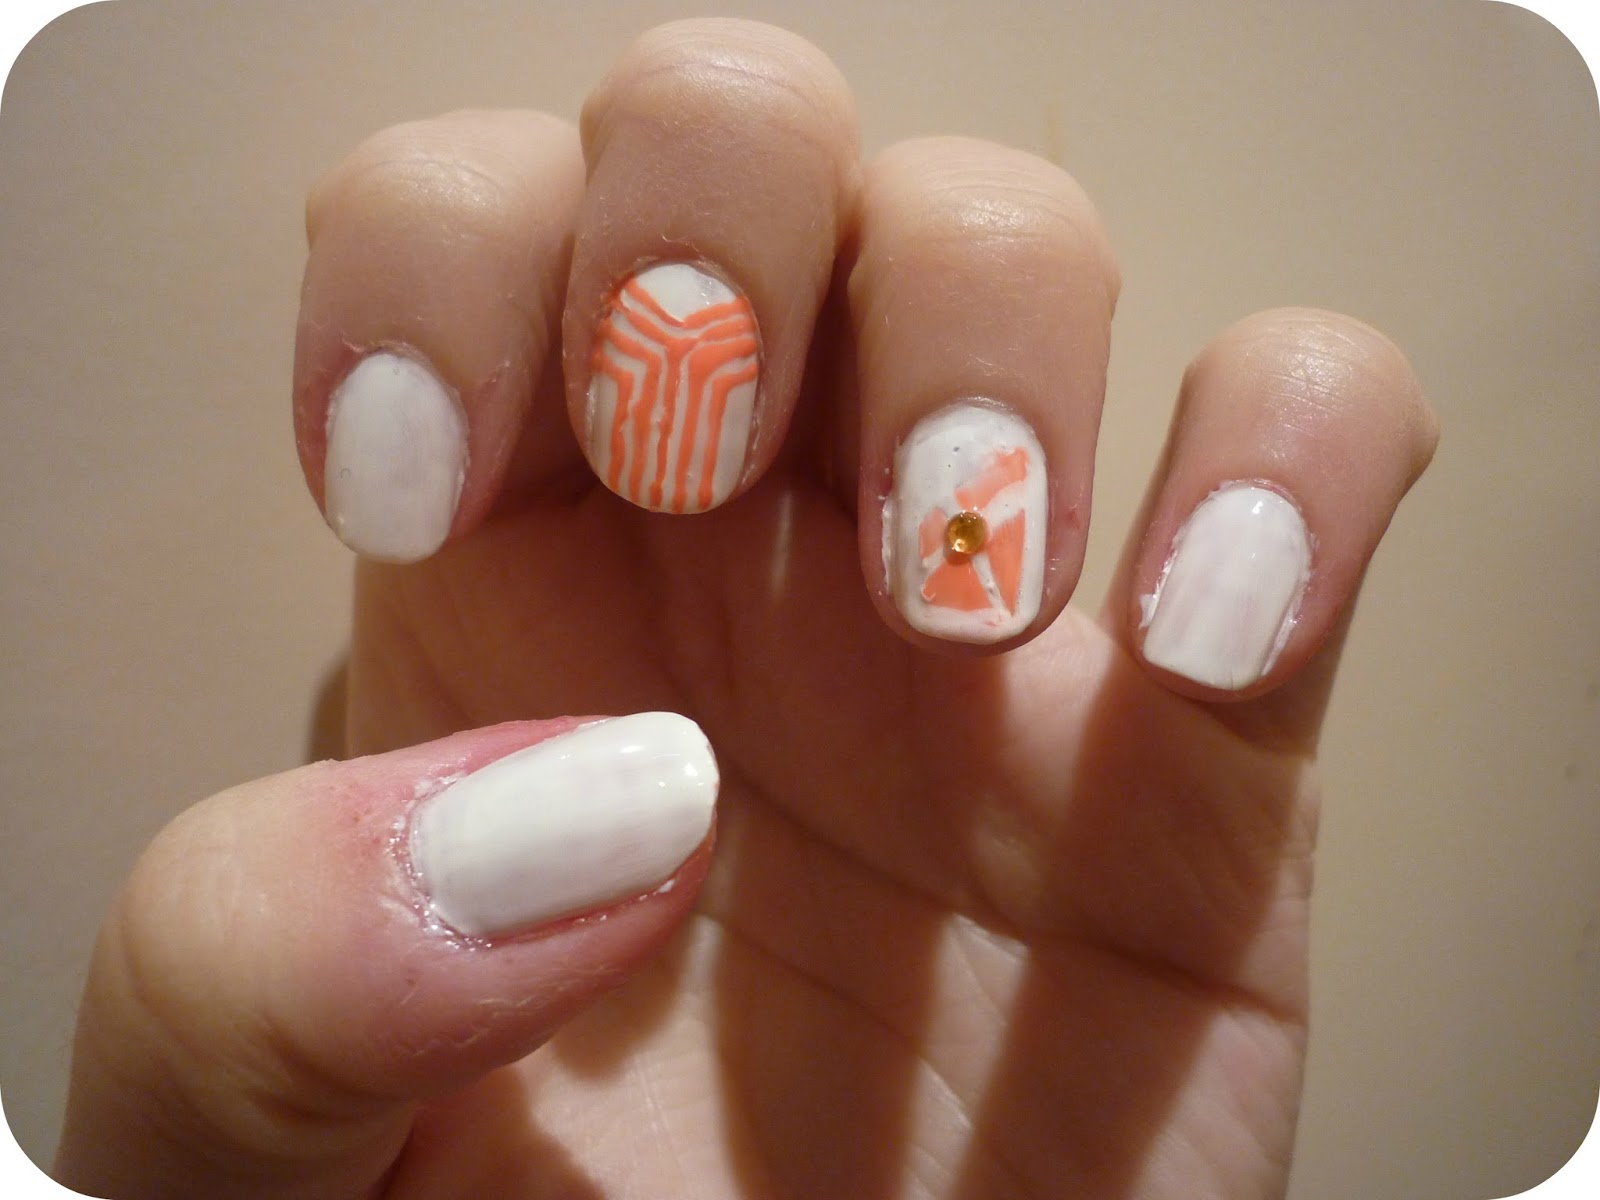
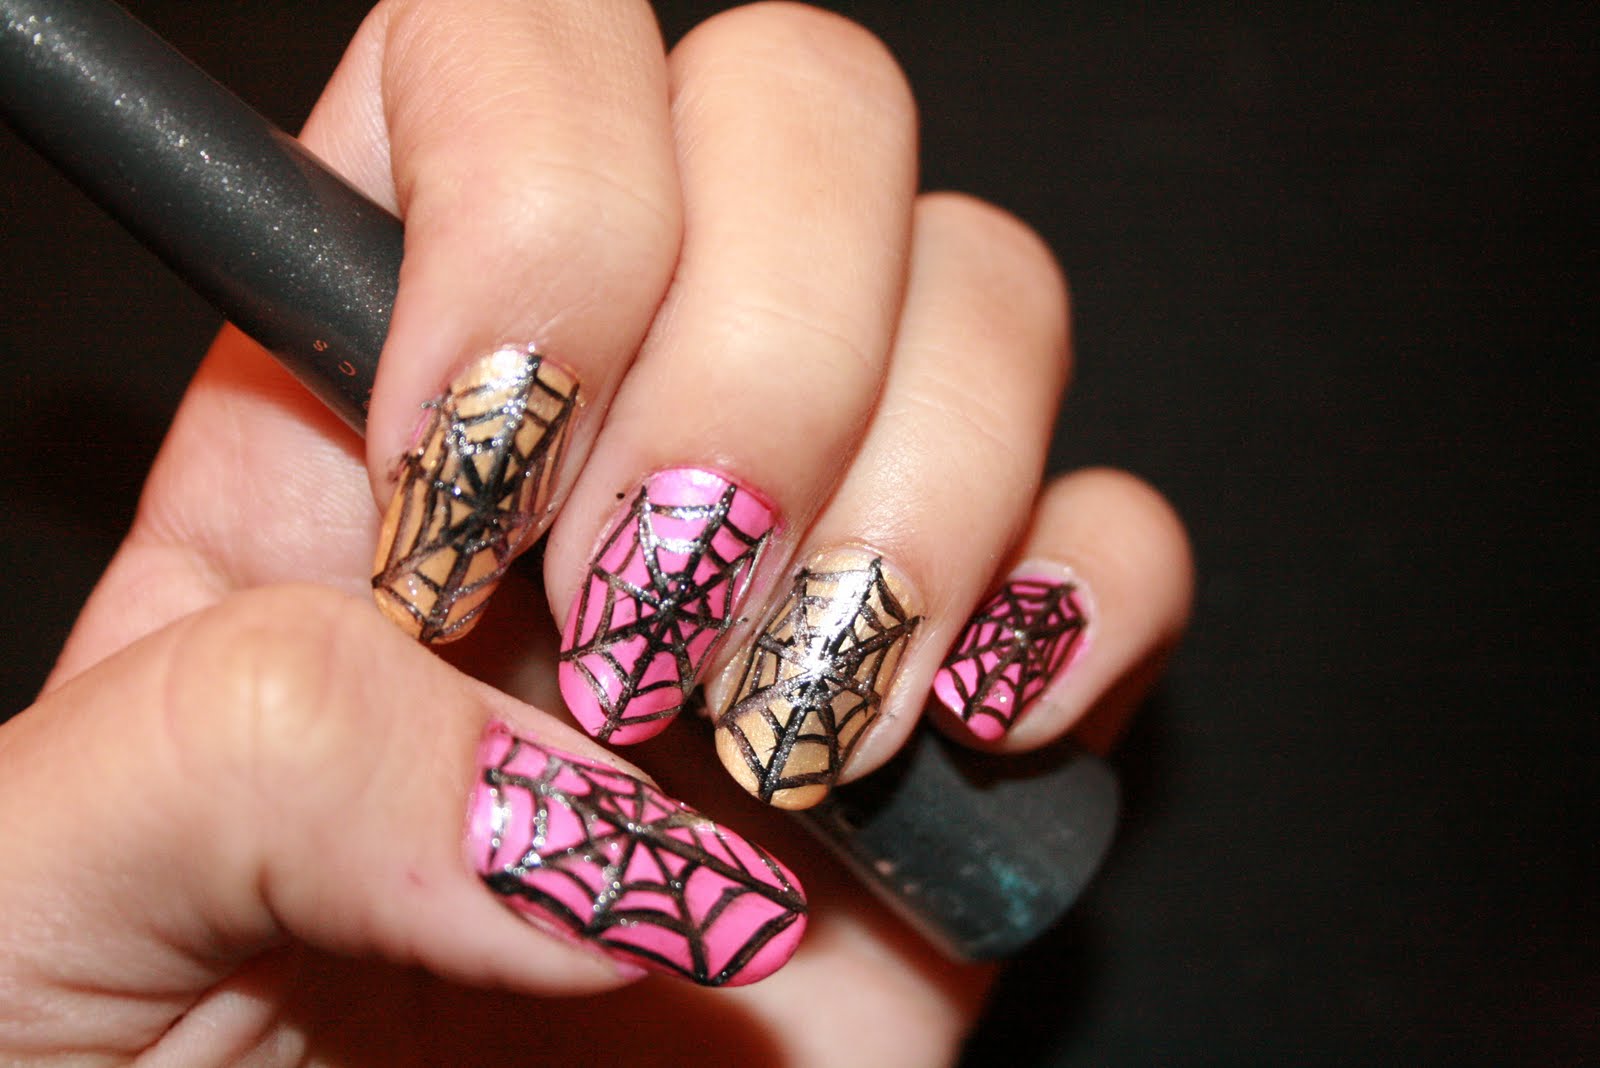
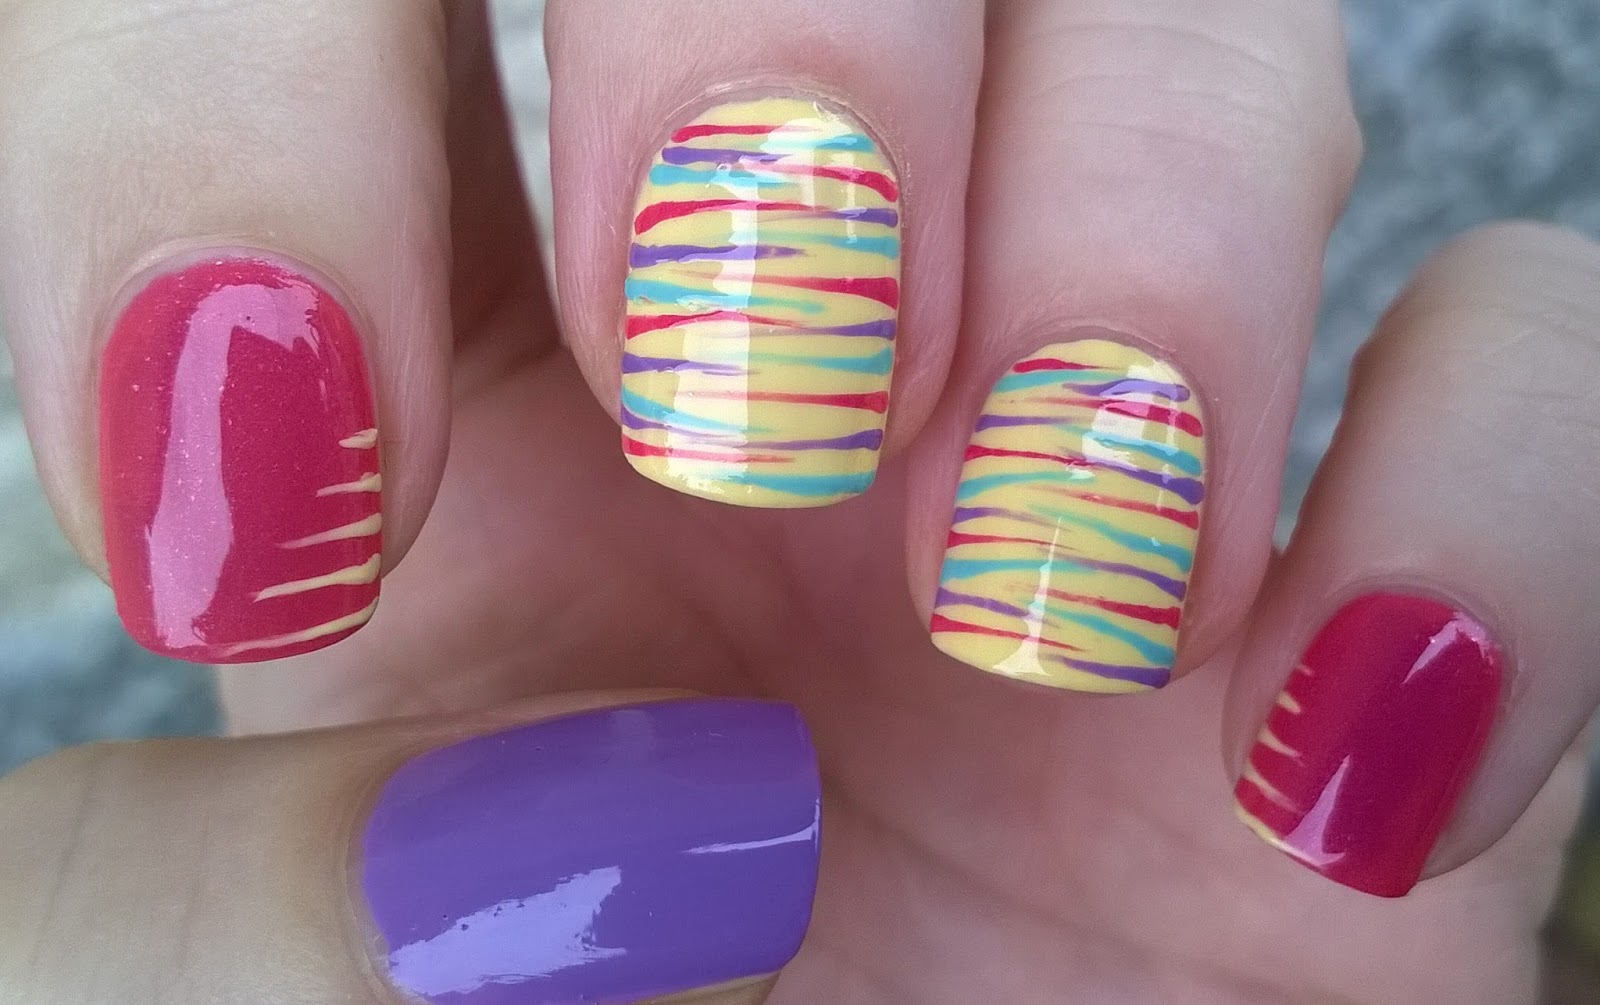
Using a nail art pen and brush can seem daunting, especially for beginners. But with these easy techniques, you'll be creating beautiful designs in no time. 1. Dots and Lines As mentioned earlier, creating simple dots and lines is a great way to get comfortable using your nail art pen and brush. You can create a polka dot design or a simple line design using different colors. 2. Ombre Nails To create ombre nails, apply a base color and let it dry. Then, using your nail art pen, draw lines of different colors on a sponge and dab it onto your nails for a gradient effect. 3. Marble Nails For this technique, use your nail art pen to create random lines on your nails. Then, use the brush to blend the colors together, creating a marbled effect. 4. Stamping You can also use a nail art pen and brush to create stamped designs on your nails. Simply dip the brush into your desired color and stamp it onto your nails using a stencil. 5. Glitter Accent To add some sparkle to your nail art, use your nail art pen to create a simple design, and then fill it in with glitter polish using the brush. Remember to practice these techniques and have fun experimenting with different designs to find what works best for you.3. Nail Art Pen and Brush Techniques for Beginners

3. Nail Art Pen and Brush Techniques for Beginners


Here are some additional tips and tricks to help you get the most out of your nail art pen and brush. 1. Keep Your Hands Steady To create precise lines and designs, it's important to keep your hands steady. Rest your hand on a flat surface while using the nail art pen and brush for better control. 2. Use Thin Coats When using the brush, it's better to apply thin coats of polish rather than thick ones. This will prevent the polish from becoming gloopy and difficult to work with. 3. Clean Your Tools After each use, make sure to clean your nail art pen and brush with nail polish remover. This will prevent the colors from mixing and ruining your designs. 4. Practice on Paper If you're feeling unsure about a design, practice it on a piece of paper first before trying it on your nails. This will help you perfect your technique and avoid any mistakes. 5. Use Tape for Clean Lines If you struggle with creating straight lines, use tape to create a guide for your nail art. Simply place the tape on your nail and use the pen and brush to create your design.4. Tips and Tricks for Using a Nail Art Pen and Brush


4. Tips and Tricks for Using a Nail Art Pen and Brush
To ensure you get the best results when using a nail art pen and brush, here are some dos and don'ts to keep in mind. DO: - Experiment with different designs and techniques - Clean your tools after each use - Use thin coats of polish - Keep your hands steady - Have fun! DON'T: - Use old or gloopy nail polish - Apply thick coats of polish - Rush through your design - Get discouraged if your first attempts don't turn out perfectly5. Nail Art Pen and Brush Dos and Don'ts


5. Nail Art Pen and Brush Dos and Don'ts


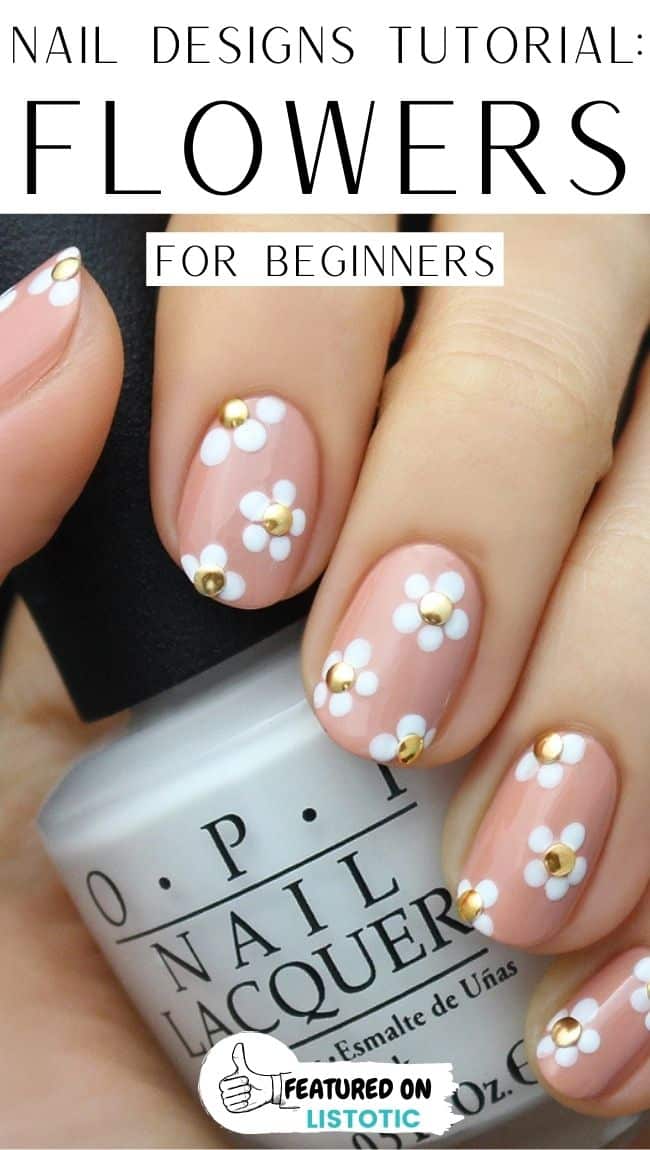
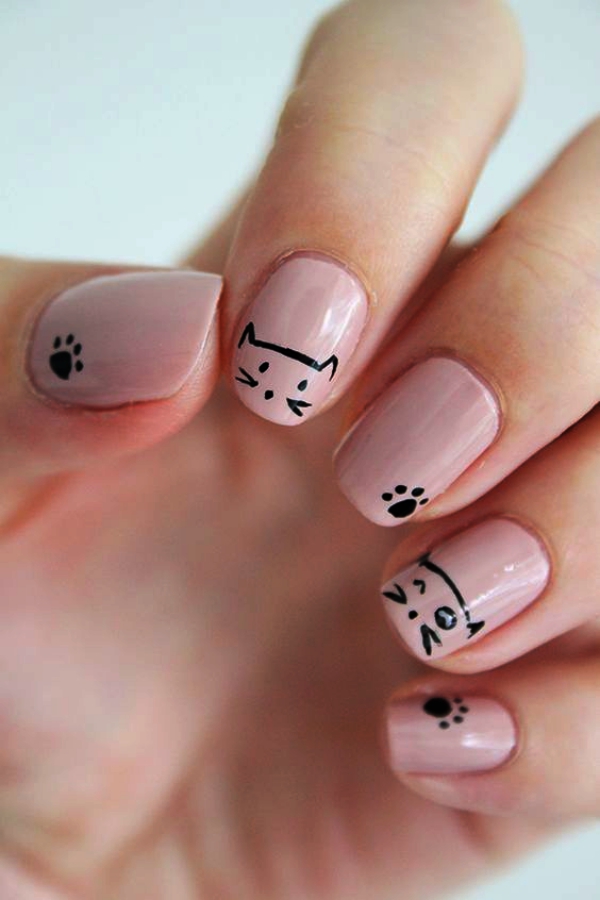
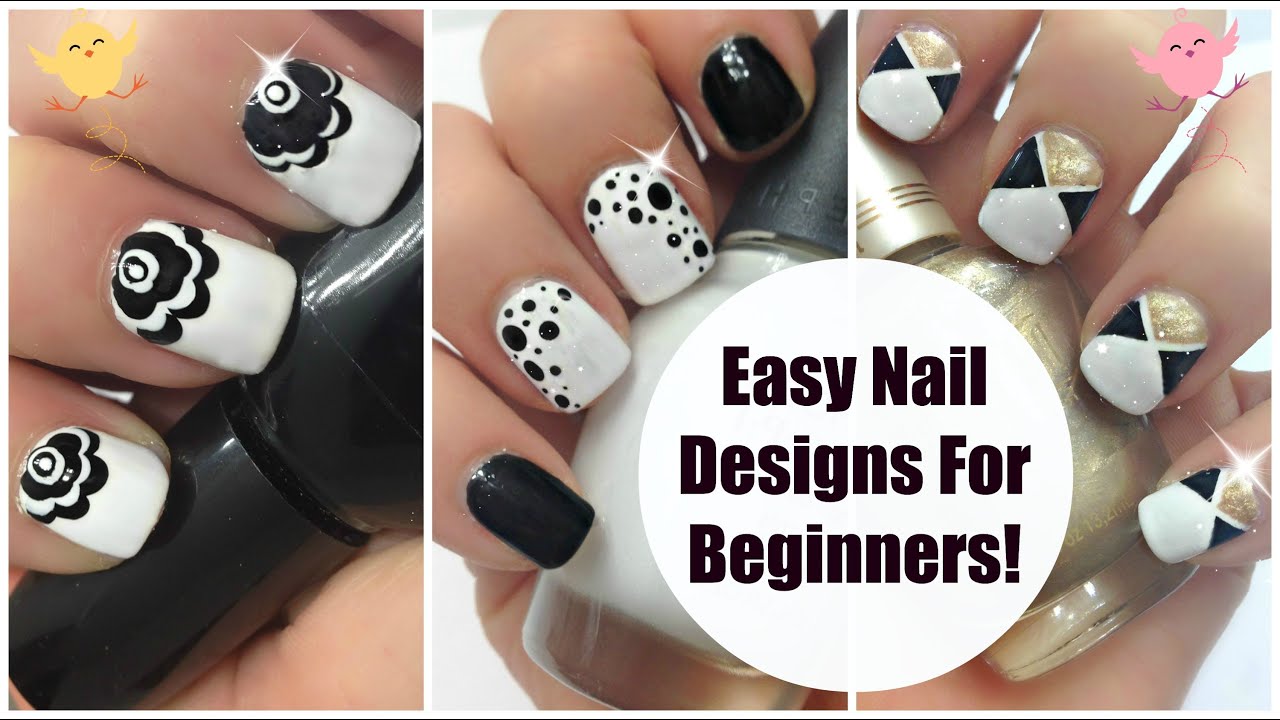
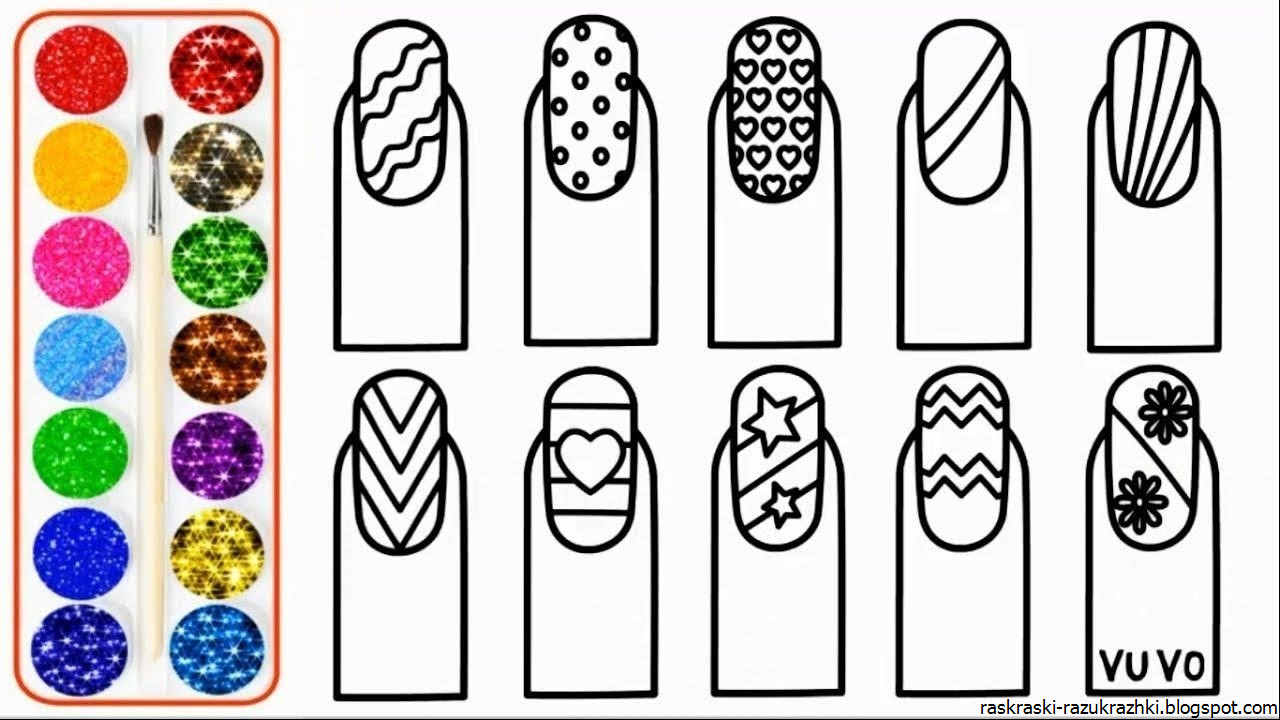
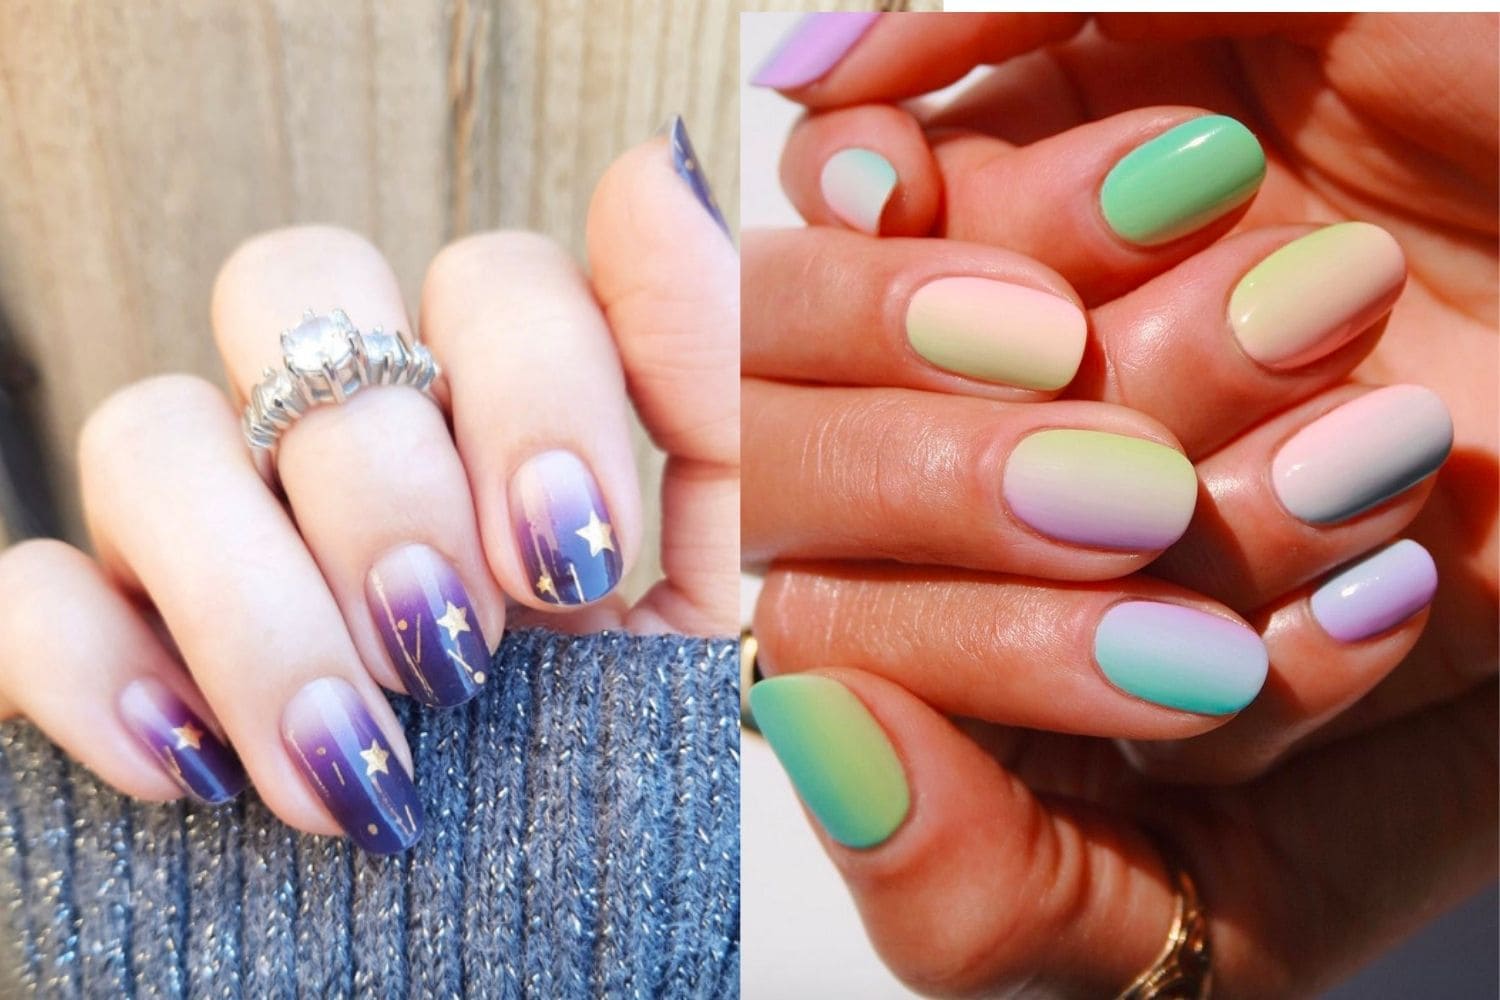
Need some inspiration for your next nail art design? Here are some ideas to get your creative juices flowing. - Floral designs using the nail art pen for intricate details - Geometric shapes and lines for a modern and edgy look - Animal print using the brush to create textured patterns - Abstract designs using a mix of lines, dots, and shapes - Ombre nails using the brush for a gradient effect - Glitter accents for a touch of sparkle - French tips with a twist, using the nail art pen to add a pop of color - Negative space designs, leaving parts of your natural nail exposed - Mix and match different designs on each nail for a unique look - Use your nail art pen and brush to create a customized manicure for special occasions, like weddings or holidays.6. Nail Art Pen and Brush Designs and Ideas


6. Nail Art Pen and Brush Designs and Ideas

Proper maintenance and cleaning of your nail art pen and brush are essential to ensure they last and continue to work effectively. - After each use, clean the tip of your nail art pen and brush with nail polish remover to prevent colors from mixing. - If the pen or brush becomes hard to use, soak them in warm water for a few minutes to soften the bristles. - Store your tools in a cool and dry place to prevent the polish from drying out. - Replace the tools if they become too worn out or damaged.7. Nail Art Pen and Brush Maintenance and Cleaning


7. Nail Art Pen and Brush Maintenance and Cleaning

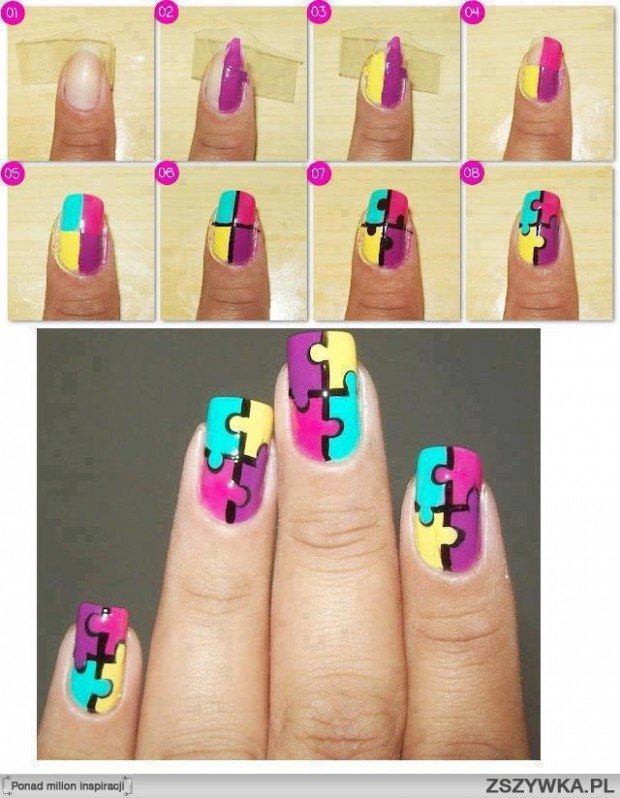
Ombre nails are a popular trend in nail art, and with a nail art pen and brush, you can easily create this look at home. Step 1: Prep Your Nails As always, start by prepping your nails and applying a base coat. Step 2: Choose Your Colors Select two or three shades of the same color, ranging from light to dark. You can also use different colors for a more unique ombre look. Step 3: Create a Base Color Apply your base color and let it dry completely. Step 4: Dip the Brush Dip the brush into your lightest color and apply it to the top half of your nail. Step 5: Dip the Pen Dip the pen into your darkest color and apply it to the bottom half of your nail, blending it with the lightest color. Step 6: Blend with the Brush Using the brush, blend the two colors together to create a gradient effect. Step 7: Seal with a Top Coat Apply a top coat to seal your design and give it a glossy finish.8. How to Create Ombre Nails with a Nail Art Pen and Brush


8. How to Create Ombre Nails with a Nail Art Pen and Brush

If you don't have a nail art pen and brush, there are other tools you can use to create stunning nail art designs. - Toothpicks or bobby pins for creating small dots and lines - Thin paint brushes for more intricate designs - Makeup sponges for ombre effects - Stamping kits for precise designs - Striping tape for clean and straight lines - Nail stickers for easy and quick designs9. Nail Art Pen and Brush Alternatives for Nail Art


9. Nail Art Pen and Brush Alternatives for Nail Art
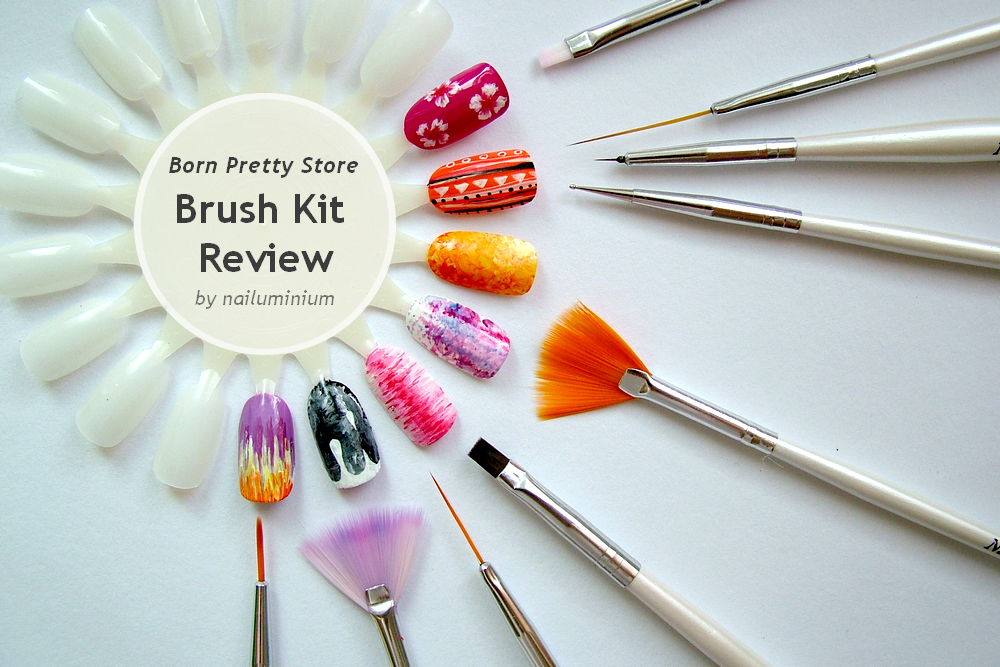
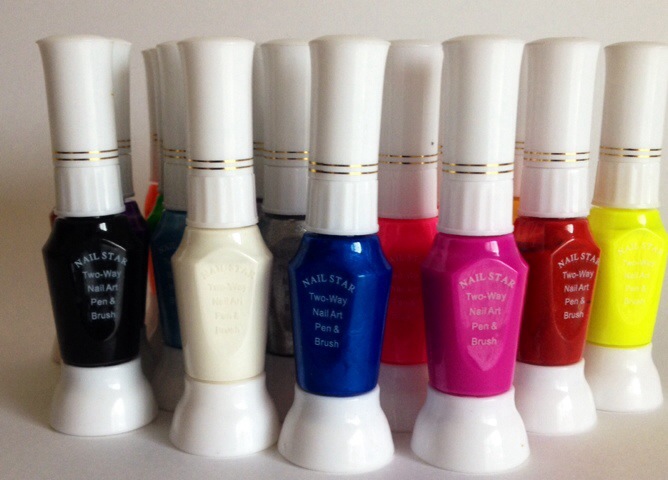
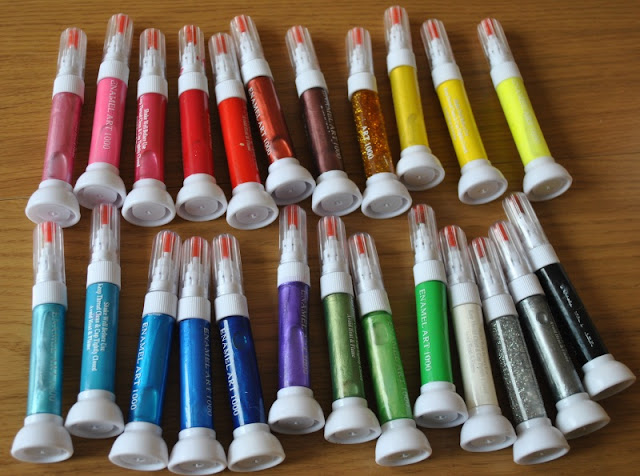
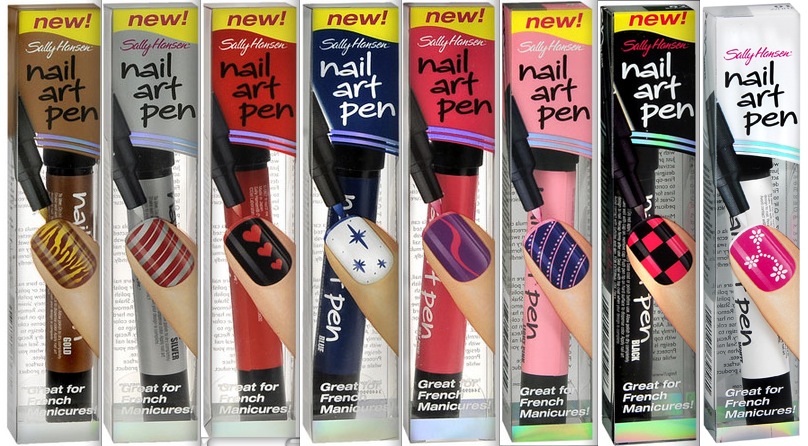
Looking to invest in a nail art pen and brush? Here are some highly recommended products to consider. - Sally Hansen I Heart Nail Art Pen - OPI Nail Art Brush - Kiss Salon Secrets Nail Art Starter Kit - Orly Instant Artist Brush - Ciate London Nail Art Brush Set - Models Own Nail Art Pen - Nails Inc. Nail Art Pen - China Glaze Nail Art Brush - Essie Nail Art Brush - Born Pretty Nail Art Pen Remember to read reviews and do your research before purchasing any nail art pen and brush to find the best product for your needs.10. Nail Art Pen and Brush Product Reviews and Recommendations


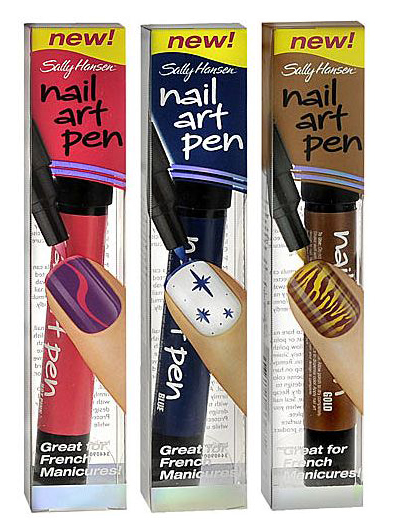
10. Nail Art Pen and Brush Product Reviews and Recommendations
The Versatility of Nail Art Pens and Brushes for Your Home Design
Innovative Tools for Creative Expression
When it comes to home design, every detail counts. From the furniture to the decor, each element plays a crucial role in creating a space that reflects your personal style and taste. And just like how a painter uses different brushes to bring their canvas to life, a homeowner can use nail art pens and brushes to add intricate and personalized designs to their living space.
Unleash Your Inner Artist

Gone are the days of plain and monotonous walls. With the help of nail art pens and brushes , you can unleash your creativity and turn any blank space into a work of art. These versatile tools allow you to easily create beautiful patterns and designs on any surface, whether it's a wall, furniture, or even a piece of fabric. With a steady hand and a bit of imagination, the possibilities are endless.
Customize to Your Heart's Desire
One of the best things about using nail art pens and brushes for your home design is the ability to customize it according to your preferences. You can choose from a variety of colors, sizes, and tip shapes to achieve the desired effect. Whether you want to add a subtle touch of elegance or make a bold statement, there's a nail art pen or brush that can help you achieve your desired look.
Easy to Use and Maintain
Don't be intimidated by the thought of using nail art pens and brushes for your home design. These tools are designed to be user-friendly and are suitable for both beginners and professionals alike. With just a few simple instructions, you can easily create stunning designs without any hassle. And when it comes to maintenance, simply clean the tips with a damp cloth after each use to keep them in top shape.
In conclusion, nail art pens and brushes are not just for creating beautiful nails. They are also innovative tools for home design that can add a personal touch and elevate the overall aesthetic of your living space. So why settle for ordinary when you can turn your home into a masterpiece with the help of these versatile tools?


