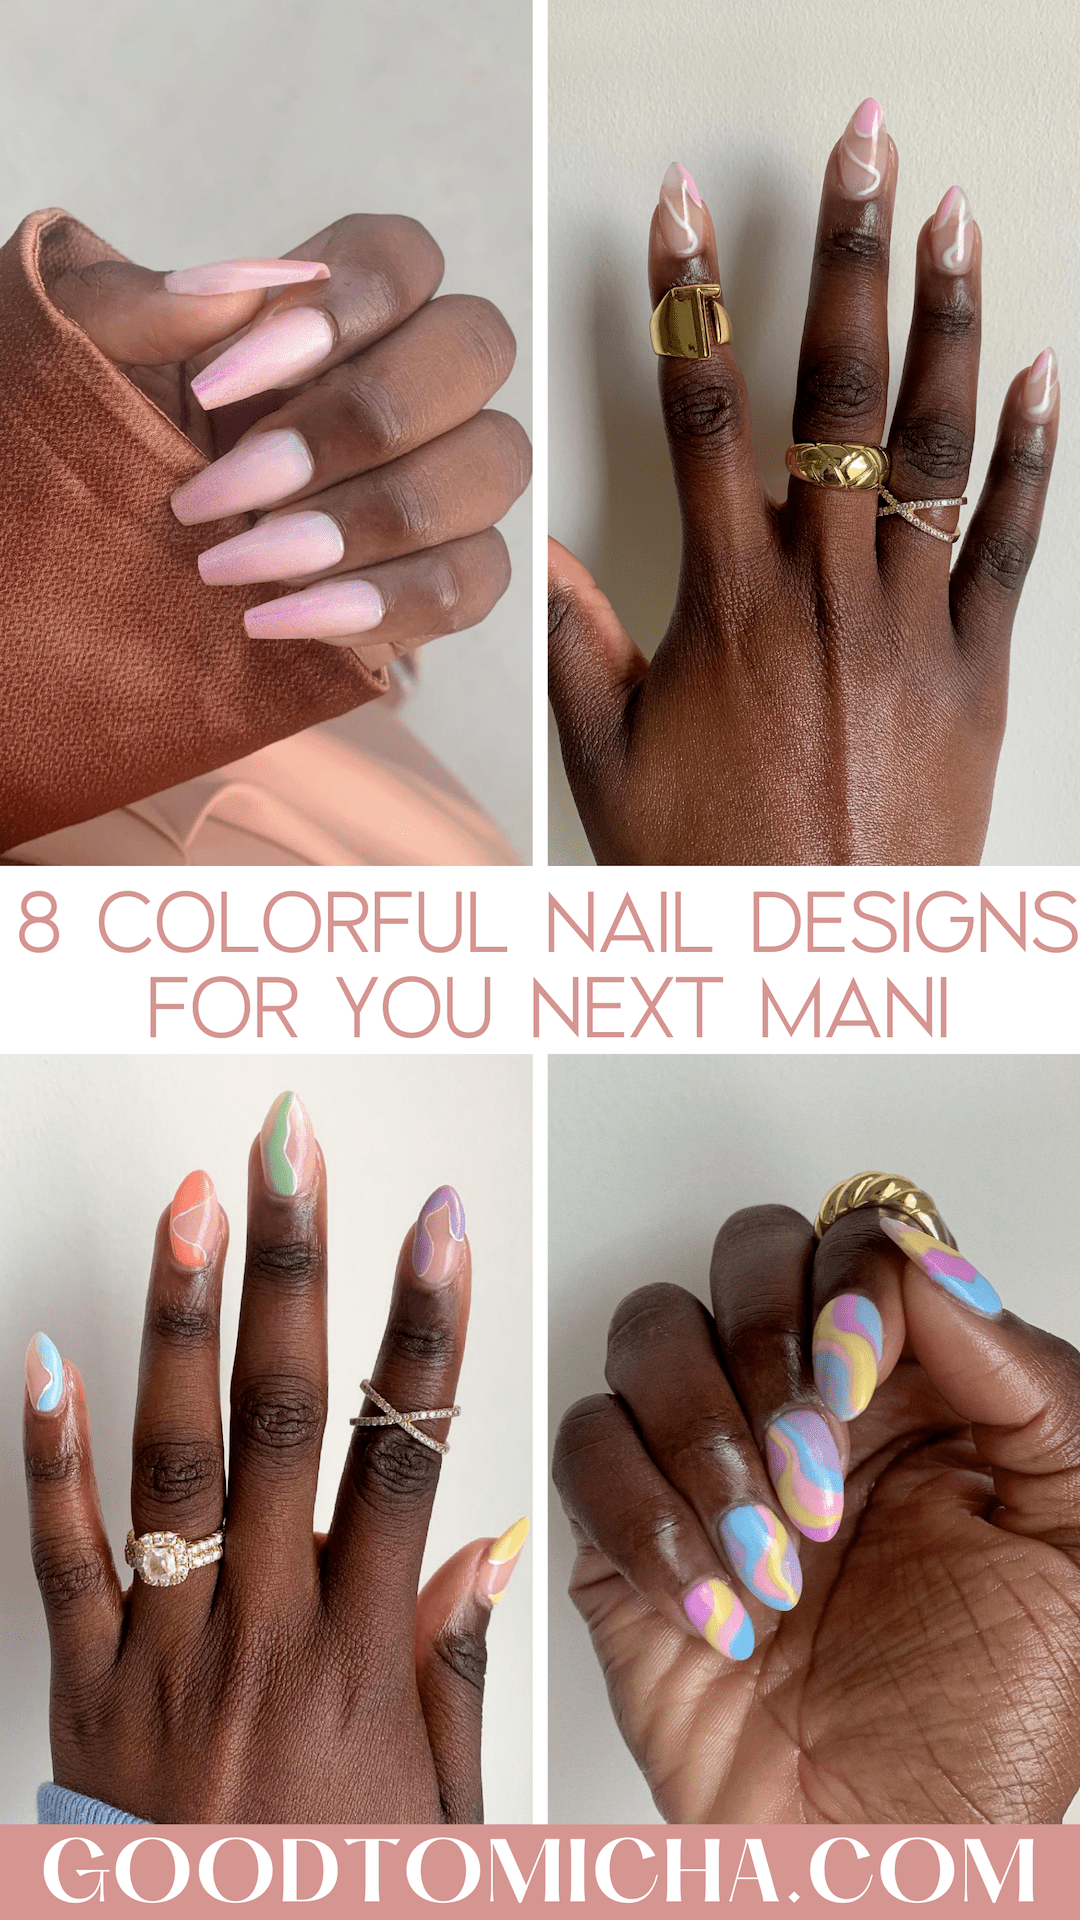
Looking to add a pop of color to your nails? Look no further than these eye-catching rainbow brights nail art designs. From bold and vibrant to soft and pastel, there's a rainbow look for every style. Follow our step-by-step tutorial to achieve the perfect rainbow manicure. Rainbow brights are a fun and playful way to add some personality to your nails. The key is to use a variety of colors and techniques to create a unique and eye-catching design. Let's dive into our top 10 rainbow nail art ideas for a bright and colorful manicure.1. Rainbow Brights Nail Art Tutorial


1. Rainbow Brights Nail Art Tutorial


There are endless possibilities when it comes to rainbow nail art. Whether you prefer a simple and elegant design or something more intricate and detailed, these 10 designs will inspire you to create your own rainbow masterpiece. Rainbow stripes, ombre gradients, and geometric patterns are just a few of the techniques used in these designs. Mix and match colors and styles to truly make your nails stand out.2. 10 Rainbow Nail Art Designs


2. 10 Rainbow Nail Art Designs


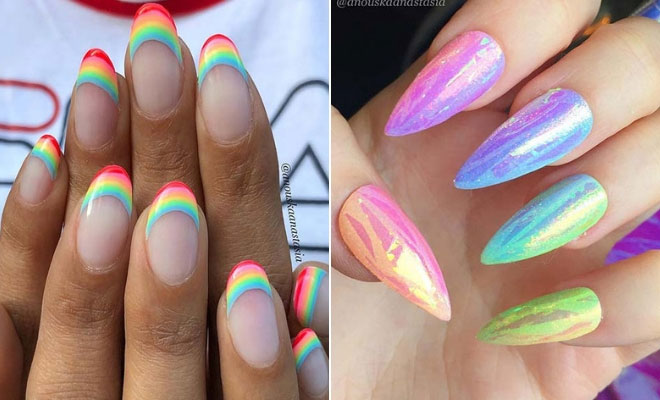
If you're feeling bold and want to make a statement with your nails, try out these bright and colorful nail art ideas. These designs are perfect for summer, festivals, or anytime you want to add a little extra color to your life. Use neon shades for a vibrant and electric look, or opt for softer pastel shades for a more subtle rainbow effect. Either way, your nails will be sure to turn heads with these bold and colorful designs.3. Bright and Colorful Nail Art Ideas


3. Bright and Colorful Nail Art Ideas


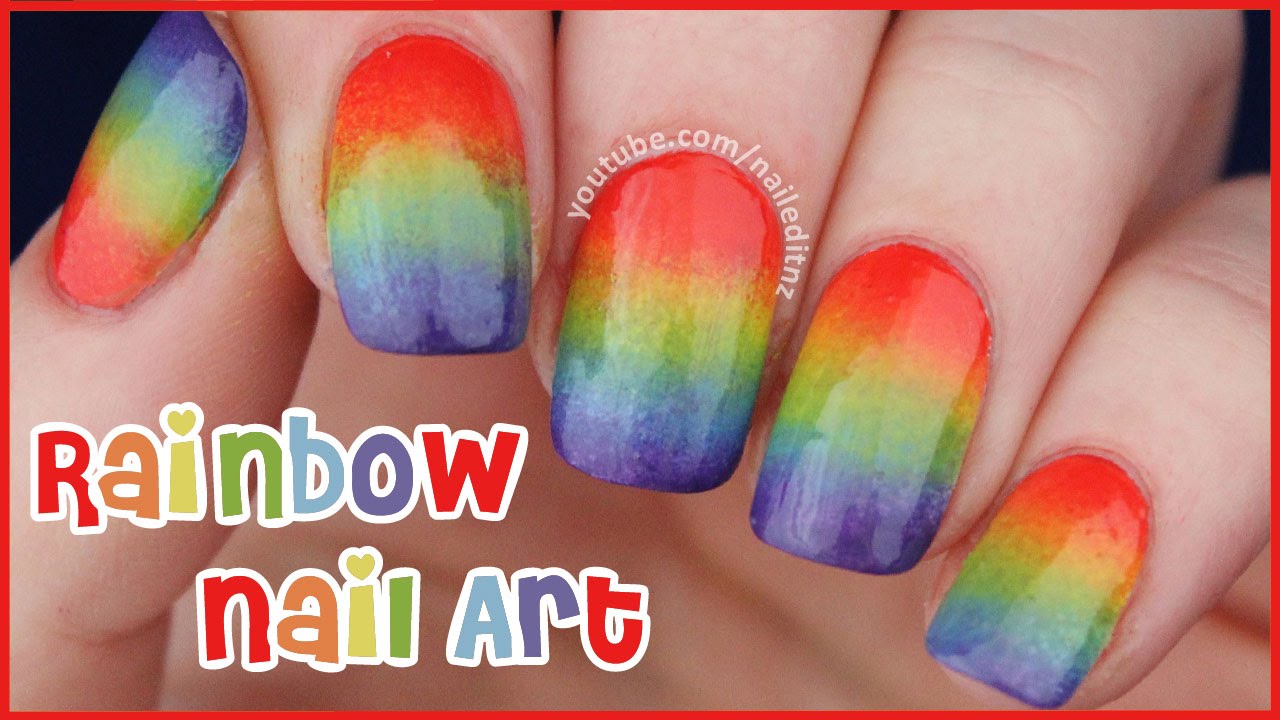
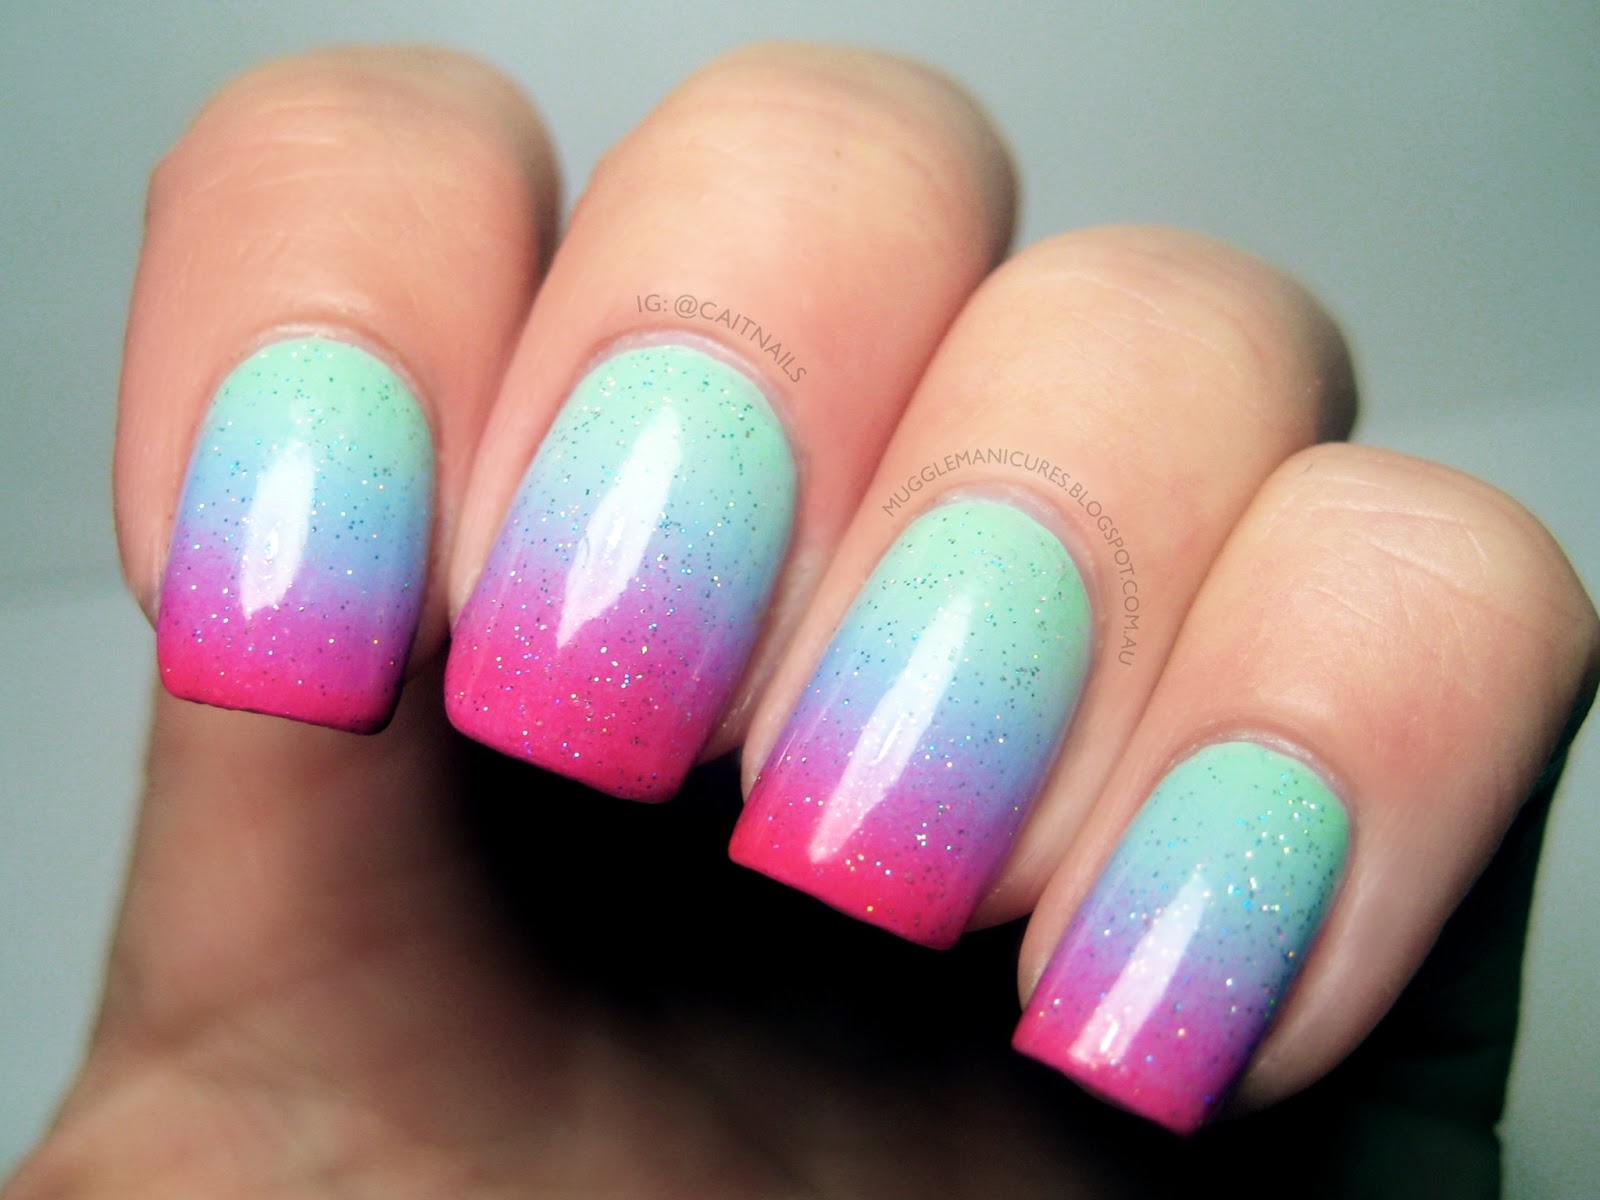
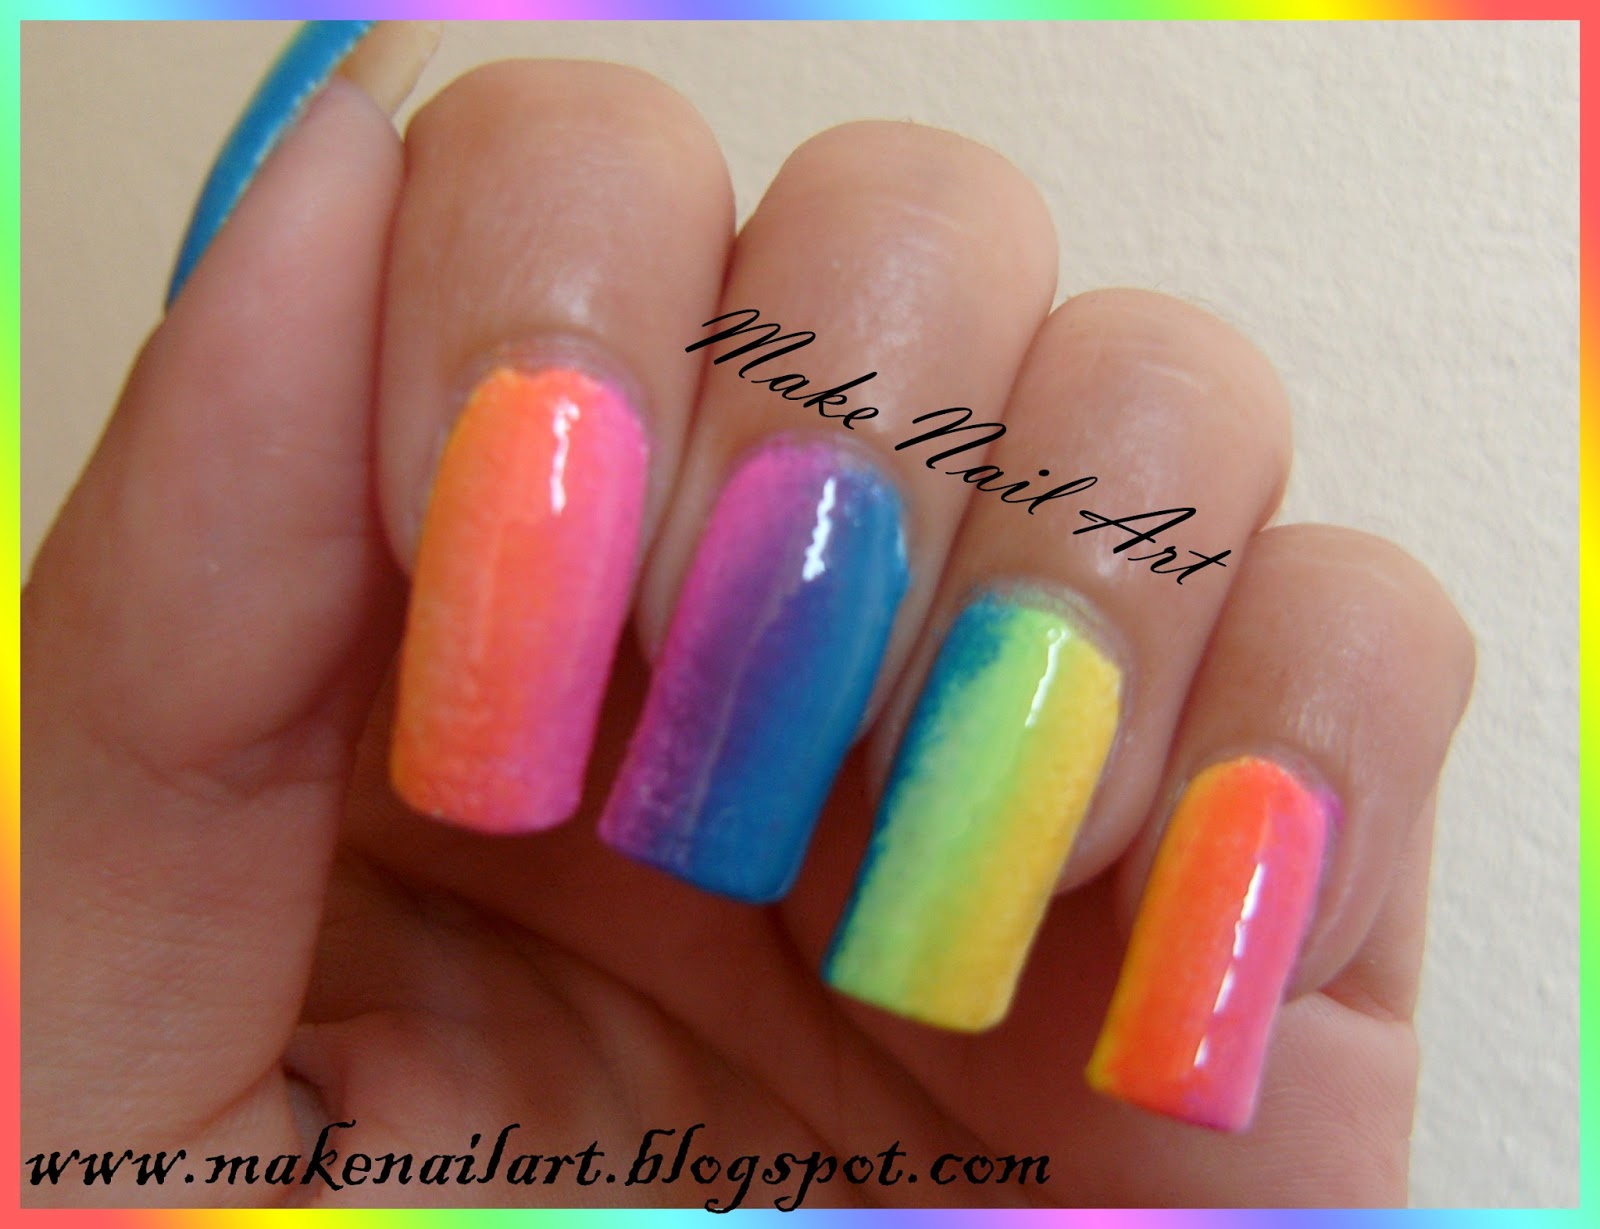
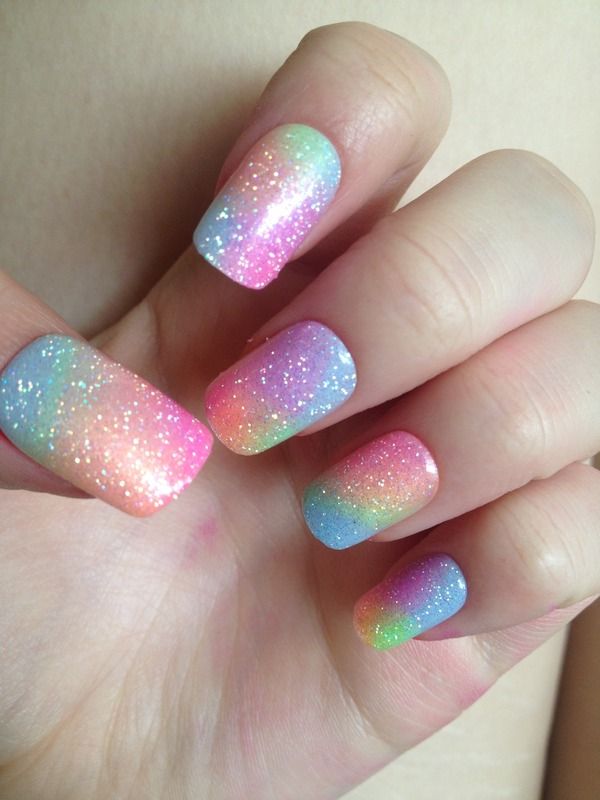
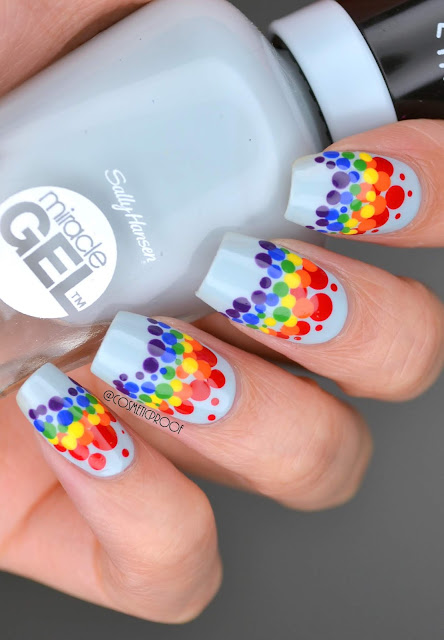
A gradient manicure is a popular and easy way to achieve a rainbow look on your nails. This tutorial will guide you through the steps to create a beautiful rainbow gradient using a sponge technique. Start with a white base and then use a makeup sponge to dab on rainbow colors in the order of the rainbow (red, orange, yellow, green, blue, purple). Finish with a top coat for a smooth and glossy finish.4. Rainbow Gradient Nail Art Tutorial


4. Rainbow Gradient Nail Art Tutorial
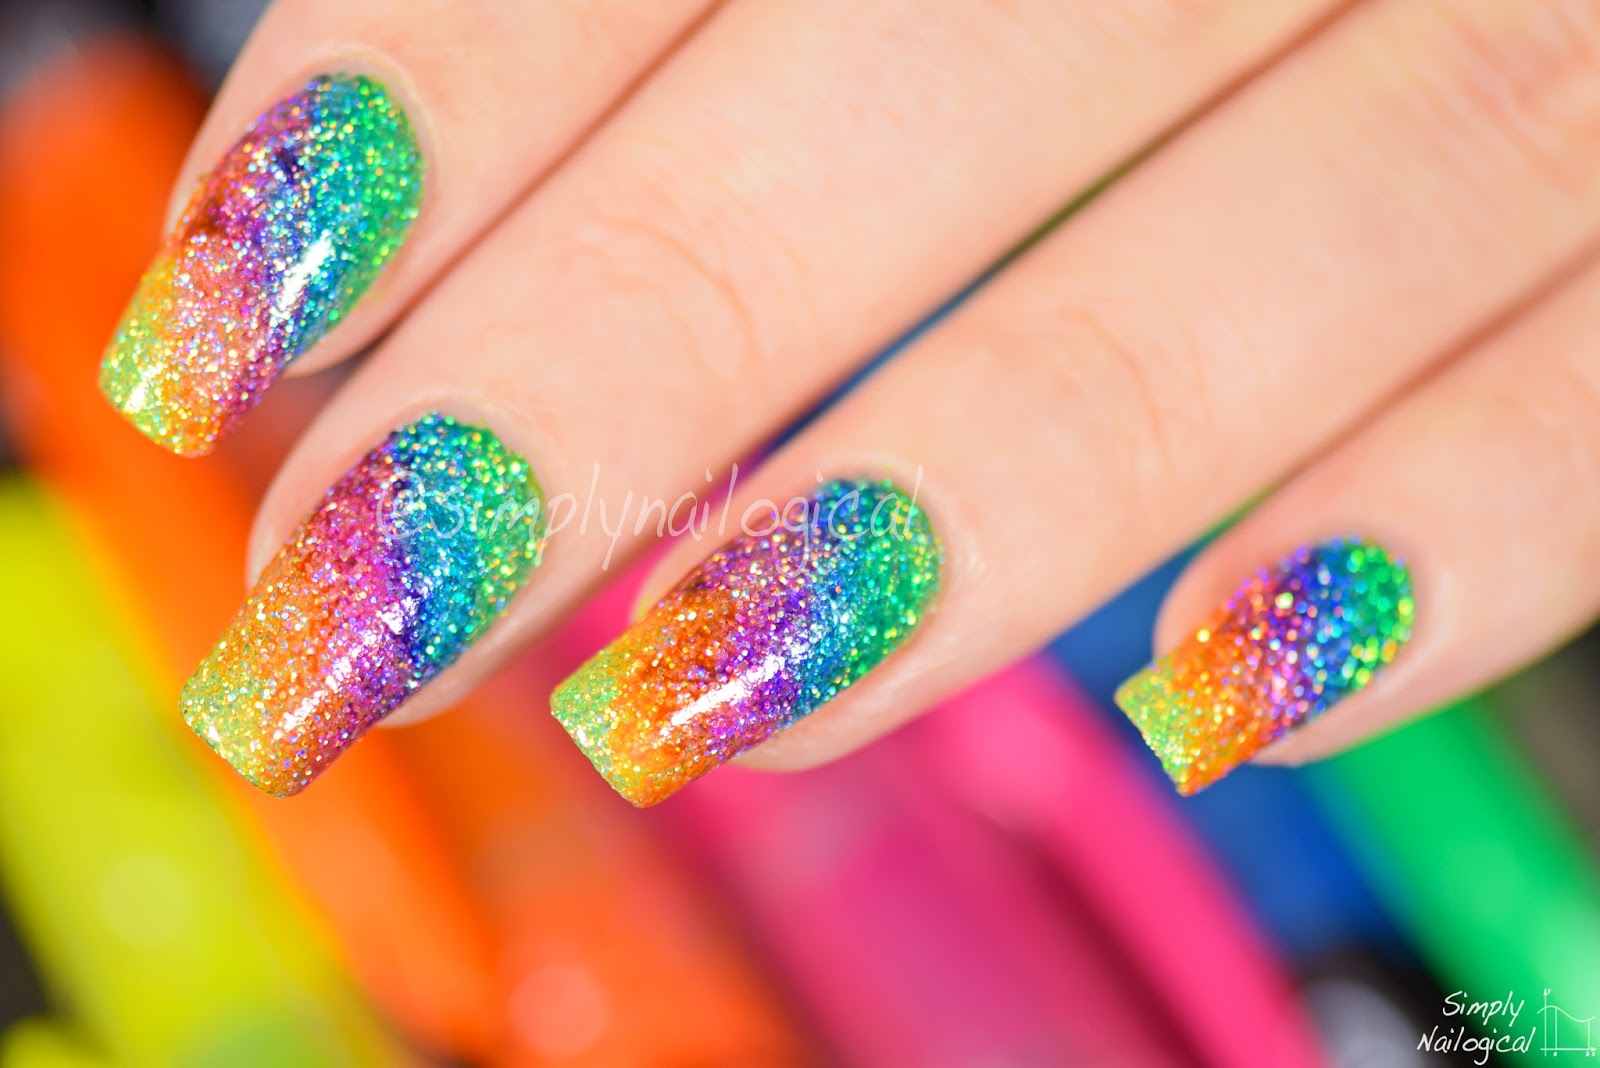

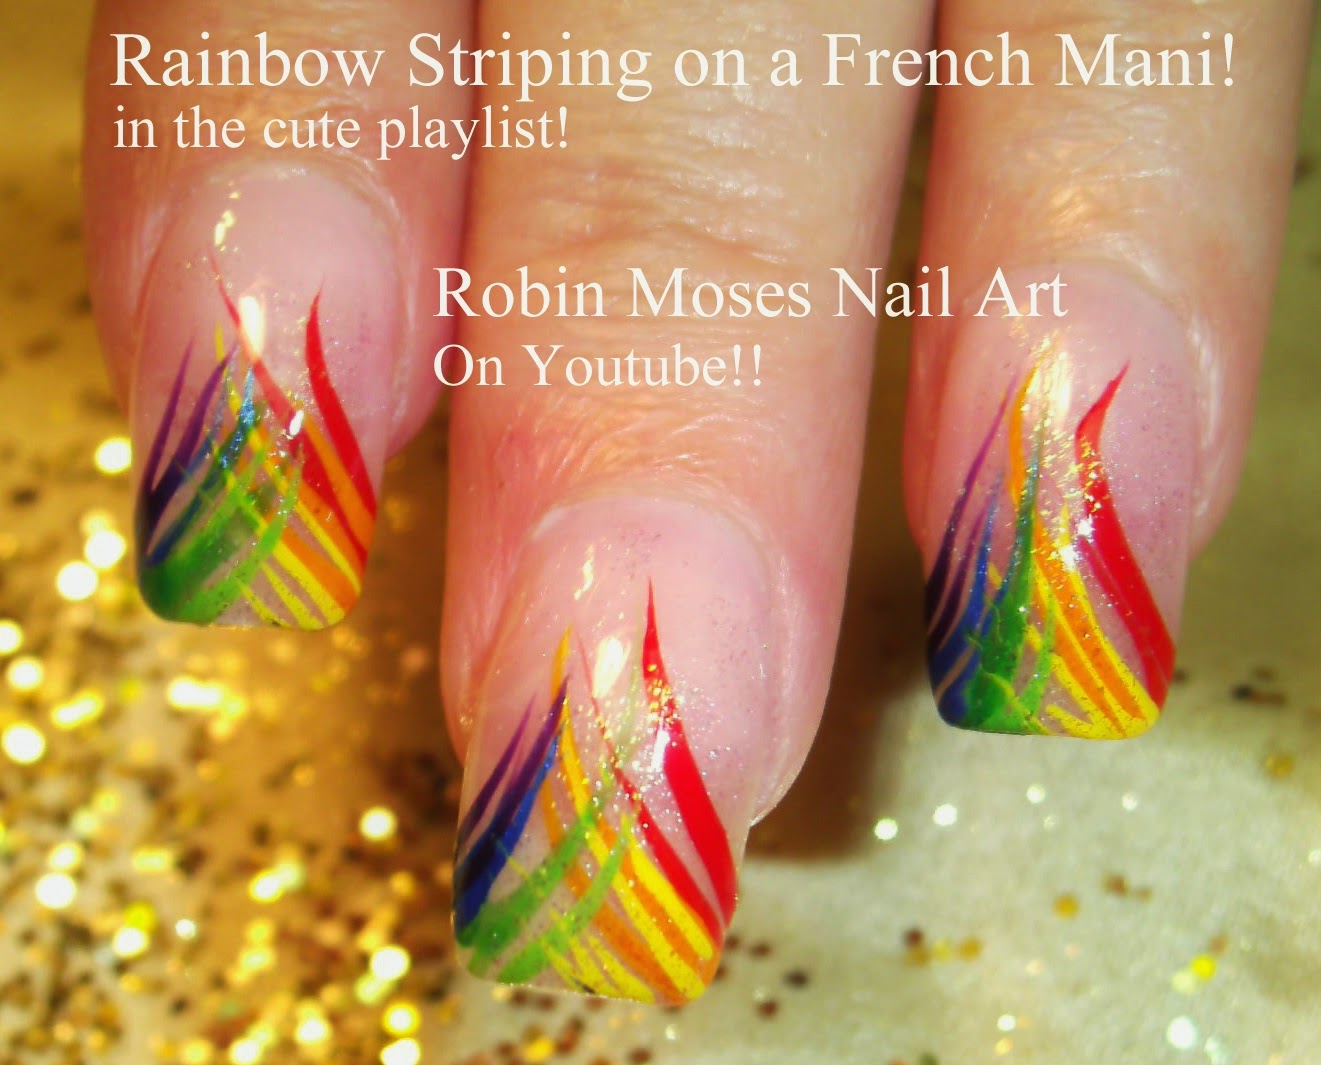
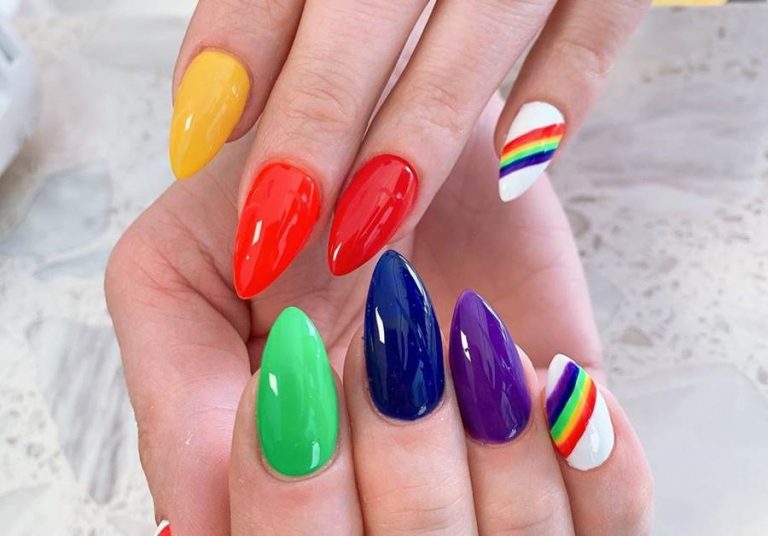
If you're a fan of bright and bold colors, this neon rainbow nail art design is perfect for you. This look is all about using neon shades to create a striking and eye-catching manicure. Start with a white base and then use a thin brush to create rainbow stripes on each nail. You can also add some glitter or rhinestones for added sparkle and dimension. This design is sure to make a statement.5. Neon Rainbow Nail Art Design

5. Neon Rainbow Nail Art Design

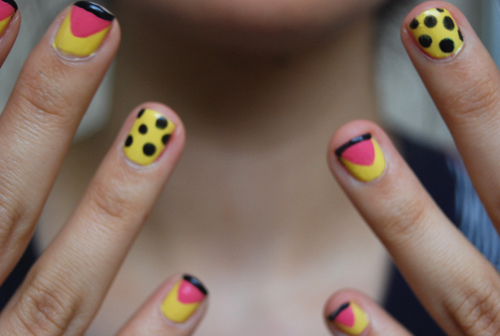
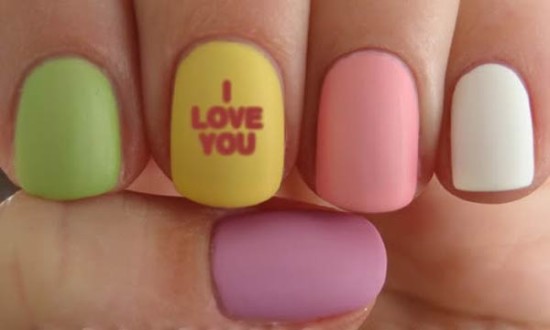
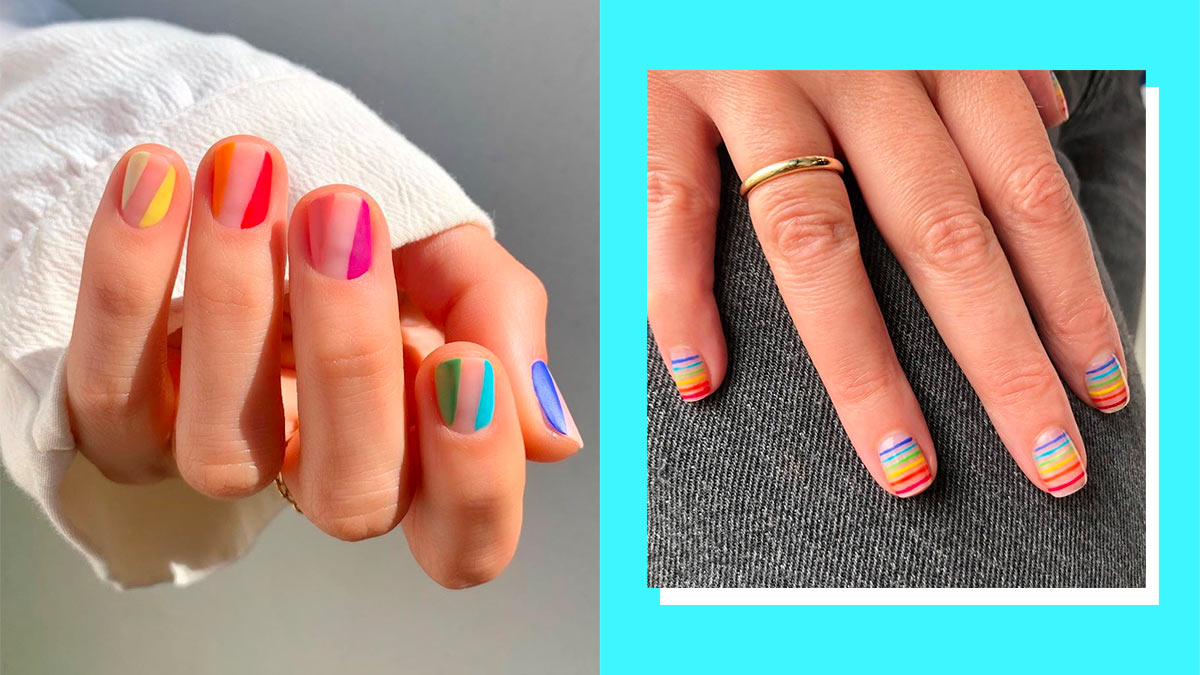
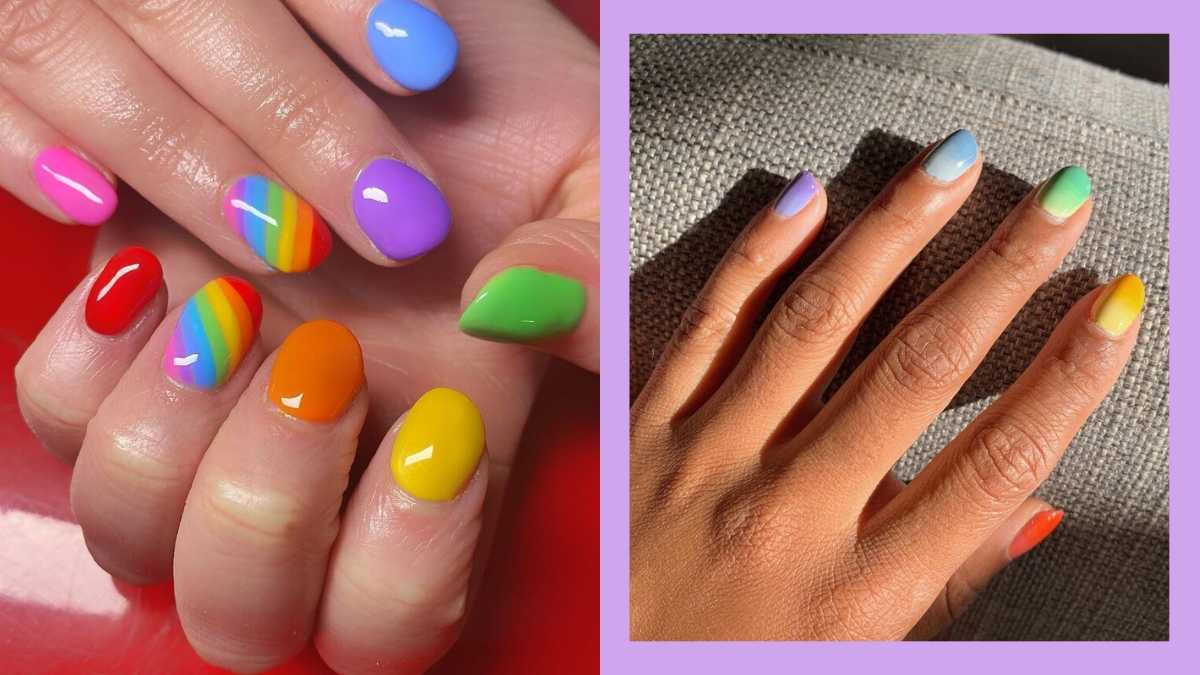
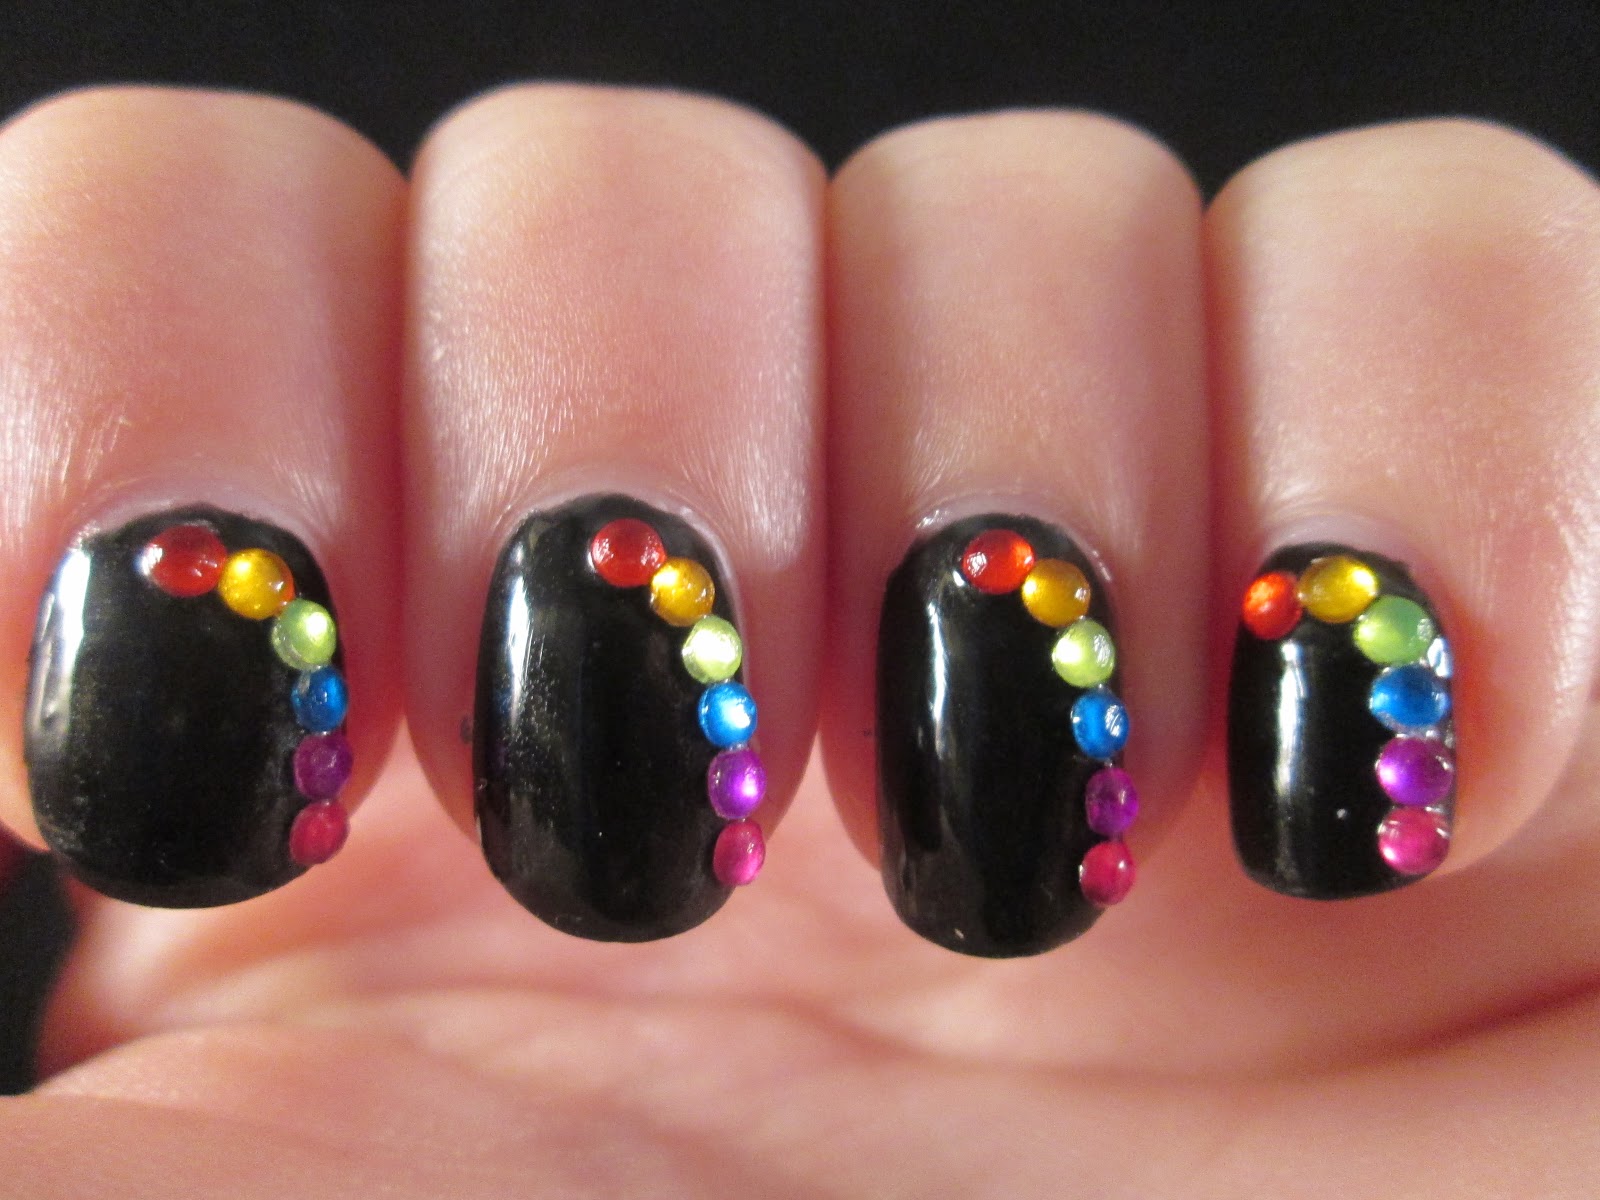
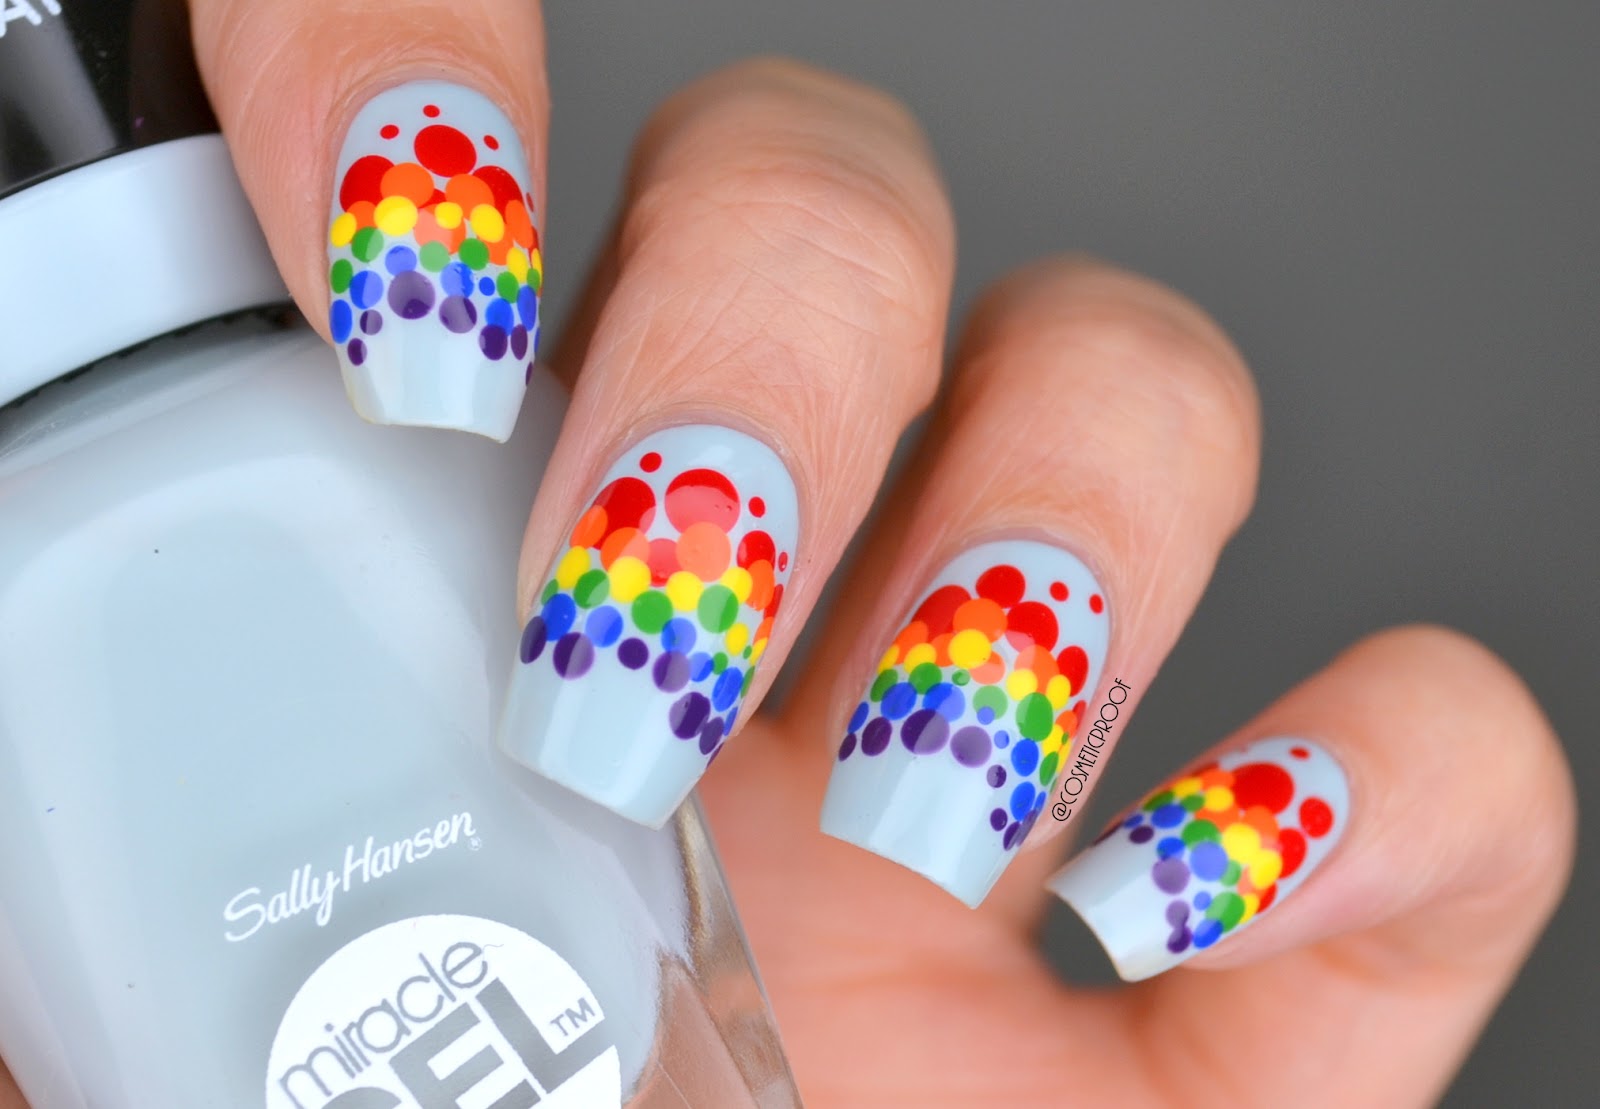
Don't worry if you're new to nail art, these easy rainbow designs are perfect for beginners. You don't need any special tools or skills to achieve these fun and colorful looks. Try rainbow polka dots, simple stripes, or a rainbow French tip for a subtle yet playful manicure. These designs are perfect for anyone looking to dip their toes into the world of nail art.6. Easy Rainbow Nail Art for Beginners


6. Easy Rainbow Nail Art for Beginners

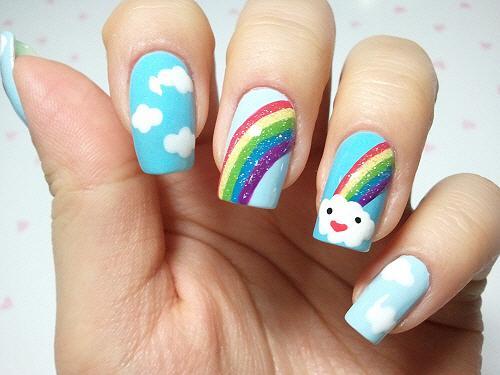
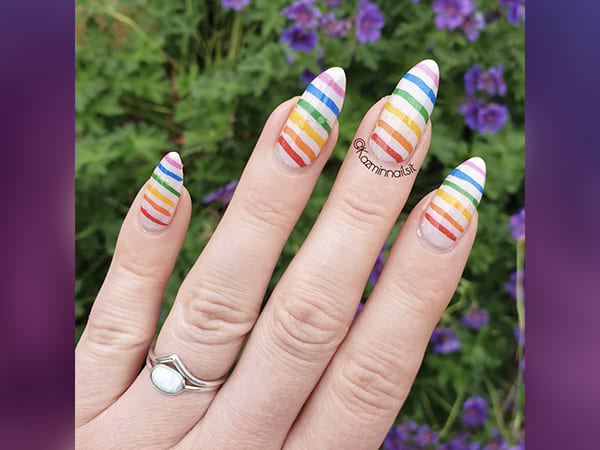
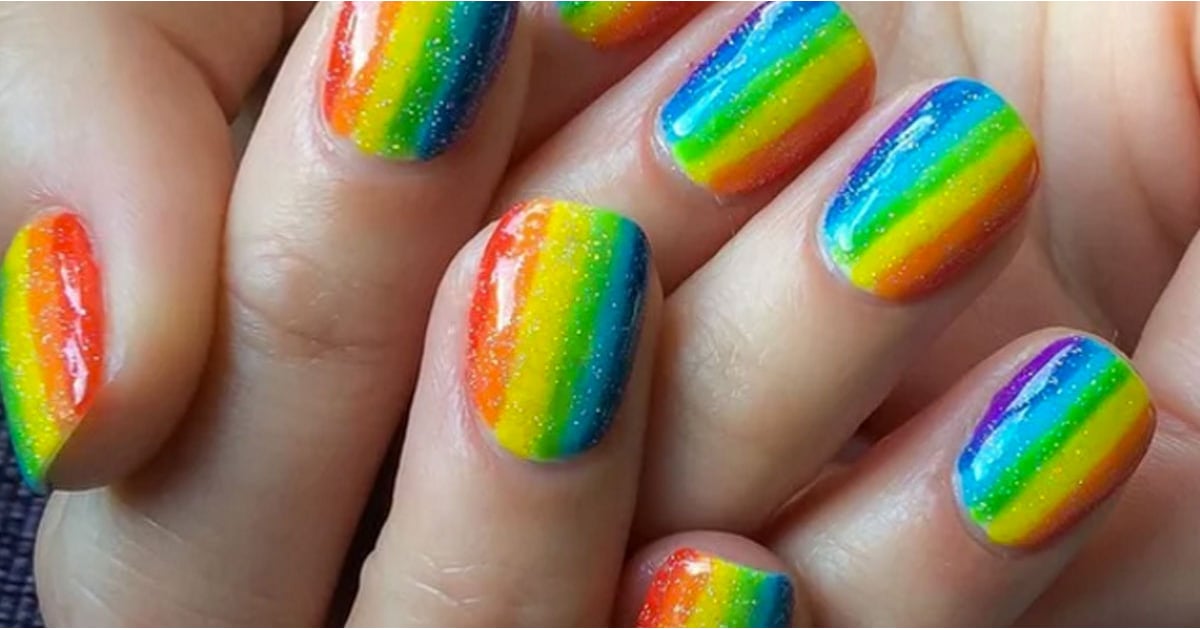
This rainbow striped nail art tutorial is a fun and unique way to add some color to your nails. It's all about using thin and precise lines to create a bold and vibrant design. Start with a white base and then use a thin brush or striping tape to create rainbow stripes in the order of the rainbow. Finish with a top coat for a sleek and professional finish.7. Rainbow Striped Nail Art Tutorial


7. Rainbow Striped Nail Art Tutorial


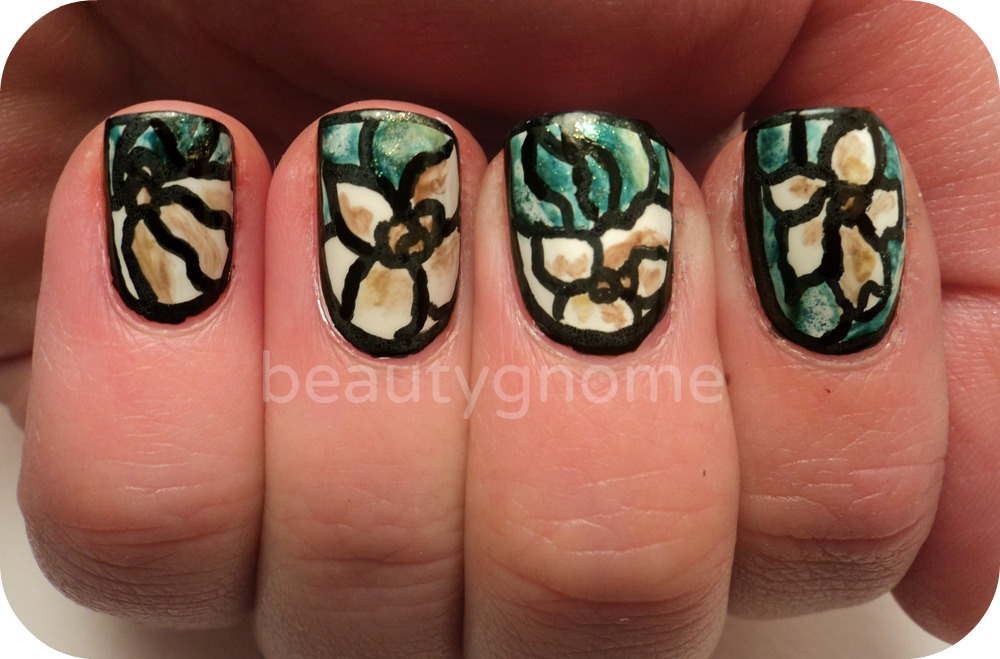
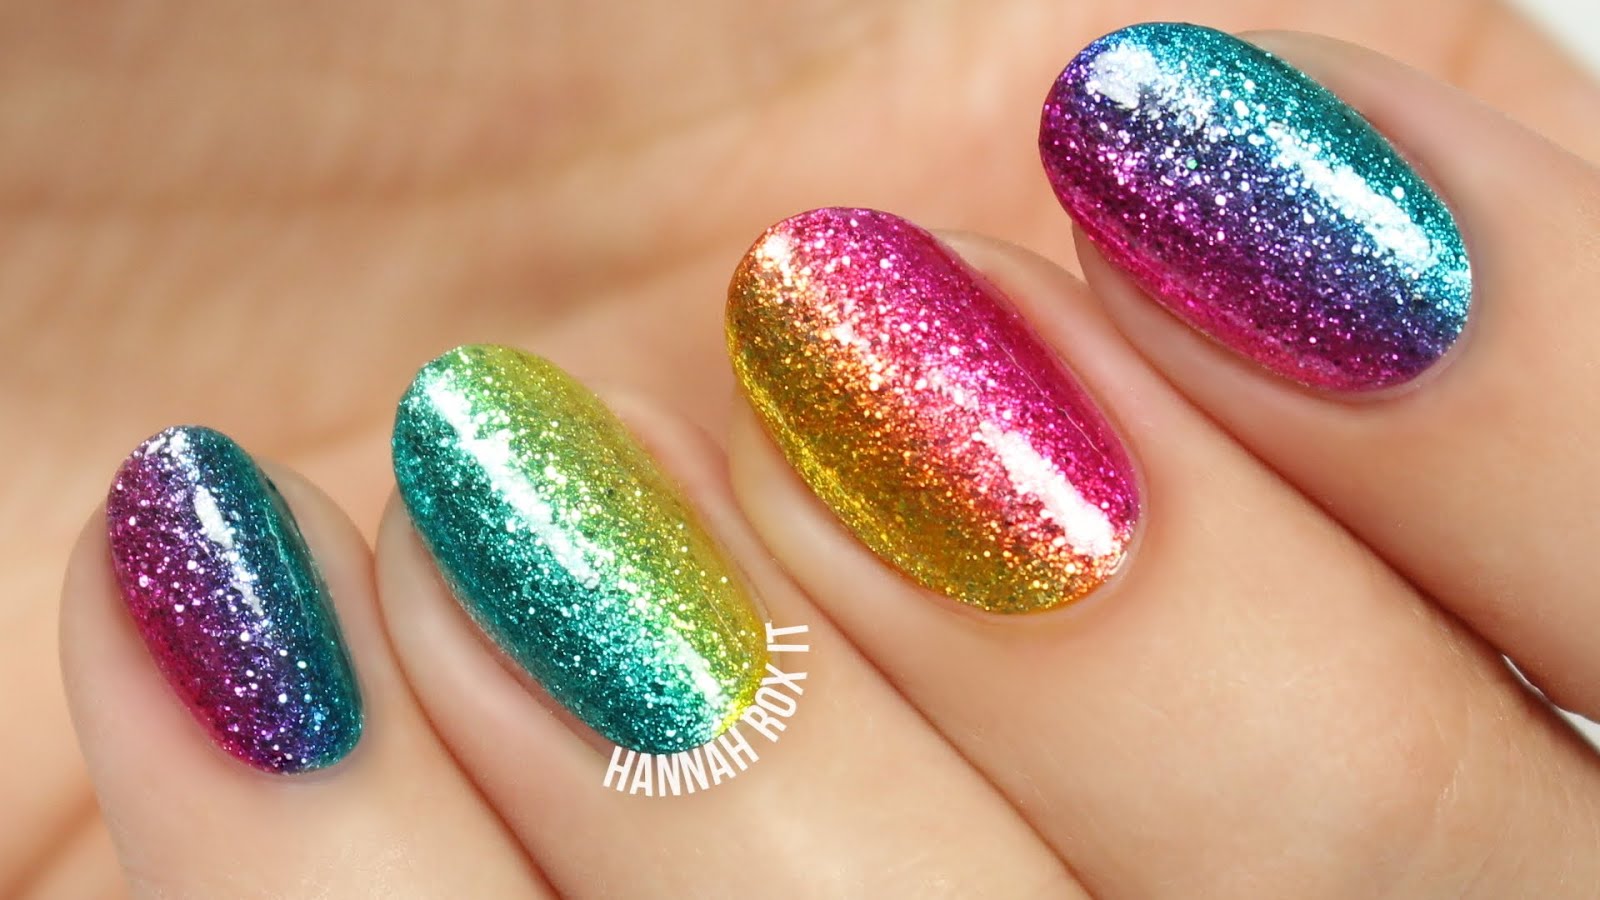
These bright and bold rainbow nail designs are perfect for those who want to make a statement with their nails. From geometric patterns to abstract designs, these looks are all about using a variety of colors and shapes to create a unique and eye-catching manicure. Try using neon shades for an extra bold and vibrant look, or mix in some metallic or glitter accents for added dimension. The possibilities are endless with these bright and bold designs.8. Bright and Bold Rainbow Nail Designs

8. Bright and Bold Rainbow Nail Designs

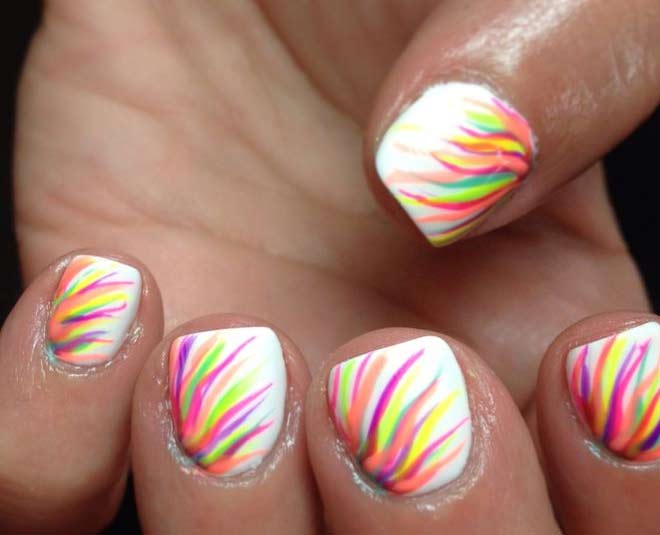
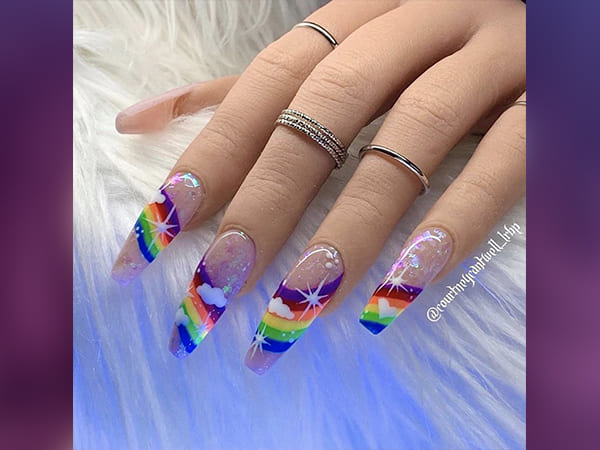
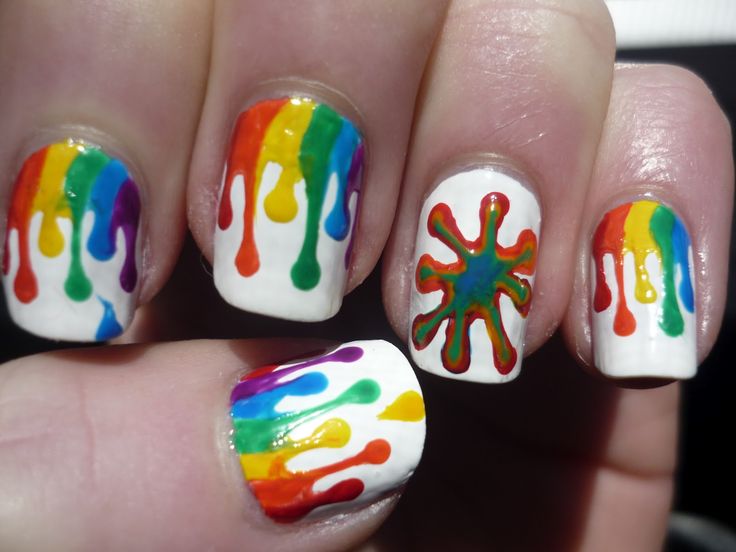
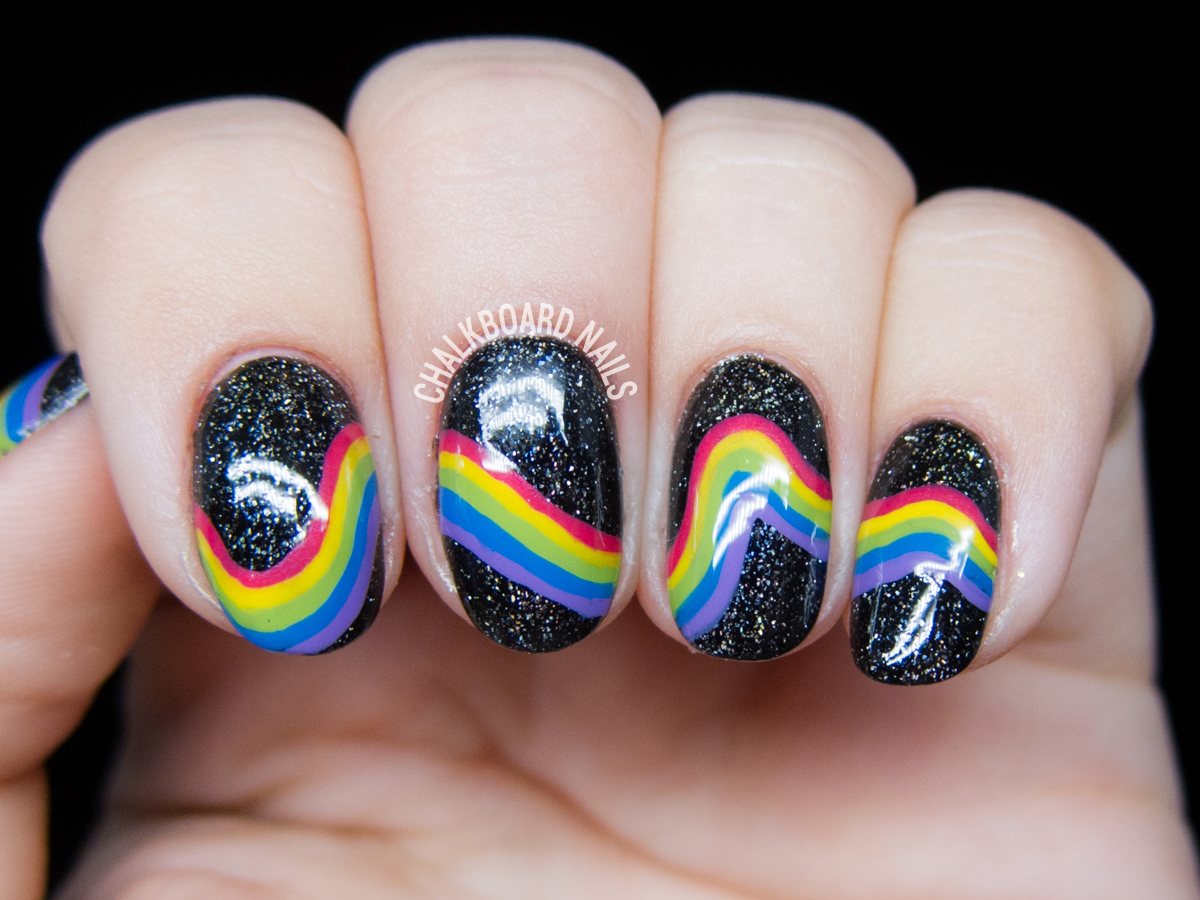
This rainbow drip nail art tutorial is perfect for those who want to try something a little different and abstract. This design mimics the look of paint dripping down your nails for a fun and playful effect. Start with a white base and then use a thin brush to create rainbow drips in different directions on each nail. Finish with a top coat for a glossy and professional finish.9. Rainbow Drip Nail Art Tutorial

9. Rainbow Drip Nail Art Tutorial
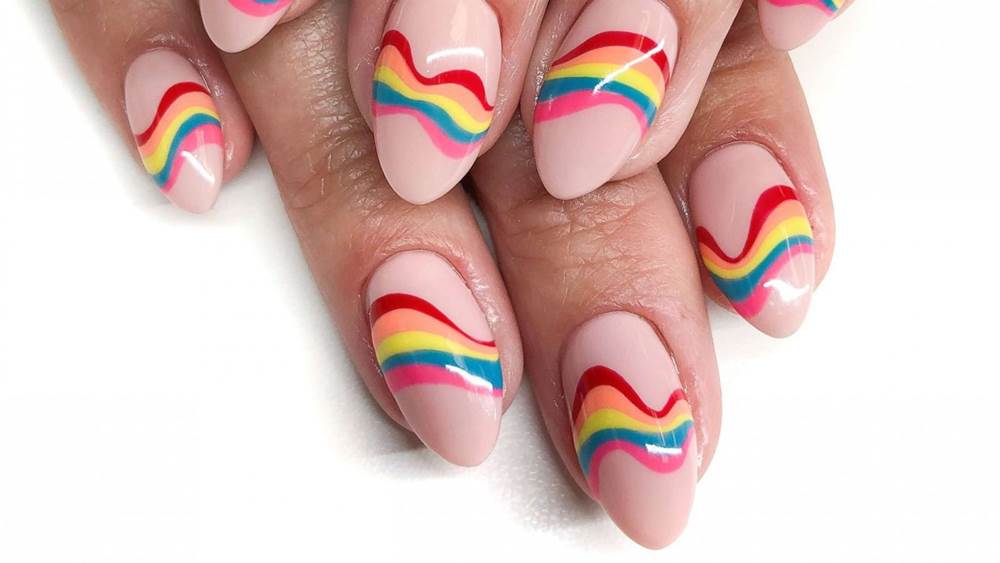
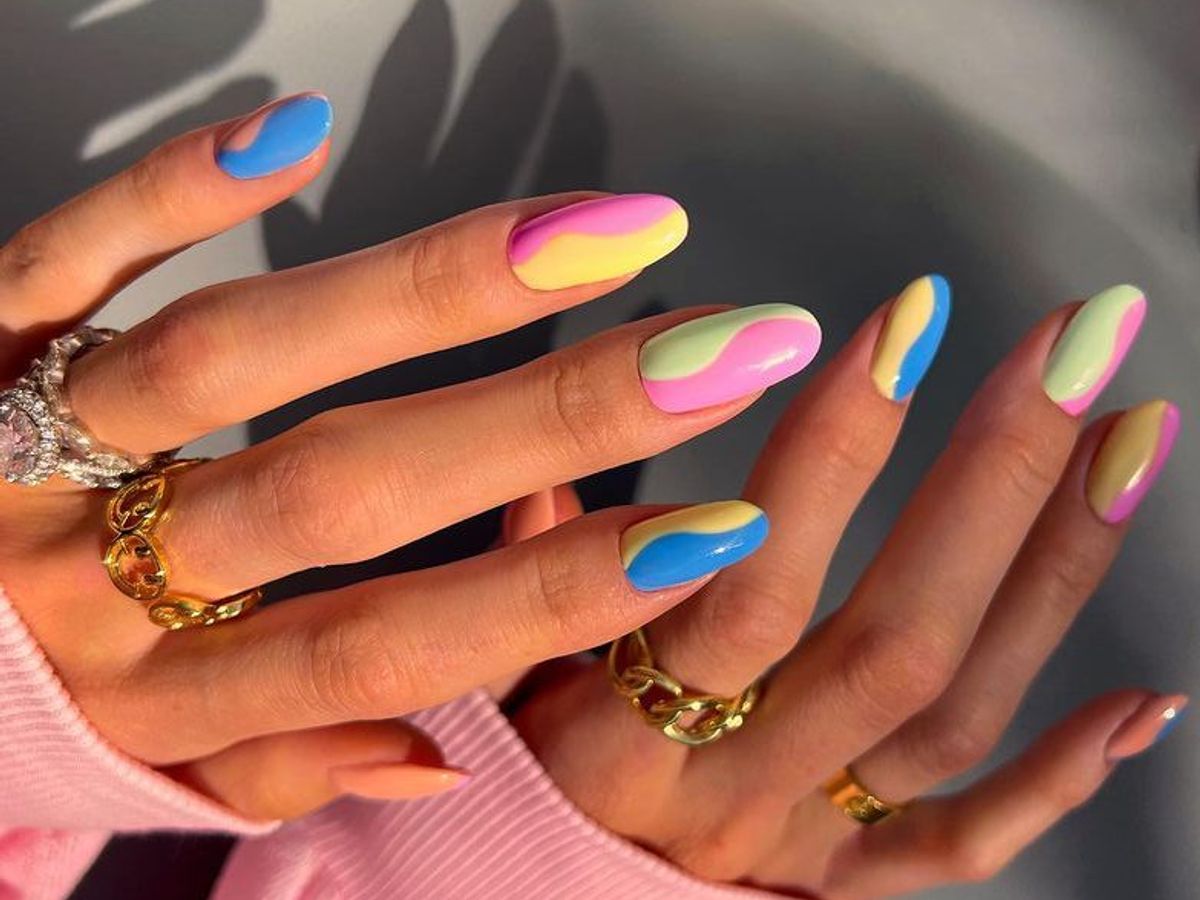
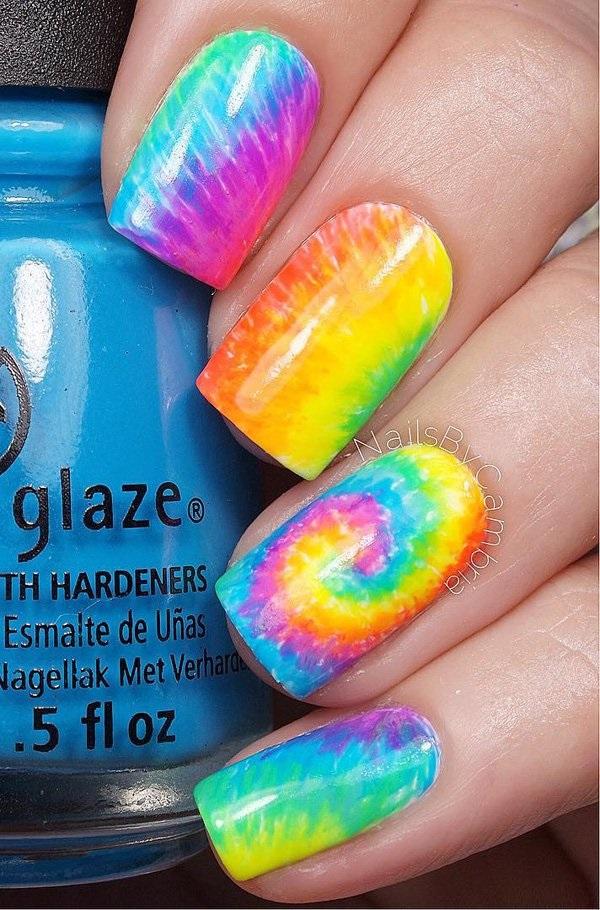
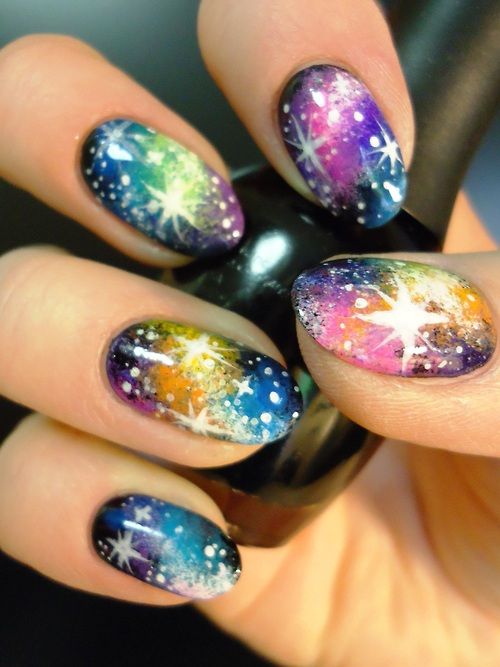
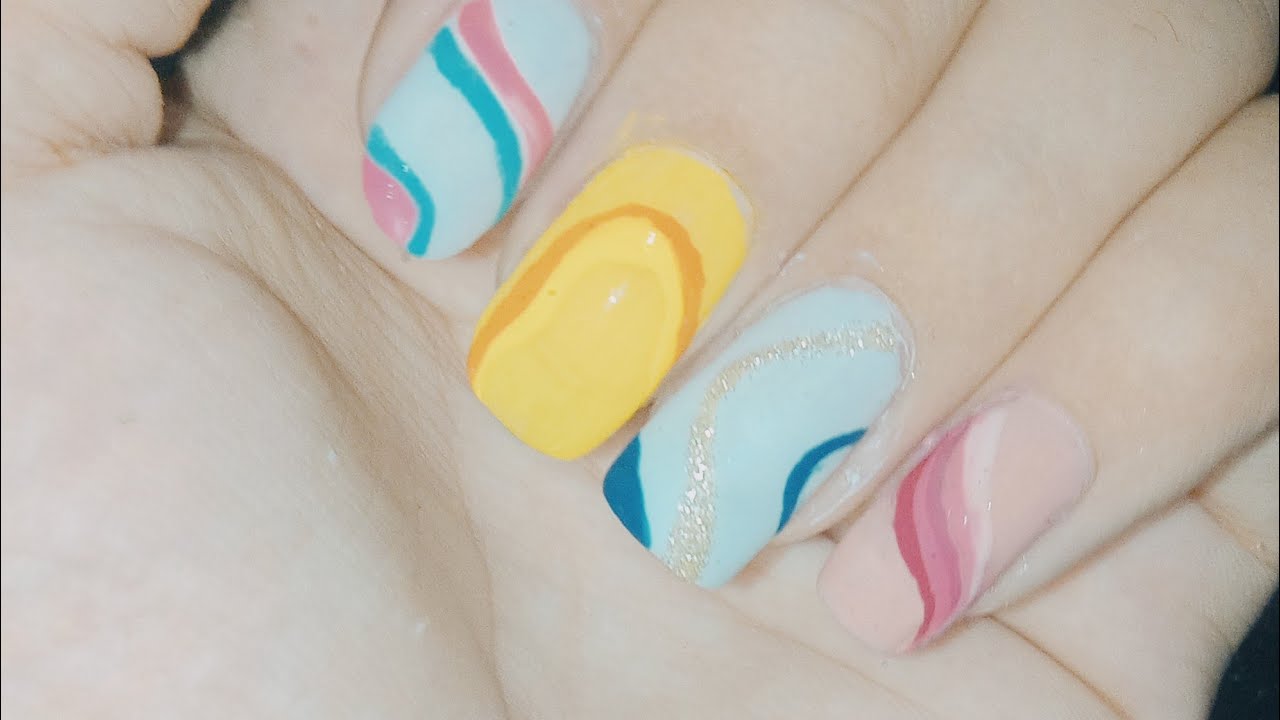
This rainbow swirl nail art design is a fun and unique way to incorporate all the colors of the rainbow onto your nails. This look is all about creating a swirling and marbled effect using multiple colors. Start with a white base and then use a toothpick or a thin brush to create rainbow swirls in different directions on each nail. Finish with a top coat for a polished and colorful finish. With these top 10 nail art rainbow brights, you'll never have a dull manicure again. Play around with different colors, techniques, and designs to create your own unique and colorful look. Remember to have fun and let your creativity run wild with these rainbow-inspired nail art ideas.10. Rainbow Swirl Nail Art Design


10. Rainbow Swirl Nail Art Design


/image11-eb489b94971c450c9c3e15de8482beb3.jpg)


The Latest Trend in House Design: Nail Art Rainbow Brights

The Evolution of House Design
 When it comes to house design, trends come and go. From minimalist interiors to shabby chic decor, homeowners are always looking for new ways to elevate their living spaces. And the latest trend to hit the design world is none other than nail art rainbow brights. Yes, you read that right – the same colorful, intricate designs that you see on your nails can now be incorporated into your home decor.
Why Nail Art Rainbow Brights?
 You may be wondering, why nail art? Well, for starters, it adds a fun and playful element to any room. With its bold and vibrant colors, nail art rainbow brights can instantly transform a dull and boring space into an exciting and eye-catching one. It also allows for a personalized touch, as each design is unique and can be customized to fit one's individual style.
How to Incorporate Nail Art Rainbow Brights into Your Home
 Now that you're convinced to give this trend a try, the next question is how to incorporate it into your home. The possibilities are endless, but here are a few ideas to get you started. You can use nail art rainbow brights as accent pieces, such as a statement wall or a colorful piece of furniture. You can also incorporate it into your home accessories, such as throw pillows, curtains, or even lampshades. And for the more adventurous, you can try a full-on nail art rainbow brights theme in a room, from the walls to the furniture and decor.
Final Thoughts
 Nail art rainbow brights may seem like an unconventional choice in house design, but it's definitely a trend worth trying. Not only does it add a pop of color and personality to your home, but it also allows for endless possibilities and creativity. So next time you're looking to spruce up your living space, remember to consider incorporating some colorful nail art into your design. Who knows, it may just become your new favorite trend in house design.


