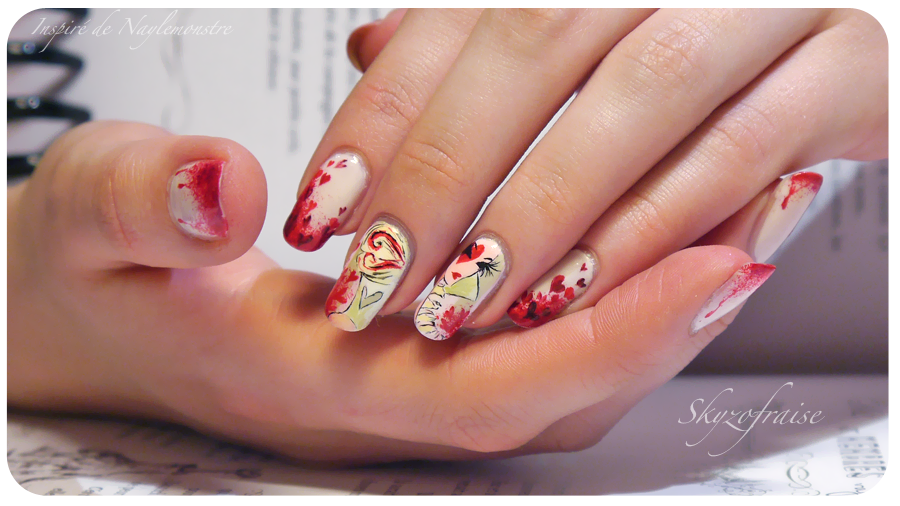
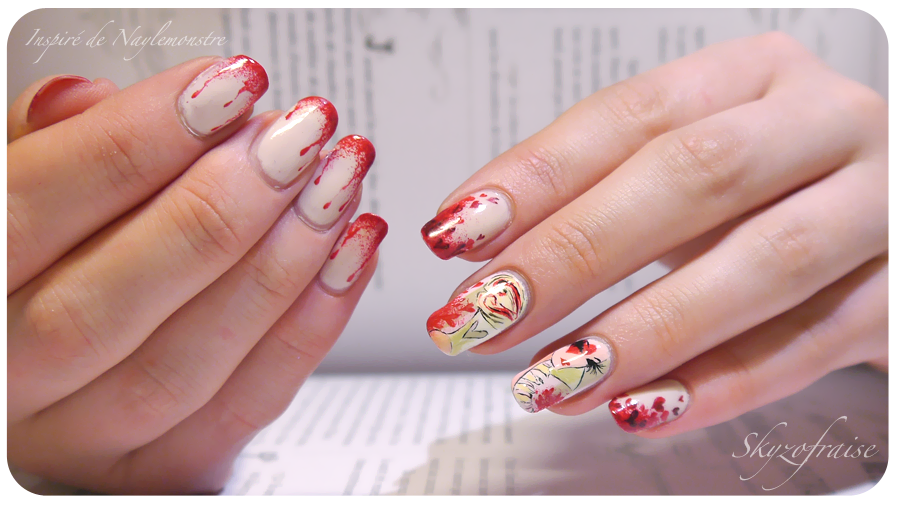
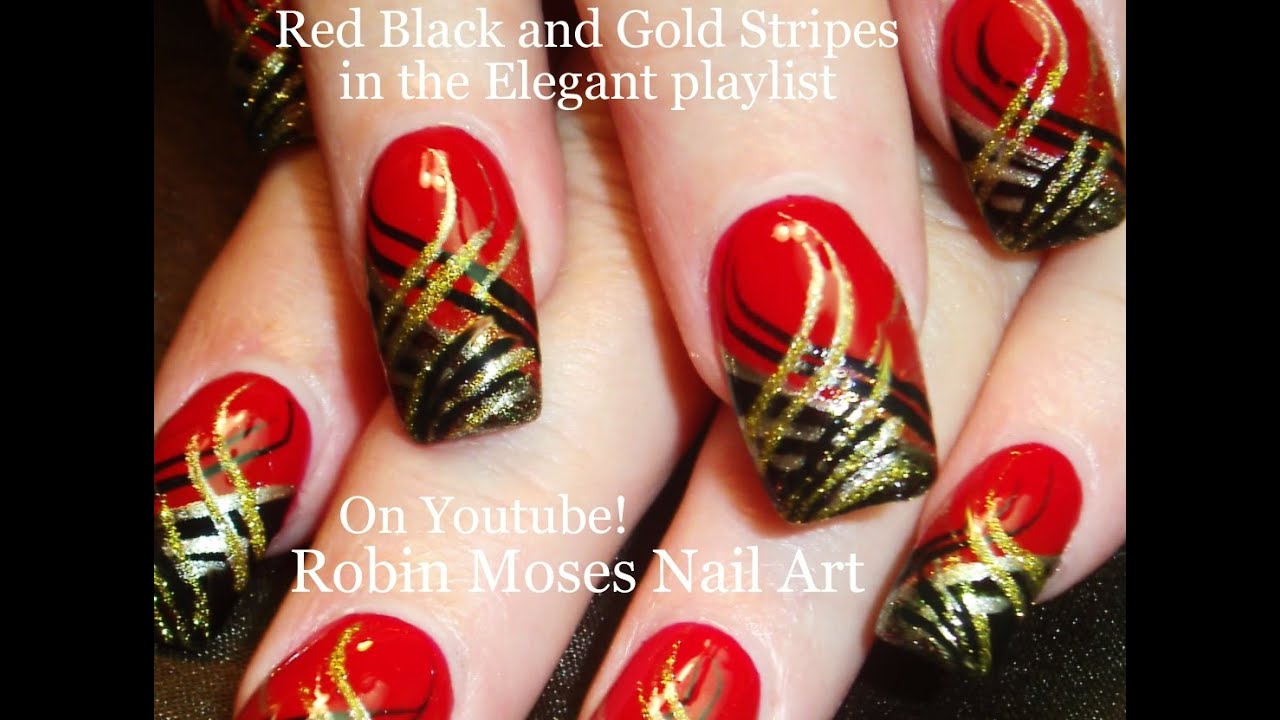
Are you a fan of the classic tale of Alice in Wonderland and its iconic villain, the Queen of Hearts? Or perhaps you just love bold and eye-catching nail designs? Either way, this tutorial is perfect for you! To achieve the Queen of Hearts nail art, you will need red, black, and gold nail polish, a thin brush, and a dotting tool. Start by painting your nails with a base coat to protect them and allow the polish to last longer. Then, paint your nails red and let them dry completely. Next, using a thin brush, create a black horizontal line across the middle of your nail. This will be the base for the Queen of Hearts' iconic crown. Then, using the dotting tool, create a small red heart at the tip of your nail, just above the black line. This represents the Queen's signature heart-shaped lips. Using the same dotting tool, create a small gold dot in the center of the heart. This represents her golden tooth. Next, use the thin brush to create two curved lines above the black line, connecting them to the heart. These will be the sides of the crown. Fill in the space between the lines with gold polish to complete the crown. For the finishing touch, use the thin brush to create small black dots along the edges of the crown and the bottom of the heart. This adds a bit of dimension to the design and makes it look more regal. Once everything is dry, apply a top coat to seal in your design and give it a glossy finish.Queen of Hearts Nail Art Tutorial


Queen of Hearts Nail Art Tutorial


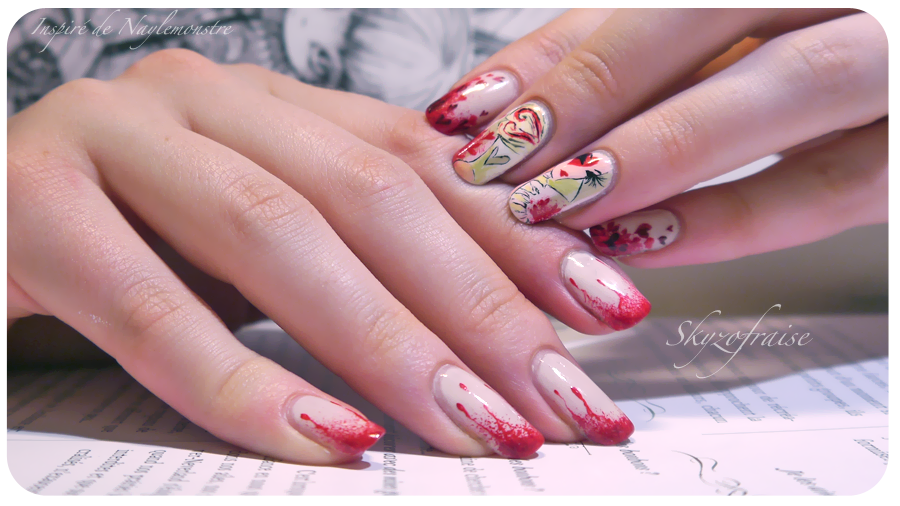
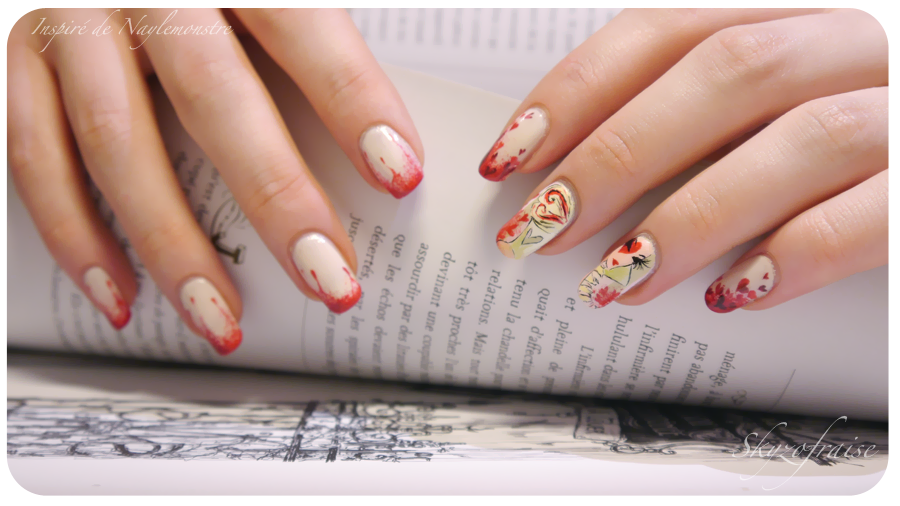
For our French-speaking nail art enthusiasts, this next design is perfect for you! The Reine de Coeur nail art, which means Queen of Hearts in French, is a beautiful and elegant design that will surely make heads turn. To achieve this look, you will need red, black, and gold nail polish, as well as a thin brush and a dotting tool. Start by painting your nails with a base coat and then apply a coat of red polish. Let it dry completely before moving on to the next step. Using the thin brush, create a black horizontal line across the middle of your nail. This will serve as the base of the Queen's crown. Next, using the dotting tool, create a small gold dot in the center of your nail, just below the black line. This represents her golden tooth. Using the thin brush, create two curved lines above the black line, connecting them to the gold dot. These will be the sides of the crown. Fill in the space between the lines with gold polish to complete the crown. Next, using the dotting tool, create a small red heart at the tip of your nail, just above the black line. This represents the Queen's heart-shaped lips. For the final touch, add small black dots along the edges of the crown and the bottom of the heart using the thin brush. This adds depth to the design and makes it look more regal. Finish off with a top coat to seal in your design and give it a glossy finish.Reine de Coeur Nail Art Design


Reine de Coeur Nail Art Design


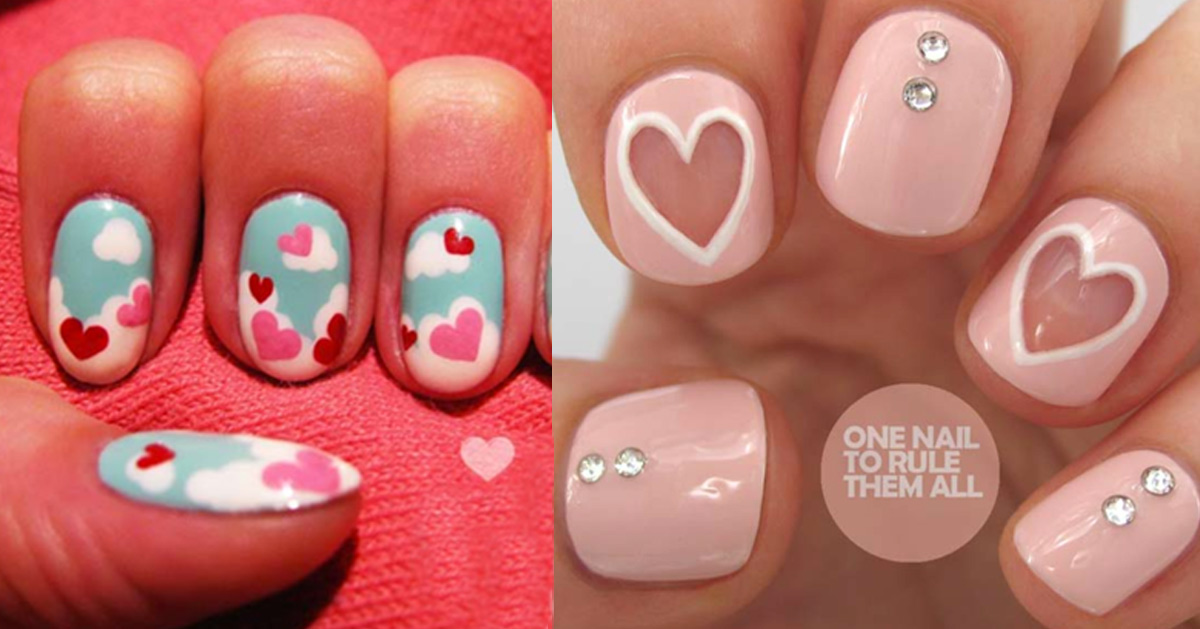
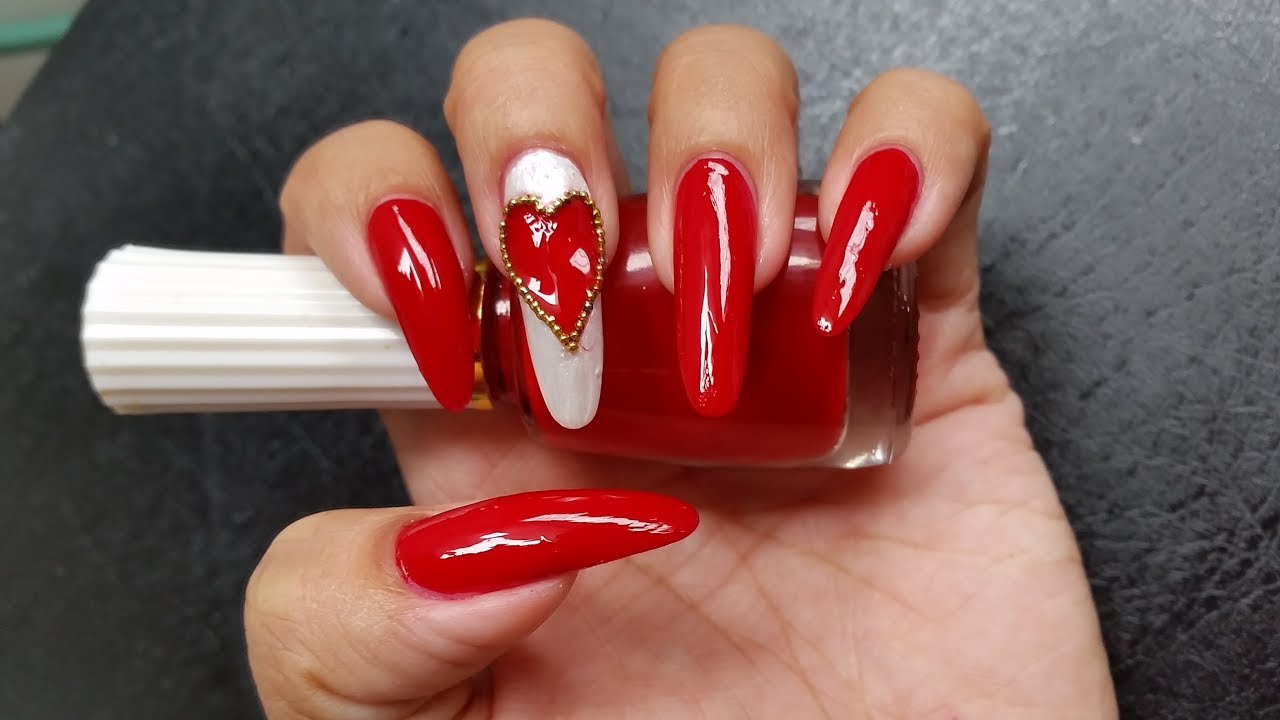
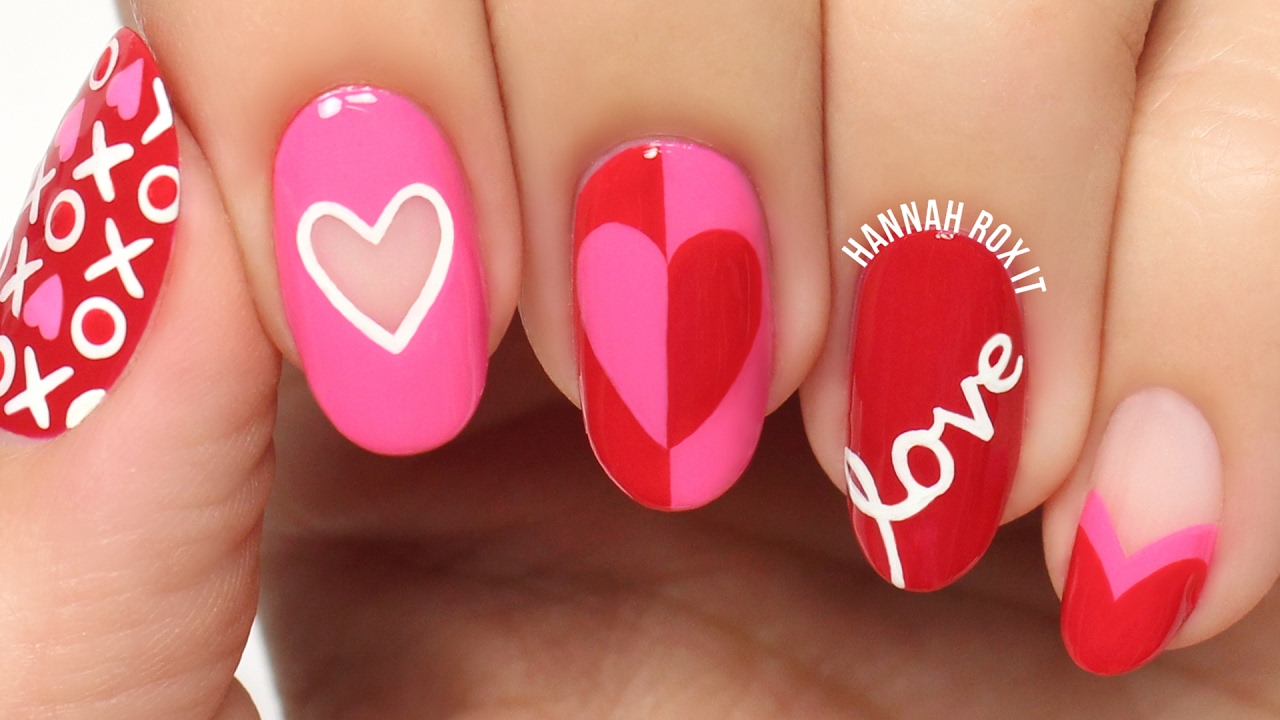
Whether you're a hopeless romantic or just love cute and fun nail designs, heart-shaped nail art is perfect for you. There are so many ways to incorporate hearts into your nail art, from simple and minimalistic to bold and vibrant. Here are a few ideas to get you started: 1. Heart French Tips - Instead of the classic white tip, create a heart-shaped tip using red polish. This is a fun twist on a classic look. 2. Ombre Hearts - Start with a light pink base and gradually fade to a darker pink or red at the tips. Then, using a thin brush, create small white hearts on the ombre background. 3. Heart Cutouts - Cut out small heart shapes from tape and place them on your nails. Paint over them with a contrasting color, like black or gold, and peel off the tape to reveal heart-shaped cutouts. 4. Heart Accent Nail - Paint all your nails with a solid color and then add a heart design on one nail using a dotting tool or thin brush. Get creative and have fun with heart-shaped nail art!Heart-Shaped Nail Art Ideas


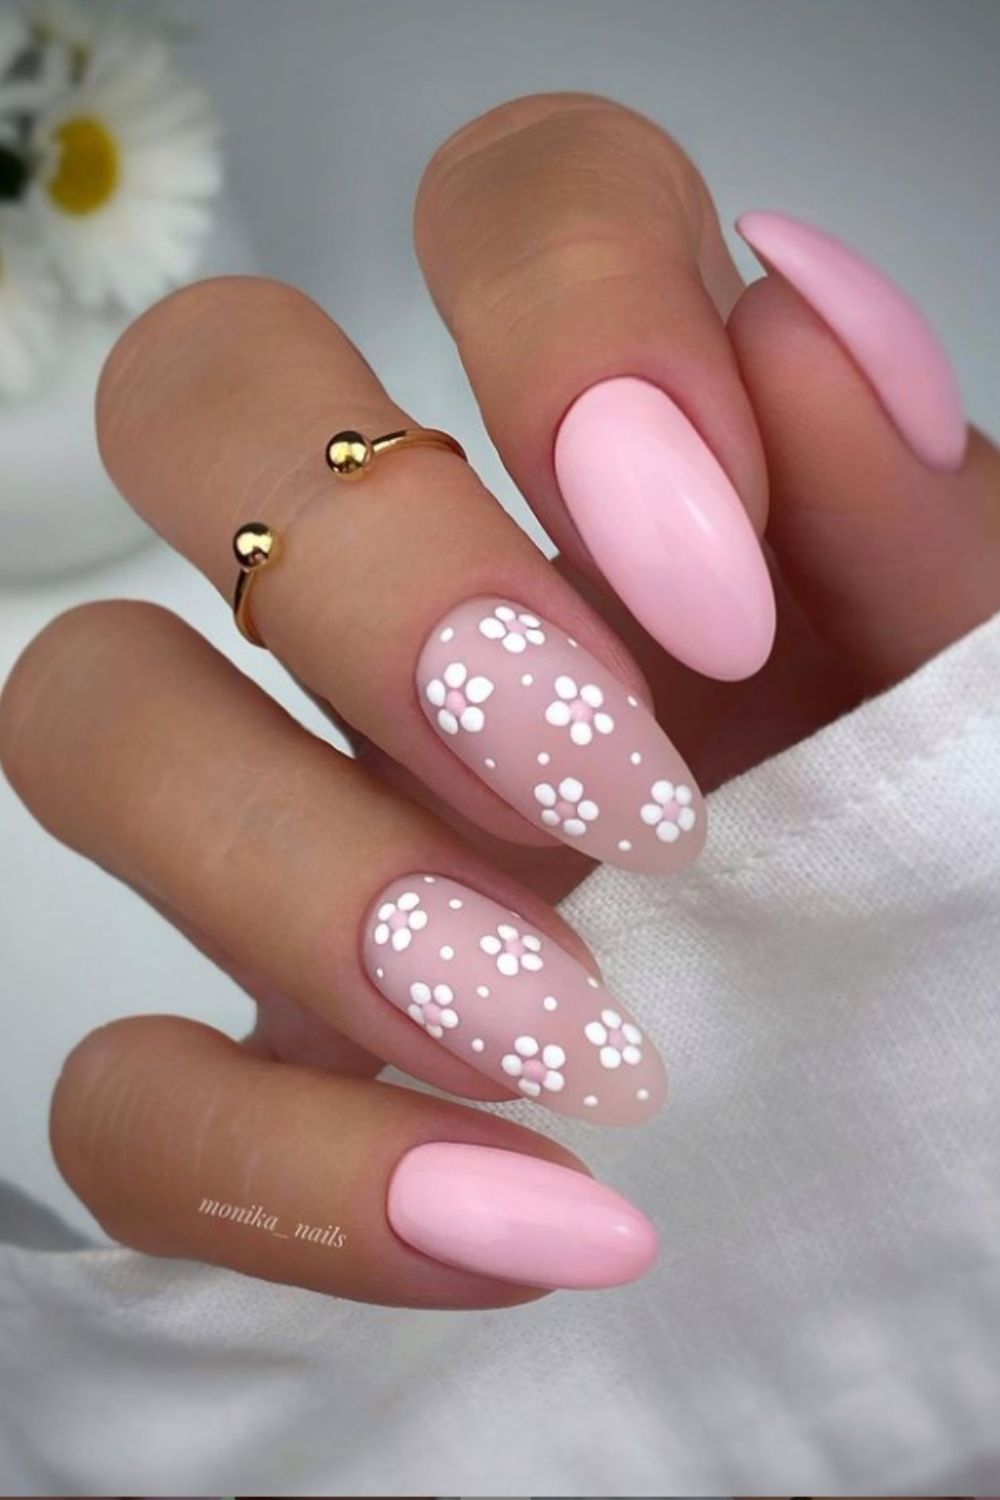
Heart-Shaped Nail Art Ideas


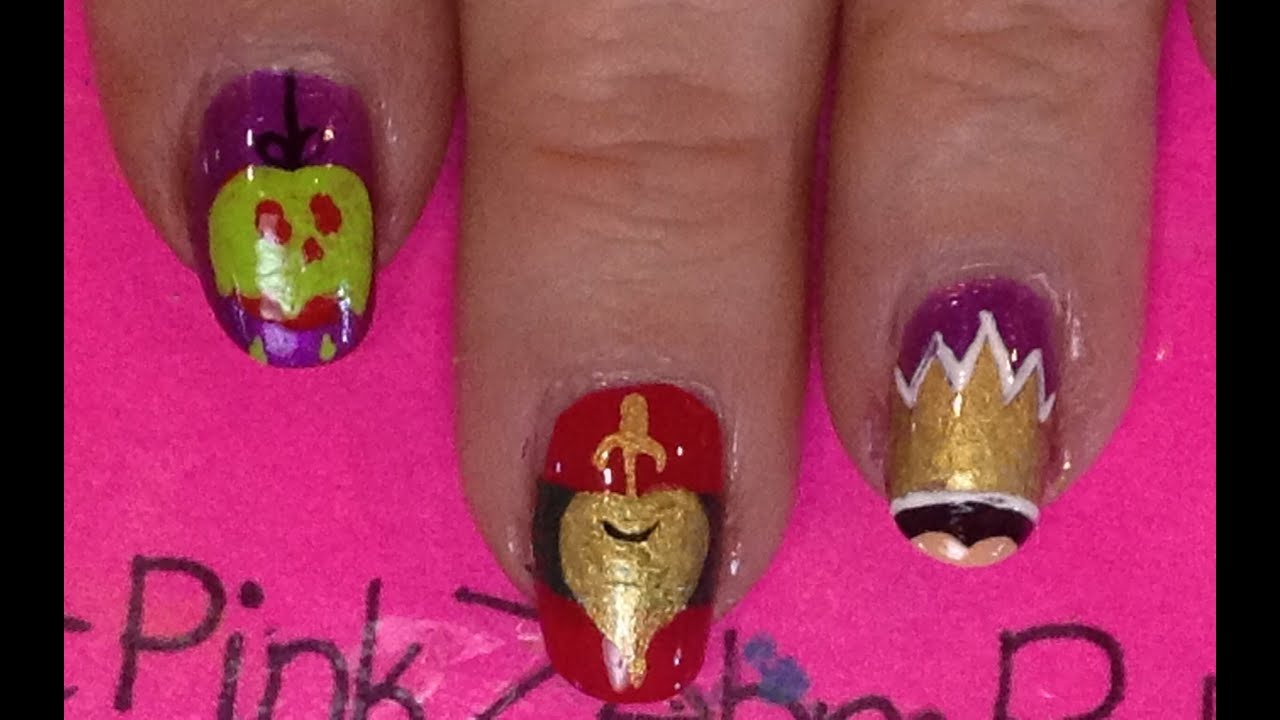
Attending a costume party as the Queen of Hearts? Complete your look with this stunning nail art design that incorporates the iconic colors of red and gold. Start by painting your nails with a base coat to protect them and allow the polish to last longer. Then, paint all your nails red and let them dry completely. Using a dotting tool, create a small gold dot in the center of each nail. This represents the Queen's golden tooth. Next, using a thin brush, create a black horizontal line across the middle of your nail. This will serve as the base of the Queen's crown. Using the same thin brush, create two curved lines above the black line, connecting them to the gold dot. Fill in the space between the lines with gold polish to complete the crown. For the finishing touch, use the dotting tool to create a small red heart at the tip of each nail, just above the black line. This represents the Queen's heart-shaped lips. Apply a top coat to seal in your design and give it a glossy finish.Red and Gold Nail Art for Queen of Hearts Costume

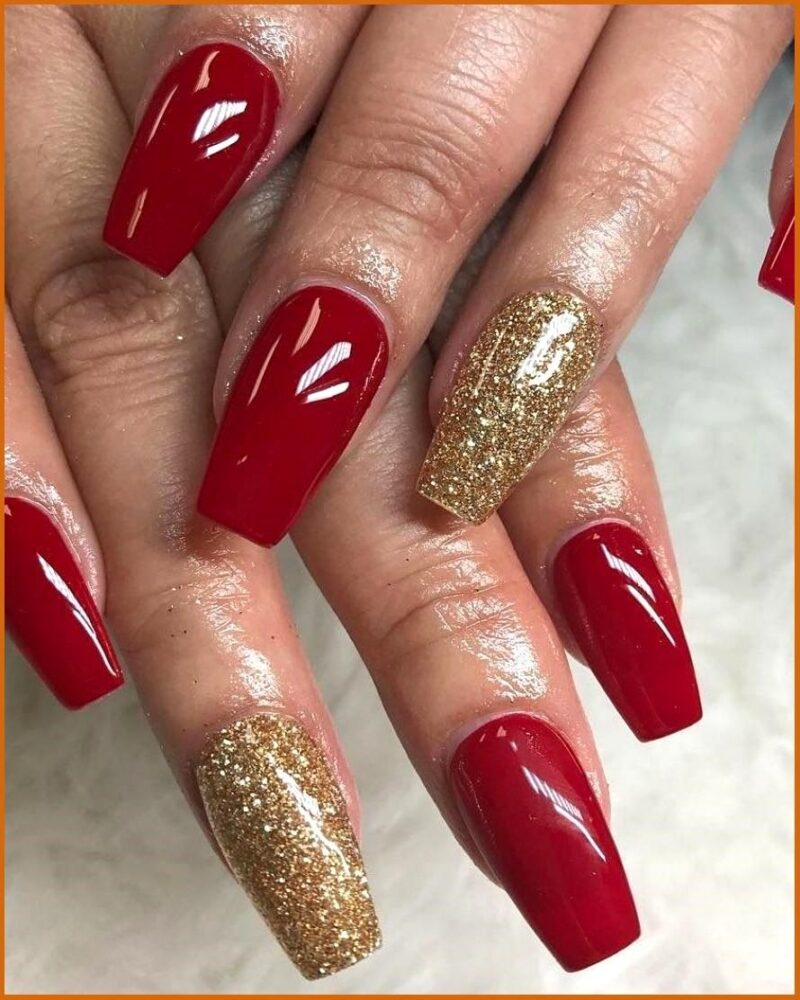
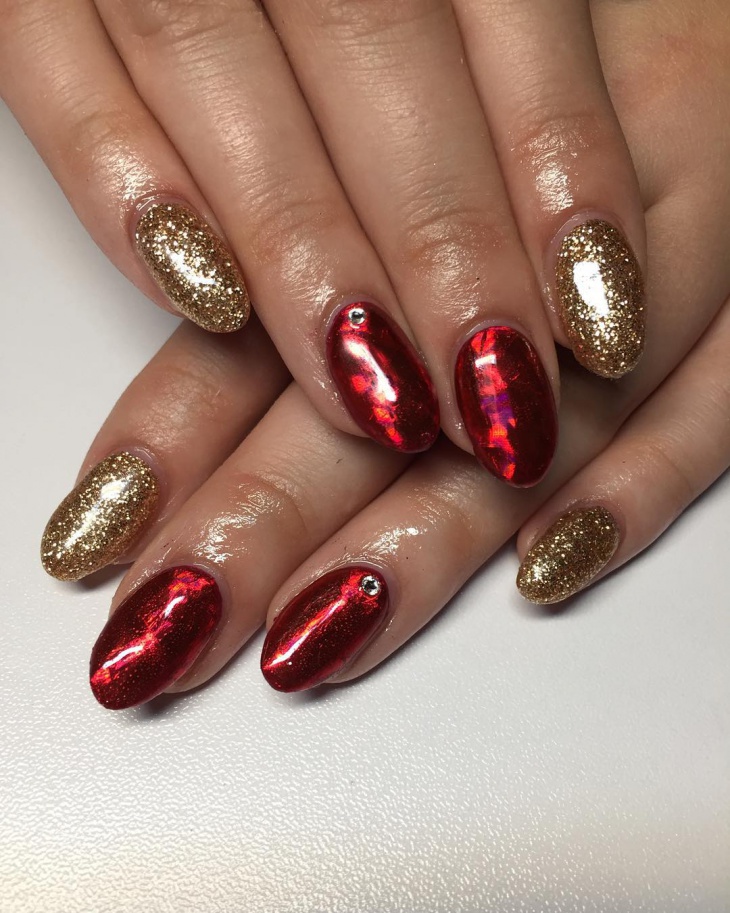
Red and Gold Nail Art for Queen of Hearts Costume


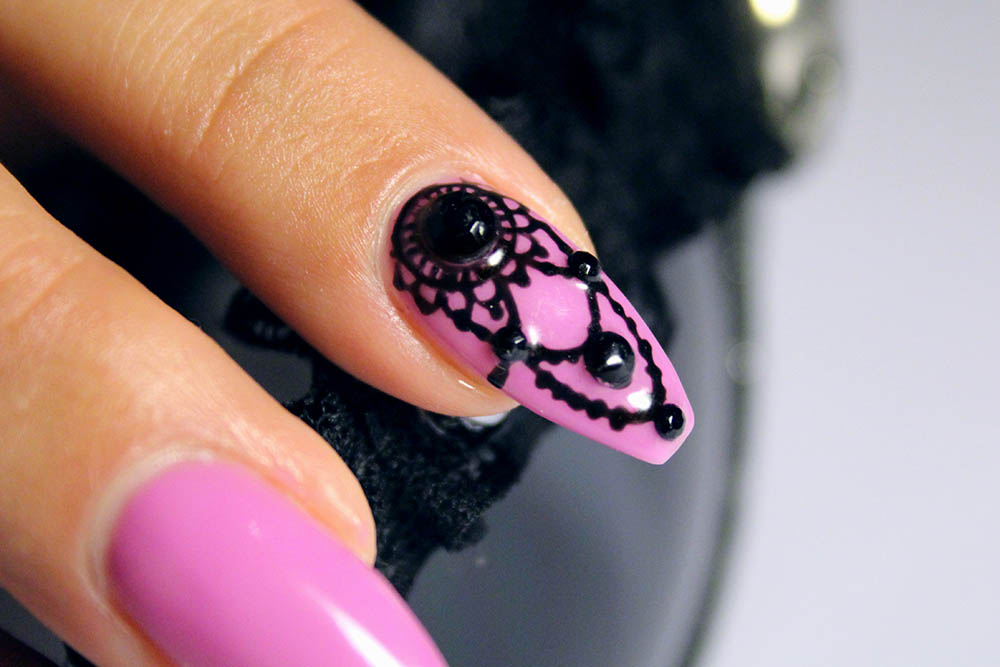
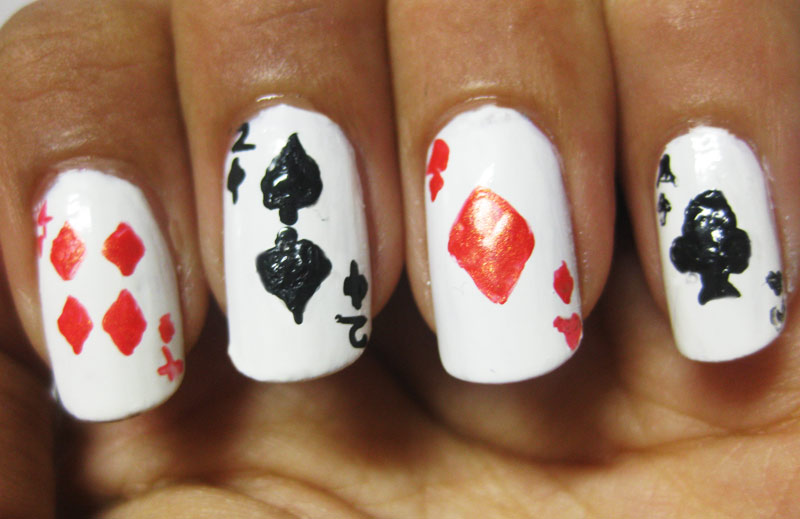
If you're feeling extra creative, why not try a playing card-inspired nail art design? This is a fun and unique way to pay tribute to the Queen of Hearts. Start by painting your nails with a base coat to protect them and allow the polish to last longer. Then, paint all your nails with a light pink or nude color. Using a thin brush, create a black horizontal line across the middle of each nail. This will serve as the base of the playing card. Next, using the same thin brush, create two vertical lines, one on each side of the black line, to represent the sides of the card. Fill in the space between the lines with black polish. Then, using a dotting tool, create a small red heart at the tip of each nail, just above the black line. This represents the Queen's heart-shaped lips. For the finishing touch, use the dotting tool to create a small gold dot in the center of the heart. This represents her golden tooth. Apply a top coat to seal in your design and give it a glossy finish.Playing Card Nail Art Tutorial


Playing Card Nail Art Tutorial

If you're a fan of the Queen of Hearts but want a more subtle and wearable nail design, here are a few ideas to inspire you: 1. Negative Space Hearts - Start with a nude base and create heart-shaped cutouts using tape. Paint over them with red polish, peel off the tape, and you'll be left with negative space hearts. 2. Red and Black Marble - Create a marble effect on your nails using red and black polish. This gives a nod to the Queen's iconic red and black dress. 3. Red and White Polka Dots - Paint your nails with a red base and add white polka dots using a dotting tool. This is a fun and playful design inspired by the Queen's outfit. Get creative and come up with your own Queen of Hearts-inspired nail designs!Queen of Hearts Inspired Nail Designs


Queen of Hearts Inspired Nail Designs


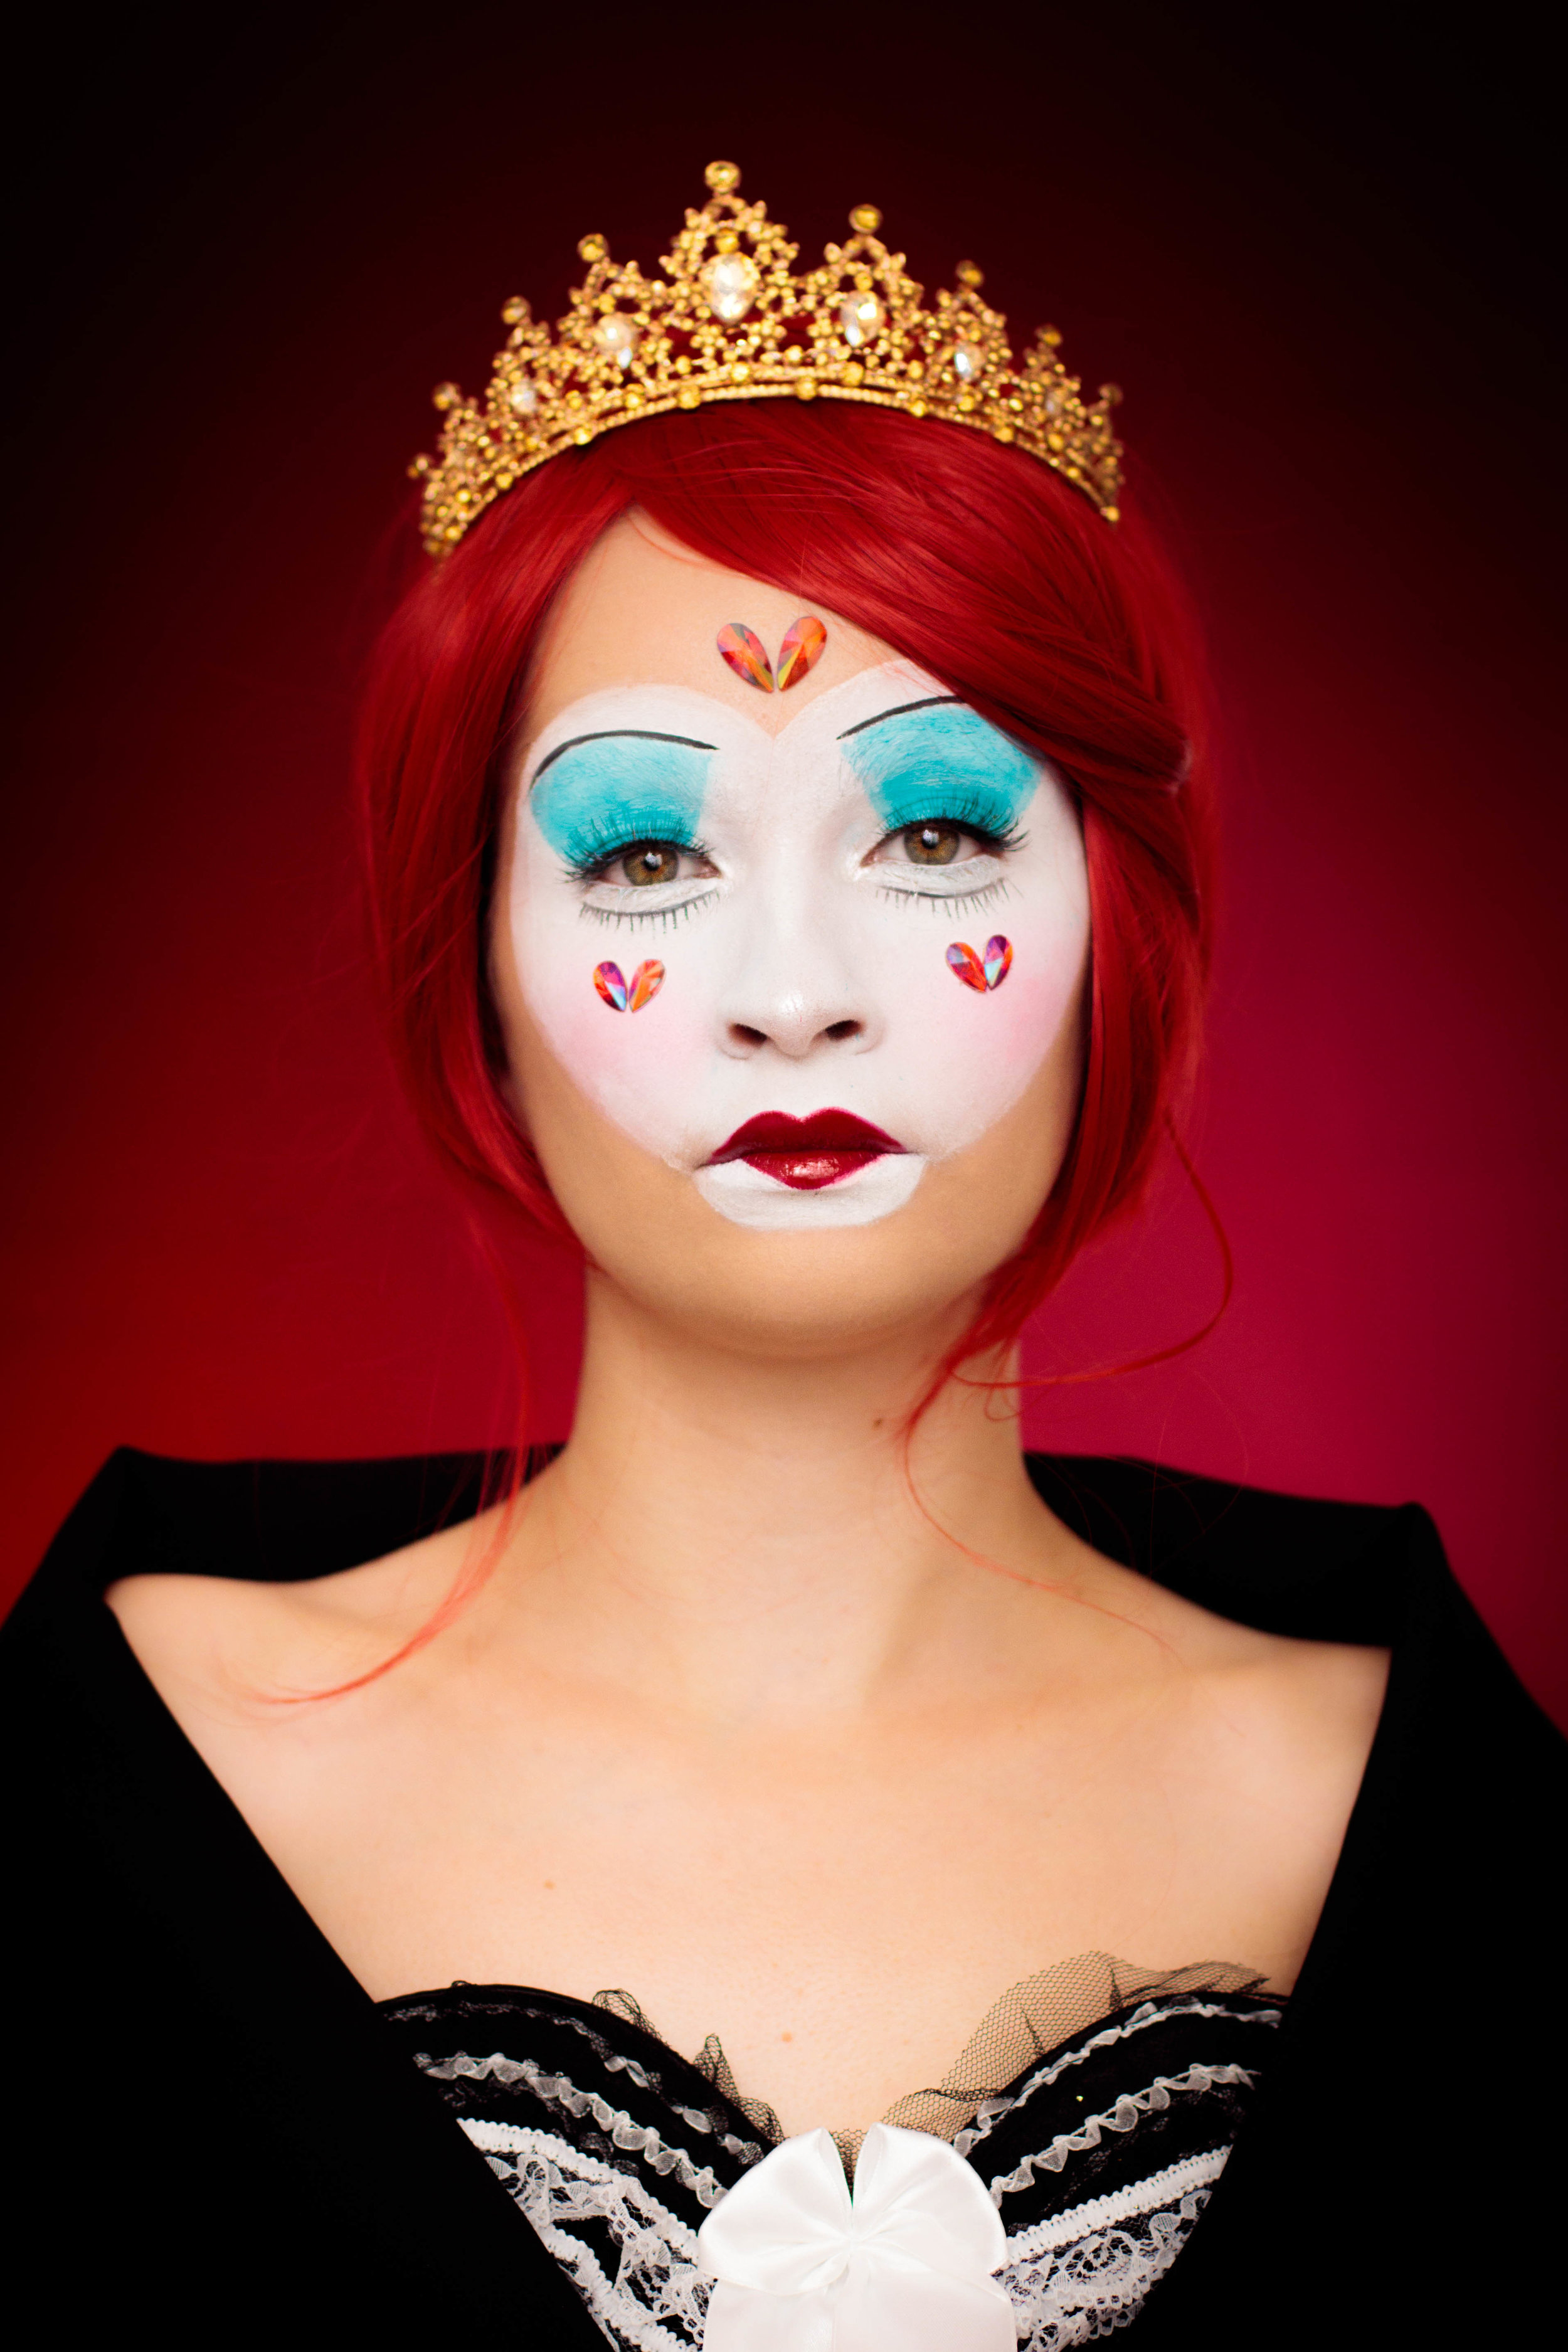
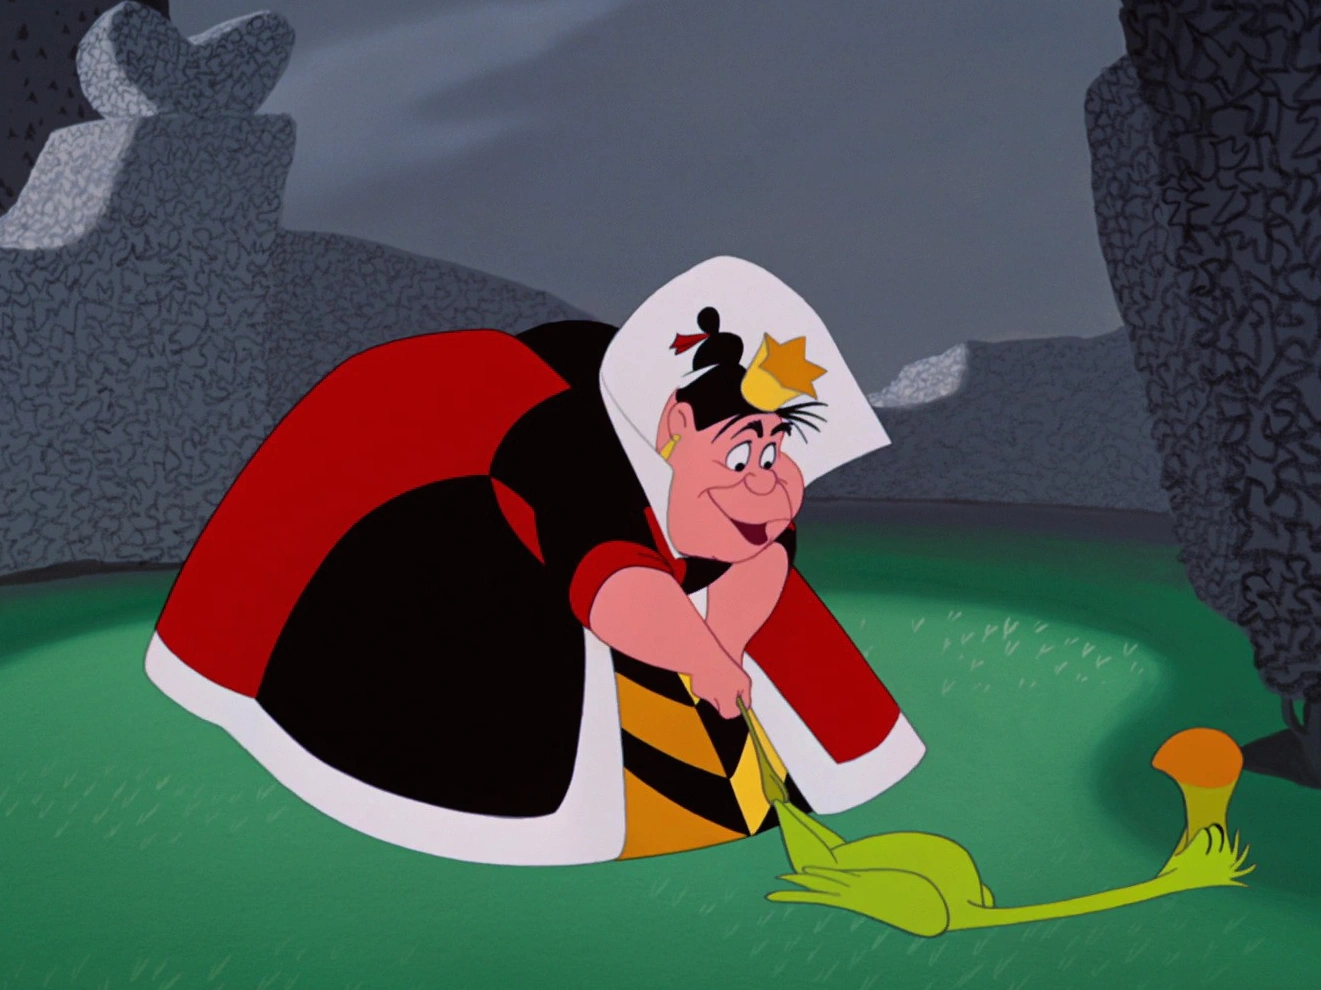
Calling all Disney fans! Show your love for the Queen of Hearts with this fun and colorful nail art design. To achieve this look, you will need red, black, and white nail polish, as well as a thin brush and a dotting tool. Start by painting your nails with a base coat to protect them and allow the polish to last longer. Then, paint your nails red and let them dry completely. Next, using a thin brush, create a black horizontal line across the middle of your nail. This will serve as the base of the Queen's crown. Using the dotting tool, create a small gold dot in the center of your nail, just below the black line. This represents her golden tooth. Using the same thin brush, create two curved lines above the black line, connecting them to the gold dot. Fill in the space between the lines with gold polish to complete the crown. Then, using the dotting tool, create small white dots along the edges of the crown and the bottom of the heart. For the final touch, use the thin brush to create a small red heart at the tip of your nail, just above the black line. This represents the Queen's heart-shaped lips. Finish off with a top coat to seal in your design and give it a glossy finish.Disney Villains Nail Art: Queen of Hearts


Disney Villains Nail Art: Queen of Hearts


Whether you love or hate Valentine's Day, there's no denying that it's the perfect occasion to rock some heart-themed nail art. And what better way to do it than with a Queen of Hearts-inspired design? Start by painting your nails with a base coat to protect them and allow the polish to last longer. Then, paint all your nails red and let them dry completely. Using a dotting tool, create a small gold dot in the center of each nail. This represents the Queen's golden tooth. Next, using a thin brush, create a black horizontal line across the middle of your nail. This will serve as the base of the Queen's crown. Using the same thin brush, create two curved lines above the black line, connecting them to the gold dot. Fill in the space between the lines with gold polish to complete the crown. For the finishing touch, use the dotting tool to create a small red heart at the tip of each nail, just above the black line. This represents the Queen's heart-shaped lips. Apply a top coat to seal in your design and give it a glossy finish.Valentine's Day Nail Art: Queen of Hearts


Valentine's Day Nail Art: Queen of Hearts


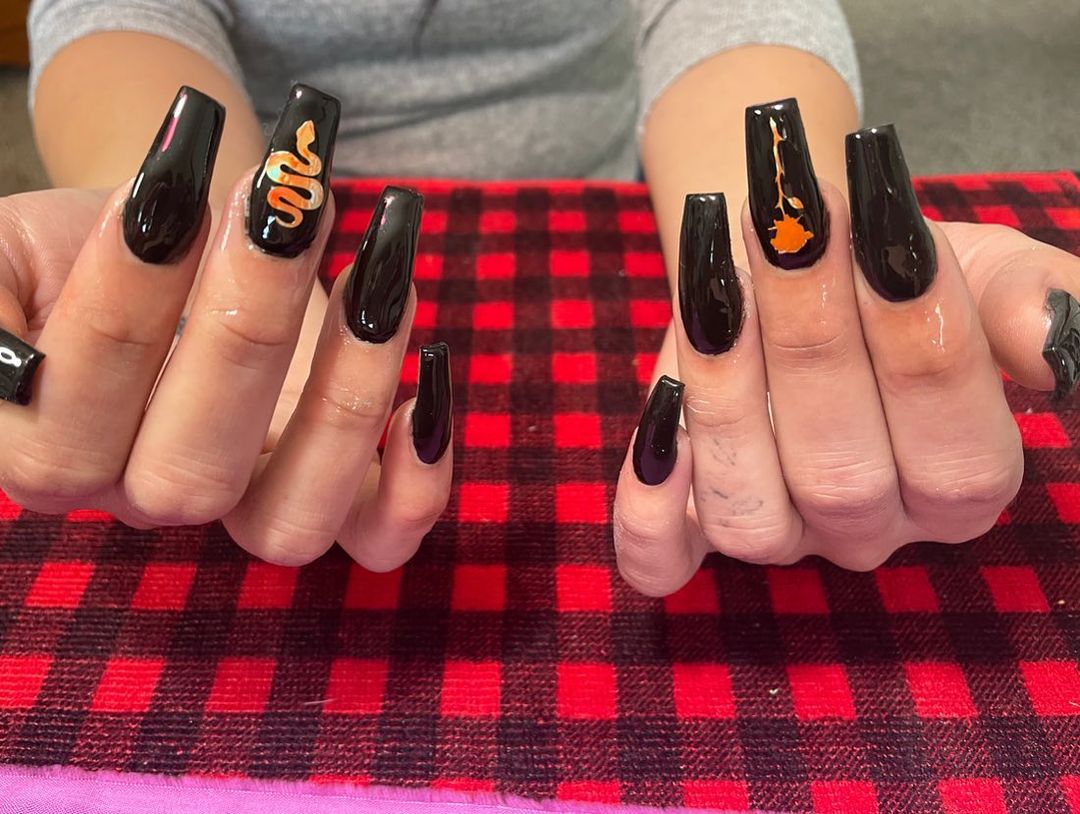
If you're dressing up as the Queen of Hearts for a costume party, this nail art design is perfect for you. It's bold, eye-catching, and incorporates the classic colors of red and black. Start by painting your nails with a base coat to protect them and allow the polish to last longer. Then, paint all your nails with a black base and let them dry completely. Using a dotting tool, create a small red heart at the tip of each nail. This represents the Queen's heart-shaped lips. Next, using a thin brush, create a gold horizontal line across the middle of your nail. This will serve as the base of the Queen's crown. Using the same thin brush, create two curved lines above the gold line, connecting them to the heart. Fill in the space between the lines with gold polish to complete the crown. For the final touch, add small black dots along the edges of the crown and the bottom of the heart using the thin brush. This adds depth to the design and makes it look more regal. Finish off with a top coat to seal in your design and give it a glossy finish.Red and Black Nail Art for Queen of Hearts Costume


Red and Black Nail Art for Queen of Hearts Costume


If you're not confident in your nail art skills or simply don't have the time to create a design from scratch, nail art stickers are the way to go. There are many pre-made Queen of Hearts nail art stickers available online or at beauty supply stores. To use these stickers, start by painting your nails with a base coat to protect them. Then, paint your nails with a base color, such as red or black. Let it dry completely. Next, carefully peel off the sticker from its backing and place it on your nail. Press down firmly to ensure it stays in place. Finish off with a top coat to seal in the sticker and give it a glossy finish. Now that you have 10 different ways to rock the Queen of Hearts nail art, go ahead and try them out. Whether you're attending a costume party or just want to add a touch of whimsy to your everyday look, these designs are sure to make a statement. And don't be afraid to get creative and come up with your own variations. After all, the Queen of Hearts is all about being bold and standing out!Queen of Hearts Nail Art Stickers

Queen of Hearts Nail Art Stickers


The Rise of Nail Art: A Queen of Hearts Design
Discover the Hottest Trend in Nail Art
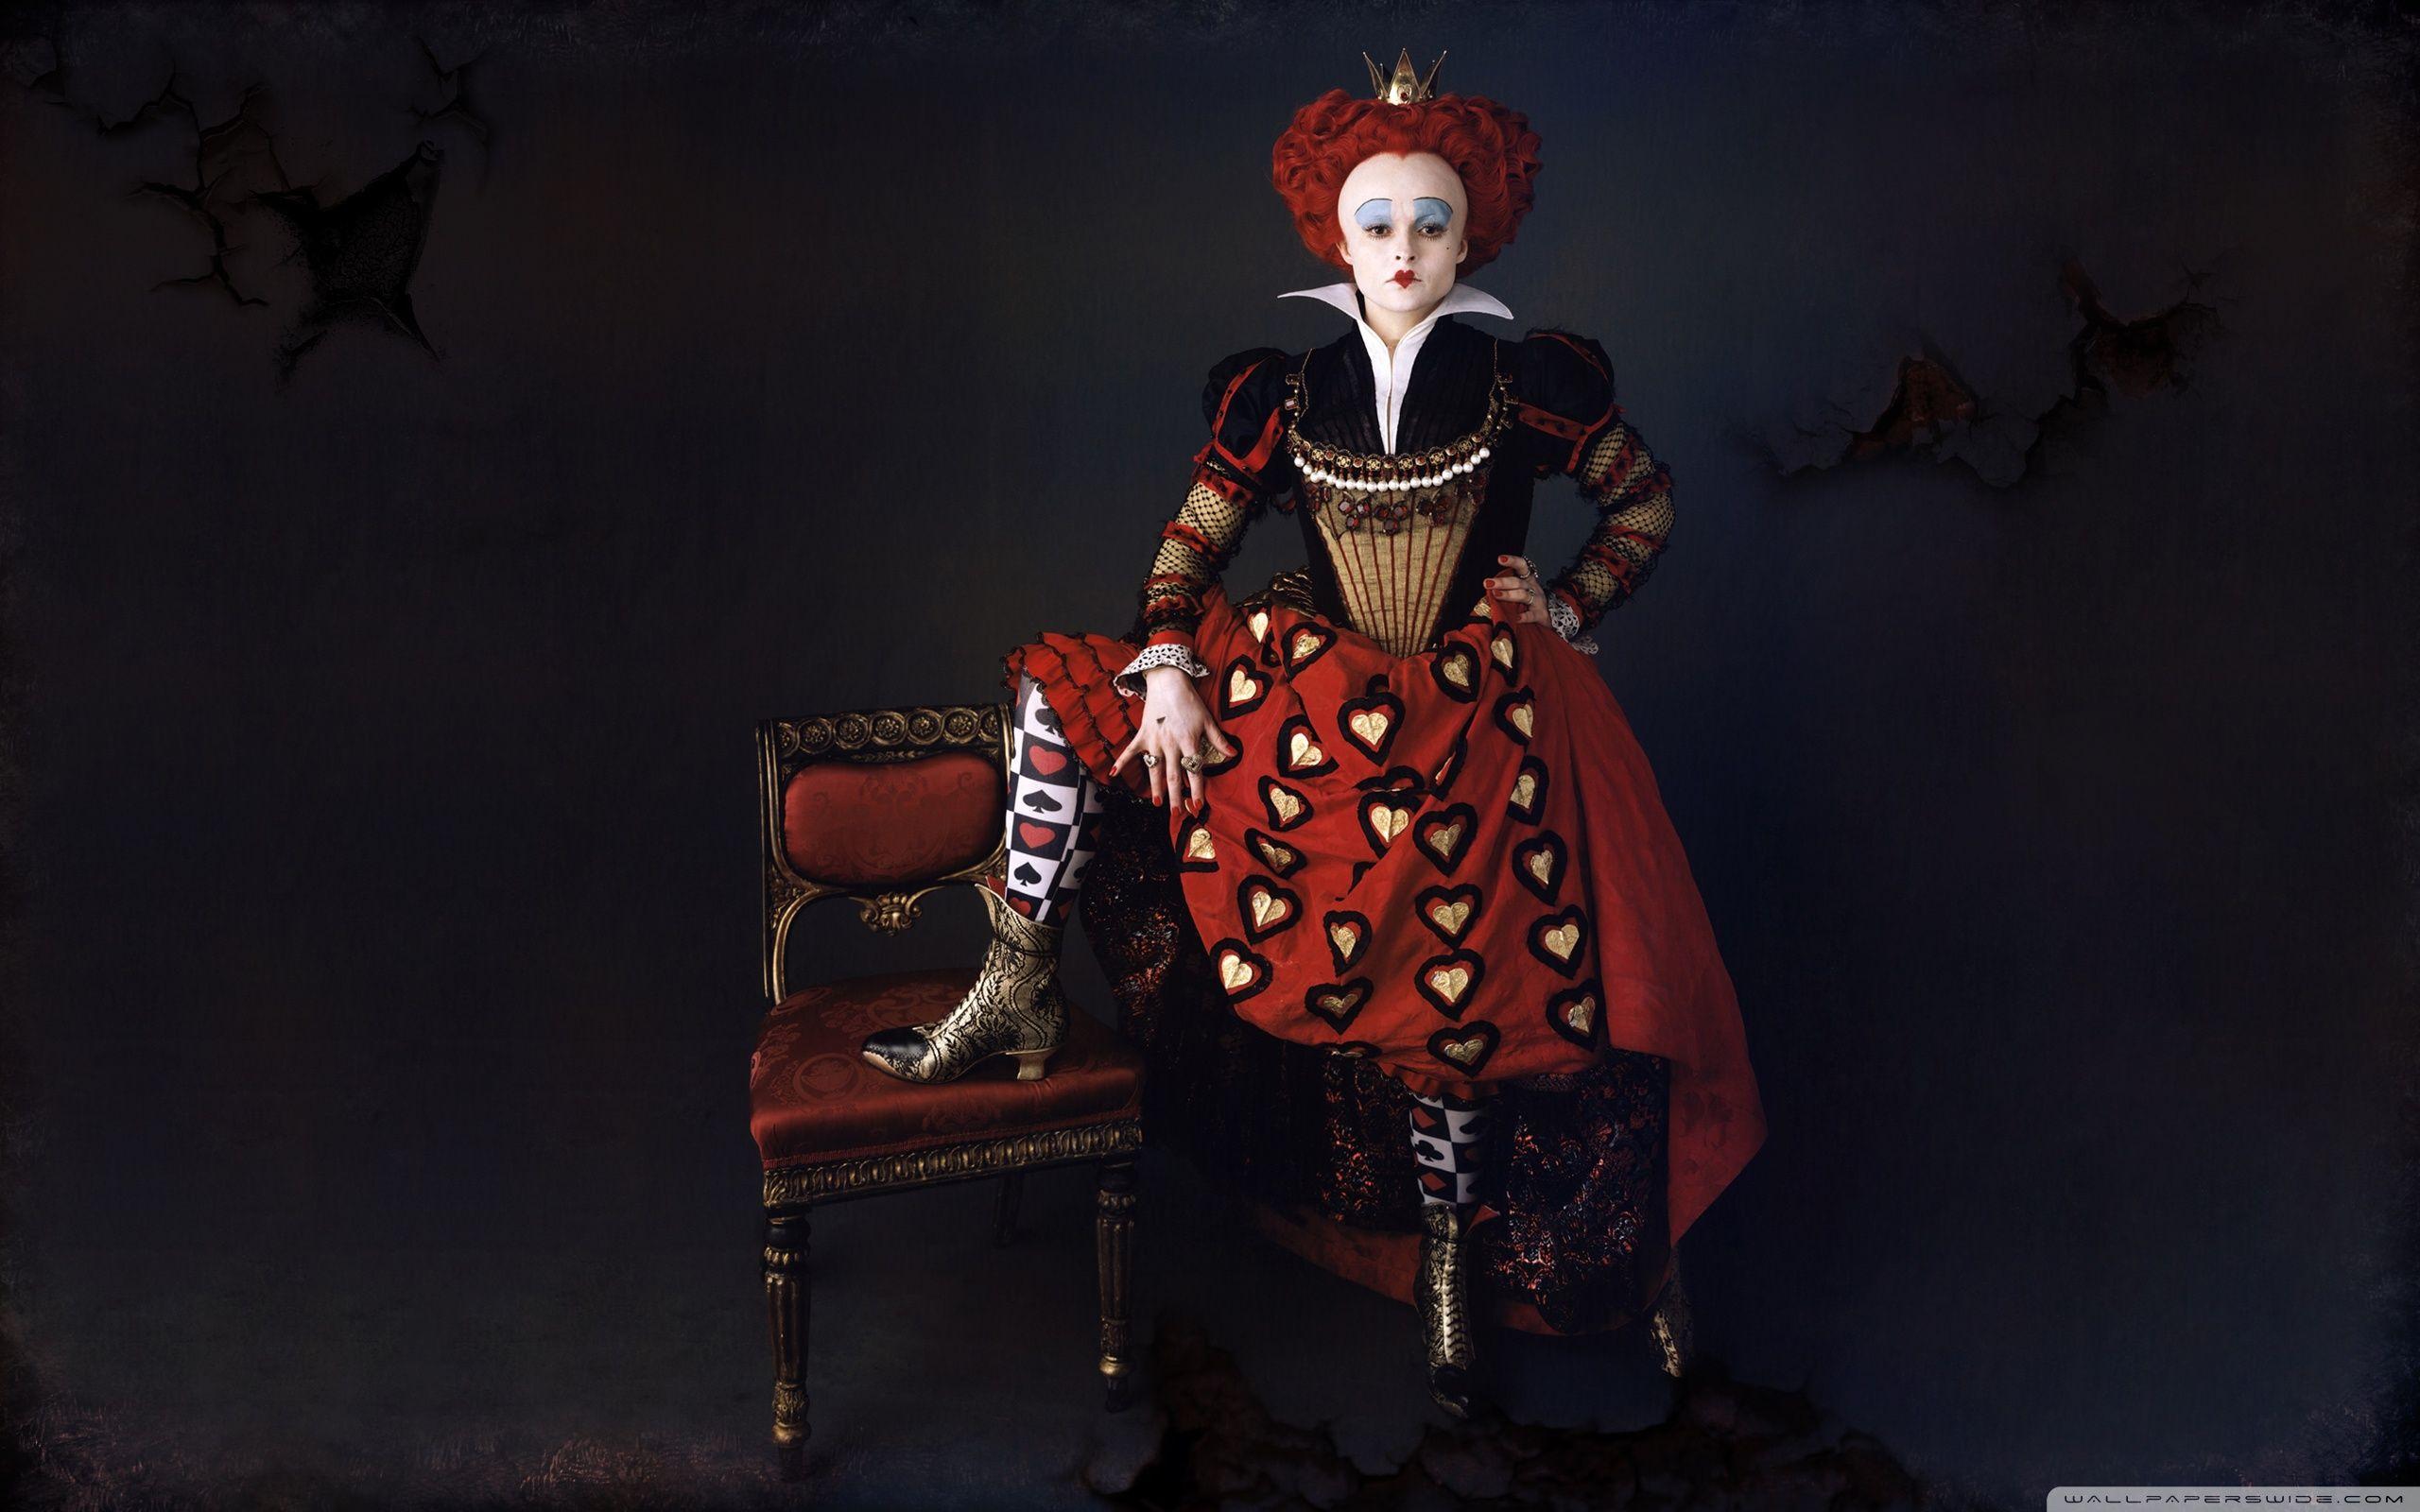
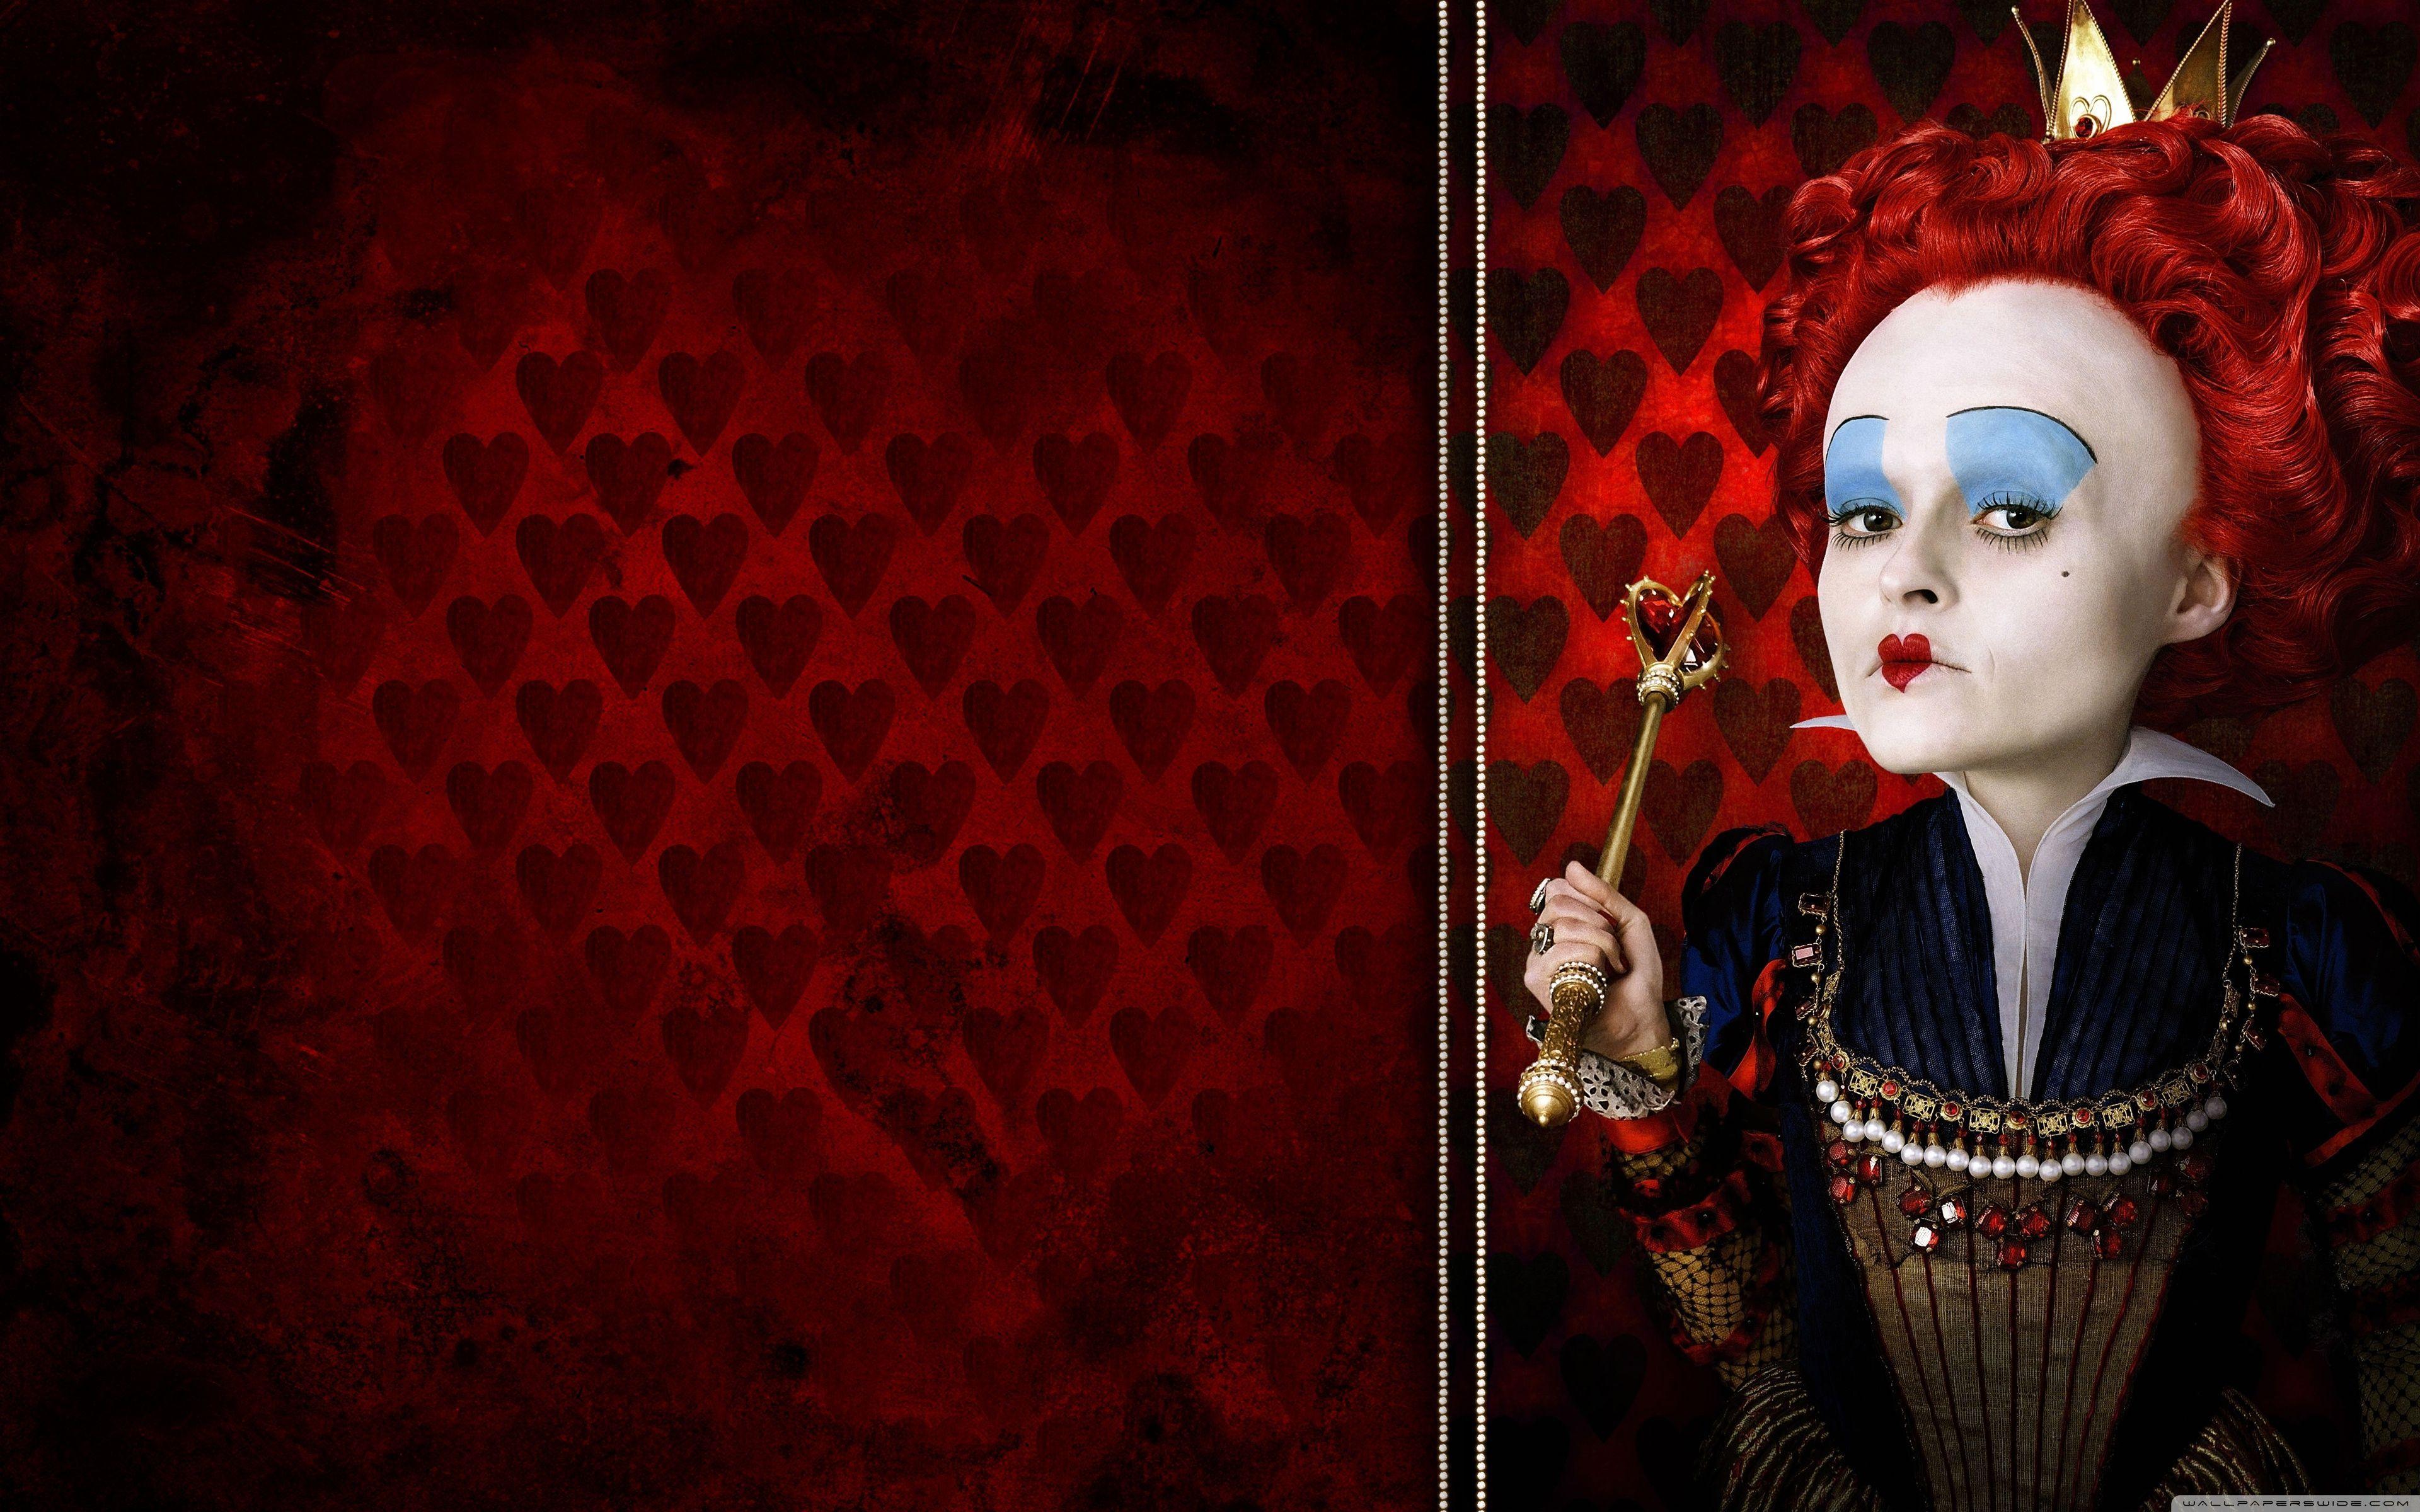
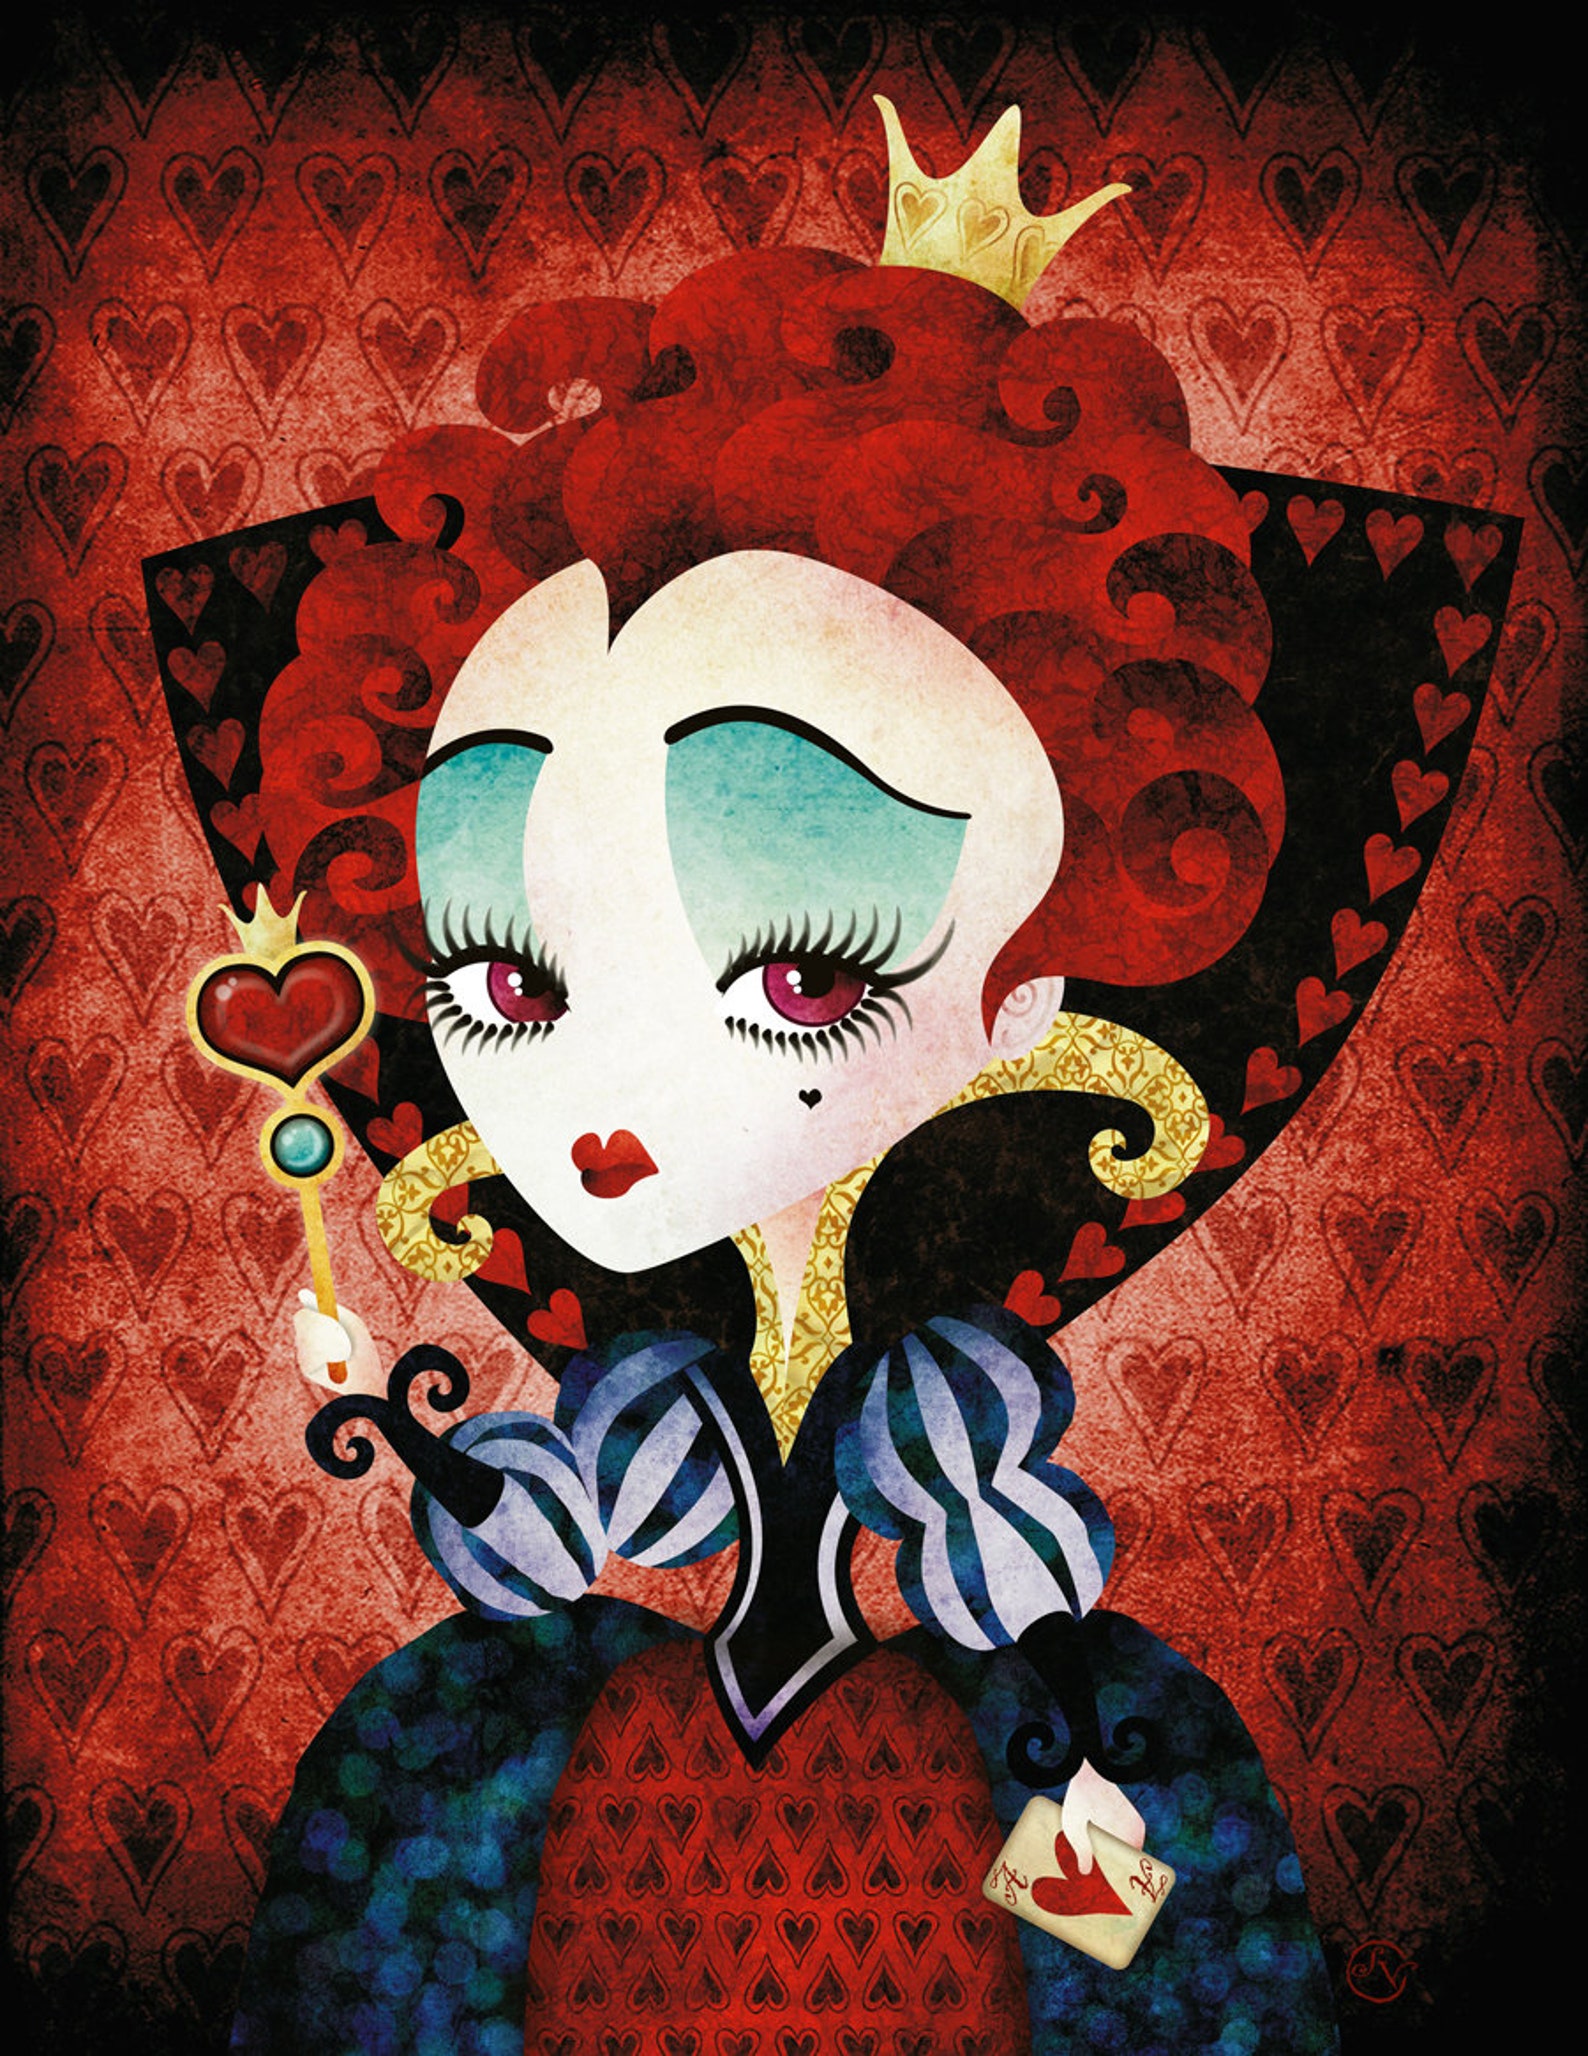
 In the world of beauty and fashion, nail art has become a popular form of self-expression. From simple designs to intricate patterns, there are endless possibilities for creating unique and eye-catching nail looks. And one design that has been taking the beauty industry by storm is the "Queen of Hearts" nail art.
Nail art reine de coeur
or "Queen of Hearts" nail art, is a design inspired by the iconic playing card from the classic game of hearts. With its striking red and black color combination and intricate details, this design is perfect for those who want to make a bold statement with their nails.
In the world of beauty and fashion, nail art has become a popular form of self-expression. From simple designs to intricate patterns, there are endless possibilities for creating unique and eye-catching nail looks. And one design that has been taking the beauty industry by storm is the "Queen of Hearts" nail art.
Nail art reine de coeur
or "Queen of Hearts" nail art, is a design inspired by the iconic playing card from the classic game of hearts. With its striking red and black color combination and intricate details, this design is perfect for those who want to make a bold statement with their nails.
The Perfect Design for Any Occasion
 One of the best things about
nail art reine de coeur
is its versatility. This design can be dressed up or down, making it suitable for any occasion. Whether you're attending a formal event or just hanging out with friends, this design will surely make your nails stand out.
For a more dramatic look, you can opt for a full set of Queen of Hearts nails, featuring the iconic red and black design on all your nails. Or, if you prefer a more subtle approach, you can choose to have just one or a few accent nails with the Queen of Hearts design, while the rest of your nails sport a simple red or black polish.
One of the best things about
nail art reine de coeur
is its versatility. This design can be dressed up or down, making it suitable for any occasion. Whether you're attending a formal event or just hanging out with friends, this design will surely make your nails stand out.
For a more dramatic look, you can opt for a full set of Queen of Hearts nails, featuring the iconic red and black design on all your nails. Or, if you prefer a more subtle approach, you can choose to have just one or a few accent nails with the Queen of Hearts design, while the rest of your nails sport a simple red or black polish.
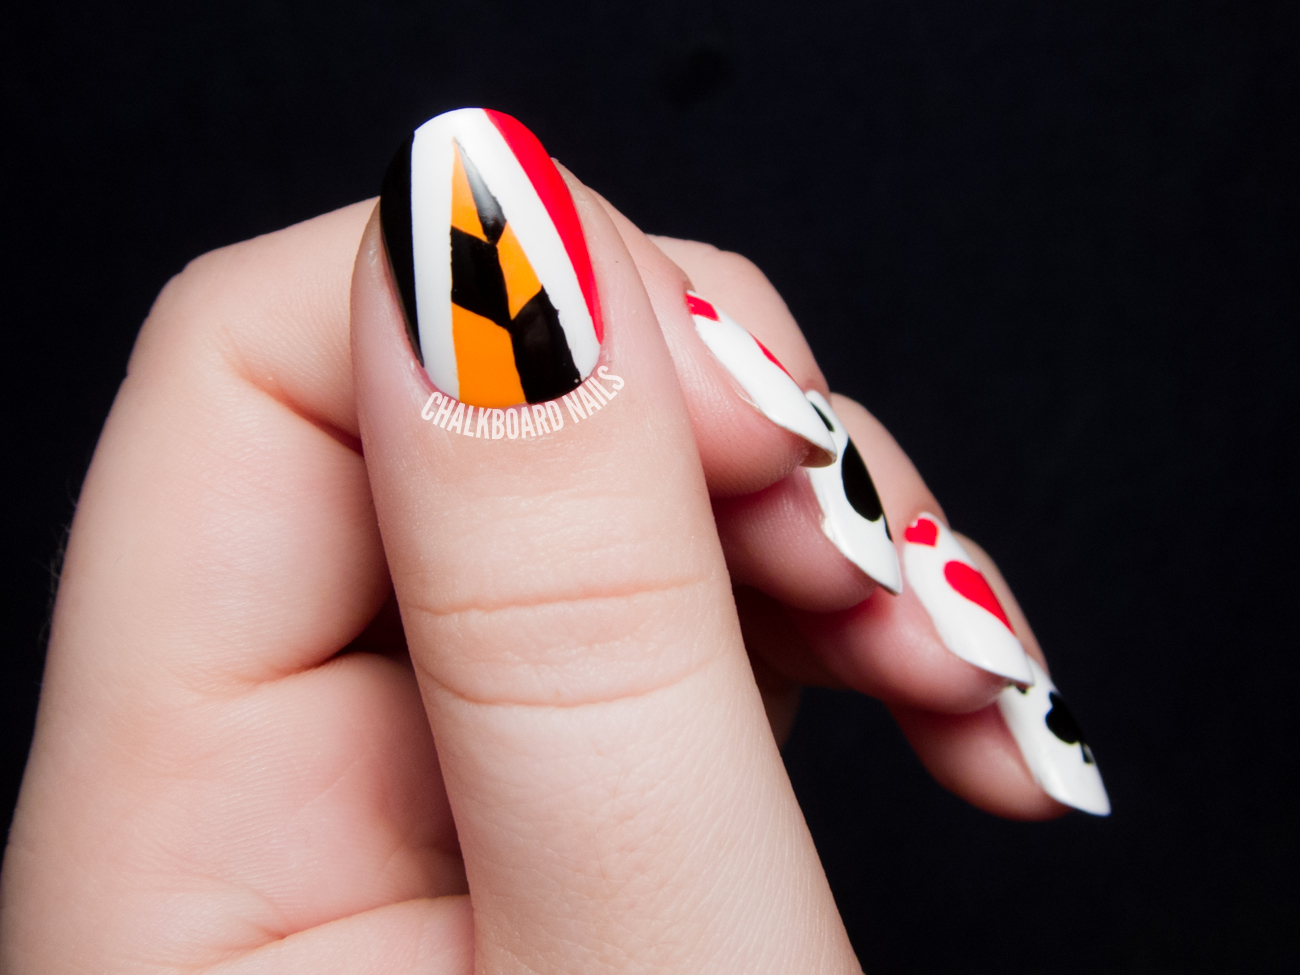
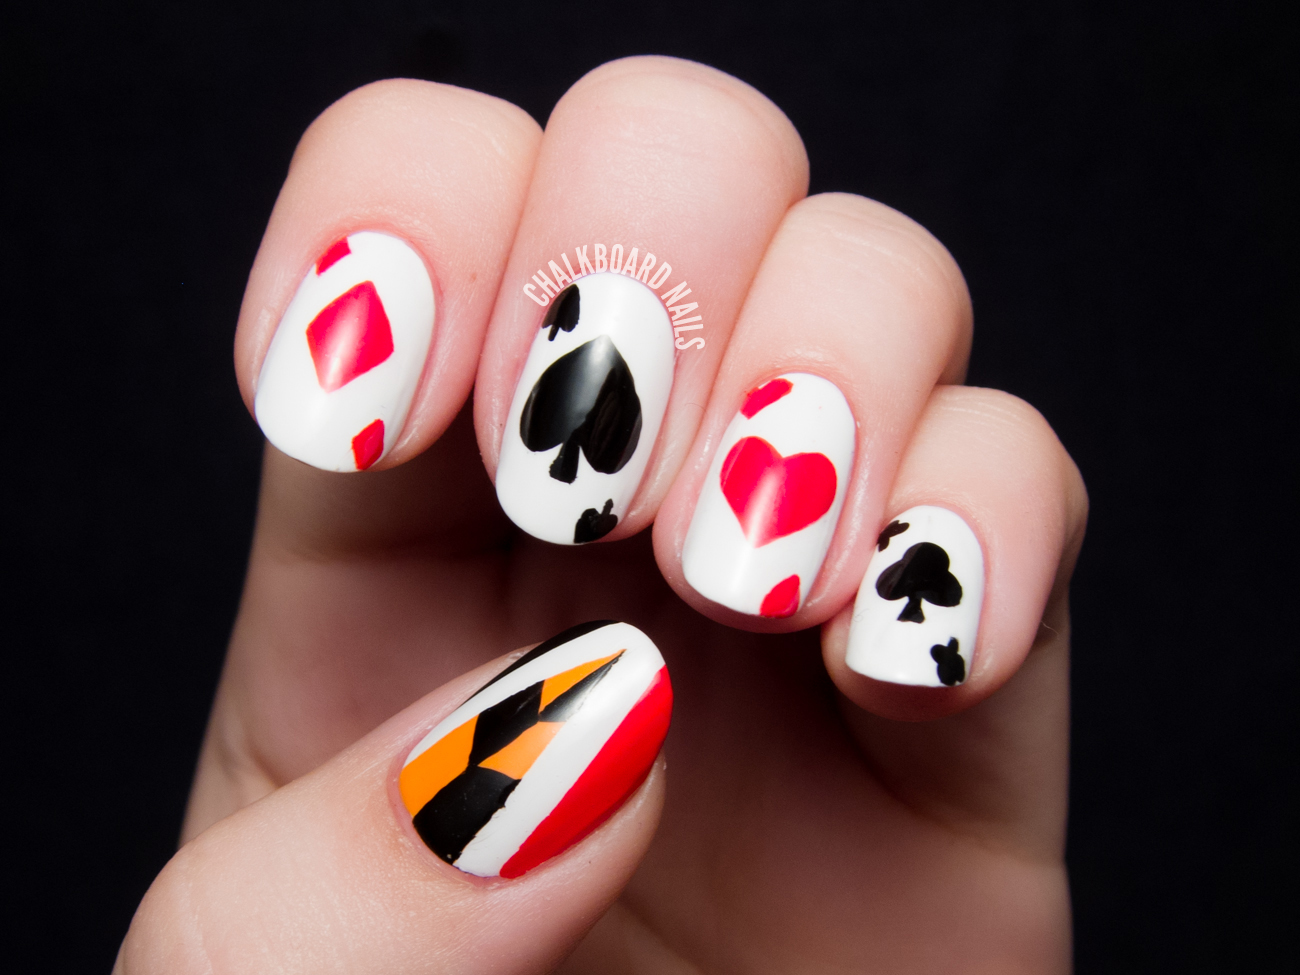
How to Achieve the Queen of Hearts Nail Art Design
 Creating the Queen of Hearts nail art design may seem daunting, but with a little practice and the right tools, anyone can achieve this look. Here's a step-by-step guide on how to create this eye-catching design:
Step 1:
Start by preparing your nails, making sure they are clean and free from any old polish or residue.
Step 2:
Apply a base coat to your nails to protect them and provide a smooth surface for the polish.
Step 3:
Paint your nails with a bold red polish, leaving one or a few nails blank for your accent design.
Step 4:
Using a black nail polish and a thin brush, carefully draw a straight line down the center of your blank nails, creating the division between the two halves of the playing card.
Step 5:
On one side of the line, create the heart shape using the brush and black polish. You can also use a heart-shaped stencil for a more precise design.
Step 6:
On the other side of the line, create the spade shape using the same technique.
Step 7:
Using a white nail polish and a small brush, add the details to the heart and spade shapes, such as the curved lines and dots.
Step 8:
Once the polish has dried, finish off with a clear topcoat to seal and protect your design.
Creating the Queen of Hearts nail art design may seem daunting, but with a little practice and the right tools, anyone can achieve this look. Here's a step-by-step guide on how to create this eye-catching design:
Step 1:
Start by preparing your nails, making sure they are clean and free from any old polish or residue.
Step 2:
Apply a base coat to your nails to protect them and provide a smooth surface for the polish.
Step 3:
Paint your nails with a bold red polish, leaving one or a few nails blank for your accent design.
Step 4:
Using a black nail polish and a thin brush, carefully draw a straight line down the center of your blank nails, creating the division between the two halves of the playing card.
Step 5:
On one side of the line, create the heart shape using the brush and black polish. You can also use a heart-shaped stencil for a more precise design.
Step 6:
On the other side of the line, create the spade shape using the same technique.
Step 7:
Using a white nail polish and a small brush, add the details to the heart and spade shapes, such as the curved lines and dots.
Step 8:
Once the polish has dried, finish off with a clear topcoat to seal and protect your design.
Make a Statement with the Queen of Hearts Nail Art
 The
nail art reine de coeur
or Queen of Hearts nail art design is a fun and unique way to express your creativity and make a statement with your nails. So why not give it a try and see how this trend can elevate your nail game? With this guide, you'll be sure to have stunning Queen of Hearts nails in no time!
The
nail art reine de coeur
or Queen of Hearts nail art design is a fun and unique way to express your creativity and make a statement with your nails. So why not give it a try and see how this trend can elevate your nail game? With this guide, you'll be sure to have stunning Queen of Hearts nails in no time!


