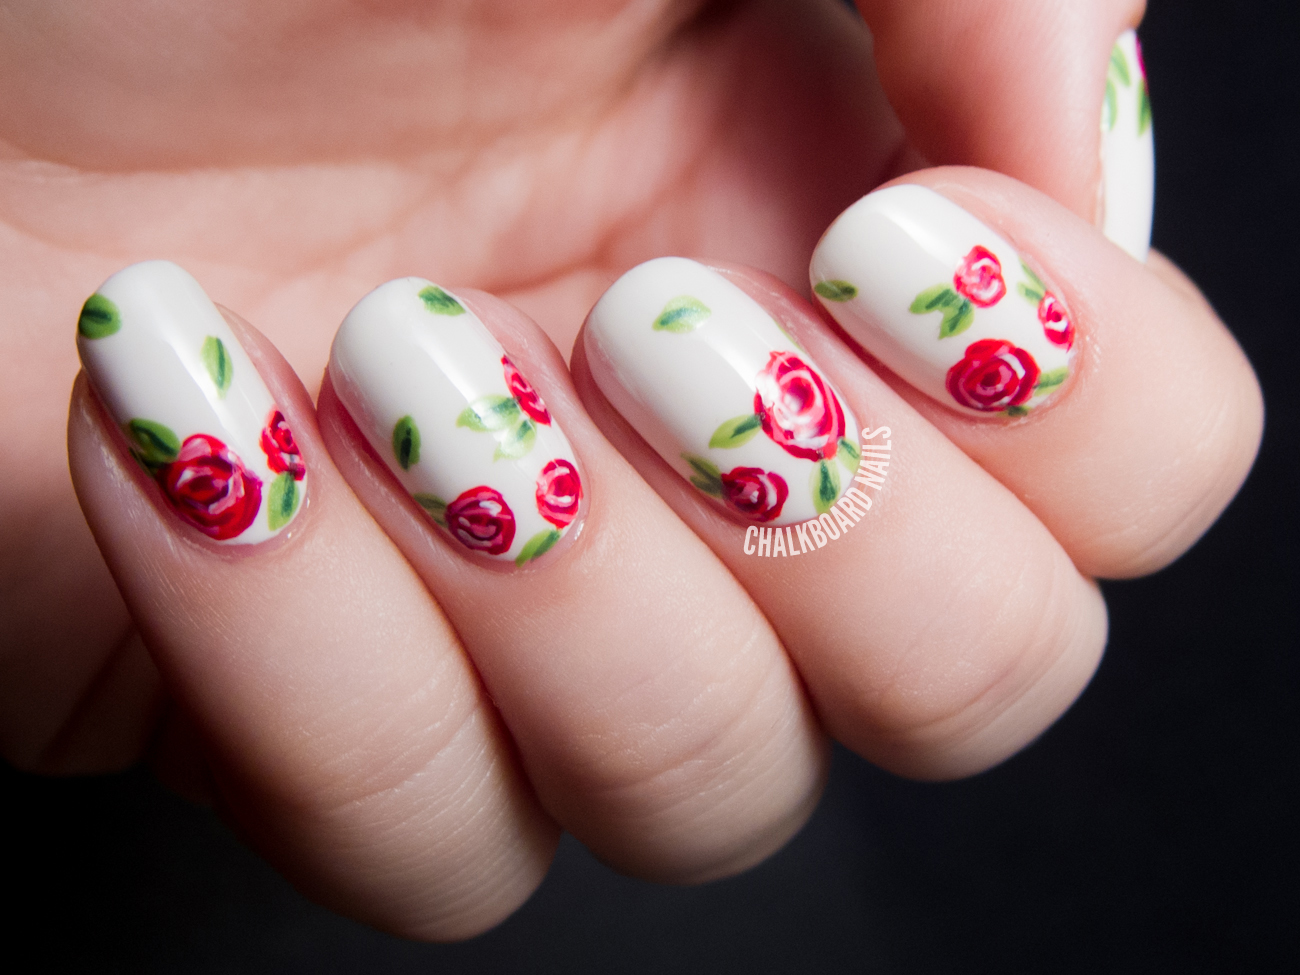
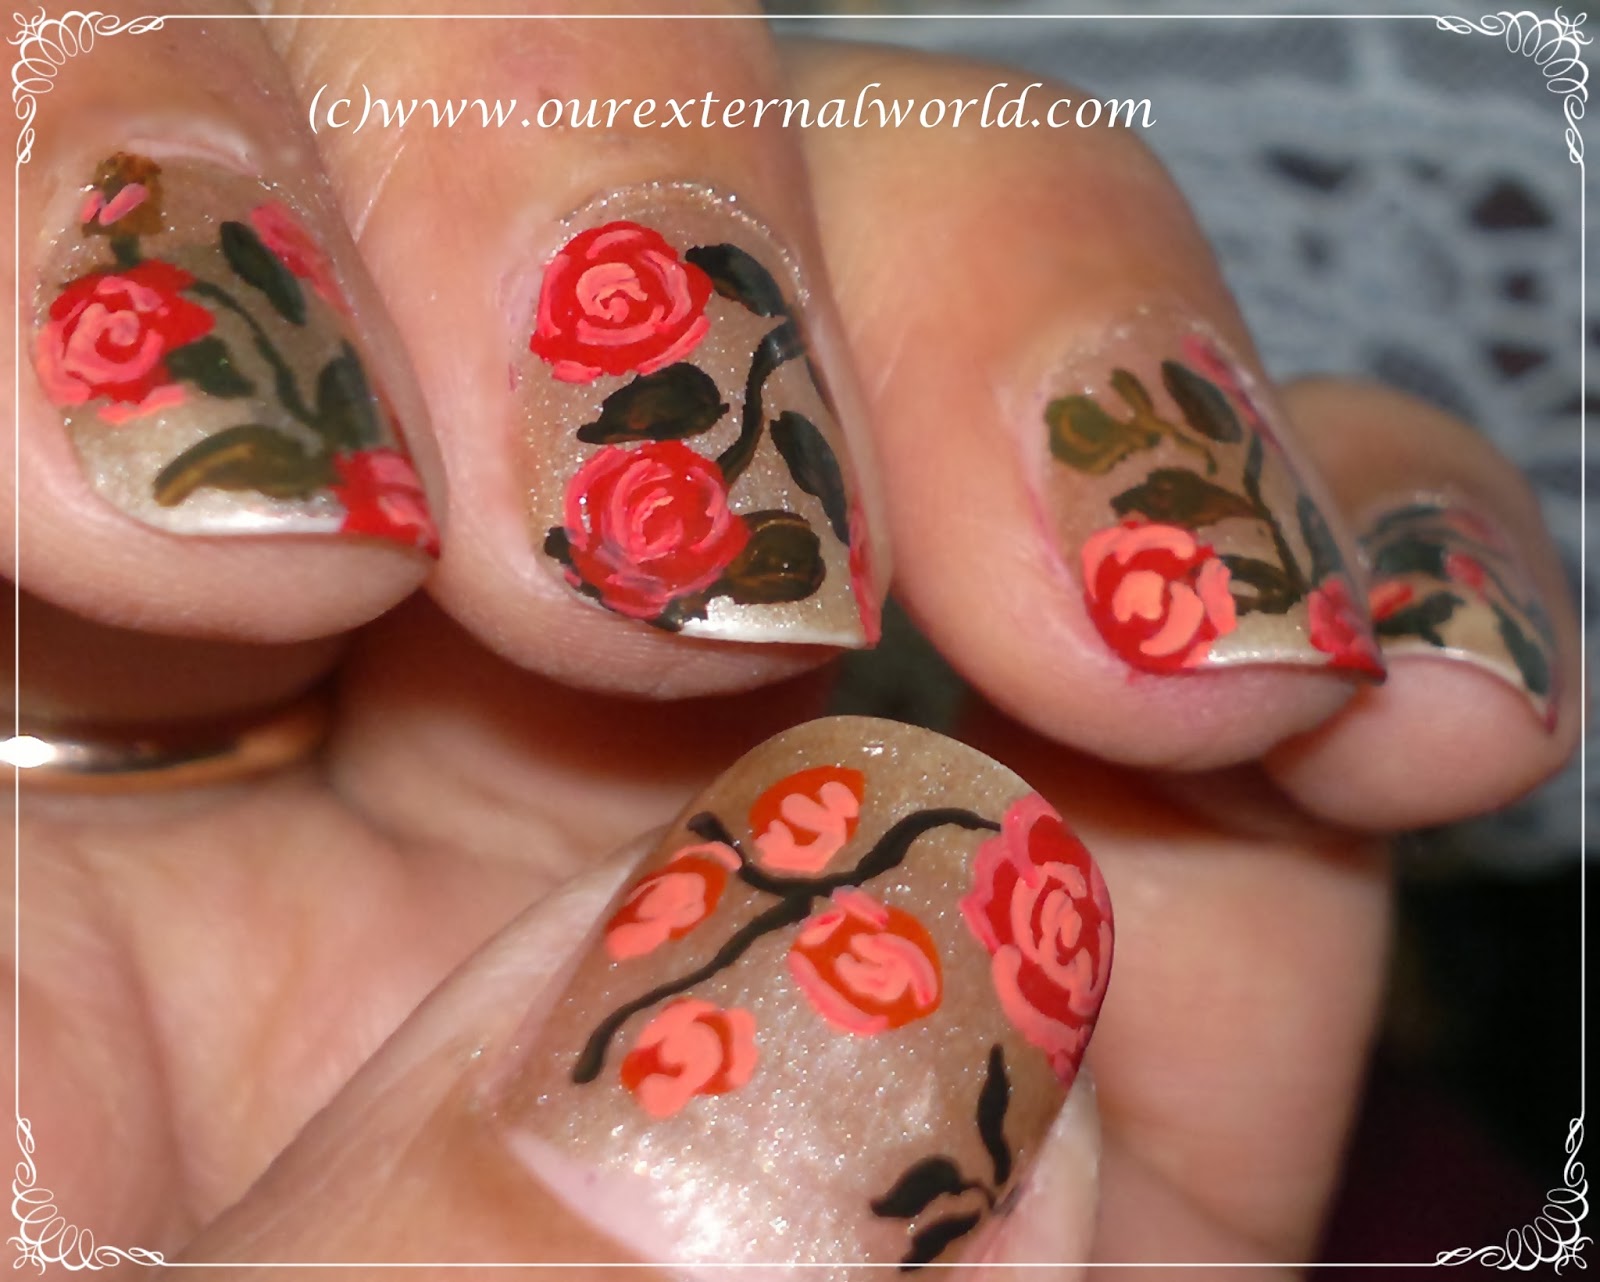
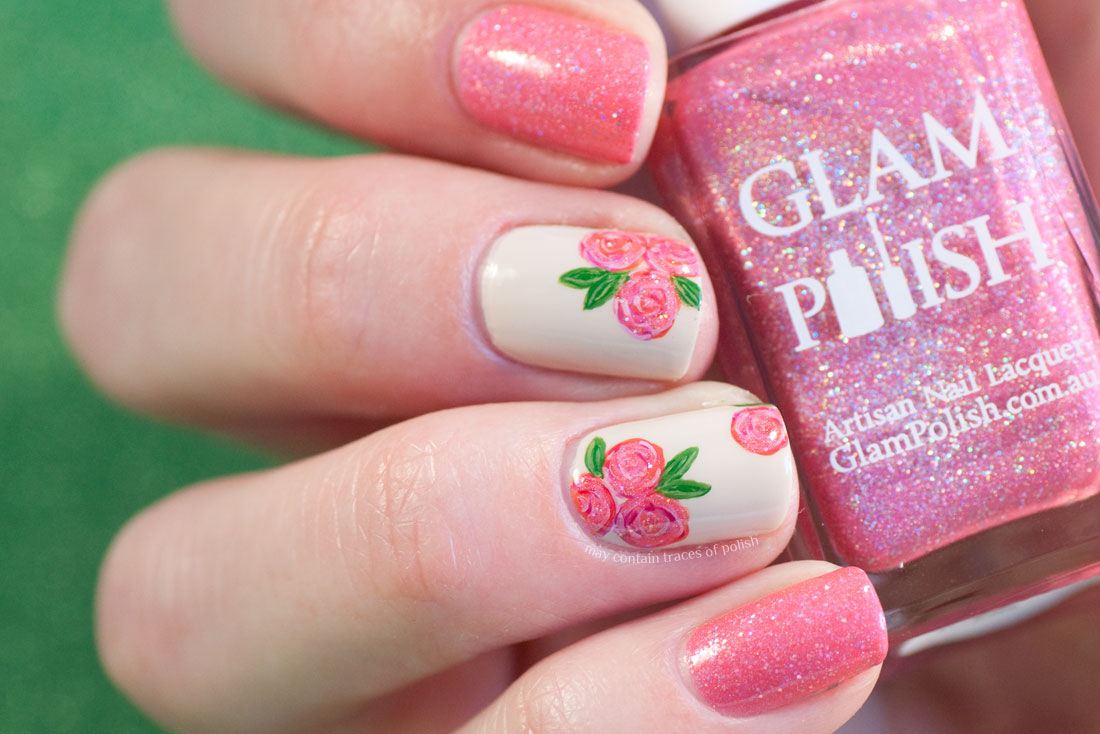
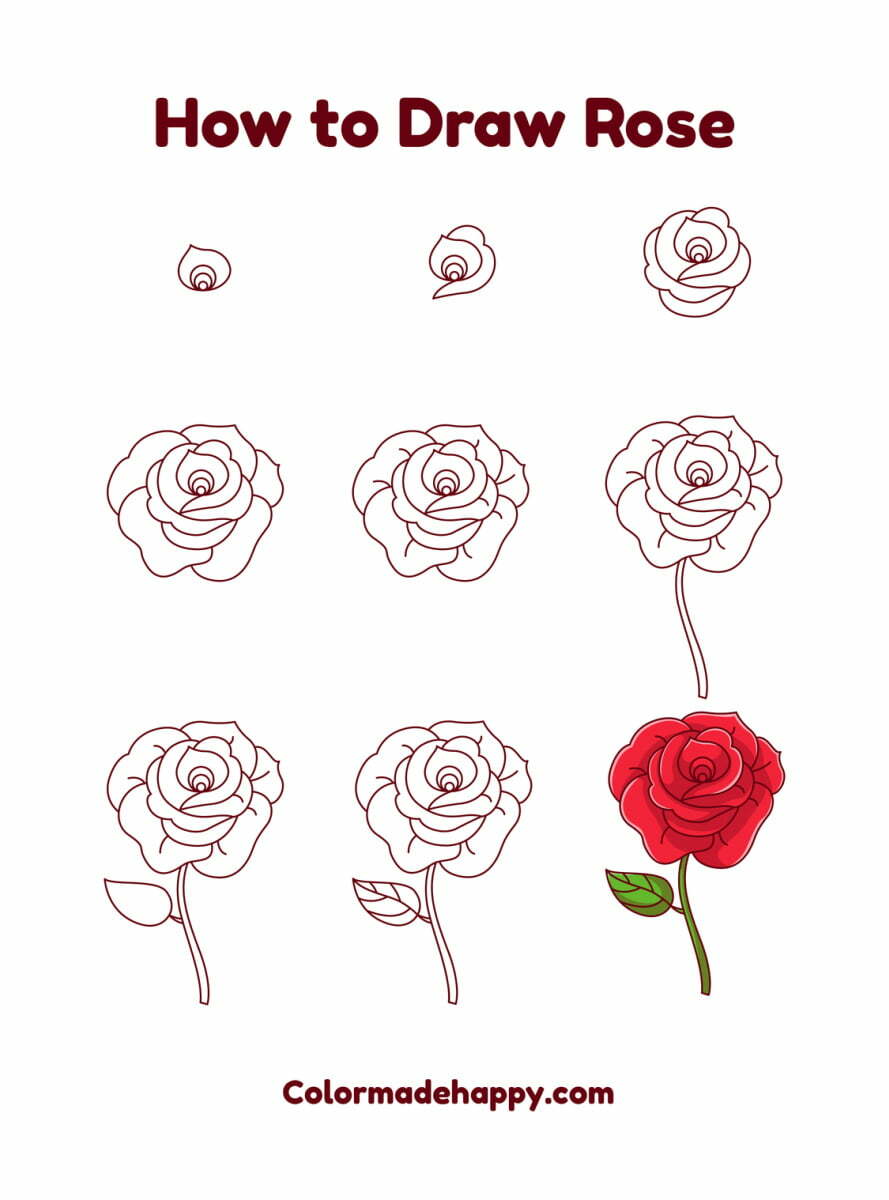
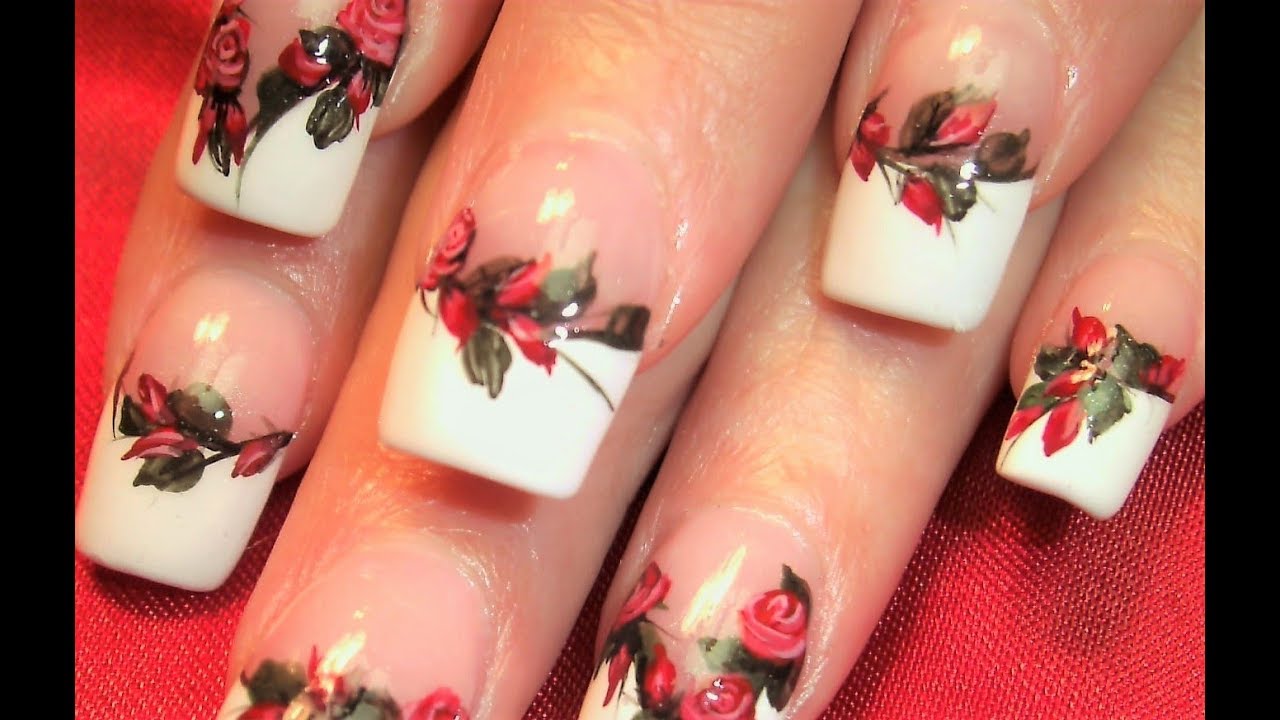
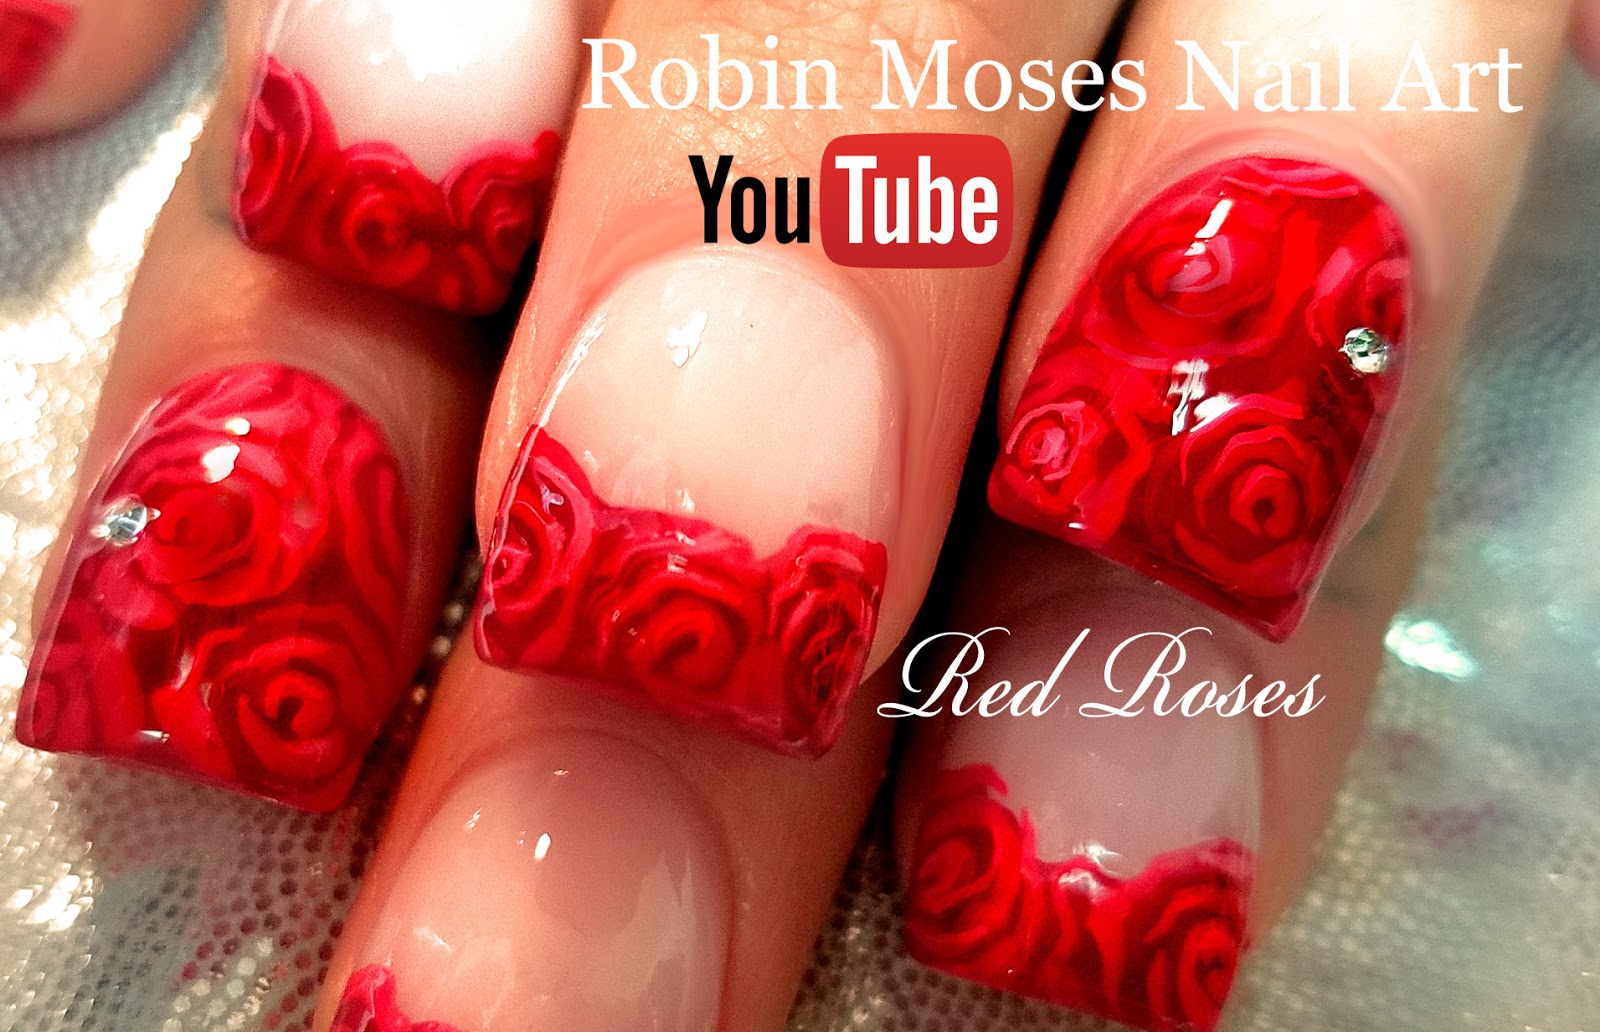
Creating a stunning rose nail art design may seem intimidating, but with our step by step tutorial, you'll be able to achieve the perfect look in no time! Follow these easy steps to create a beautiful rose nail art design that will make your nails stand out. First, start by applying a base coat to protect your nails and ensure your nail art lasts longer. Then, apply two coats of your desired nail polish color and let it dry completely. Next, using a small brush or dotting tool, create three small dots in a triangular shape at the tip of your nail. These dots will serve as the base for your rose design. Once the dots are dry, take red nail polish and pink nail polish and add a drop of each on a flat surface. With a thin brush, mix the two colors together until you get a light pink shade. Using the mixed color, create a small circle on top of the three dots to form the center of the rose. Then, using the same color, create small strokes around the circle to form the petals of the rose. Repeat this process on each nail until you have a rose design on all your nails. You can also add small leaves using green nail polish to complete the look. Finally, let your nail art dry completely and finish off with a top coat to seal the design and add shine. Your beautiful rose nail art is now complete!1. How to Create a Beautiful Rose Nail Art Design: Step by Step Tutorial

How to Create a Beautiful Rose Nail Art Design: Step by Step Tutorial


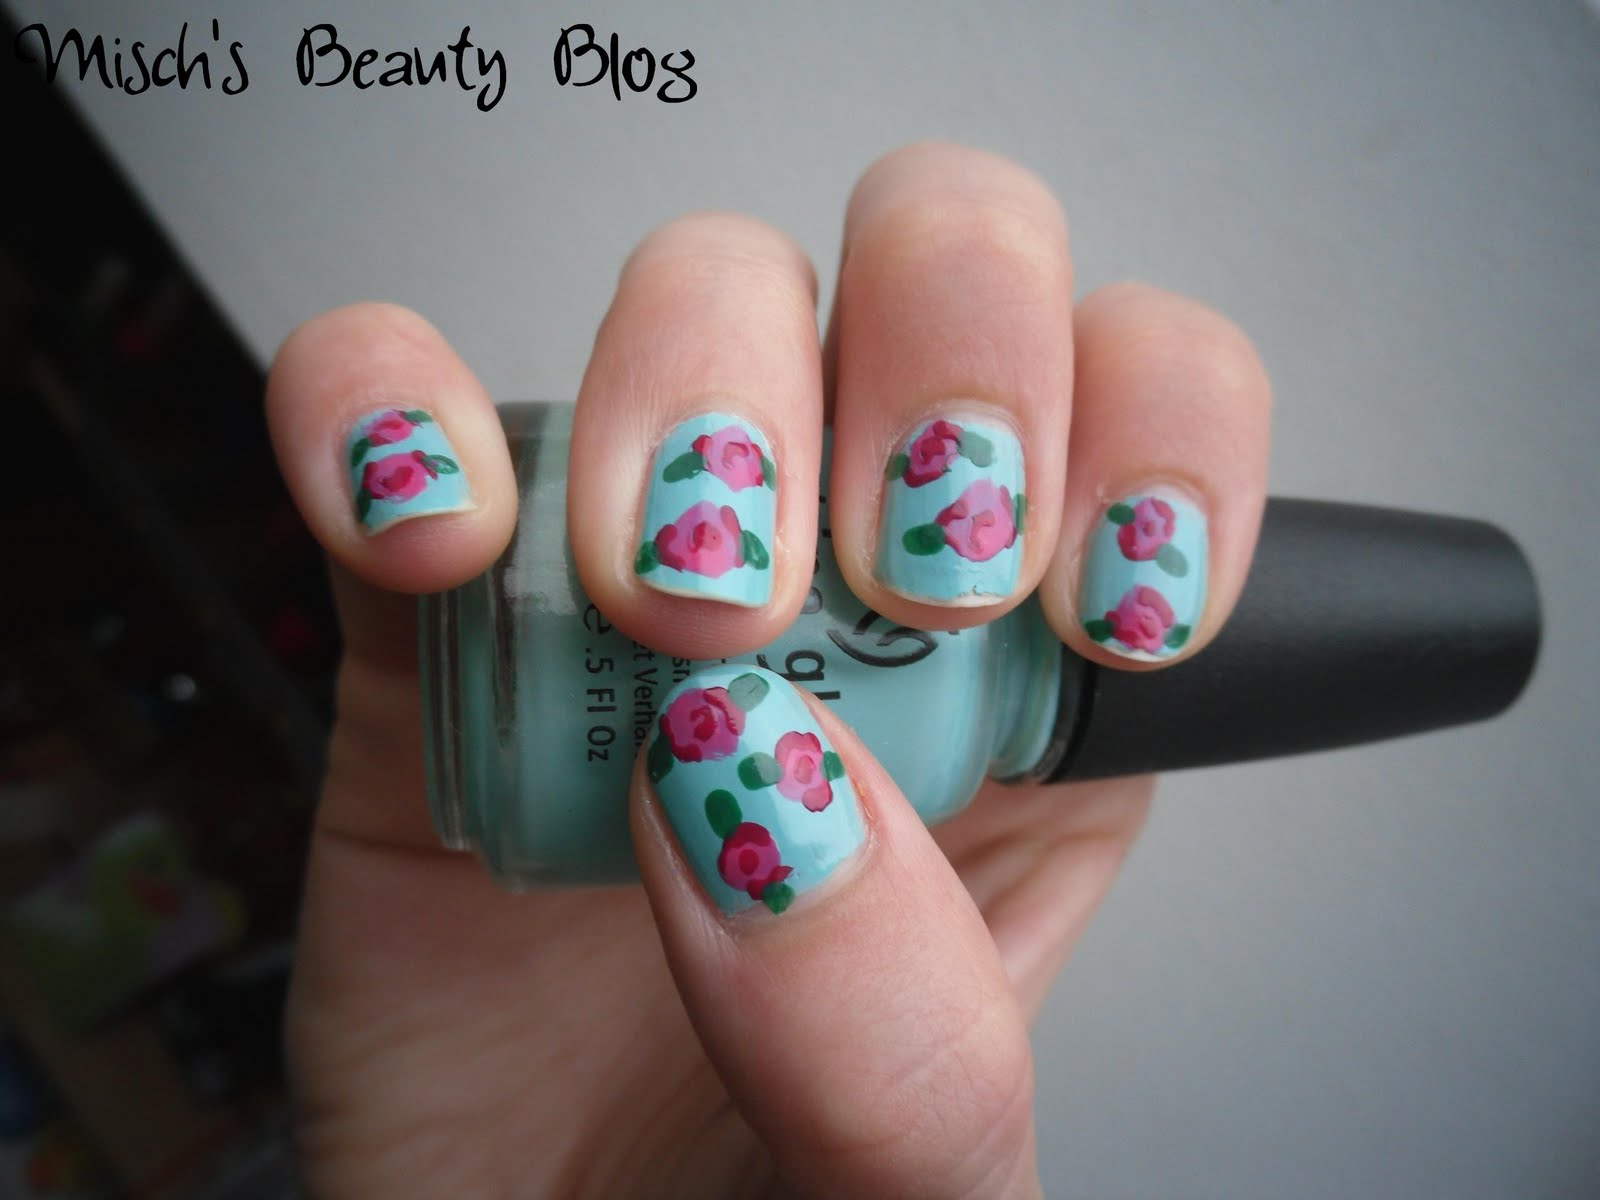
Looking for a simple and easy way to create a rose nail art design? Look no further! With our easy step by step tutorial, you'll be able to achieve a beautiful look without any hassle. Start by applying a base coat to protect your nails and let it dry. Then, apply two coats of your desired nail polish color and let it dry completely. Next, take a light pink nail polish and create three dots in a triangular shape at the tip of your nail. Using a small brush or dotting tool, blend the dots together to create a rose design. Once the rose design is dry, you can add leaves using a green nail polish. Simply create small strokes on the sides of the rose to form the leaves. Repeat this process on each nail and let the design dry completely. Finish off with a top coat to seal the design and add shine. Your easy rose nail art is now complete!2. Easy Step by Step Rose Nail Art Tutorial


Easy Step by Step Rose Nail Art Tutorial


Why spend money on a professional when you can create your own rose nail art design at home? With our step by step tutorial, you can achieve a salon-worthy look without breaking the bank. First, start by applying a base coat to protect your nails and let it dry. Then, apply two coats of your desired nail polish color and let it dry completely. Next, take a light pink nail polish and create three dots in a triangular shape at the tip of your nail. Using a small brush or dotting tool, blend the dots together to create a rose design. Once the rose design is dry, you can add leaves using a green nail polish. Simply create small strokes on the sides of the rose to form the leaves. Repeat this process on each nail and let the design dry completely. Finish off with a top coat to seal the design and add shine. Your DIY rose nail art is now complete!3. DIY: Step by Step Rose Nail Art Tutorial


DIY: Step by Step Rose Nail Art Tutorial


If you're new to nail art, creating a rose design may seem daunting. But with our step by step guide, you'll be able to create a beautiful rose nail art design with ease. Start by applying a base coat to protect your nails and let it dry. Then, apply two coats of your desired nail polish color and let it dry completely. Next, using a small brush or dotting tool, create three small dots in a triangular shape at the tip of your nail. These dots will serve as the base for your rose design. Once the dots are dry, take red nail polish and pink nail polish and add a drop of each on a flat surface. With a thin brush, mix the two colors together until you get a light pink shade. Using the mixed color, create a small circle on top of the three dots to form the center of the rose. Then, using the same color, create small strokes around the circle to form the petals of the rose. Repeat this process on each nail until you have a rose design on all your nails. You can also add small leaves using green nail polish to complete the look. Finally, let your nail art dry completely and finish off with a top coat to seal the design and add shine. Your rose nail art is now complete!4. Step by Step Guide to Creating Rose Nail Art

Step by Step Guide to Creating Rose Nail Art
If you're short on time but still want to achieve a beautiful rose nail art design, this simple and easy tutorial is perfect for you. Start by applying a base coat to protect your nails and let it dry. Then, apply two coats of your desired nail polish color and let it dry completely. Next, take a light pink nail polish and create three dots in a triangular shape at the tip of your nail. Using a small brush or dotting tool, blend the dots together to create a rose design. Once the rose design is dry, you can add leaves using a green nail polish. Simply create small strokes on the sides of the rose to form the leaves. Repeat this process on each nail and let the design dry completely. Finish off with a top coat to seal the design and add shine. Your simple and easy rose nail art is now complete!5. Simple and Easy Rose Nail Art Tutorial

Simple and Easy Rose Nail Art Tutorial

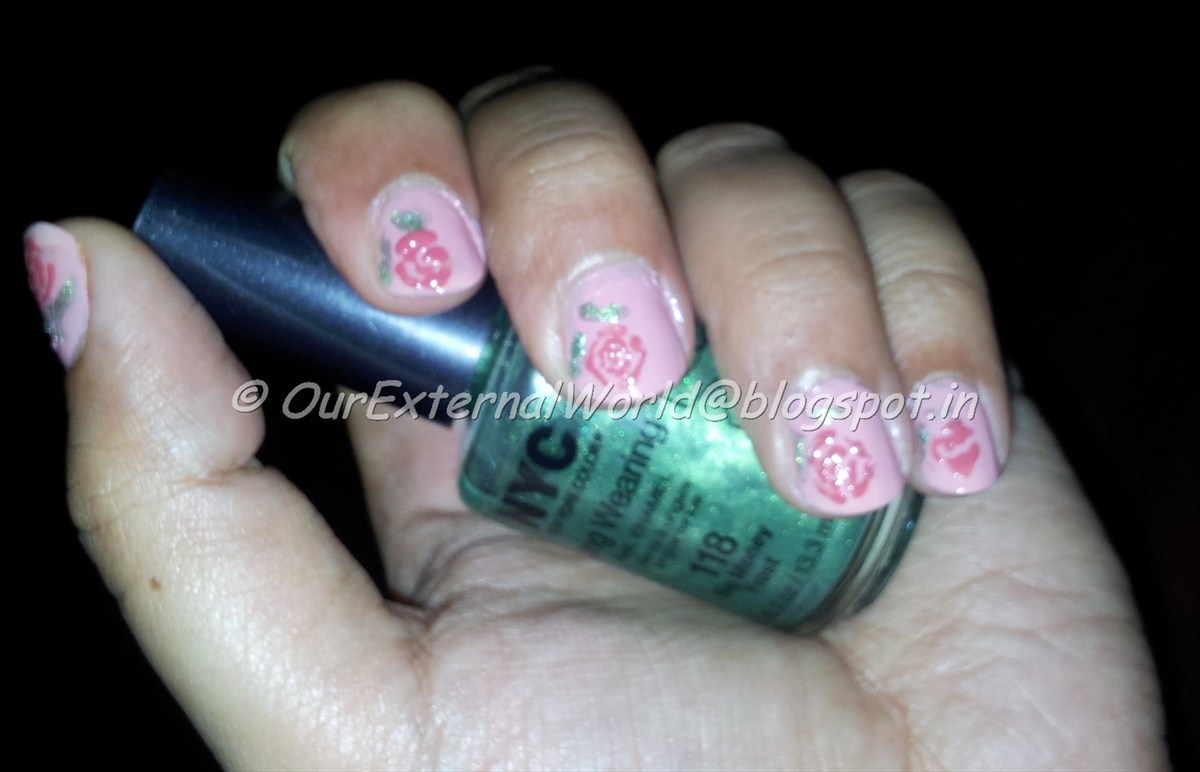
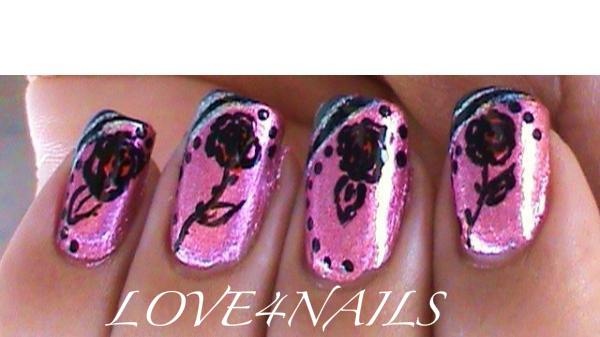
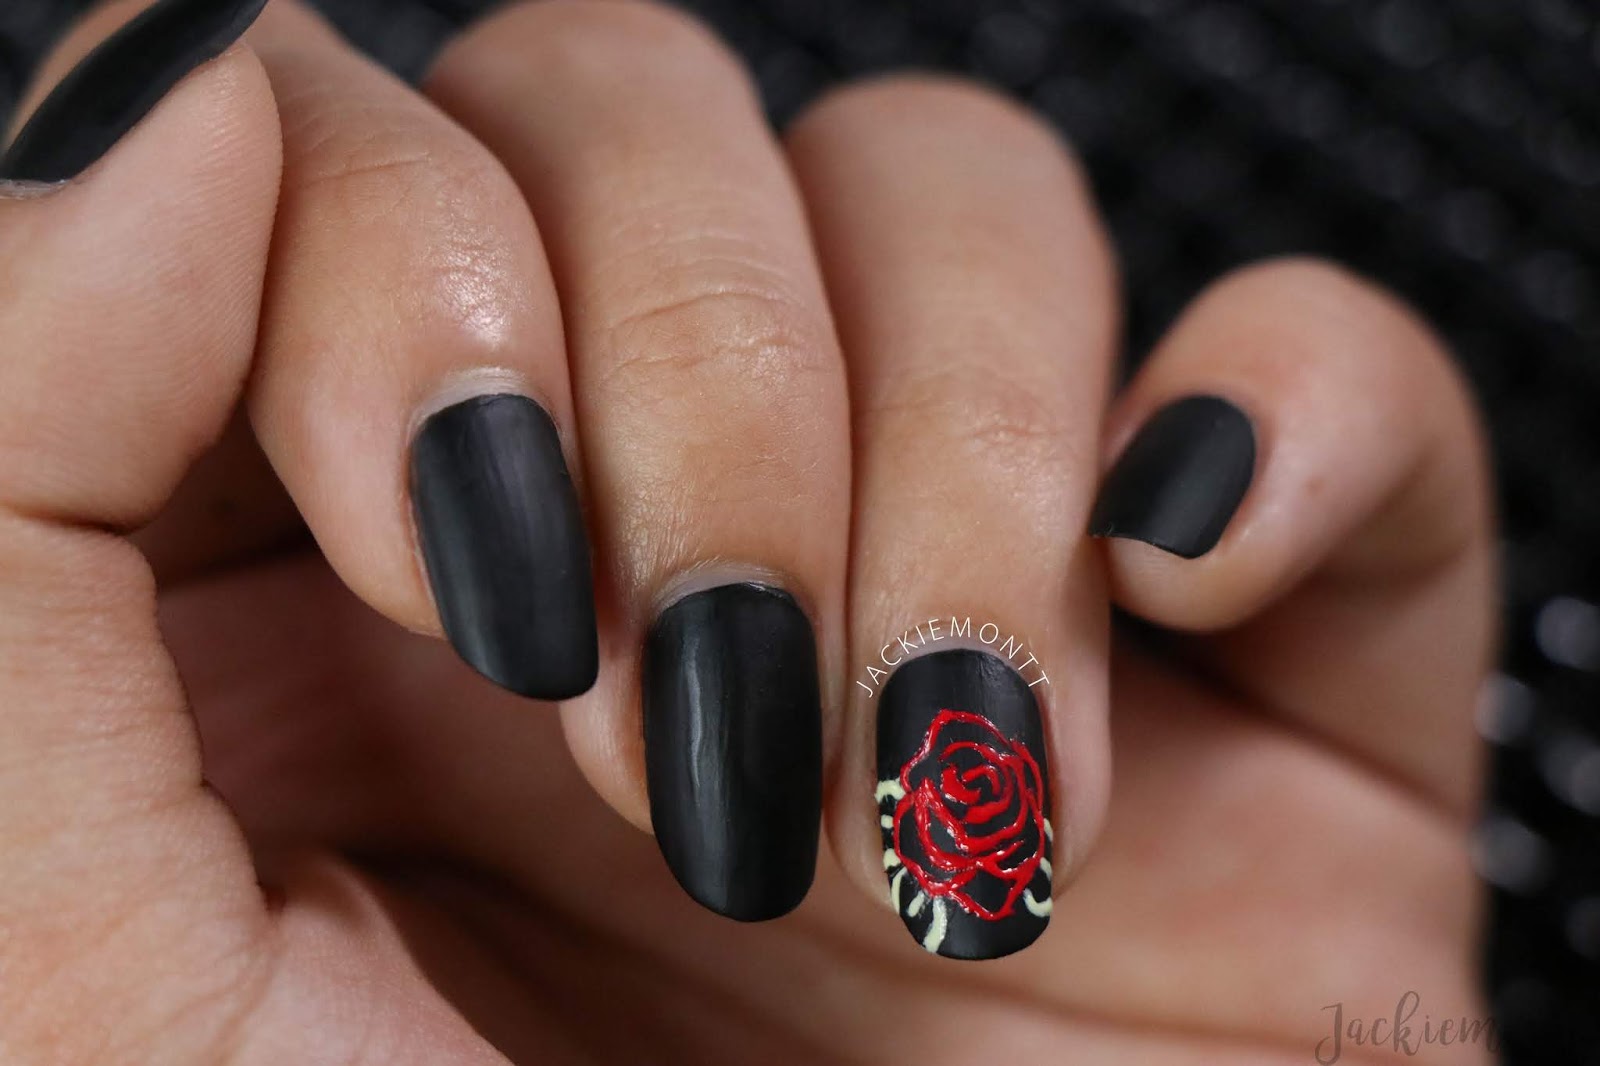
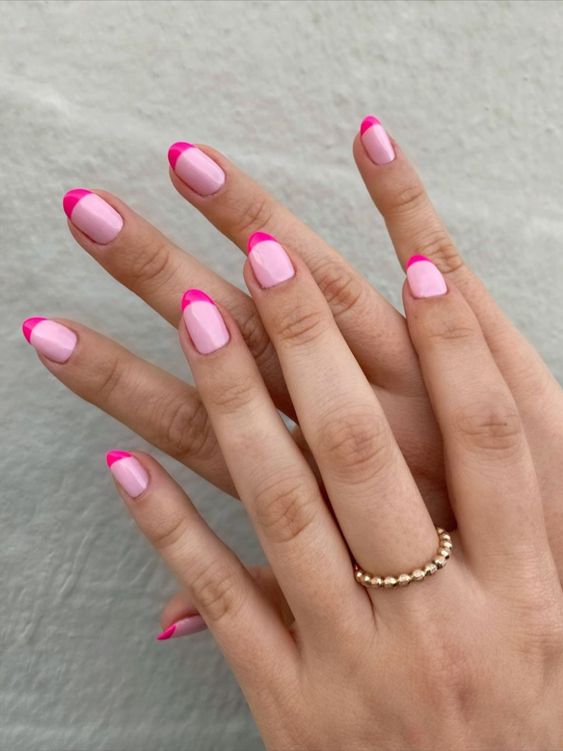
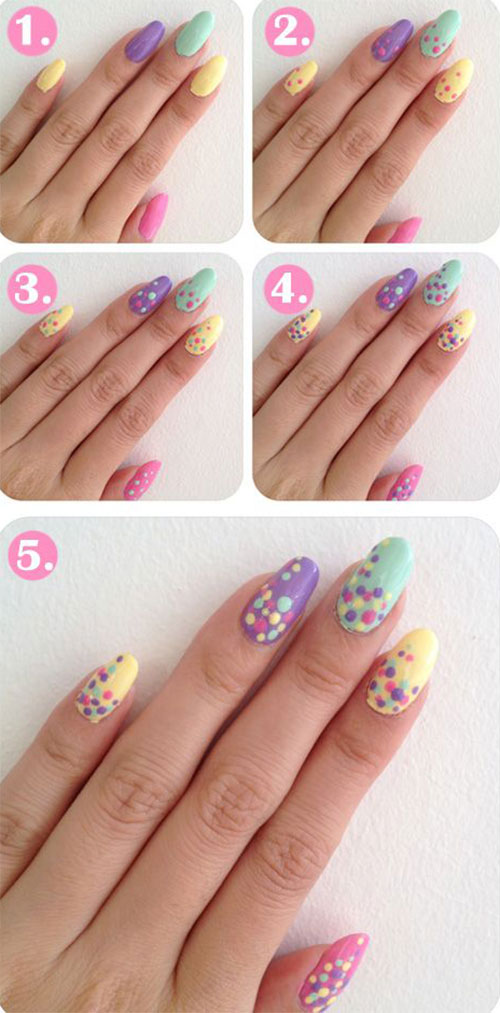
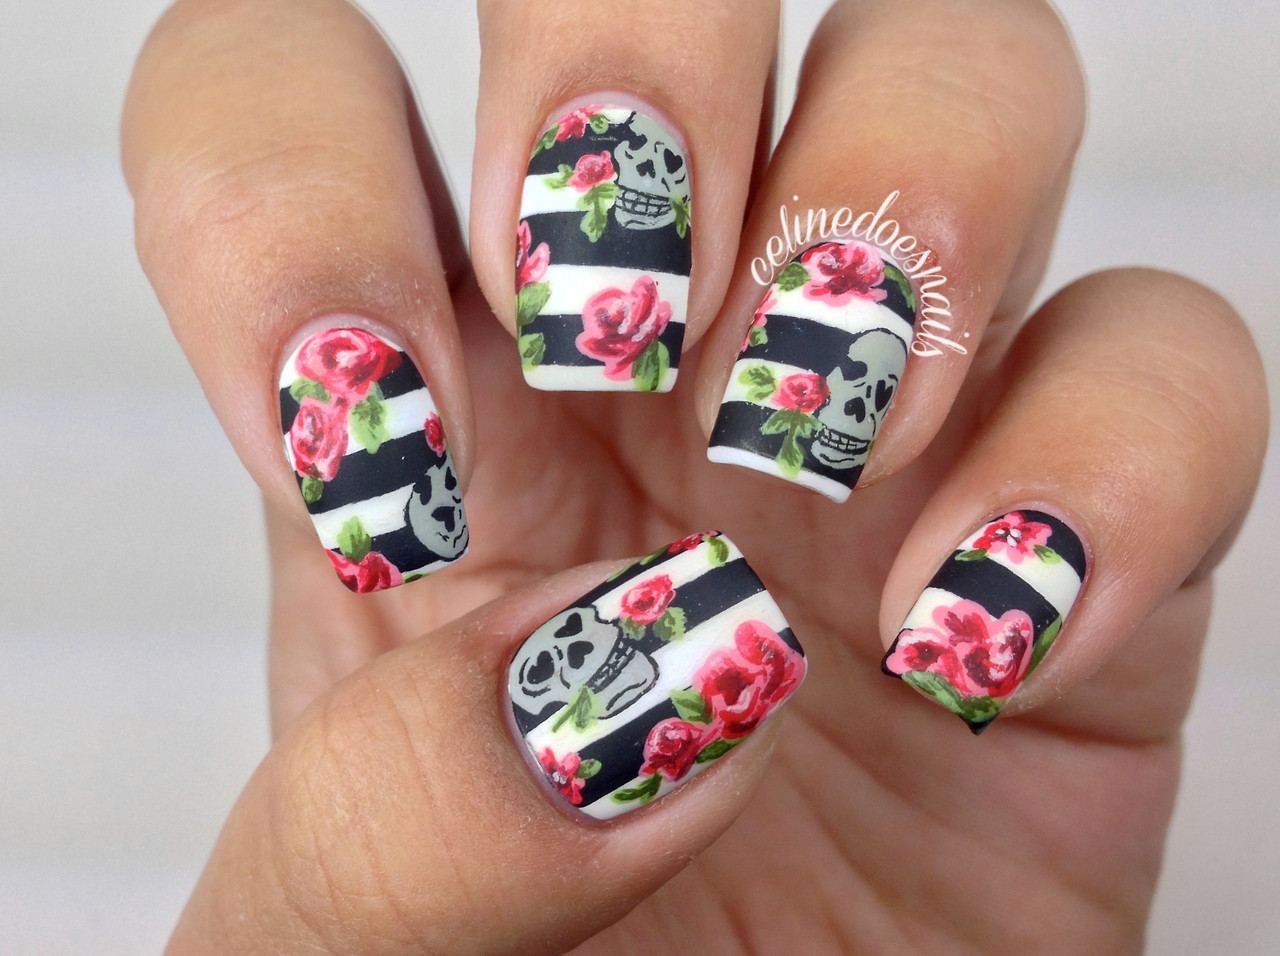
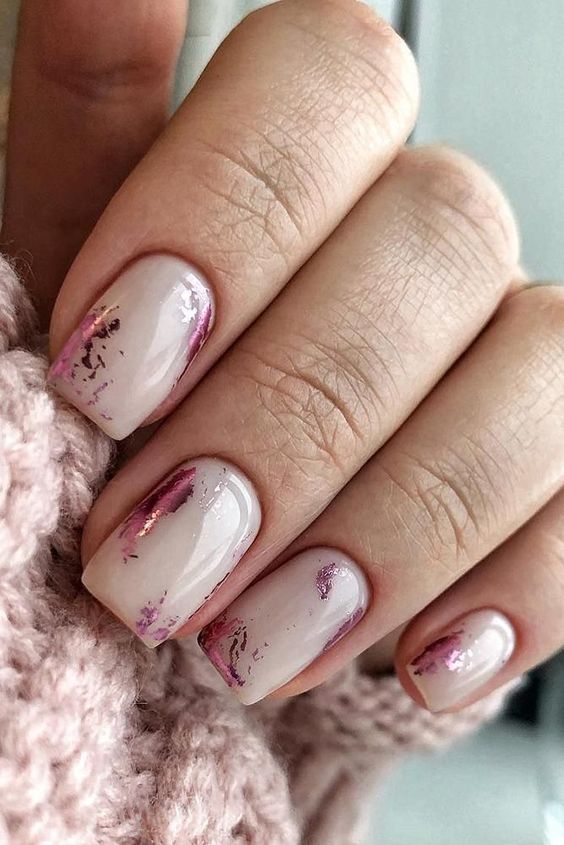
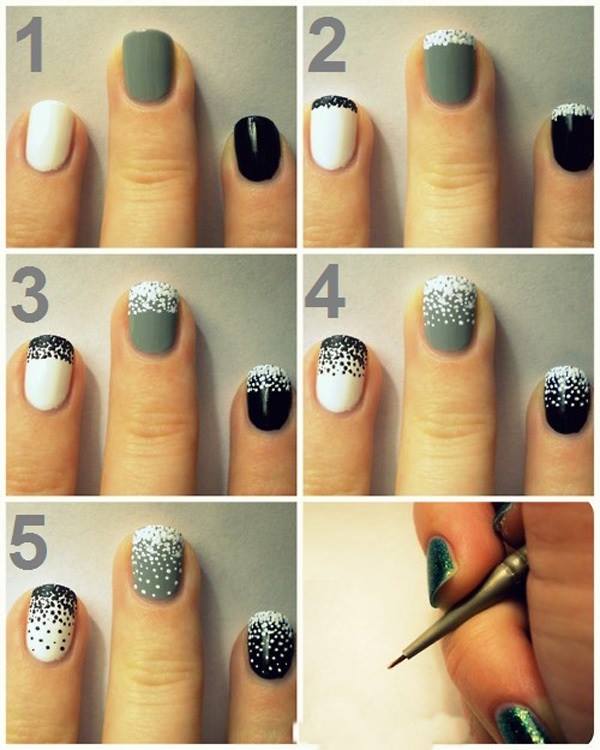
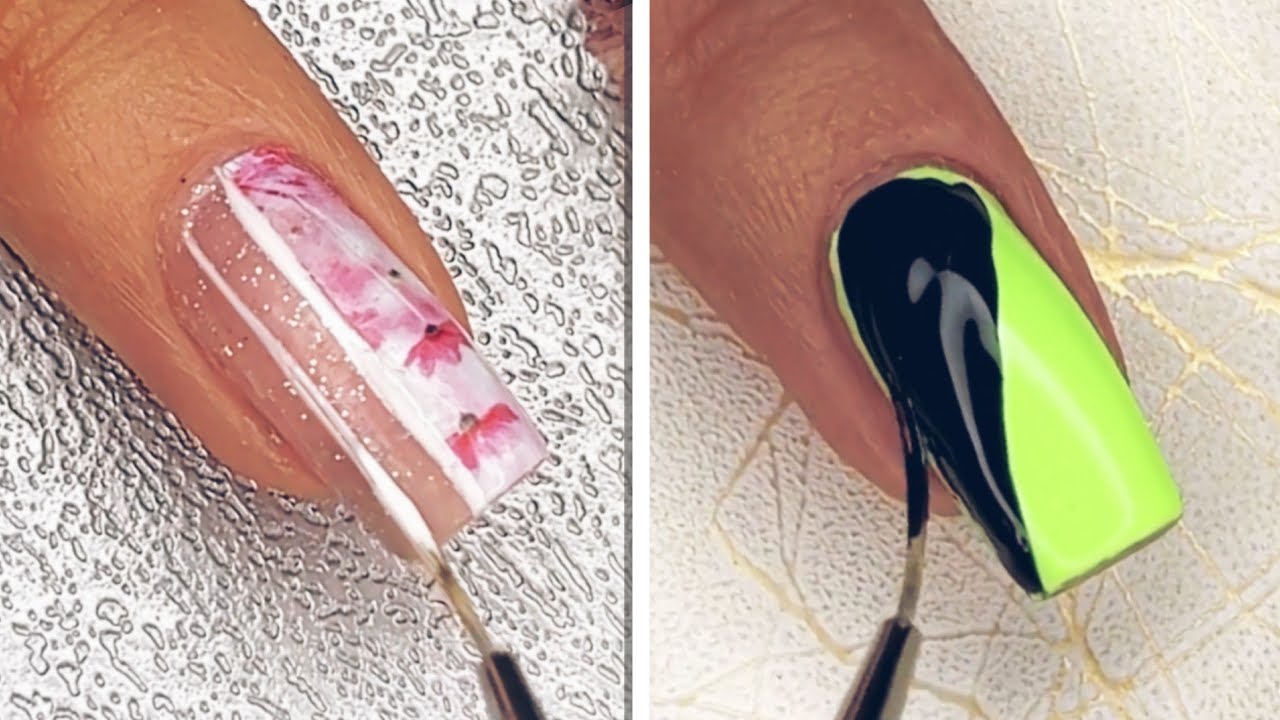
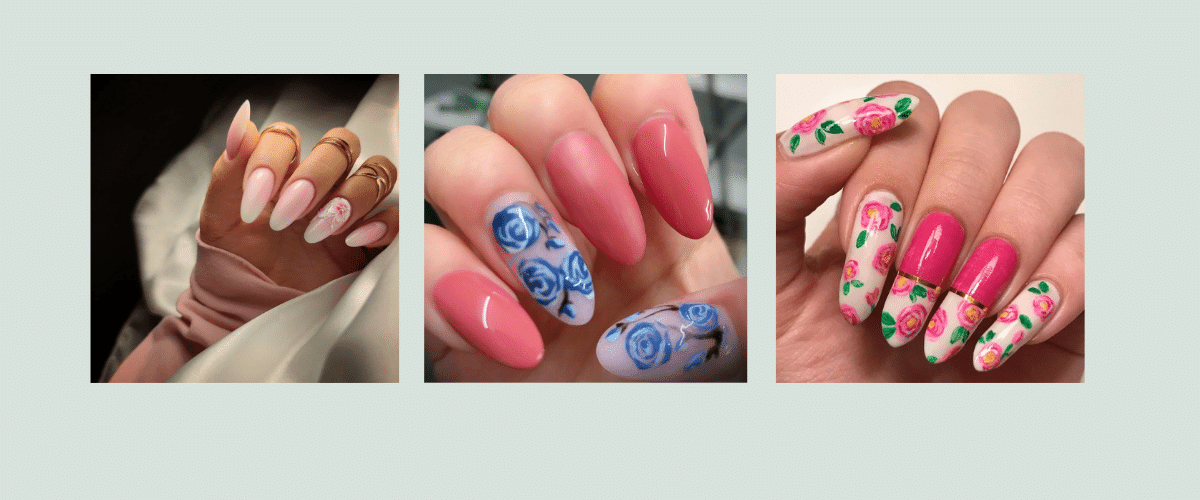
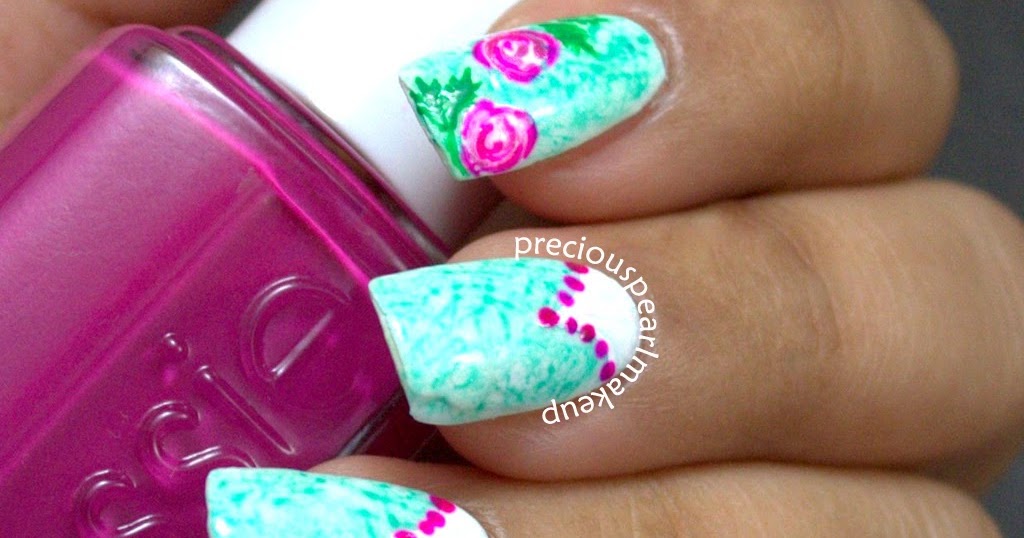
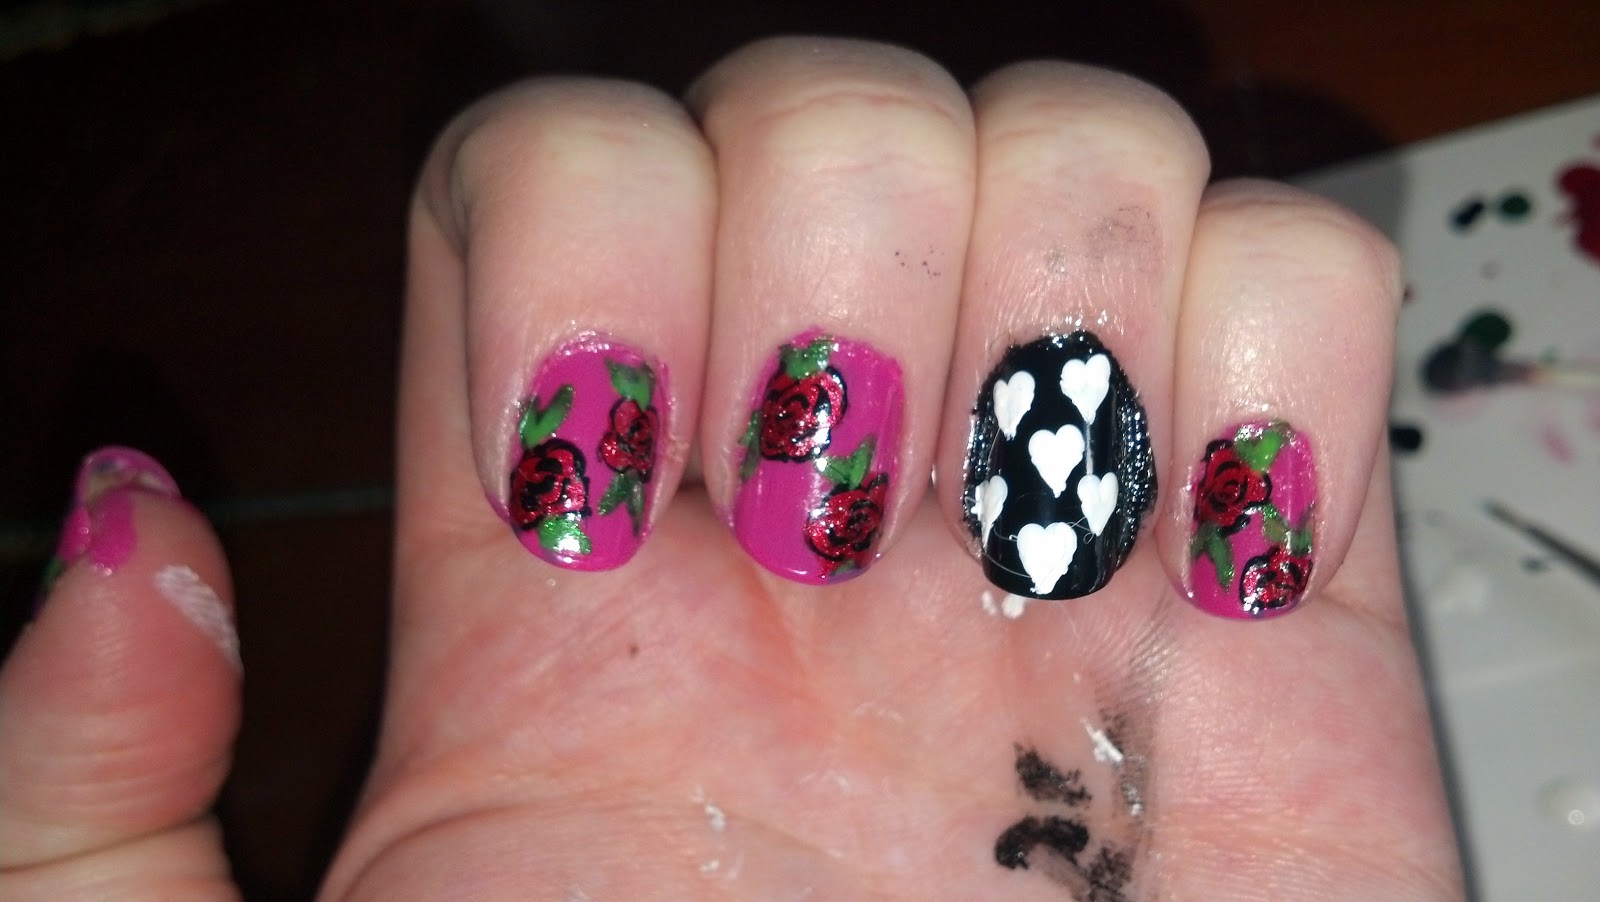
Looking for a step by step tutorial for different rose nail art designs? We've got you covered! Follow these easy steps to create various rose designs on your nails. Start by applying a base coat to protect your nails and let it dry. Then, apply two coats of your desired nail polish color and let it dry completely. For a classic rose design, create three dots in a triangular shape using a light pink nail polish. Blend the dots together to create a rose and add leaves using a green nail polish. To create a half-moon rose design, paint your nails with a light pink polish and let it dry. Then, using a dark pink polish, create a half-moon shape at the base of your nail. Add a rose design on the tip of your nail using the same dark pink polish. For a more abstract look, create a splatter effect using different shades of pink and red nail polish. Then, using a thin brush, create a rose design on top of the splatter using a black nail polish. Finish off all designs with a top coat to seal the design and add shine. Your unique rose nail art designs are now complete!6. Step by Step Tutorial for Rose Nail Art Designs

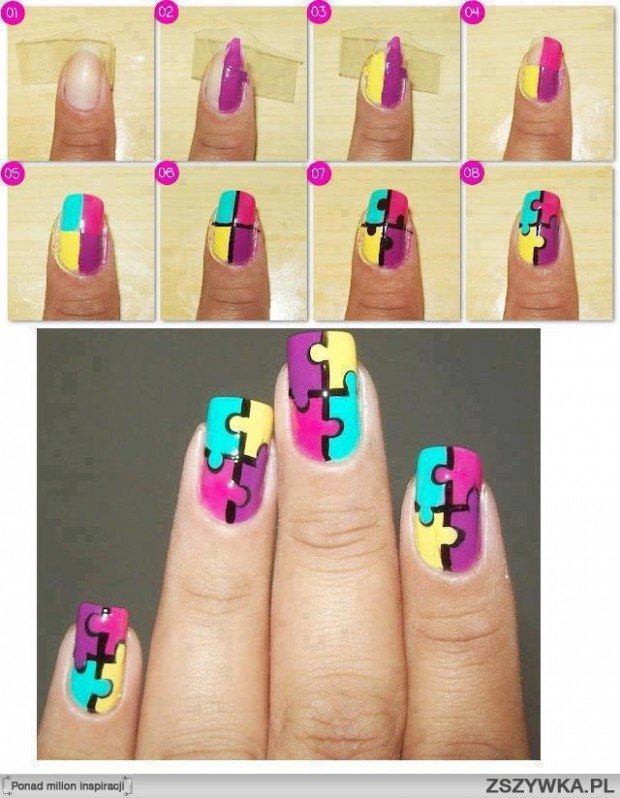
Step by Step Tutorial for Rose Nail Art Designs


Want to add a touch of elegance to your nails? Follow our step by step tutorial to create beautiful rose designs on your nails. Start by applying a base coat to protect your nails and let it dry. Then, apply two coats of your desired nail polish color and let it dry completely. Next, using a small brush or dotting tool, create three small dots in a triangular shape at the tip of your nail. These dots will serve as the base for your rose design. Once the dots are dry, take red nail polish and pink nail polish and add a drop of each on a flat surface. With a thin brush, mix the two colors together until you get a light pink shade. Using the mixed color, create a small circle on top of the three dots to form the center of the rose. Then, using the same color, create small strokes around the circle to form the petals of the rose. Repeat this process on each nail until you have a rose design on all your nails. You can also add small leaves using green nail polish to complete the look. Finally, let your nail art dry completely and finish off with a top coat to seal the design and add shine. Your elegant rose nail art is now complete!7. Nail Art Tutorial: How to Create Rose Designs Step by Step


Nail Art Tutorial: How to Create Rose Designs Step by Step


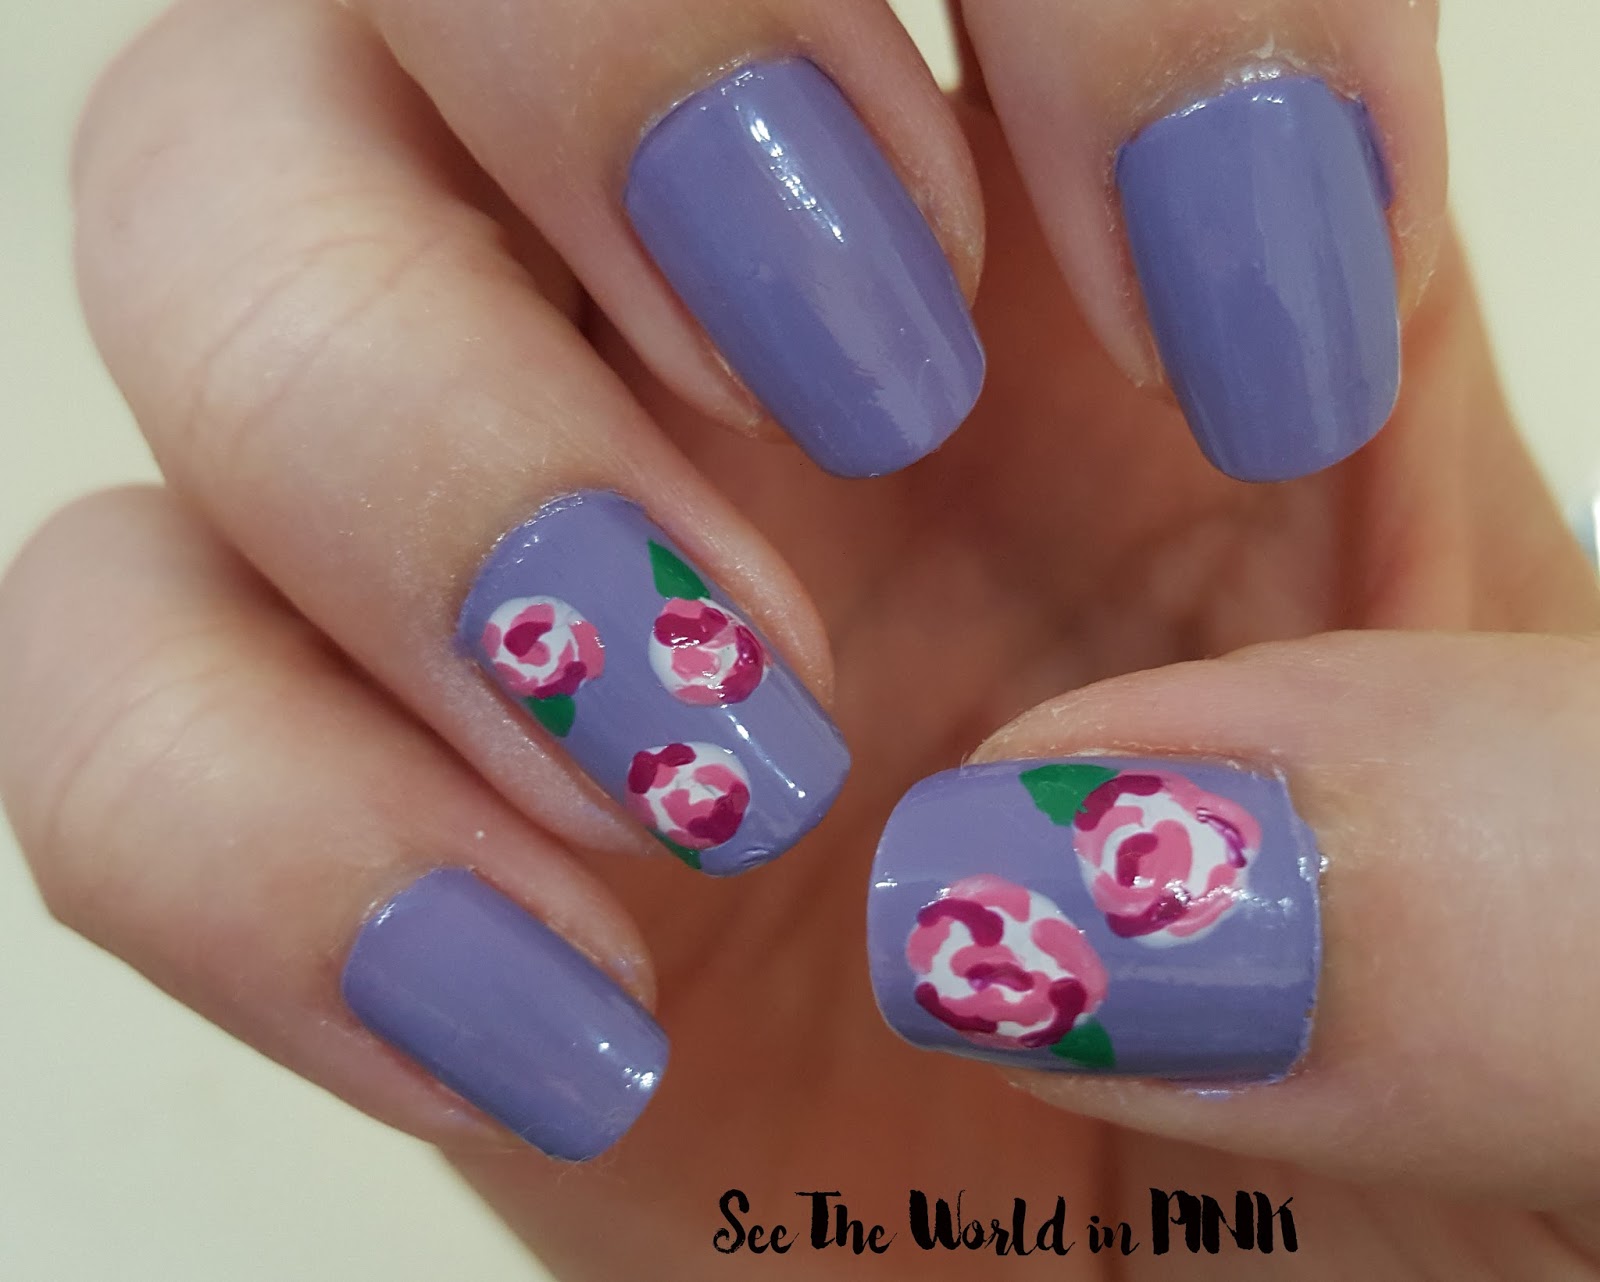
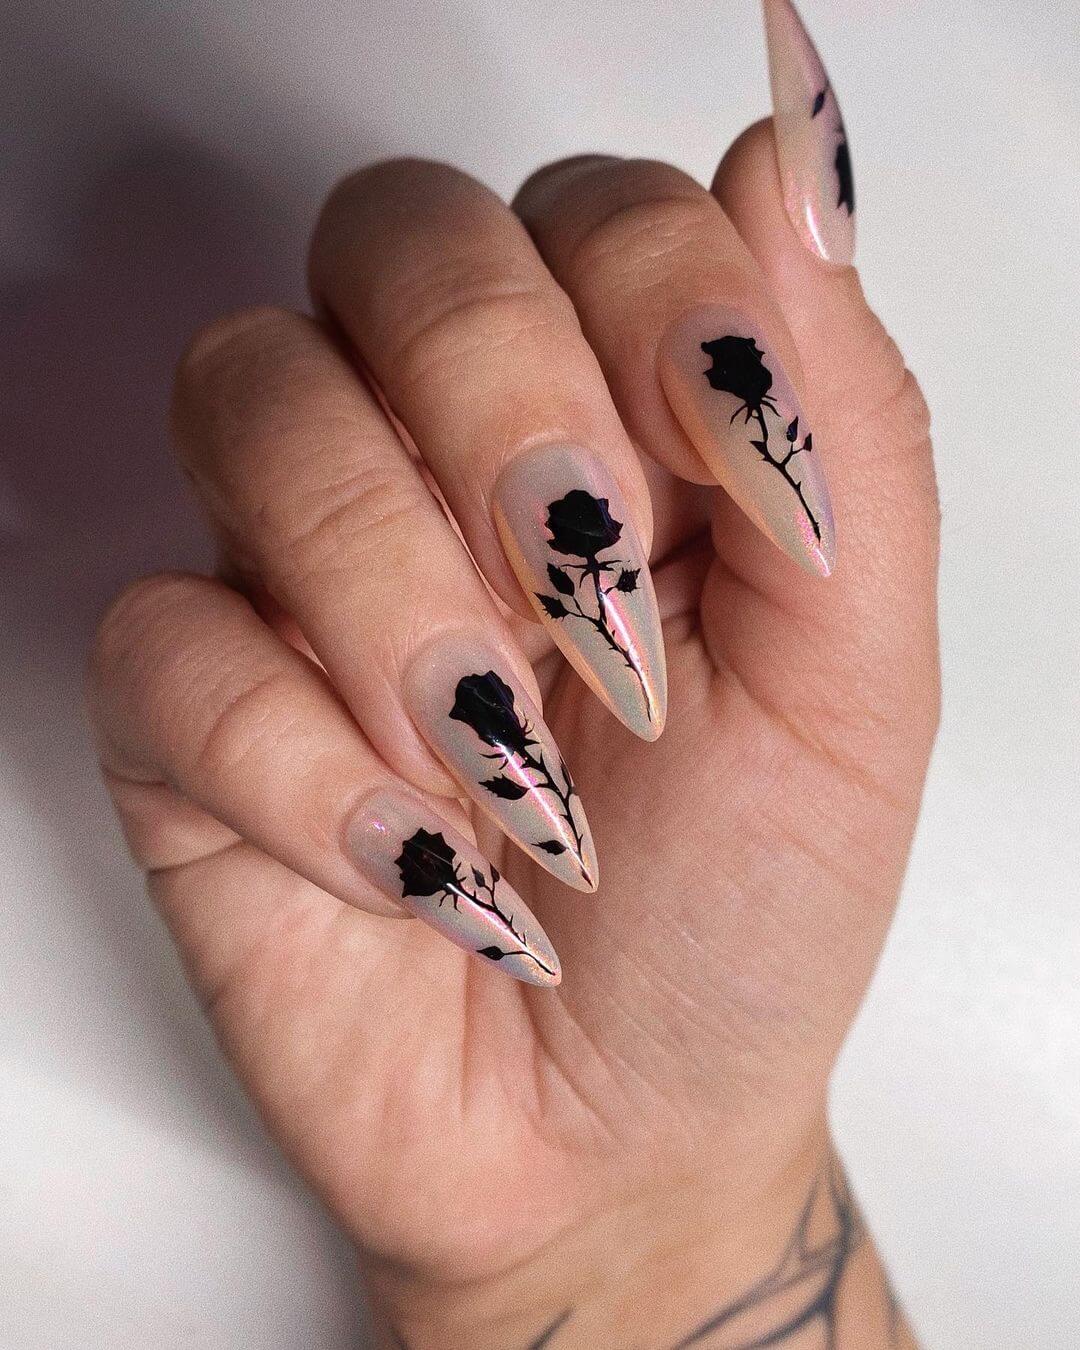
Looking to create a bold and eye-catching rose nail art design? Follow our step by step guide to achieve a stunning look. Start by applying a base coat to protect your nails and let it dry. Then, apply two coats of your desired nail polish color and let it dry completely. Next, using a small brush or dotting tool, create three small dots in a triangular shape at the tip of your nail. These dots will serve as the base for your rose design. Once the dots are dry, take red nail polish and purple nail polish and add a drop of each on a flat surface. With a thin brush, mix the two colors together until you get a deep pink shade. Using the mixed color, create a small circle on top of the three dots to form the center of the rose. Then, using the same color, create small strokes around the circle to form the petals of the rose. Repeat this process on each nail until you have a rose design on all your nails. You can also add small leaves using green nail polish to complete the look. Finally, let your nail art dry completely and finish off with a top coat to seal the design and add shine. Your stunning rose nail art is now complete!8. Step by Step Guide to Creating Stunning Rose Nail Art


Step by Step Guide to Creating Stunning Rose Nail Art


Want to learn how to create a rose nail art design in just 10 easy steps? Follow our tutorial to achieve a beautiful look without any hassle. Start by applying a base coat to protect your nails and let it dry. Then, apply two coats of your desired nail polish color and let it dry completely. Next, using a small brush or dotting tool, create three small dots in a triangular shape at the tip of your nail. These dots will serve as the base for your rose design. Once the dots are dry, take red nail polish and pink nail polish and add a drop of each on a flat surface. With a thin brush, mix the two colors together until you get a light pink shade. Using the mixed color, create a small circle on top of the three dots to form the center of the rose. Then, using the same color, create small strokes around the circle to form the petals of the rose. Repeat this process on each nail until you have a rose design on all your nails. You can also add small leaves using green nail polish to complete the look. Finally, let your nail art dry completely and finish off with a top coat to seal the design and add shine. Your rose nail art is now complete!9. Learn How to Create Rose Nail Art in 10 Easy Steps


Learn How to Create Rose Nail Art in 10 Easy Steps
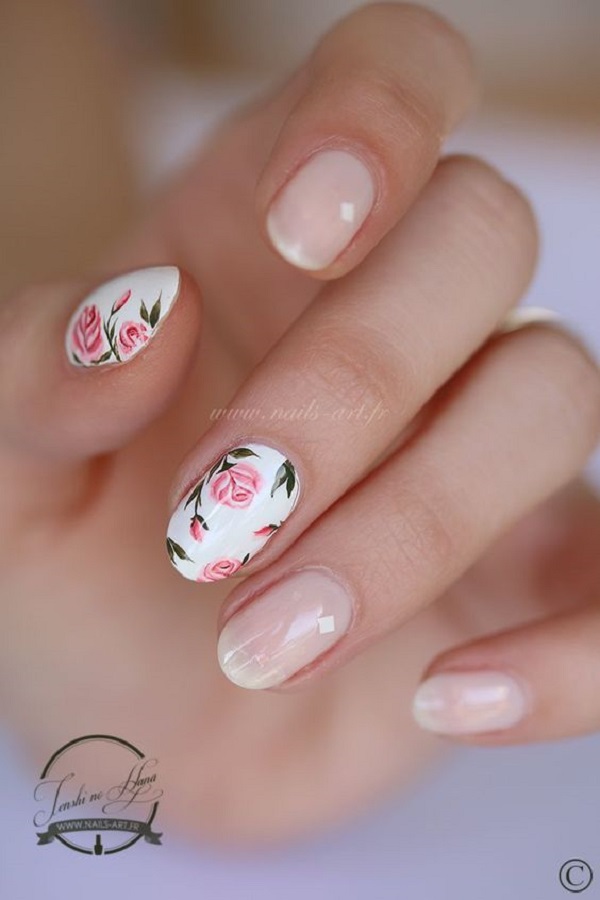
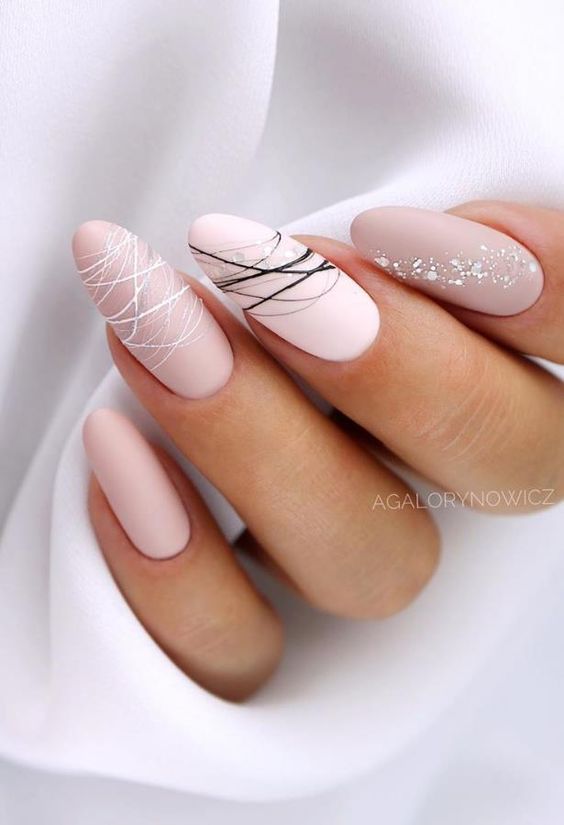
Looking to create an elegant and sophisticated rose nail art design? Look no further! Follow our step by step tutorial to achieve a beautiful look. Start by applying a base coat to protect your nails and let it dry. Then, apply two coats of your desired nail polish color and let it dry completely. Next, using a small brush or dotting tool, create three small dots in a triangular shape at the tip of your nail. These dots will serve as the base for your rose design. Once the dots are dry, take red nail polish and pink nail polish and add a drop of each on a flat surface. With a thin brush, mix the two colors together until you get a light pink shade. Using the mixed color, create a small circle on top of the three dots to form the center of the rose. Then, using the same color, create small strokes around the circle to form the petals of the rose. Repeat this process on each nail until you have a rose design on all your nails. You can also add small leaves using green nail polish to complete the look. Finally, let your nail art dry completely and finish off with a top coat to seal the design and add shine. Your elegant rose nail art is now complete!10. Step by Step Tutorial for Creating Elegant Rose Nail Art
Step by Step Tutorial for Creating Elegant Rose Nail Art
How to Create Stunning Nail Art Roses: A Step-by-Step Guide

Unleash Your Inner Artist with These Easy Techniques
 Do you want to elevate your nail game and create beautiful, intricate designs that will make your friends and family envious? Look no further than
nail art roses
. These delicate and elegant flowers are a classic design that will never go out of style. In this step-by-step guide, we will show you how to create stunning
nail art roses
that will have everyone asking, "How did you do that?"
Do you want to elevate your nail game and create beautiful, intricate designs that will make your friends and family envious? Look no further than
nail art roses
. These delicate and elegant flowers are a classic design that will never go out of style. In this step-by-step guide, we will show you how to create stunning
nail art roses
that will have everyone asking, "How did you do that?"
Gather Your Supplies
 Before we dive into the tutorial, you will need to gather the necessary supplies. Here's what you'll need:
- Base coat
- Top coat
- White nail polish
- Pink nail polish
- Green nail polish
- Dotting tool
- Thin nail art brush
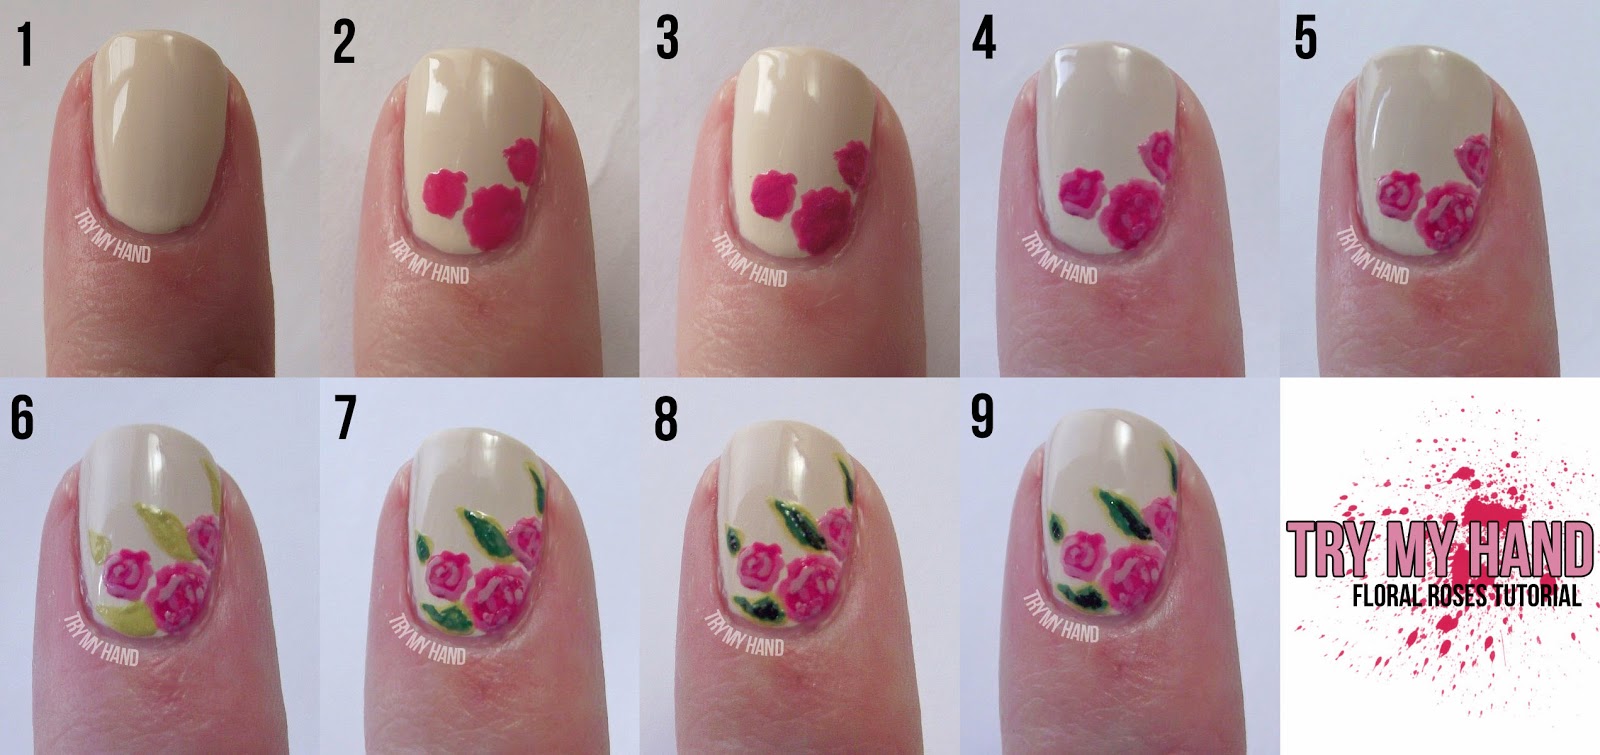
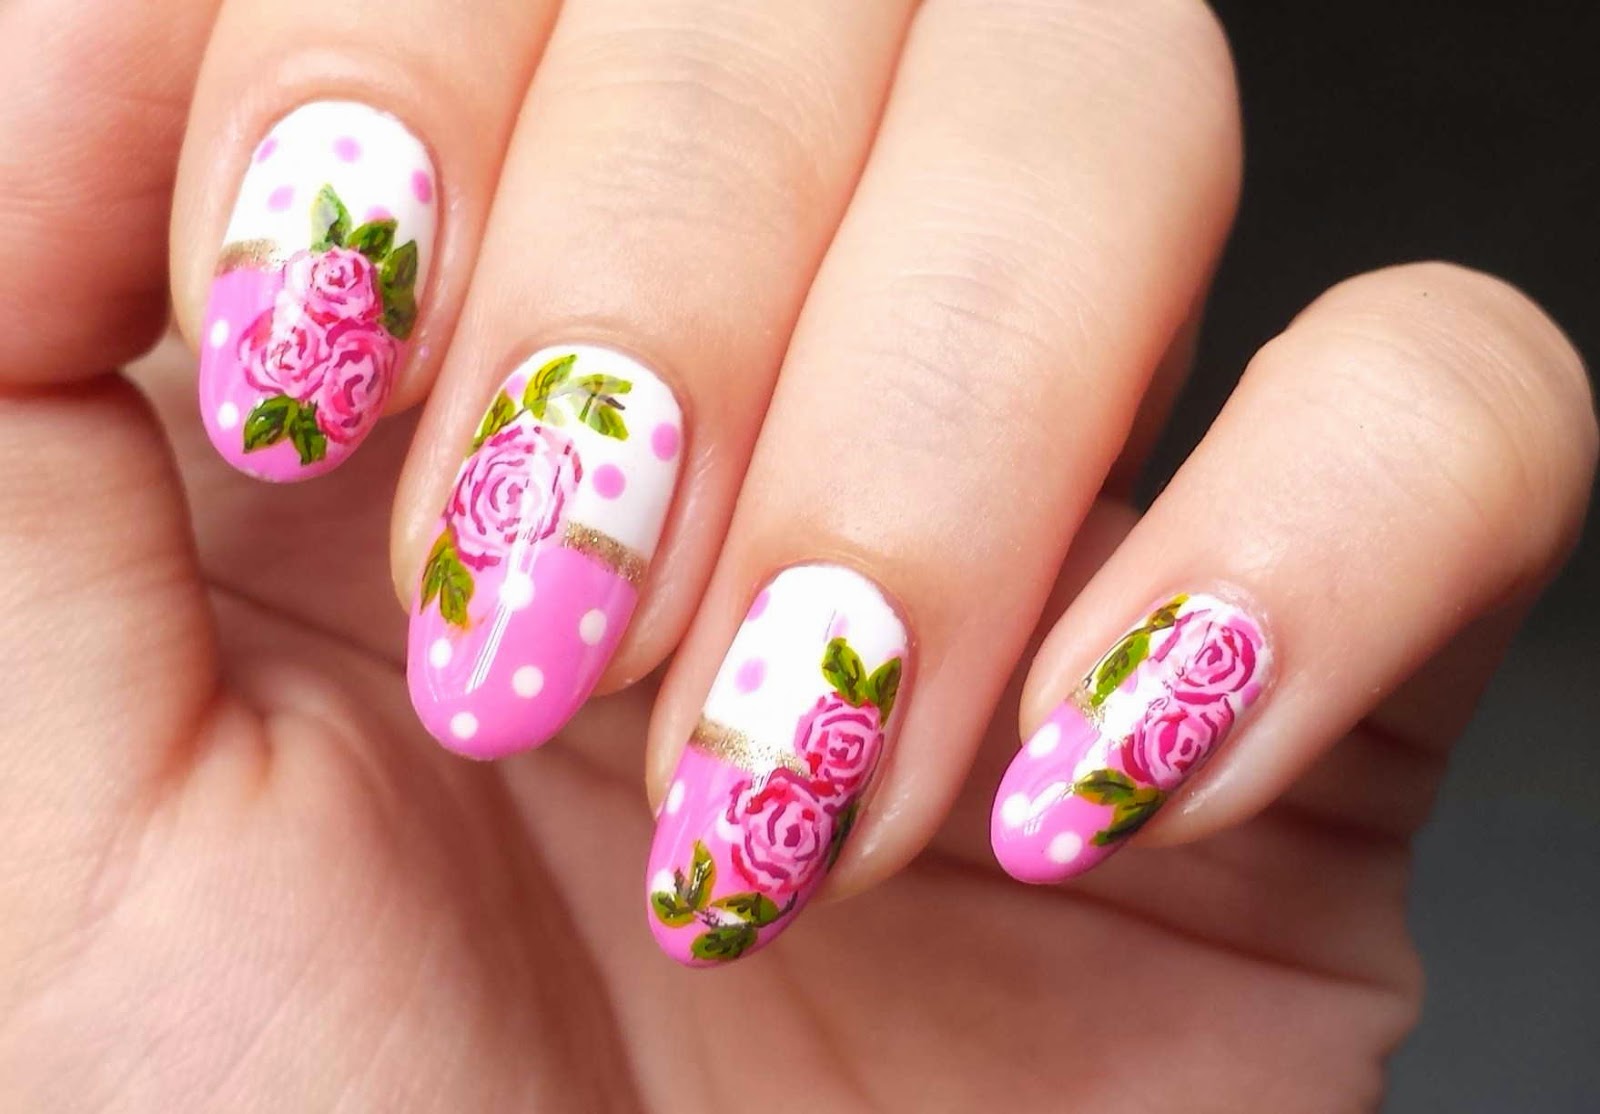
Step 1: Prep Your Nails
 Start by applying a base coat to your nails to protect them and create a smooth canvas for your design. Once the base coat is dry, apply two coats of white nail polish and let it dry completely.
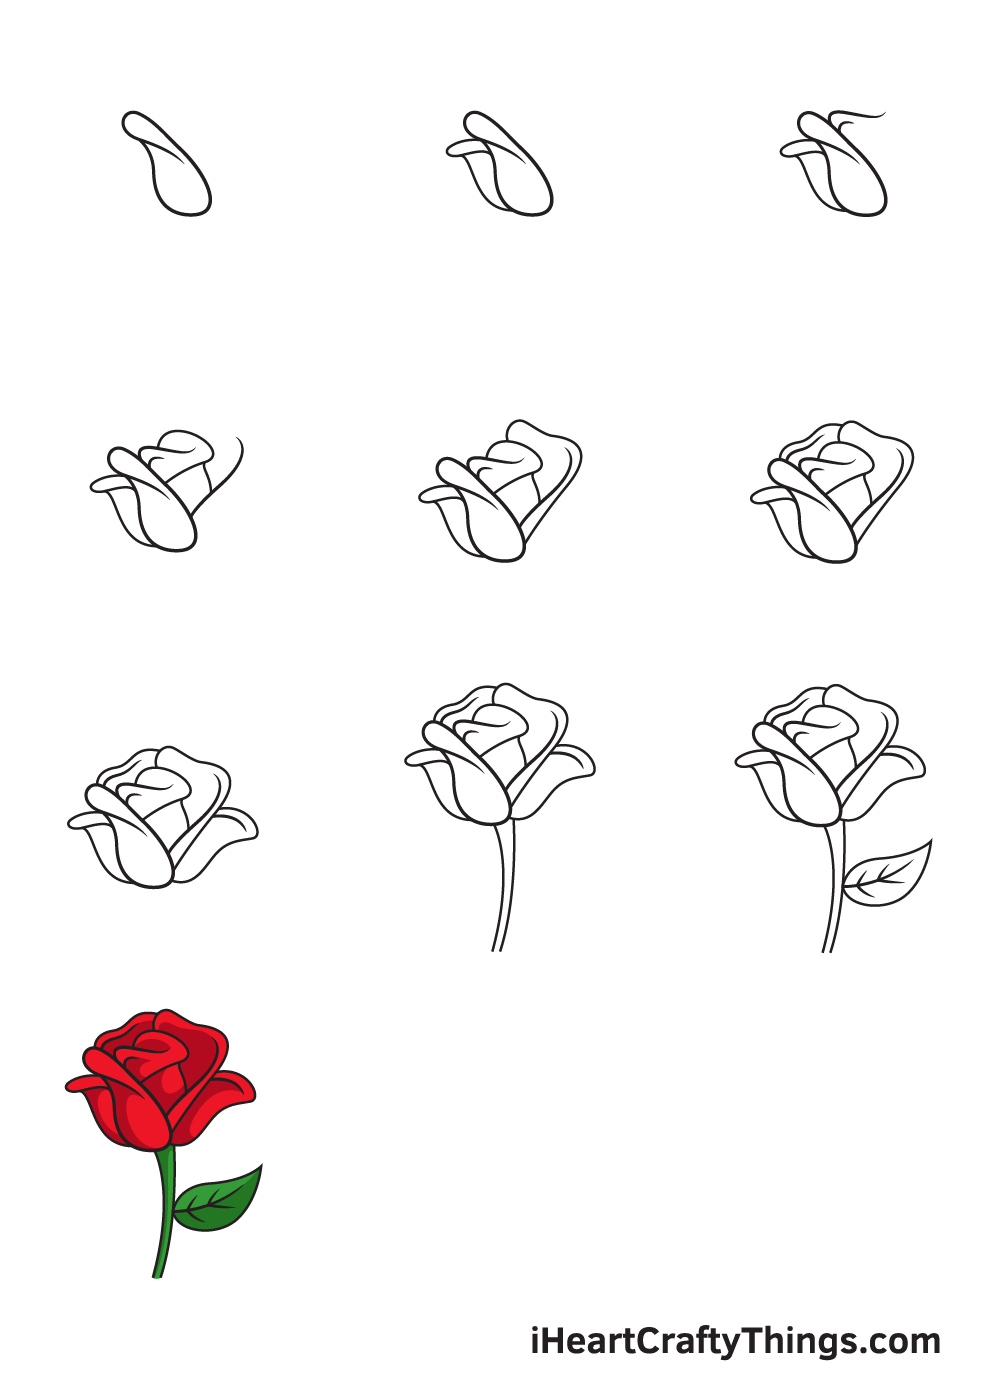
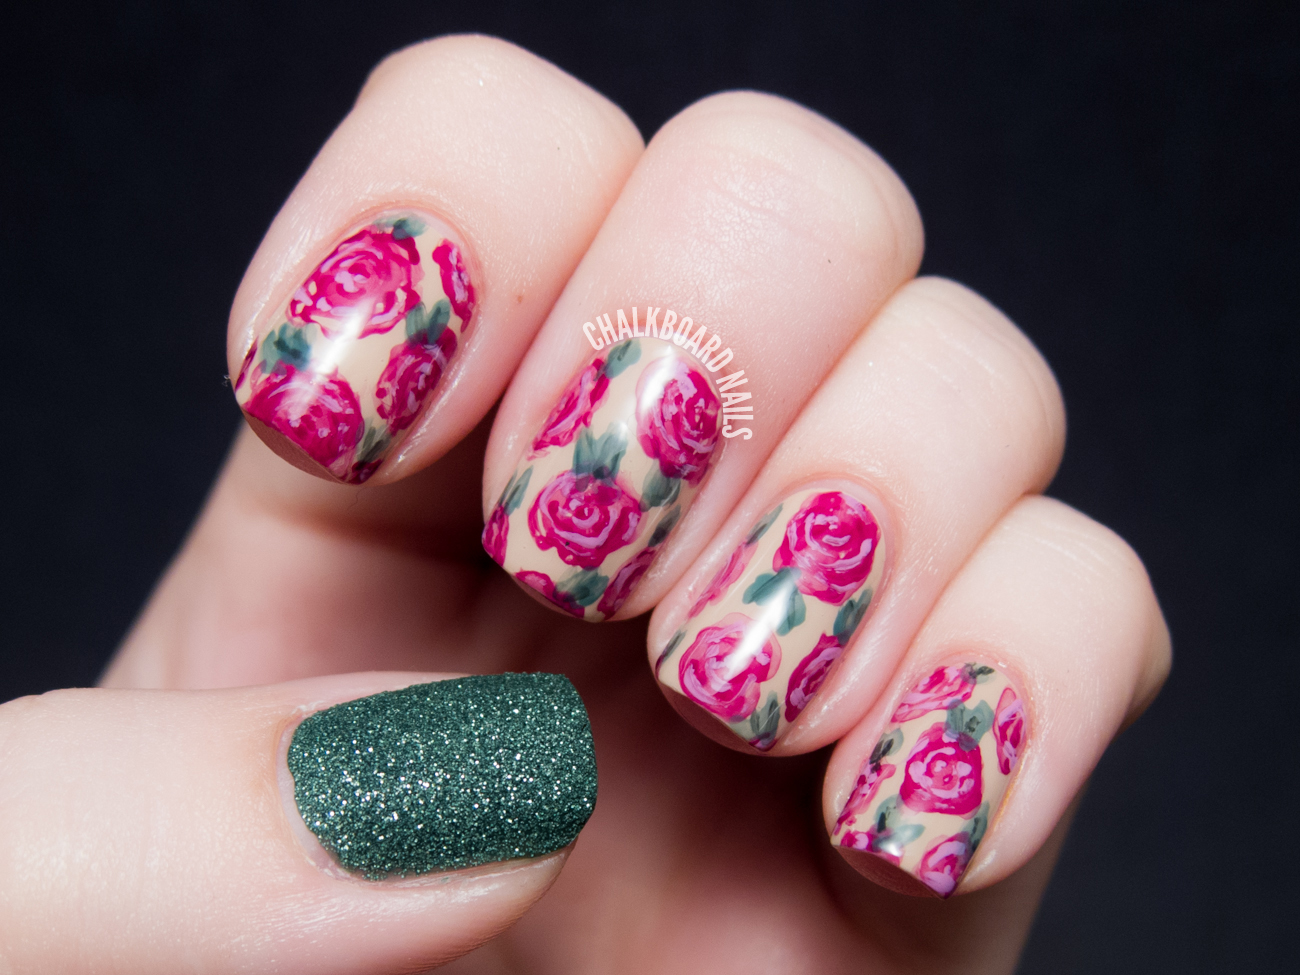
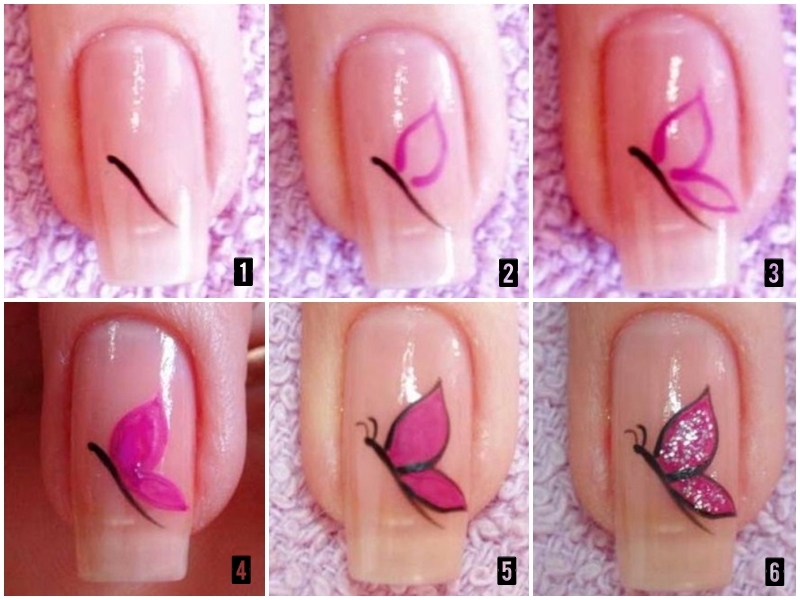
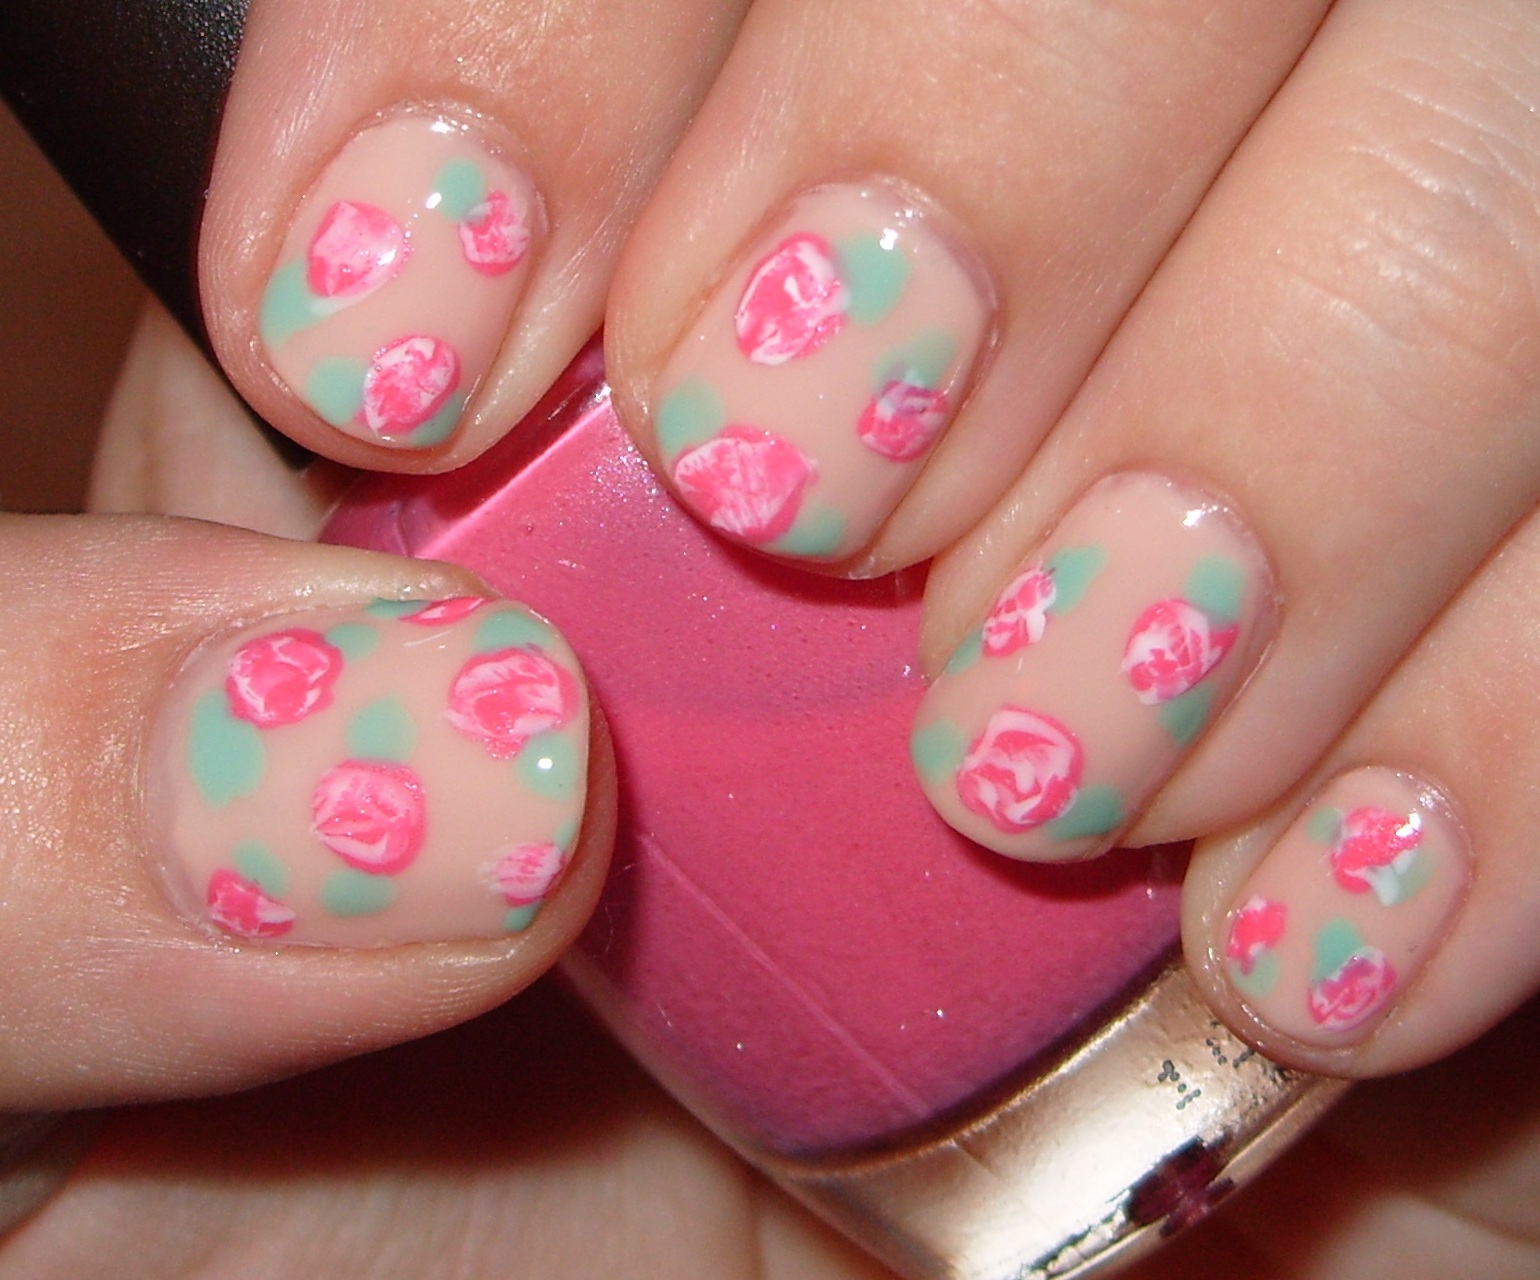
Step 2: Create the Rose Petals
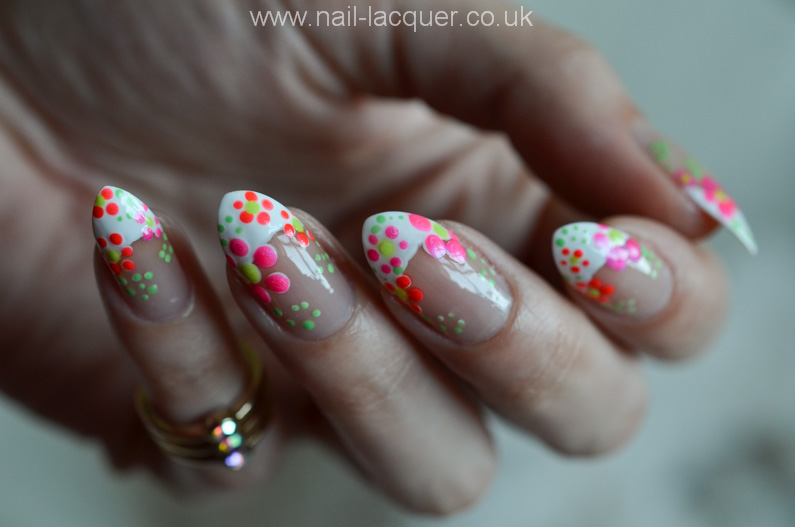
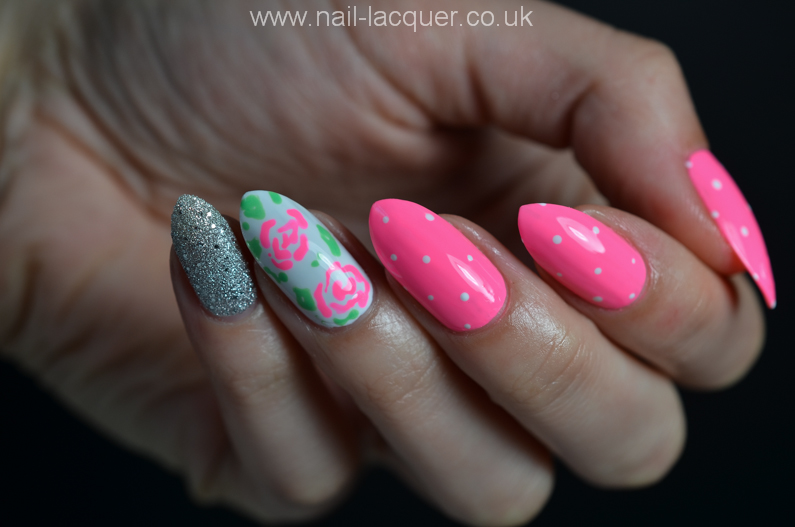
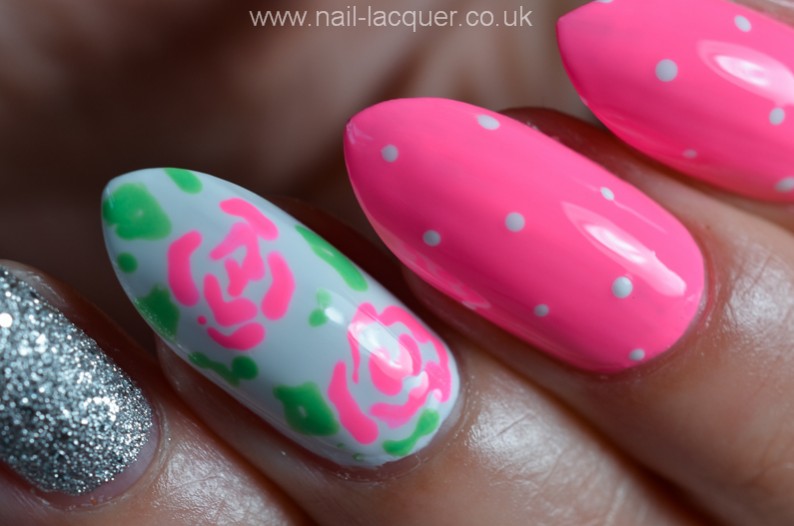
 Using your pink nail polish, create three small dots in a triangular shape on your nail. These dots will serve as the base for your rose petals. Using your dotting tool, gently drag the pink polish from the center dot towards the outer dots, creating a petal shape. Repeat this step until you have five petals.
Step 3: Add Dimension to the Petals
 To add depth and dimension to your rose petals, use your thin nail art brush and dip it in your pink polish. Create thin lines along the edges of each petal to give them a more realistic look.
Step 4: Add the Leaves
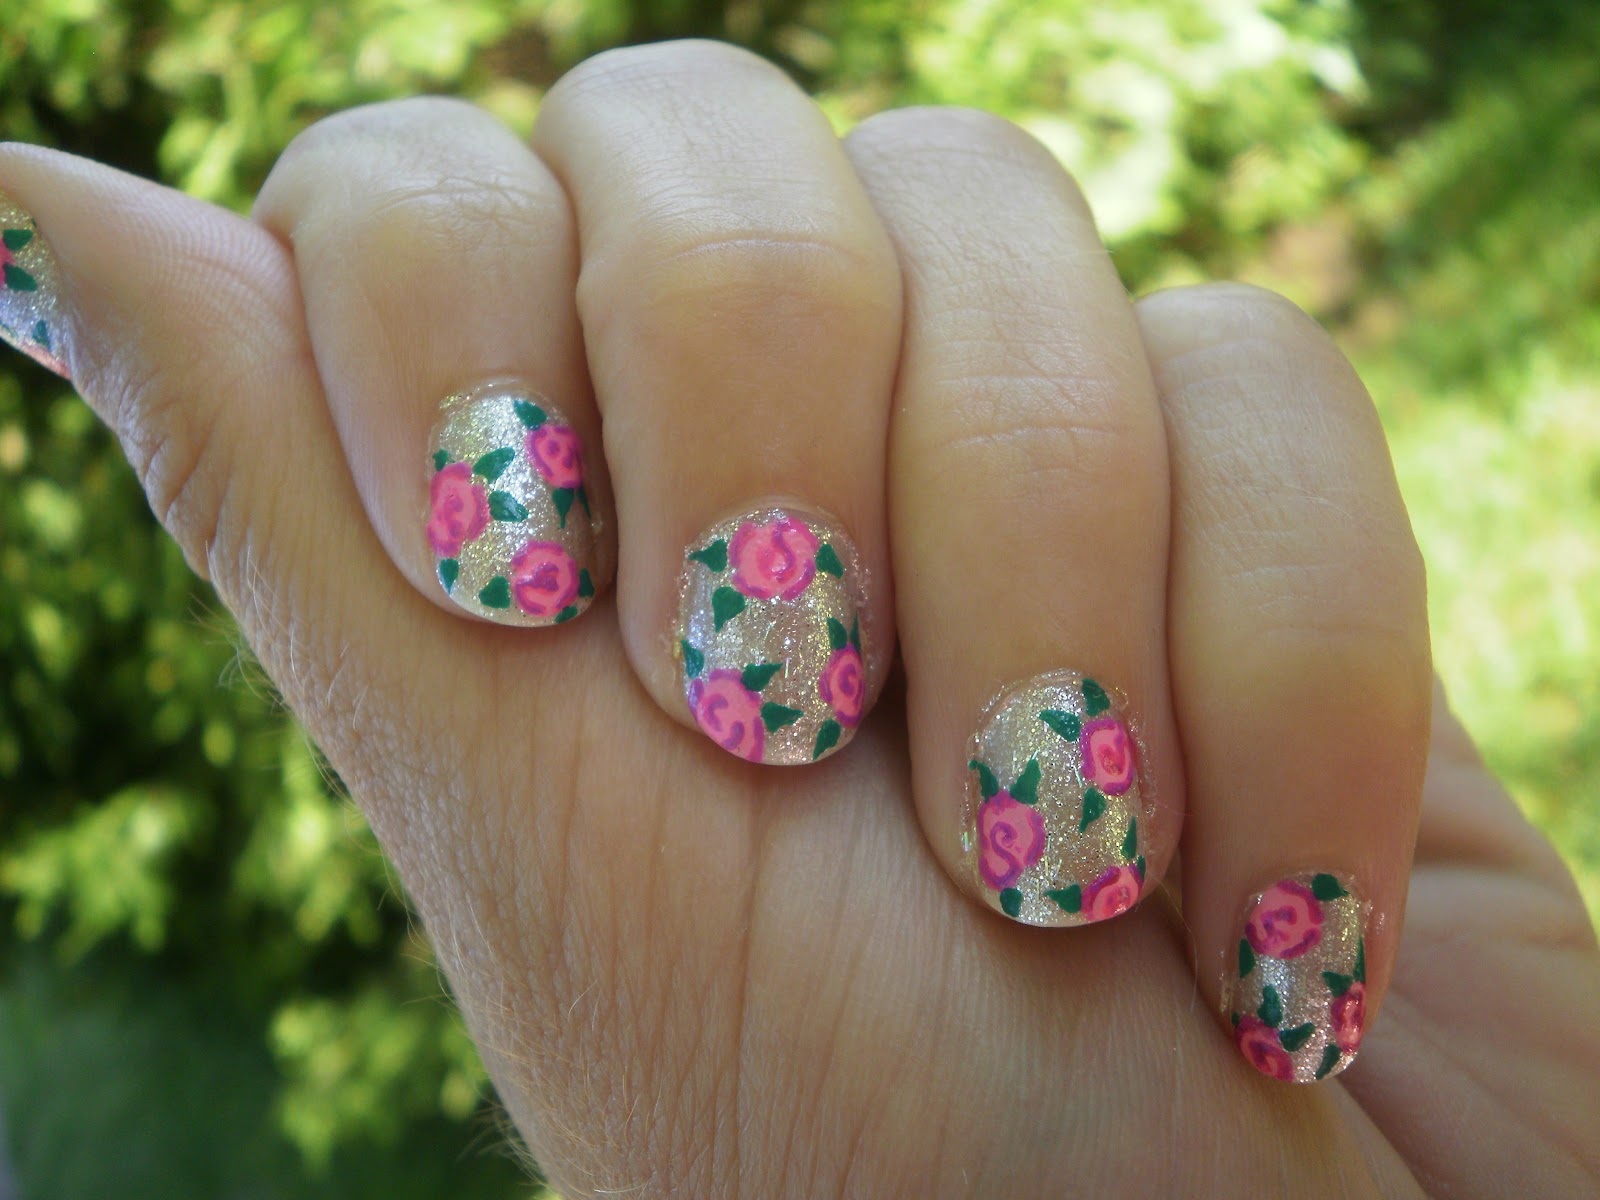 Using your green nail polish, create two small leaves at the base of your rose. Simply dip your thin nail art brush in the green polish and create two curved lines. Then, add small lines down the middle of each leaf for added detail.
Step 5: Finishing Touches
 Once your design is dry, apply a top coat to seal in your
nail art roses
and give them a glossy finish. This will also help your design last longer.
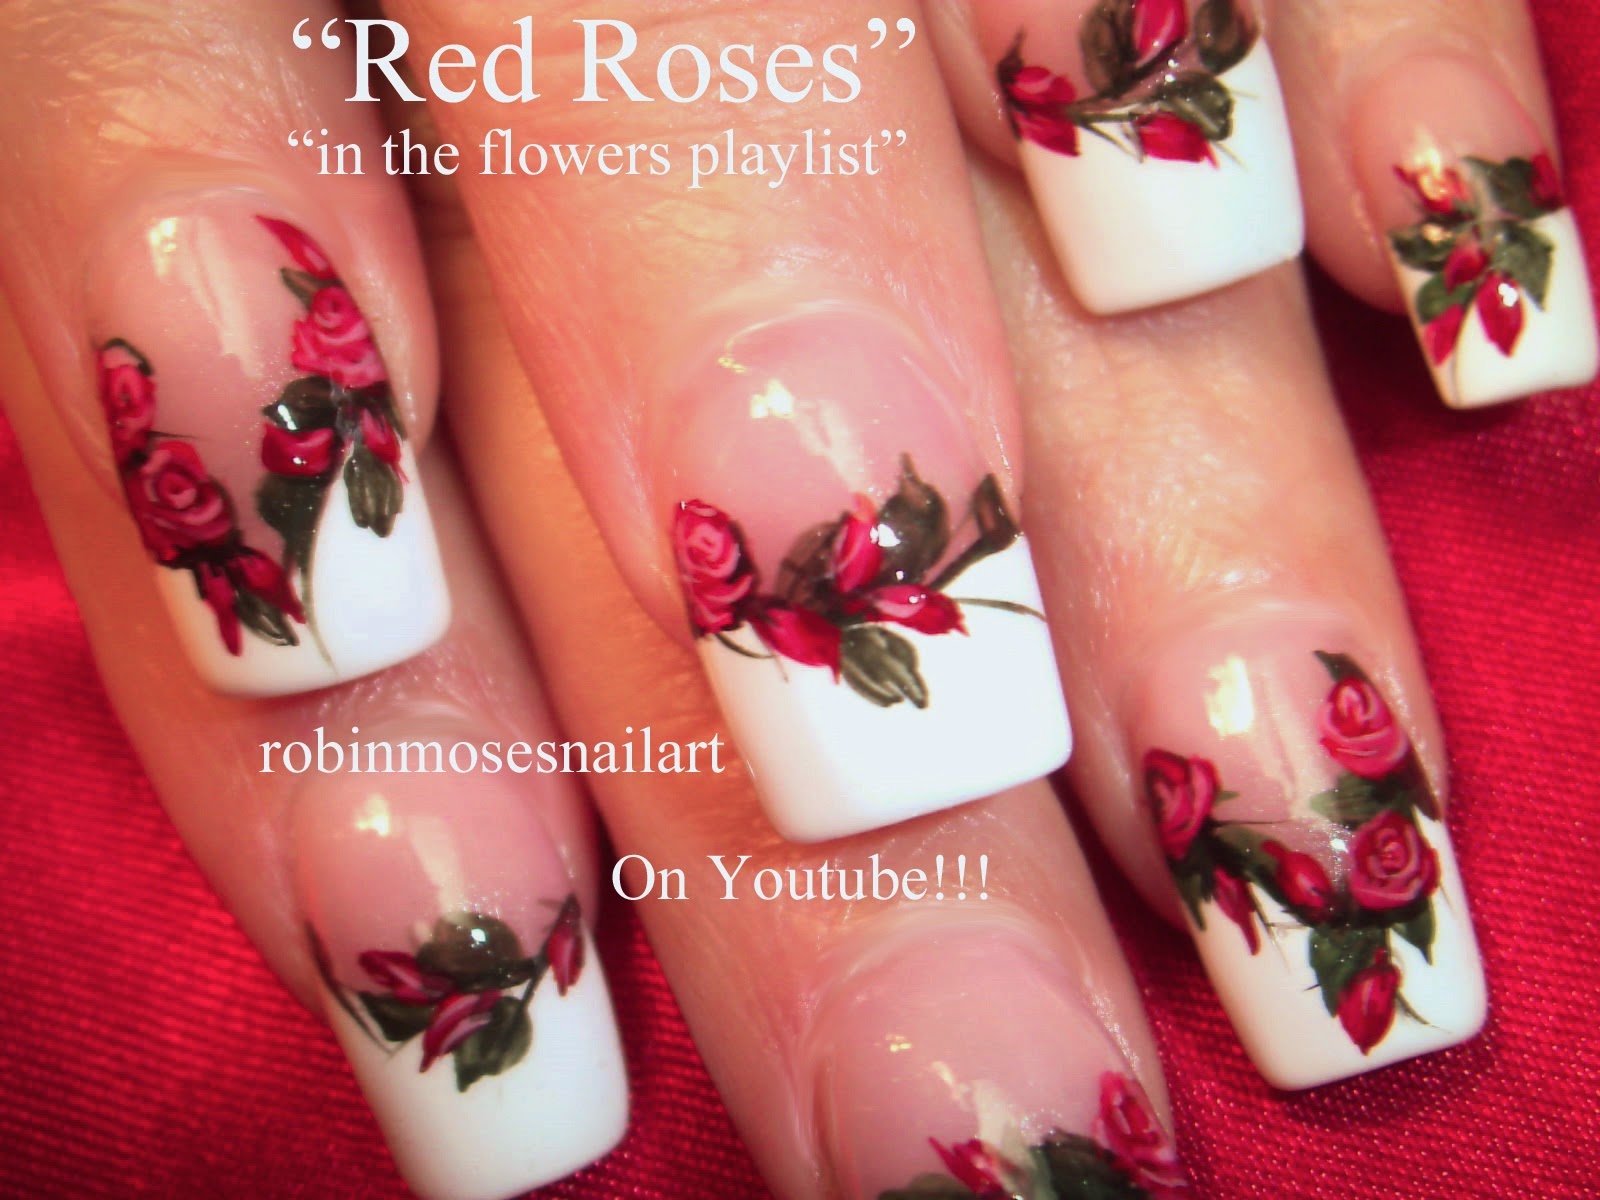
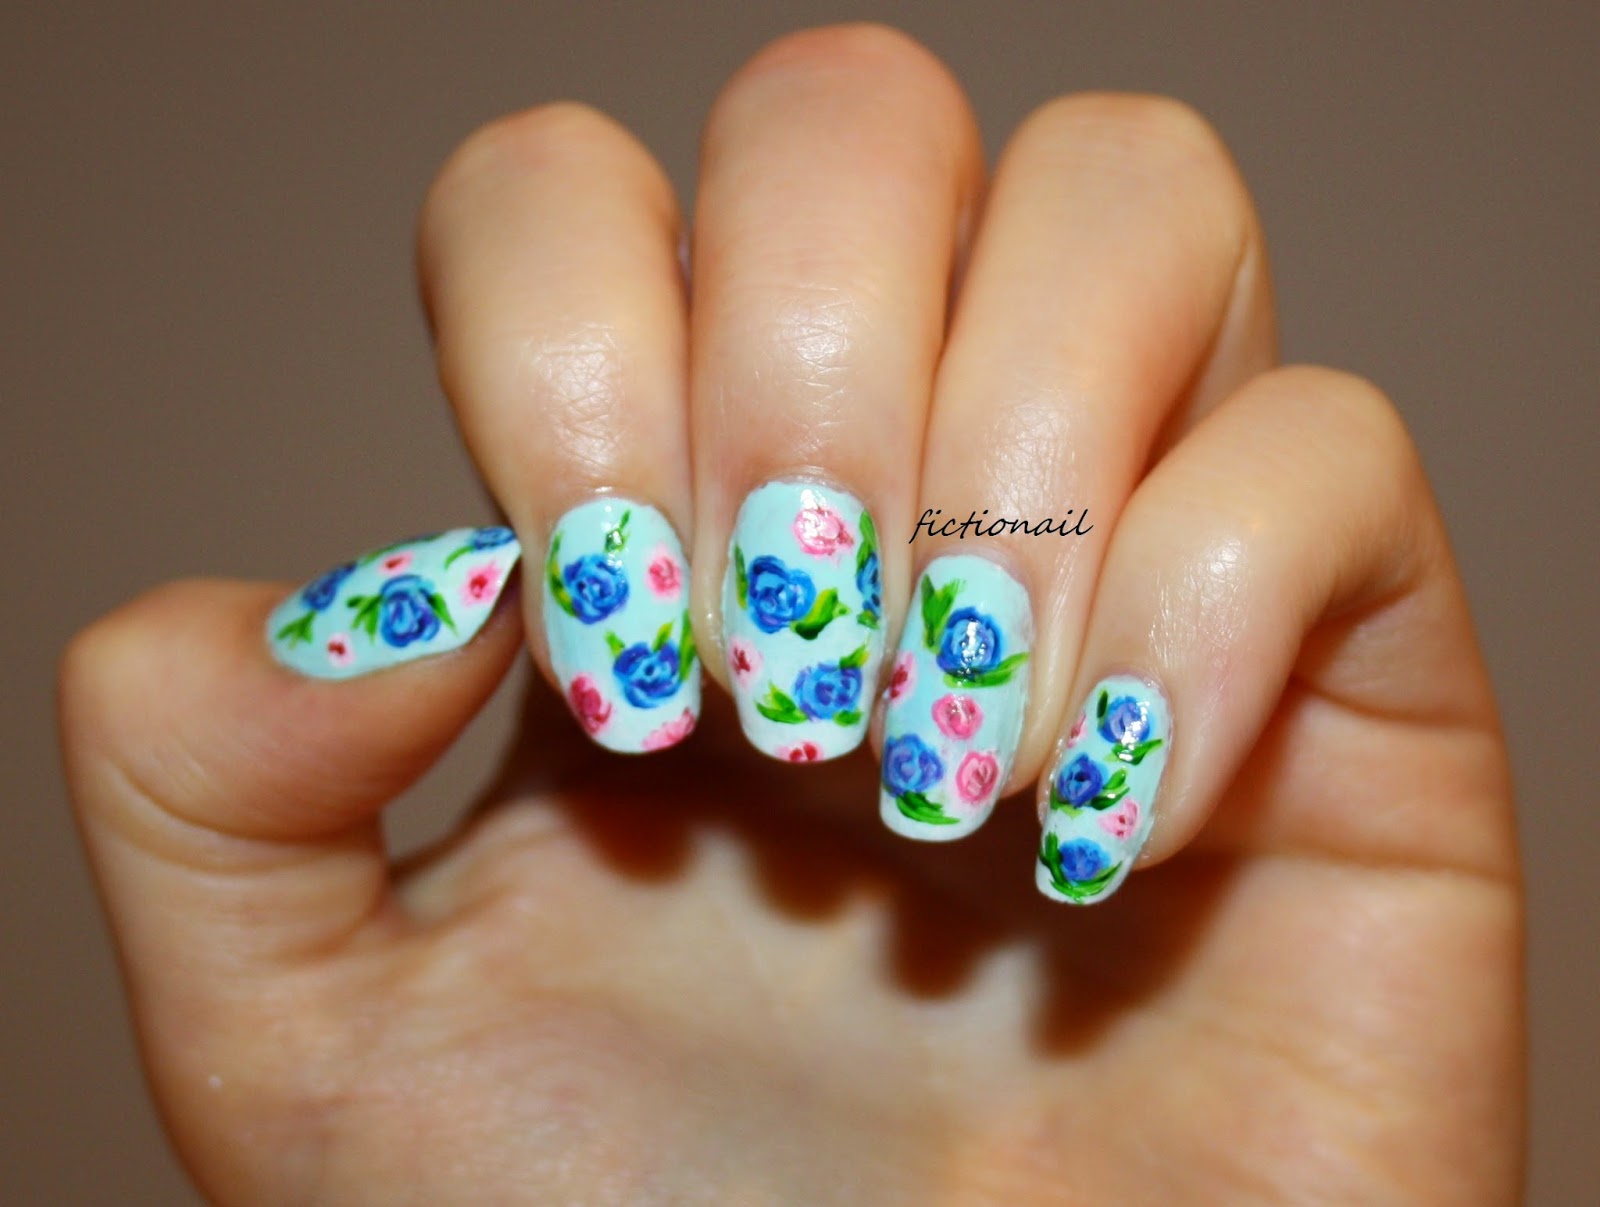
Congratulations, you have now created beautiful
nail art roses
! With a little practice, you can create a variety of colors and designs using this technique. So go ahead and unleash your inner artist and show off your stunning nail art.
Once your design is dry, apply a top coat to seal in your
nail art roses
and give them a glossy finish. This will also help your design last longer.
Congratulations, you have now created beautiful
nail art roses
! With a little practice, you can create a variety of colors and designs using this technique. So go ahead and unleash your inner artist and show off your stunning nail art.


