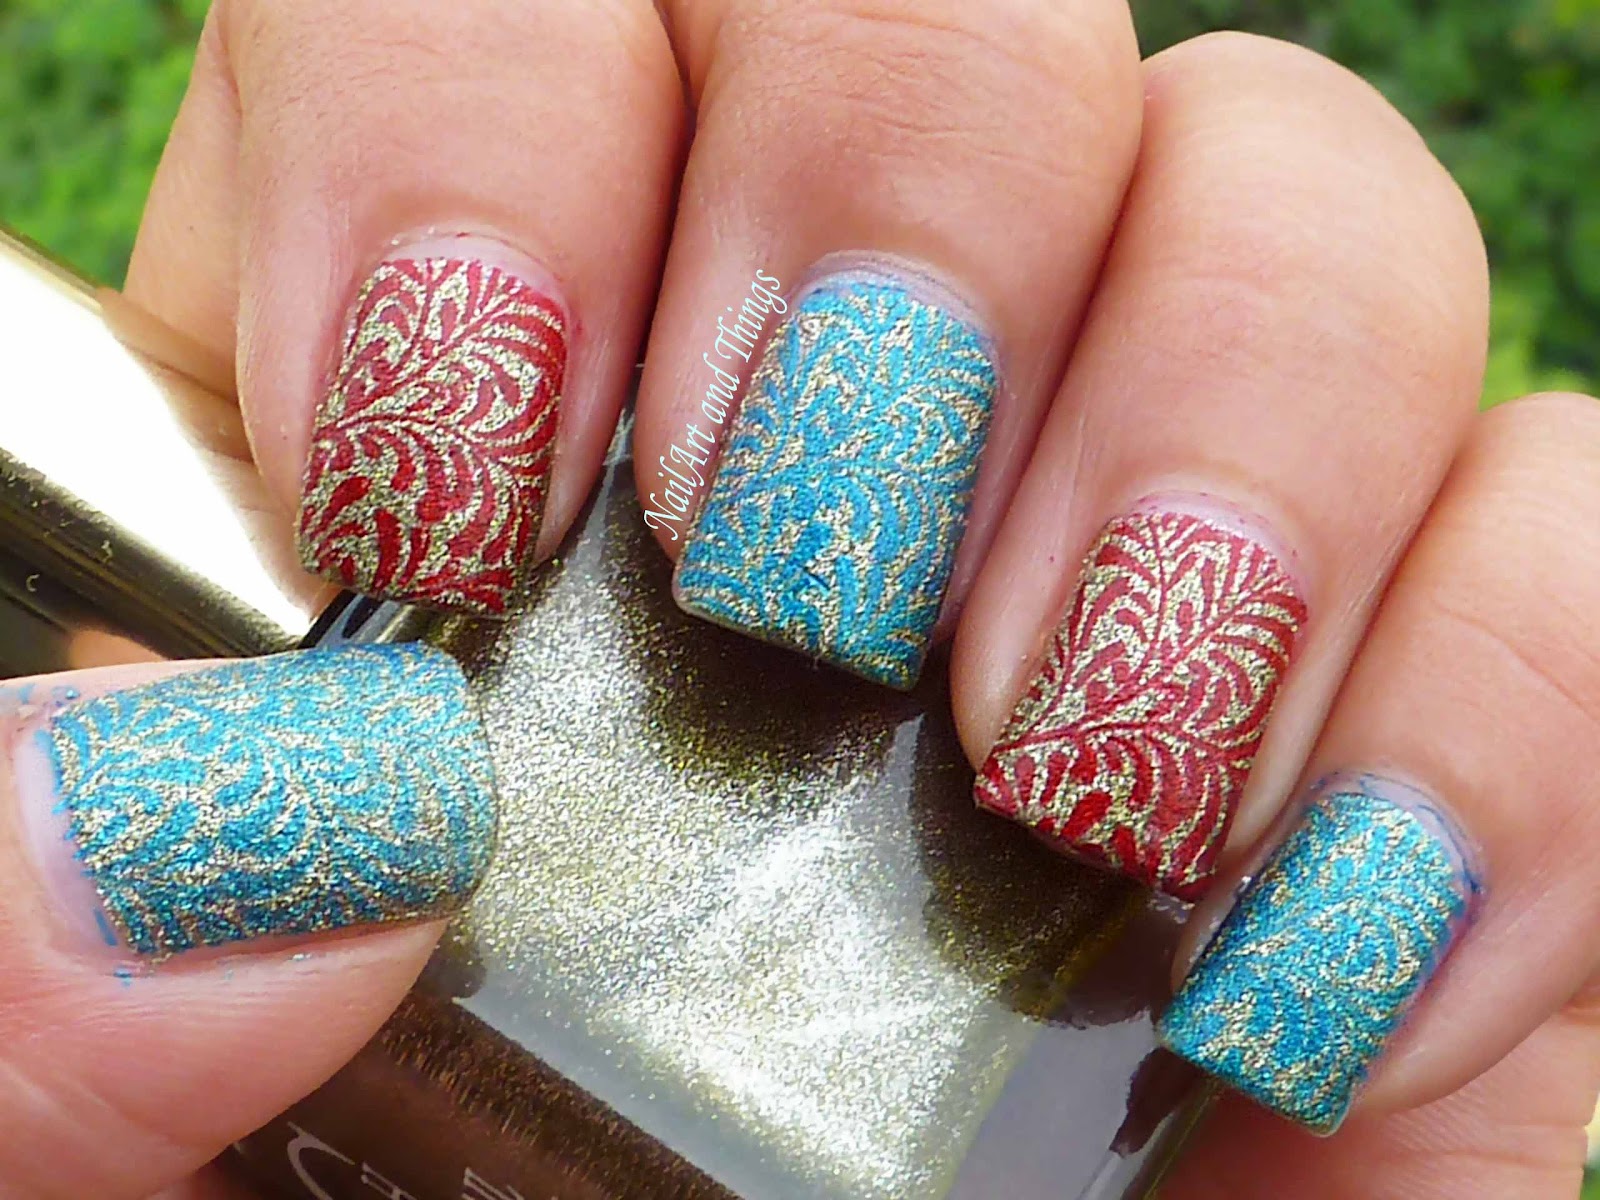
If you're new to the world of nail art, using powders for stamping designs can seem intimidating. But don't worry, with the right tools and techniques, you can achieve beautiful and intricate designs in no time. Here's everything you need to know about nail art stamping with powder. Nail art stamping powder is a finely milled powder that is used with a stamping plate and stamping polish to transfer designs onto your nails. It comes in a variety of colors, finishes, and textures, allowing you to create endless combinations and designs. If you're just starting out, it's best to invest in a beginner-friendly nail art stamping kit that includes a stamper, scraper, and a few stamping plates. These kits often come with a basic white or black stamping polish and a few powder colors to get you started.1. Nail Art Stamping with Powder: A Beginner's Guide


1. Nail Art Stamping with Powder: A Beginner's Guide


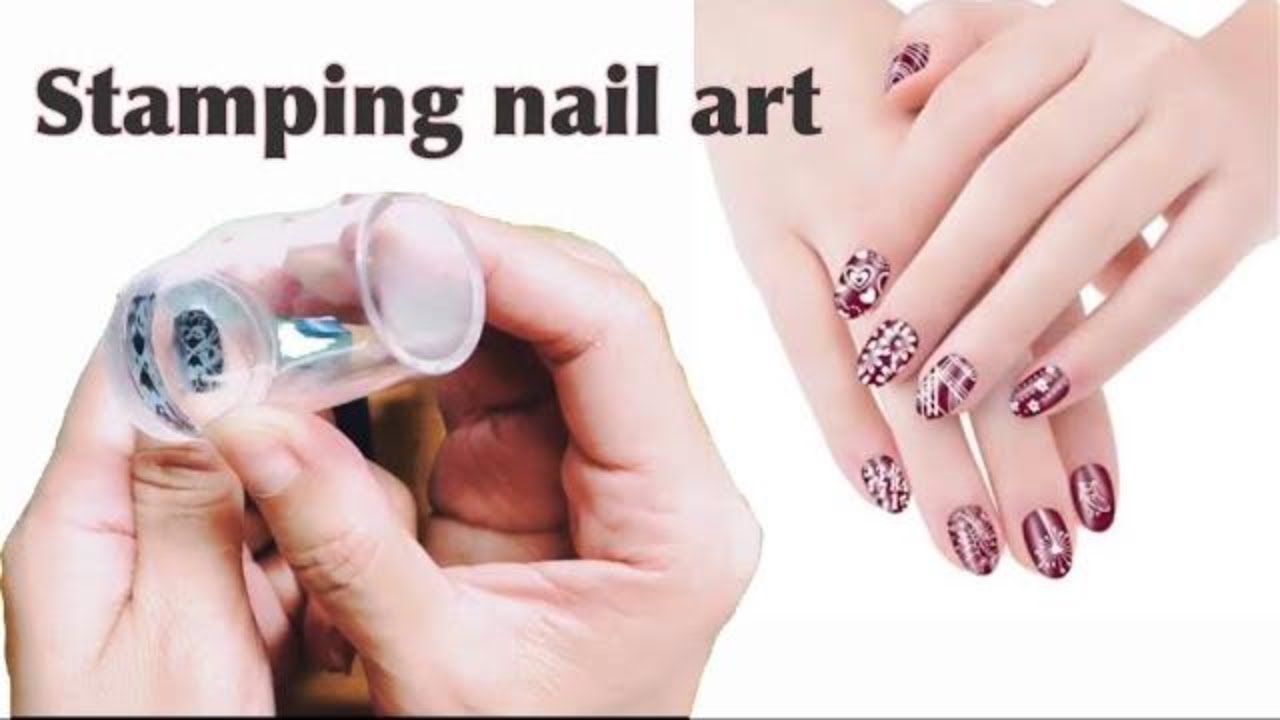
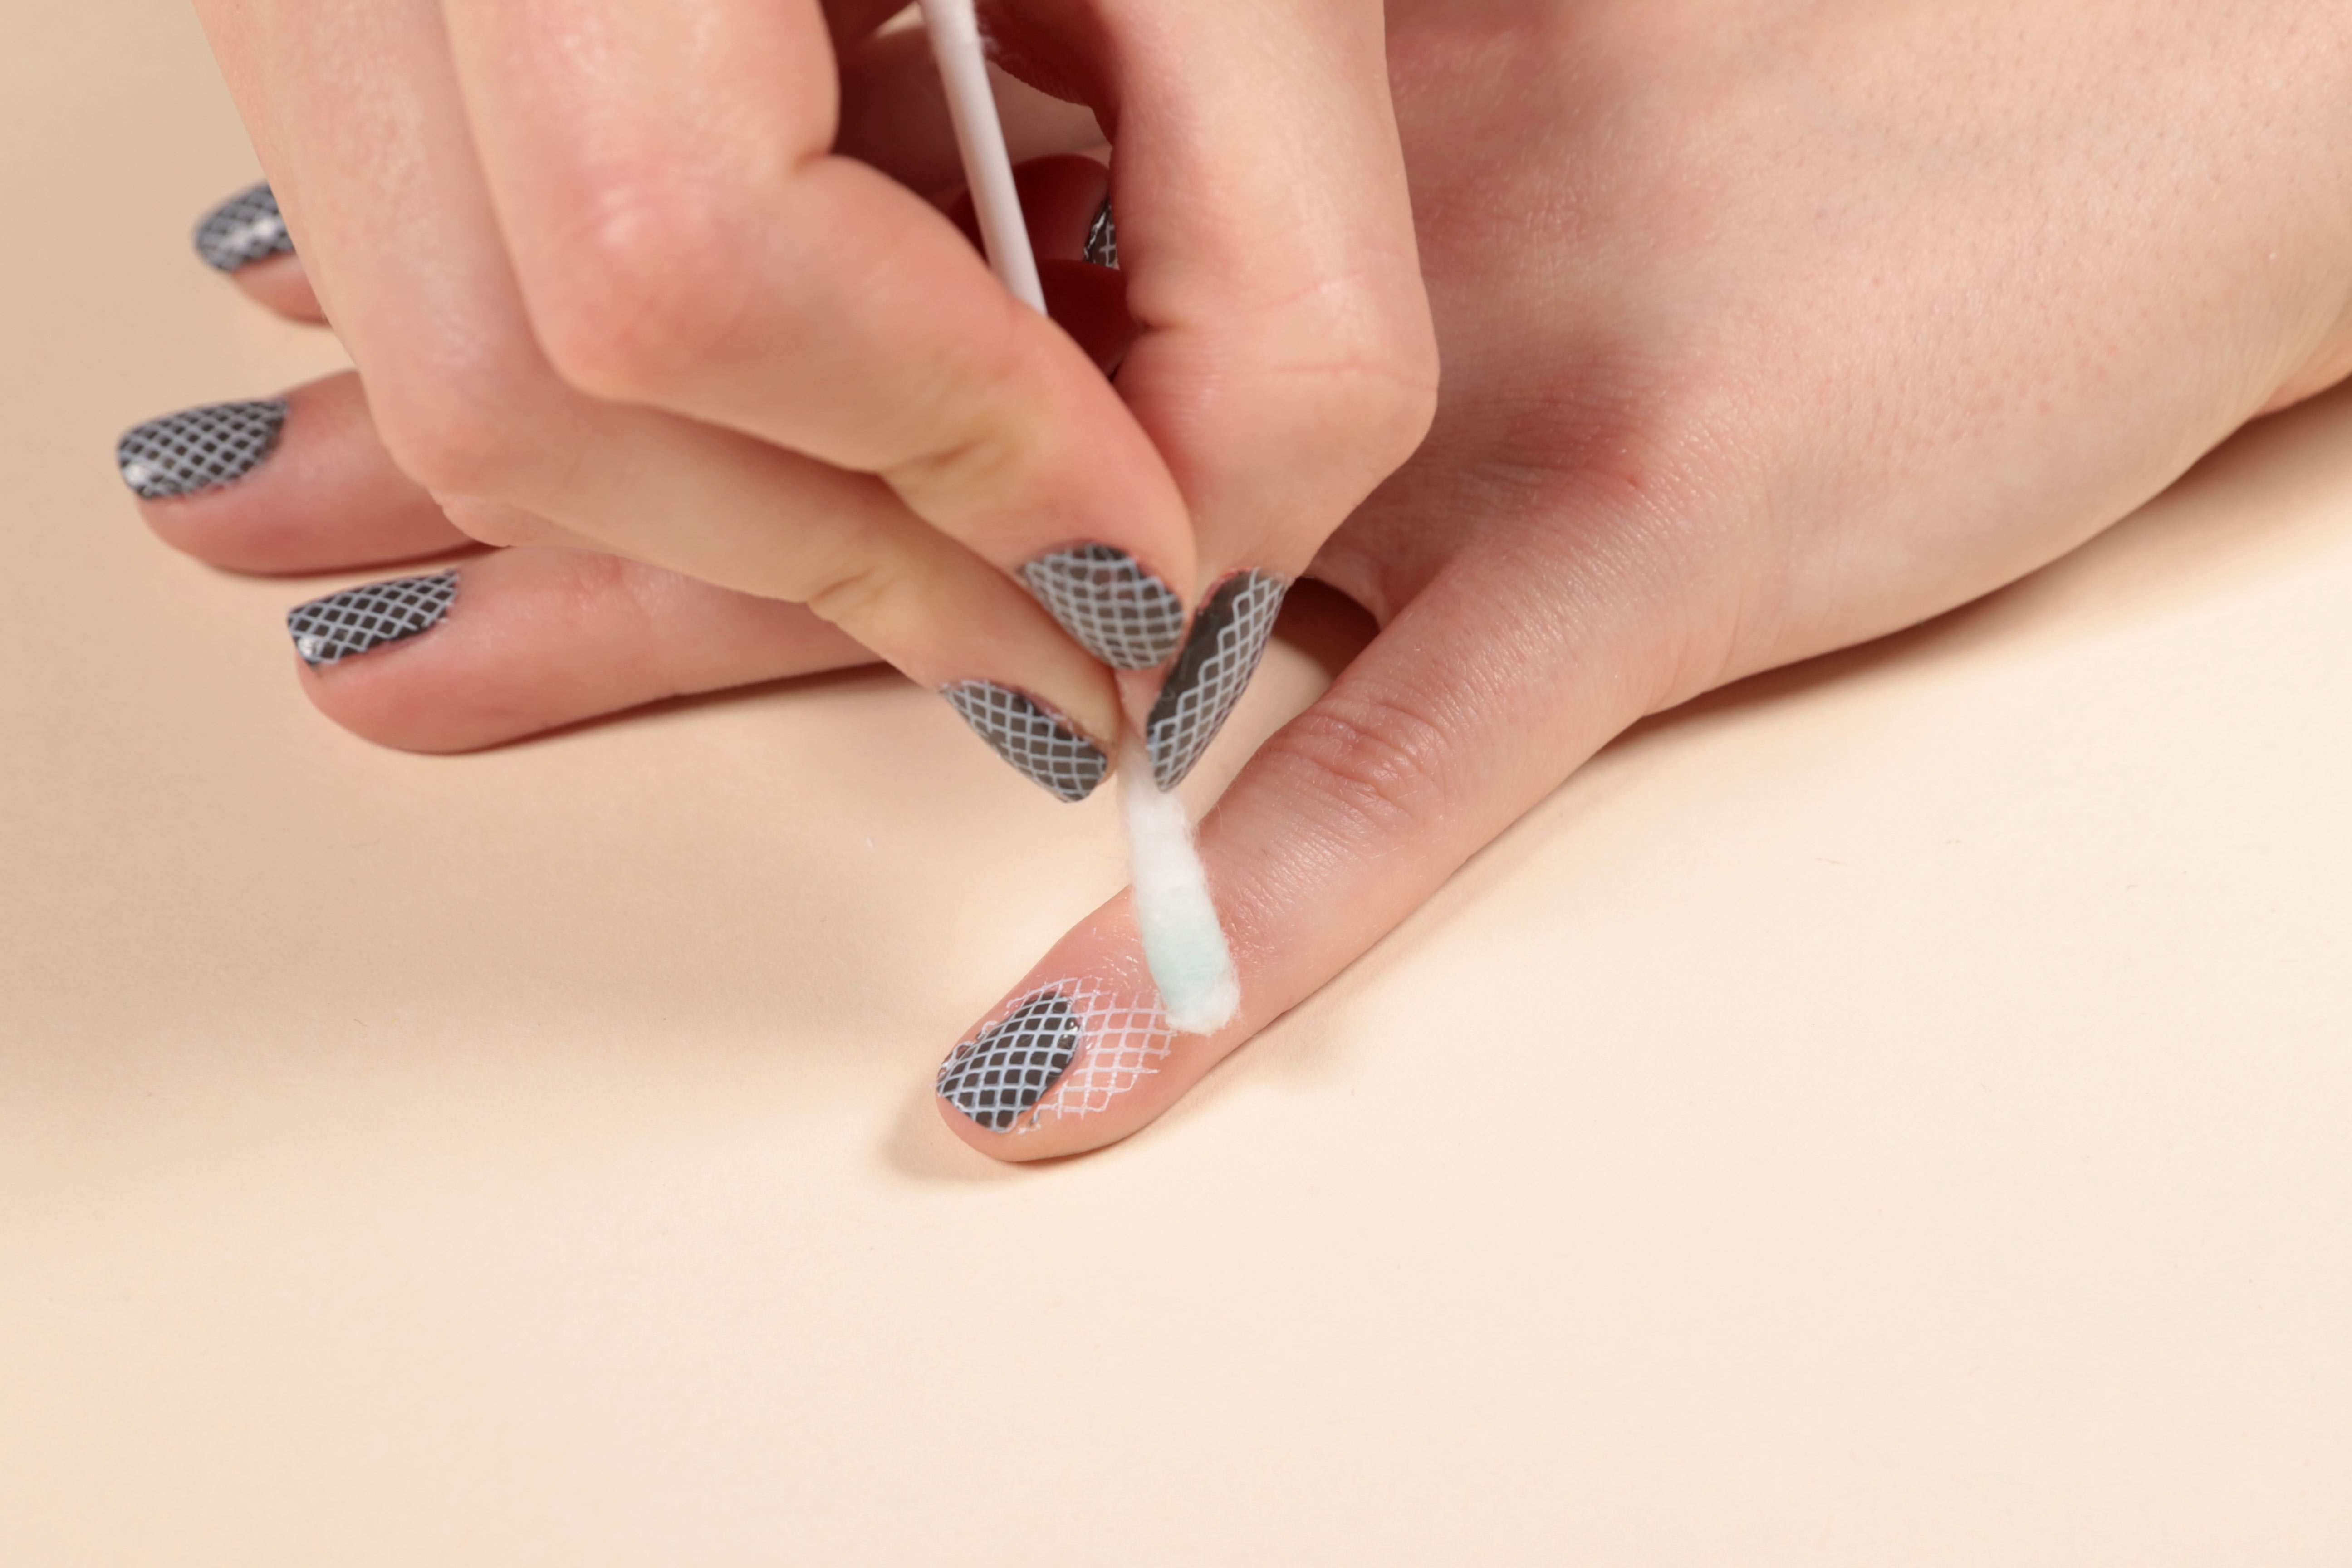

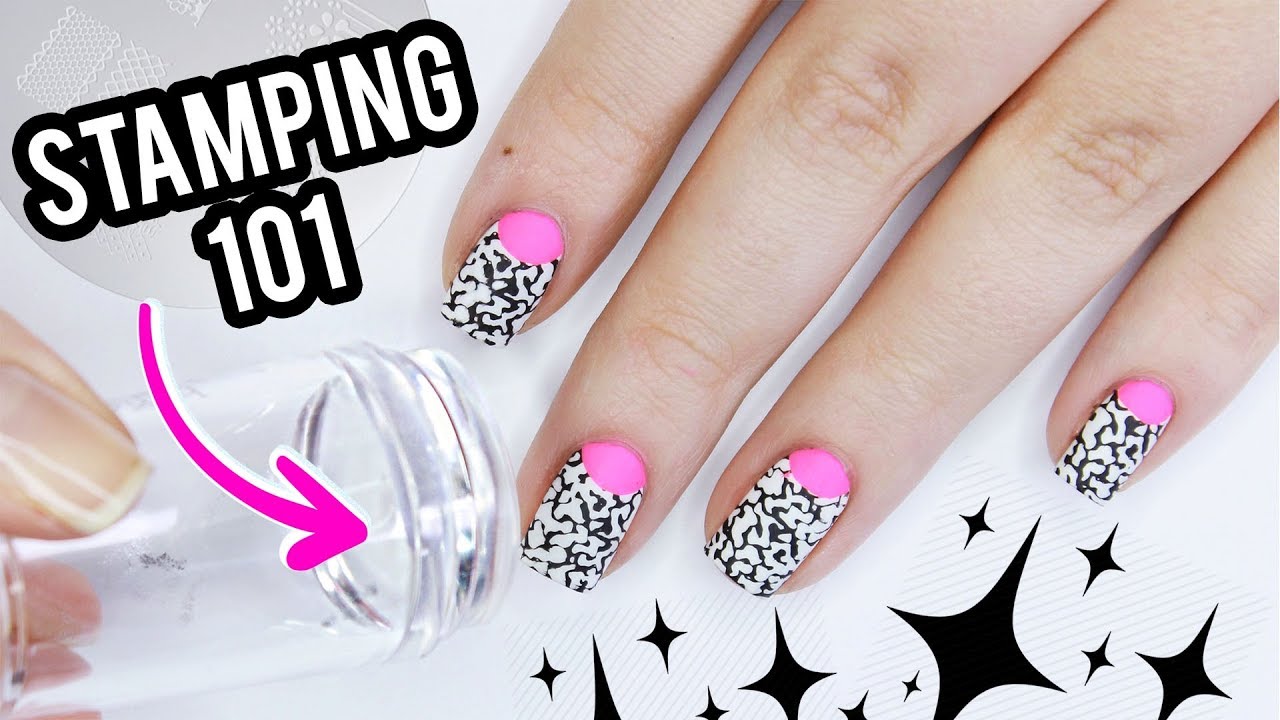

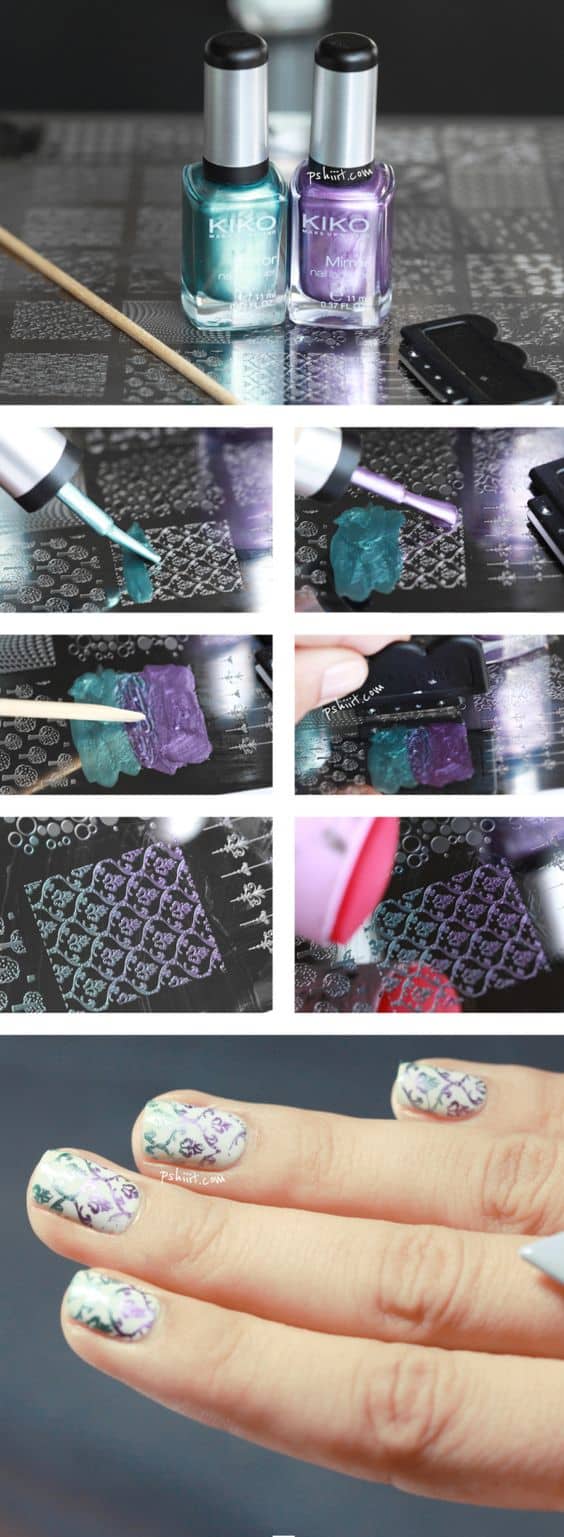
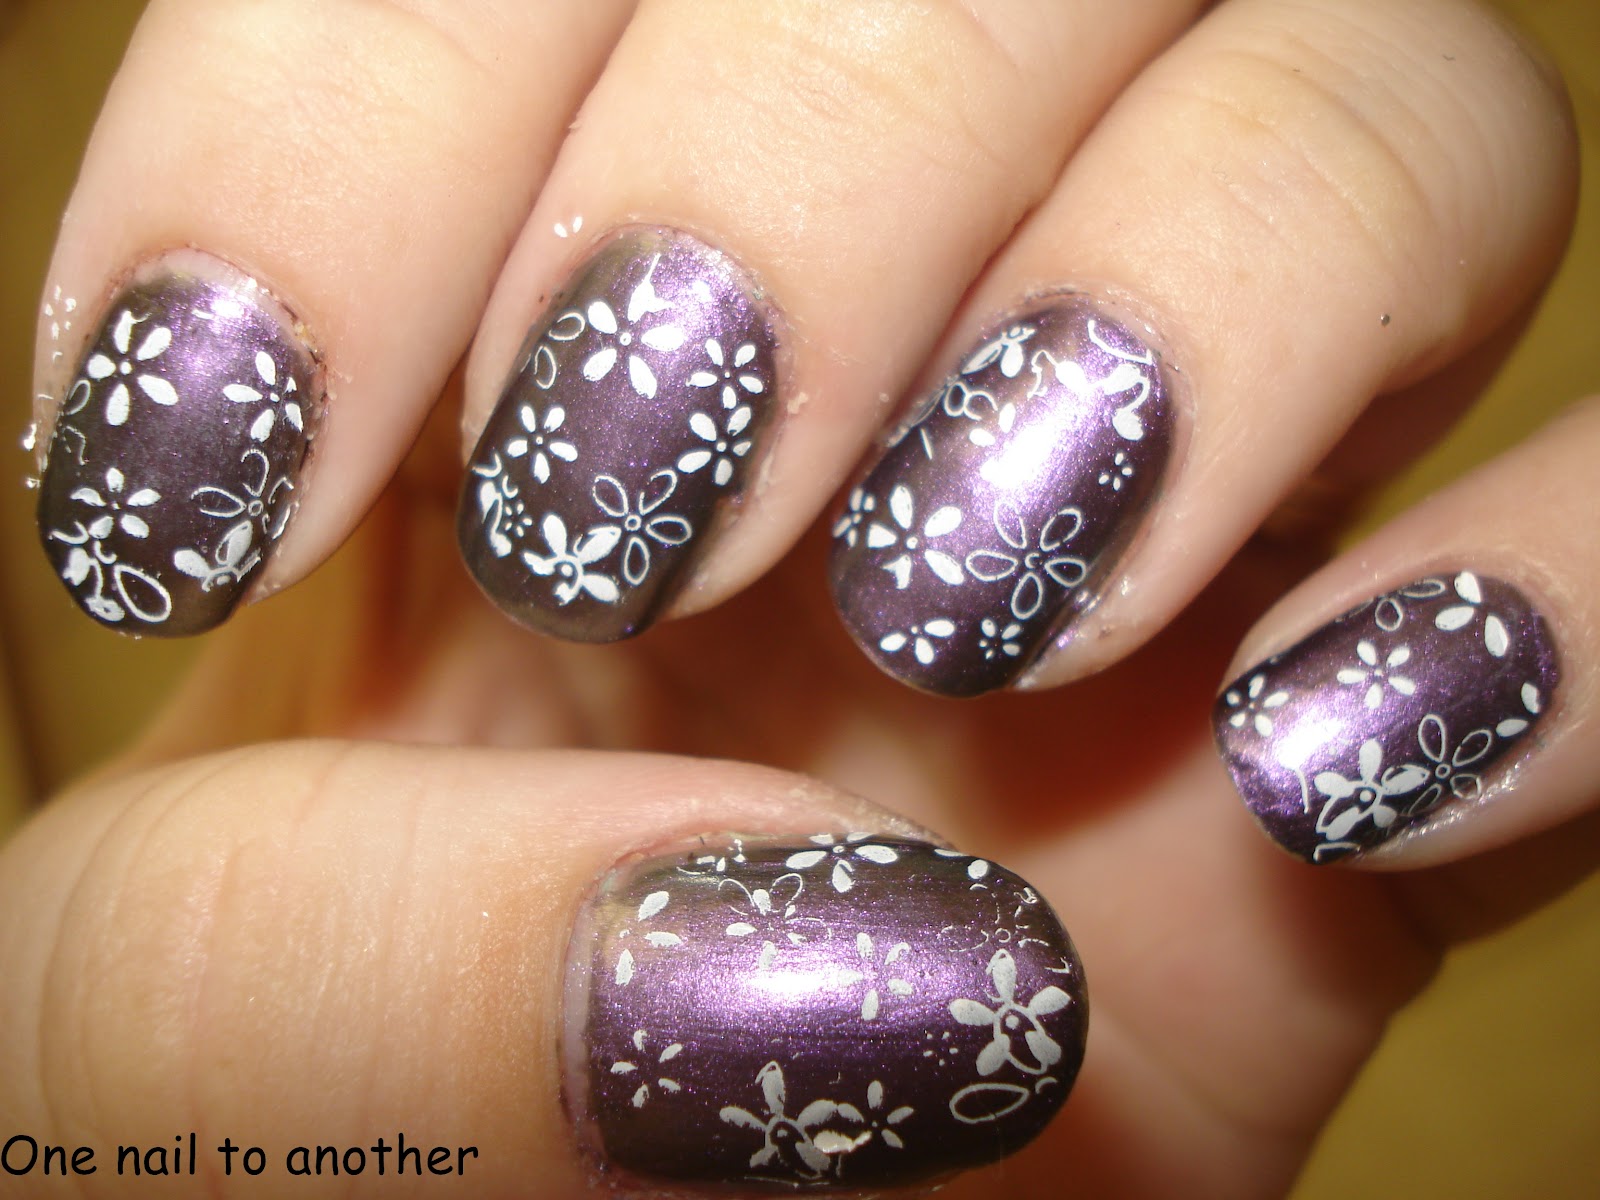
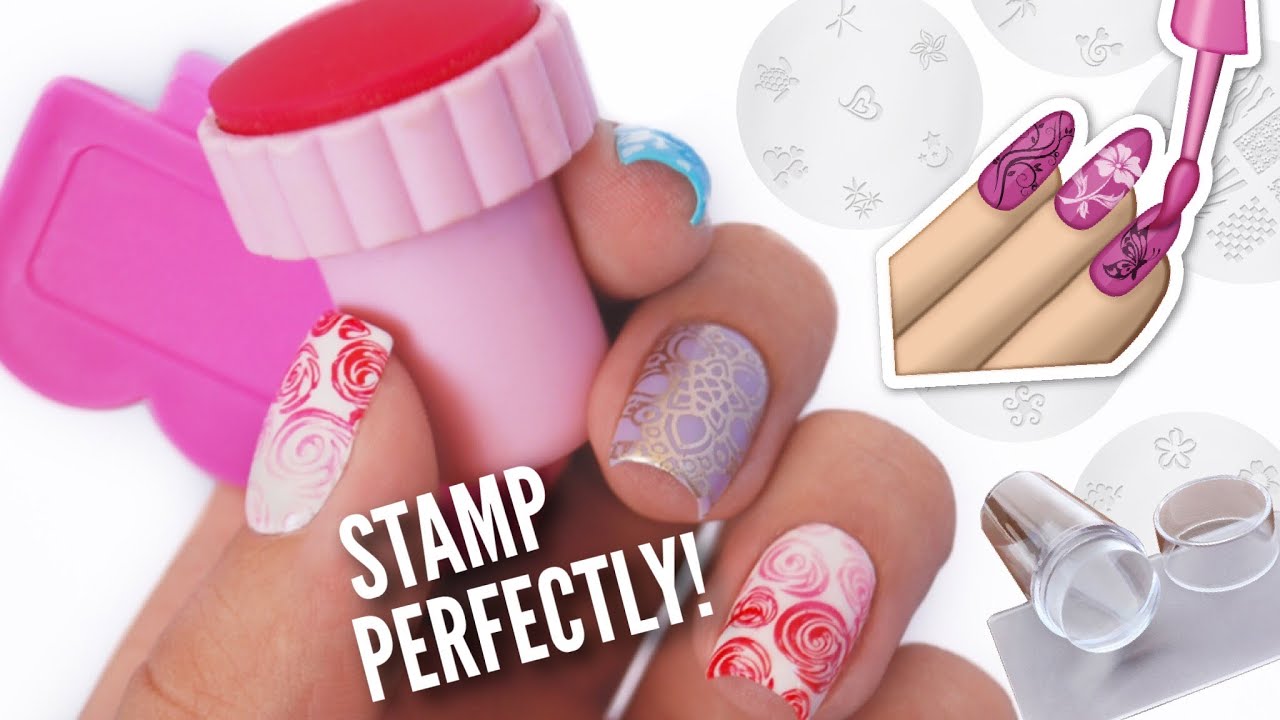
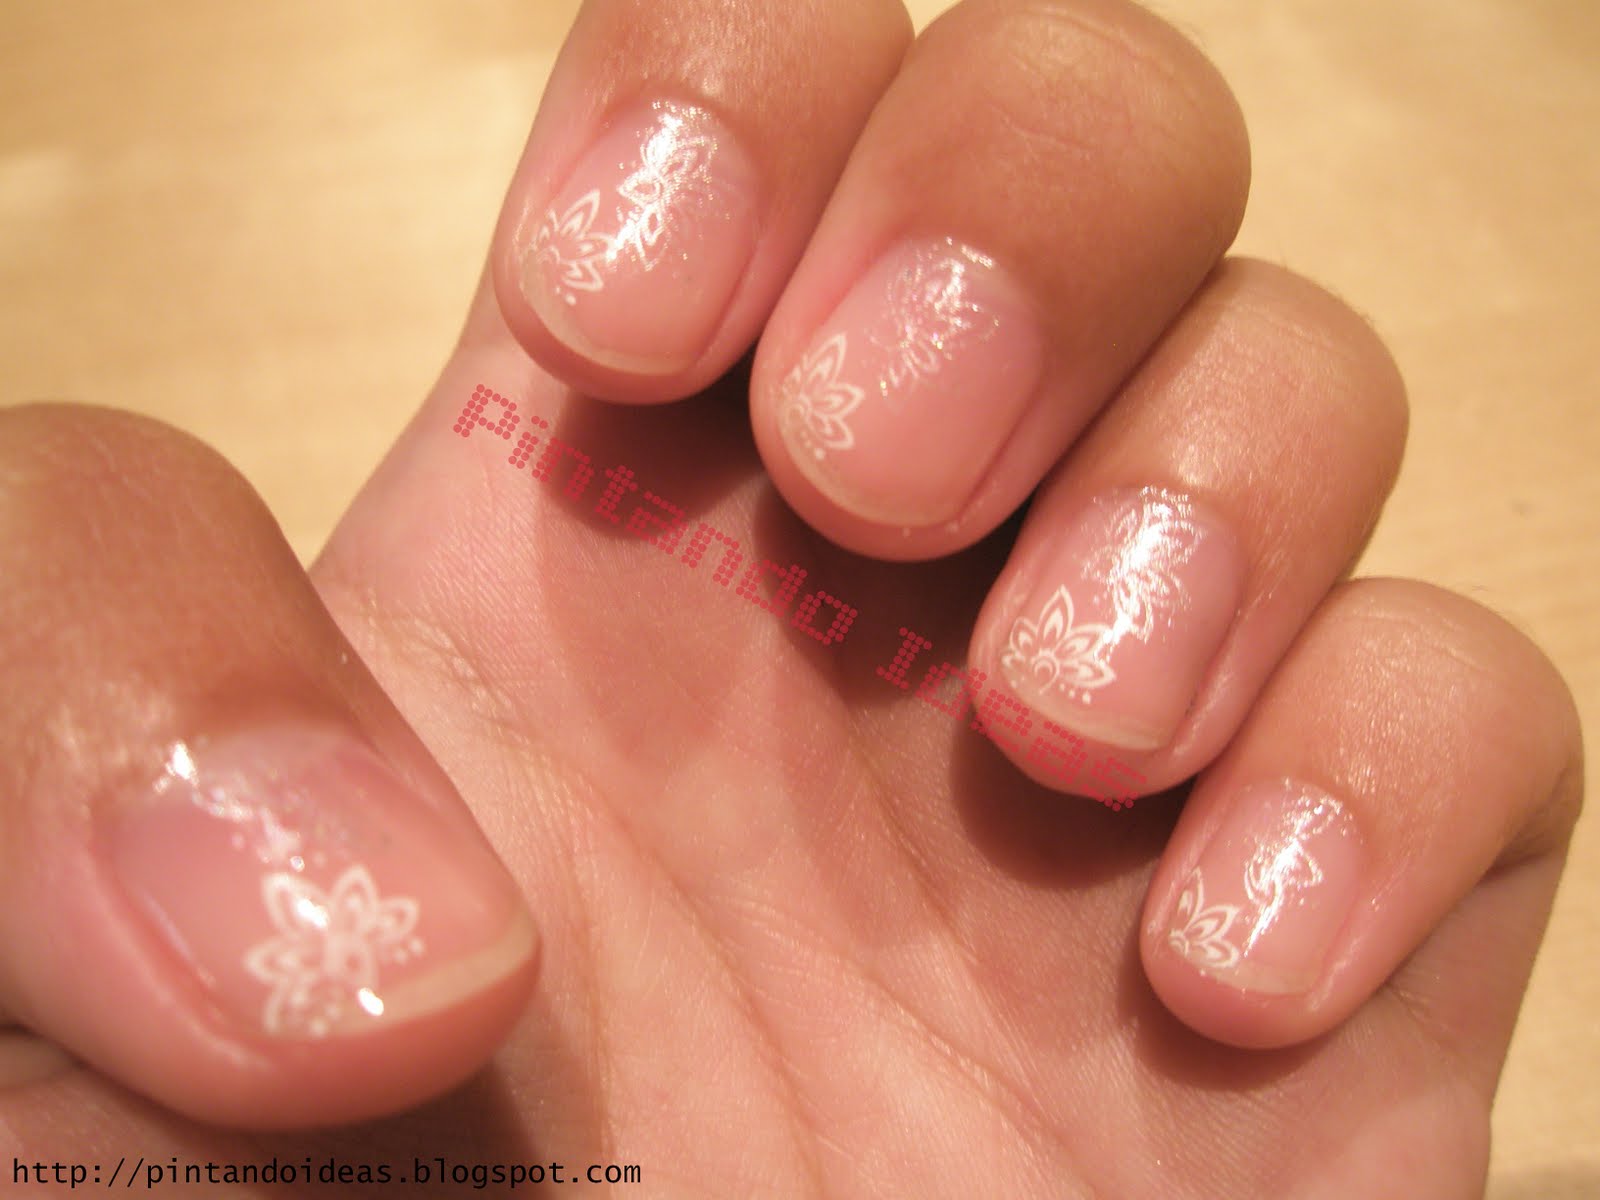
The process of nail art stamping with powder involves creating a design on a stamping plate, picking up the design with a stamper, and then transferring it onto your nails. Here's a step-by-step guide to help you achieve flawless results: Step 1: Start by prepping your nails with a base coat to protect them and ensure your design lasts longer. Step 2: Choose a stamping plate with a design that you like and apply a thin layer of stamping polish onto the design. Step 3: Use a scraper to remove excess polish from the plate, leaving behind the design on the plate. Step 4: Quickly pick up the design with a stamper by gently rolling it over the design on the stamping plate. Step 5: Transfer the design onto your nail by gently pressing the stamper onto your nail. You can clean up any excess polish around your cuticles with a brush or cotton swab dipped in nail polish remover. Step 6: Seal in your design with a top coat to protect it and give it a glossy finish.2. How to Use Nail Art Stamping Powder for Stunning Designs

2. How to Use Nail Art Stamping Powder for Stunning Designs


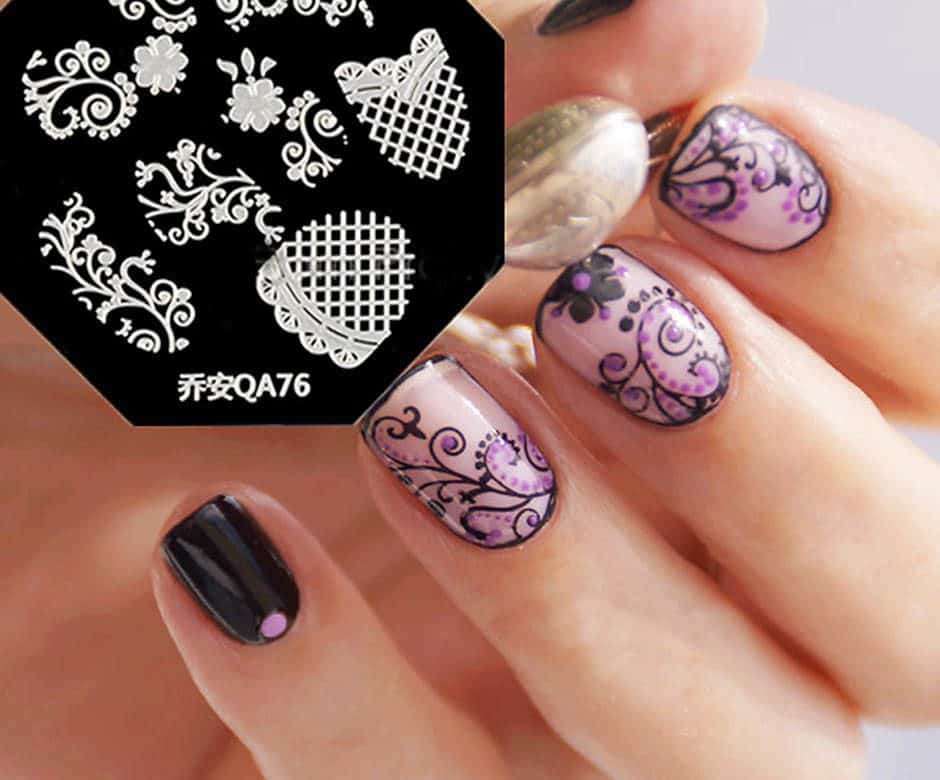
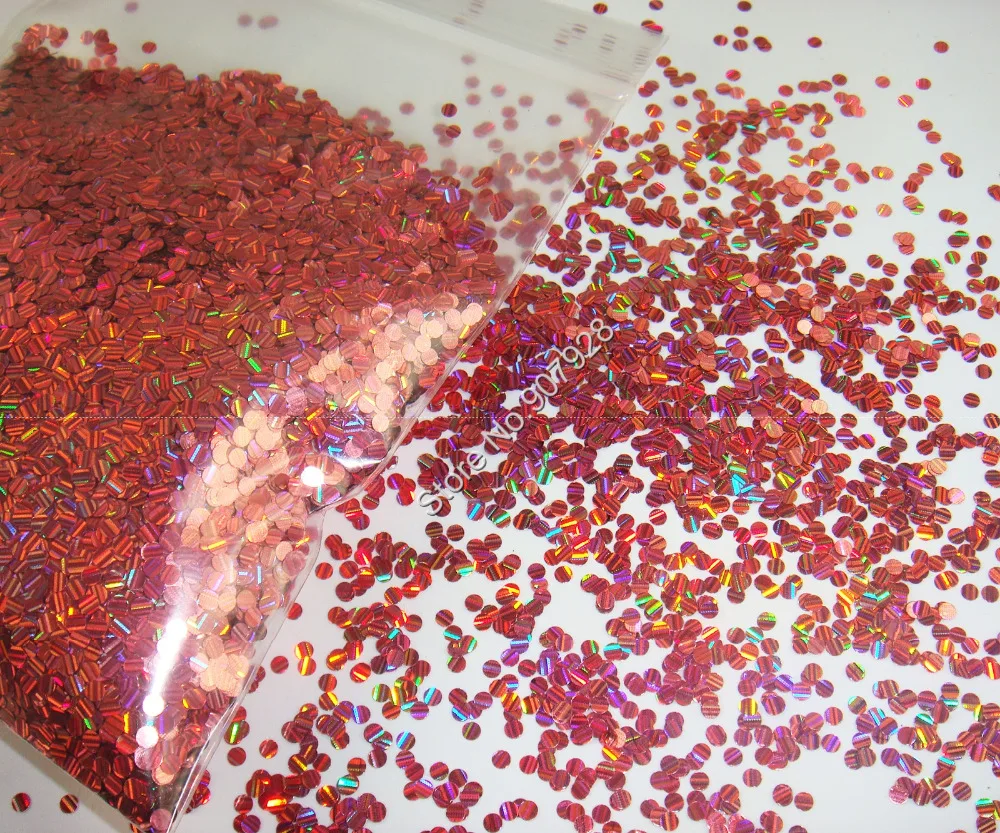
When it comes to choosing the right nail art stamping powder, there are a few factors to consider. Firstly, the powder should be finely milled to ensure a smooth transfer onto your nails. It should also be highly pigmented to create vibrant and bold designs. Here are some of the best nail art stamping powders on the market: Moyra Nail Art Stamping Powder: This brand offers a wide range of colors and finishes, including holographic, metallic, and neon. Bundle Monster Nail Art Stamping Powder: Known for their high-quality stamping plates, Bundle Monster also offers a great selection of stamping powders in various shades and finishes. Twinkled T Nail Art Stamping Powder: This brand offers a unique collection of thermochromic powders that change color when exposed to heat.3. The Best Nail Art Stamping Powders for Perfect Designs


3. The Best Nail Art Stamping Powders for Perfect Designs


Still feeling unsure about the stamping process? Here's a detailed tutorial to help you get started: Step 1: Start by prepping your nails with a base coat and allow it to dry completely. Step 2: Apply a layer of stamping polish onto your chosen design on the stamping plate. Step 3: Use a scraper to remove excess polish and reveal the design on the plate. Step 4: Gently roll the stamper over the design to pick it up. Step 5: Transfer the design onto your nail by gently pressing the stamper onto your nail. Step 6: Use a brush or cotton swab dipped in nail polish remover to clean up any excess polish around your cuticles. Step 7: Seal in your design with a top coat and allow it to dry completely.4. Step-by-Step Tutorial: Nail Art Stamping with Powder


4. Step-by-Step Tutorial: Nail Art Stamping with Powder


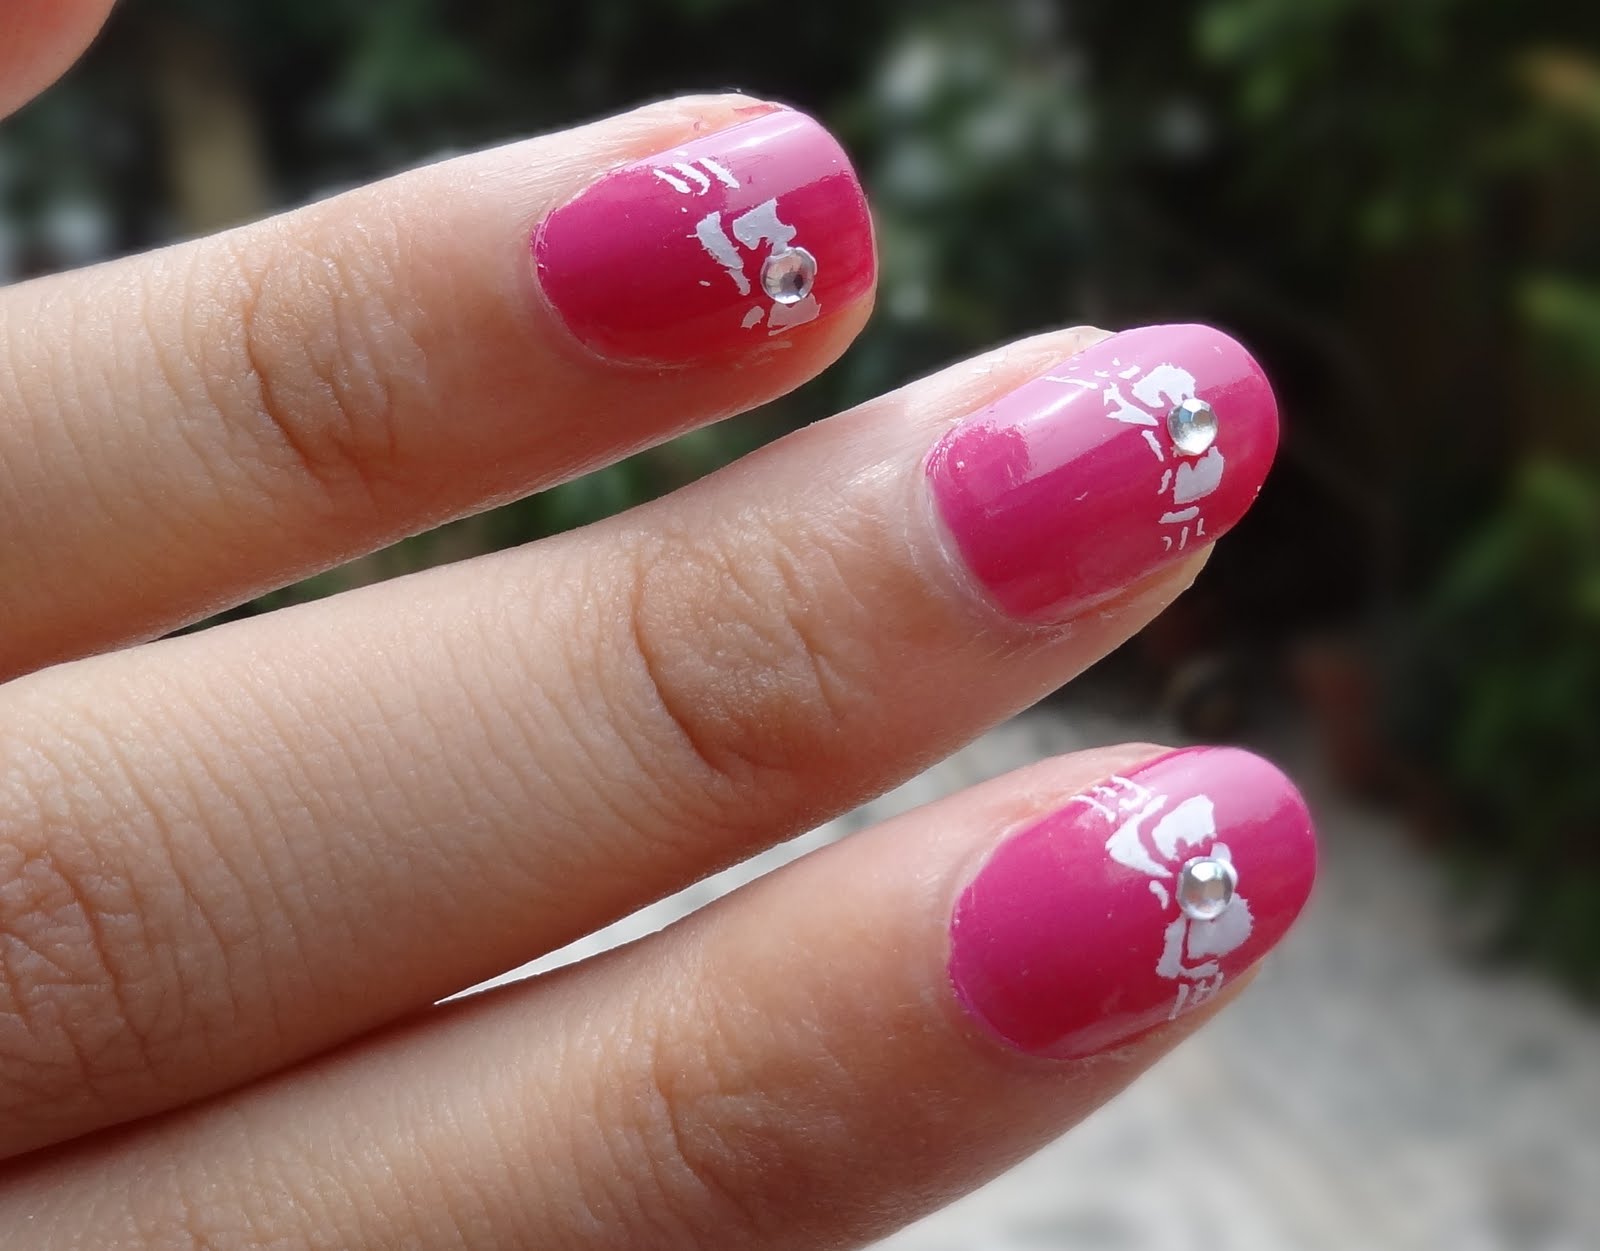
Here are some additional tips and tricks to help you achieve perfect designs with nail art stamping powder: Tip 1: Use a gentle touch when picking up and transferring the design to avoid smudging or smearing. Tip 2: If you're using a dark-colored powder, apply a light-colored base coat to make the design pop. Tip 3: To create a marbled effect, apply two or more powder colors onto the stamping plate and gently mix them with a toothpick before picking up the design with a stamper. Tip 4: Practice makes perfect! Don't get discouraged if your first few attempts don't turn out as expected. Keep practicing and experimenting with different powders and designs.5. Nail Art Stamping with Powder: Tips and Tricks for Flawless Results


5. Nail Art Stamping with Powder: Tips and Tricks for Flawless Results
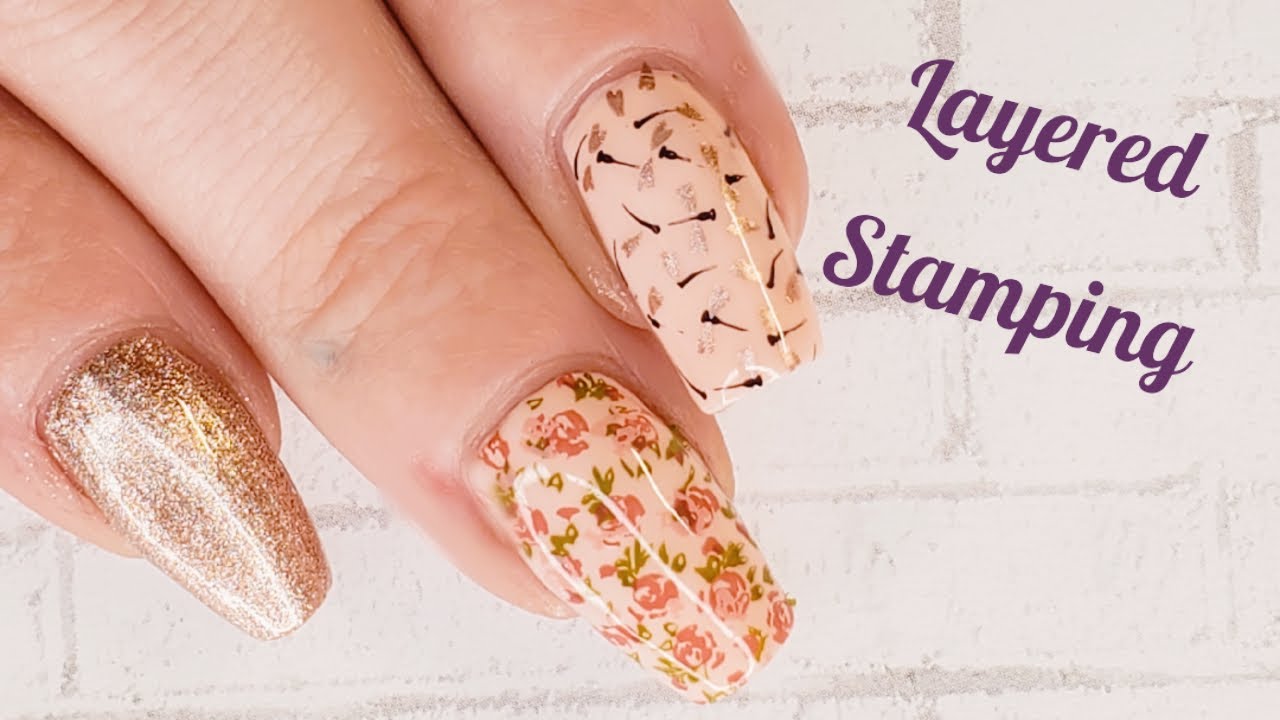

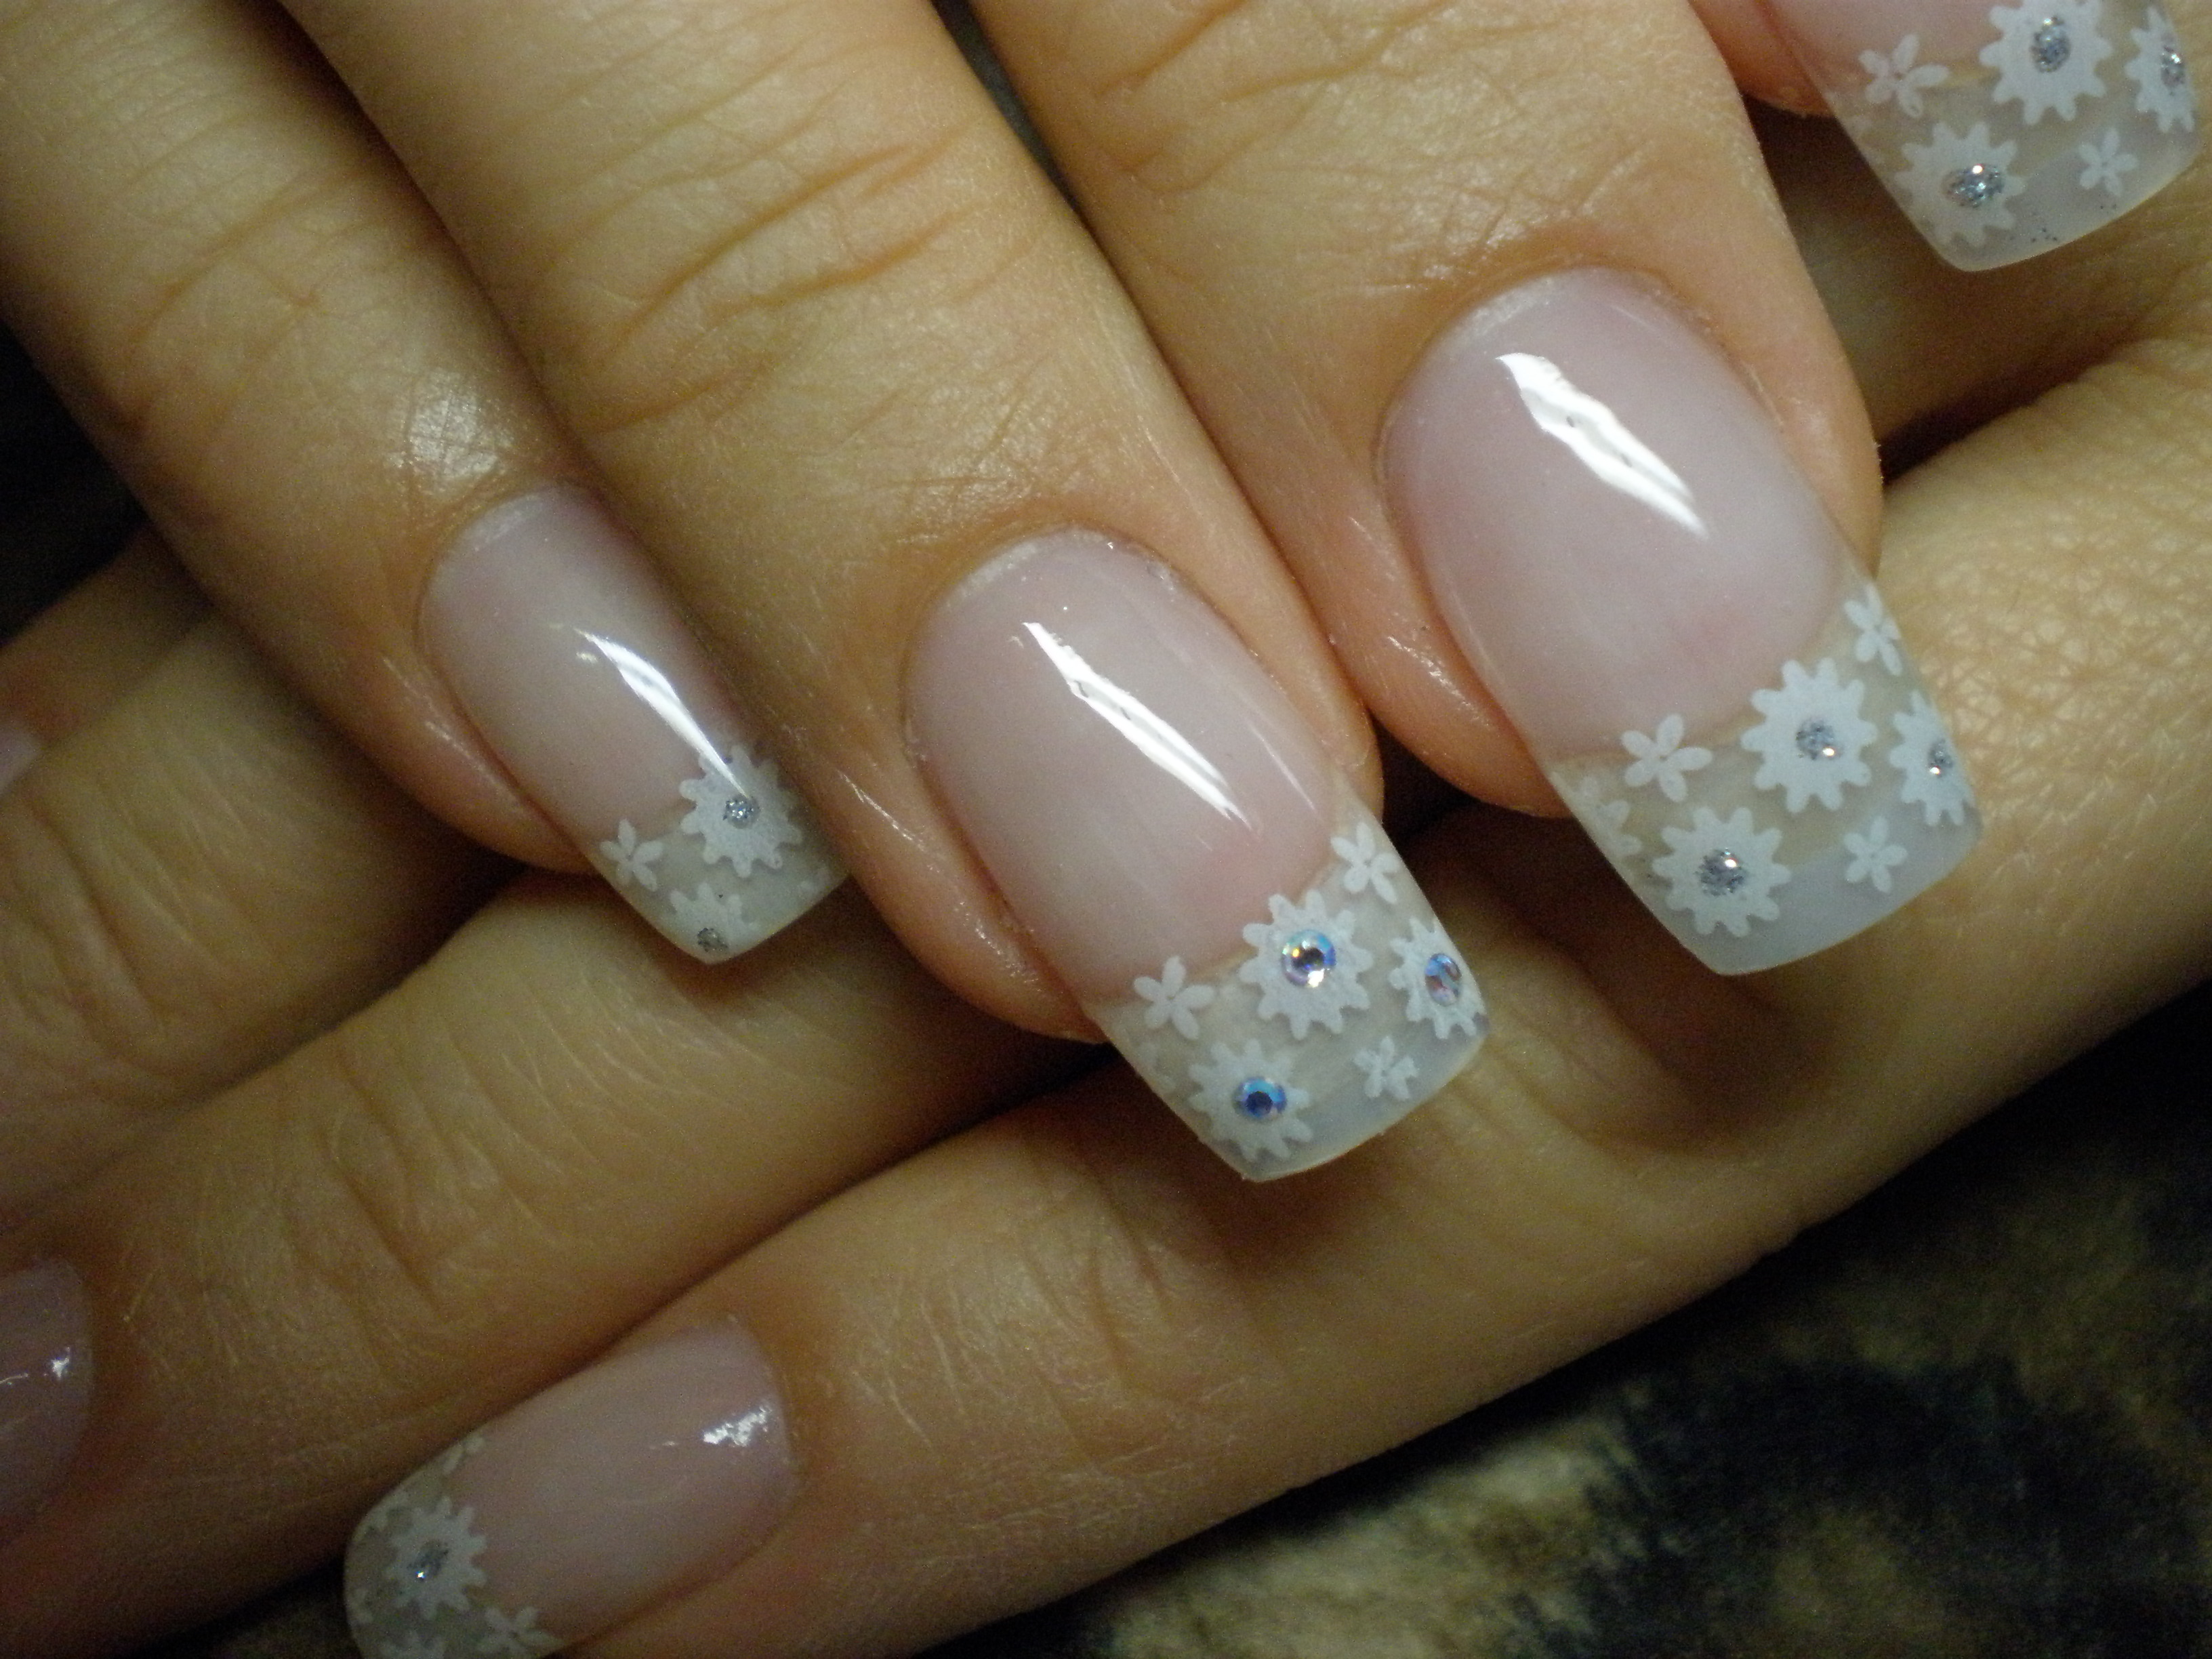

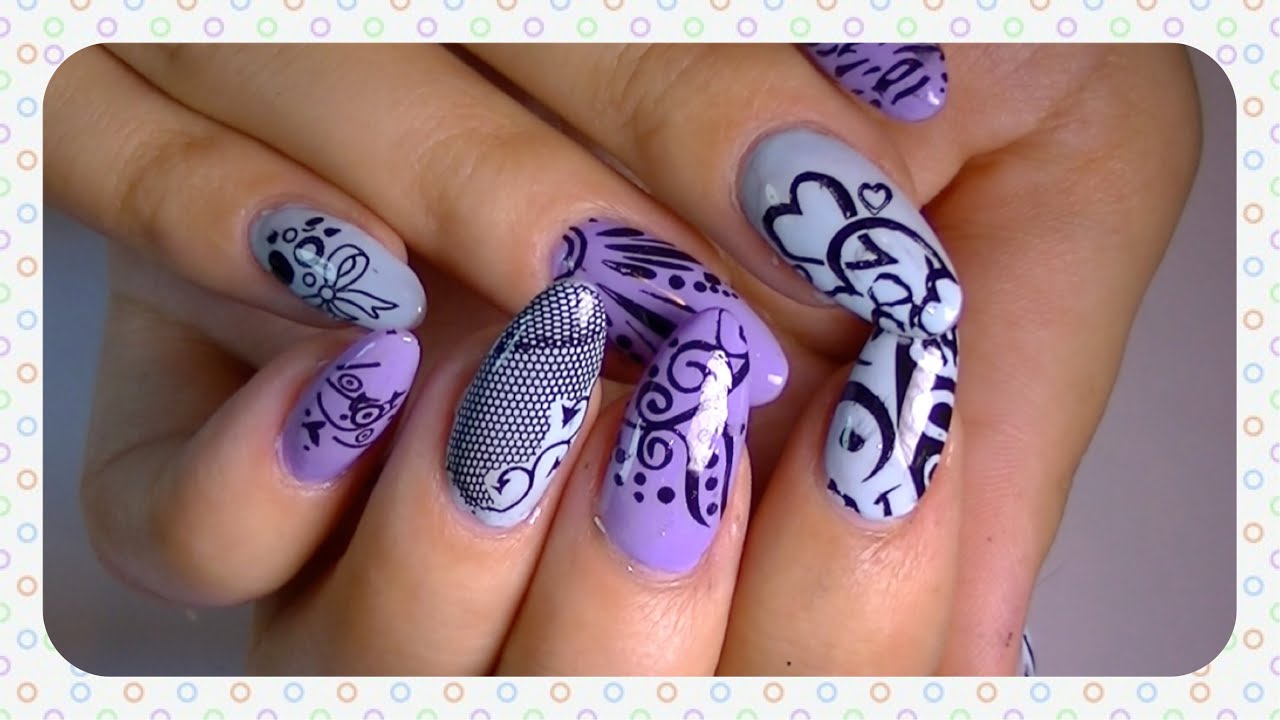
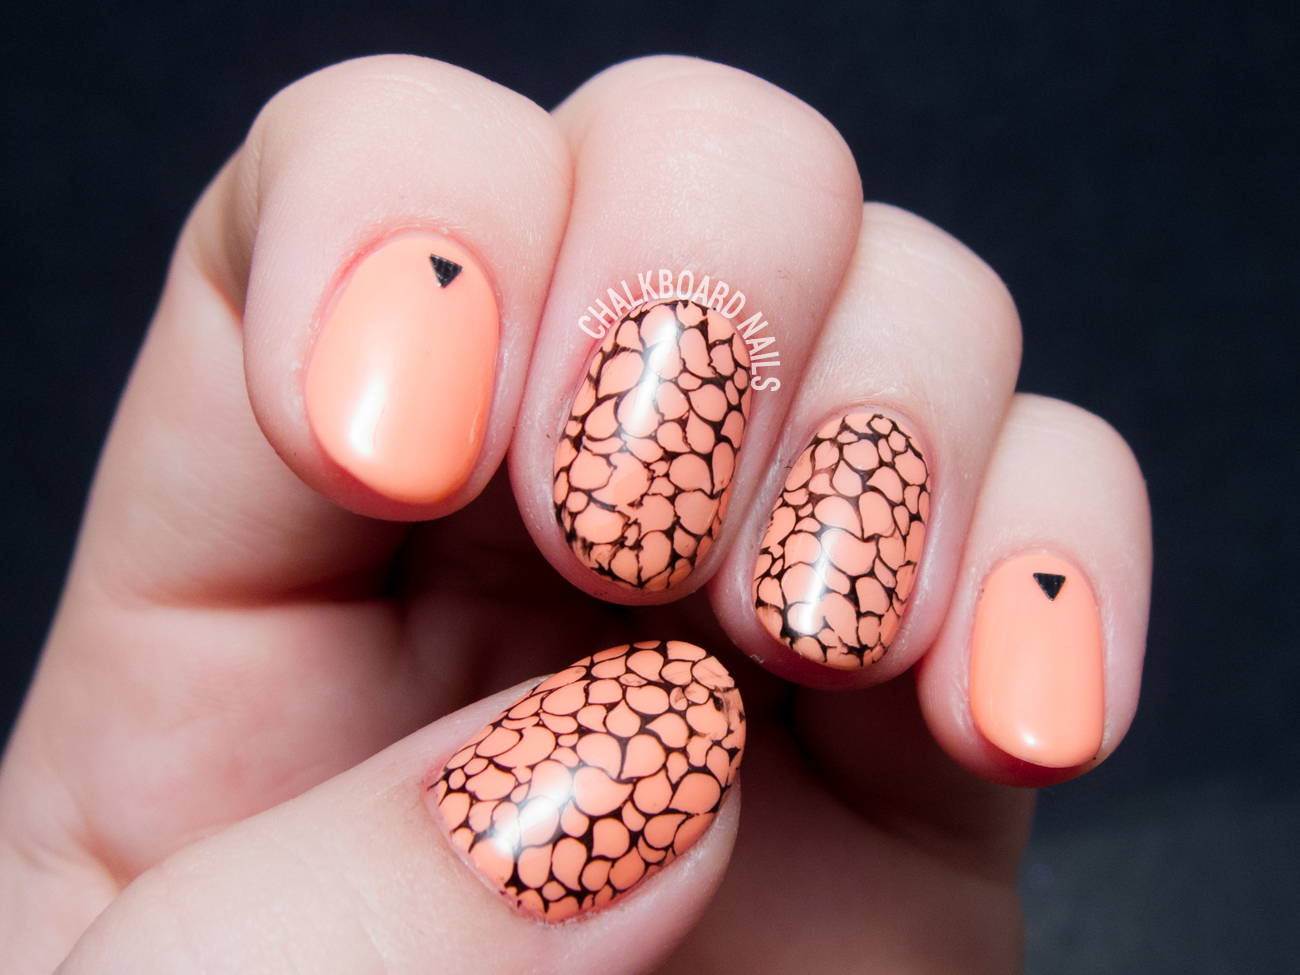
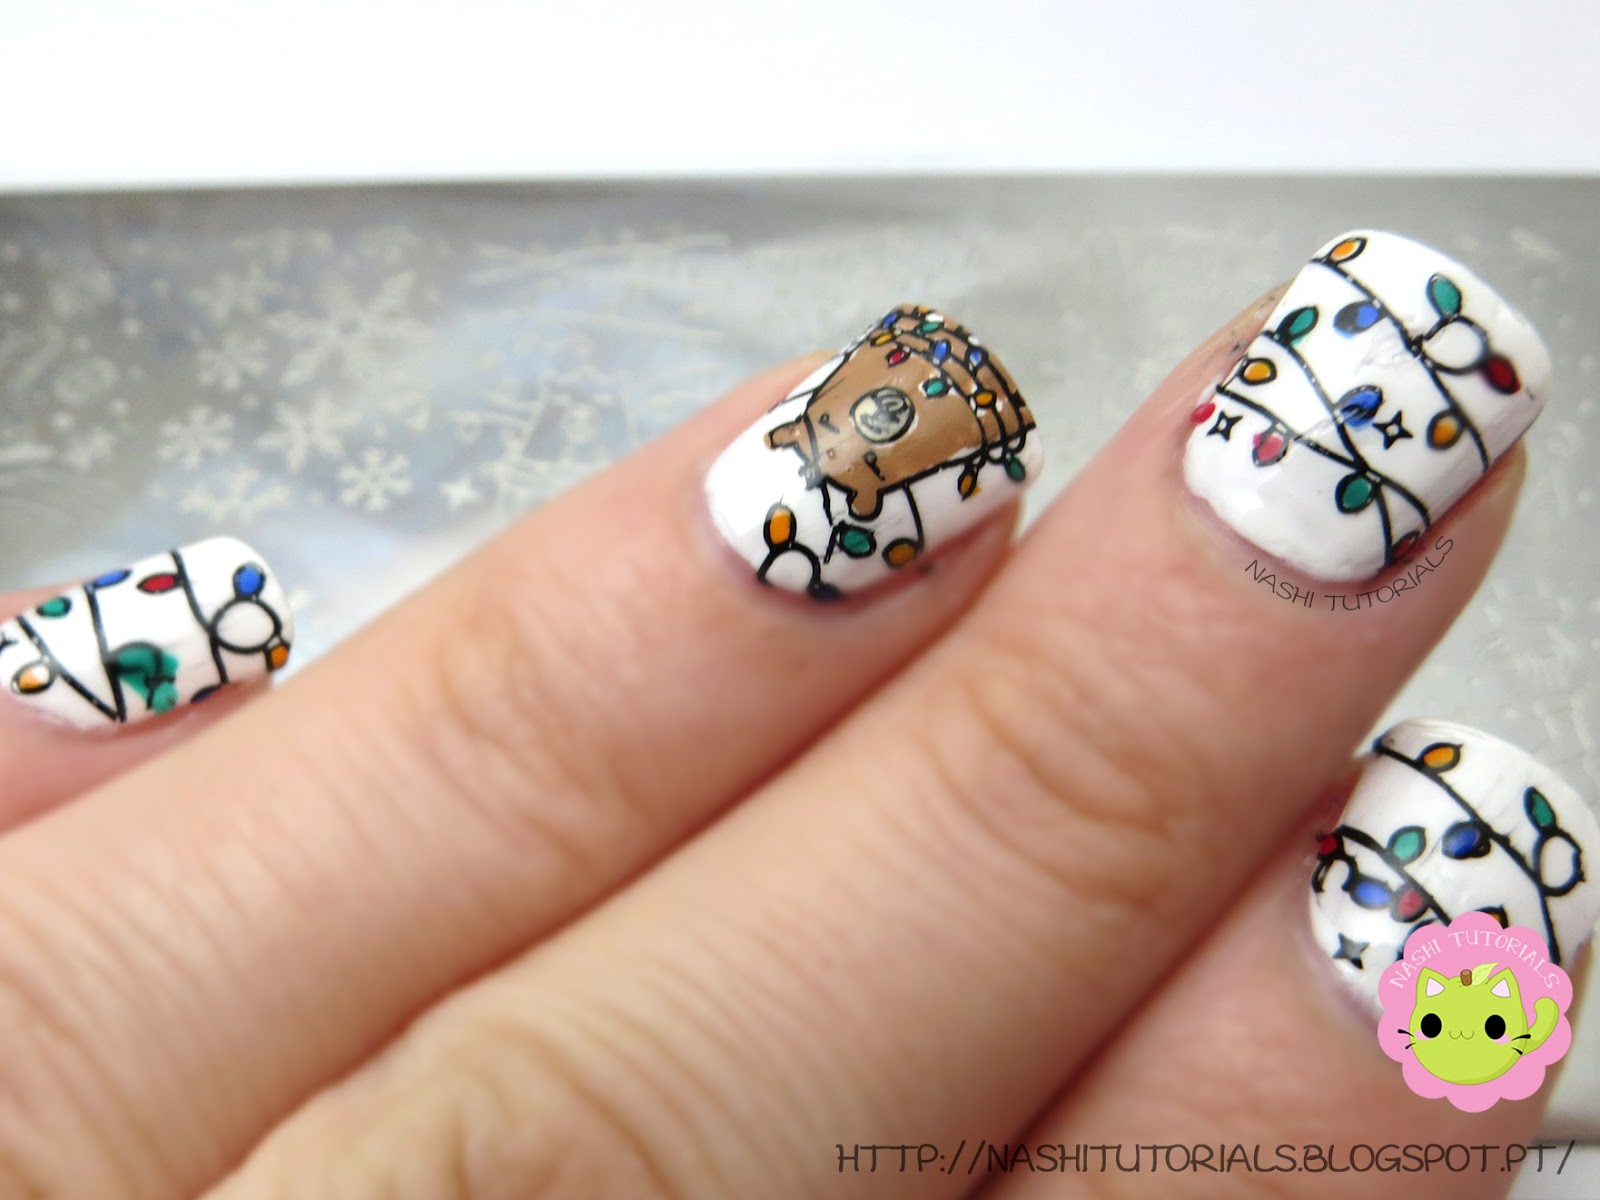
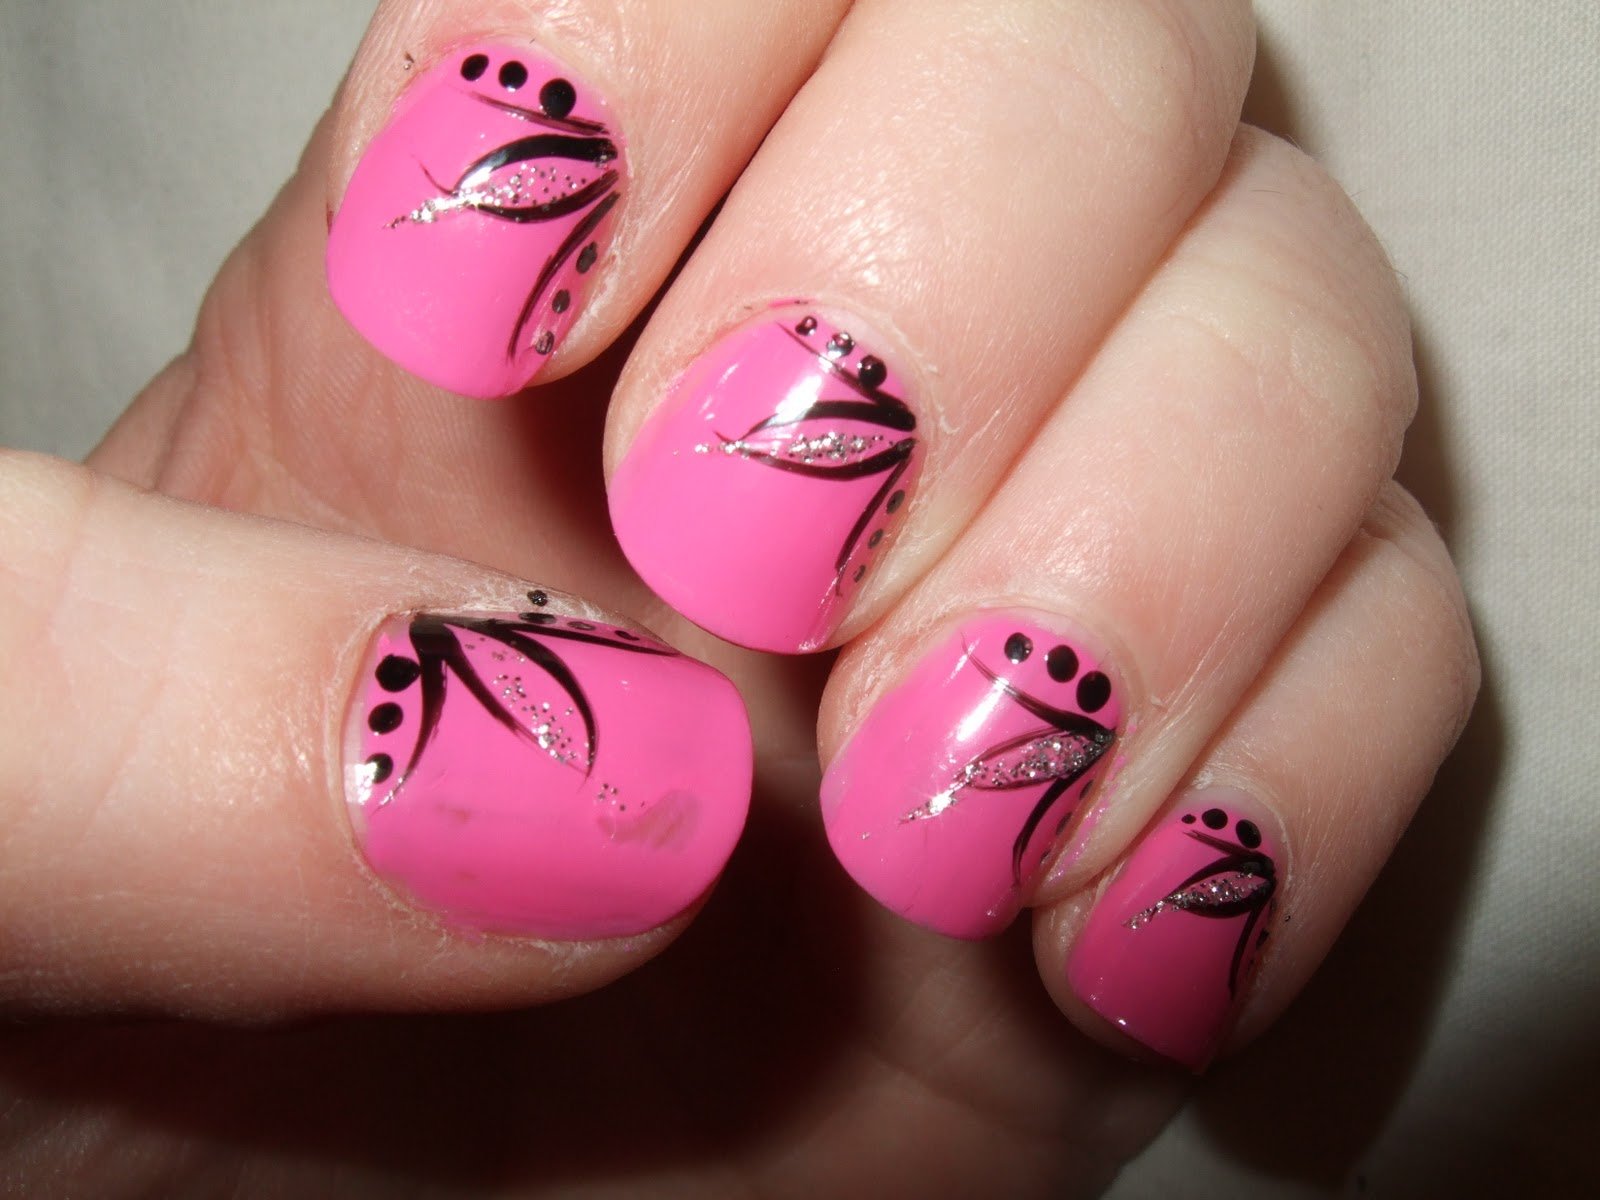
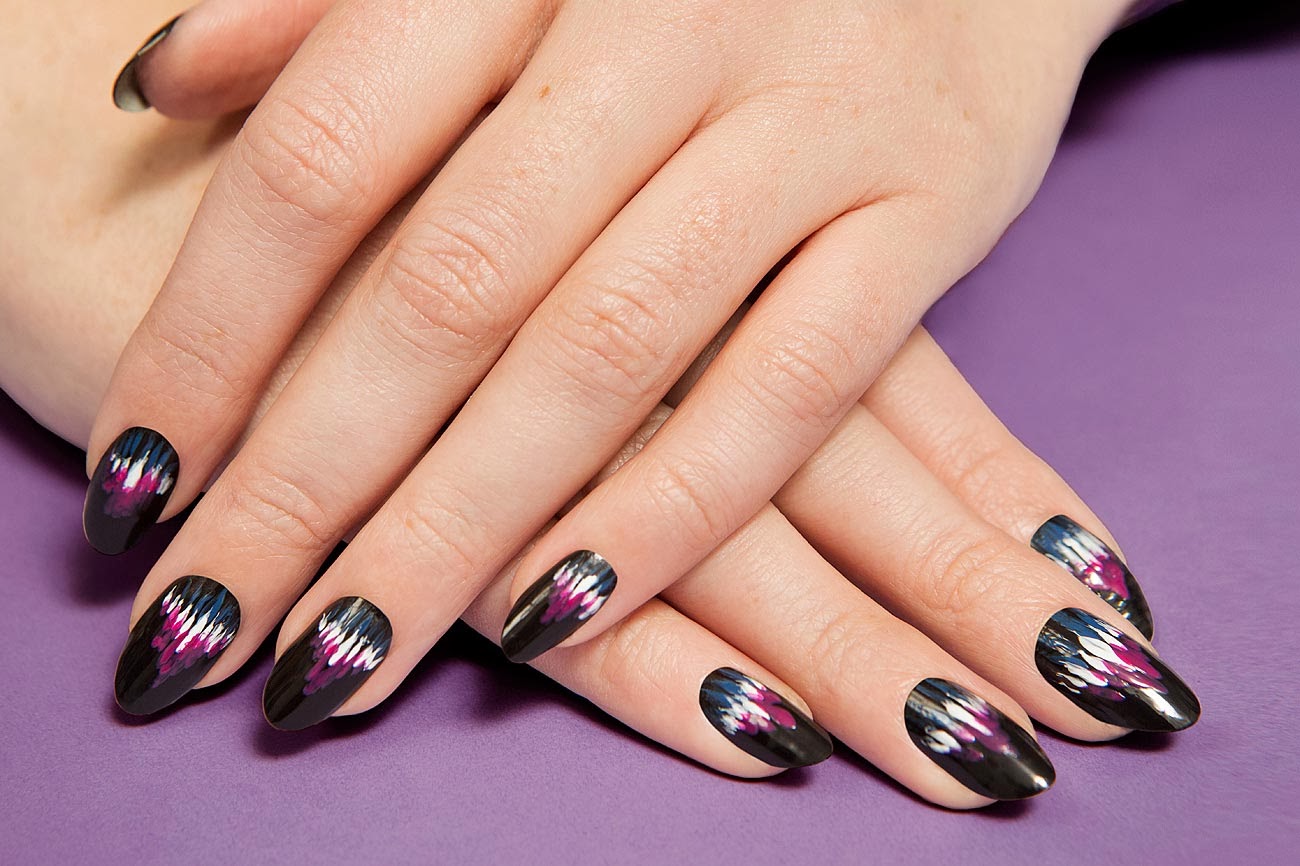
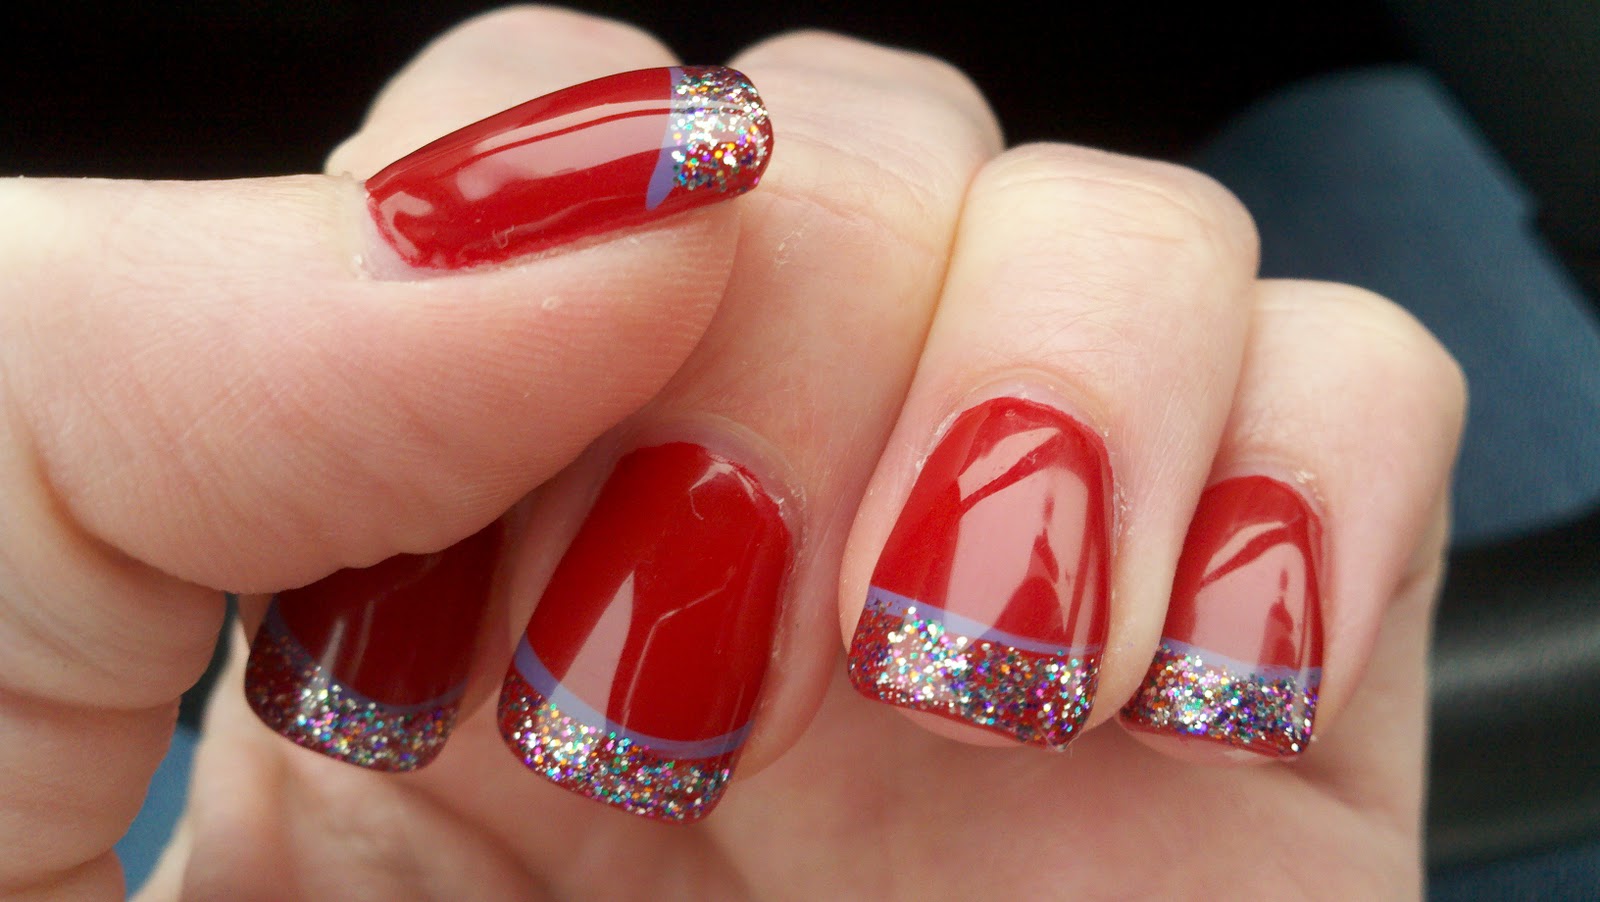
Looking for some inspiration for your next nail art stamping design? Here are 10 creative ideas using powder: 1. Metallic geometric shapes on a matte base 2. Holographic stars on a black base 3. Floral designs in pastel colors 4. Gradient effect using different shades of the same color 5. Galaxy nails with a mix of black, purple, and blue powders 6. Animal print using black and white powders 7. Marble effect using two or more powder colors 8. Ombre nails using different shades of the same powder color 9. Rainbow stripes using different colored powders 10. Thermochromic design that changes color with heat6. 10 Creative Nail Art Stamping Ideas Using Powder
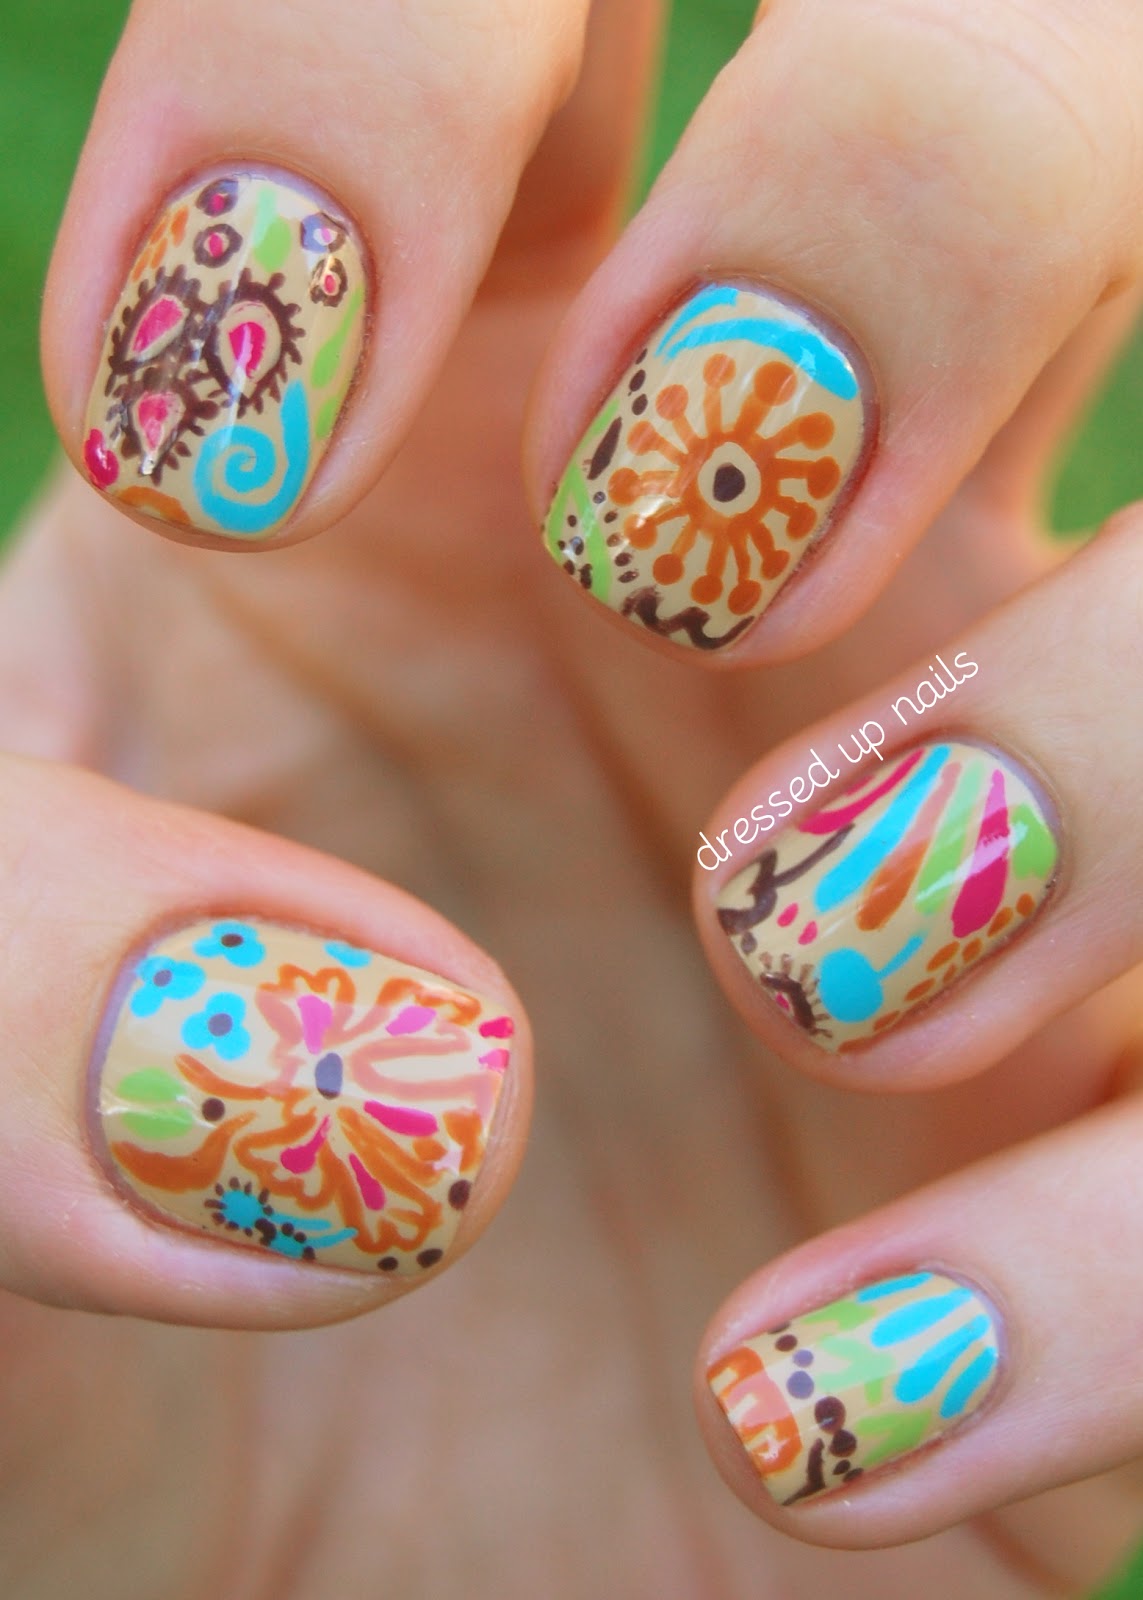

6. 10 Creative Nail Art Stamping Ideas Using Powder


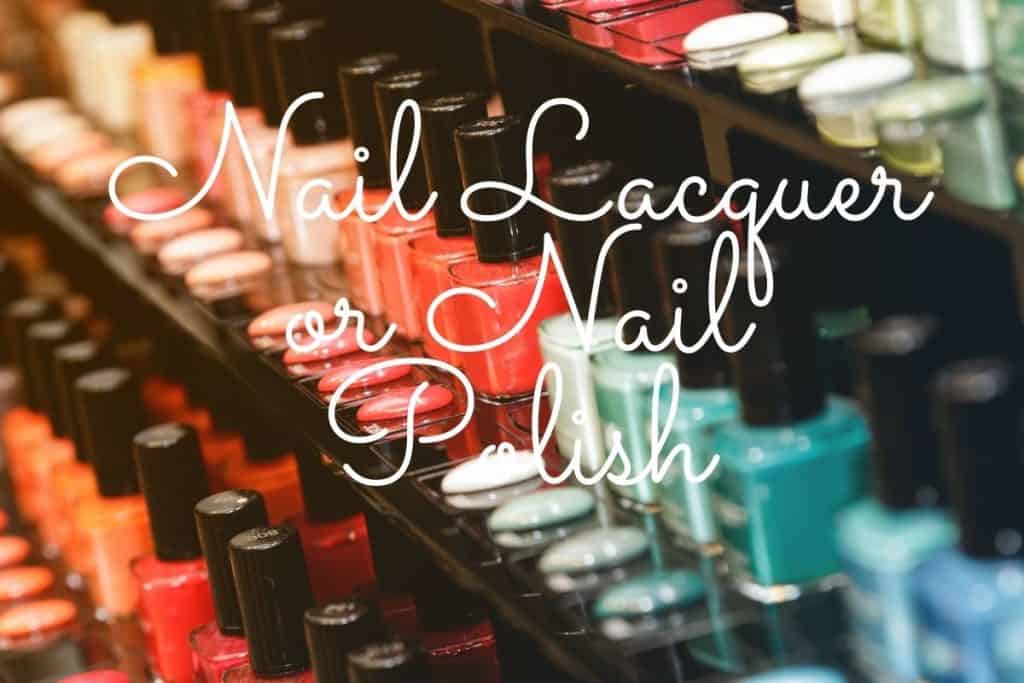
While both nail art stamping powder and regular nail polish are used to create designs on nails, there are a few key differences between the two: Texture: Nail art stamping powder has a finer and more pigmented texture, making it easier to transfer designs onto nails. Pigmentation: Stamping powders are highly pigmented, creating bold and vibrant designs, while regular nail polish may require multiple coats to achieve the same intensity. Drying time: Stamping powder dries quickly, making it easier to work with and less likely to smudge. Finishes: Nail art stamping powder comes in a variety of finishes, including holographic, metallic, and neon, while regular nail polish may have a limited range of finishes.7. The Difference Between Nail Art Stamping Powder and Regular Nail Polish
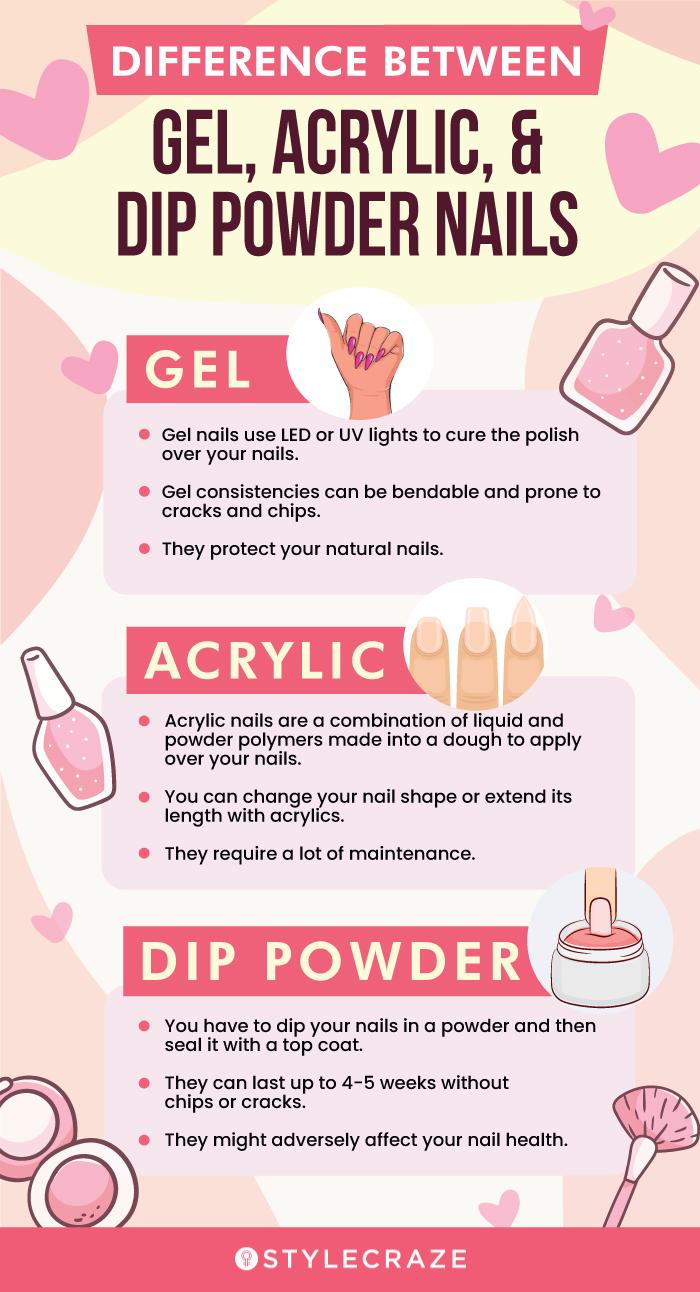

7. The Difference Between Nail Art Stamping Powder and Regular Nail Polish


When it comes to creating nail art, there are various methods to choose from, including using stickers or stamping powders. Here are some factors to consider when deciding which is better for you: Longevity: Nail art stamping with powder tends to last longer than stickers, as the design is transferred onto the nail and sealed with a top coat. Variety: Stamping powders offer a wider range of designs, colors, and finishes compared to stickers, allowing for more creativity. Difficulty: Stickers may be easier to use for beginners, while nail art stamping with powder requires some practice and skill. Ultimately, the choice between stickers and stamping powders comes down to personal preference and the type of design you want to achieve.8. Nail Art Stamping with Powder vs. Stickers: Which is Better?


8. Nail Art Stamping with Powder vs. Stickers: Which is Better?

To ensure your stamping powders last longer and continue to give you flawless results, here are some care tips: Clean: After each use, gently wipe the rim of the powder jar with a cotton pad or tissue to remove any excess polish or oils. Store: Keep your stamping powders in a cool and dry place away from direct sunlight. Protect: To prevent your powders from drying out, make sure the lids are tightly closed after use. Replace: If your stamping powder becomes clumpy or dries out, it may be time to replace it.9. How to Clean and Care for Your Nail Art Stamping Powder

9. How to Clean and Care for Your Nail Art Stamping Powder

Here are some common questions and answers about nail art stamping with powder: Q: Can I use regular nail polish for stamping? A: No, regular nail polish is not designed for stamping and may not transfer onto your nails properly. Q: Can I mix different powder colors to create a new shade? A: Yes, you can mix different powder colors on the stamping plate to create new shades. Q: How do I remove nail art stamping? A: Use a cotton pad soaked in nail polish remover and gently rub over the design until it is completely removed. Q: Is nail art stamping with powder safe for my nails? A: As long as you use high-quality products and follow the correct procedures, nail art stamping with powder should not cause any harm to your nails. With these tips and tricks, you can now confidently explore the world of nail art stamping with powder and create stunning designs on your nails. Remember, practice makes perfect, so don't be afraid to experiment and have fun with it!10. Nail Art Stamping with Powder: Frequently Asked Questions

10. Nail Art Stamping with Powder: Frequently Asked Questions


The Art of Nail Stamping with Powder: Elevating Your Nail Game

Introduction
 Nail art has become a popular form of self-expression and a way to showcase one's creativity through unique and intricate designs. From simple polka dots to elaborate floral patterns, there is no limit to the possibilities when it comes to nail art. One technique that has gained immense popularity in recent years is nail stamping with powder. This innovative technique allows for precise and detailed designs on your nails, giving them a professional and polished look. In this article, we will explore the world of nail art stamping with powder and how you can elevate your nail game with this technique.
What is Nail Stamping with Powder?
 Nail stamping with powder is a form of nail art that involves using a special powder and a stamping tool to transfer intricate designs onto your nails. The powder, also known as stamping powder or chrome powder, is a fine pigment that comes in a variety of colors and finishes. The stamping tool consists of a metal plate with intricate designs engraved on it and a rubber stamper to pick up and transfer the design onto your nails.
The Process
 The process of nail stamping with powder is simple yet requires precision and practice. First, apply a base coat on your nails and let it dry. Then, using a sponge applicator or a brush, apply the stamping powder onto the desired design on the metal plate. Next, use the rubber stamper to pick up the design and gently press it onto your nail. The powder will transfer onto your nail, creating a crisp and detailed design. Finally, seal the design with a top coat to protect it and give it a glossy finish.
Why Choose Nail Stamping with Powder?
 Nail stamping with powder offers numerous benefits that make it a popular choice among nail art enthusiasts. First and foremost, it allows for intricate designs that are difficult to achieve with traditional nail polish and brushes. The fine powder particles also create a metallic and reflective finish, adding depth and dimension to your designs. Additionally, the powder is long-lasting and chip-resistant, ensuring your nail art stays intact for days.
Conclusion
 Nail stamping with powder is an innovative and fun way to elevate your nail game and showcase your creativity. With a variety of colors and finishes to choose from, the possibilities are endless with this technique. So why settle for plain and boring nails when you can have stunning and intricate designs? Give nail stamping with powder a try and watch your nails transform into works of art.


