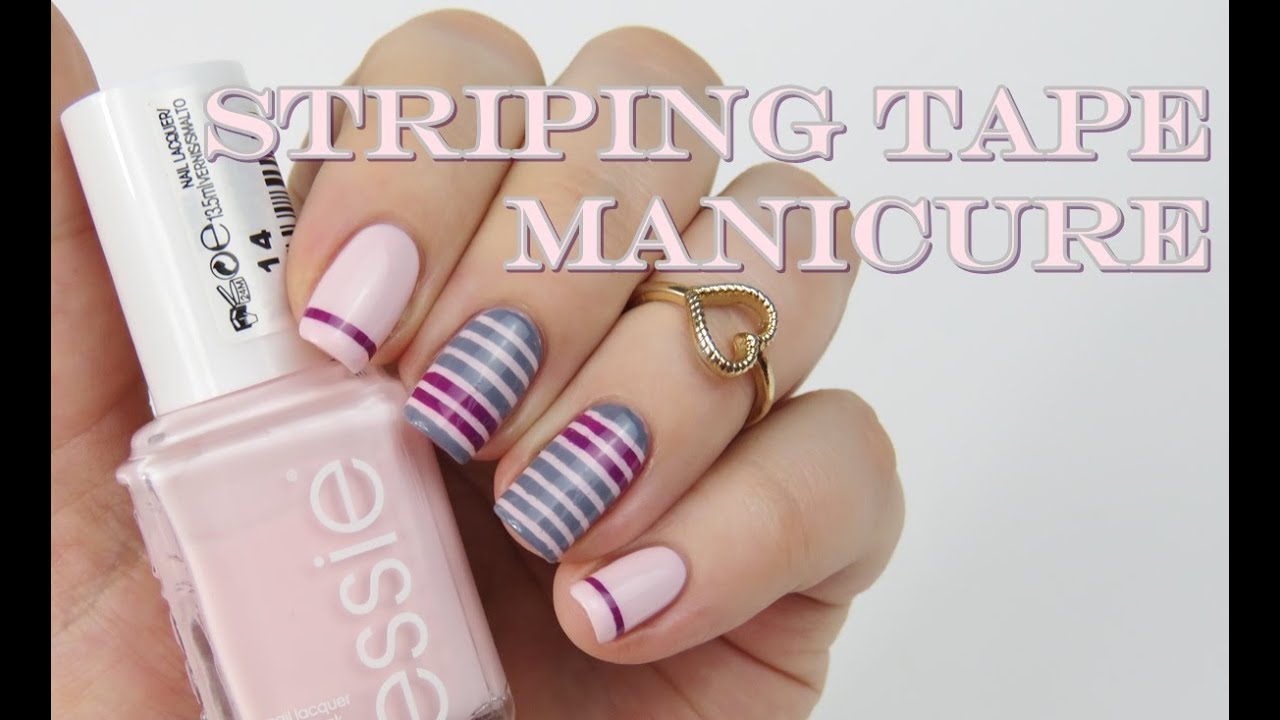
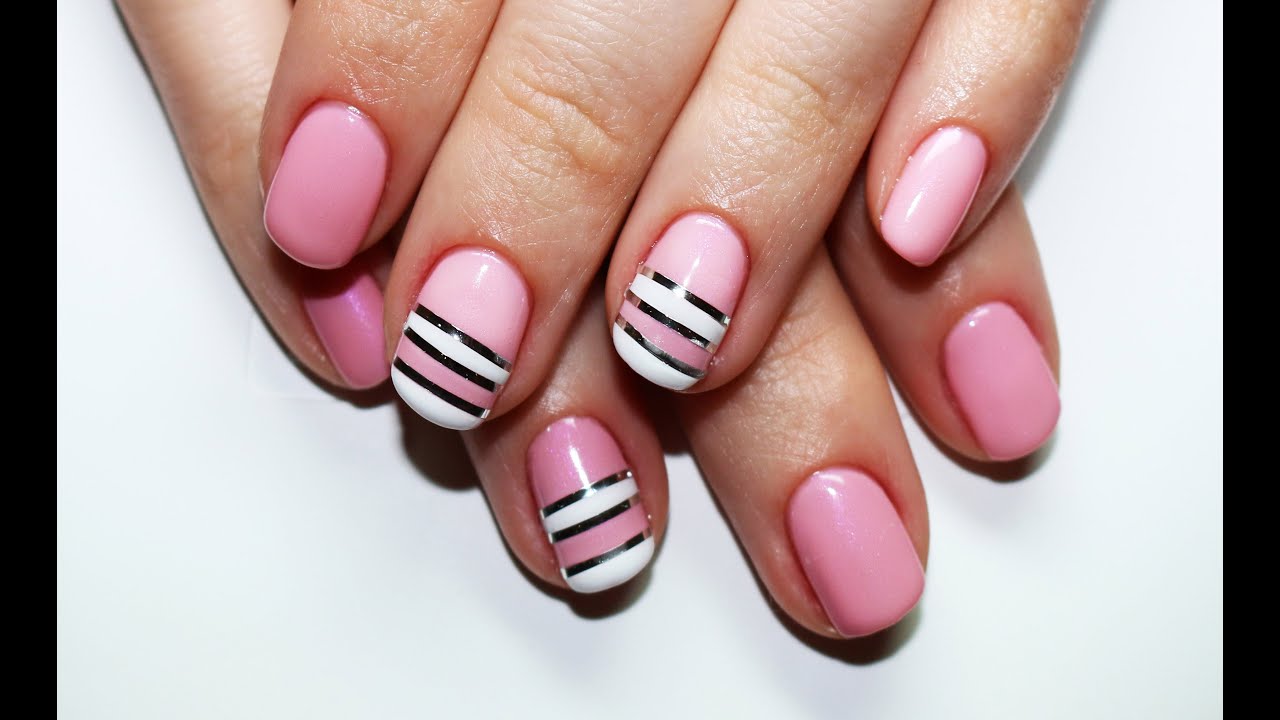
Nail art striping tape is a must-have tool for anyone who loves to create intricate and detailed nail designs. But if you've never used it before, it can seem a bit daunting. Don't worry, we've got you covered with these tips on how to use nail art striping tape for perfect designs! Pro Tip: Make sure to have a steady hand and some patience when using nail art striping tape. Practice makes perfect!1. How to Use Nail Art Striping Tape for Perfect Designs


1. How to Use Nail Art Striping Tape for Perfect Designs


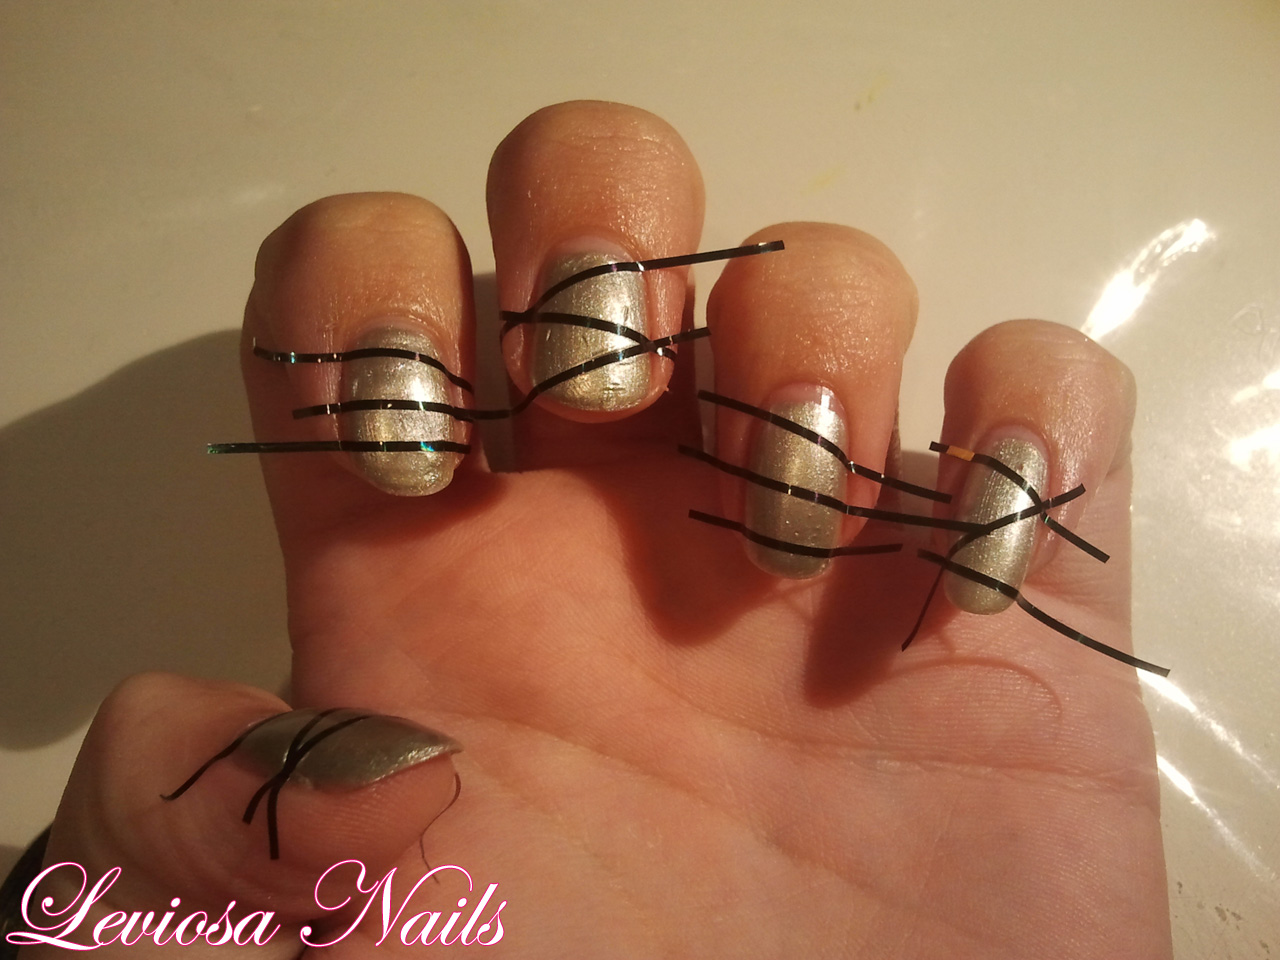
Whether you're a beginner or a seasoned pro, these tips will help you use nail art striping tape like a pro: 1. Choose high-quality tape: Make sure to invest in good quality nail art striping tape to avoid any frustration with the tape not sticking or tearing easily. 2. Use a base coat: Always start with a base coat to protect your natural nails and create a smooth surface for the tape to stick to. 3. Cut the tape in advance: Cut small pieces of the tape before starting your design. This will help save time and prevent the tape from drying out while you work on your nails. 4. Apply the tape carefully: Use tweezers or a toothpick to place the tape on your nails. This will ensure precision and prevent smudging. 5. Press down firmly: Once the tape is in place, make sure to press down firmly to ensure it sticks well to your nails. 6. Seal with topcoat: To prevent the tape from peeling off, seal your design with a layer of topcoat. Make sure to apply it carefully to avoid smudging the design. 7. Experiment with different designs: Don't be afraid to get creative and try out different designs with the striping tape. The possibilities are endless! 8. Use multiple colors: You can create stunning designs by using multiple colors of striping tape. Just make sure to let each color dry before moving on to the next one. 9. Remove carefully: When you're ready to remove the tape, make sure to do it carefully and slowly to avoid damaging your design. 10. Have fun: Most importantly, have fun with it! Nail art should be a fun and creative expression, so don't stress too much about making it perfect.2. 10 Tips for Using Nail Art Striping Tape Like a Pro


2. 10 Tips for Using Nail Art Striping Tape Like a Pro
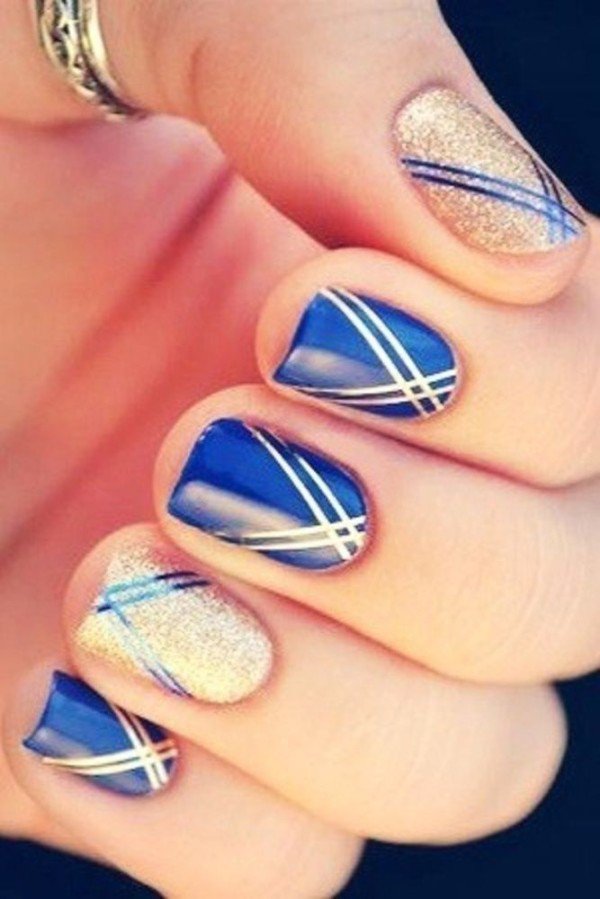
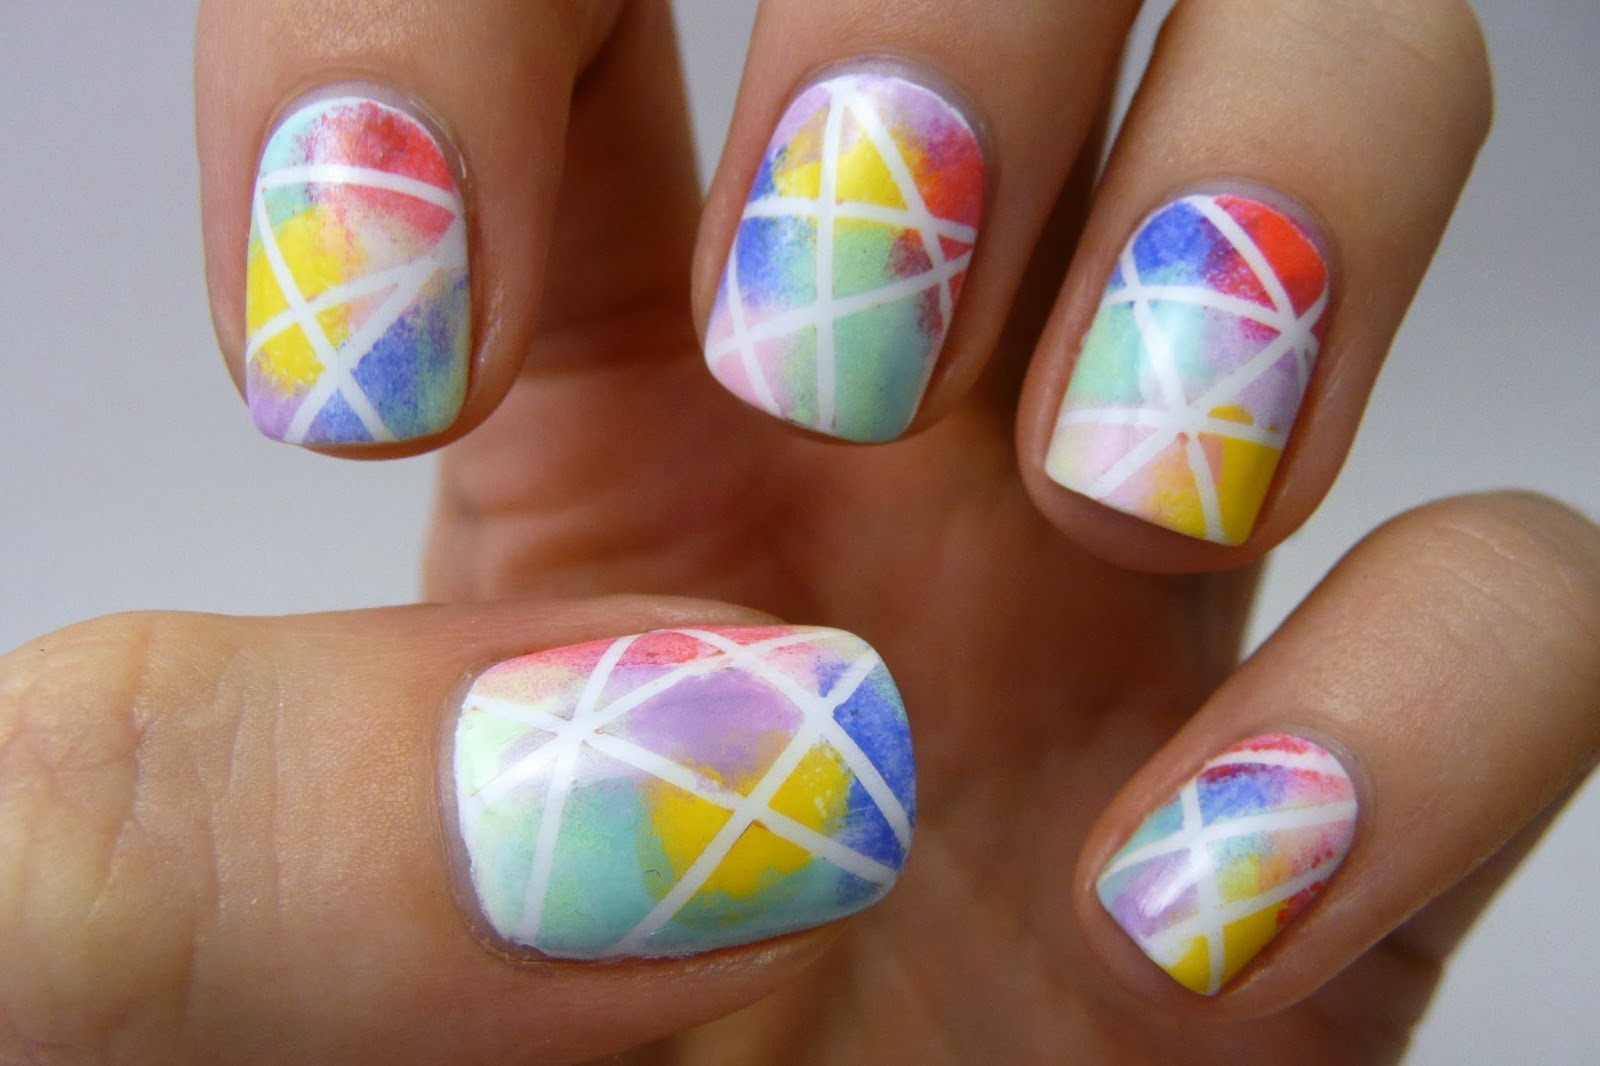
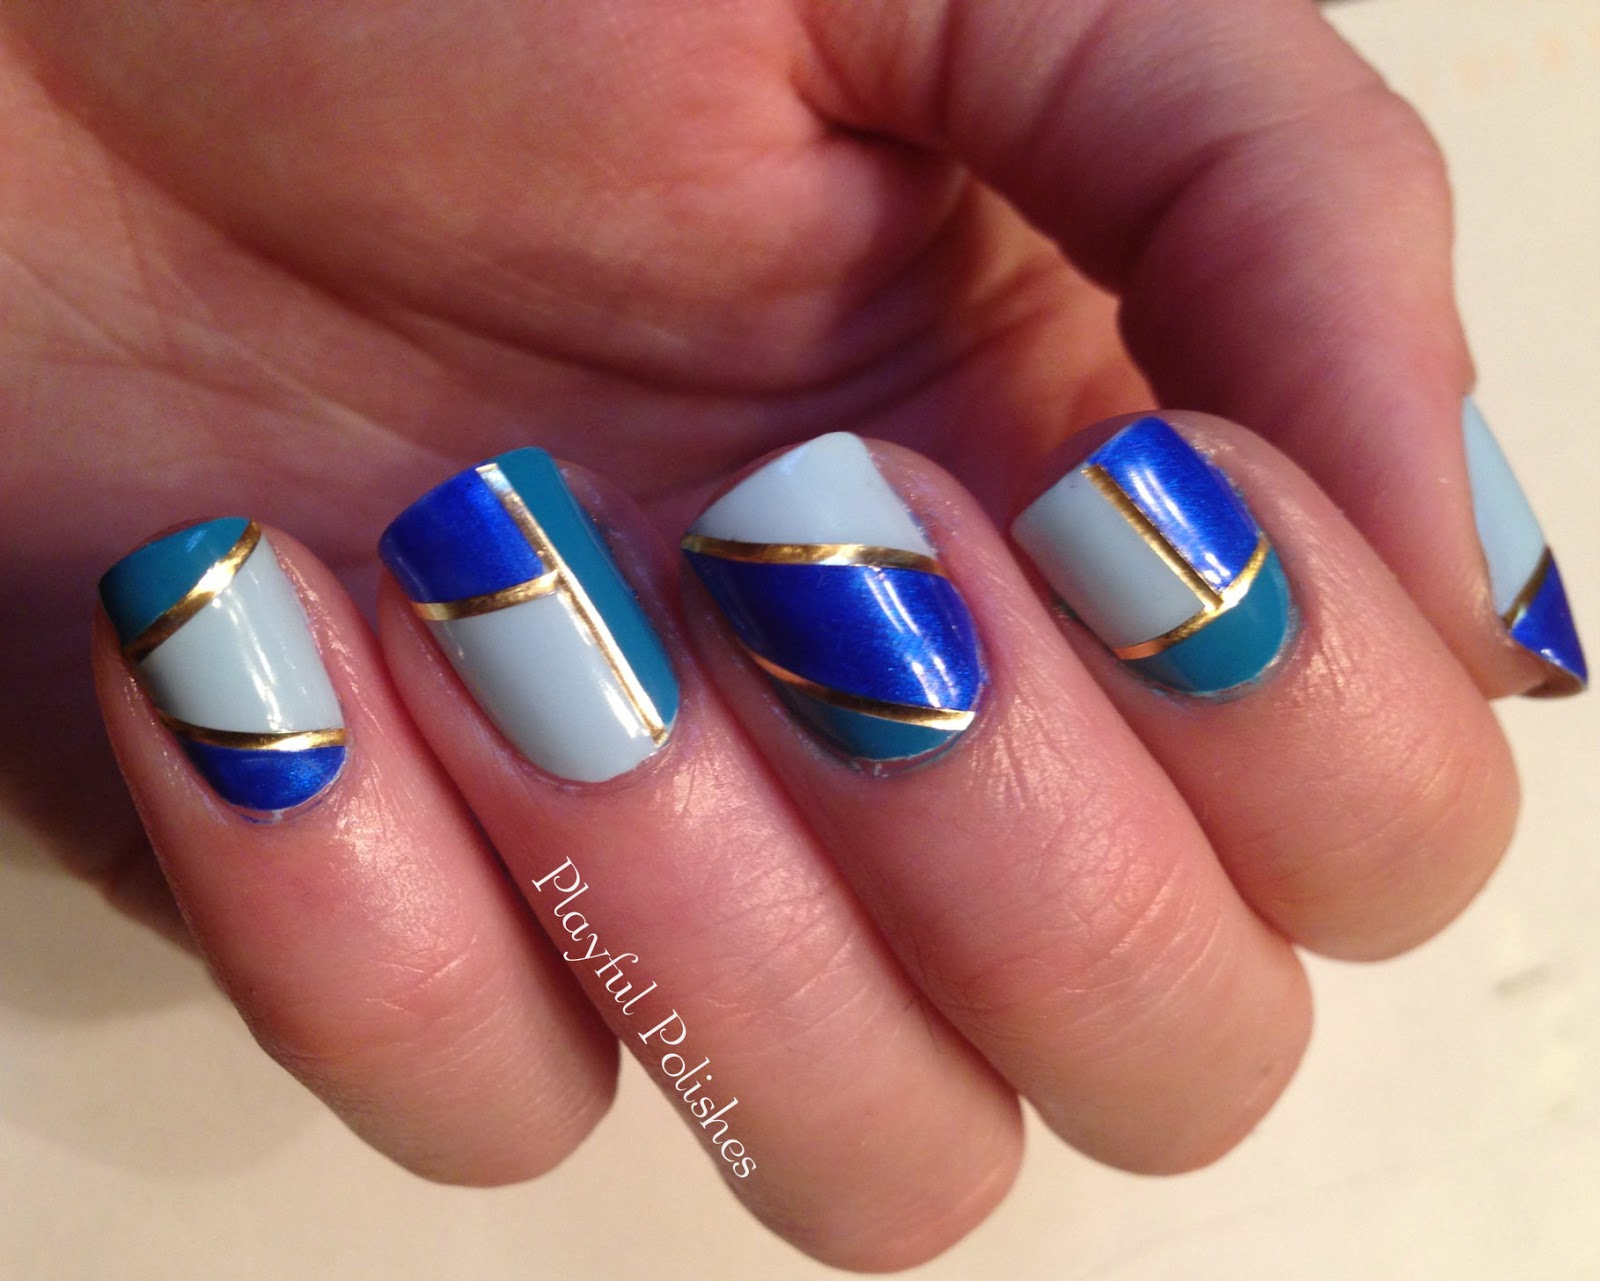
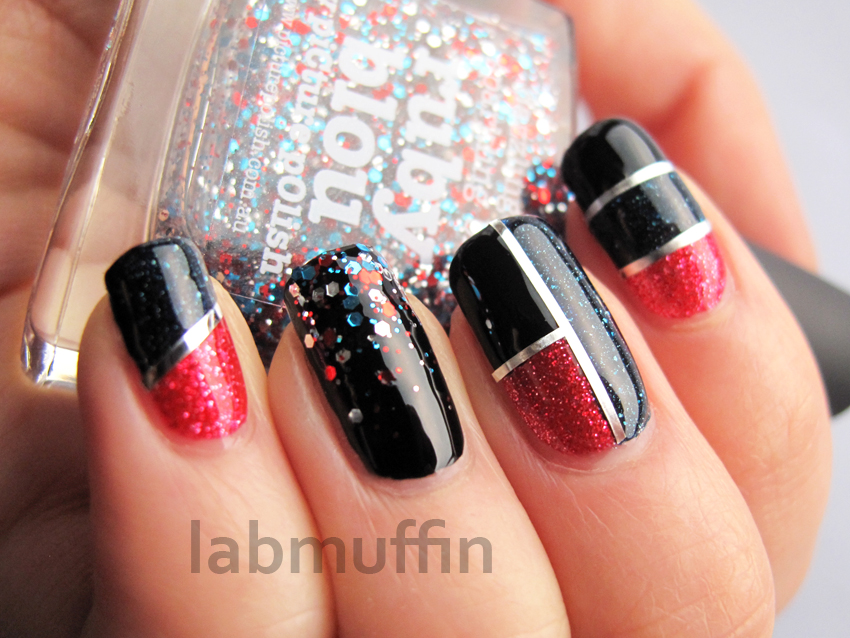
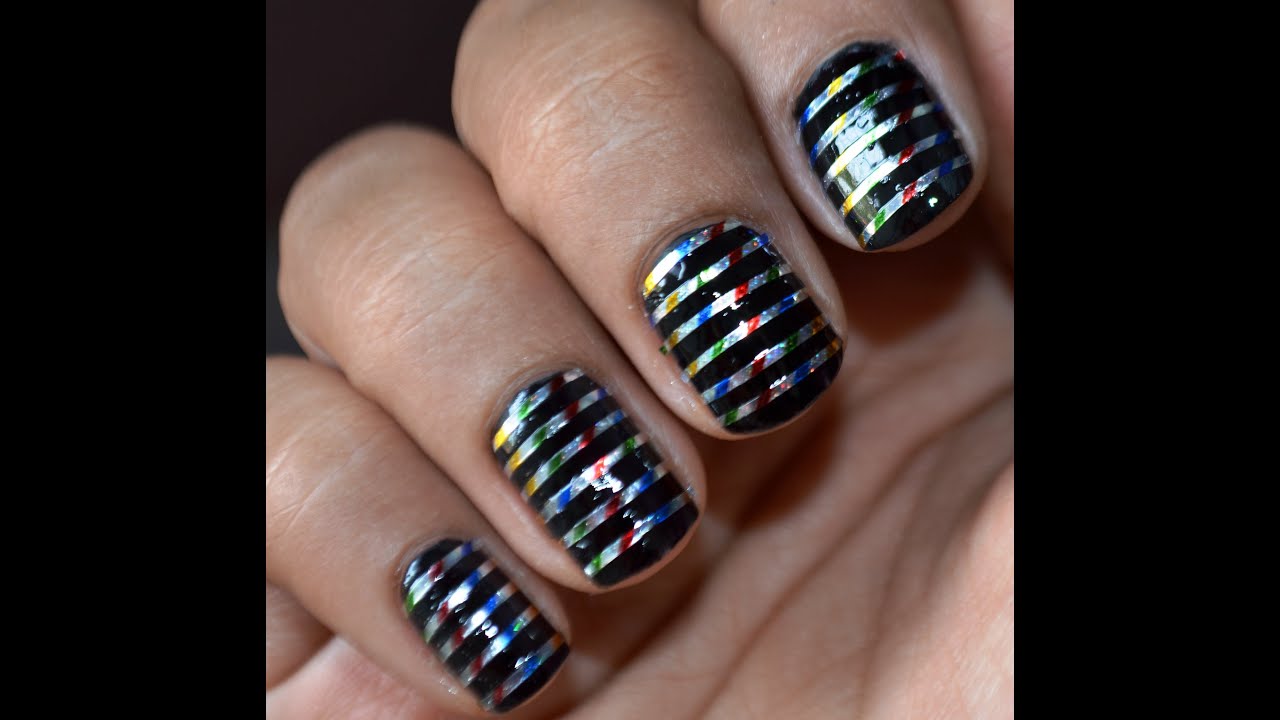
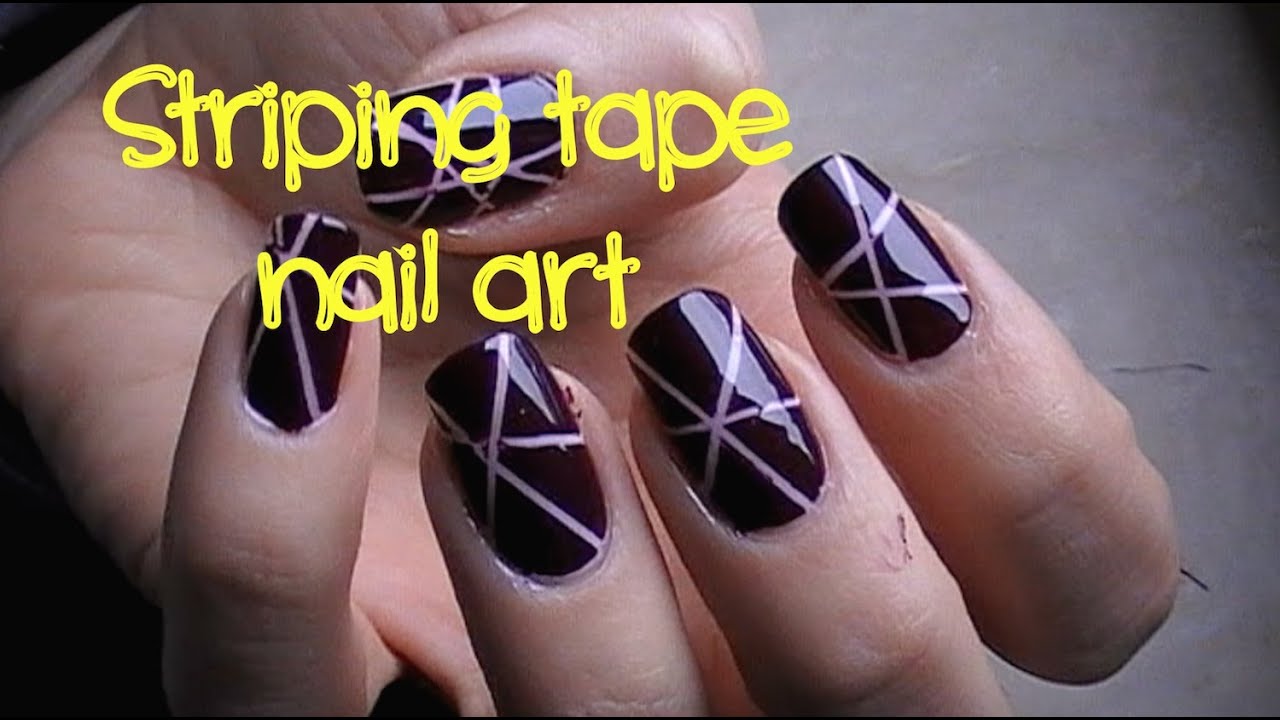
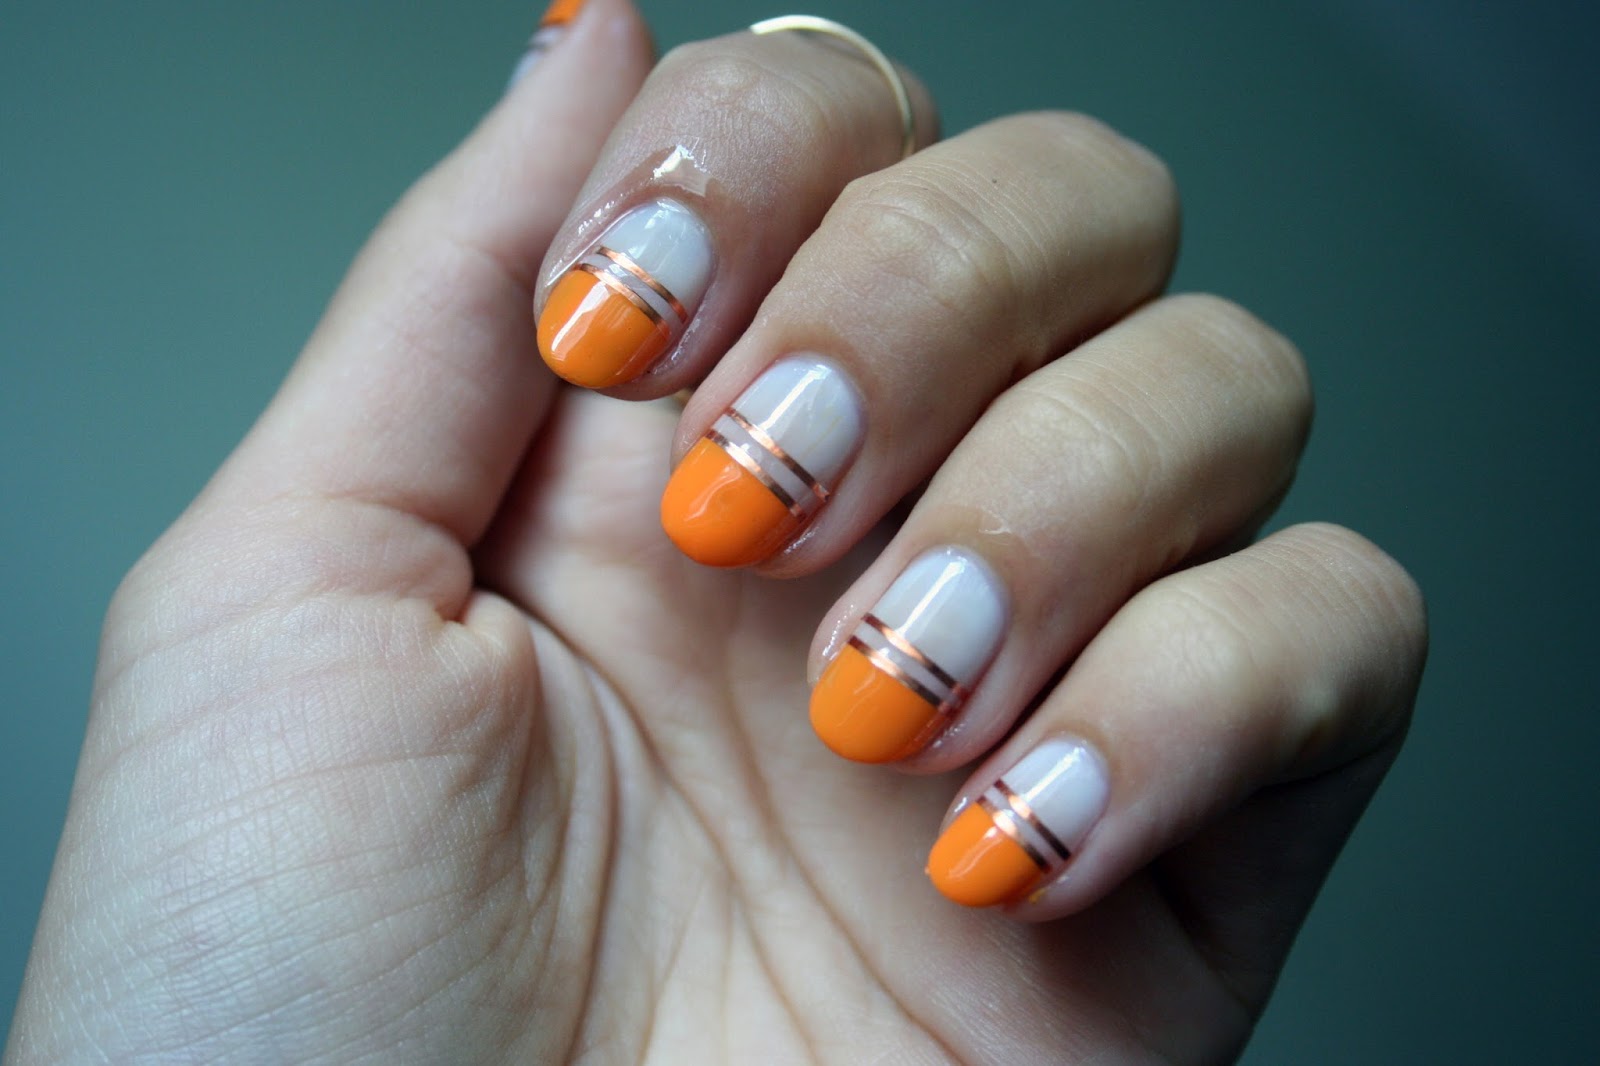
Nail art striping tape can elevate any manicure and make it look more intricate and professional. Here are some of the best designs to try for different occasions: 1. Geometric designs: Use striping tape to create geometric patterns and shapes for a modern and chic look. 2. French manicure with a twist: Use striping tape to create a unique French manicure by placing it diagonally across your nails. 3. Ombré nails: Create a gradient effect on your nails by using striping tape to separate different shades of nail polish. 4. Holiday nails: Use striping tape to create festive designs for holidays like Christmas or Halloween. 5. Negative space nails: Use striping tape to create negative space designs by placing it strategically on your nails and leaving some areas unpainted.3. The Best Nail Art Striping Tape Designs for Every Occasion


3. The Best Nail Art Striping Tape Designs for Every Occasion

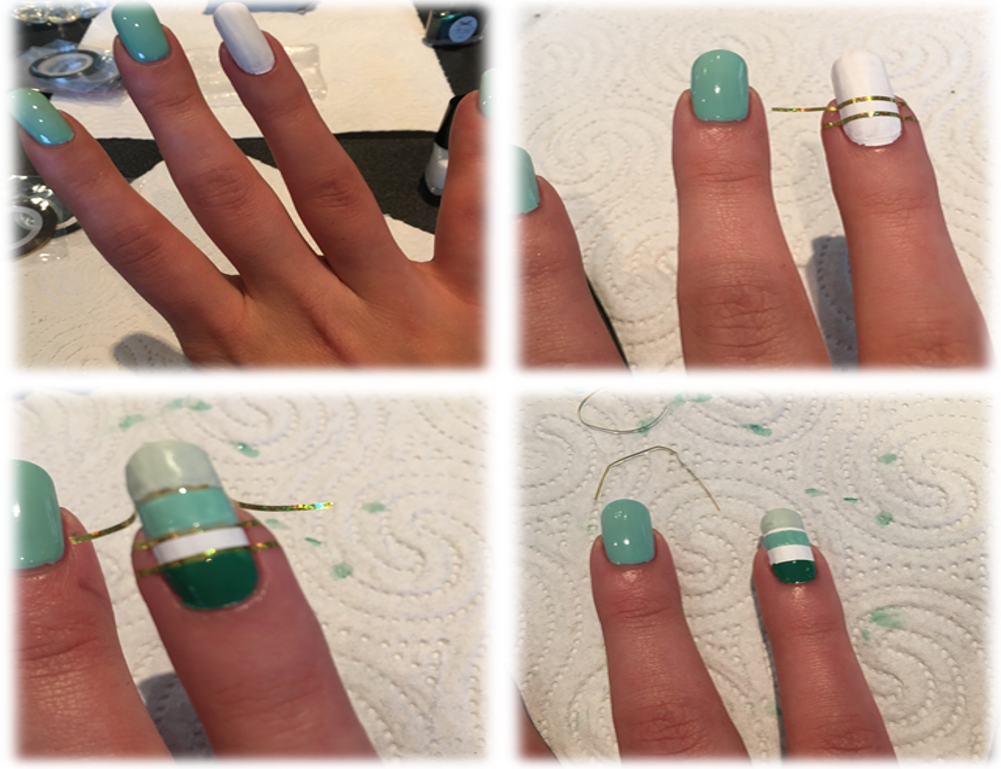
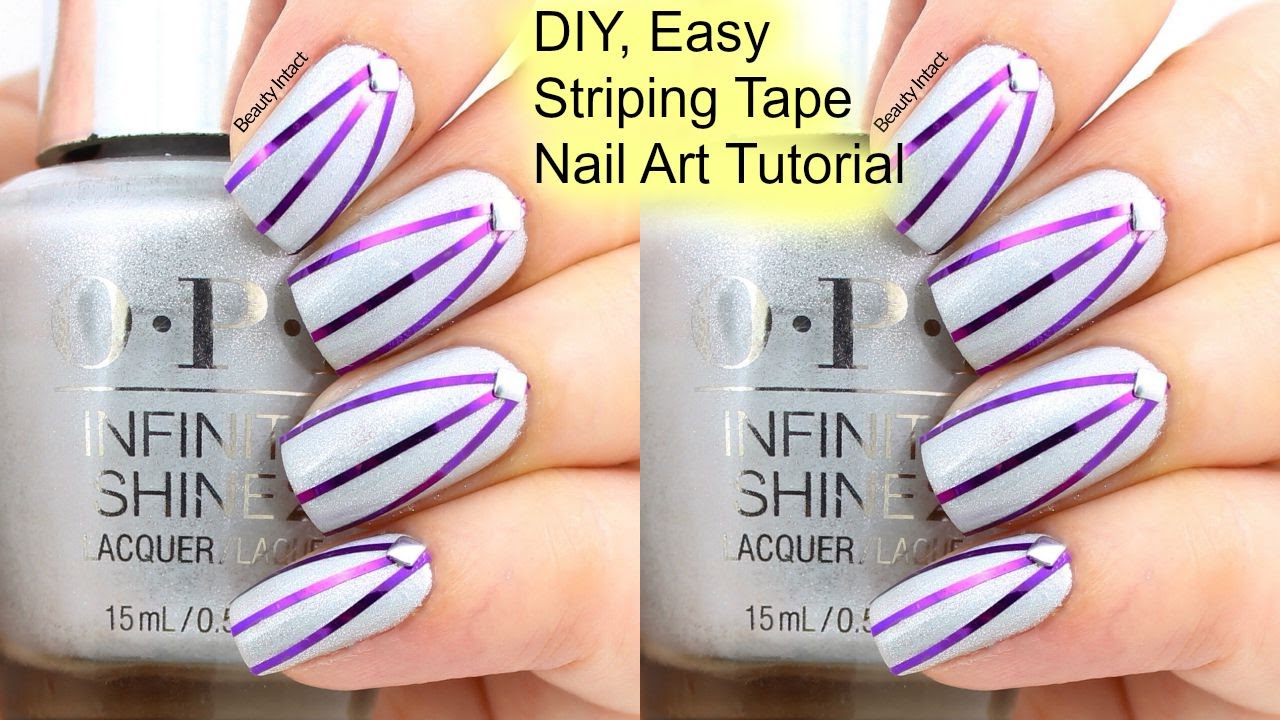
If you're still unsure about how to use nail art striping tape, here's a step-by-step tutorial to help you create a simple yet stunning design: Step 1: Start with a base coat and let it dry completely. Step 2: Cut small pieces of striping tape and place them on your nails in a diagonal pattern. Step 3: Paint over the tape and your nails with your desired color. Make sure to cover the tape completely. Step 4: While the polish is still wet, carefully remove the striping tape using tweezers or a toothpick. Step 5: Let the polish dry completely before sealing it with a topcoat. Step 6: Clean up any excess polish around your cuticles with a small brush dipped in nail polish remover. Step 7: Admire your beautiful nail art design!4. Step-by-Step Tutorial: Creating Nail Art with Striping Tape


4. Step-by-Step Tutorial: Creating Nail Art with Striping Tape


Here are some additional hacks to make using nail art striping tape even easier: 1. Use a white base: If you're using light or pastel colors, paint a white base coat before applying the striping tape. This will make the colors pop and prevent any transparency. 2. Cut the tape at an angle: To create diagonal designs, cut the striping tape at an angle instead of straight across. 3. Create a peel-off barrier: If you struggle with getting polish on your skin while using striping tape, apply a layer of liquid latex around your nails. Once you're done, simply peel it off for clean and easy removal of any excess polish. 4. Use different widths: Don't limit yourself to one width of striping tape. Experiment with different sizes to create more unique designs. 5. Store the tape properly: To prevent the tape from drying out, store it in a cool and dry place, away from direct sunlight.5. Nail Art Striping Tape Hacks You Need to Know

5. Nail Art Striping Tape Hacks You Need to Know

Even with all these tips and tricks, it's easy to make mistakes when using nail art striping tape. Here are some common ones to avoid: 1. Not letting the polish dry completely: Make sure to let each layer of polish dry completely before moving on to the next step. Otherwise, the striping tape can smudge the design. 2. Not pressing down firmly enough: If the striping tape is not pressed down firmly, the polish can seep underneath and ruin the design. 3. Removing the tape too quickly: Wait for the polish to dry completely before removing the striping tape. Otherwise, the design can smudge or the tape can leave a sticky residue on your nails. 4. Not using enough topcoat: The topcoat is crucial for sealing and protecting your design. Make sure to apply a generous layer for long-lasting results. 5. Using old or low-quality tape: Old or low-quality tape can dry out and become less sticky, making it difficult to work with. Make sure to use fresh, high-quality tape for best results.6. 5 Common Mistakes to Avoid When Using Nail Art Striping Tape


6. 5 Common Mistakes to Avoid When Using Nail Art Striping Tape

With so many brands on the market, it can be overwhelming to choose the right nail art striping tape. Here are the top 10 brands to try: 1. Twinkled T: Known for their high-quality striping tape and wide range of colors. 2. Whats Up Nails: Offers a variety of striping tape designs, including holographic and metallic options. 3. Born Pretty: Affordable and offers a wide range of colors and designs. 4. Winstonia: Offers both thin and thick striping tape for more versatile designs. 5. Nail Art By Aliexpress: A budget-friendly option with a variety of designs. 6. Bundle Monster: Offers both individual rolls and sets of striping tape. 7. Whats Up Nails: Offers a variety of striping tape designs, including holographic and metallic options. 8. Twinkled T: Known for their high-quality striping tape and wide range of colors. 9. Born Pretty: Affordable and offers a wide range of colors and designs. 10. Winstonia: Offers both thin and thick striping tape for more versatile designs.7. The Top 10 Nail Art Striping Tape Brands to Try


7. The Top 10 Nail Art Striping Tape Brands to Try

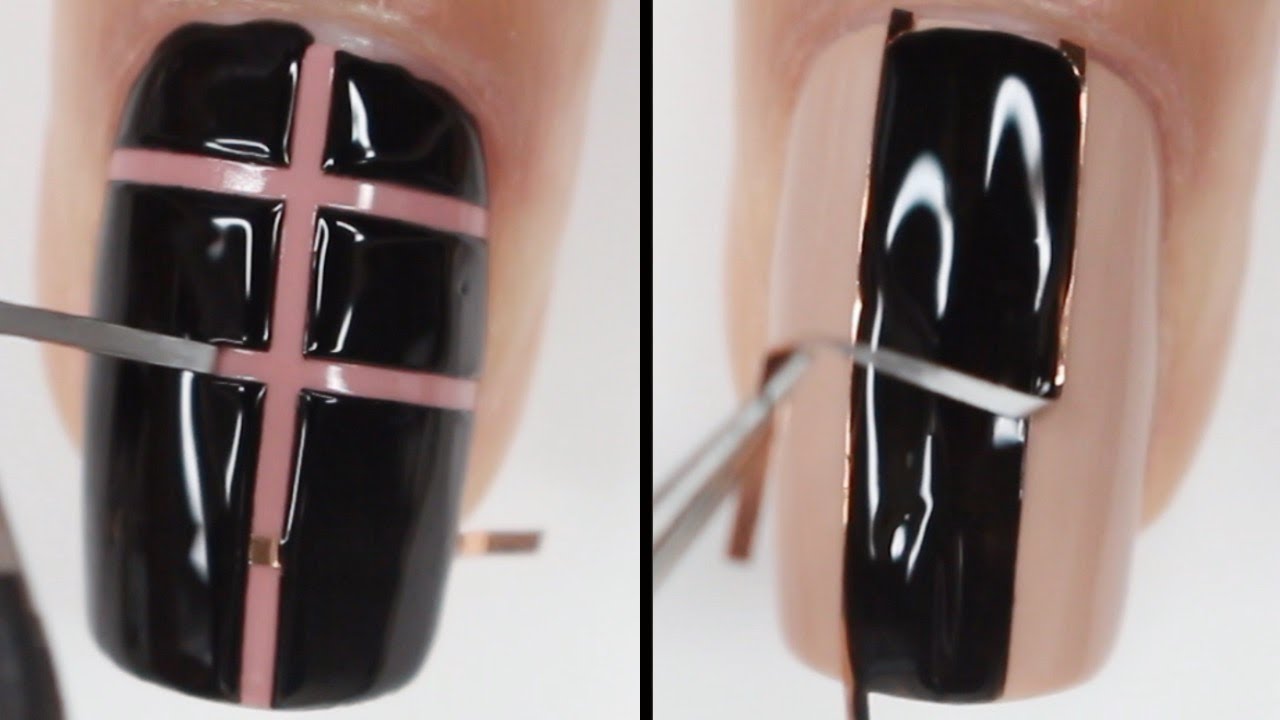
Geometric nail art is a popular trend, and striping tape makes it easy to achieve. Here's how to create a simple geometric design: Step 1: Start with a white base and let it dry completely. Step 2: Cut small pieces of striping tape and place them on your nails to create a geometric pattern. Step 3: Paint over the tape and your nails with your desired color. Step 4: While the polish is still wet, carefully remove the striping tape using tweezers or a toothpick. Step 5: Let the polish dry completely before sealing it with a topcoat. Step 6: Clean up any excess polish around your cuticles with a small brush dipped in nail polish remover.8. How to Create Geometric Nail Art with Striping Tape
8. How to Create Geometric Nail Art with Striping Tape


Some people may wonder if nail art striping tape is better than using nail polish for creating designs. The truth is, both have their advantages and can be used together for even more intricate designs. Nail art striping tape is great for creating clean and precise lines, while nail polish allows for more creativity and blending of colors. It ultimately comes down to personal preference and the design you're trying to achieve.9. Nail Art Striping Tape vs. Nail Polish: Which is Better?

9. Nail Art Striping Tape vs. Nail Polish: Which is Better?
Congratulations, you've reached the end of our guide to nail art striping tape! By now, you should have a good understanding of how to use it, different designs to try, and common mistakes to avoid. Remember, practice makes perfect, so don't be discouraged if your first attempts don't turn out exactly how you want them to. Keep experimenting and have fun with it! Idea: You can also create a clickable table of contents for your article, using the heading 2 as anchor links.10. The Ultimate Guide to Nail Art Striping Tape: Tips, Tricks, and Techniques
10. The Ultimate Guide to Nail Art Striping Tape: Tips, Tricks, and Techniques


Nail Art Striping Tape Tips for Perfect Designs

Introduction
 Nail art has become a popular trend among individuals of all ages. It allows for creativity and self-expression through unique and intricate designs. One tool that has gained popularity in the world of nail art is striping tape. This thin adhesive tape can be used to create clean and precise lines on your nails, making it a must-have for any nail art enthusiast. In this article, we will discuss some tips on how to use nail art striping tape to achieve flawless designs.
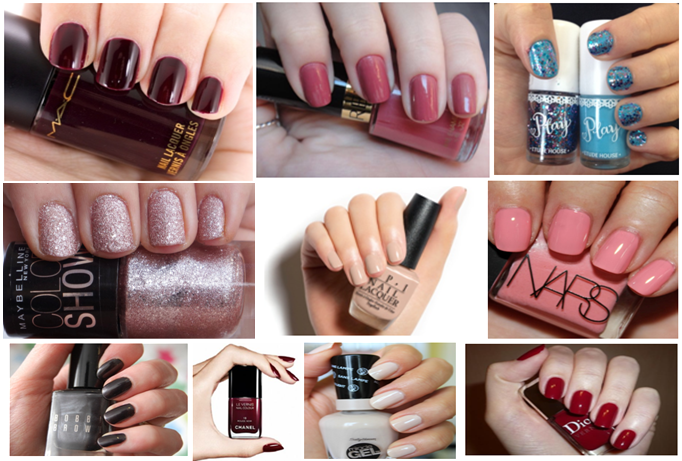
Choose the Right Tape
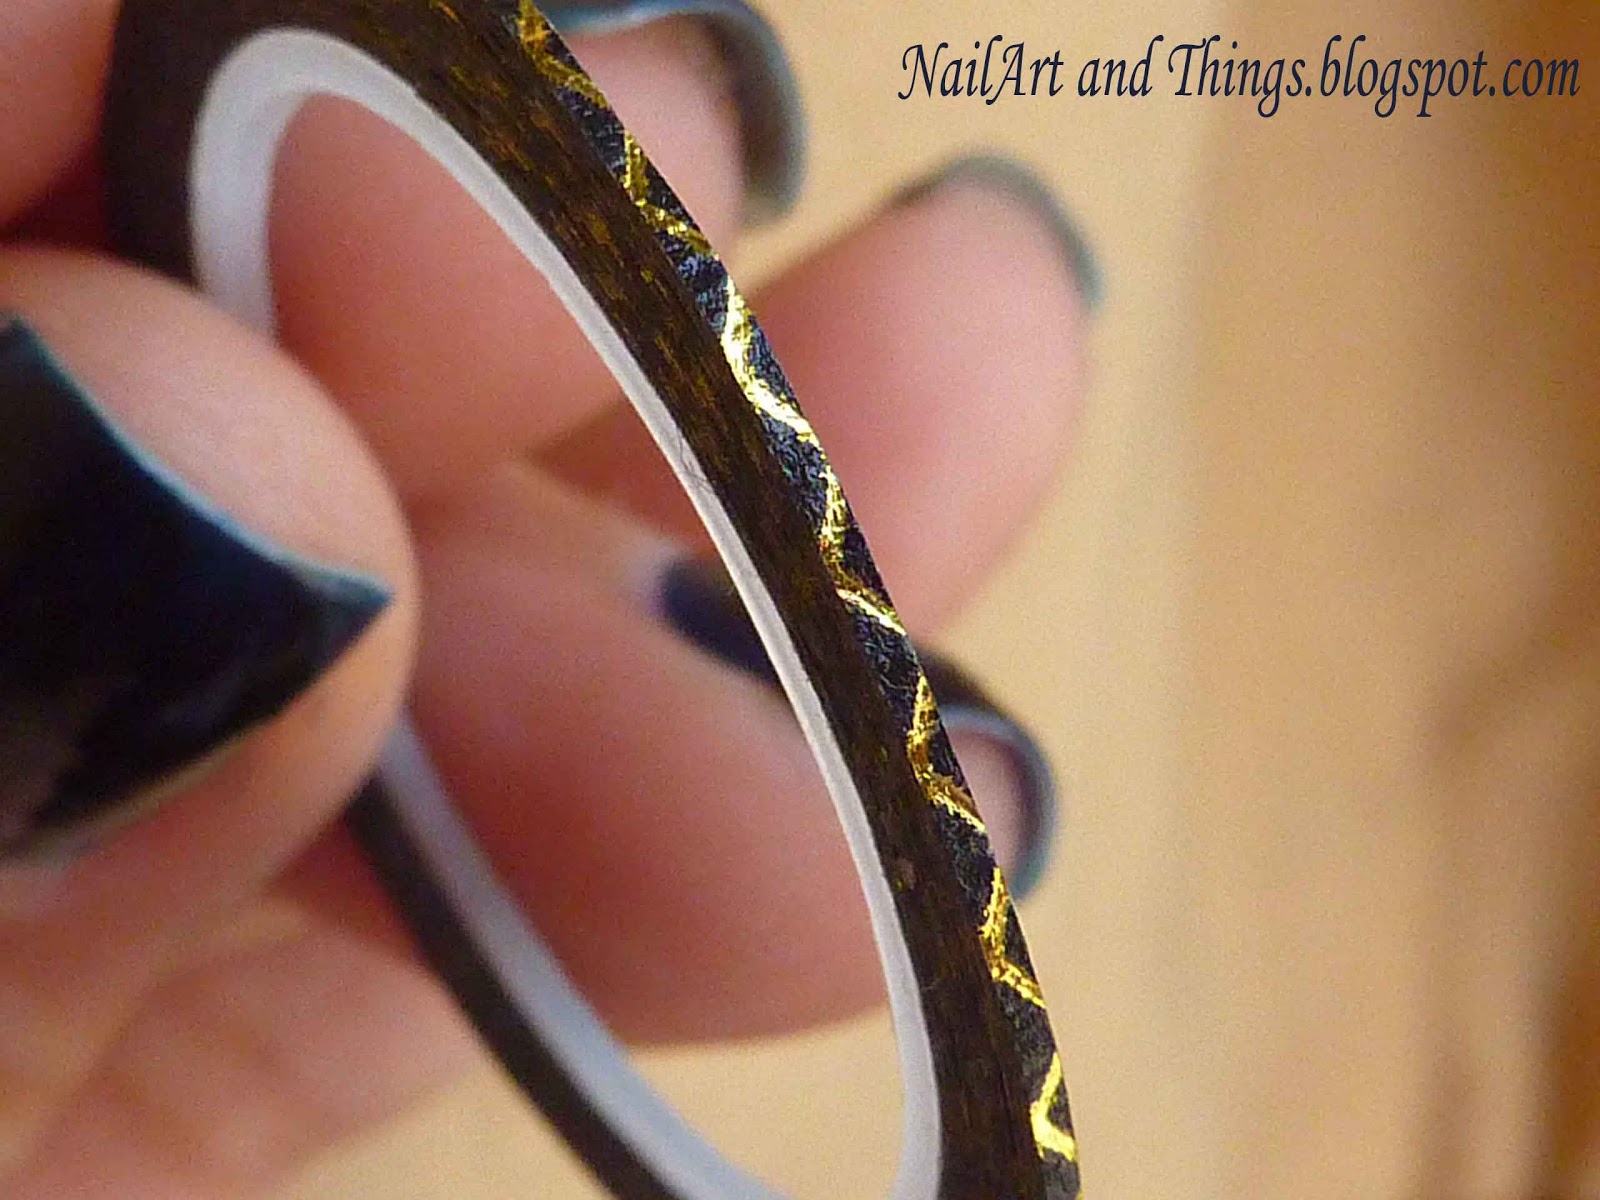 When it comes to nail art striping tape, not all tapes are created equal. It is essential to choose the right tape for your designs. Make sure to opt for
high-quality
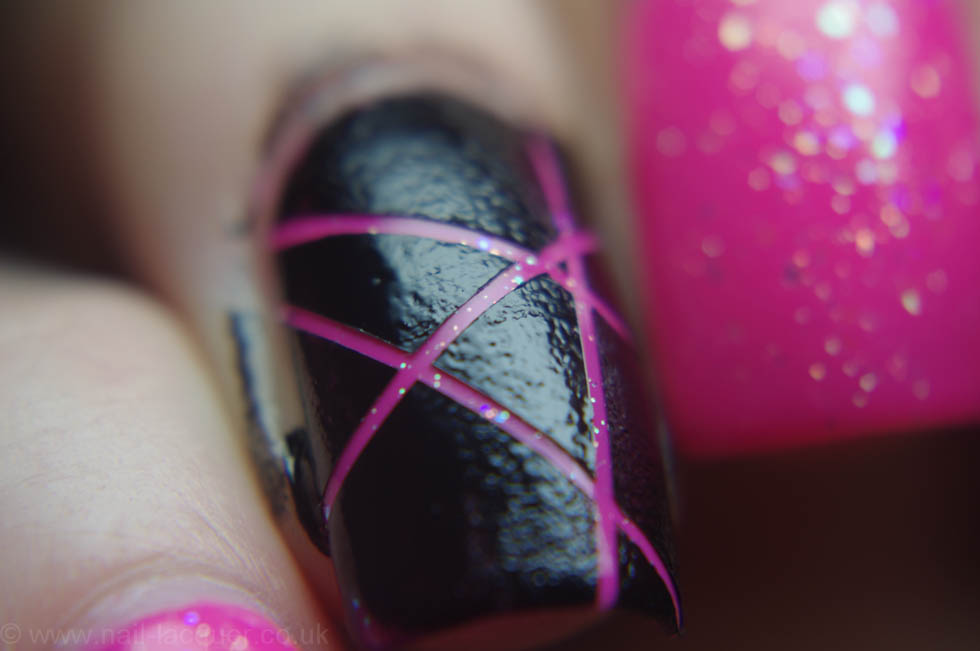
tapes that are specifically designed for nail art. These tapes are usually thinner and more flexible, making them easier to work with. They also come in a variety of colors, allowing you to add a pop of color to your designs.
When it comes to nail art striping tape, not all tapes are created equal. It is essential to choose the right tape for your designs. Make sure to opt for
high-quality
tapes that are specifically designed for nail art. These tapes are usually thinner and more flexible, making them easier to work with. They also come in a variety of colors, allowing you to add a pop of color to your designs.
Prep Your Nails
 Before applying the striping tape, it is crucial to prep your nails properly. Start by
buffing
and
shaping
your nails to create a smooth surface. This will help the tape adhere better to your nails. Next, apply a base coat to protect your nails and allow for a smoother polish application. Once the base coat is dry, you can start applying the striping tape.
Before applying the striping tape, it is crucial to prep your nails properly. Start by
buffing
and
shaping
your nails to create a smooth surface. This will help the tape adhere better to your nails. Next, apply a base coat to protect your nails and allow for a smoother polish application. Once the base coat is dry, you can start applying the striping tape.
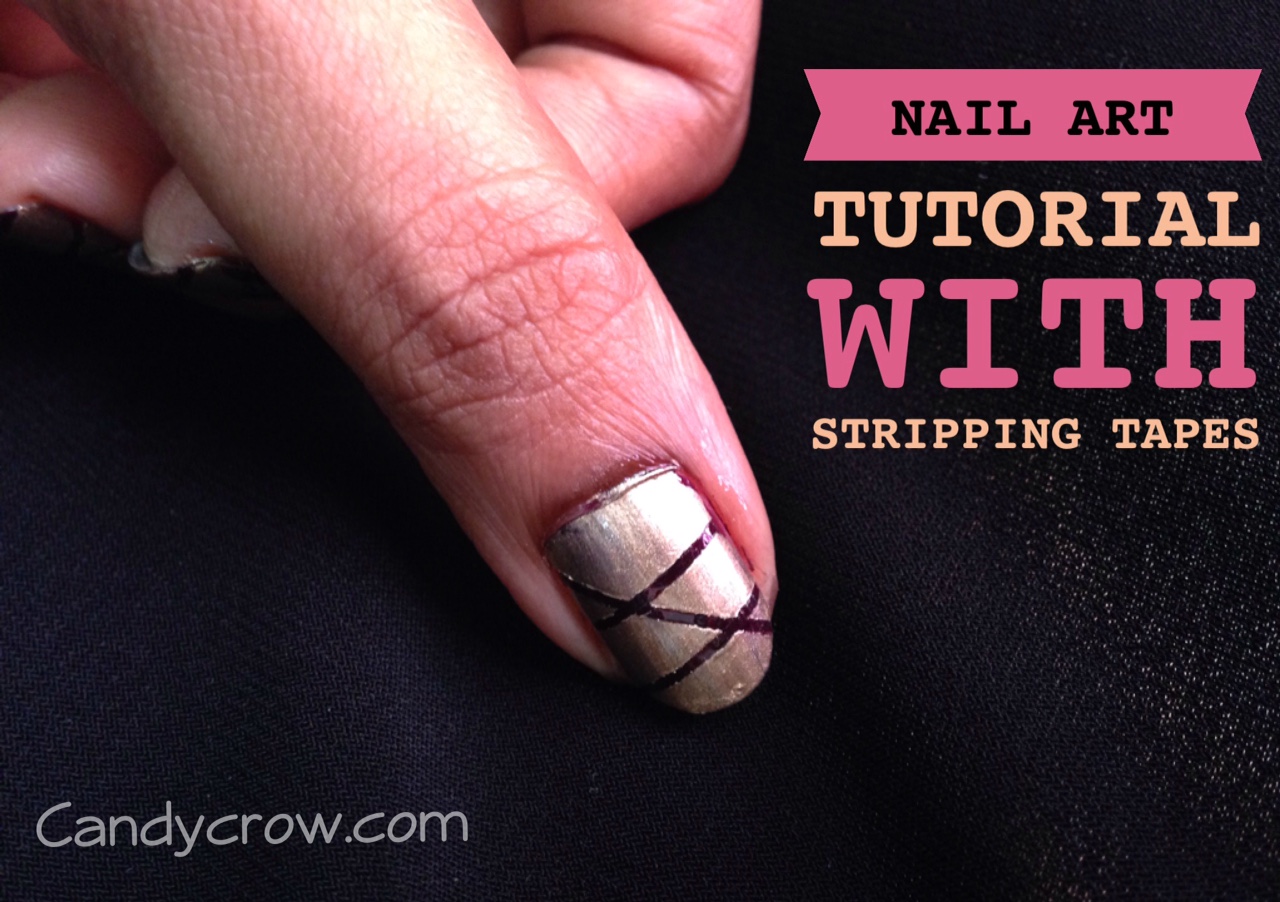
Use Tweezers for Precision
 Applying striping tape with your fingers can be challenging, especially if you want to create intricate designs.
Tweezers
can be your best friend in this situation. They allow for more precision and control when placing the tape on your nails. You can also use them to adjust the tape and ensure it is straight and in the desired position.
Applying striping tape with your fingers can be challenging, especially if you want to create intricate designs.
Tweezers
can be your best friend in this situation. They allow for more precision and control when placing the tape on your nails. You can also use them to adjust the tape and ensure it is straight and in the desired position.
Seal with Top Coat
 Once you have applied the striping tape and painted your nails, it is essential to seal your design with a top coat. This will not only give your nails a shiny finish but also help the tape stay in place and prevent it from peeling off. Make sure to apply the top coat carefully, avoiding any smudging of the design.
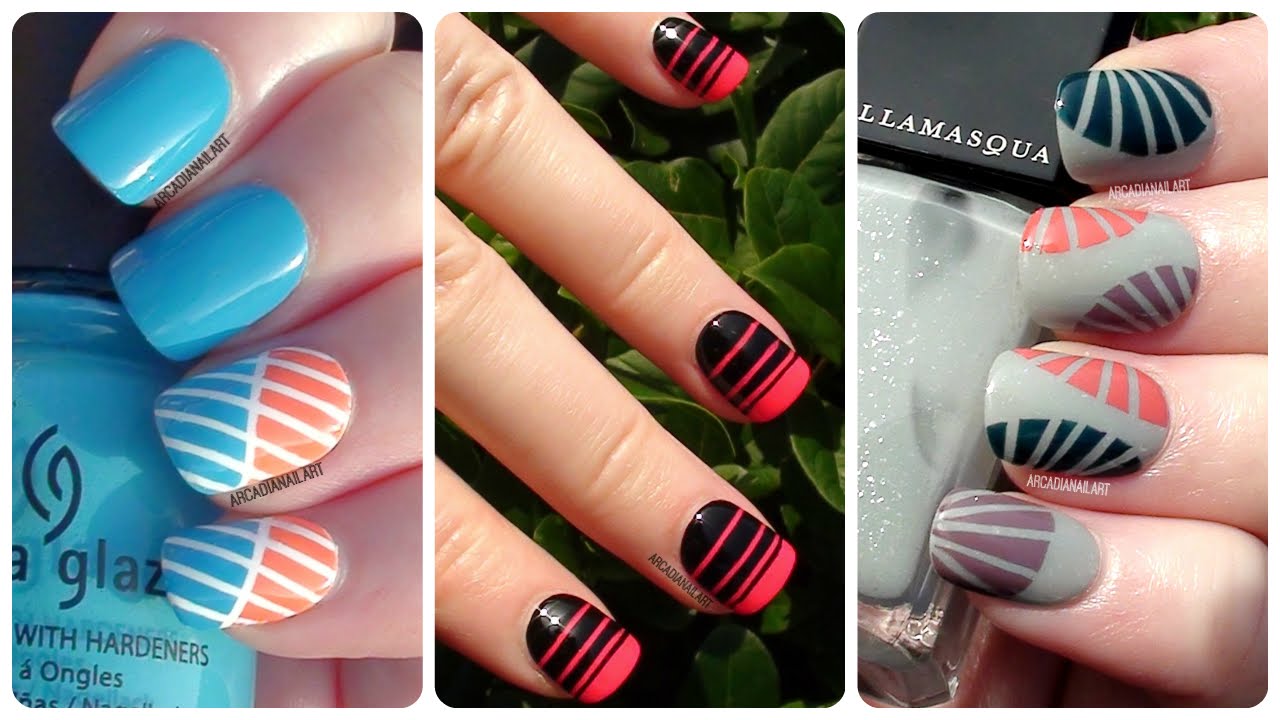
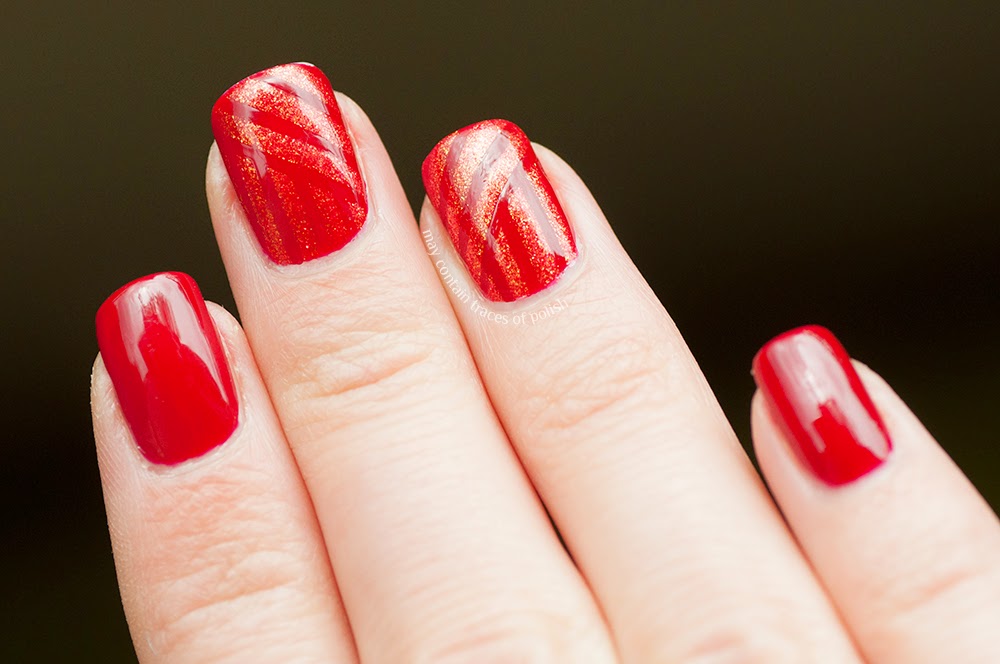
Experiment with Designs
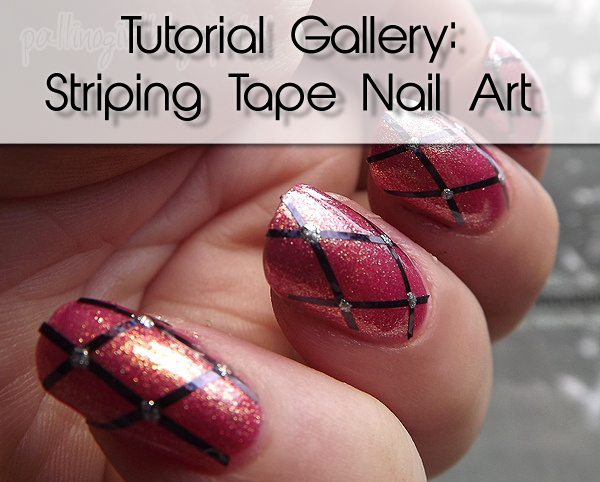 One of the best things about using nail art striping tape is the endless possibilities for designs. You can create
geometric patterns
,
stripes
,
zig-zags
, and so much more. Don't be afraid to experiment and let your creativity shine through. With practice, you will be able to create stunning designs that will make your nails stand out.
In conclusion, nail art striping tape is a game-changer in the world of nail art. It allows for precise and clean designs that are sure to impress. By following these tips and using high-quality tape, you can achieve perfect nail art designs every time. So why not give it a try and take your nail art game to the next level?
One of the best things about using nail art striping tape is the endless possibilities for designs. You can create
geometric patterns
,
stripes
,
zig-zags
, and so much more. Don't be afraid to experiment and let your creativity shine through. With practice, you will be able to create stunning designs that will make your nails stand out.
In conclusion, nail art striping tape is a game-changer in the world of nail art. It allows for precise and clean designs that are sure to impress. By following these tips and using high-quality tape, you can achieve perfect nail art designs every time. So why not give it a try and take your nail art game to the next level?


