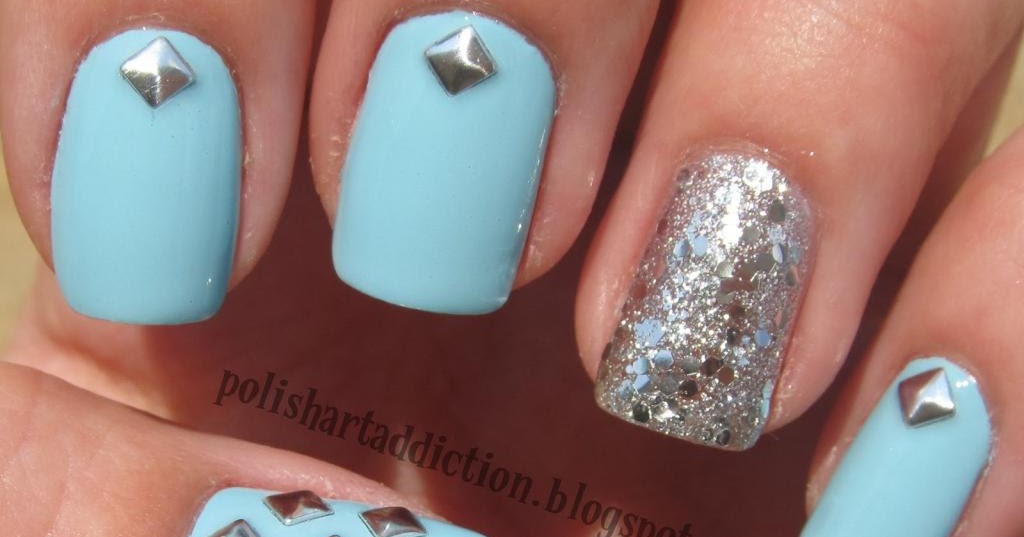
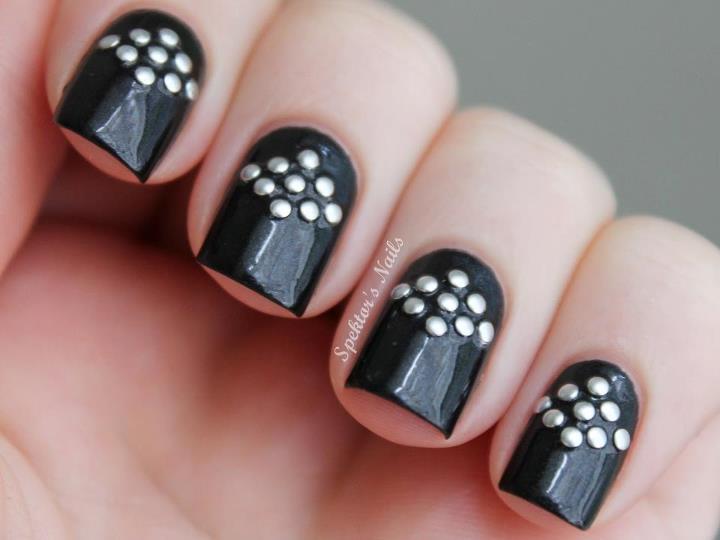
Nail art studs are a fun and easy way to add some extra bling to your manicure. These small metal embellishments come in various shapes, sizes, and colors, making them perfect for creating unique and eye-catching designs. If you're new to using nail art studs, don't worry – we've got you covered with this step-by-step tutorial on how to use them in your next manicure. First, gather all the materials you'll need: nail polish, top coat, a dotting tool or toothpick, and of course, nail art studs. You can find these studs at most beauty supply stores or online. Make sure to choose studs that are the right size for your nails. Start by painting your nails with a base color of your choice. Neutral shades like nude or white work well to make the studs stand out. Let the polish dry completely before moving on to the next step. Next, apply a layer of top coat to one nail at a time. This will act as a glue for the studs. Make sure to work quickly as the top coat dries fast. Use a dotting tool or toothpick to pick up a nail art stud and carefully place it on your nail. Press down gently to secure it in place. Repeat this process for each nail, using different colored studs or creating different designs on each nail to add some variety. Once all the studs are in place, apply another layer of top coat to seal them in and give your manicure a glossy finish. And there you have it – a simple yet stunning nail art design using studs! Feel free to experiment with different placement of the studs, or even combine them with other nail art techniques like stripes or ombre. With a little practice, you'll be a pro at using nail art studs in no time.1. How to Use Nail Art Studs: A Step-by-Step Tutorial


1. How to Use Nail Art Studs: A Step-by-Step Tutorial


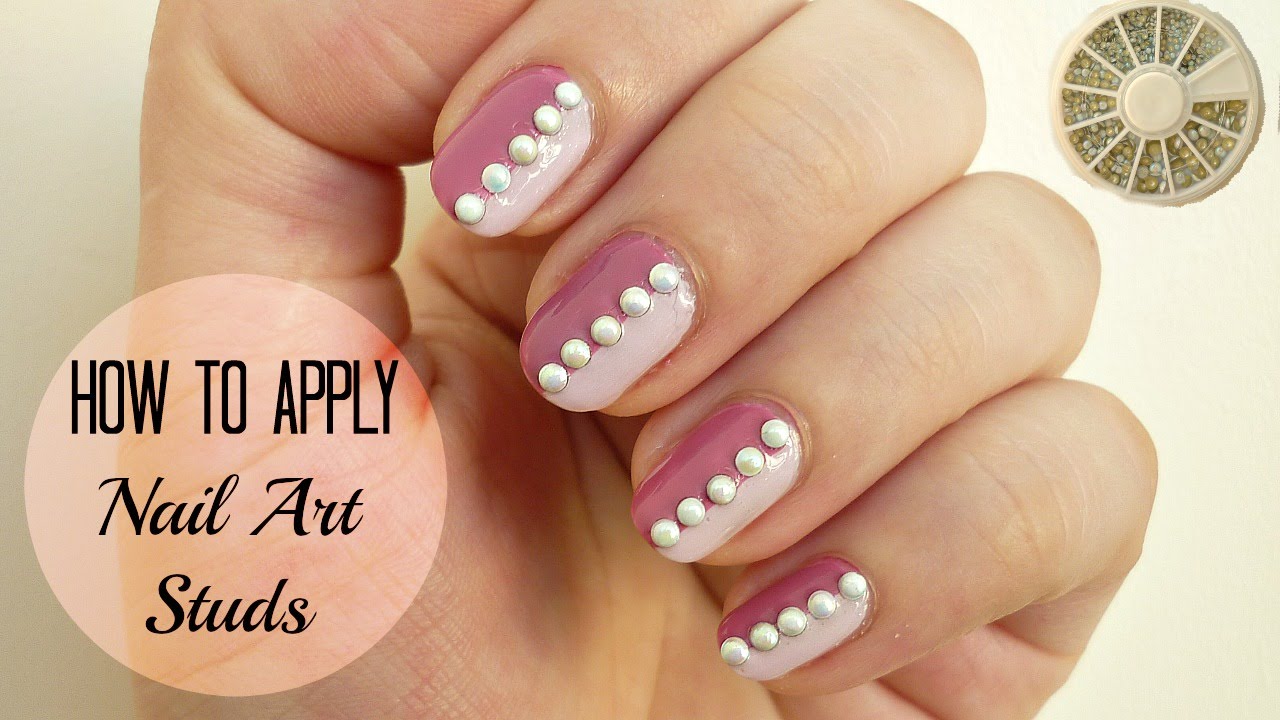
If you're looking for a quick and easy way to spice up your manicure, look no further than nail art studs. These tiny embellishments can instantly add a touch of glamour to any nail design. In this tutorial, we'll show you how to create a simple yet chic nail art look using studs. Start by painting your nails with a base color. A light pastel shade works well for this design. Let the polish dry completely before moving on to the next step. Next, apply a layer of top coat to one nail at a time. This will act as a glue for the studs. As mentioned before, work quickly as the top coat dries fast. Use a dotting tool or toothpick to pick up a nail art stud and carefully place it on your nail in a diagonal line. Repeat this step, spacing out the studs evenly to create a striped effect. Press down gently to secure the studs in place. Once all the studs are in place, apply another layer of top coat to seal them in and give your manicure a glossy finish. You can also add a small stud at the base of your nail for an extra touch of bling. And that's it – a simple yet stunning nail art design using studs that can be done in just a few minutes!2. Easy Nail Art Tutorial Using Studs


2. Easy Nail Art Tutorial Using Studs


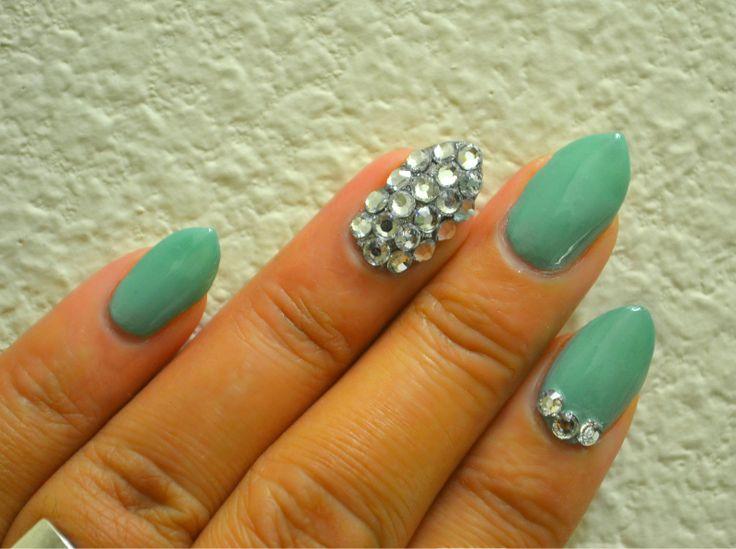
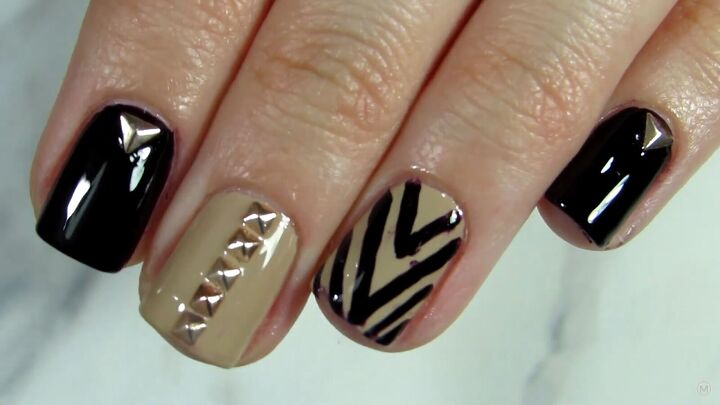
If you're a fan of all things sparkly, then this nail art tutorial is for you. By combining nail art studs with rhinestones, you can create a dazzling and unique manicure that will surely catch everyone's attention. Here's how to create this stunning DIY nail art look. Start by painting your nails with a base color of your choice. Black or dark shades work well for this design as it allows the studs and rhinestones to stand out. Let the polish dry completely before moving on to the next step. Next, apply a layer of top coat to one nail at a time. This will act as a glue for the studs and rhinestones. Be sure to work quickly as the top coat dries fast. Use a dotting tool or toothpick to pick up a nail art stud and carefully place it on your nail. Alternate between studs and rhinestones to create a unique pattern. Press down gently to secure them in place. Repeat this process for each nail, using different colored studs and rhinestones to add some variety. Once all the studs and rhinestones are in place, apply another layer of top coat to seal them in and give your manicure a glossy finish. And there you have it – a glamorous and eye-catching nail art design using studs and rhinestones. Feel free to experiment with different color combinations and placement of the studs and rhinestones to create your own unique look. With this tutorial, you can easily achieve a professional-looking manicure at home.3. DIY Nail Art: Studs and Rhinestones Tutorial
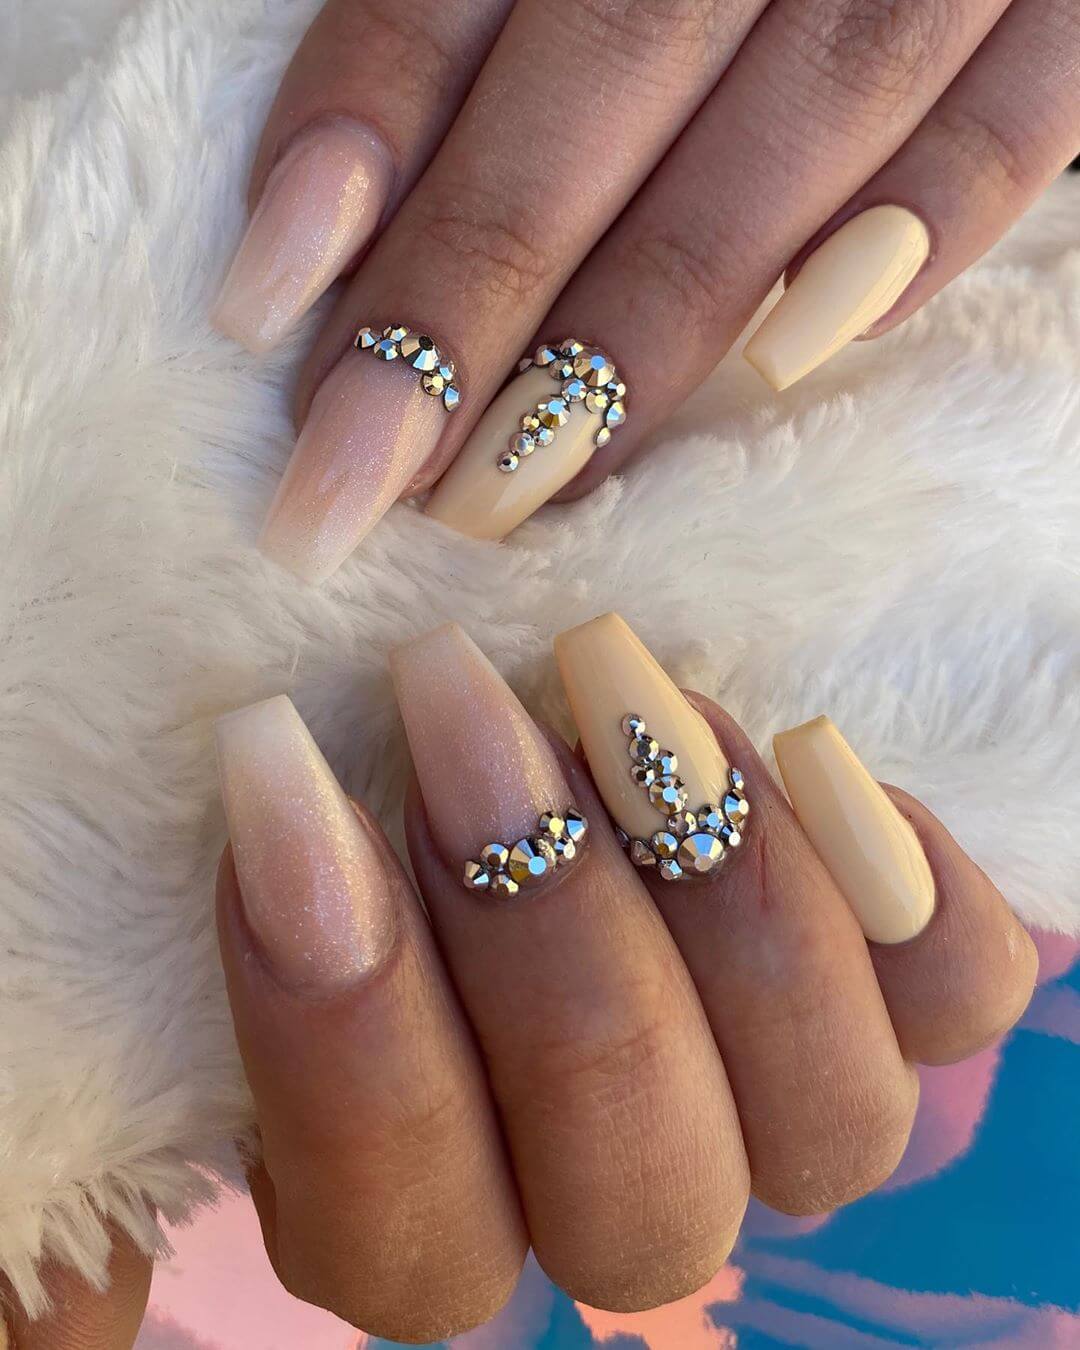


3. DIY Nail Art: Studs and Rhinestones Tutorial
The Art of Nail Art Studs: A Tutorial
Nail art studs are a popular and trendy way to add some flair and personality to your nails. These small, decorative pieces come in a variety of shapes, sizes, and colors, allowing for endless possibilities when it comes to nail art . If you're new to using nail art studs or just looking for some inspiration, this tutorial will guide you through the basics and give you some tips for creating stunning designs.
Gather Your Supplies
Before diving into the world of nail art studs , it's important to have all the necessary supplies on hand. You will need:
- Nail polish in your desired color(s)
- Nail studs in various shapes and sizes
- Top coat to seal and protect your design
- Tweezers for precise placement of the studs
- Dotting tool or toothpick for picking up and placing the studs
- Base coat to protect your natural nails
Prep Your Nails

Before starting, make sure your nails are clean and free of any old polish. Apply a base coat to protect your natural nails and allow it to dry completely. This will also help the nail studs adhere better to your nails.
Create Your Design

Now comes the fun part - creating your nail art stud design! There are countless ways to use nail studs on your nails, so let your creativity run wild. You can create simple accents on one or two nails, or go all out and cover your entire nail with studs. Here are a few ideas to get you started:
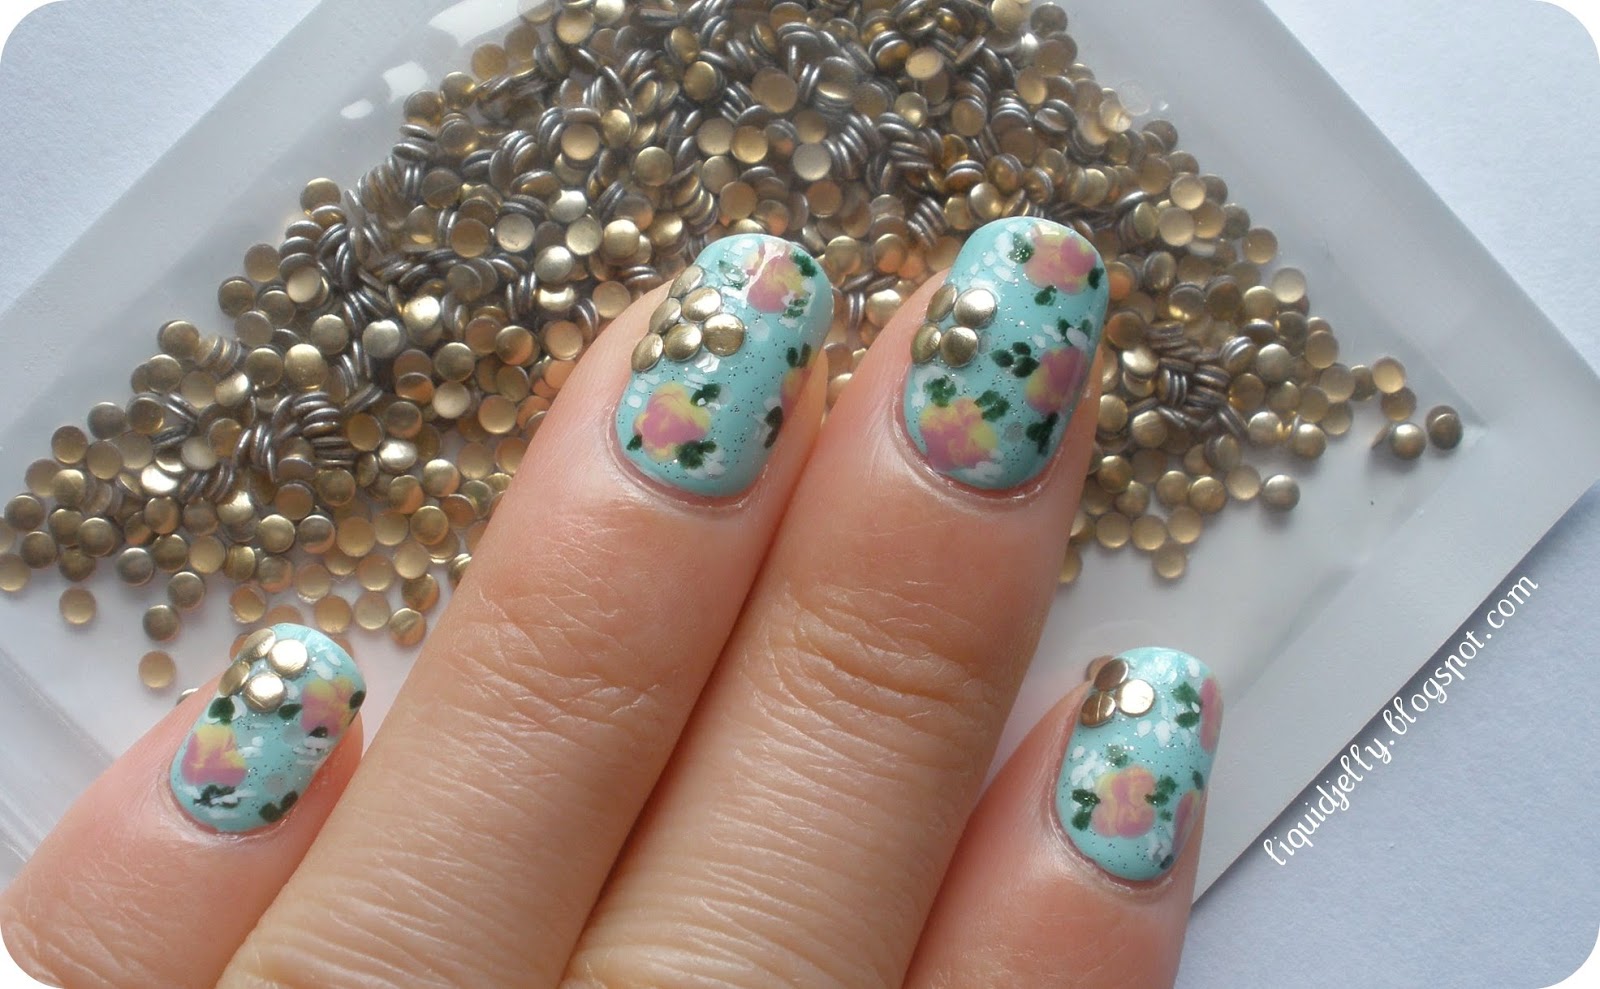
- Geometric patterns: Use nail studs to create bold and modern geometric patterns on your nails.
- French tip: Add a twist to the classic French manicure by using nail studs along the tip of your nails.
- Floral designs: Create delicate and feminine floral designs using nail studs as the center of the flowers.
- Gradient effect: Use different sized nail studs in the same color family to create a gradient effect on your nails.
Apply the Studs

Using your tweezers or dotting tool, carefully pick up the nail studs and place them on your nails. You can use a clear top coat or a dab of clear polish to secure the studs in place. Be sure to leave a small space between the studs and the edges of your nails to prevent them from falling off.
Seal and Protect

Once your design is complete, seal it with a top coat to protect your nail studs and ensure your design lasts as long as possible.
With these tips and techniques, you can create stunning nail art stud designs that will make your nails stand out. So go ahead and experiment with different shapes, colors, and patterns to find your perfect nail art stud style.
Now that you have all the information you need, it's time to get started on your nail art stud journey. Have fun and let your creativity shine!


