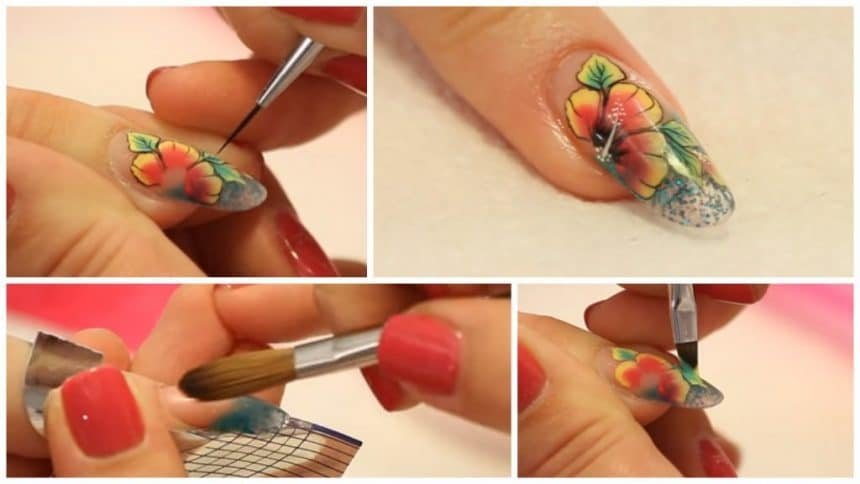
Nail stamping is a popular technique used in nail art to easily transfer intricate designs onto your nails. But for beginners, using a nail art stamper can be a bit intimidating. Don't worry, we've got you covered with these step-by-step instructions on how to use a nail art stamper like a pro. Step 1: Prep your nails by trimming and filing them to your desired shape. Apply a base coat and let it dry completely before moving on to the next step. Step 2: Choose a nail polish color for your base and apply it on your nails. Let it dry completely. Step 3: Select a design from your nail stamping plate and apply a generous amount of nail polish on top of the design. Use a scraper to remove the excess polish. Step 4: Before the polish dries, quickly pick up the design with your nail stamper by gently rolling it over the design. Make sure to pick up the design in one swift motion to prevent smudging. Step 5: Align the stamper over your nail and gently press down to transfer the design onto your nail. If the design didn't transfer completely, you can go over it again with the stamper. Step 6: Clean any excess polish around your nails using a cotton swab dipped in nail polish remover. Finish off with a top coat to seal in your design and add shine. With a bit of practice, you'll be a nail stamping pro in no time!1. How to Use a Nail Art Stamper


1. How to Use a Nail Art Stamper


Who says you need to break the bank to create beautiful nail art? With a few household items and a bit of creativity, you can make your very own DIY nail art toys. Here are some fun and easy ideas to get you started. 1. Dotting Tool: Use a bobby pin or the end of a makeup brush to create perfect dots on your nails. 2. Striper Brush: Cut off the bristles of an old paintbrush to create a thin and precise striper brush for detailed designs. 3. Sticker Stencil: Cut out shapes from tape or sticker paper to use as stencils for creating clean lines and shapes on your nails. 4. Sponge Gradient Tool: Cut up a makeup sponge and use it to create a gradient effect on your nails by dabbing on different nail polish shades. 5. Toothpick Marbling Tool: Use a toothpick to swirl different nail polish colors together on your nails for a beautiful marbled effect. 6. Fan Brush Splatter Tool: Dip the end of a fan brush in nail polish and splatter it onto your nails for a fun and abstract design. Get creative and experiment with different household items to create your own nail art toys. You'll be amazed at the endless possibilities!2. DIY Nail Art Toy Ideas


2. DIY Nail Art Toy Ideas


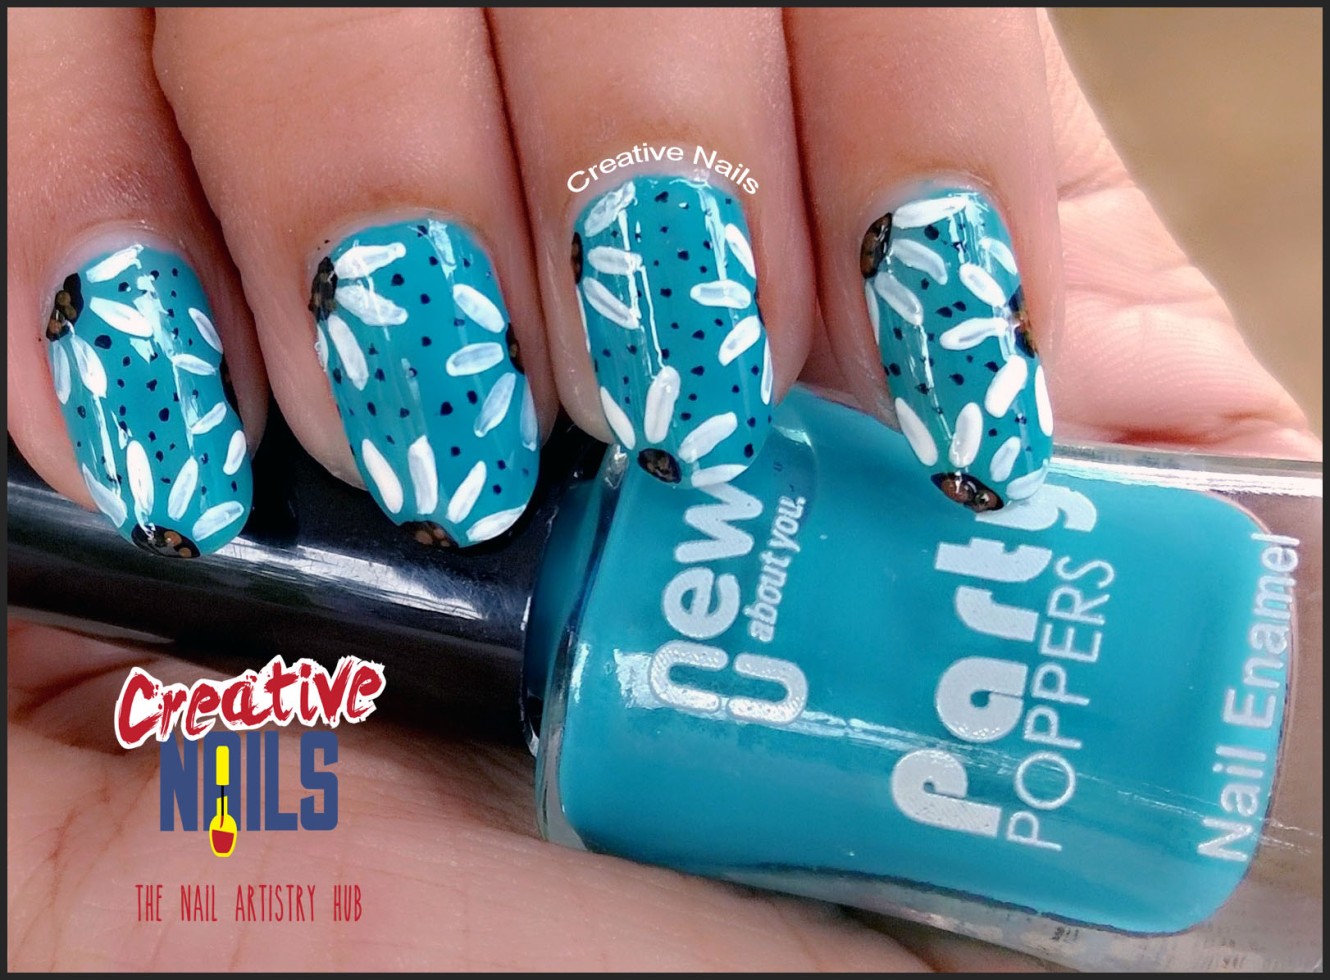


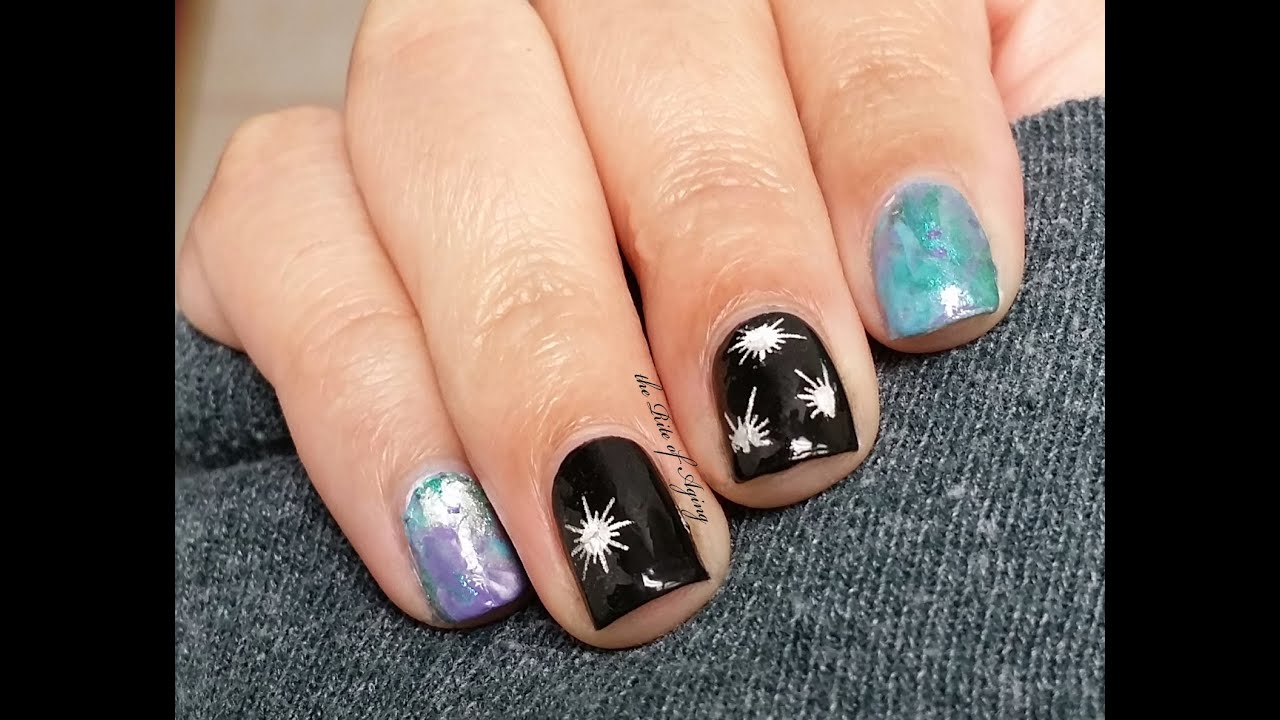
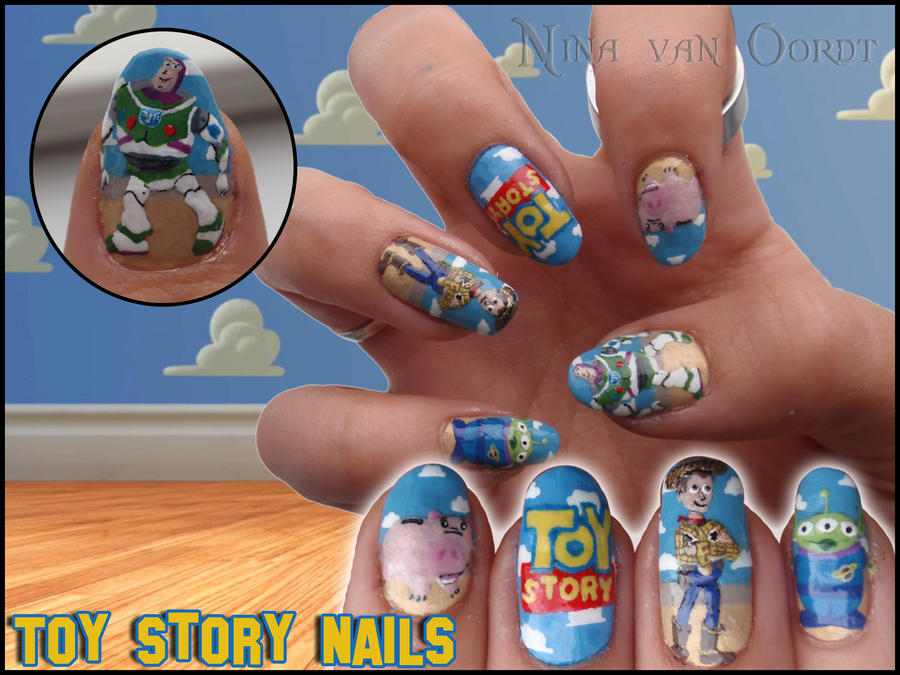
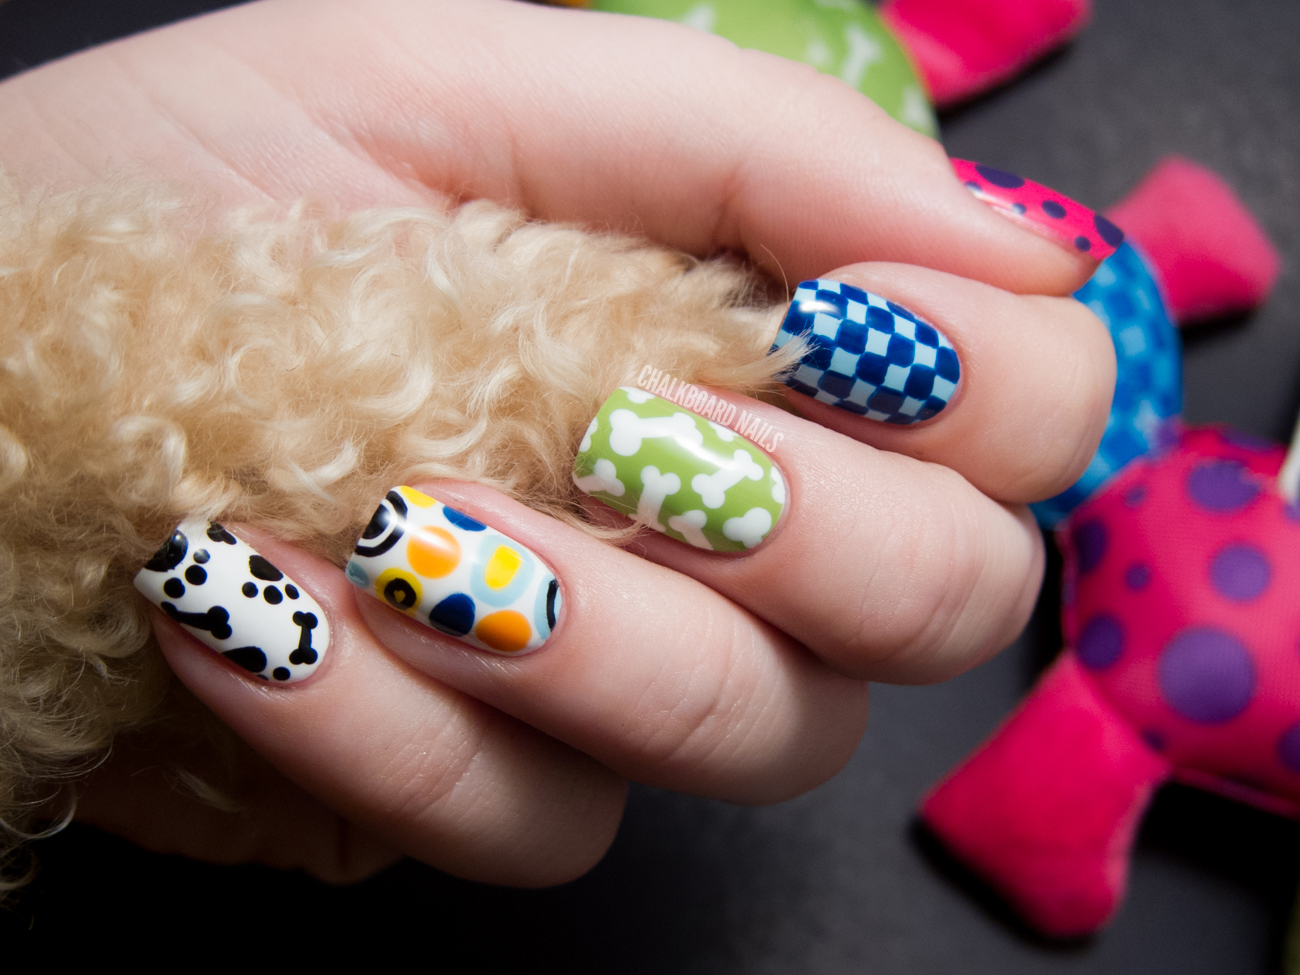
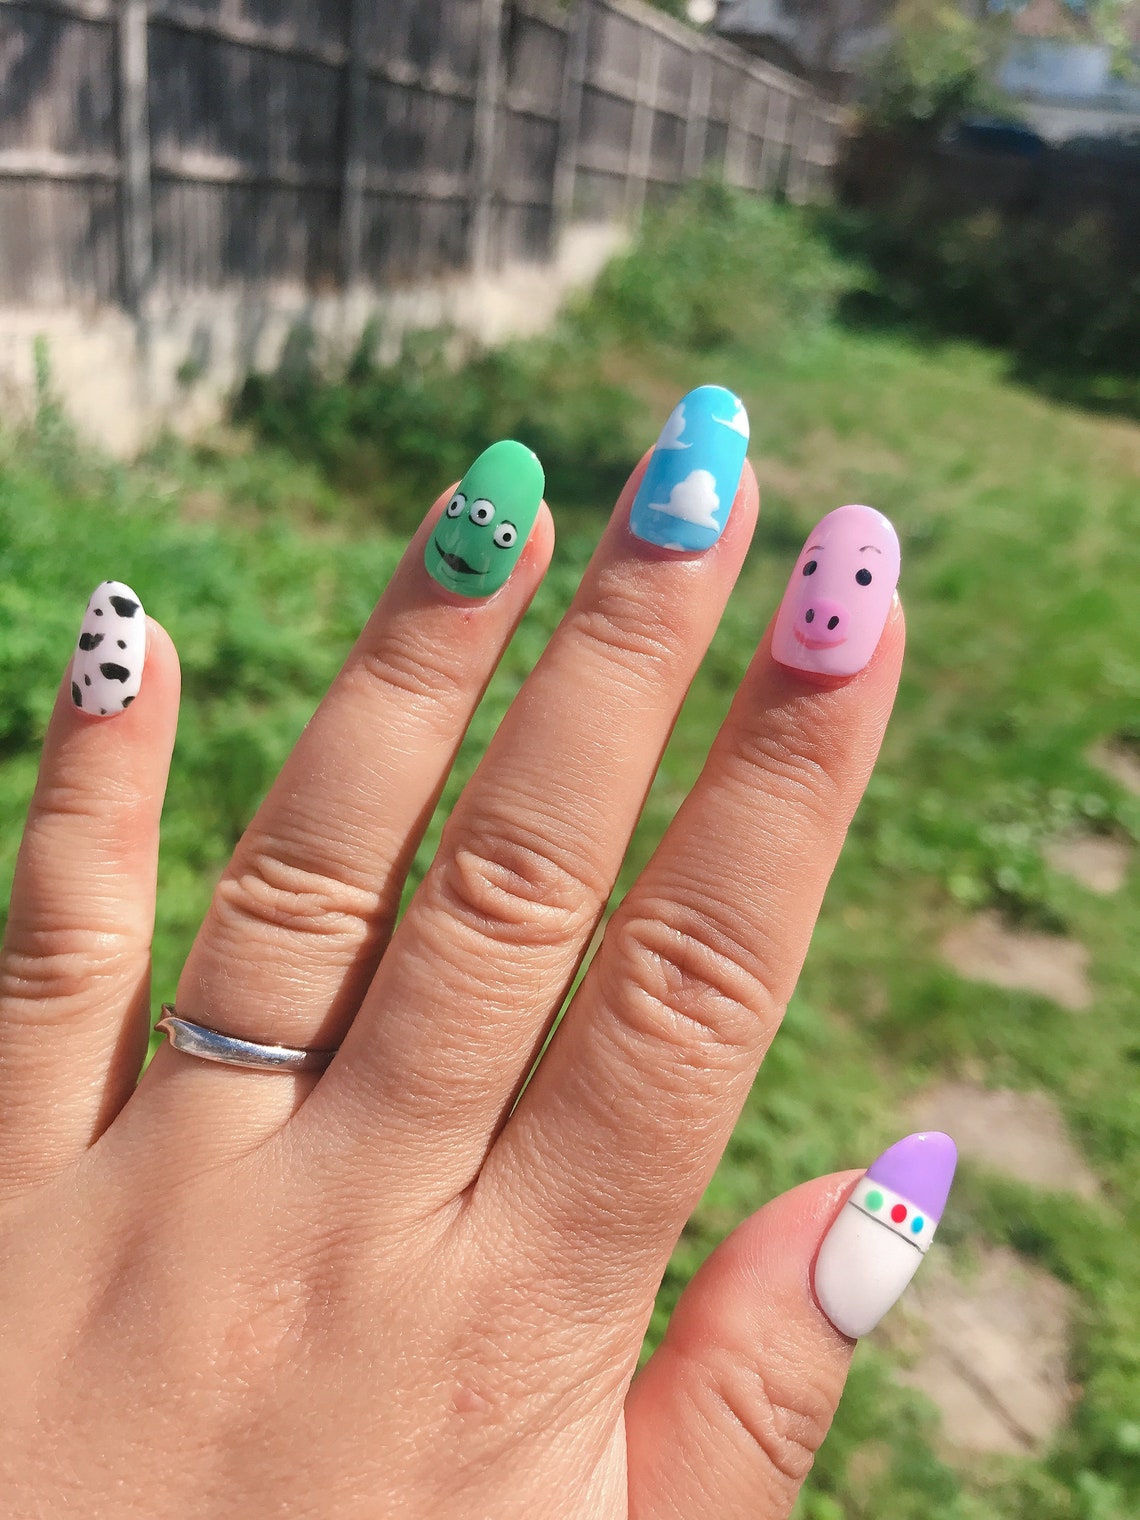
Ready to take your nail art game to the next level? Follow these step-by-step nail art tutorials to create stunning designs on your nails. 1. Ombre Nails: Apply a light base coat and let it dry. Using a makeup sponge, dab on two different nail polish shades to create a gradient effect on your nails. 2. Floral Nails: Apply a light base coat and let it dry. Using a striper brush, draw on thin stems and leaves. Then, use a dotting tool or toothpick to create flower petals in different colors. 3. Geometric Nails: Apply a light base coat and let it dry. Use striping tape to create geometric patterns on your nails. Then, fill in the shapes with different nail polish colors. 4. Galaxy Nails: Apply a dark base coat and let it dry. Using a makeup sponge, dab on different shades of blue, purple, and pink to create a galaxy effect on your nails. Add some small white dots for stars. 5. Abstract Nails: Apply a light base coat and let it dry. Use a fan brush to splatter different nail polish colors onto your nails for a fun and abstract design. With a little patience and practice, you can achieve these stunning nail art designs at home.3. Step-by-Step Nail Art Tutorials


3. Step-by-Step Nail Art Tutorials


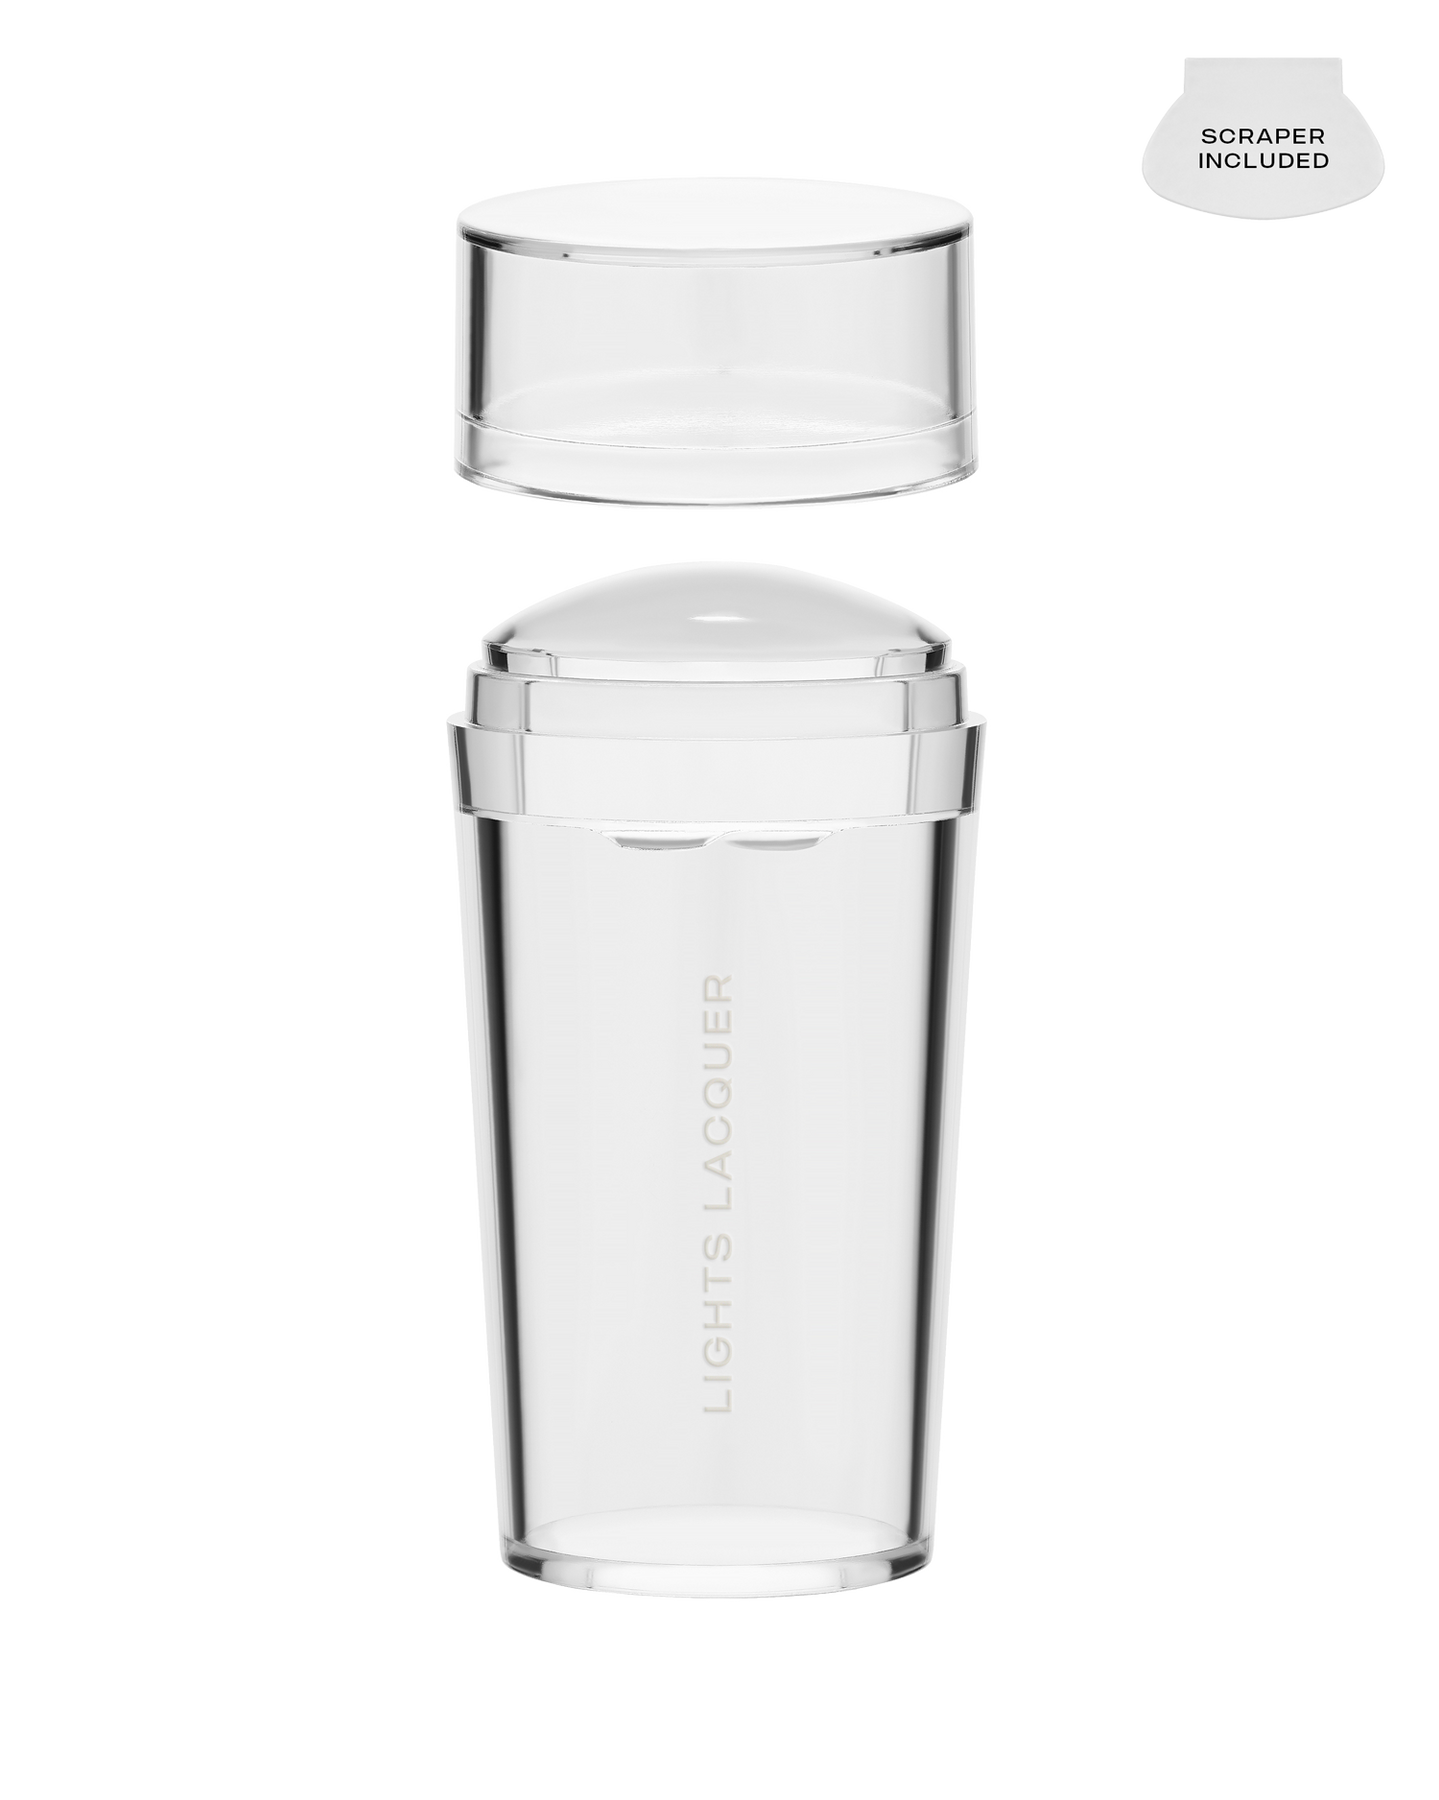
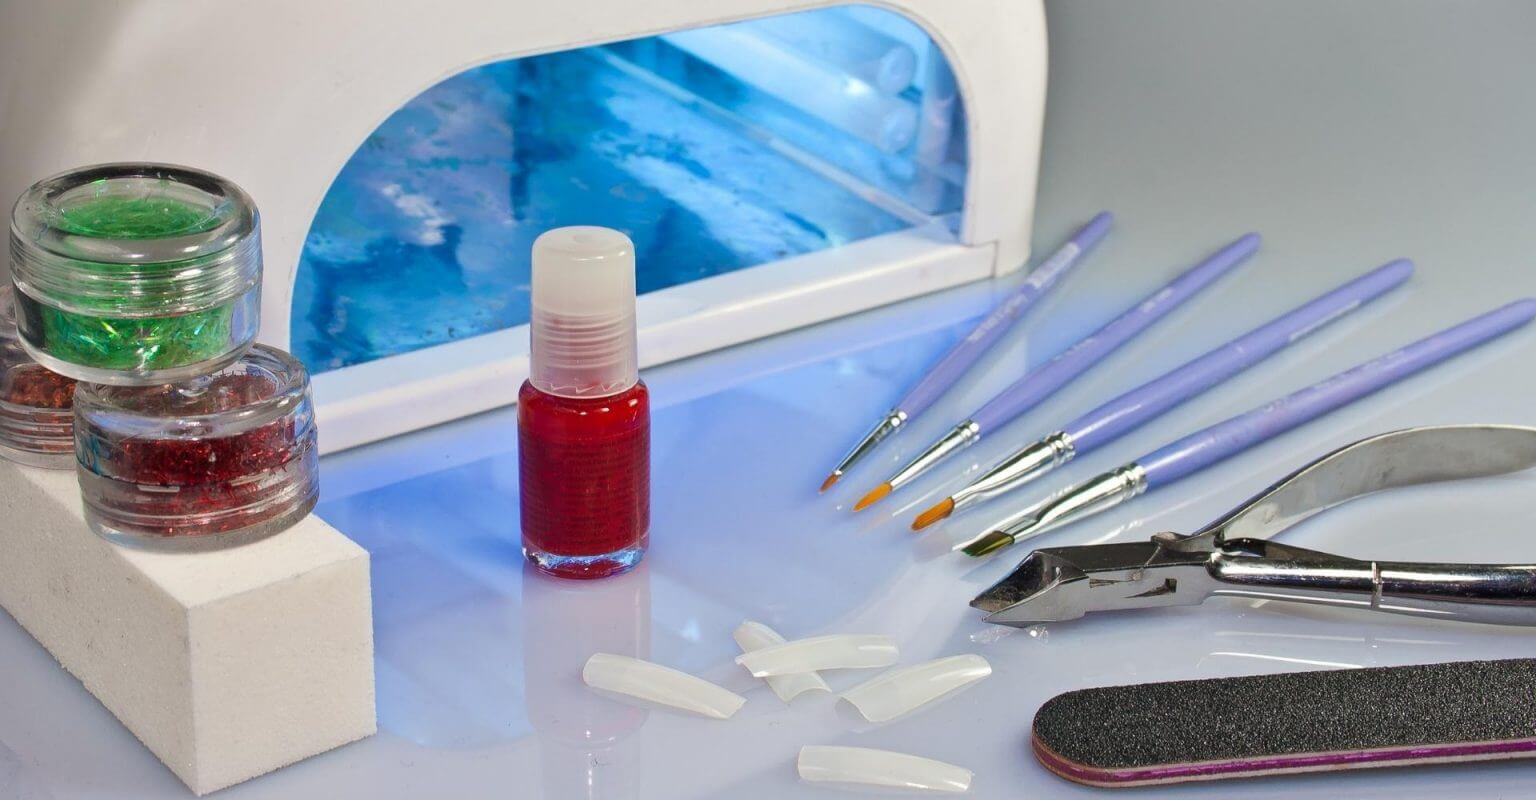
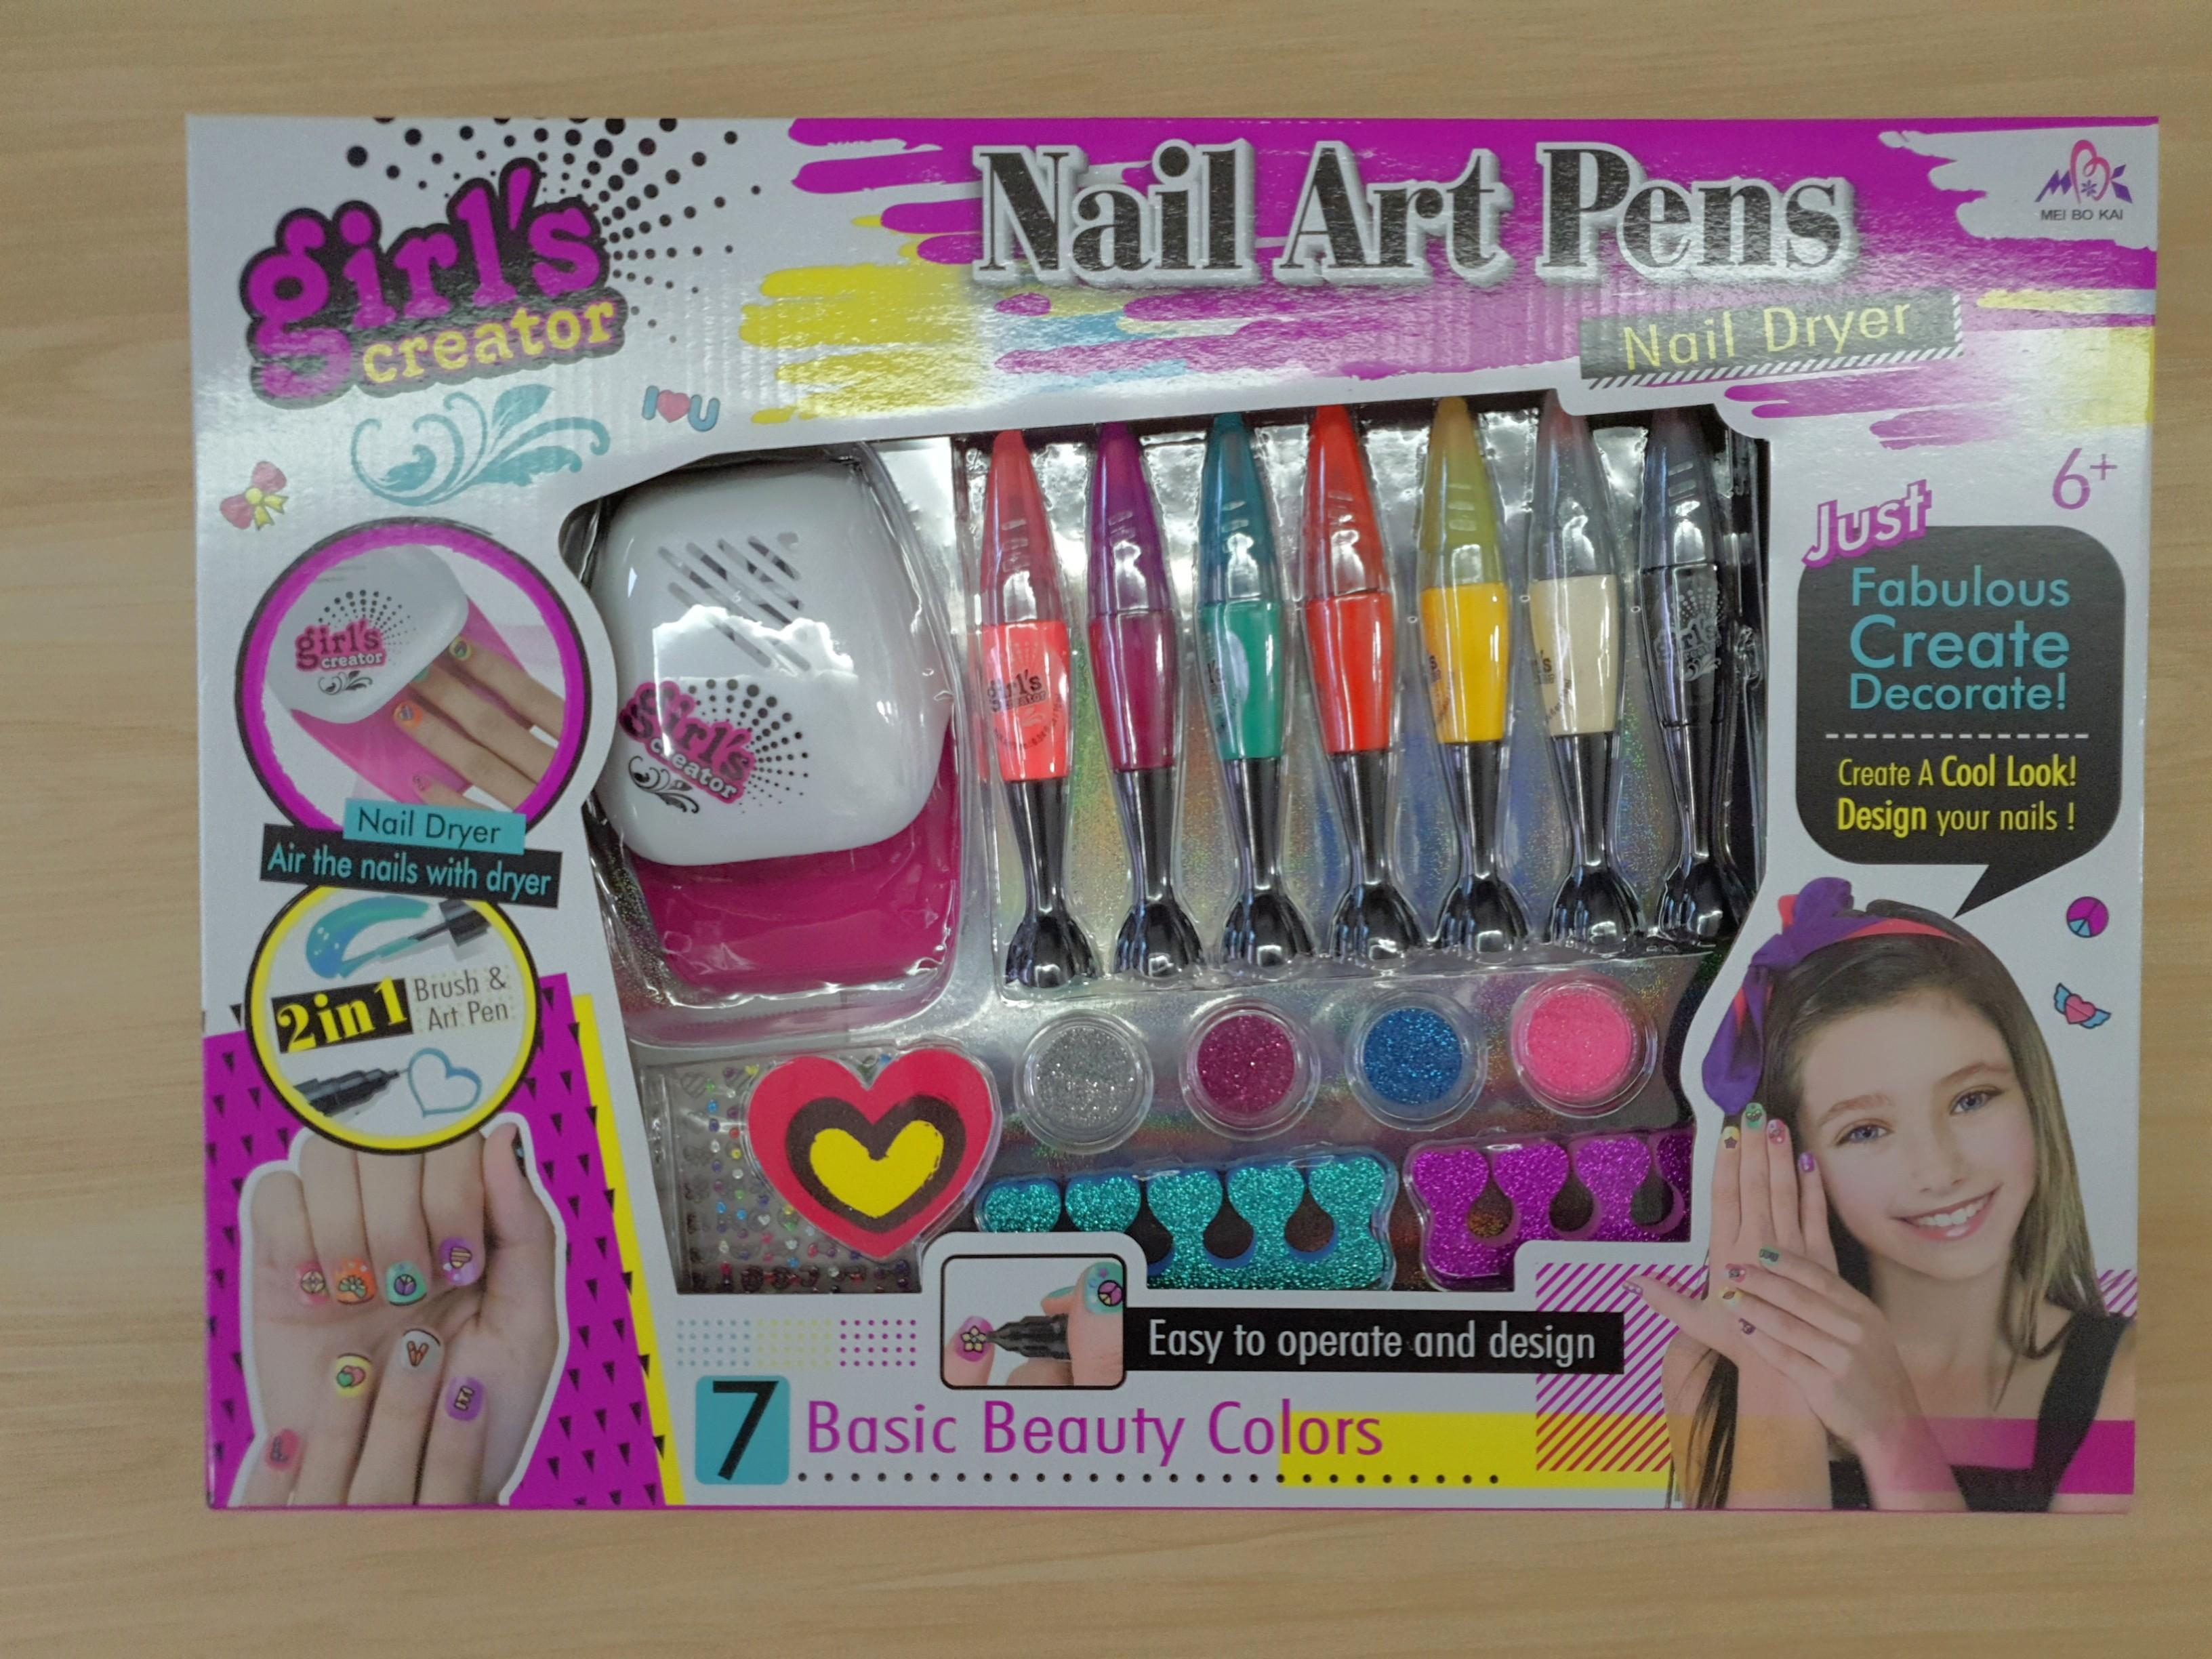
If you're new to the world of nail art, investing in a good nail art kit can make all the difference. Here are some of the best nail art kits for beginners that will have you creating beautiful designs in no time. 1. Nail Art Stamping Kit: This kit comes with everything you need to get started with nail stamping, including stamping plates, a stamper, scraper, and polishes. 2. Nail Art Brush Set: A good set of nail art brushes is essential for creating detailed designs. Look for a set with different brush sizes and shapes. 3. Nail Art Rhinestone Kit: Add some bling to your nail art with a rhinestone kit. It usually comes with a variety of sizes, colors, and shapes of rhinestones. 4. Nail Art Striping Tape Kit: Striping tape is great for creating clean lines and intricate patterns on your nails. Look for a kit with different colors and widths. 5. Nail Art Dotting Tool Kit: A dotting tool is a must-have for creating perfect dots on your nails. This kit usually comes with different sizes of dotting tools for versatility. With these kits, you'll have everything you need to create beautiful nail art designs at home.4. Best Nail Art Kits for Beginners


4. Best Nail Art Kits for Beginners


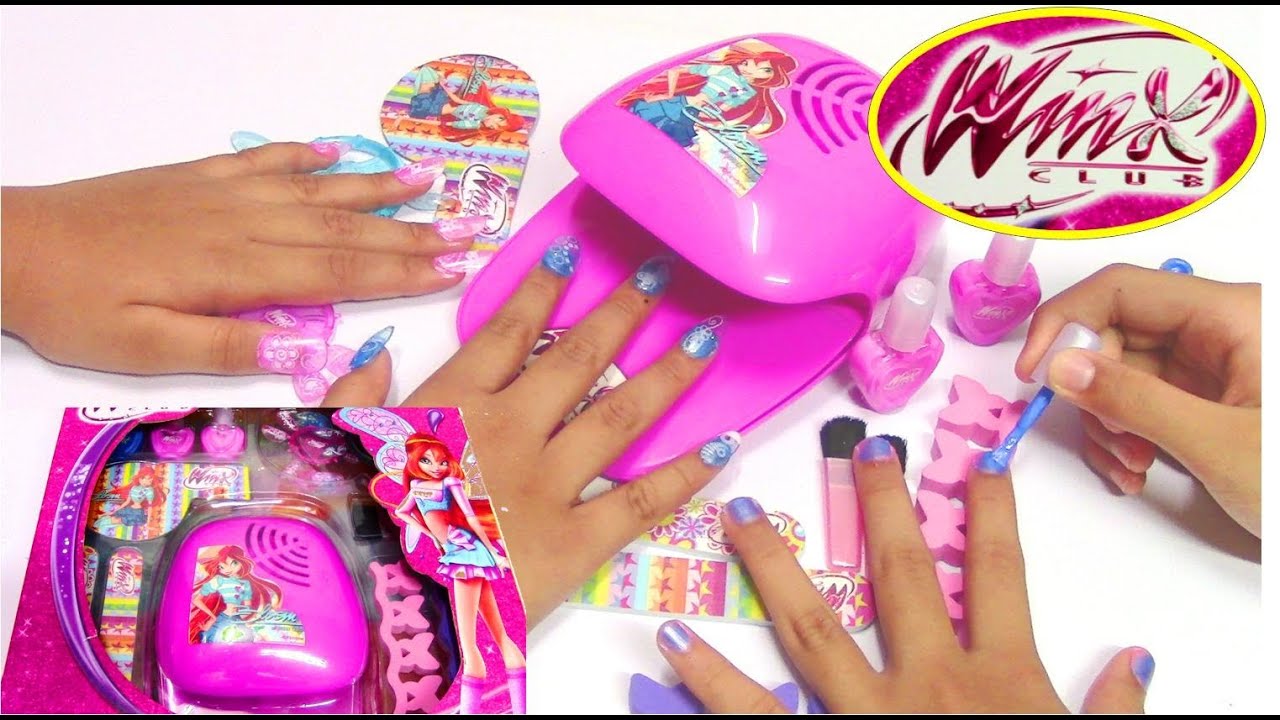
With so many nail art toys on the market, it can be overwhelming to figure out which ones are worth your money. That's why we've rounded up some of the best nail art toys and their reviews to help you make a more informed decision. 1. Moyra Stamping Plate: This stamping plate is highly recommended by nail art enthusiasts for its detailed and unique designs. 2. Whats Up Nails Striper Brush: This striper brush is praised for its thin and precise bristles, making it perfect for intricate designs. 3. Ejiubas Nail Art Rhinestone Kit: This kit has received rave reviews for its variety of rhinestone colors and shapes. 4. Twinkled T Nail Art Striping Tape: This striping tape is loved for its vibrant colors and easy application. 5. Pueen Nail Art Dotting Tool Kit: This dotting tool kit is highly recommended for its durable and high-quality tools. Before making a purchase, do some research and read reviews to find the best nail art toys for your needs.5. Nail Art Toy Reviews


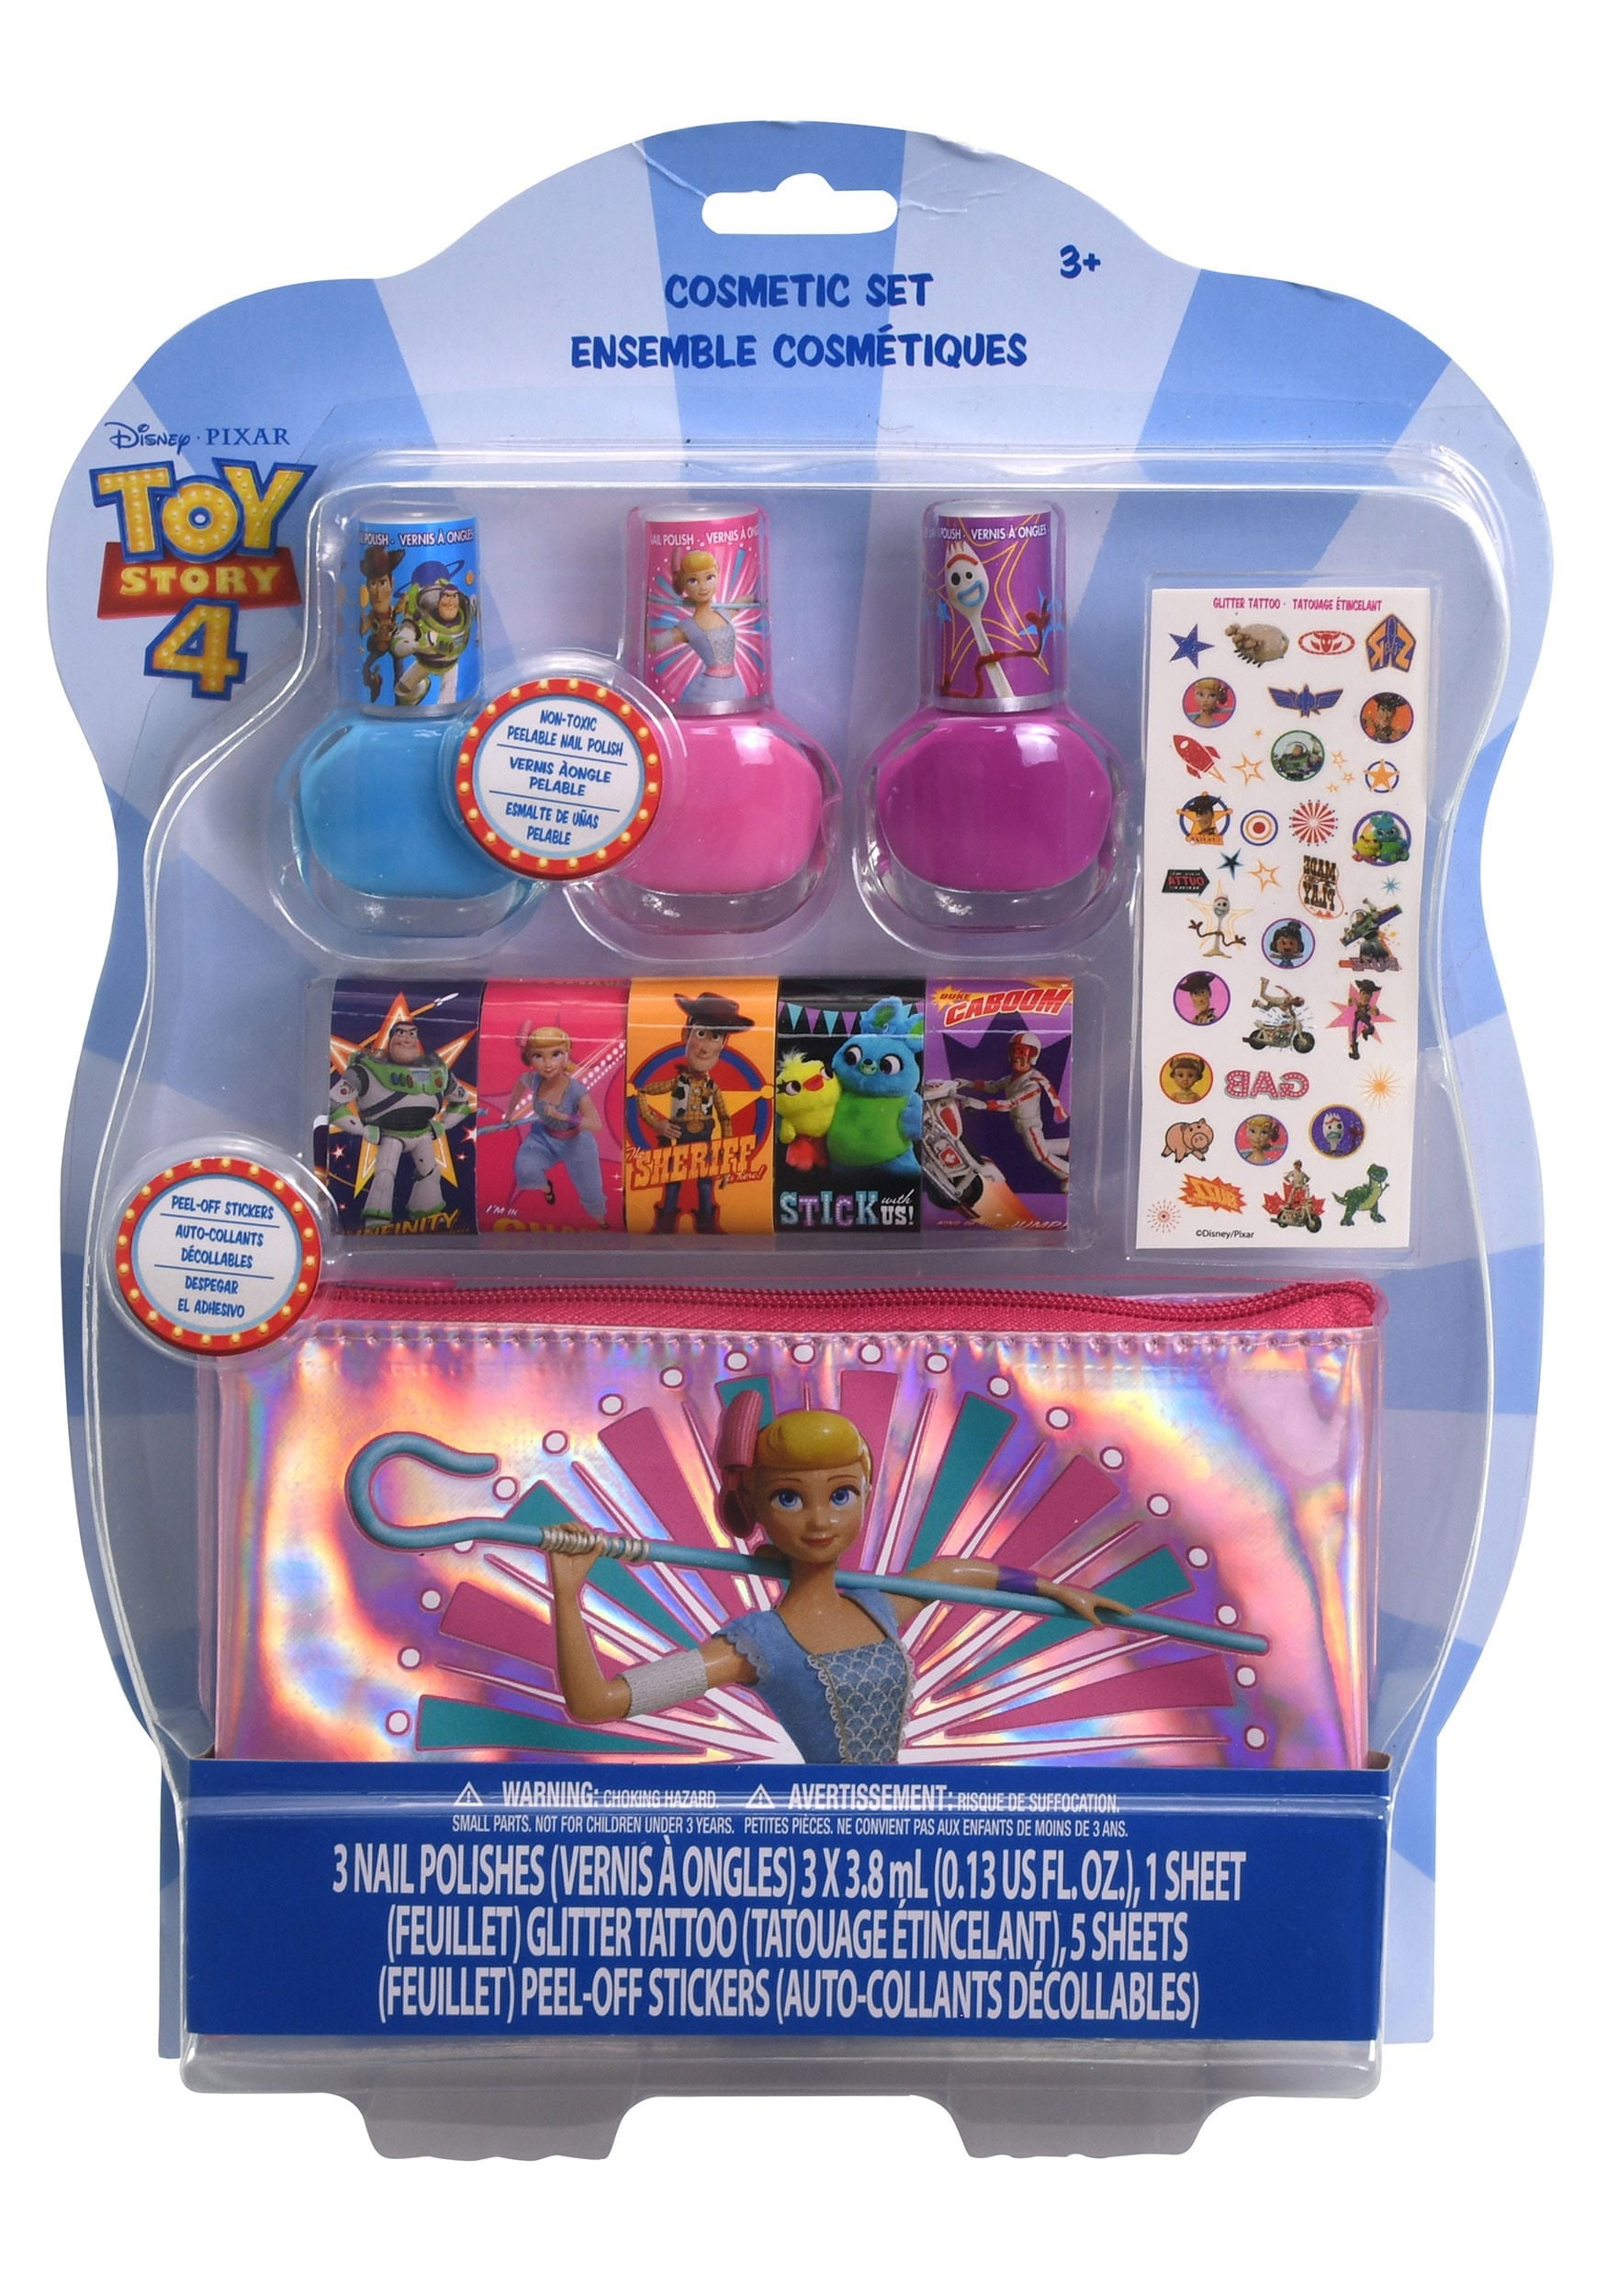
5. Nail Art Toy Reviews


Looking for ways to make your nail art process easier and more efficient? Here are some helpful hacks and tips to try with your nail art toys. 1. Clean Your Brushes with Acetone: If your nail art brushes have hardened with dried nail polish, soak them in acetone for a few minutes to soften the bristles. 2. Use a White Base for Bright Colors: To make neon or bright colors pop, apply a white base coat before painting on the color. 3. Create Your Own Nail Stickers: Apply a coat of clear top coat on a plastic sheet or ziplock bag and let it dry. Then, paint your design on top and let it dry. Peel off the sticker and apply it onto your nails. 4. Use a Toothpick for Detailing: A toothpick can be a handy tool for creating small details or fixing mistakes in your design. 5. Prevent Nail Polish from Drying Out: Add a few drops of nail polish thinner to old and thickened nail polishes to make them usable again. With these hacks and tips, you'll be able to up your nail art game and create flawless designs.6. Nail Art Toy Hacks and Tips


6. Nail Art Toy Hacks and Tips


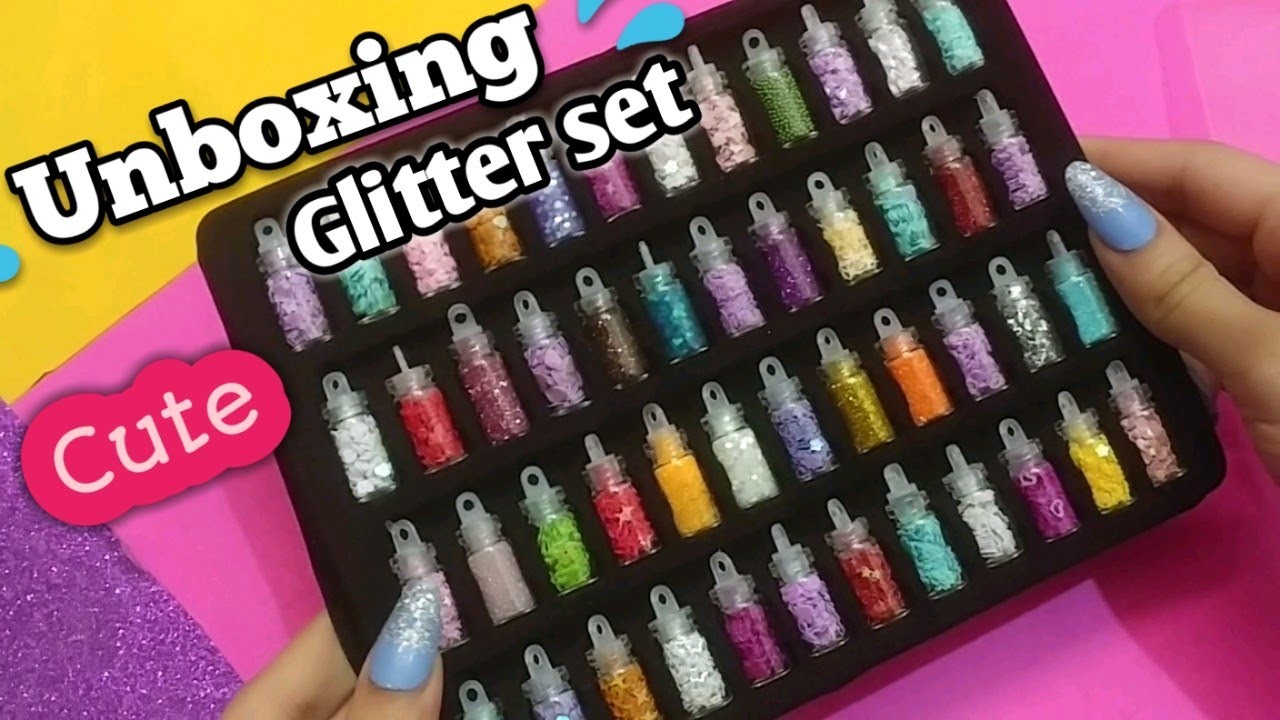
Unboxing videos are a great way to get a closer look at a product before making a purchase. Here's an unboxing and demo of a popular nail art kit to give you an idea of what to expect. Unboxing: The kit comes in a sleek and sturdy box with the brand's logo and product name on it. Inside, you'll find a variety of stamping plates, a stamper, scraper, and a few nail polish colors. Demo: The demonstrator uses the stamper and scraper to transfer the design onto her nail. She has no problem picking up the design and it transfers onto her nail smoothly. The nail polish colors are vibrant and opaque, making the design stand out. She finishes off with a top coat and the result is a beautiful and professional-looking nail art design. Watching an unboxing and demo can give you a better idea of the product and its performance, helping you make a more informed decision before purchasing.7. Nail Art Toy Unboxing and Demo


7. Nail Art Toy Unboxing and Demo

If you're a nail art enthusiast, chances are you have a growing collection of nail art toys. Here are some ideas for organizing and storing your collection. 1. Clear Plastic Storage Containers: Use clear plastic containers with compartments to store your stamping plates, dotting tools, and other small items. 2. Spice Rack Nail Polish Organizer: Repurpose a spice rack to store your nail polish collection. It'll keep them organized and easily accessible. 3. Magnetic Nail Polish Rack: If you have a large nail polish collection, a magnetic nail polish rack is a great way to display and organize them. 4. Travel Makeup Bag: Use a travel makeup bag with compartments to store your nail art tools and take them with you on-the-go. 5. DIY Nail Polish Rack: Get creative and make your own nail polish rack using foam board and hot glue. You can customize the size and design to fit your needs. With these storage ideas, your nail art collection will be organized and easily accessible.8. Nail Art Toy Collection and Storage Ideas


8. Nail Art Toy Collection and Storage Ideas


On a budget but still want to achieve beautiful nail art? Here are some dupes and alternatives for popular nail art toys that will save you some money. 1. Makeup Sponge instead of a Sponge Gradient Tool: Cut up a regular makeup sponge to use for creating gradient effects on your nails. 2. Pencil Eraser instead of a Dotting Tool: Use the eraser end of a pencil to create perfect dots on your nails. 3. Scotch Tape instead of Striping Tape: Use scotch tape to create clean lines and shapes on your nails. 4. Bobby Pin instead of a Dotting Tool: Bend the bobby pin open to create a larger and smaller end, perfect for creating different sized dots on your nails. 5. DIY Stamping Plate instead of a Store-Bought One: Use an old gift card or plastic sheet to create your own stamping plate by carving out a design and filling it in with nail polish. Don't let a tight budget stop you from creating stunning nail art designs. Get creative and use these alternatives instead.9. Nail Art Toy Dupes and Alternatives
9. Nail Art Toy Dupes and Alternatives
Proper maintenance and cleaning of your nail art toys will help prolong their lifespan and ensure they perform well. Here's a guide on how to clean and maintain your nail art toys. 1. Stamping Plates: Use a cotton ball dipped in nail polish remover to clean off any excess polish on your stamping plates. Make sure to dry them off completely before storing them. 2. Nail Art Brushes: After each use, clean your nail art brushes with acetone to prevent them from hardening with dried nail polish. 3. Stamper and Scraper: Use a lint roller or a piece of tape to remove any excess nail polish from your stamper and scraper. 4. Dotting Tools and Striping Brushes: Dip these tools in acetone and wipe them off with a paper towel to clean them. 5. Nail Polish Bottles: Make sure to wipe the rim of your nail polish bottles with a cotton ball dipped in nail polish remover to prevent them from getting stuck shut. With proper maintenance and cleaning, your nail art toys will stay in good condition and continue to create beautiful designs on your nails.10. Nail Art Toy Maintenance and Cleaning Guide


10. Nail Art Toy Maintenance and Cleaning Guide


Why Nail Art is the Perfect Way to Elevate Your House Design

Adding a Personal Touch
 When it comes to designing your house, every detail matters. From the furniture to the color scheme, each element plays a role in creating the overall aesthetic of your home. However, one often overlooked aspect of house design is the nails. Yes, you read that right – the nails. These small, seemingly insignificant details can actually make a big impact on the overall look and feel of your house. This is where nail art comes in.
Nail art
is a form of self-expression that allows you to showcase your creativity and personality through your nails. It involves using different colors, patterns, and designs to create unique and eye-catching looks. And what better way to add a personal touch to your house design than through your own custom nail art?
When it comes to designing your house, every detail matters. From the furniture to the color scheme, each element plays a role in creating the overall aesthetic of your home. However, one often overlooked aspect of house design is the nails. Yes, you read that right – the nails. These small, seemingly insignificant details can actually make a big impact on the overall look and feel of your house. This is where nail art comes in.
Nail art
is a form of self-expression that allows you to showcase your creativity and personality through your nails. It involves using different colors, patterns, and designs to create unique and eye-catching looks. And what better way to add a personal touch to your house design than through your own custom nail art?
Bringing Color and Texture
 Incorporating nail art into your house design can add a pop of color and texture to your space. Whether you choose to paint your nails in bold and bright colors or opt for a more subtle and elegant design, the
nail art
will add dimension and interest to your overall decor. You can even match your nails to the color scheme of your house, creating a cohesive and visually appealing look.
Incorporating nail art into your house design can add a pop of color and texture to your space. Whether you choose to paint your nails in bold and bright colors or opt for a more subtle and elegant design, the
nail art
will add dimension and interest to your overall decor. You can even match your nails to the color scheme of your house, creating a cohesive and visually appealing look.
Cost-Effective and Versatile
 One of the best things about nail art is that it is a cost-effective way to elevate your house design. You don't need to spend a fortune on expensive decor or furniture to make a statement. With just a few nail polish colors and some creativity, you can transform your nails into a work of art that enhances your house design. Plus, nail art is versatile and can be changed up whenever you want, giving you the freedom to experiment and switch up your house's look without breaking the bank.
Final Thoughts
 In conclusion,
nail art
is the perfect way to elevate your house design. It allows you to add a personal touch, bring color and texture, and is cost-effective and versatile. So why not give it a try and see how it can take your house design to the next level? Your nails will thank you, and your house will look even more stunning.
In conclusion,
nail art
is the perfect way to elevate your house design. It allows you to add a personal touch, bring color and texture, and is cost-effective and versatile. So why not give it a try and see how it can take your house design to the next level? Your nails will thank you, and your house will look even more stunning.


