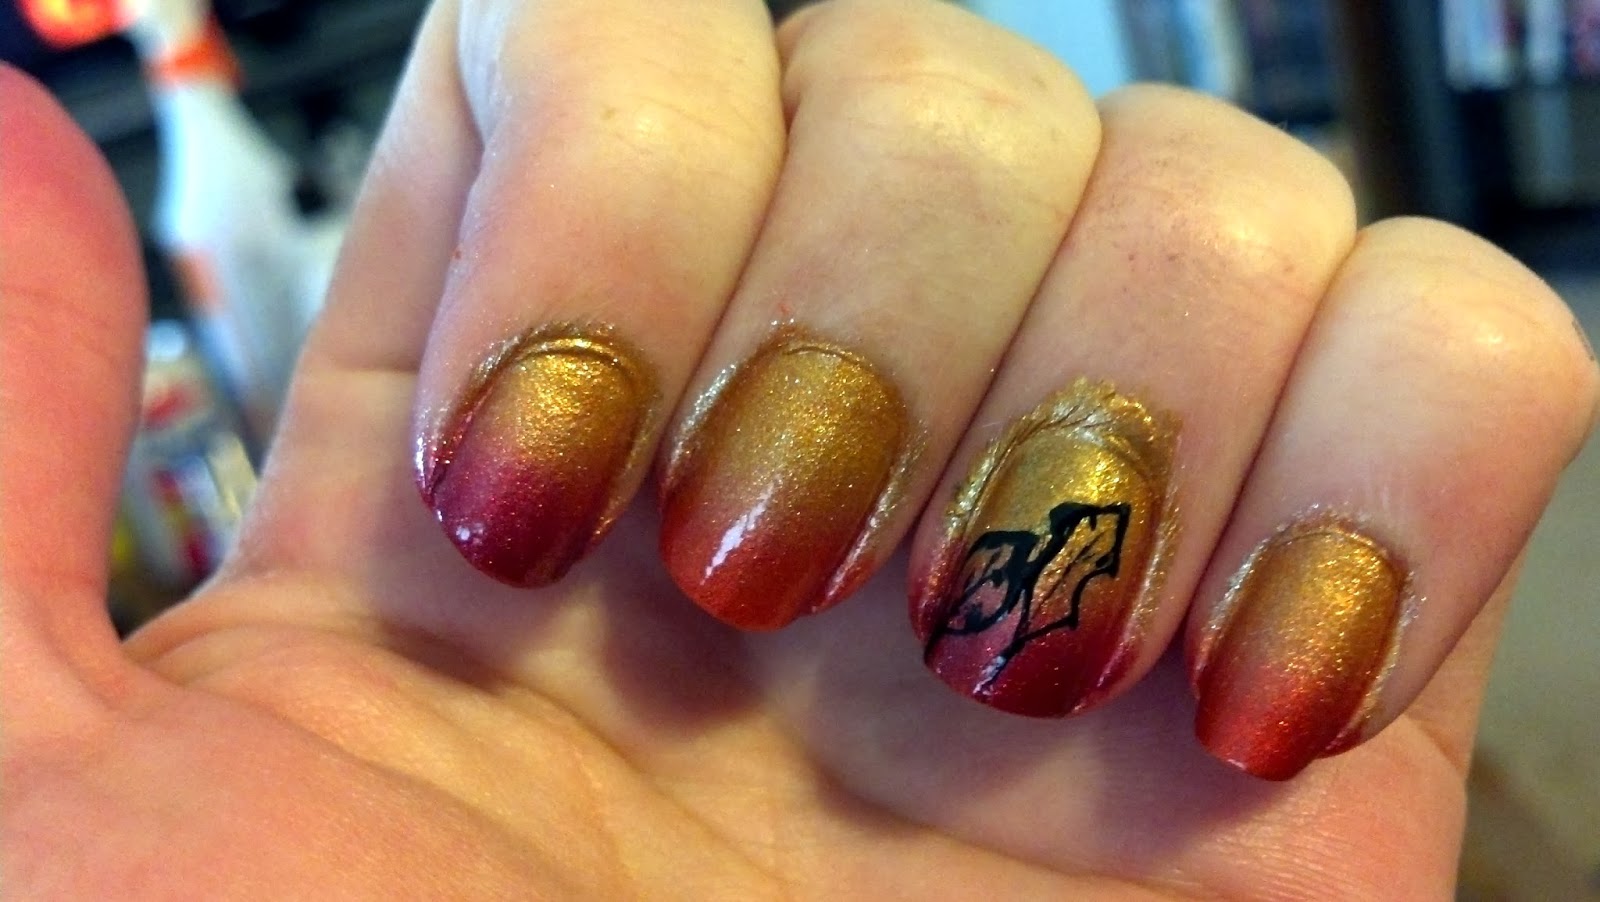
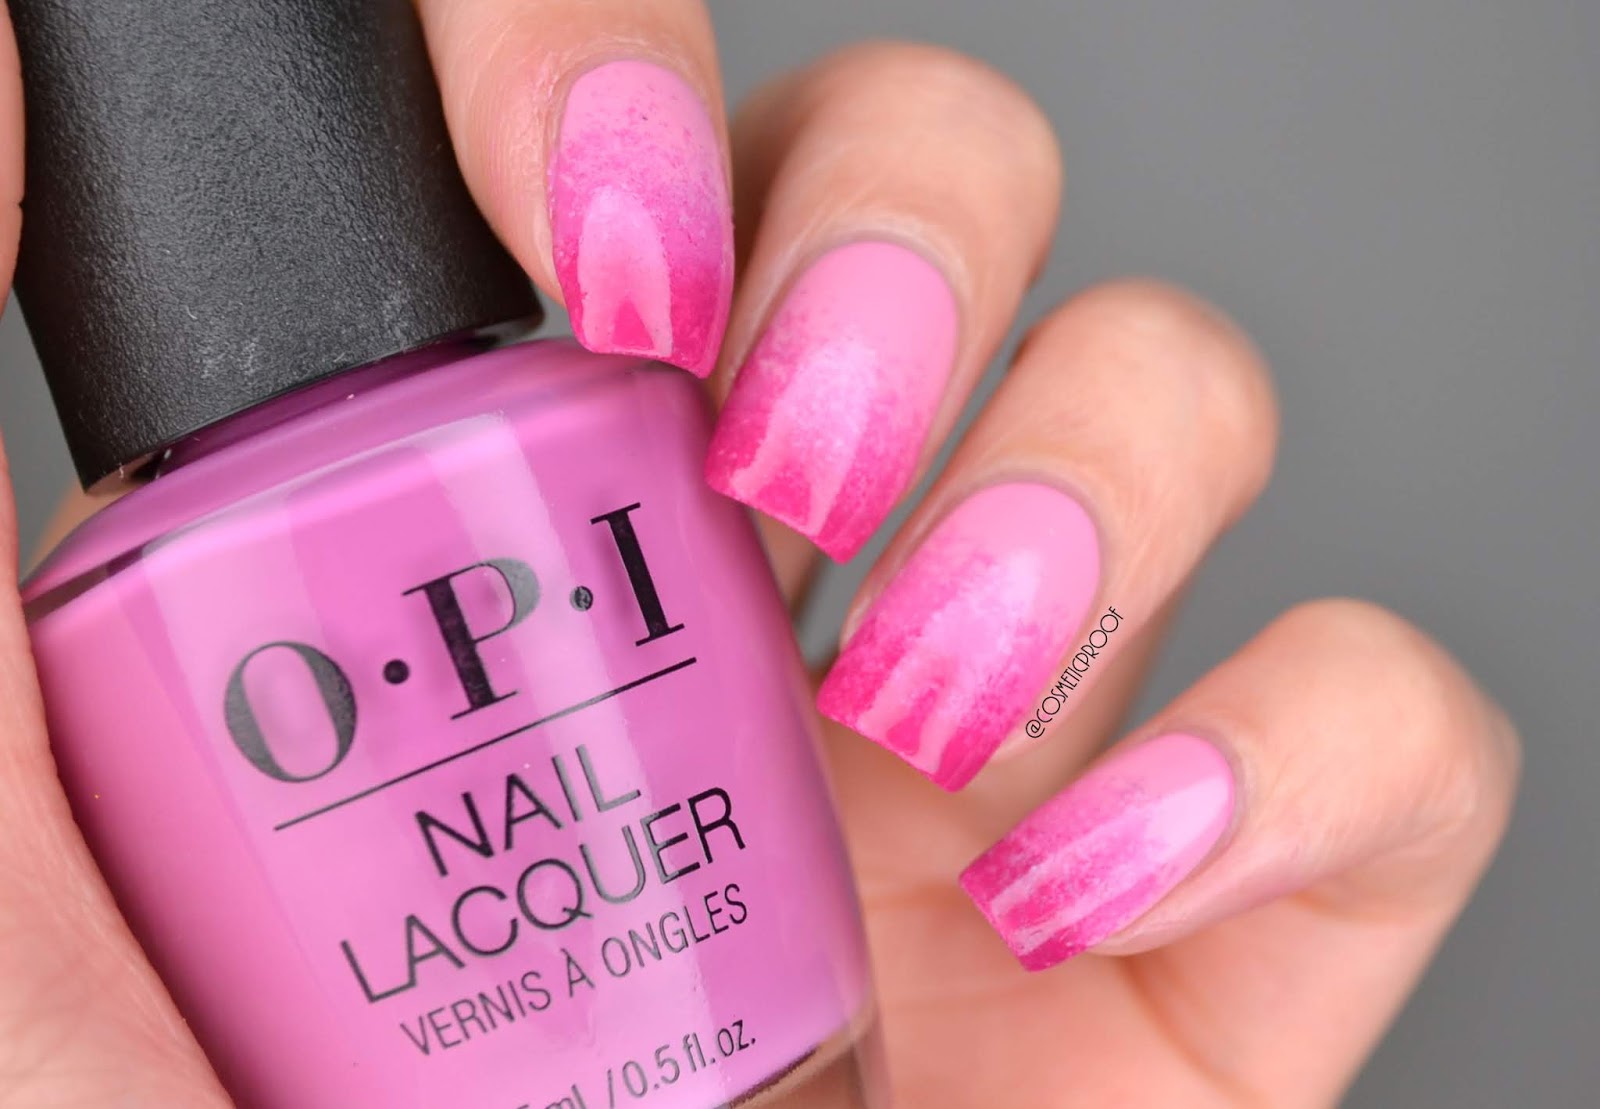
Vertical gradient nail art has become a popular trend in recent years, and for good reason. It allows you to create a unique and eye-catching look that is perfect for any occasion. If you're new to the world of nail art, creating a vertical gradient design may seem intimidating, but fear not. With the right tools and techniques, you can achieve a flawless look in no time. To create a vertical gradient nail art design, you will need a few basic supplies. These include two or more nail polish colors, a makeup sponge, and a top coat. It's important to choose colors that complement each other and will blend well together. You can also add some sparkle with a glitter polish for an extra touch of glam. Start by painting your nails with a base color and allowing it to dry completely. Then, apply a few drops of your chosen colors to a makeup sponge, making sure they slightly overlap. Gently dab the sponge onto your nails, starting from the cuticle and moving upwards. You may need to repeat this step a few times to achieve your desired level of gradient. Once you're happy with the gradient effect, clean up any excess polish around your nails using a brush dipped in nail polish remover. Finish off with a top coat to seal in your design and give it a glossy finish. And there you have it - a stunning vertical gradient nail art design that will surely turn heads. featured keywords: vertical gradient nail art, unique, eye-catching, popular trend, tools, techniques1. How to Create a Vertical Gradient Nail Art Design


1. How to Create a Vertical Gradient Nail Art Design

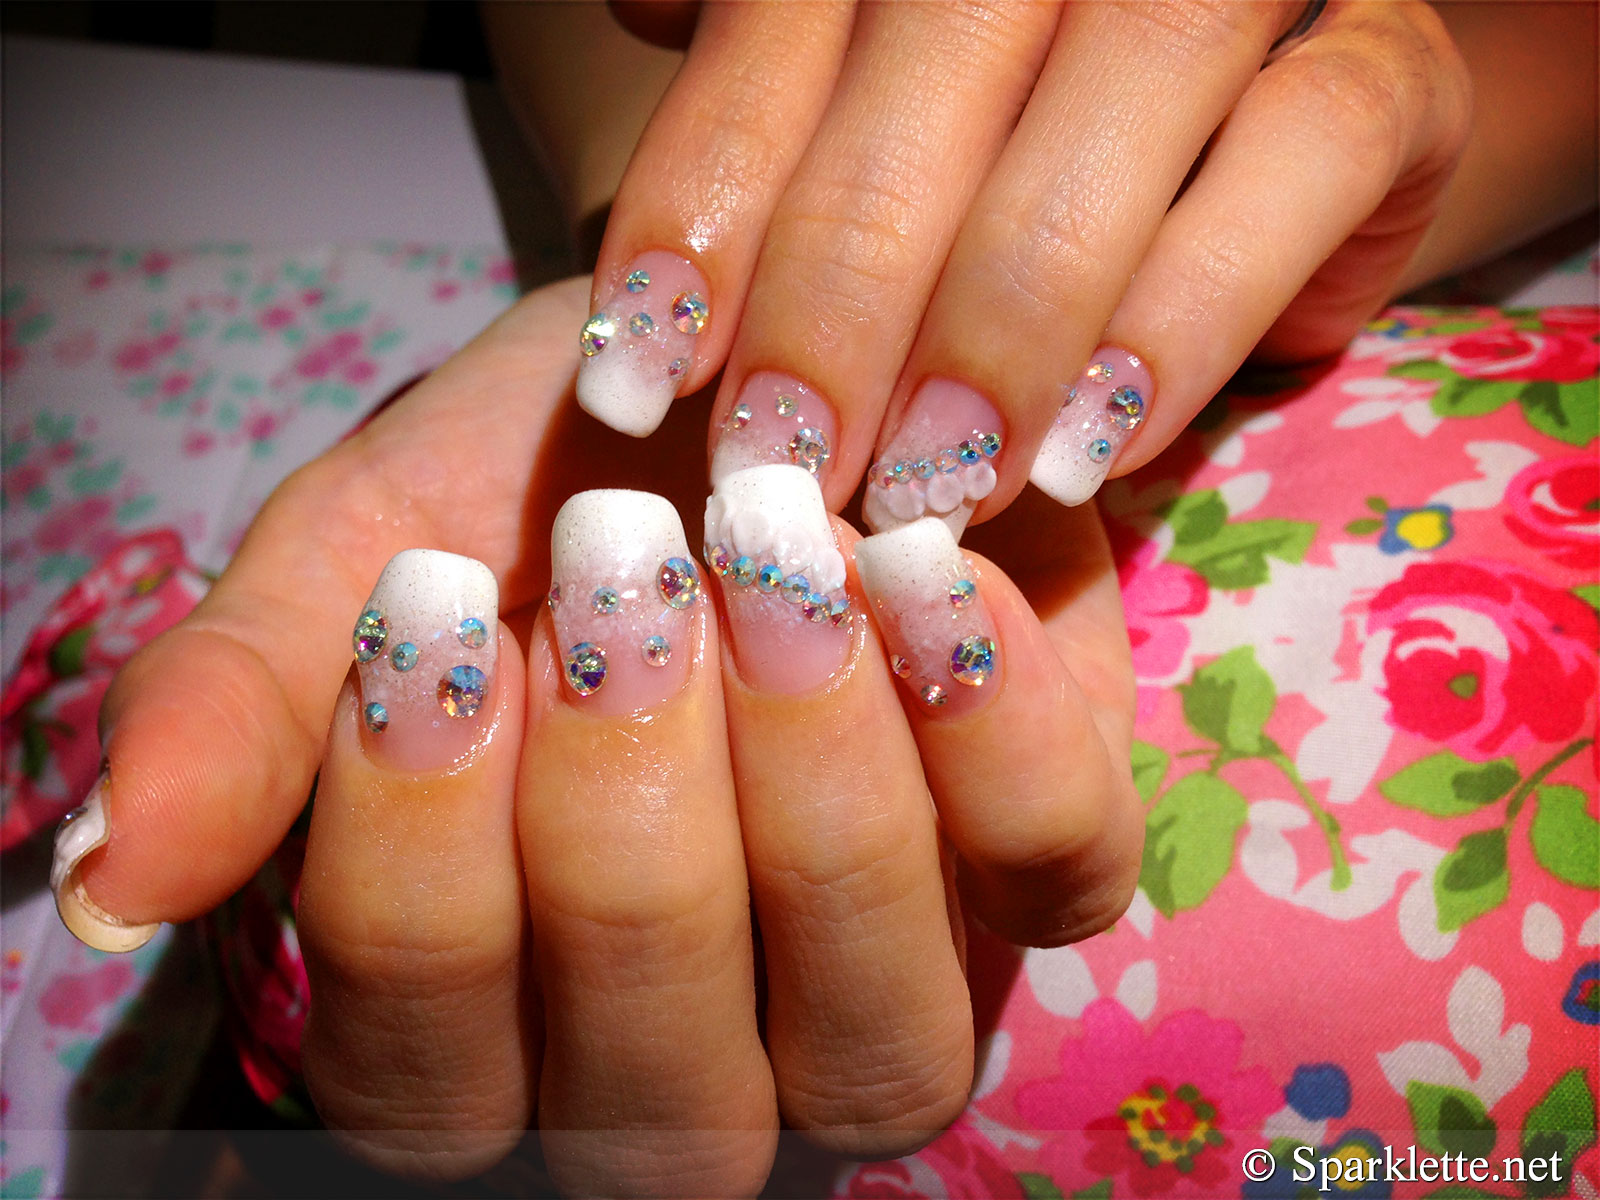


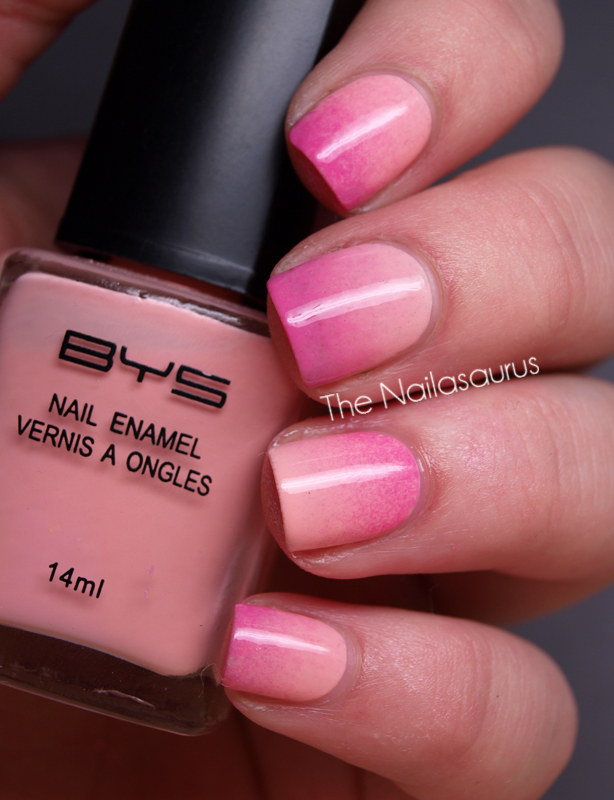
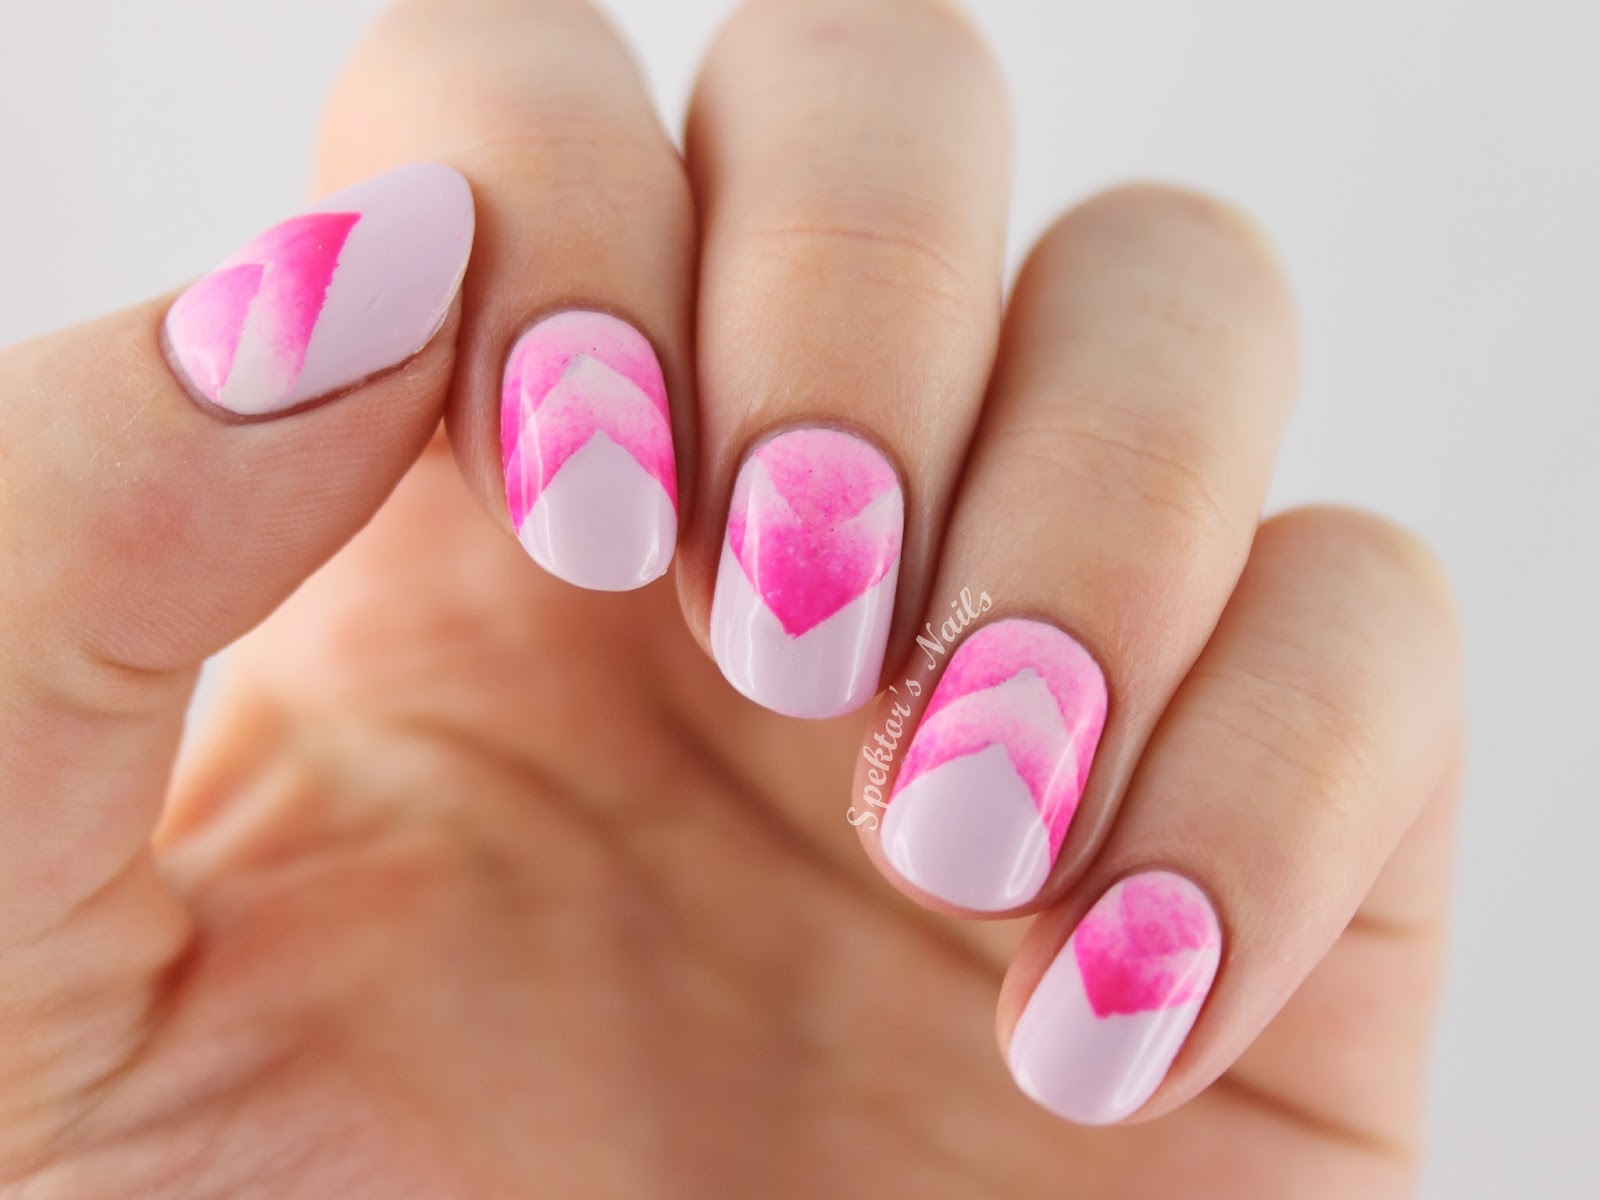
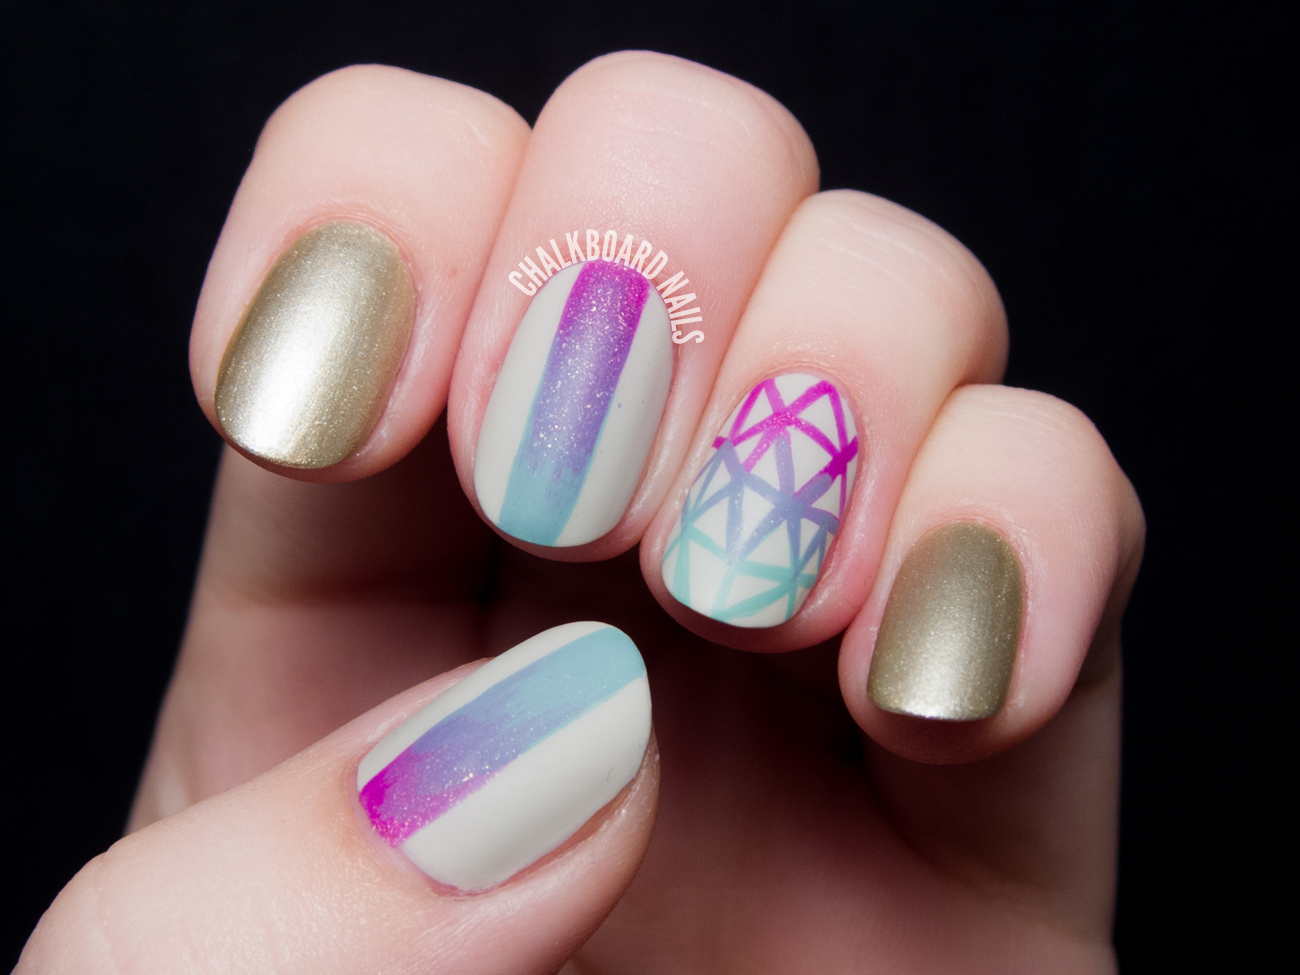
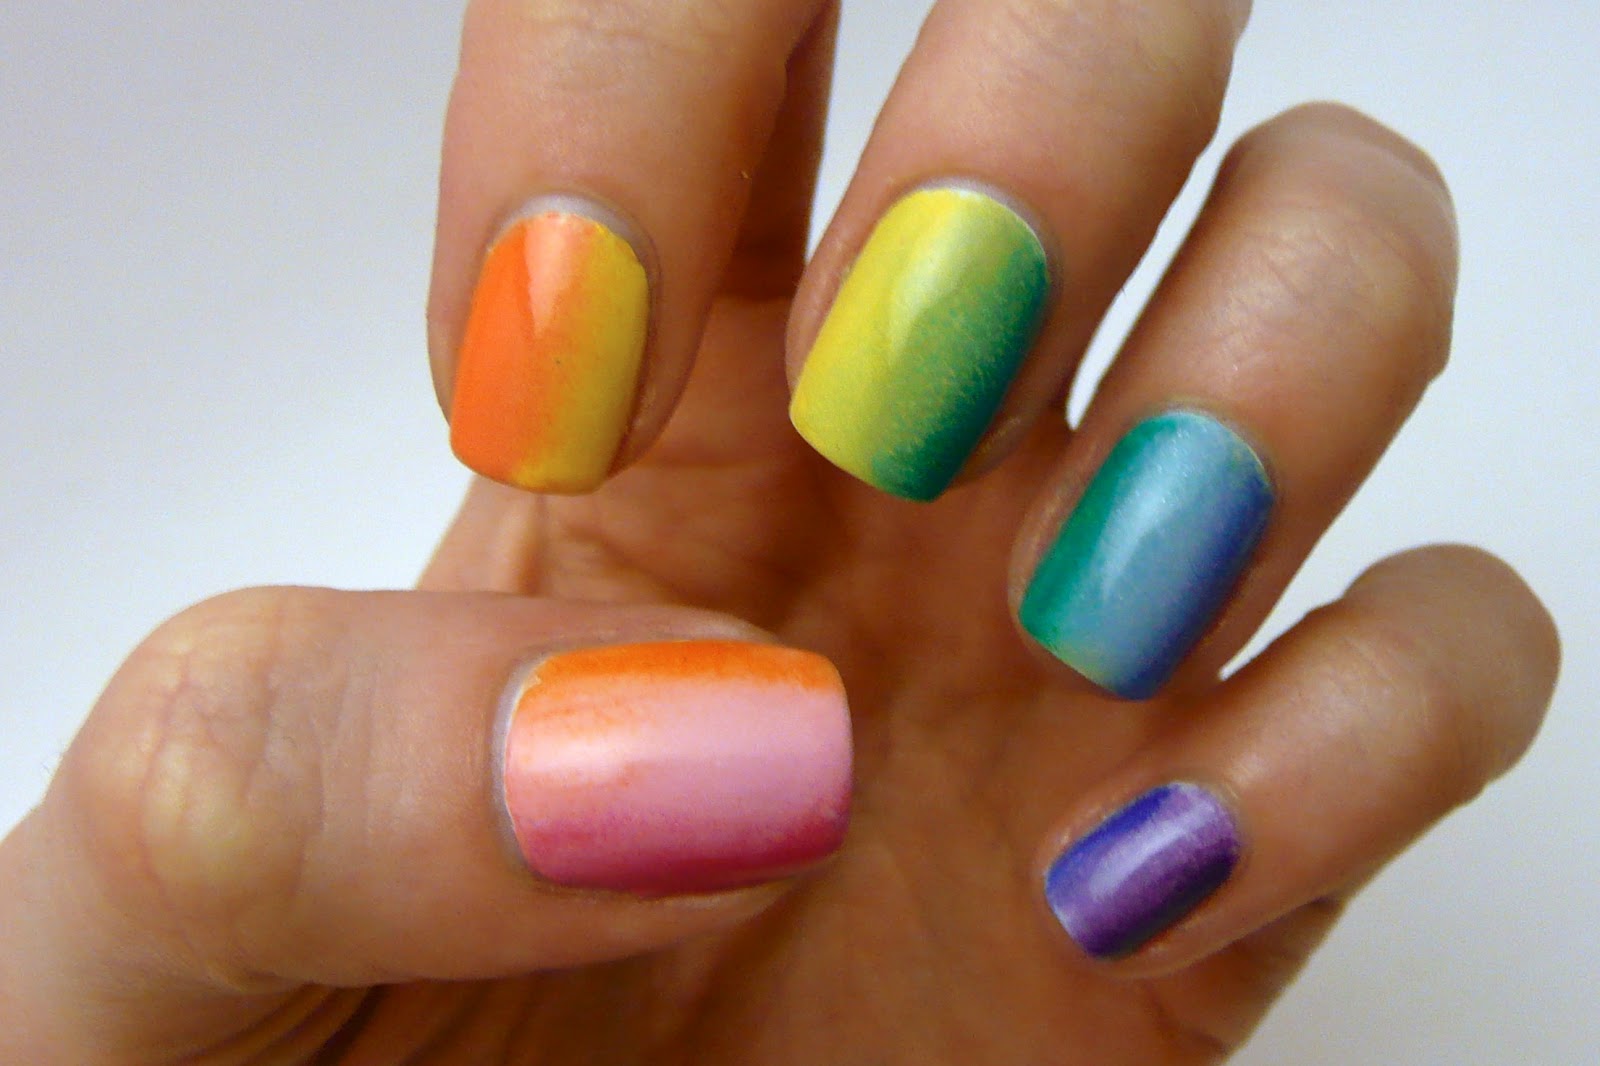
If you're looking for some inspiration for your next nail art design, look no further. We've compiled a list of 10 stunning vertical gradient nail art ideas that will have you reaching for your polish collection in no time. 1. Ombre Vibes: Create a stunning ombre effect by blending shades of the same color from light to dark. 2. Glitter Gradient: Add some sparkle to your nails by incorporating a glitter polish into your gradient design. 3. Rainbow Dreams: Use a variety of bright and bold colors to create a rainbow gradient that will make your nails stand out. 4. Metallic Magic: Mix and match metallic shades for a chic and modern look. 5. Bold and Beautiful: Create a gradient using contrasting colors for a bold and edgy design. 6. Pastel Perfection: Soft pastel shades blended together create a delicate and dreamy gradient. 7. Floral Frenzy: Add a touch of floral design to your gradient with the use of stencils or freehand painting. 8. Marble Madness: Create a marble effect by blending two or more colors together in a swirling motion. 9. French Fade: Give the classic French manicure a twist by creating a gradient with white and a soft pastel shade. 10. Glitter Tips: Add a pop of glitter to the tips of your nails for a subtle and elegant gradient design. featured keywords: vertical gradient nail art, stunning, inspiration, ombre, glitter, metallic, bold, pastel, floral, marble, French manicure2. 10 Stunning Vertical Gradient Nail Art Ideas


2. 10 Stunning Vertical Gradient Nail Art Ideas


If you're new to the world of nail art, creating a vertical gradient design may seem like a daunting task. But fear not, we've broken it down into simple steps to help you achieve a flawless look. Step 1: Gather Your Supplies Before you begin, make sure you have all the necessary supplies on hand. This includes two or more nail polish colors, a makeup sponge, a top coat, and a brush for clean-up. Step 2: Prep Your Nails Start by removing any old polish and shaping your nails to your desired length and shape. Apply a base coat to protect your nails and ensure your polish lasts longer. Step 3: Paint Your Base Color Apply your chosen base color and allow it to dry completely before moving on to the next step. Step 4: Prep the Sponge Prepare your makeup sponge by dampening it with water and wringing out any excess. This will help the polish blend better. Step 5: Apply the Polish Add a few drops of your chosen colors to the makeup sponge, making sure they slightly overlap. Gently dab the sponge onto your nails, starting from the cuticle and moving upwards. Repeat this step until you achieve your desired level of gradient. Step 6: Clean Up Use a brush dipped in nail polish remover to clean up any excess polish around your nails. Step 7: Apply a Top Coat Finish off your design with a top coat to seal in your gradient and give it a glossy finish. featured keywords: vertical gradient nail art, step-by-step, supplies, prep, base color, sponge, polish, clean up, top coat3. Step-by-Step Guide to Nail Art Vertical Gradient


3. Step-by-Step Guide to Nail Art Vertical Gradient
If you're new to the world of nail art, creating a vertical gradient design may seem intimidating. But don't worry, with this beginner-friendly tutorial, you'll be able to achieve a flawless look in no time. Step 1: Gather Your Supplies Make sure you have all the necessary supplies on hand, including two or more nail polish colors, a makeup sponge, a top coat, and a brush for clean-up. Step 2: Prep Your Nails Start by removing any old polish and shaping your nails to your desired length and shape. Apply a base coat to protect your nails and ensure your polish lasts longer. Step 3: Paint Your Base Color Apply your chosen base color and allow it to dry completely before moving on to the next step. Step 4: Prep the Sponge Prepare your makeup sponge by dampening it with water and wringing out any excess. This will help the polish blend better. Step 5: Apply the Polish Add a few drops of your chosen colors to the makeup sponge, making sure they slightly overlap. Gently dab the sponge onto your nails, starting from the cuticle and moving upwards. Repeat this step until you achieve your desired level of gradient. Step 6: Clean Up Use a brush dipped in nail polish remover to clean up any excess polish around your nails. Step 7: Apply a Top Coat Finish off your design with a top coat to seal in your gradient and give it a glossy finish. featured keywords: vertical gradient nail art, tutorial, beginner-friendly, supplies, prep, base color, sponge, polish, clean up, top coat4. Vertical Gradient Nail Art Tutorial for Beginners


4. Vertical Gradient Nail Art Tutorial for Beginners

Creating a vertical gradient nail art design requires a few basic supplies, but there are some tools that can make the process even easier. Here are the top five tools you need to achieve a perfect gradient every time. 1. Makeup Sponge: A makeup sponge is essential for creating a seamless and blended gradient effect. 2. Nail Polish Remover: Use a brush dipped in nail polish remover to clean up any excess polish around your nails. 3. Stencils: Stencils can help you create intricate designs or add a touch of detail to your gradient. 4. Striping Tape: Use striping tape to create sharp and clean lines in your gradient design. 5. Fan Brush: A fan brush can help you create a unique gradient effect with its soft and feather-like bristles. featured keywords: vertical gradient nail art, tools, makeup sponge, nail polish remover, stencils, striping tape, fan brush5. Top 5 Tools for Creating a Perfect Vertical Gradient Nail Art


5. Top 5 Tools for Creating a Perfect Vertical Gradient Nail Art

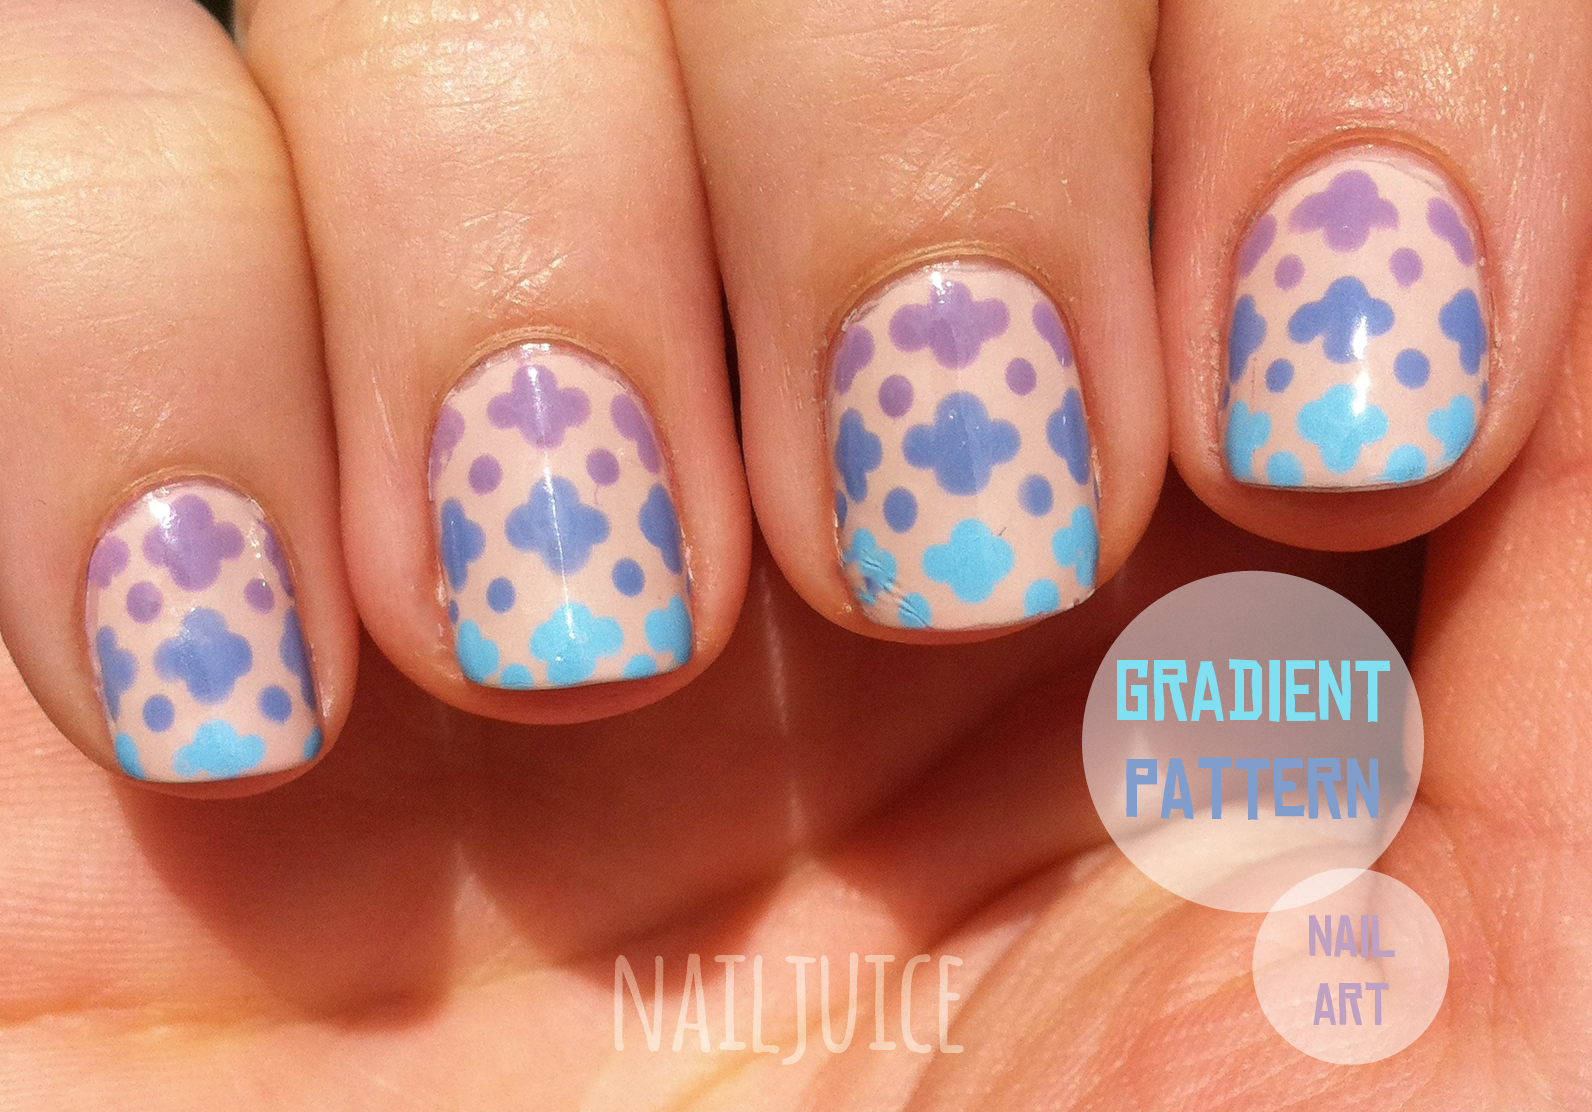
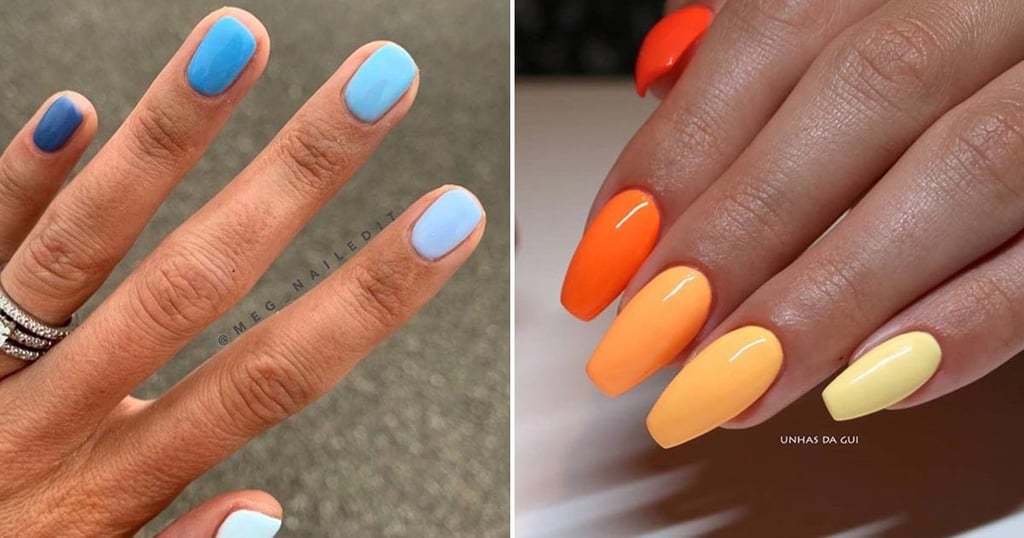
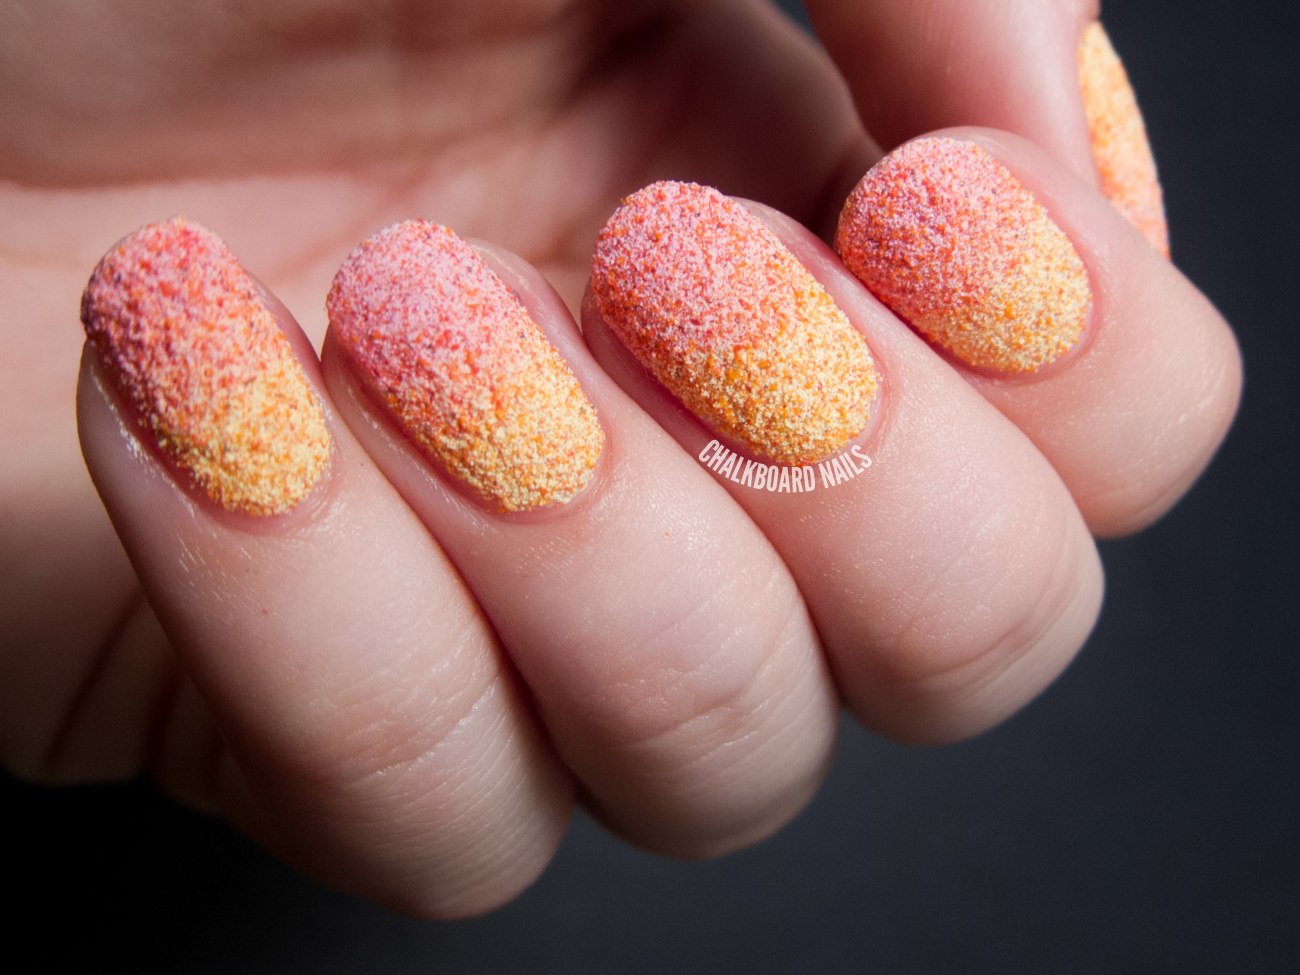
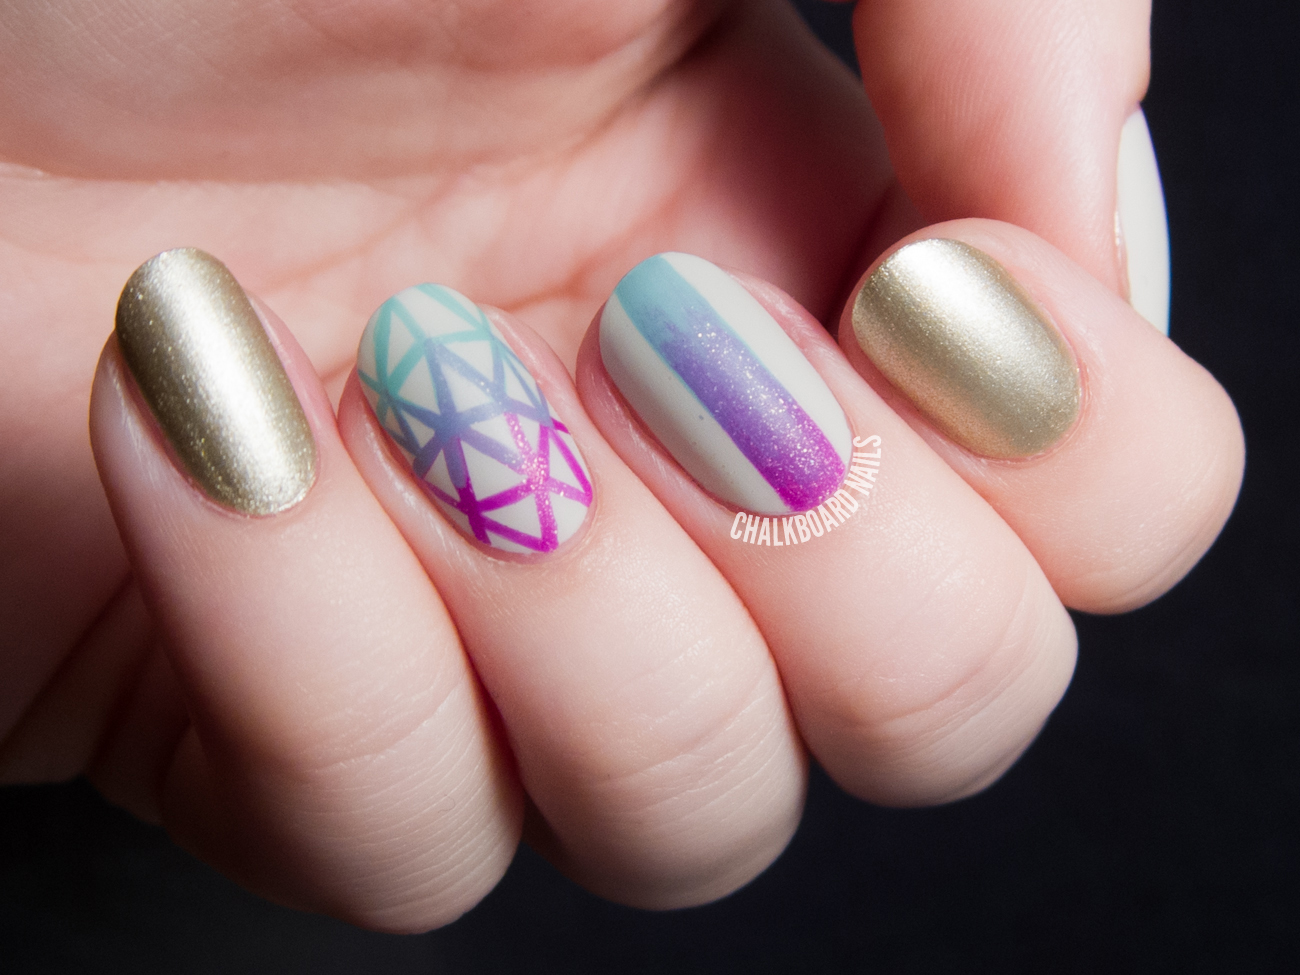
If you're looking to switch up your nail game, why not try a vertical gradient design? To help you get inspired, we've gathered 20 gorgeous designs that will make you want to reach for your polish collection. 1. Pink and Gold: Create a subtle gradient using soft pink and gold shades for a girly and elegant look. 2. Glitter Ombre: Add some sparkle to your nails with a glitter ombre design using shades of the same color. 3. Blue Hues: Blend shades of blue to create a stunning gradient that reminds you of the ocean. 4. Rainbow Brights: Use a variety of bright and bold colors to create a rainbow gradient that will make your nails stand out. 5. Metallic Marble: Create a marble effect using metallic shades for a chic and modern look. 6. Black and White: Keep it simple and sophisticated with a black and white gradient design. 7. Glitter Tips: Add a pop of glitter to the tips of your nails for a subtle and elegant gradient design. 8. Sunset Vibes: Blend shades of pink, orange, and yellow for a sunset-inspired gradient design. 9. Pretty in Pastel: Use a variety of soft pastel shades to create a delicate and dreamy gradient. 10. Floral Frenzy: Add a touch of floral design to your gradient with the use of stencils or freehand painting. 11. Rainbow Tips: Keep it simple with a gradient design on just the tips of your nails using shades of the same color. 12. Glitter Gradient: Create a gradient using glitter shades for a sparkly and eye-catching look. 13. Purple Perfection: Blend shades of purple for a stunning and regal gradient design. 14. French Fade: Give the classic French manicure a twist by creating a gradient with white and a soft pastel shade. 15. Metallic Magic: Mix and match metallic shades for a chic and modern look. 16. Bold and Beautiful: Create a gradient using contrasting colors for a bold and edgy design. 17. Glitter Ombre French: Add a touch of glam to your French manicure by incorporating a glitter ombre effect. 18. Pink and Purple: Blend shades of pink and purple for a feminine and playful gradient design. 19. Diamond Gradient: Use striping tape to create a diamond gradient design using shades of the same color. 20. Mermaid Vibes: Blend shades of blue, green, and purple for a mermaid-inspired gradient design. featured keywords: vertical gradient nail art, gorgeous, inspired, pink and gold, glitter ombre, blue, rainbow, metallic marble, black and white, sunset, pastel, floral, glitter tips, purple, French manicure, metallic, bold, diamond, mermaid6. 20 Gorgeous Vertical Gradient Nail Art Designs to Try


6. 20 Gorgeous Vertical Gradient Nail Art Designs to Try

Vertical gradient nail art is a beautiful and eye-catching design, but it can be tricky to achieve a flawless look. Here are some tips and tricks to help you perfect your gradient game. 1. Use a Makeup Sponge: A makeup sponge is the best tool for creating a seamless and blended gradient effect. 2. Dampen the Sponge: Dampening the sponge with water before applying the polish can help it blend better. 3. Choose Complementary Colors: Make sure the colors you choose for your gradient design complement each other and will blend well together. 4. Practice Makes Perfect: Don't be discouraged if your first attempt at a vertical gradient design doesn't turn out perfectly. Keep practicing and you'll get better with each try. 5. Clean Up with a Brush: Use a brush dipped in nail polish remover to clean up any excess polish around your nails for a polished look. 6. Finish with a Top Coat: A top coat will not only seal in your design but also give it a glossy finish. 7. Experiment with Different Tools: Don't be afraid to try different tools such as stencils or striping tape to add some unique details to your gradient design. featured keywords: vertical gradient nail art, tips and tricks, flawless, makeup sponge, dampen, complementary colors, practice, clean up, top coat, experiment, tools7. Vertical Gradient Nail Art: Tips and Tricks for a Flawless Look


7. Vertical Gradient Nail Art: Tips and Tricks for a Flawless Look

Using a sponge is the key to achieving a perfect vertical gradient nail art design. Here's a step-by-step guide on how to use a sponge for a flawless look. Step 1: Gather Your Supplies Make sure you have all the necessary supplies on hand, including two or more nail polish colors, a makeup sponge, a top coat, and a brush for clean-up. Step 2: Prep Your Nails Start by removing any old polish and shaping your nails to your desired length and shape. Apply a base coat to protect your nails and ensure your polish lasts longer.8. How to Use a Sponge for a Vertical Gradient Nail Art


8. How to Use a Sponge for a Vertical Gradient Nail Art


The Art of Nail Design: Exploring the Vertical Gradient Technique

The Trending Nail Art Technique
 When it comes to expressing our personal style, our appearance plays a vital role. From fashion choices to hair and makeup, every detail counts. So, why should our nails be any different? Nail art has become a popular form of self-expression, and one of the latest trends in the world of nail design is the vertical gradient technique. This unique and eye-catching method of painting nails has taken social media by storm, with countless tutorials and inspiration posts flooding our feeds. Let's delve into the world of nail art and discover the beauty of vertical gradient designs.
What is Nail Art Vertical Gradient?
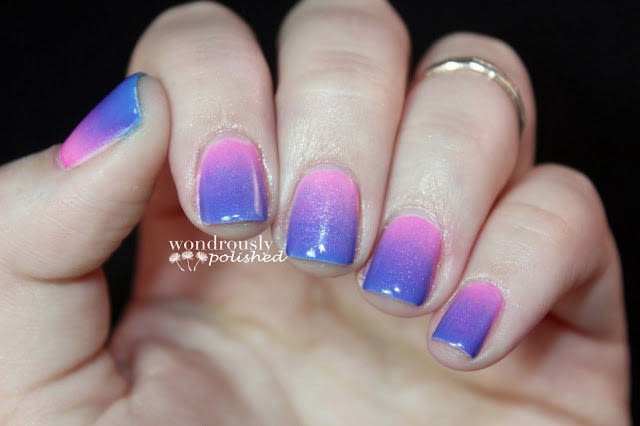
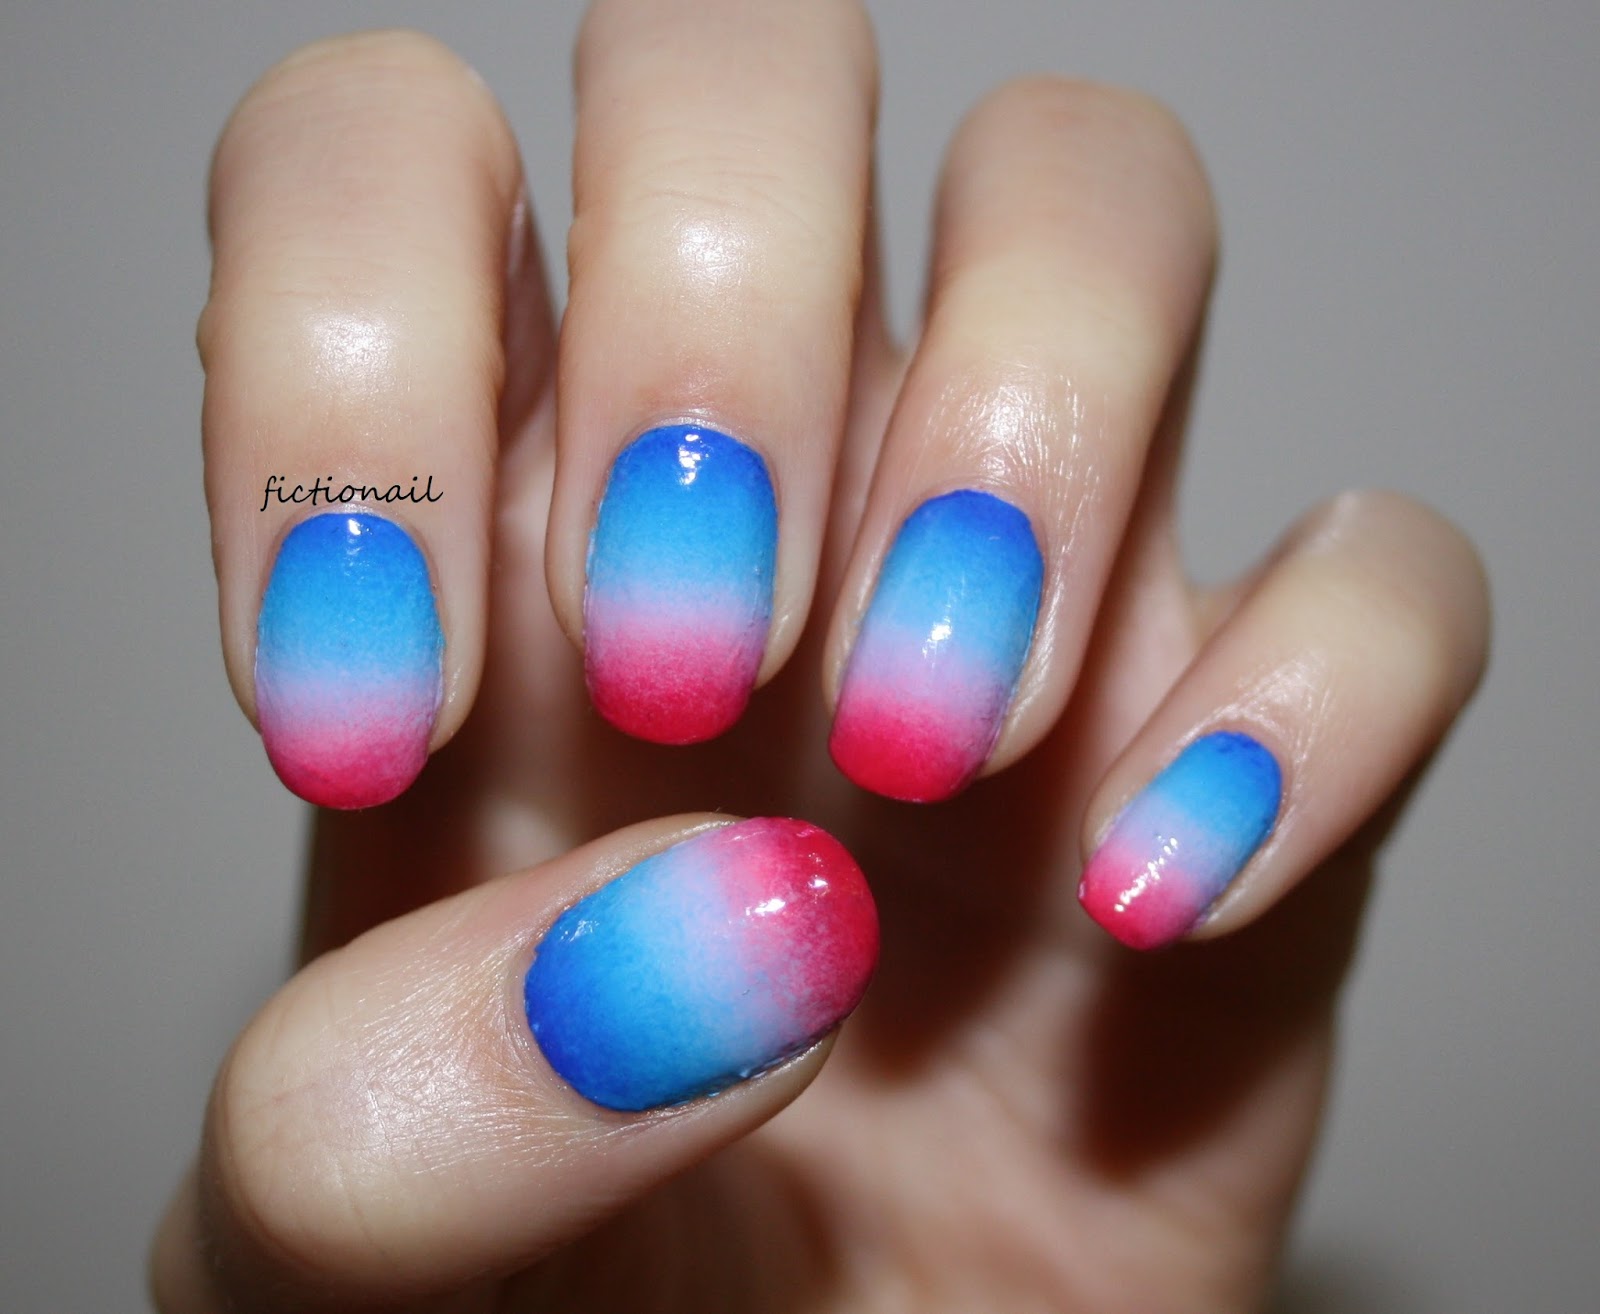
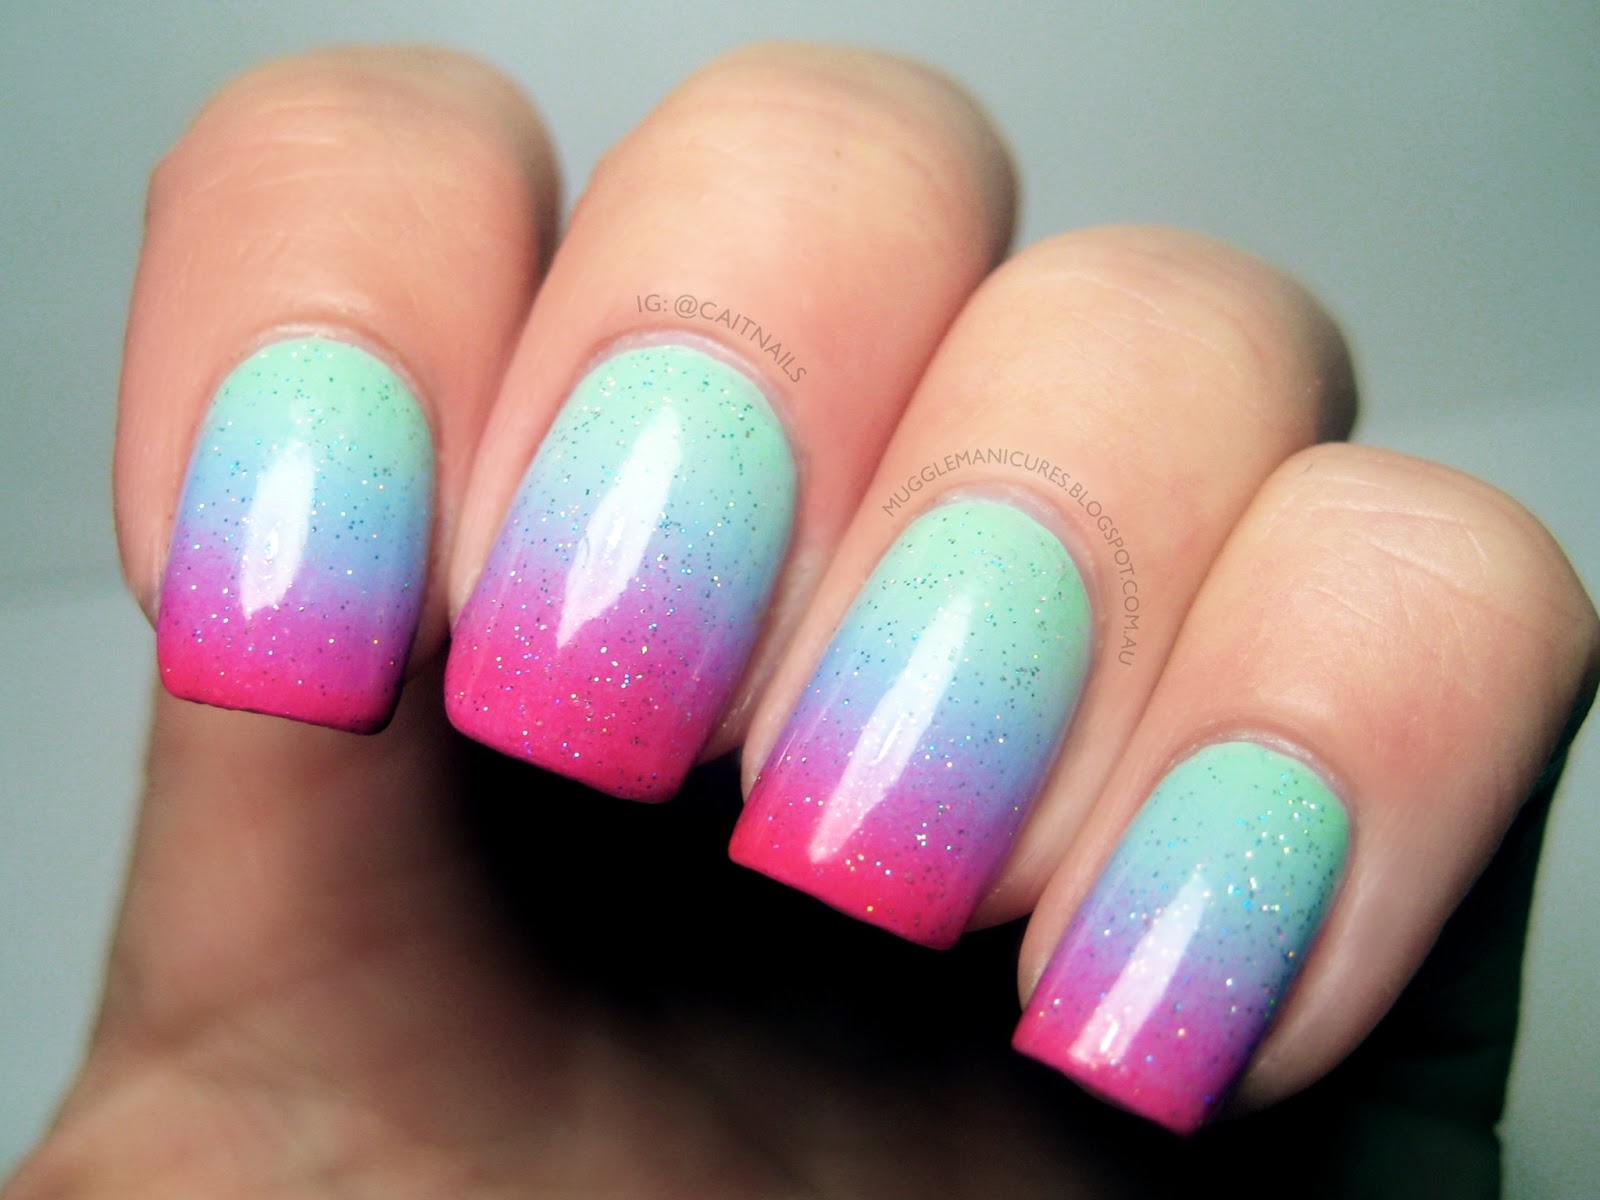
 First and foremost, let's define what this technique actually is. A vertical gradient is a gradual change of color from one hue to another, starting from the top of the nail and fading down to the tip. This technique creates a stunning ombre effect that adds depth and dimension to your nails. It is a versatile style that can be achieved using various colors, creating endless design possibilities. From soft pastel shades to bold and vibrant colors, the options are endless.
How to Achieve the Perfect Vertical Gradient
 To create the perfect vertical gradient, you will need a few essential tools and products. Start by gathering a base color, two or more gradient colors, a makeup sponge, and a top coat. Begin by applying your base color and allowing it to dry completely. Next, paint your gradient colors directly onto the makeup sponge, making sure to overlap them slightly. Then, gently dab the sponge onto your nail, starting at the base and moving towards the tip. Repeat this process until you achieve the desired gradient effect. Finish with a top coat to seal in the design and add shine.
Why Choose Vertical Gradient?
 Vertical gradient nail art offers a unique and modern twist on traditional ombre designs. The gradual color change creates an elongated and slimming effect on the nails, making them appear longer and more elegant. Additionally, the vertical gradient technique allows for more room to play with colors and designs, allowing for endless creativity. It is also a great option for those with shorter nails, as it can give the illusion of length and add a touch of sophistication to any look.
Take Your Nail Game to the Next Level
 Whether you are a nail art enthusiast or looking to try something new, the vertical gradient technique is a must-try. Not only does it add a unique touch to your nails, but it also allows for endless customization and creativity. So, next time you want to give your nails a fresh look, consider trying the trending vertical gradient technique and take your nail game to the next level.


