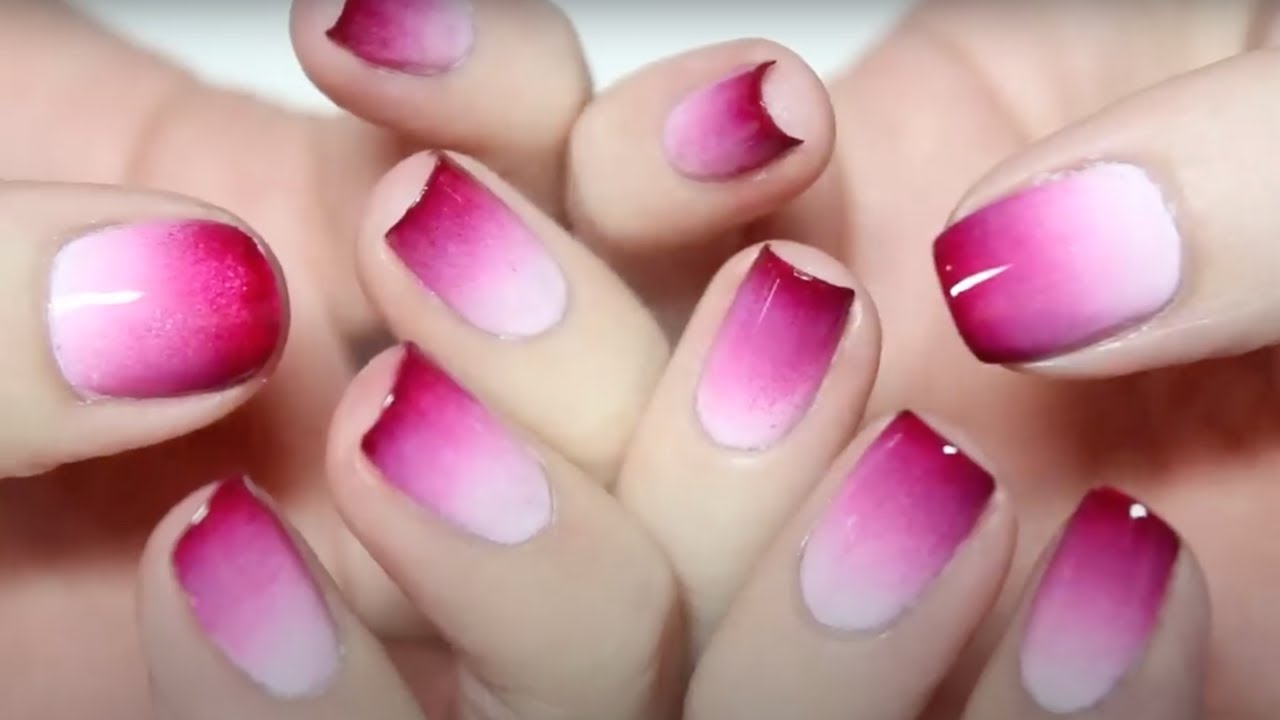
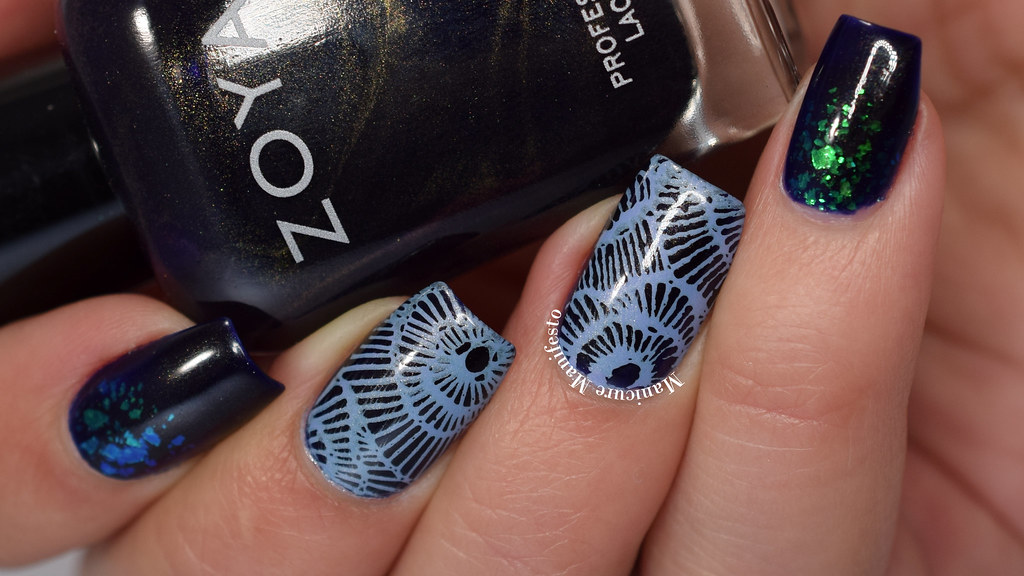
Create a stunning and seamless blend of colors on your nails with a gradient nail art using four shades. This technique involves fading one color into another, creating a beautiful and gradient effect on your nails. It's a popular choice for those who want to add a pop of color to their manicure. To achieve this look, you can use four different shades of the same color or mix and match different colors for a unique design. Start by painting your nails with the lightest shade and let it dry completely. Then, take a makeup sponge and dab the four colors in a line, slightly overlapping each other. Gently press the sponge onto your nails in a rolling motion to transfer the colors. You may need to repeat this step a few times to get the desired intensity. Finish off with a top coat for a smooth and glossy finish.1. Gradient Nail Art with 4 Colors


1. Gradient Nail Art with 4 Colors


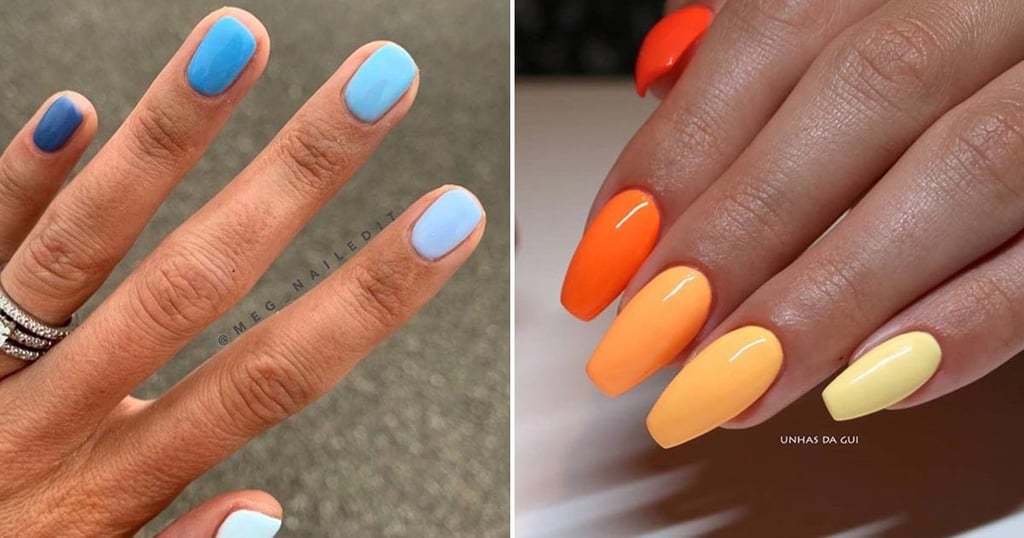


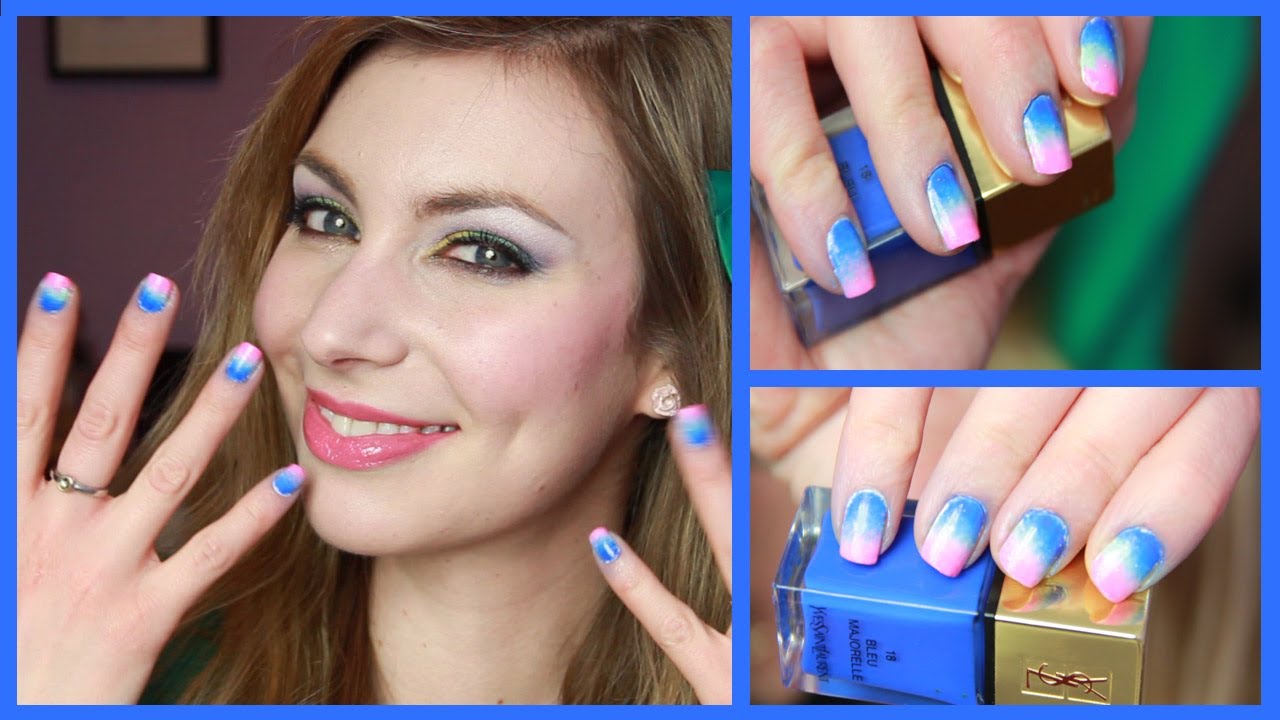
Another trendy and eye-catching way to incorporate four colors into your nail art is through an ombre design. Ombre, meaning "shaded" in French, refers to a gradual transition from one color to another. This style looks especially stunning with four different shades, creating a beautiful and multi-dimensional effect on your nails. To achieve this look, start by painting your nails with the lightest shade as the base color. Then, using a makeup sponge, apply the four colors in a line, slightly overlapping each other. Gently press the sponge onto your nails in a rolling motion to create a smooth gradient effect. You can also use a small brush to blend the colors together for a more seamless look. Finish off with a top coat for a polished and professional finish.2. Ombre Nail Art with 4 Colors


2. Ombre Nail Art with 4 Colors


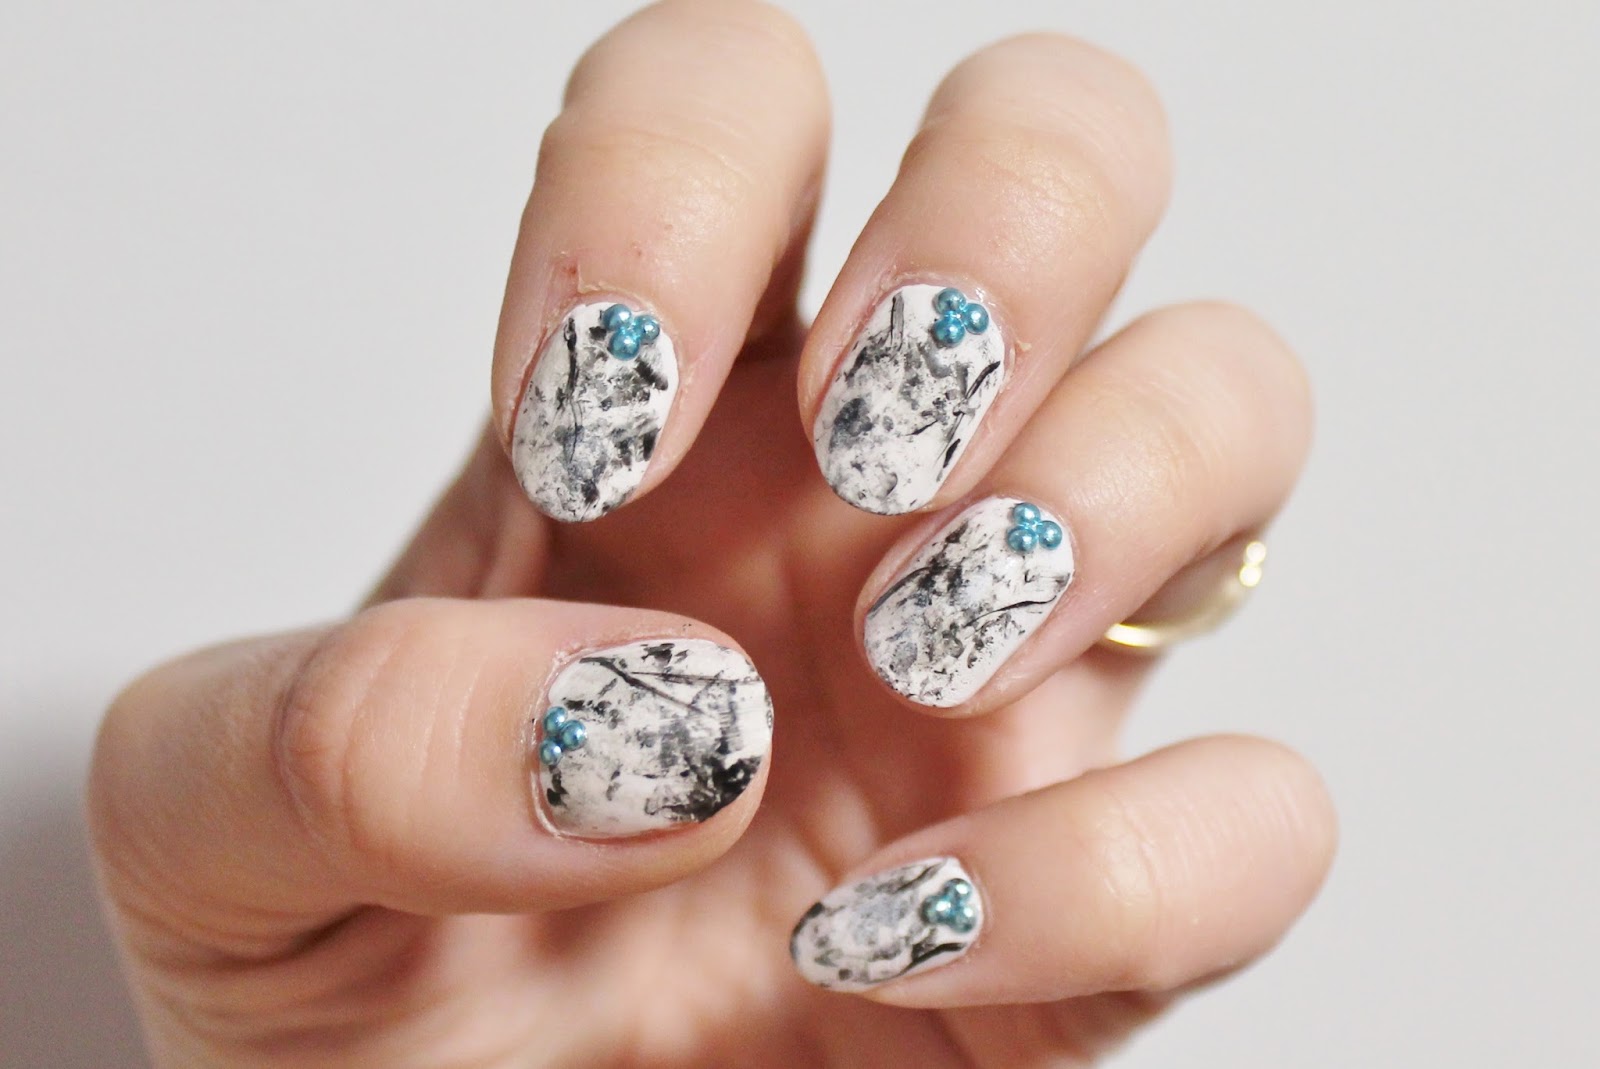
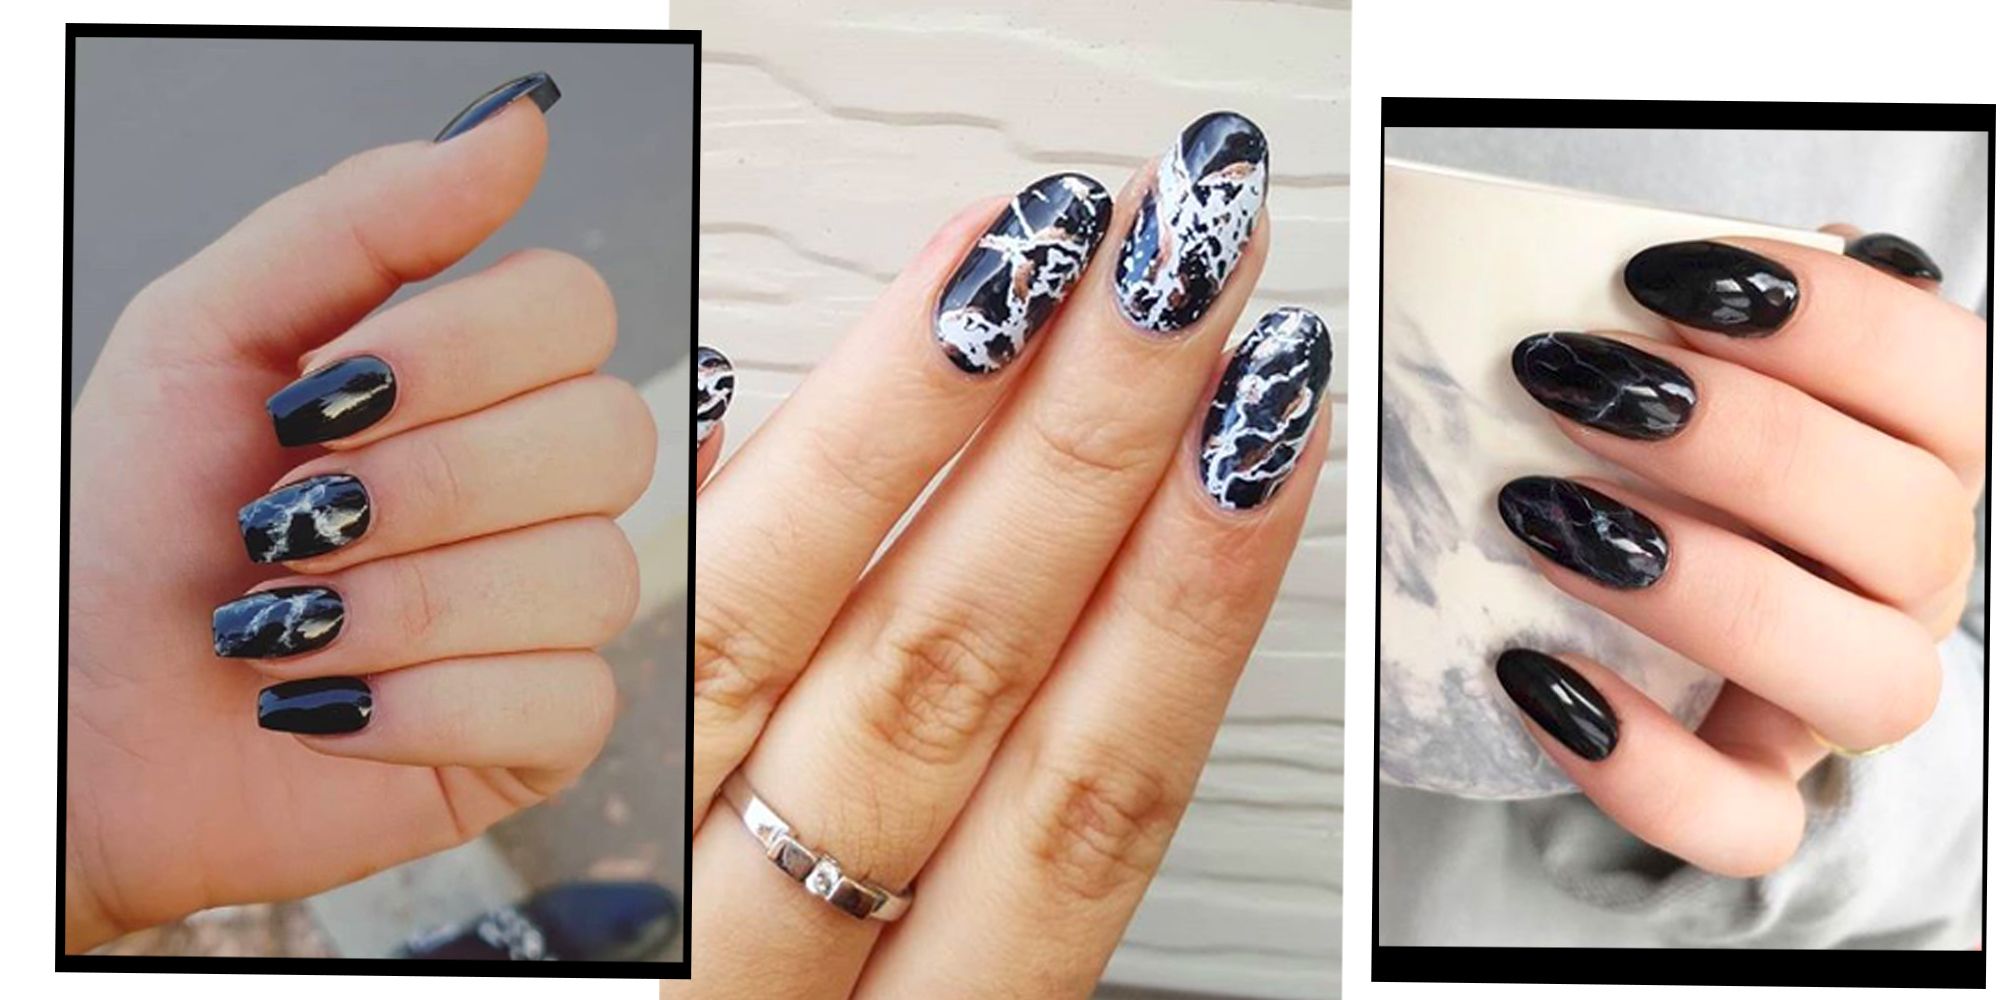
For a chic and artsy look, try out a marble nail art design using four colors. This technique mimics the natural patterns of marble with swirls and veins of different colors. It's a versatile design that can be customized to your liking by choosing different color combinations. To achieve this look, start by painting your nails with a white base coat and let it dry. Then, using a plastic bag or a piece of plastic wrap, dab on the four colors in a random pattern. Gently press the plastic onto your nails to transfer the colors. You can also use a small brush to create more defined marble patterns. Finish off with a top coat for a smooth and glossy finish.3. Marble Nail Art with 4 Colors


3. Marble Nail Art with 4 Colors


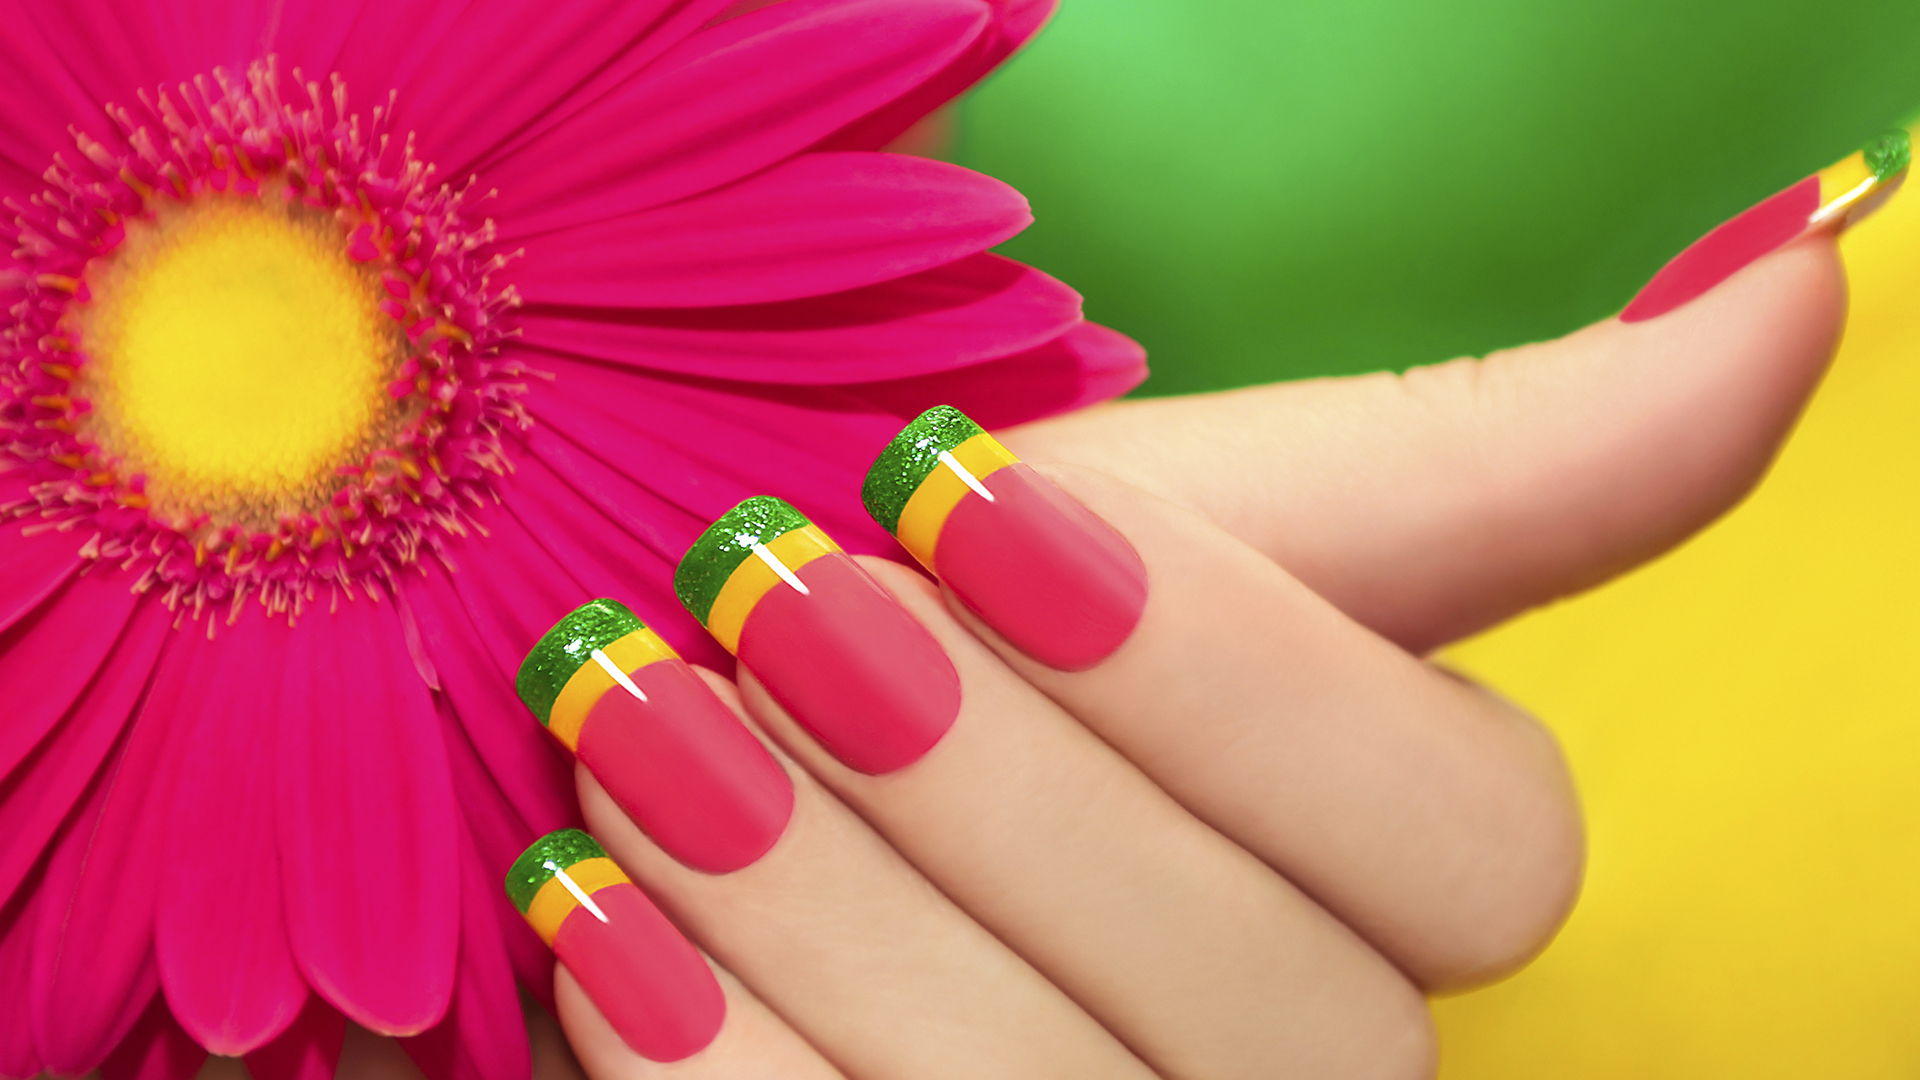
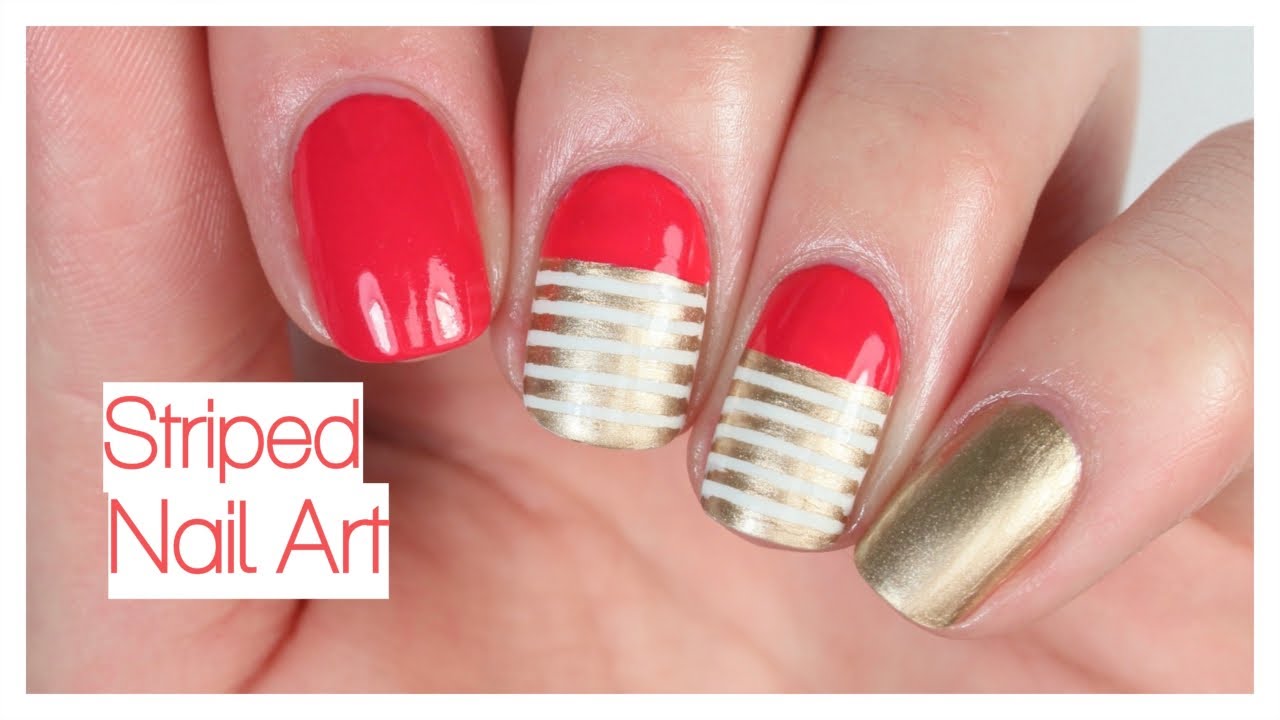
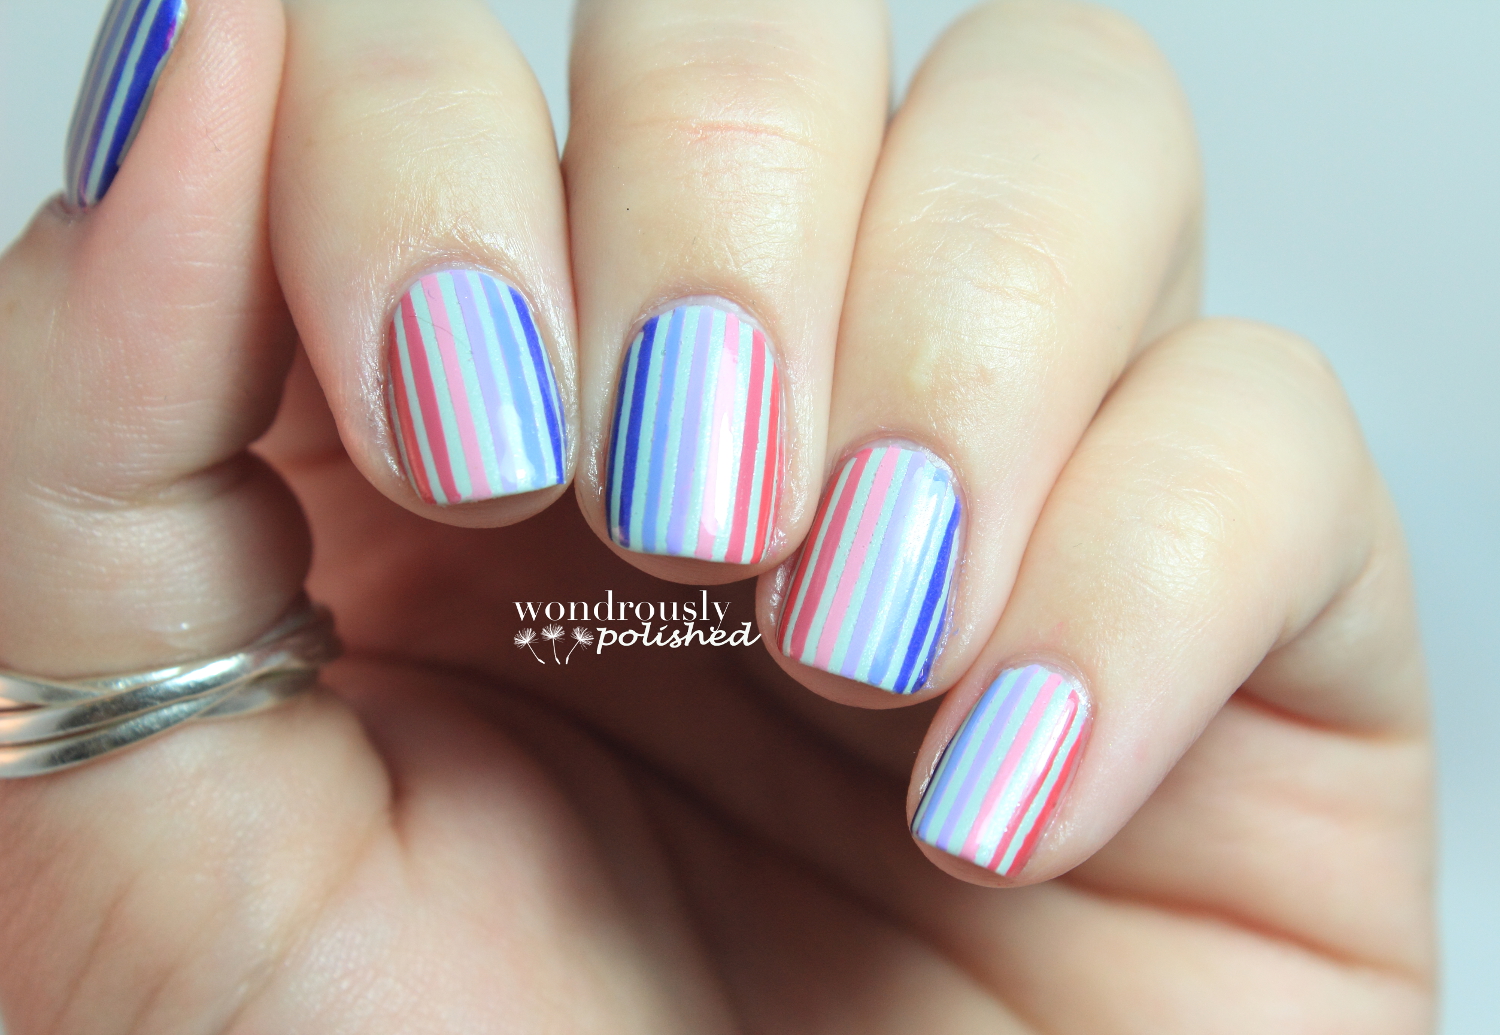
A classic and timeless choice, striped nail art using four colors is a great way to add a pop of color to your manicure. This design involves painting thin or thick stripes in different colors on your nails, creating a striking and colorful look. You can achieve this look by using striping tape to create straight and clean lines on your nails. Start by painting your nails with a base color and letting it dry completely. Then, place the striping tape on your nails in different directions to create a striped pattern. Paint the exposed areas with your chosen colors and remove the tape carefully while the polish is still wet. Finish off with a top coat for a sleek and modern finish.4. Striped Nail Art with 4 Colors


4. Striped Nail Art with 4 Colors


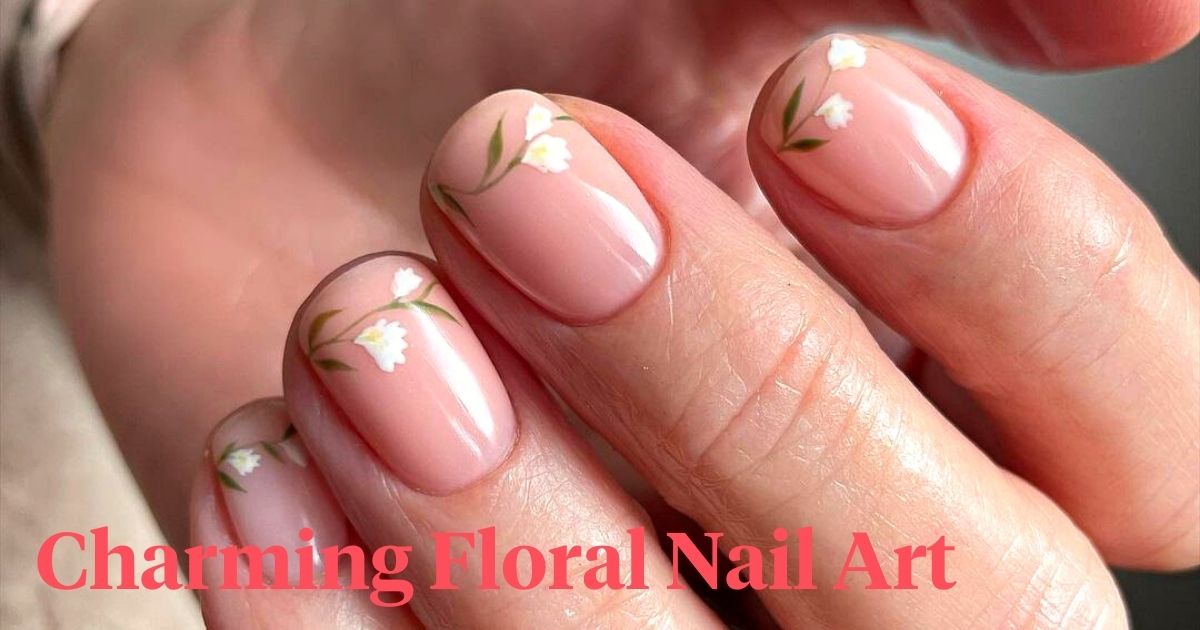
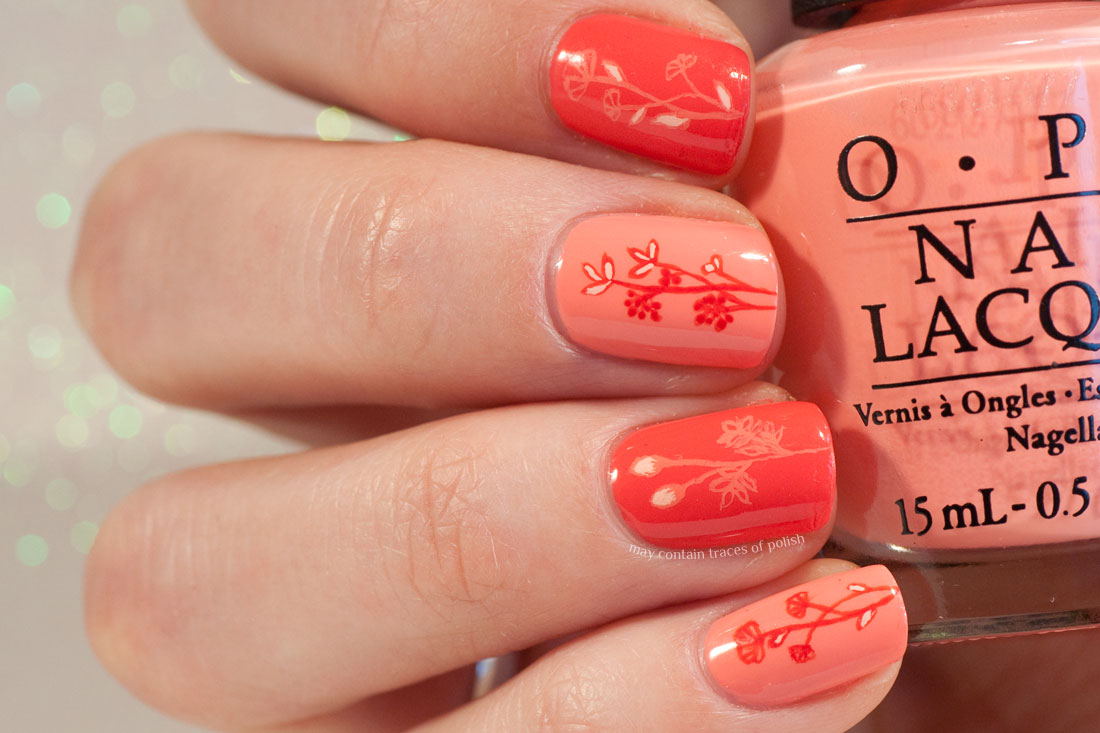
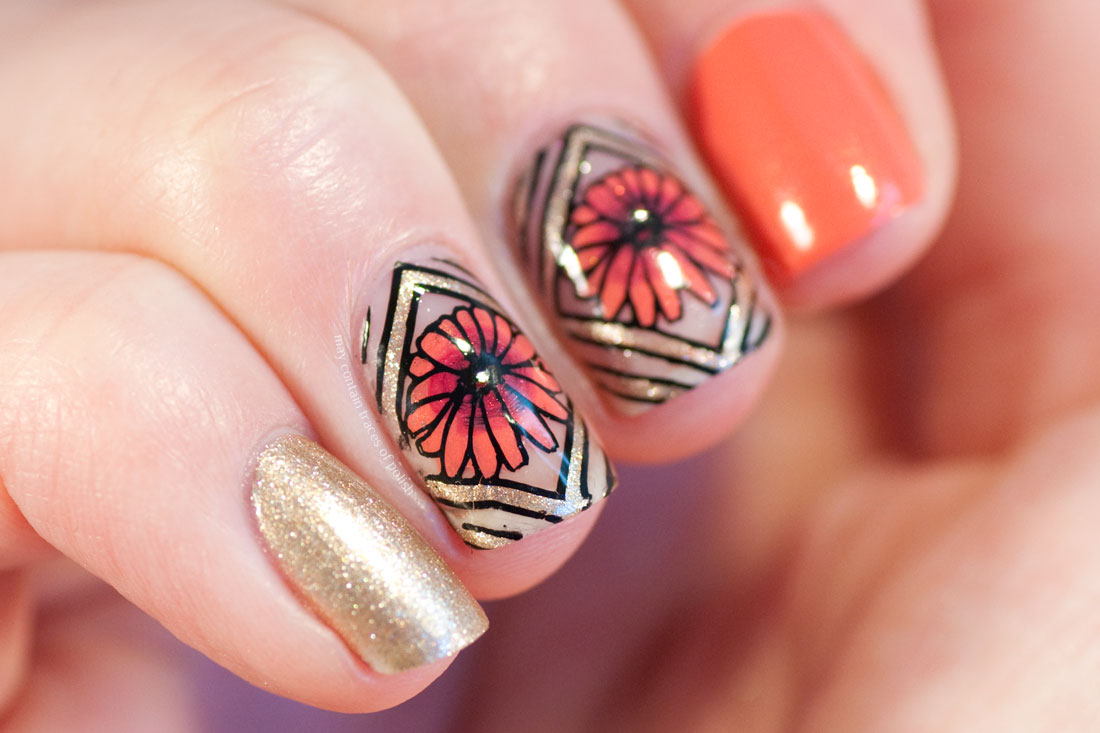
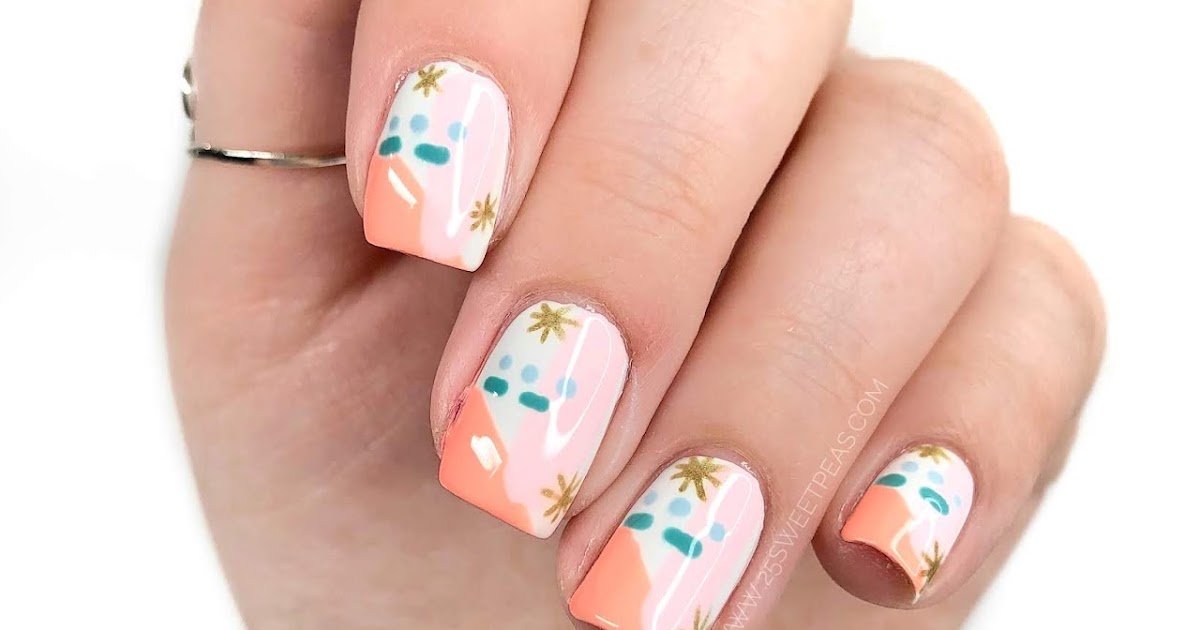
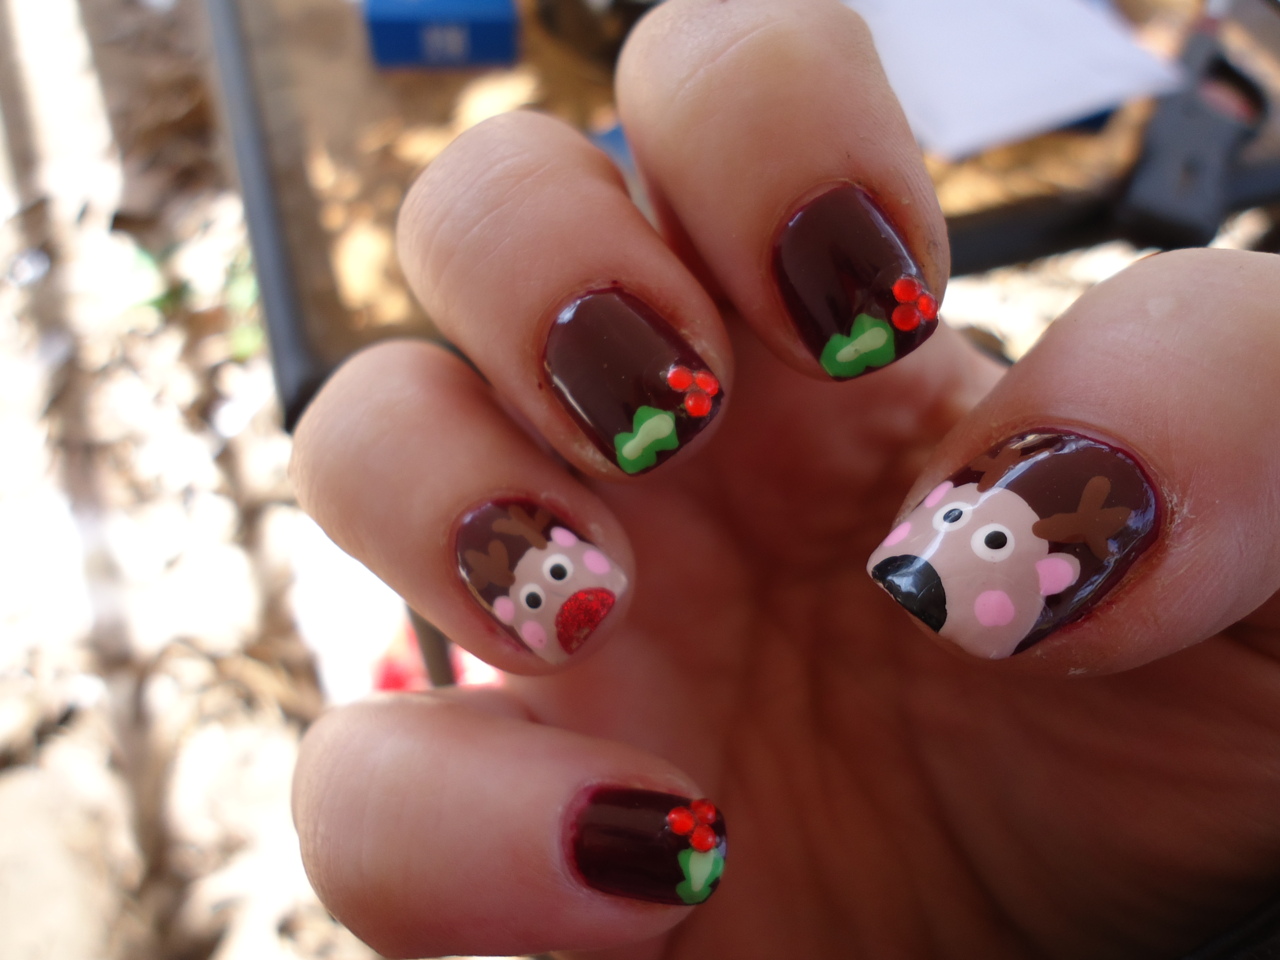
Bring a touch of nature to your nails with a floral nail art design using four colors. This design involves painting delicate and adorable flower designs on your nails, perfect for spring and summer. To achieve this look, start by painting your nails with a base color and letting it dry. Then, using a small brush, paint different flower designs on your nails using the four colors. You can also use small dotting tools or toothpicks to create the flower petals and leaves. Finish off with a top coat for a glossy and feminine finish.5. Floral Nail Art with 4 Colors


5. Floral Nail Art with 4 Colors


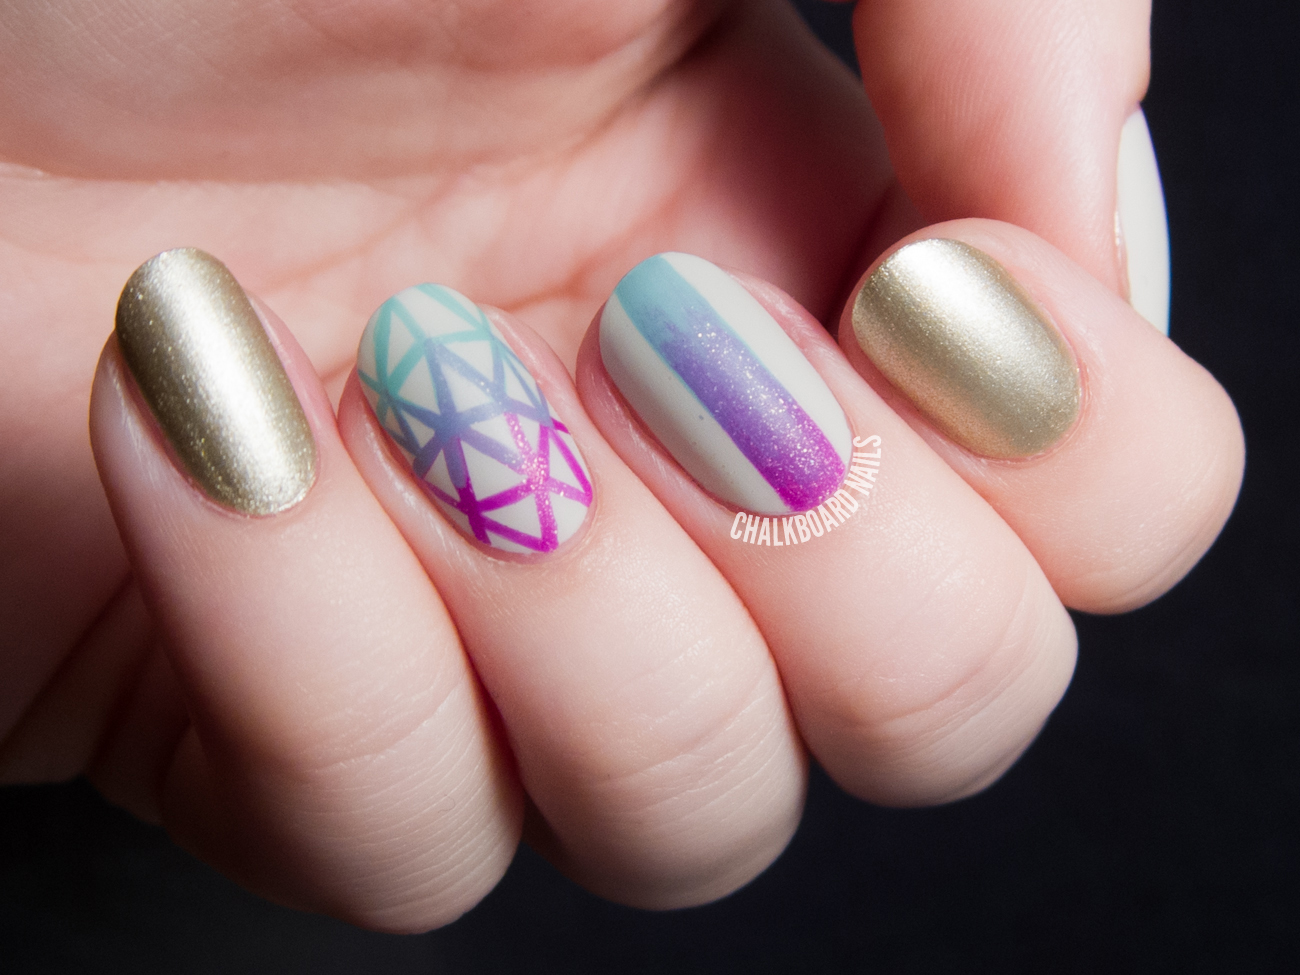
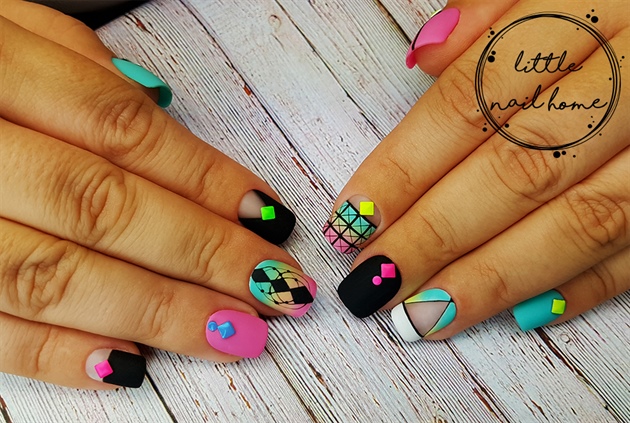
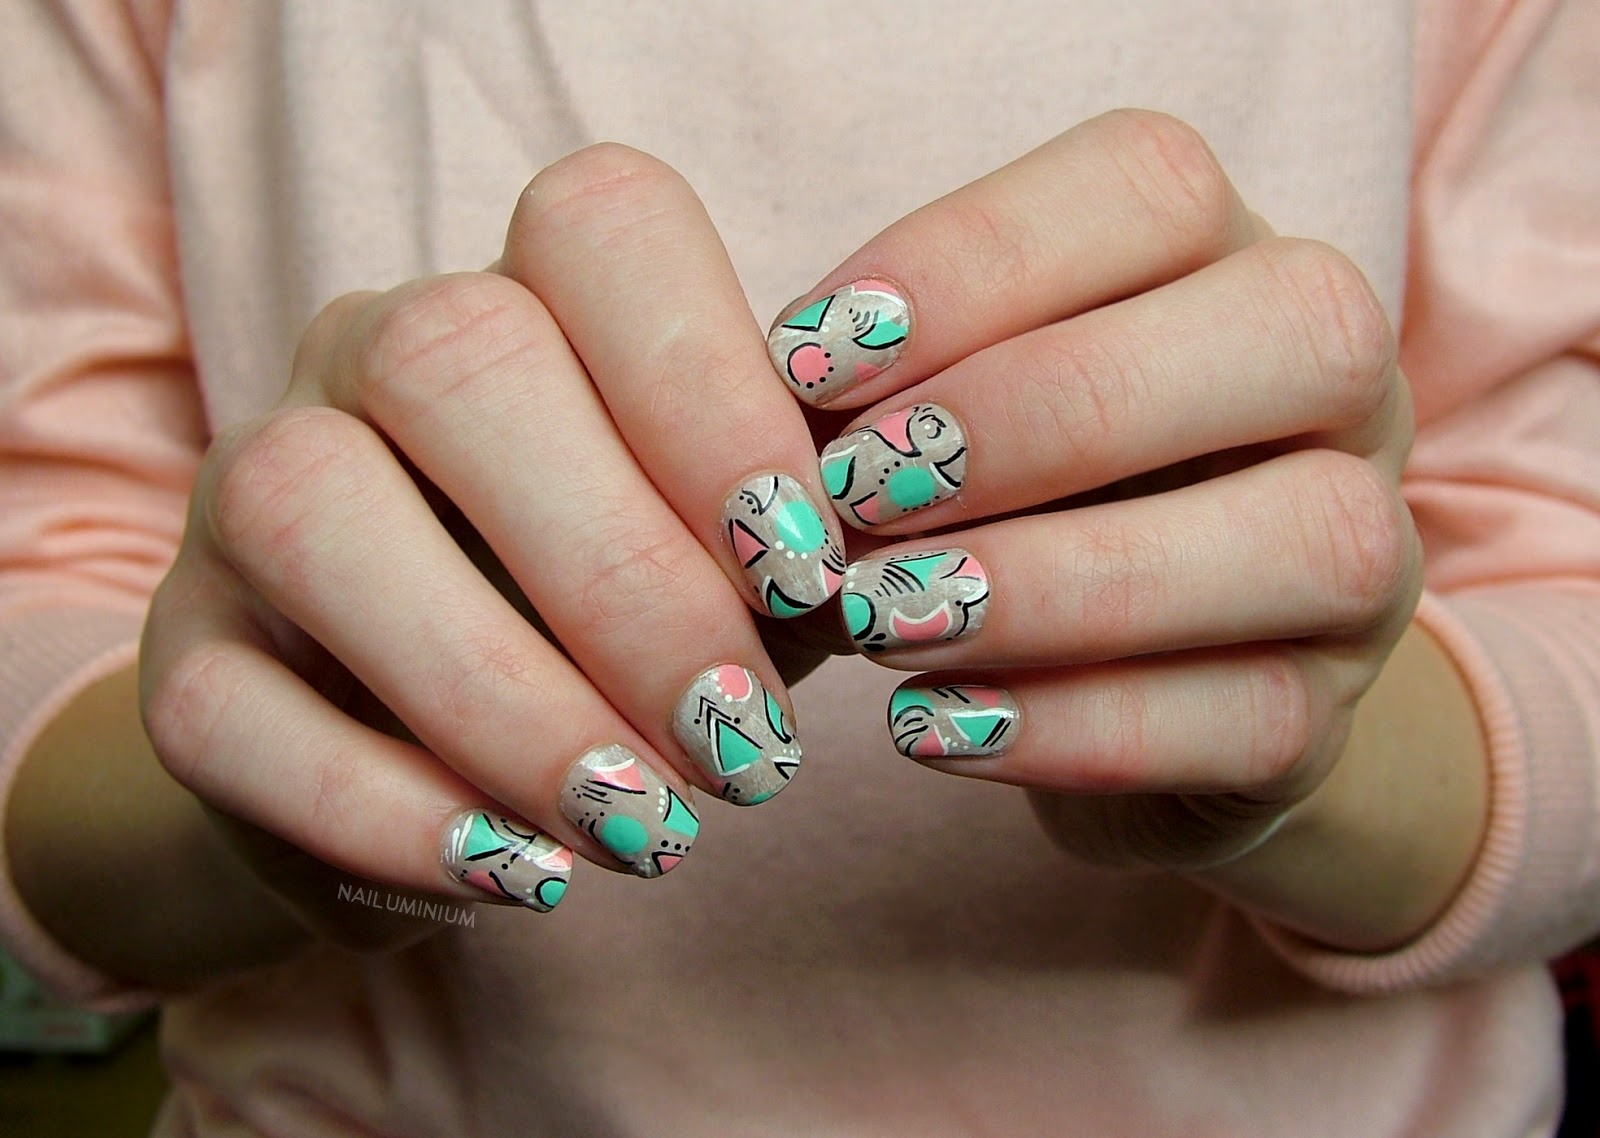
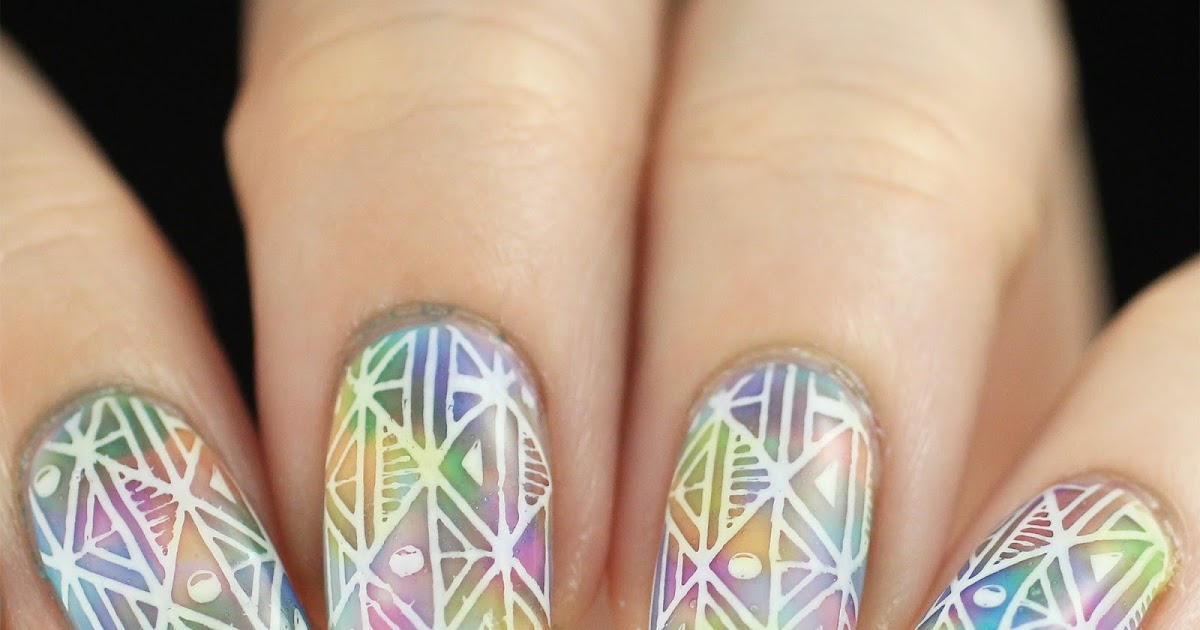
Add a touch of edginess to your manicure with a geometric nail art design using four colors. This design involves creating geometric shapes on your nails using different colors, creating a modern and chic look. To achieve this look, start by painting your nails with a base color and letting it dry. Then, using striping tape or nail stencils, create different geometric shapes on your nails. Paint the exposed areas with your chosen colors and remove the tape or stencil carefully while the polish is still wet. Finish off with a top coat for a sleek and sophisticated finish.6. Geometric Nail Art with 4 Colors

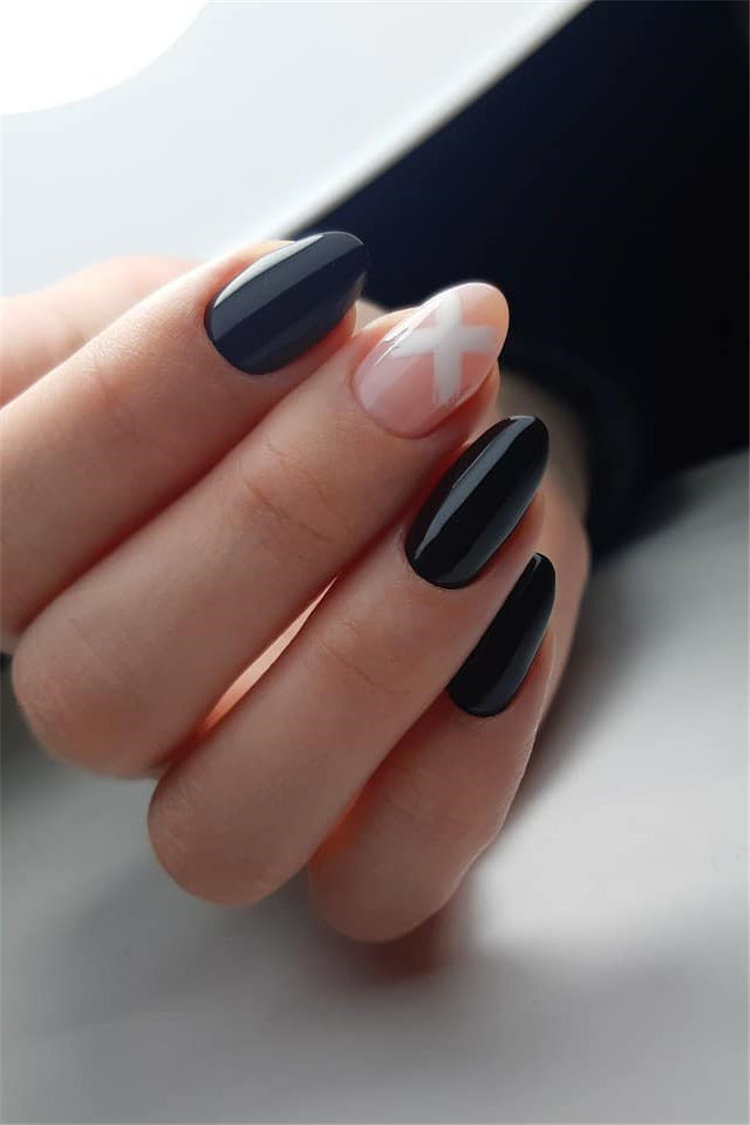
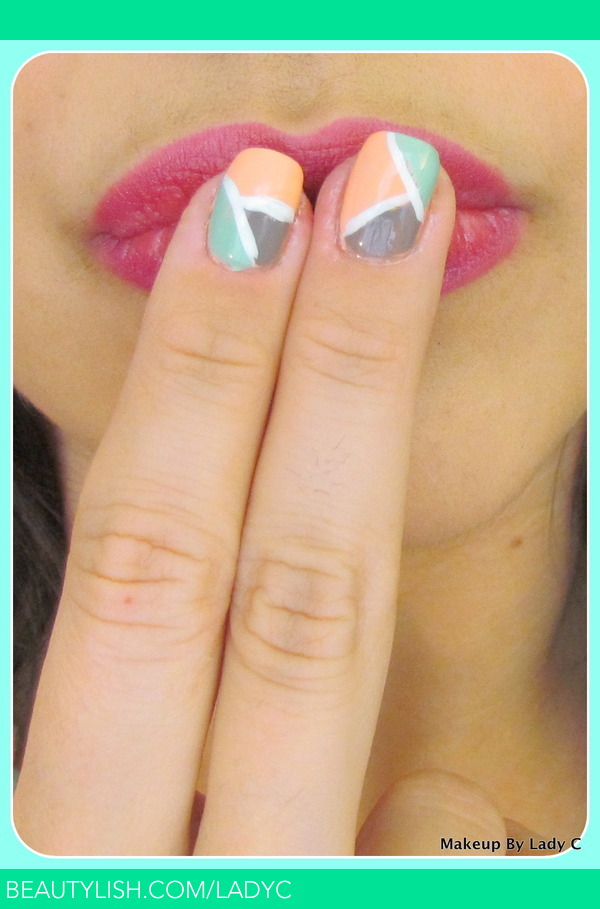
6. Geometric Nail Art with 4 Colors


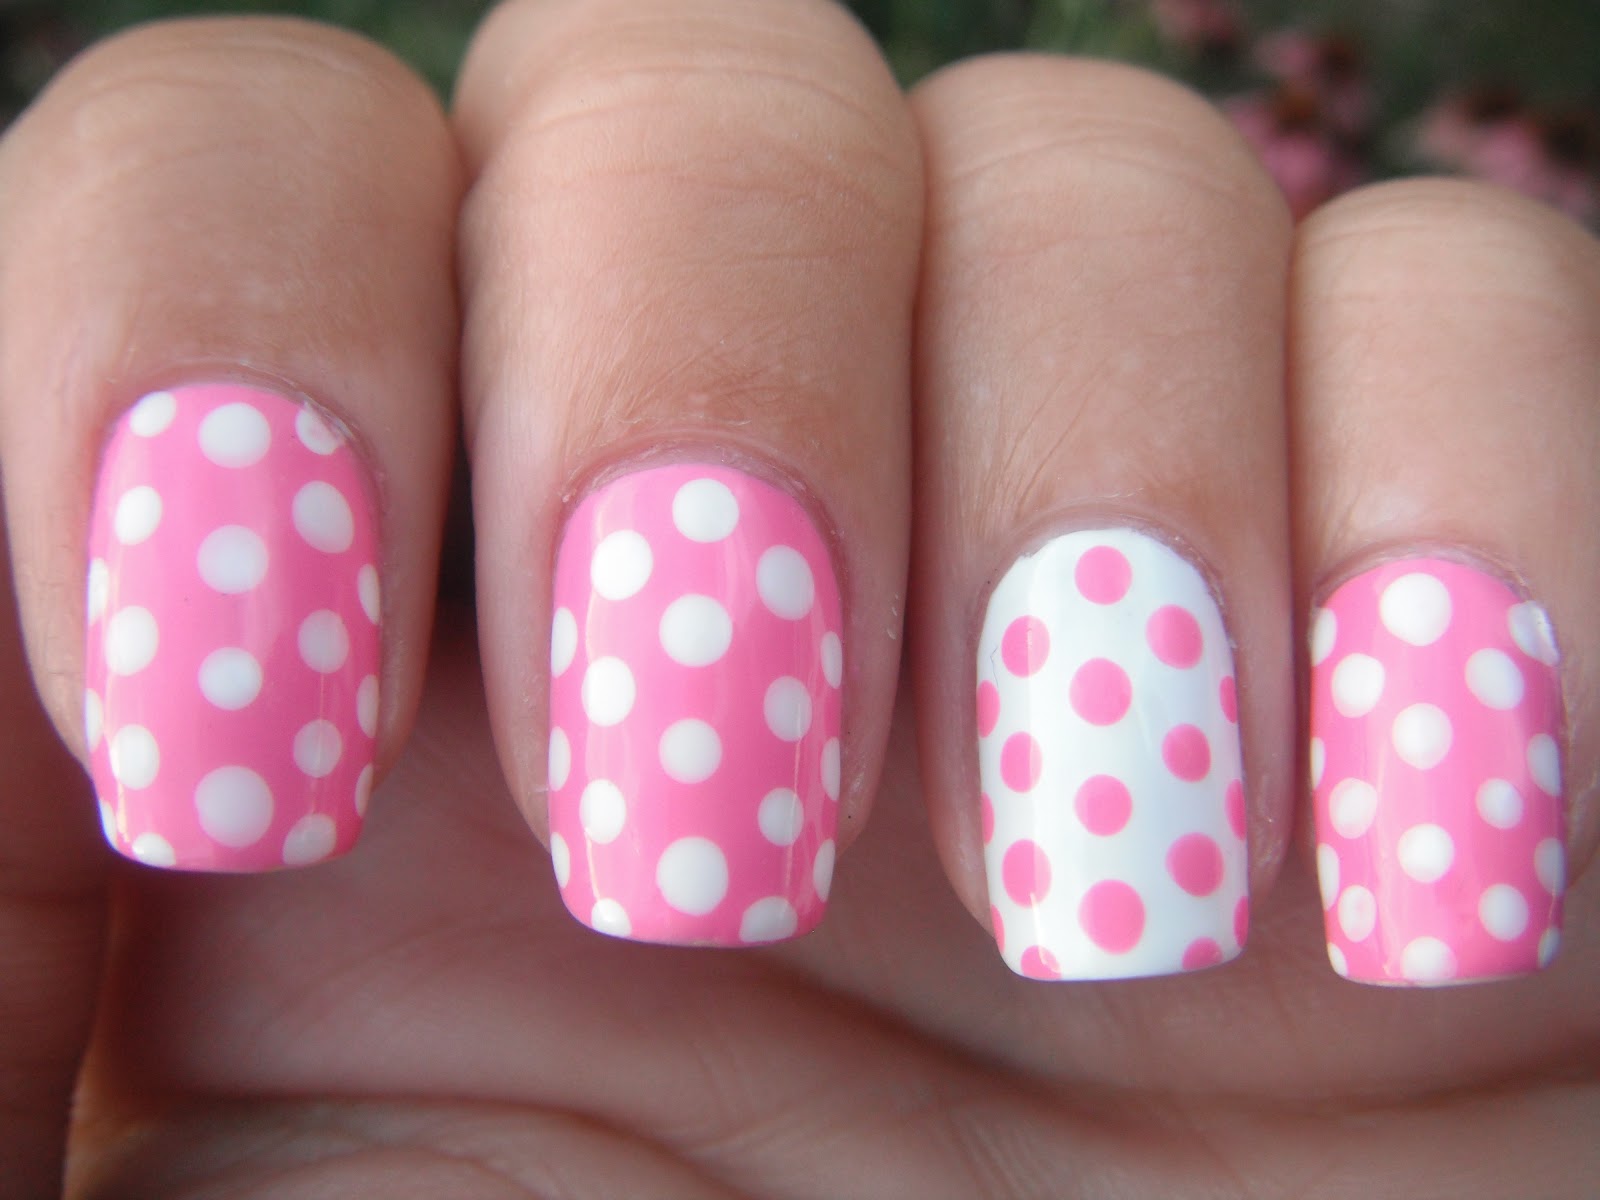
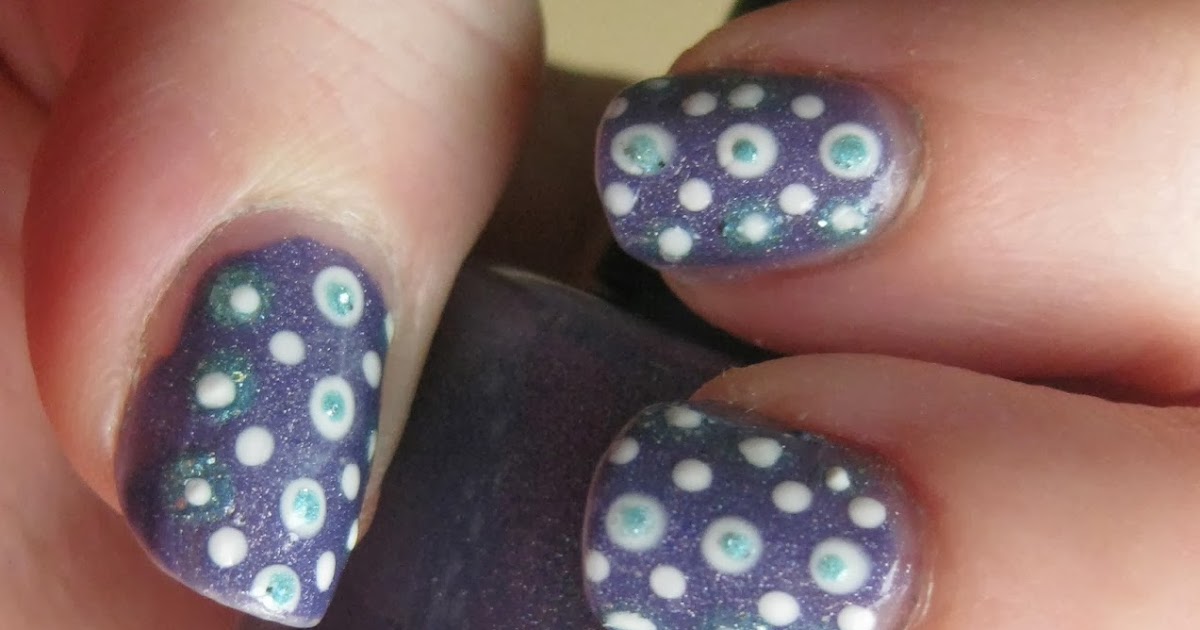
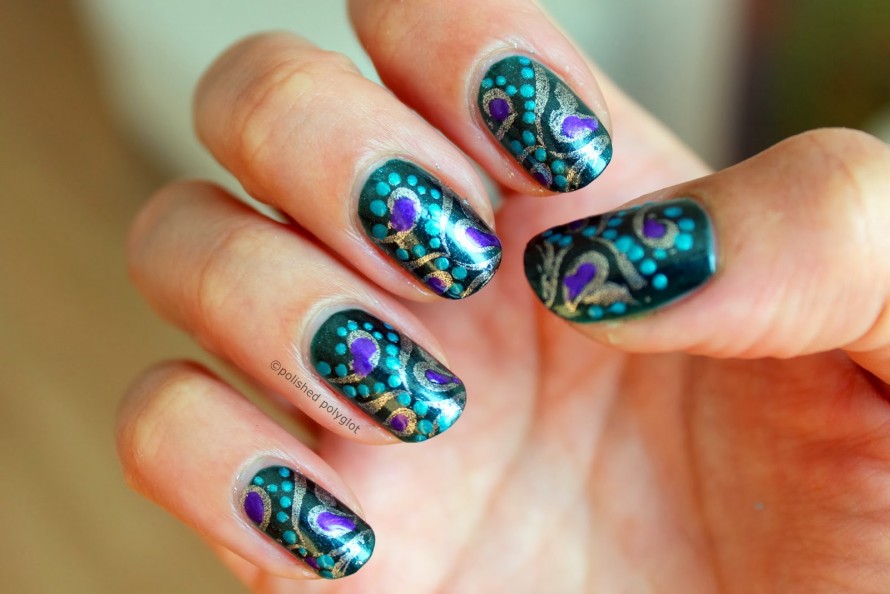
A fun and playful choice, polka dot nail art with four colors is a great way to add a whimsical touch to your manicure. This design involves painting small dots in different colors on your nails, creating a colorful and fun look. To achieve this look, start by painting your nails with a base color and letting it dry. Then, using a dotting tool or the end of a bobby pin, create small dots on your nails using the four colors. You can also use different sizes of dotting tools to create a more dynamic look. Finish off with a top coat for a glossy and playful finish.7. Polka Dot Nail Art with 4 Colors
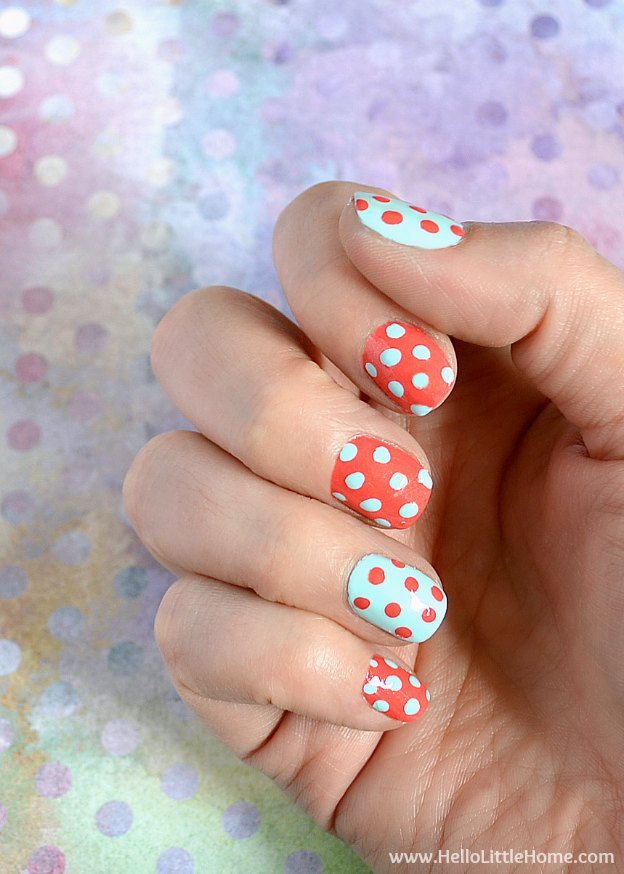


7. Polka Dot Nail Art with 4 Colors


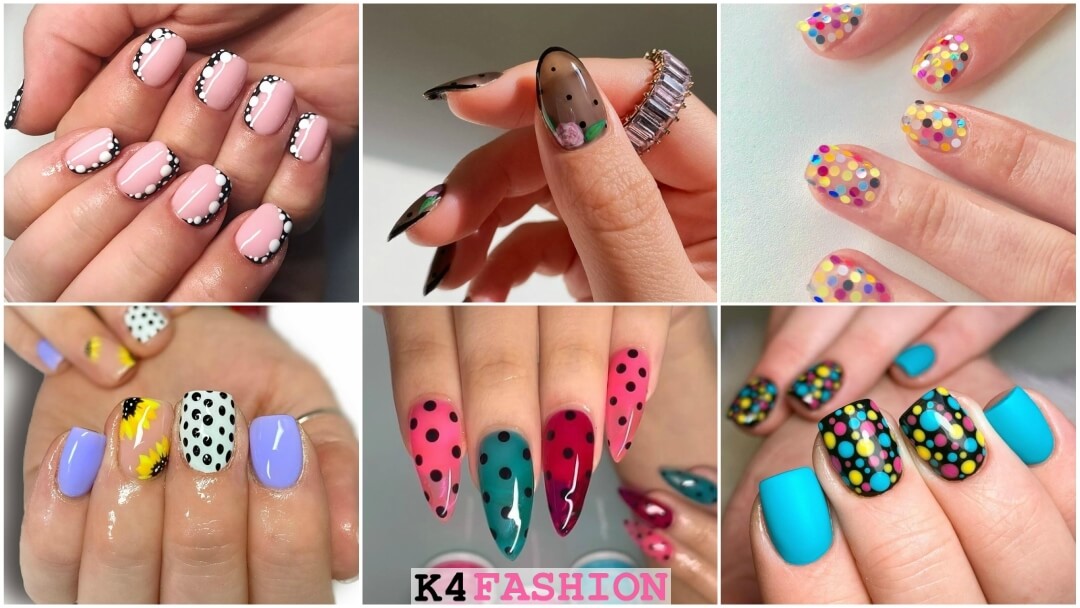


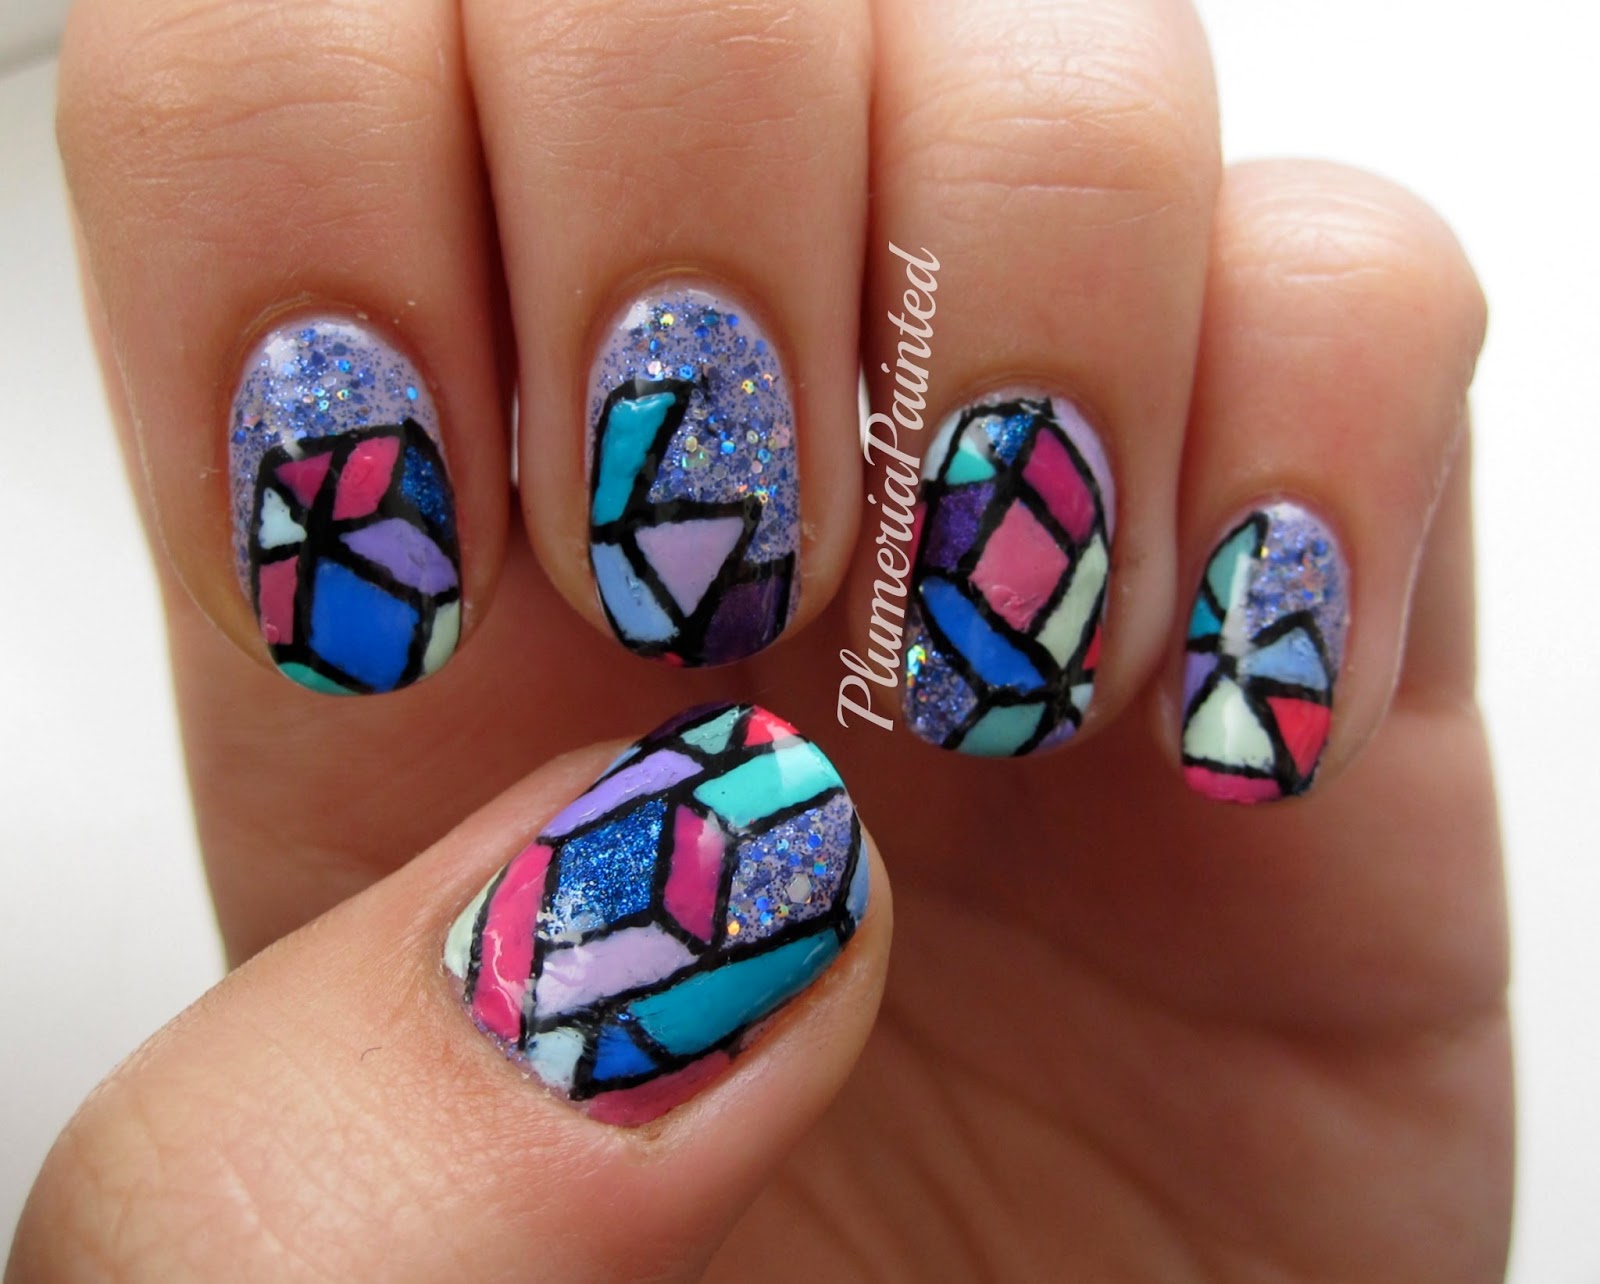
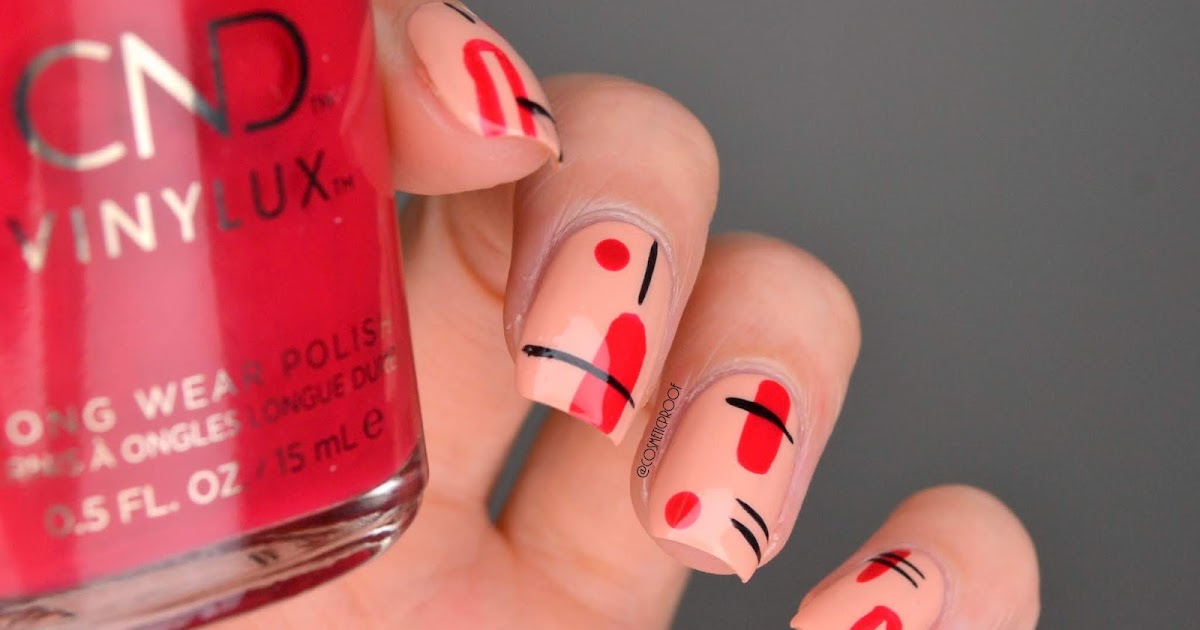
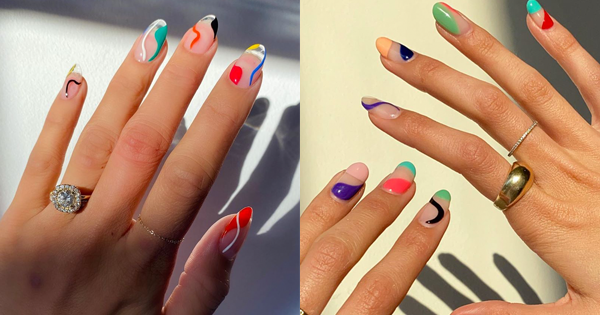
Let your creativity run wild with an abstract nail art design using four colors. This design involves painting colorful and abstract shapes on your nails, creating a unique and artistic look. To achieve this look, start by painting your nails with a base color and letting it dry. Then, using a small brush or dotting tool, create different abstract shapes on your nails using the four colors. You can also use a toothpick or the end of a bobby pin to create smaller details. Finish off with a top coat for a glossy and one-of-a-kind finish.8. Abstract Nail Art with 4 Colors

8. Abstract Nail Art with 4 Colors


:max_bytes(150000):strip_icc()/ScreenShot2021-02-09at3.24.58PM-184972eb3a0c4ef5a75c05cb59d4c79c.png)
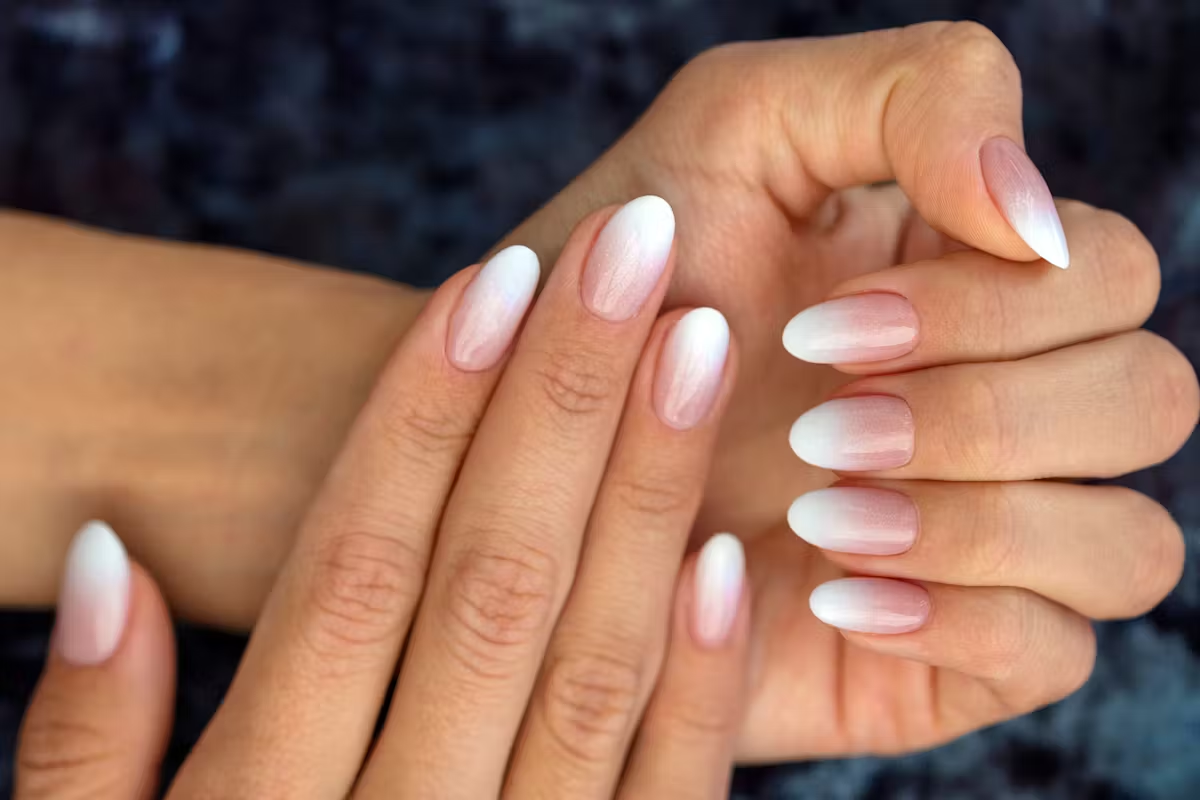
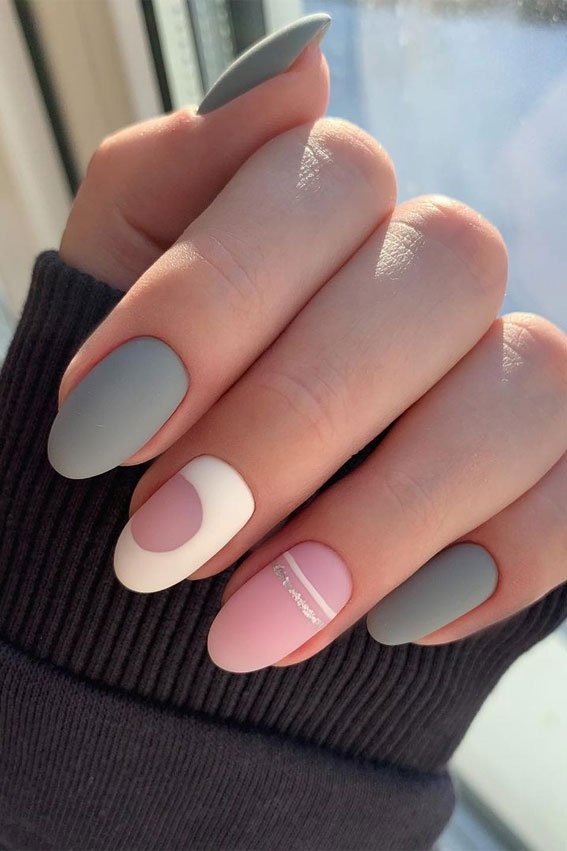
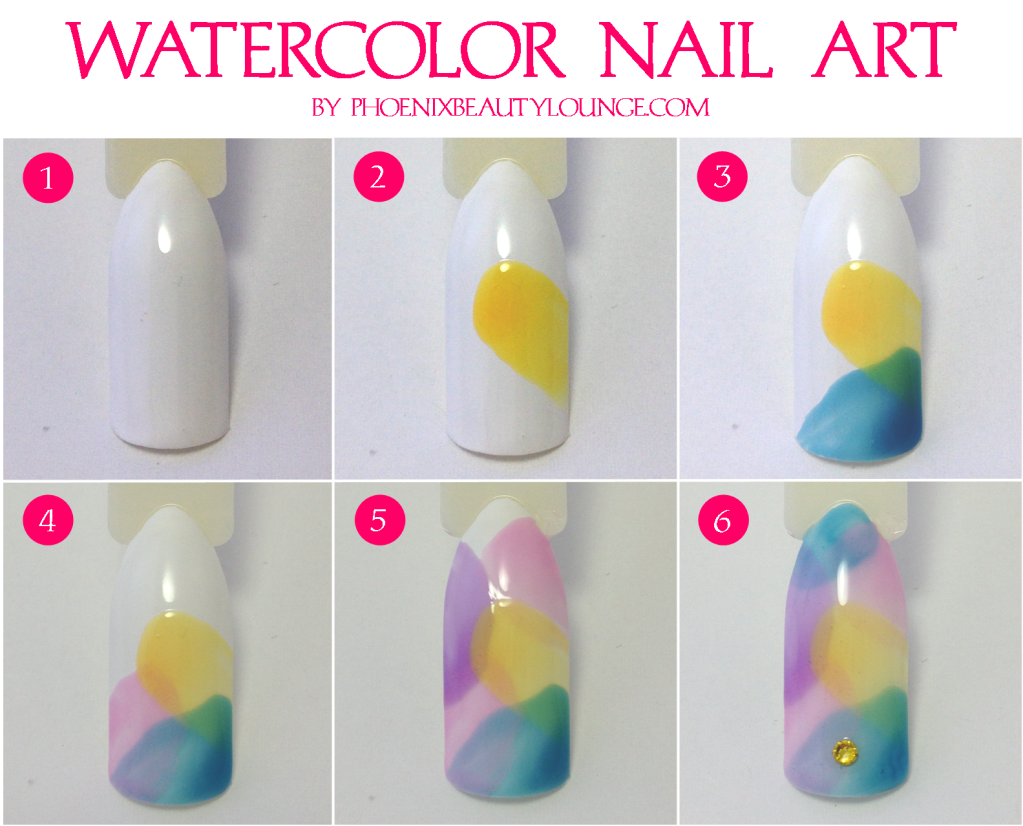
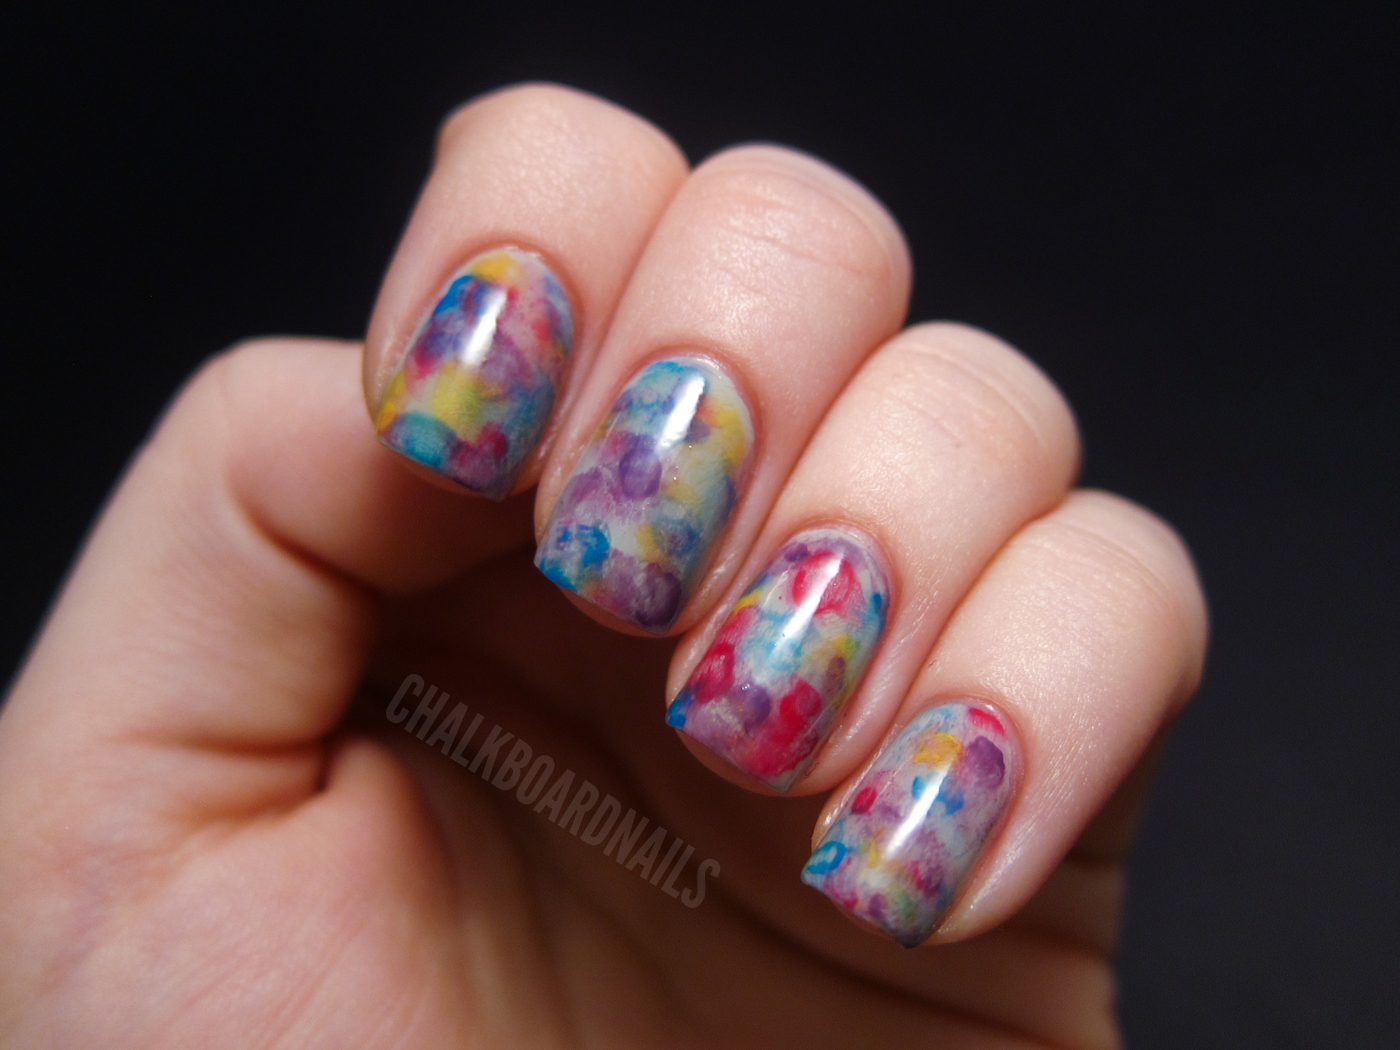
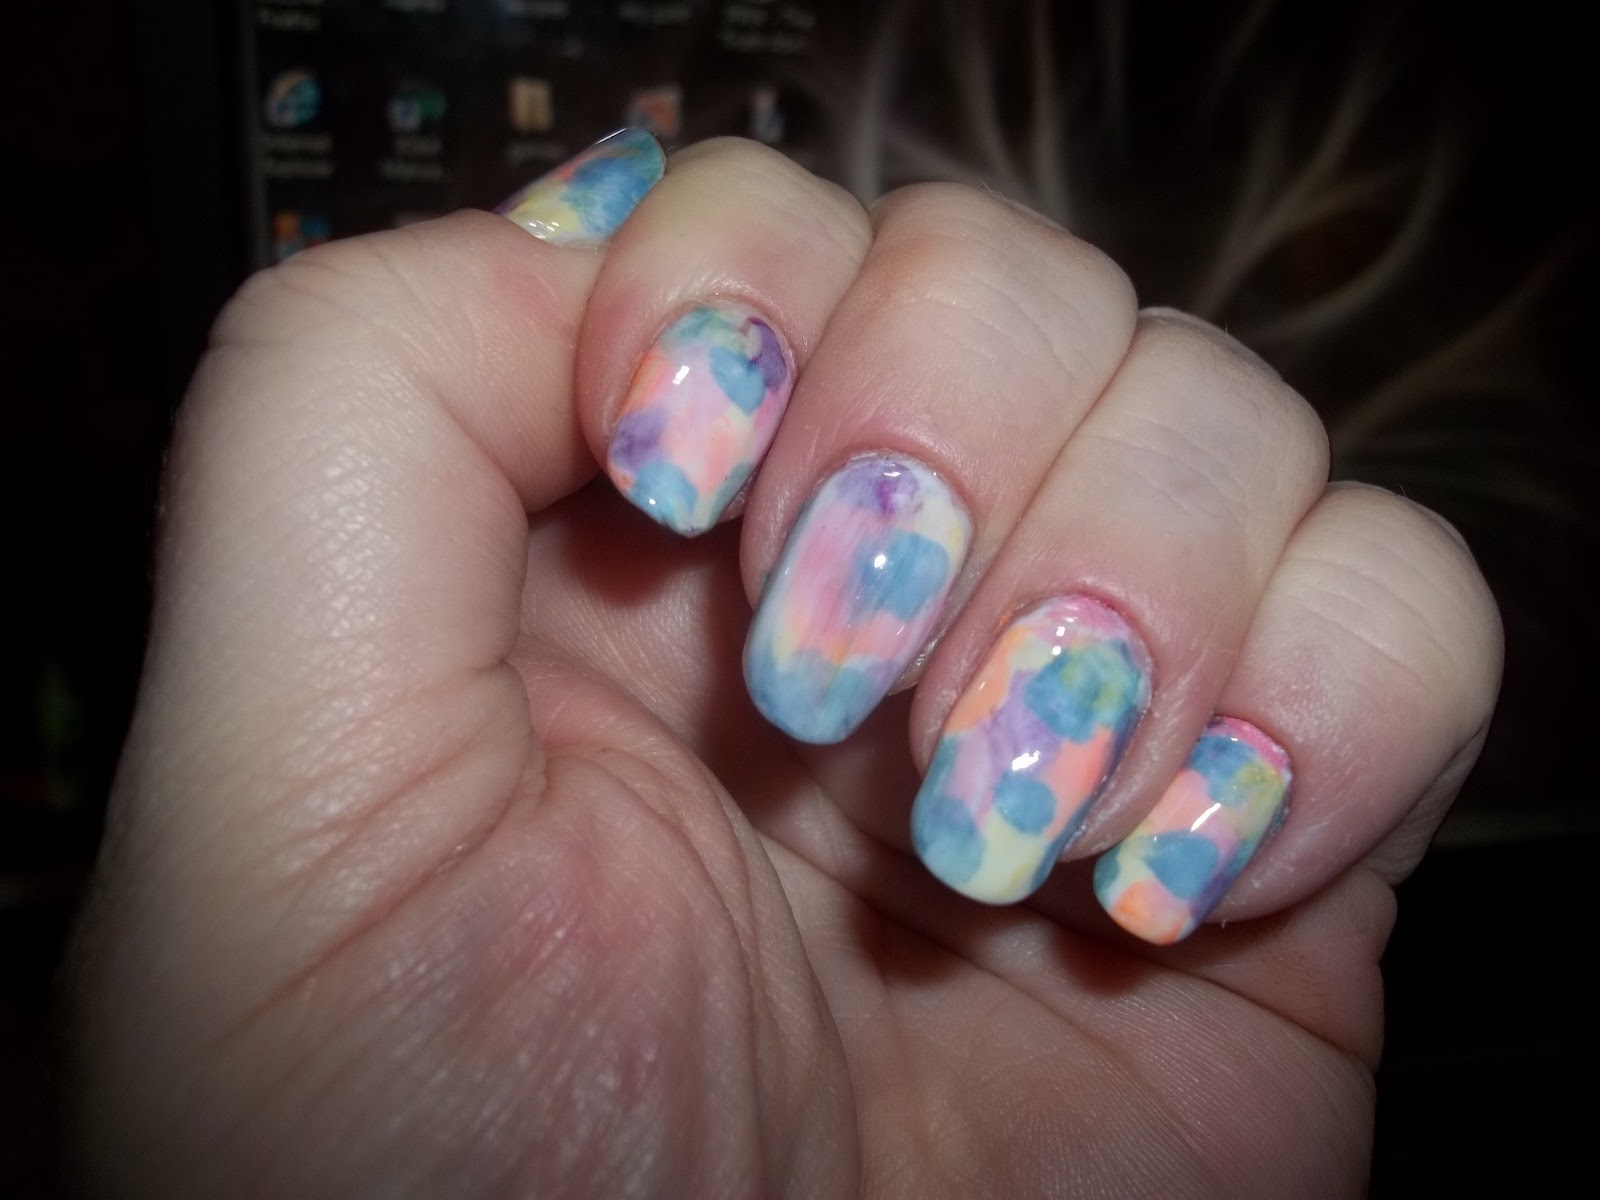
A soft and dreamy option, watercolor nail art with four colors is a great way to add a subtle pop of color to your manicure. This design involves creating a blurred and blended effect on your nails, mimicking the fluidity of watercolor paintings. To achieve this look, start by painting your nails with a base color and letting it dry. Then, using a small brush or a makeup sponge, dab the four colors in a random pattern on your nails. Gently blend the colors together for a soft and seamless look. Finish off with a top coat for a glossy and ethereal finish.9. Watercolor Nail Art with 4 Colors


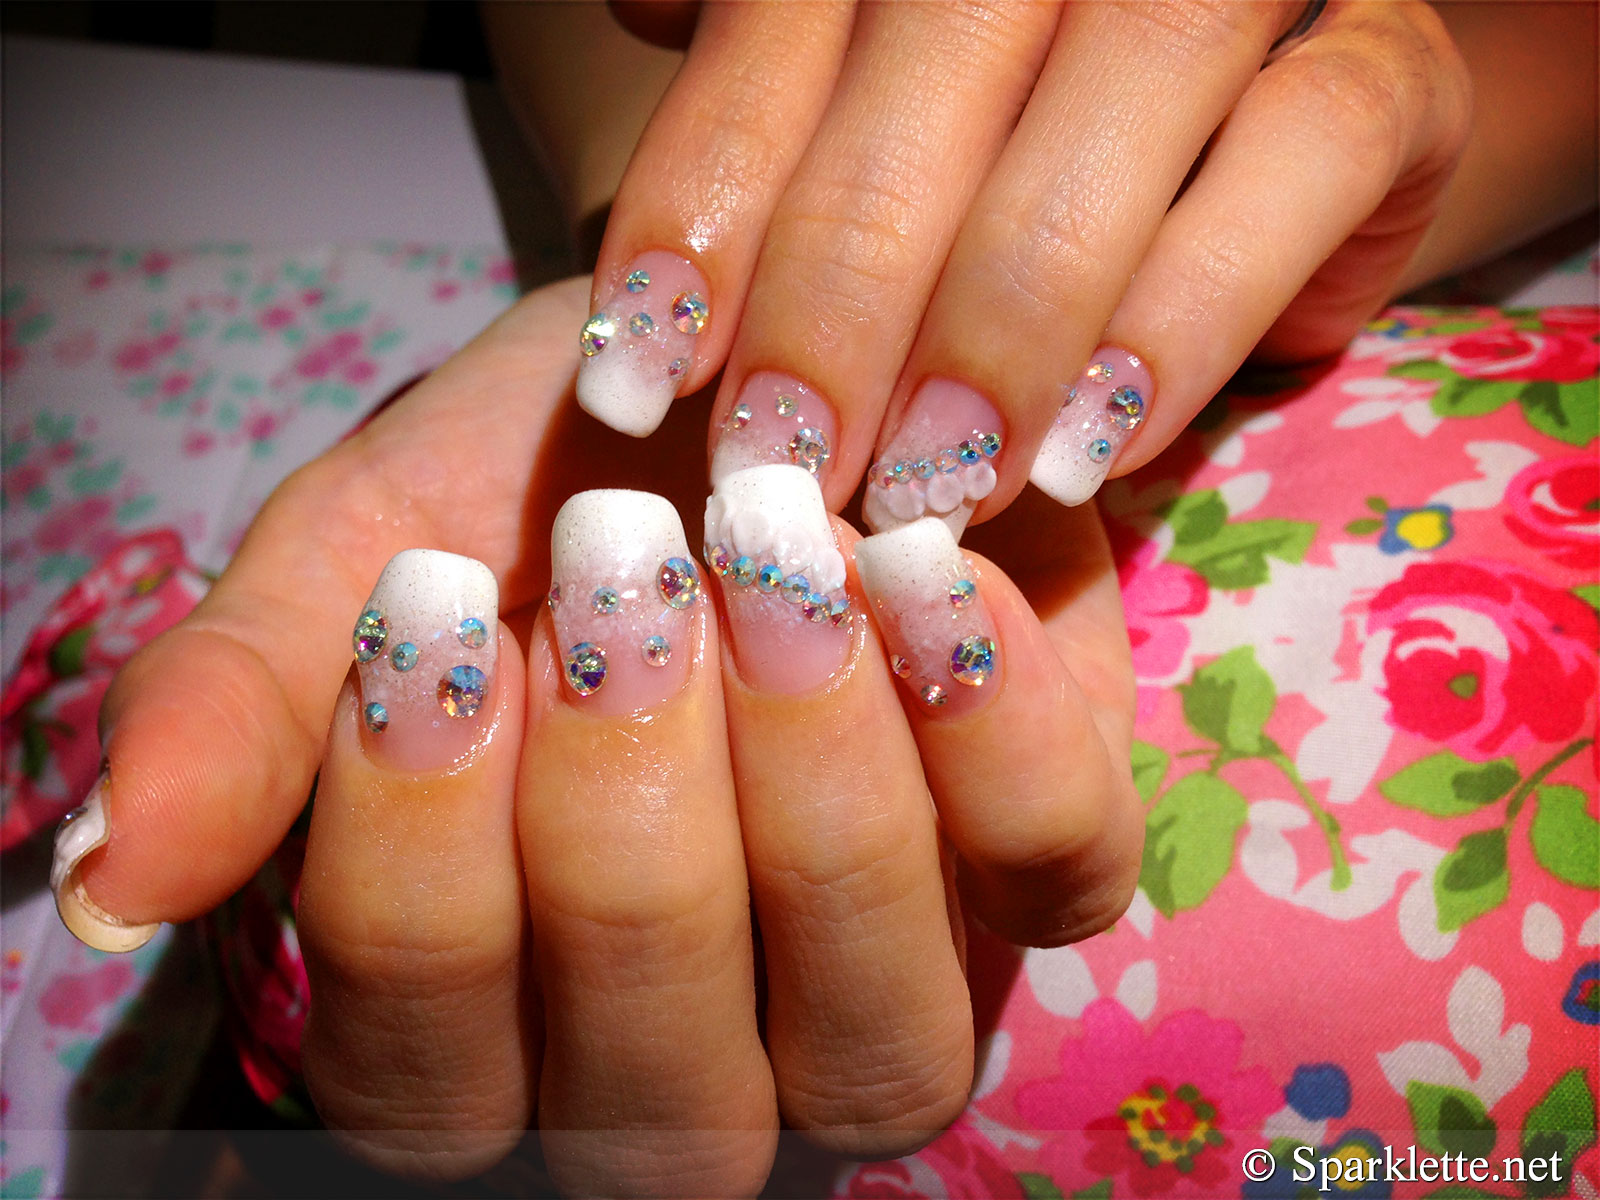
9. Watercolor Nail Art with 4 Colors


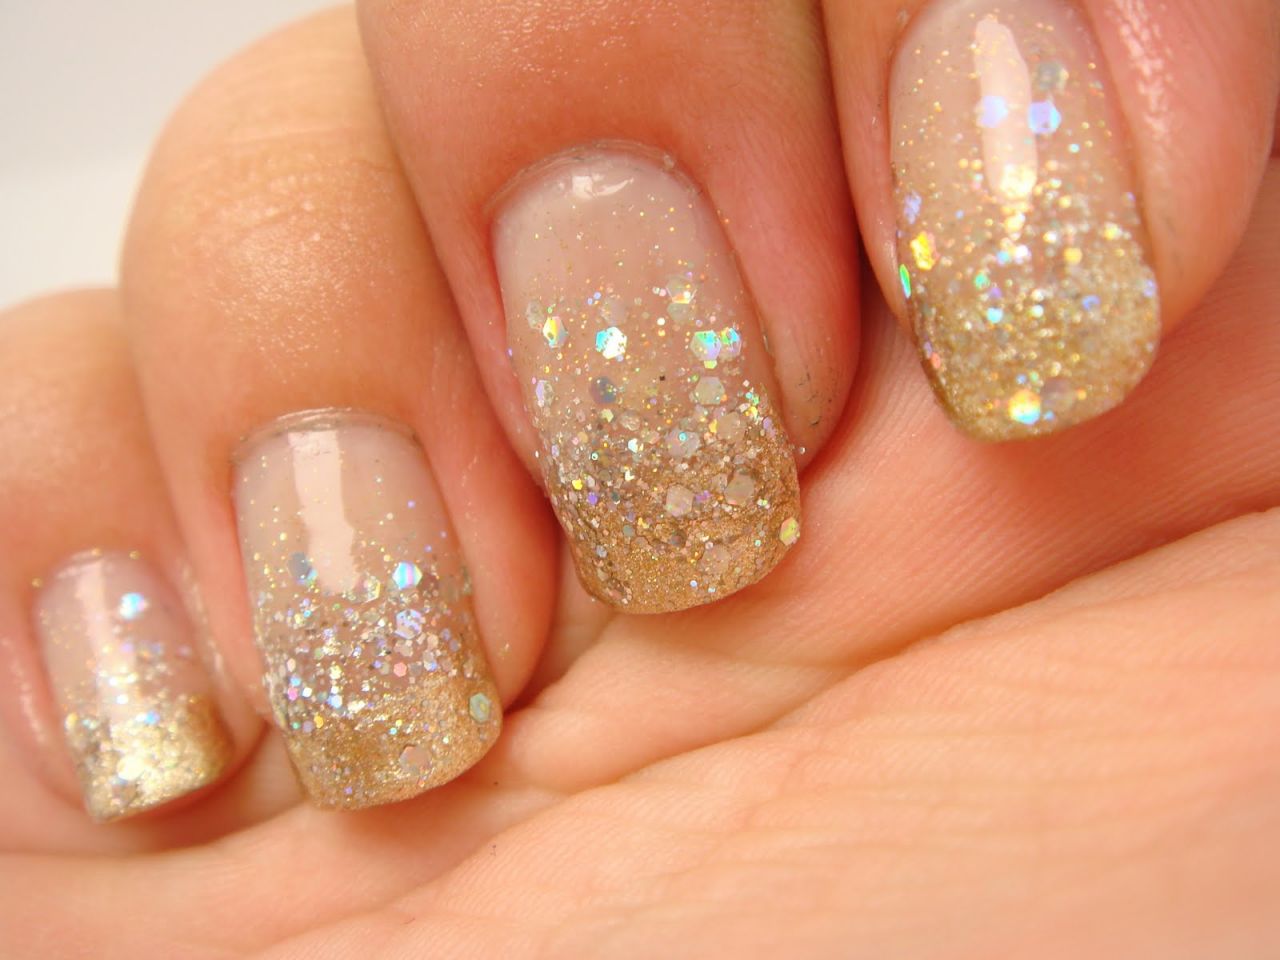
Add some sparkle and shine to your manicure with a glitter nail art design using four colors. This design involves painting your nails with a base color and then adding glitter accents in different colors for a glamorous and eye-catching look. To achieve this look, start by painting your nails with a base color and letting it dry. Then, using a small brush or a toothpick, dab glitter polish in different colors on your nails. You can also use loose glitter and a clear top coat to create your own glitter mix. Finish off with a top coat for a sparkly and statement-making finish.10. Glitter Nail Art with 4 Colors


10. Glitter Nail Art with 4 Colors


Nail Art with 4 Color: The Latest Trend in House Design
What is Nail Art with 4 Color?
 Nail art with 4 color is a new trend in house design that combines the use of four different colors to create a unique and eye-catching look. It involves painting each nail with a different color, creating a fun and playful design that adds a pop of color to any room. This trend has gained popularity in recent years, as people look for creative ways to add personality and style to their homes.
Why Choose Nail Art with 4 Color for Your House Design?
 There are several reasons why nail art with 4 color is becoming so popular in house design. First and foremost, it allows for endless creativity and customization. With four different colors to choose from, you can create a design that is truly unique and reflects your personal style. Additionally, using multiple colors adds depth and dimension to a room, making it more visually appealing.
Another benefit of nail art with 4 color is its versatility. It can be incorporated into any room, from the living room to the bedroom to the kitchen. You can also choose to use just one wall as a statement piece, or cover the entire room with this playful design. This trend works well with any design style, whether it be modern, bohemian, or traditional.
There are several reasons why nail art with 4 color is becoming so popular in house design. First and foremost, it allows for endless creativity and customization. With four different colors to choose from, you can create a design that is truly unique and reflects your personal style. Additionally, using multiple colors adds depth and dimension to a room, making it more visually appealing.
Another benefit of nail art with 4 color is its versatility. It can be incorporated into any room, from the living room to the bedroom to the kitchen. You can also choose to use just one wall as a statement piece, or cover the entire room with this playful design. This trend works well with any design style, whether it be modern, bohemian, or traditional.
How to Incorporate Nail Art with 4 Color into Your House Design
 There are endless ways to incorporate nail art with 4 color into your house design. One option is to create a feature wall by painting one wall with four different colors. This will instantly add a bold and unique touch to the room. Another idea is to use nail art with 4 color on furniture or decor pieces, such as a dresser or a set of frames. This will add a fun and unexpected element to your home.
If you're feeling extra creative, you can even try incorporating nail art with 4 color into your flooring. This can be achieved by painting a pattern on hardwood floors or using colorful tiles in a mosaic design. This will add a playful and whimsical touch to any room.
In conclusion
, nail art with 4 color is a fun and creative way to add personality and style to your house design. Its versatility and endless possibilities make it a popular trend among homeowners. So, if you're looking to give your home a unique and vibrant look, consider incorporating nail art with 4 color into your design.
There are endless ways to incorporate nail art with 4 color into your house design. One option is to create a feature wall by painting one wall with four different colors. This will instantly add a bold and unique touch to the room. Another idea is to use nail art with 4 color on furniture or decor pieces, such as a dresser or a set of frames. This will add a fun and unexpected element to your home.
If you're feeling extra creative, you can even try incorporating nail art with 4 color into your flooring. This can be achieved by painting a pattern on hardwood floors or using colorful tiles in a mosaic design. This will add a playful and whimsical touch to any room.
In conclusion
, nail art with 4 color is a fun and creative way to add personality and style to your house design. Its versatility and endless possibilities make it a popular trend among homeowners. So, if you're looking to give your home a unique and vibrant look, consider incorporating nail art with 4 color into your design.


