If you're tired of the same old nail polish look and want to add some texture and dimension to your nails, why not try sponge nail art? This technique is easy, affordable, and looks amazing. All you need is a kitchen sponge and your favorite nail polish colors. Let's dive into how to create a sponge nail art design.How to Create a Sponge Nail Art Design


How to Create a Sponge Nail Art Design


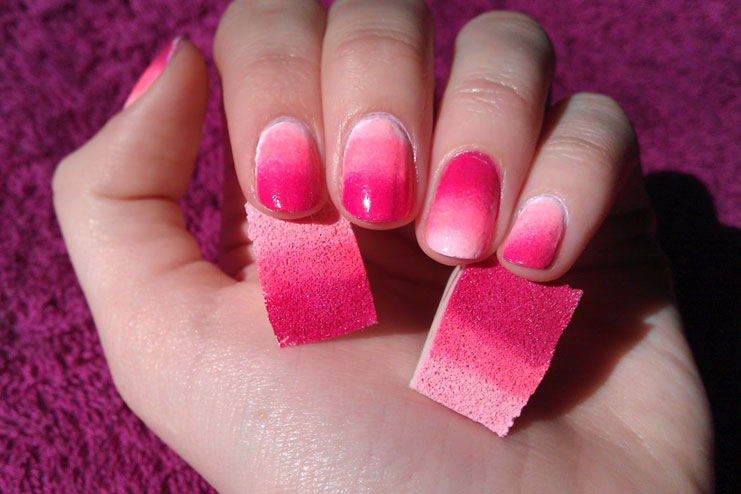


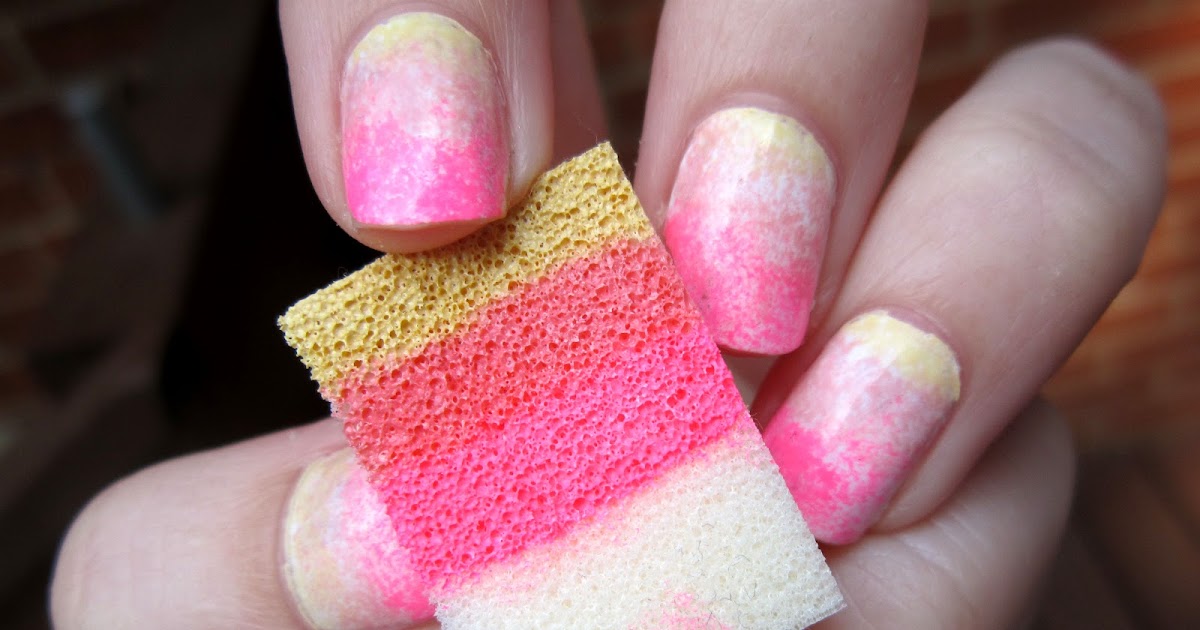
The first step to creating a sponge nail art design is to gather your materials. You will need a kitchen sponge, nail polish in your desired colors, and a top coat. Cut the kitchen sponge into small, manageable pieces. Then, paint your nails with a base coat and let it dry completely. Next, apply a small amount of featured keyword onto the kitchen sponge. Make sure to dab off any excess polish onto a piece of paper before applying it to your nails. Gently press the sponge onto your nail, creating a gradient effect. You can use multiple colors or layers to achieve your desired look. Repeat this step on all of your nails and let it dry. Once the polish is dry, finish off your design with a top coat to seal in the color and add shine. And there you have it, a beautiful and unique sponge nail art design.How to Do Sponge Nail Art


How to Do Sponge Nail Art
Don't want to spend a fortune on professional nail art? No problem! With this DIY sponge nail art tutorial, you can achieve salon-worthy designs at home. Start by following the steps above on how to create a sponge nail art design. For an added touch, you can use related main keyword to create a marble effect with your sponge. Simply dip the sponge into the polish and dab it onto your nails, creating a swirled pattern. This technique is perfect for creating a chic and sophisticated look. Another fun idea for a DIY sponge nail art tutorial is to use the kitchen sponge to create a featured keyword. By layering different colors and using a fine-tipped brush, you can easily create intricate floral designs on your nails. This is a great way to add some personality and creativity to your nail art.DIY Sponge Nail Art Tutorial


DIY Sponge Nail Art Tutorial


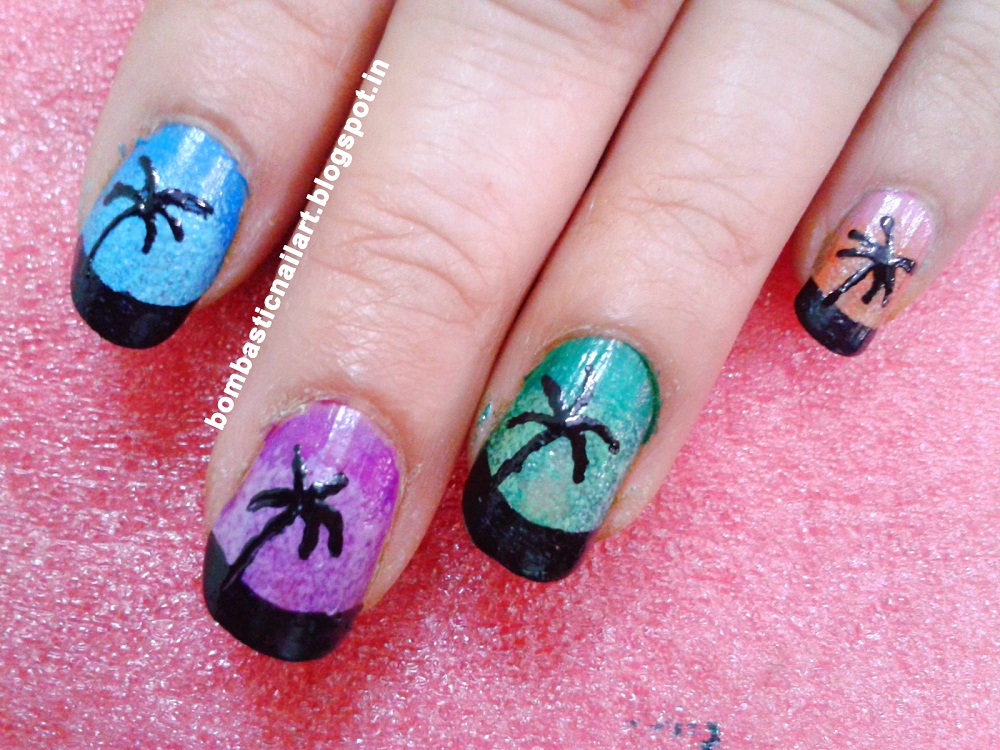
If you're new to sponge nail art, it's best to start with some easy ideas to get the hang of it. One simple design is a featured keyword. Start by painting your nails with a light base color. Then, use a darker polish on the sponge and gently dab it onto your nails, creating a gradient effect. You can also add some glitter polish for a touch of sparkle. Another easy sponge nail art idea is a related main keyword. This design is perfect for summer and adds a pop of color to your nails. Simply paint your nails with a light base color and then use the sponge to apply a bright, contrasting color on the tips of your nails. Be sure to blend the colors together for a seamless look.Easy Sponge Nail Art Ideas


Easy Sponge Nail Art Ideas

If you're new to sponge nail art, don't be intimidated. With a little practice, anyone can achieve a beautiful and unique design. Start by experimenting with different colors and techniques, like the ones mentioned above. Don't worry if your first few tries don't turn out perfectly, it takes time to master any new skill. You can also find inspiration and tutorials online from other nail art enthusiasts. Don't be afraid to try new things and have fun with your designs. Sponge nail art is all about creativity and self-expression.Sponge Nail Art for Beginners


Sponge Nail Art for Beginners

Who knew a kitchen sponge could be used for more than just cleaning? When it comes to nail art, a kitchen sponge is a versatile and affordable tool. Not only can you create gradient and ombre designs, but you can also use it to create a related main keyword. For a featured keyword, paint your nails with a light base color and let it dry. Then, use the sponge to apply a darker color in a diagonal pattern on the tips of your nails. Be sure to blend the colors together for a seamless look. This design is perfect for adding some edge to your nail art.Nail Art Using a Kitchen Sponge

Nail Art Using a Kitchen Sponge


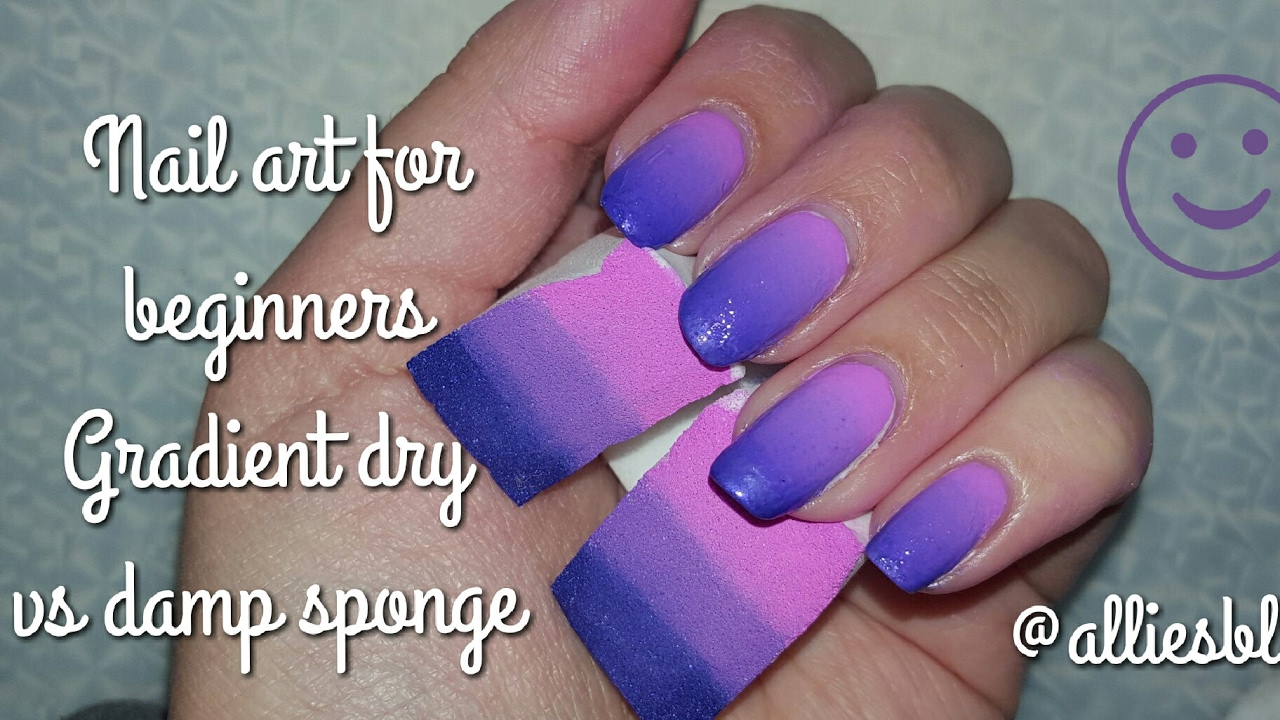
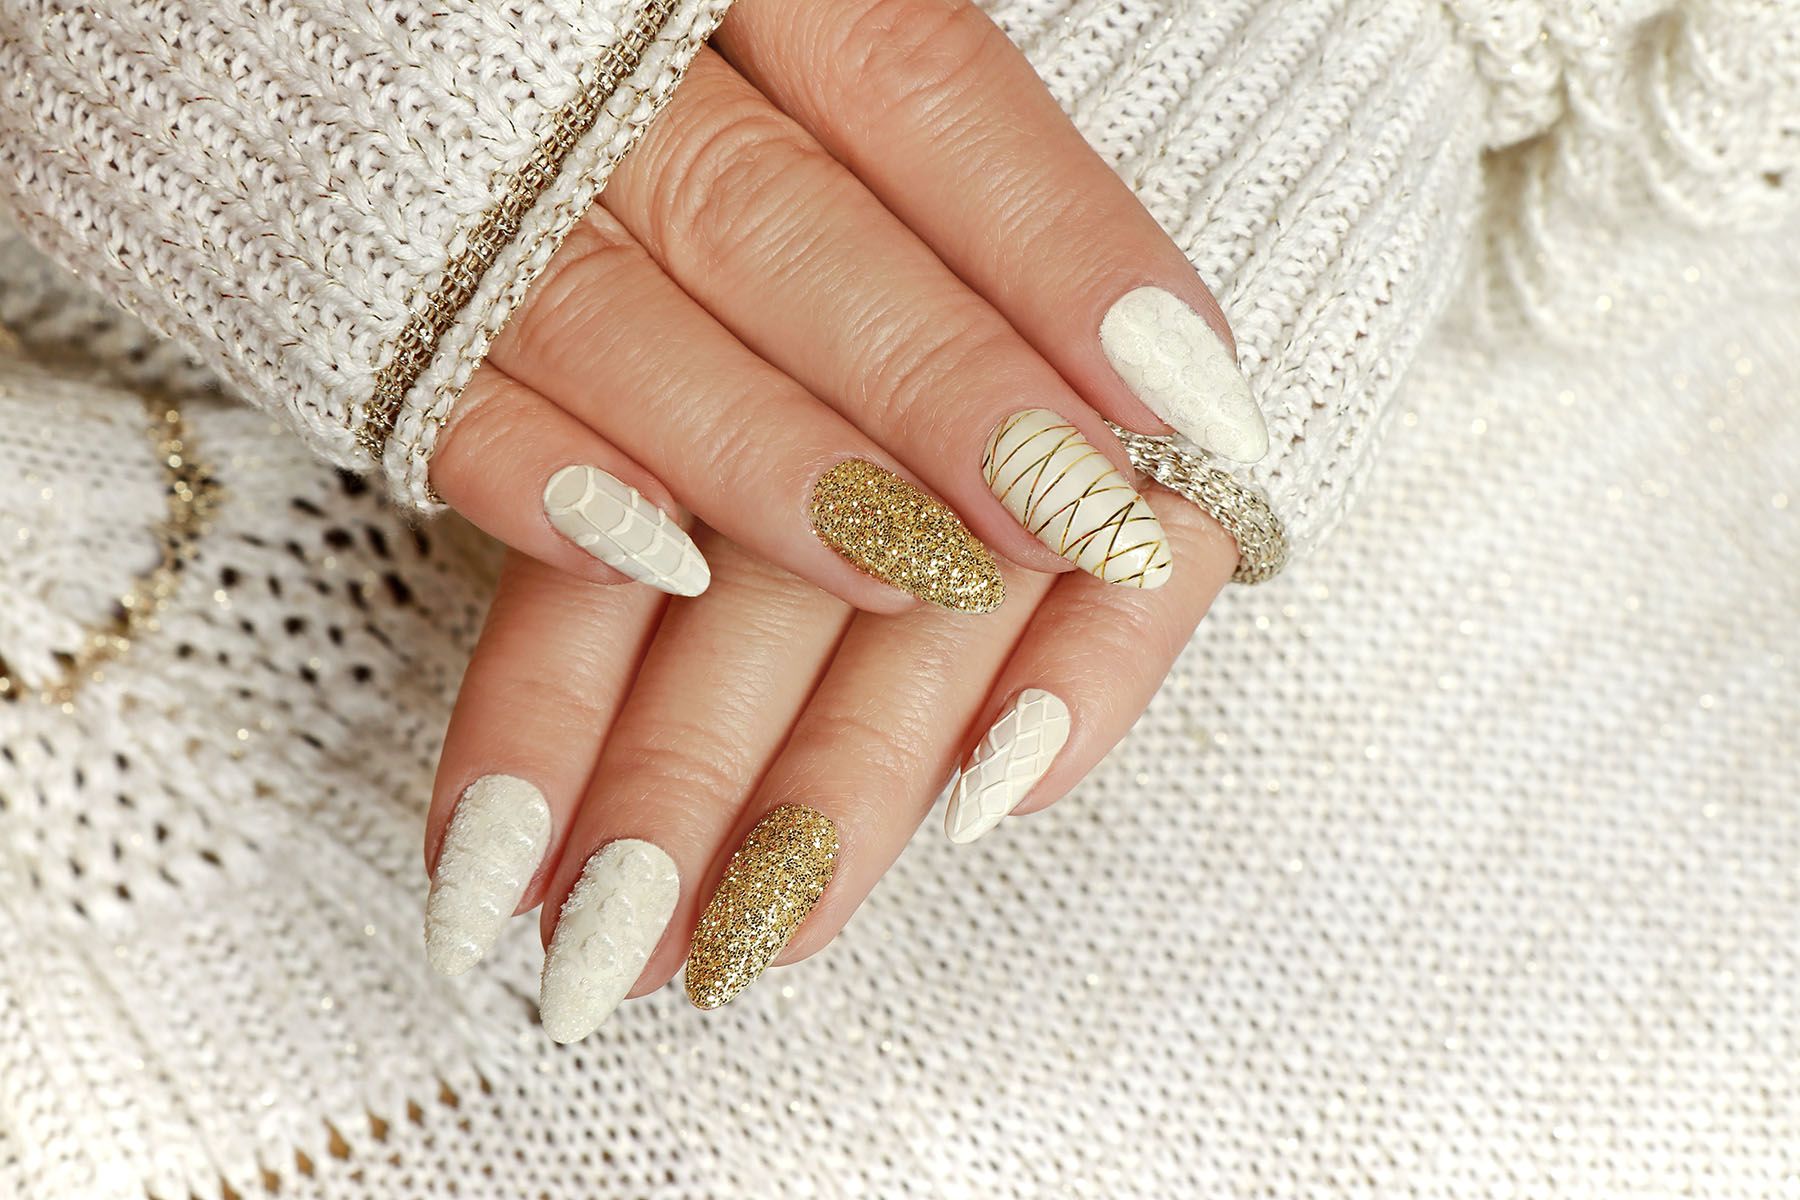
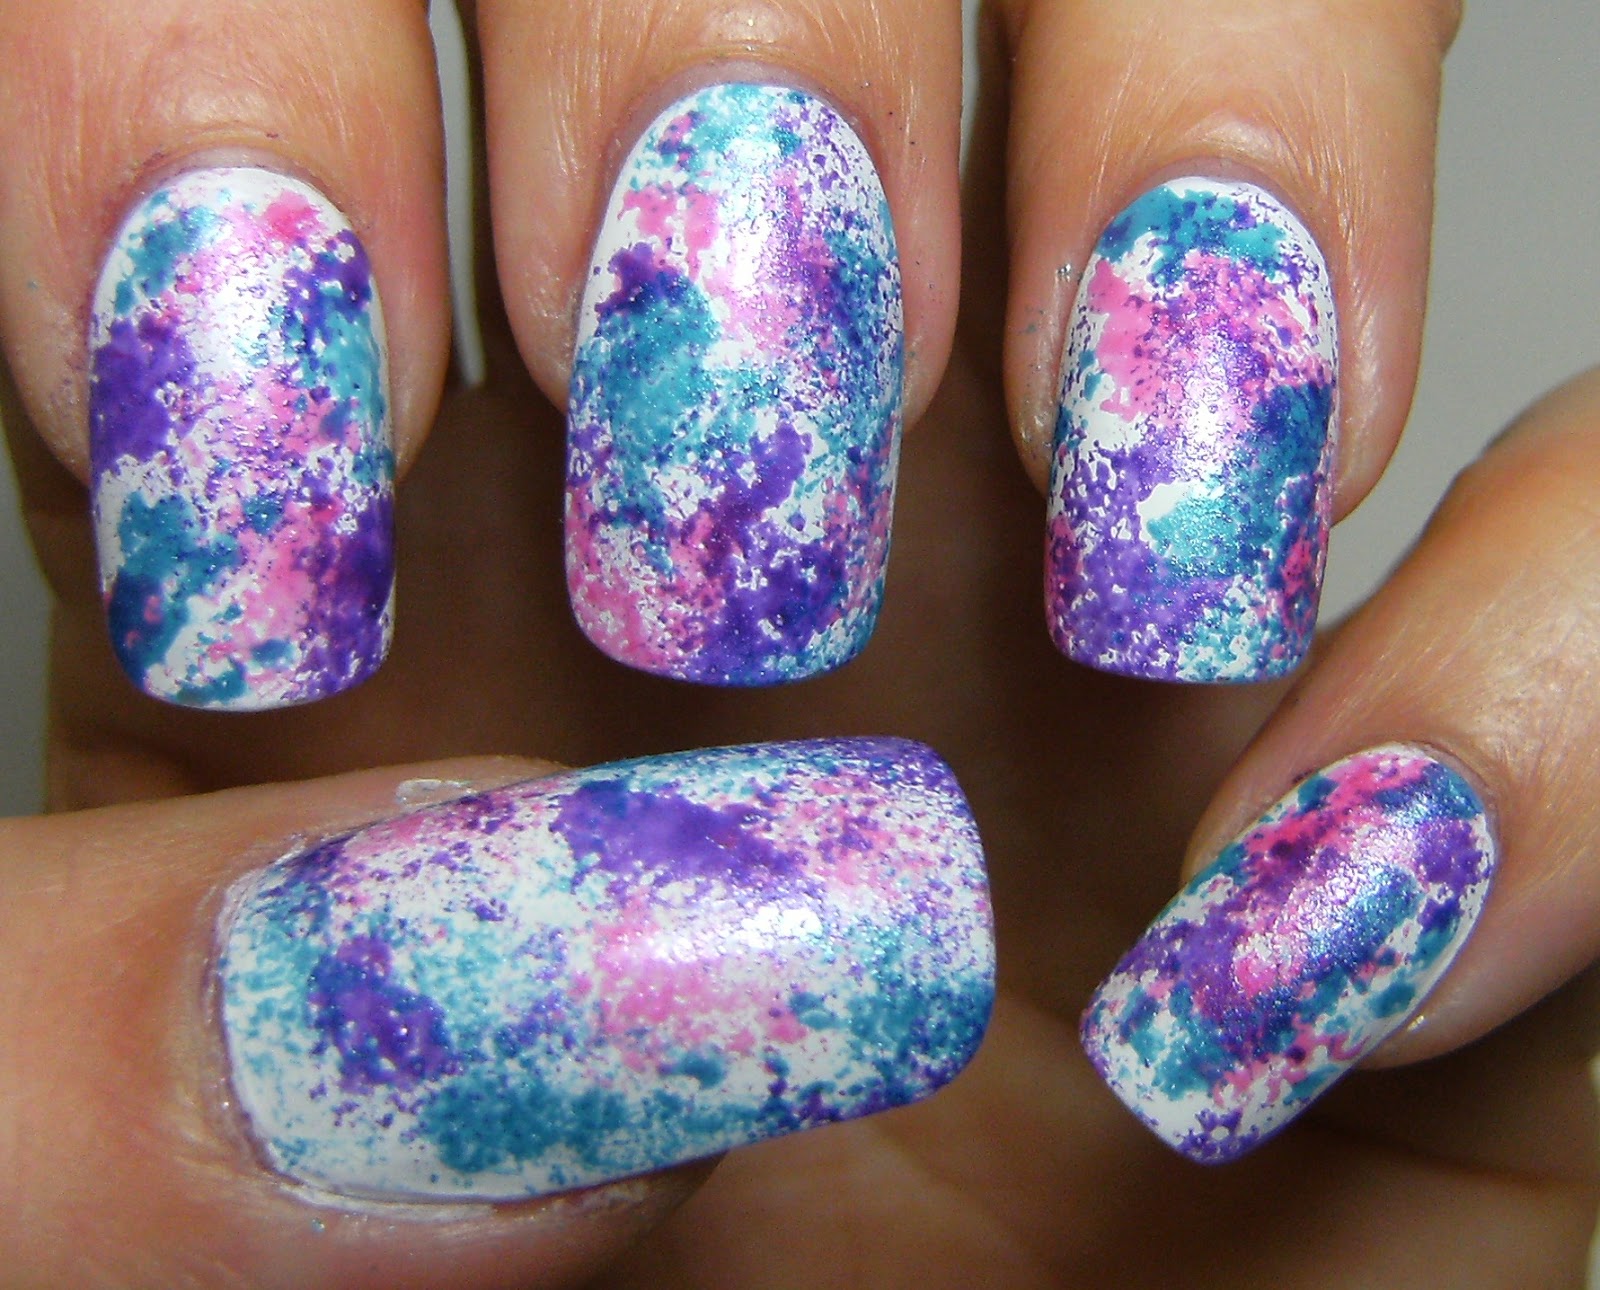
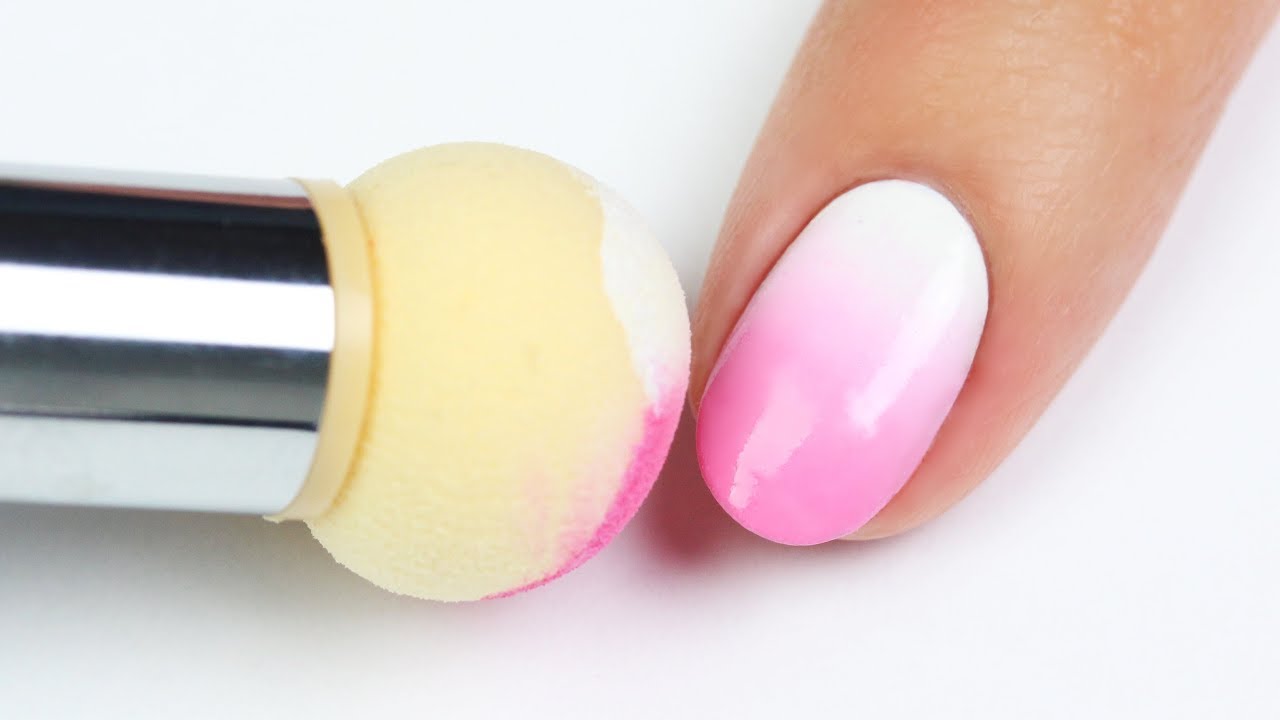
A gradient sponge nail art is a great way to add a pop of color to your nails. Start by painting your nails with a light base color and let it dry. Then, use a sponge to apply a darker color on the tips of your nails. You can also use multiple colors to create an ombre effect. To achieve a seamless look, gently dab the sponge onto your nails, blending the colors together. For a unique twist on the gradient sponge nail art, try using a metallic or glitter polish. The shimmer will add dimension and make your design stand out.Gradient Sponge Nail Art


Gradient Sponge Nail Art


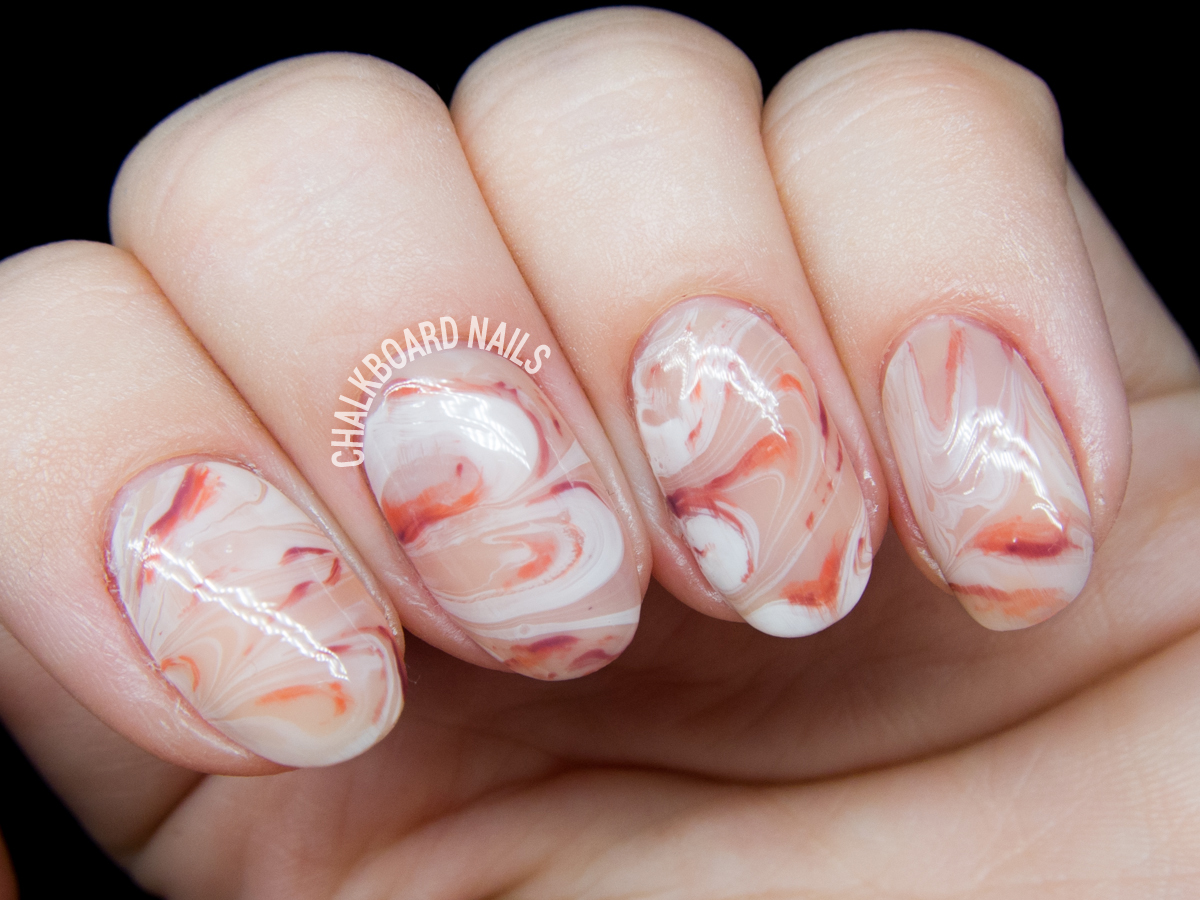
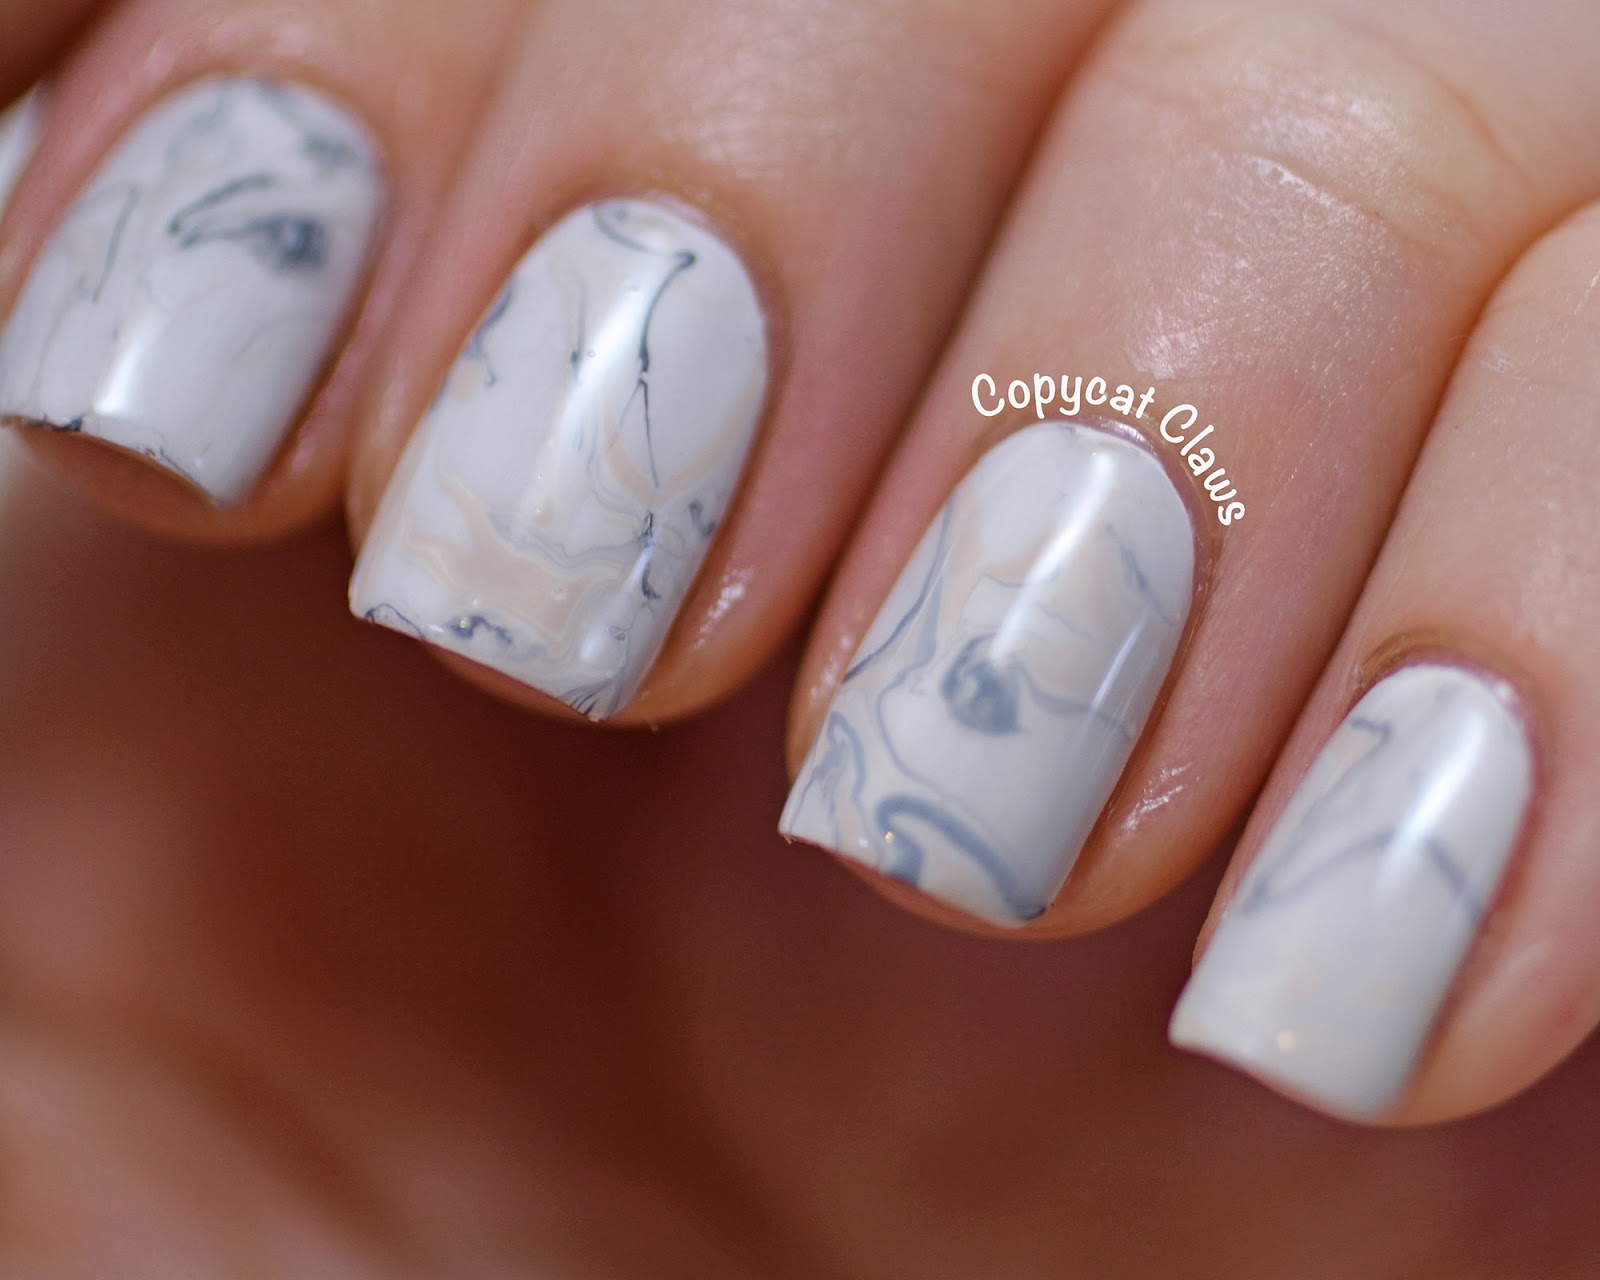
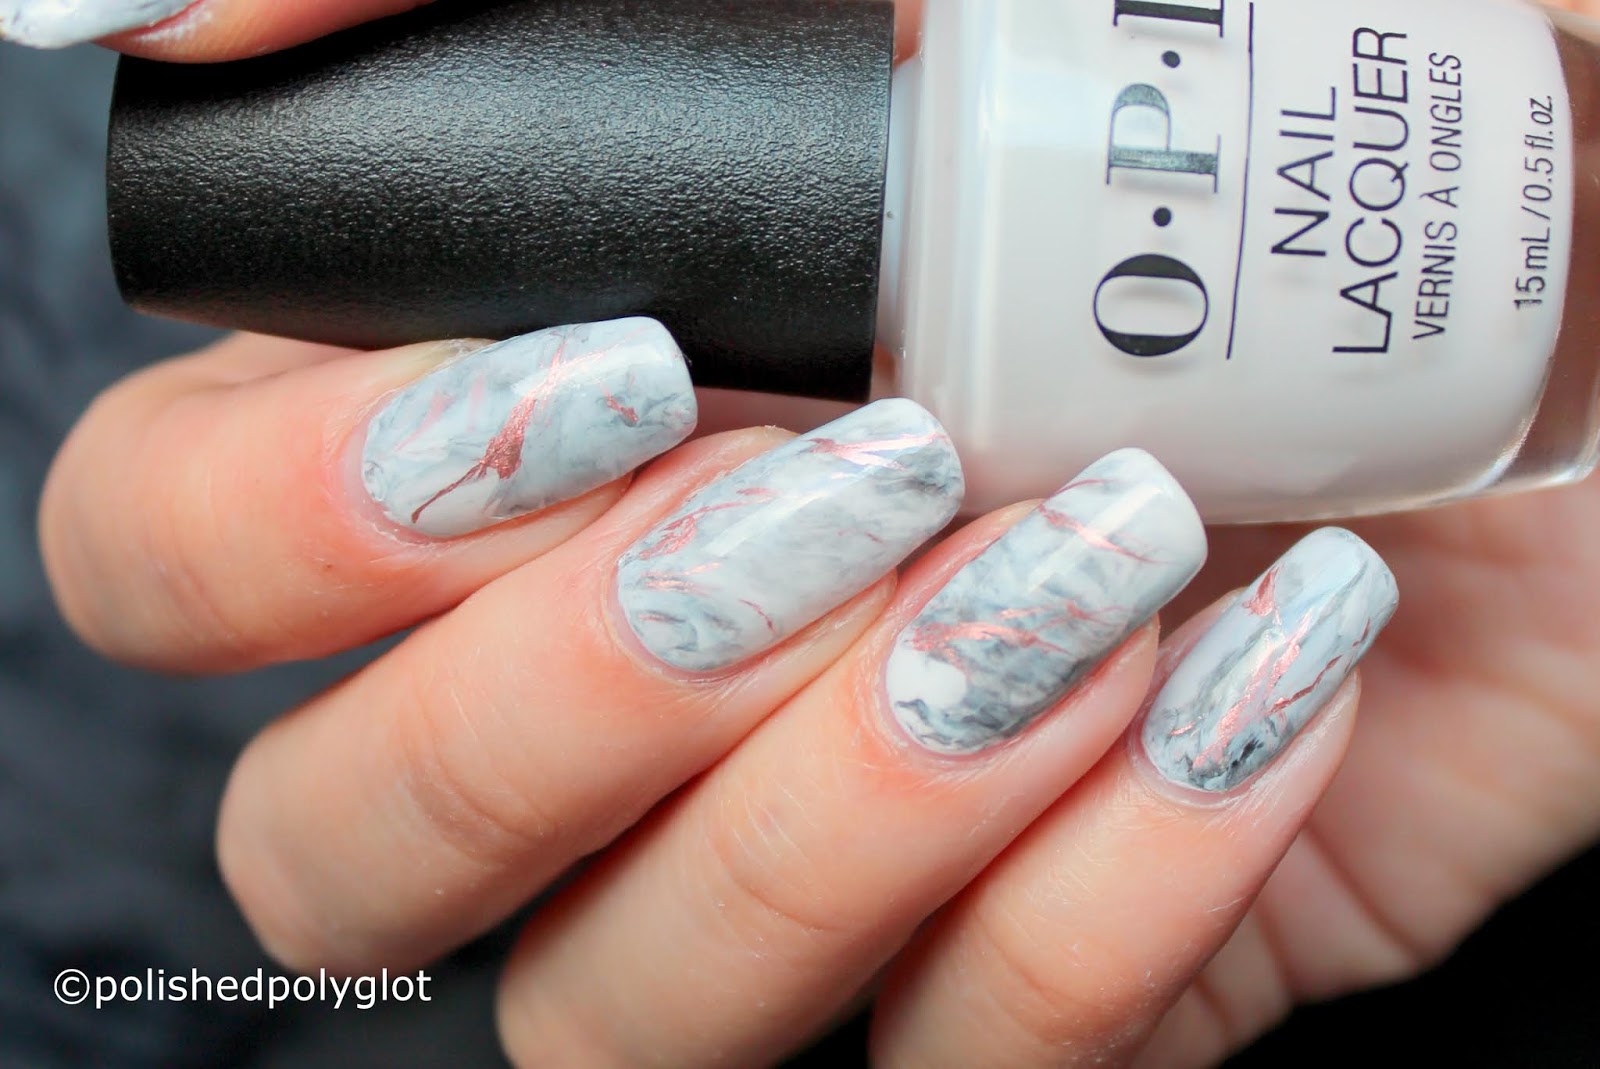
For a sophisticated and elegant look, try a marble sponge nail art design. Start by painting your nails with a light base color and let it dry. Then, use the sponge to apply a darker color in a swirled pattern on your nails. You can also use multiple colors for a more intricate marble effect. For an added touch, you can use a fine-tipped brush to create thin lines or related main keyword on your nails. This will give your design a more realistic marble appearance.Marble Sponge Nail Art

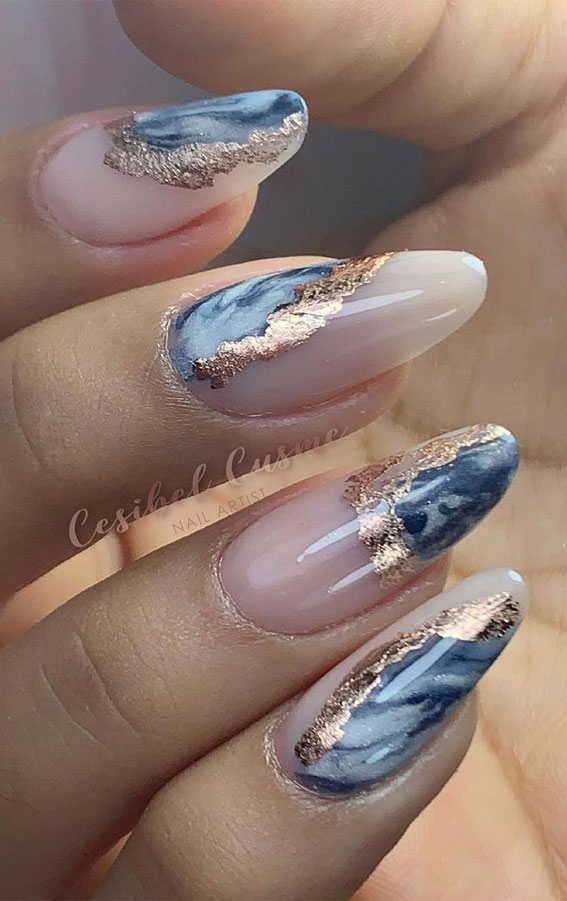

Marble Sponge Nail Art
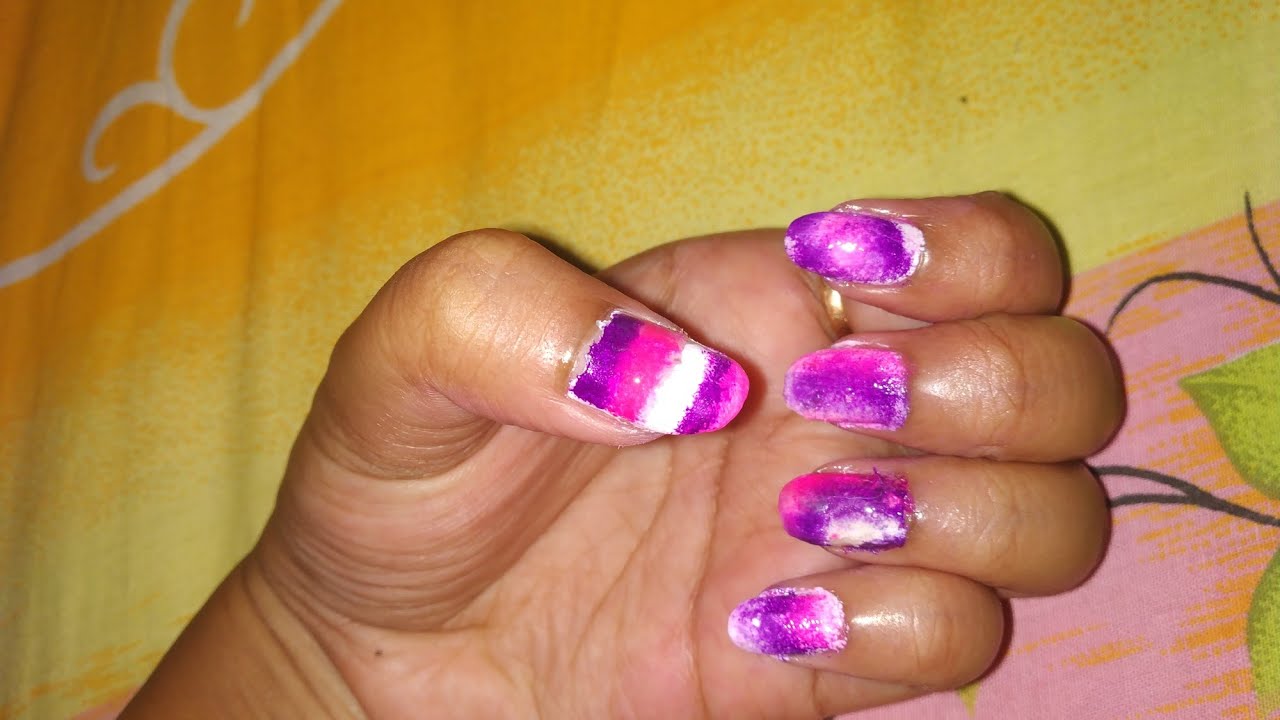


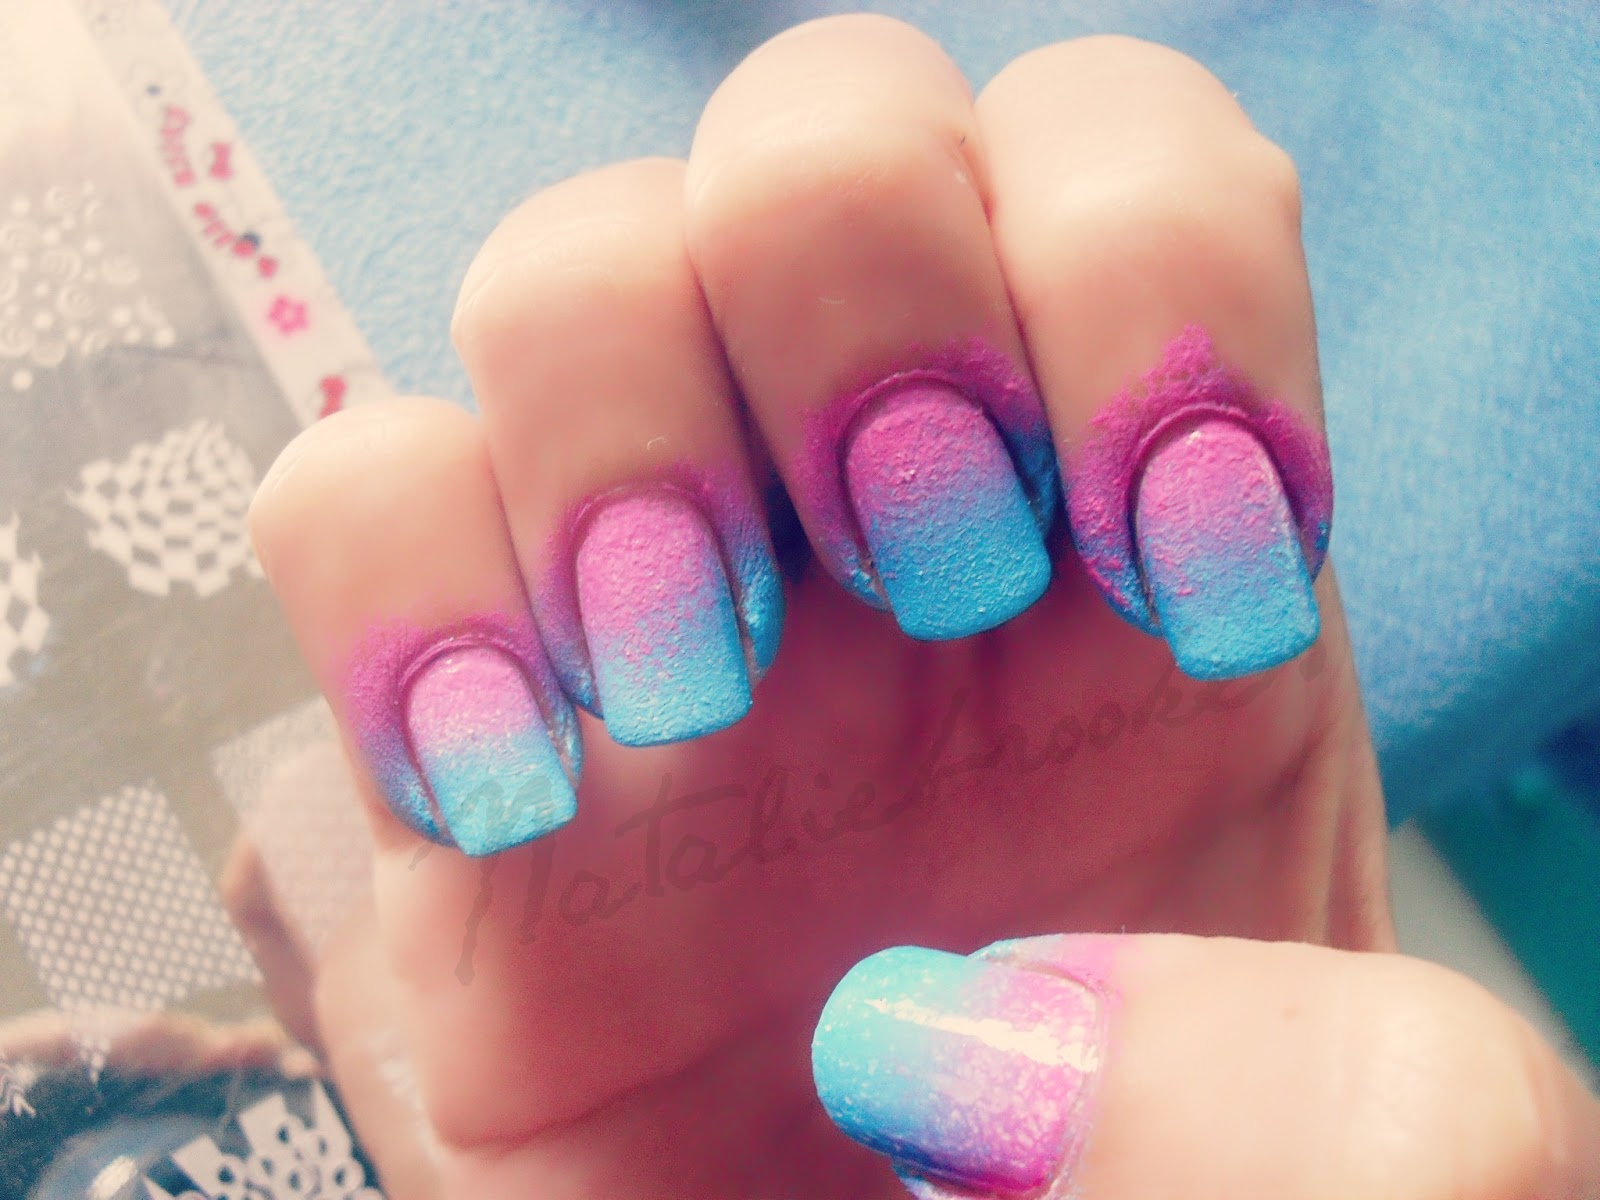
The ombre trend isn't just for hair, it can also be incorporated into your nail art. To achieve an ombre sponge nail art, start by painting your nails with a light base color and let it dry. Then, use a sponge to apply a darker color towards the tips of your nails. Be sure to blend the colors together for a seamless transition. You can also try using different shades of the same color to create a gradient effect. This ombre sponge nail art is perfect for adding some fun and color to your nails.Ombre Sponge Nail Art
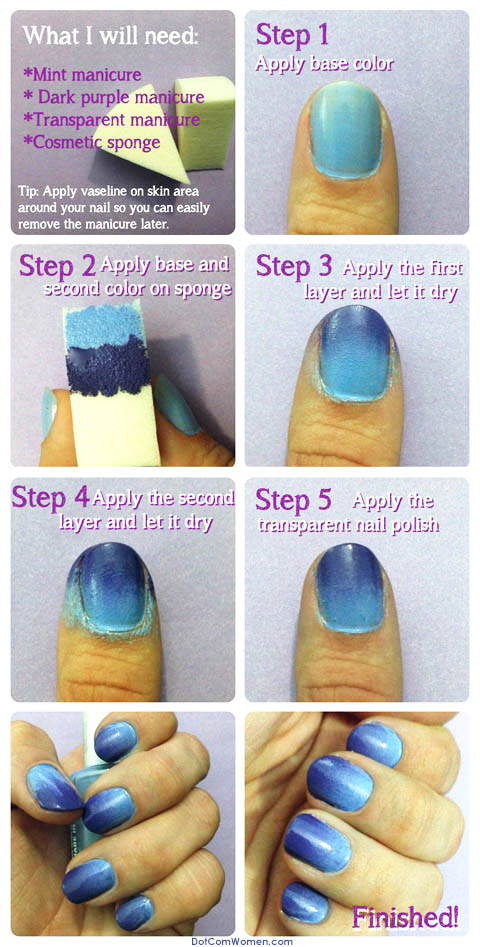


Ombre Sponge Nail Art


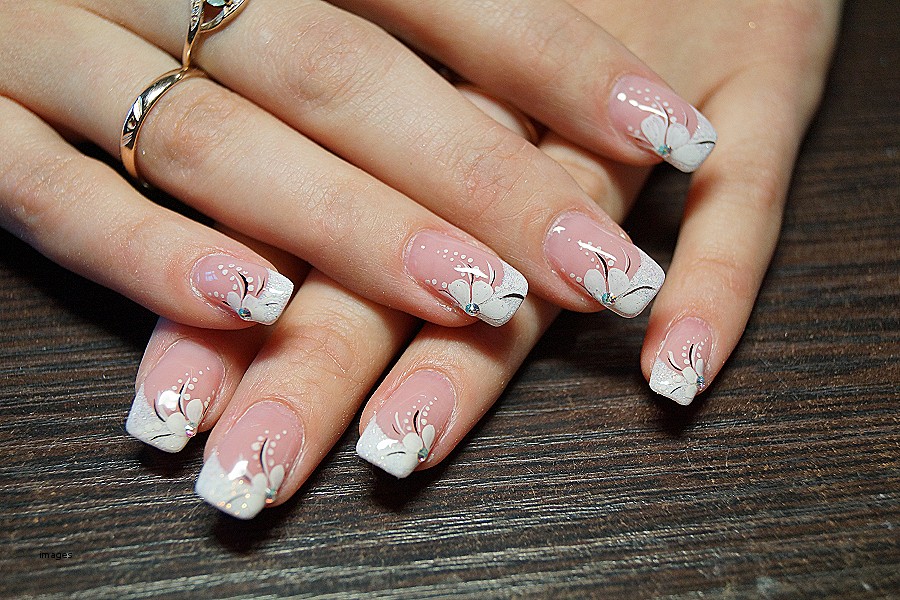
If you're a fan of floral designs, why not incorporate them into your sponge nail art? This design is perfect for spring and summer and adds a touch of femininity to your nails. Start by painting your nails with a light base color and let it dry. Then, use a sponge to apply a darker color onto the tips of your nails, creating a gradient effect. Once dry, use a fine-tipped brush to featured keyword onto your nails. You can use different colors and techniques to create a variety of floral designs. In conclusion, sponge nail art is a fun and easy way to add some creativity and texture to your nails. With these 10 ideas, you can create a variety of designs using a simple kitchen sponge. So grab your materials and let your imagination run wild with sponge nail art.Floral Sponge Nail Art


Floral Sponge Nail Art

Nail Art with Kitchen Sponge: A Fun and Easy Way to Elevate Your Nails
The Art of Nail Design
 When it comes to home design, we often focus on decorating our living spaces with furniture, wall art, and other decorative items. But have you ever thought about incorporating design into your everyday beauty routine? Nail art has become increasingly popular in recent years, with many people treating their nails as a canvas for creative expression. And with the rise of social media platforms like Instagram and TikTok, it's easier than ever to find inspiration and tutorials for different nail designs.
A New Twist on Nail Art
 While there are endless possibilities when it comes to creating nail art, one unique and budget-friendly technique is using a kitchen sponge. Yes, you read that right – a kitchen sponge. This household item can be transformed into a tool for creating eye-catching nail designs that will have everyone asking where you got them done. Here's how:
Step 1: Gather Your Materials
 To get started, you'll need a few basic materials: a kitchen sponge, nail polish in two or three different colors, a top coat, and a pair of scissors. You can use any type of kitchen sponge, but a porous sponge will give the best results.
Step 2: Prepare Your Nails
 Before you begin, make sure your nails are clean and free of any old polish. Apply a base coat to protect your natural nails and allow it to dry completely. This will create a smooth surface for your design and help it last longer.
Step 3: Create Your Sponge Design
 Take your kitchen sponge and cut it into small, irregular shapes. These will be used to create the sponged effect on your nails. Dip one of the sponge pieces into your chosen nail polish color and dab it onto your nail. You can play around with different angles and amounts of pressure to create a unique design.
Step 4: Add Layers and Colors
 Once your first layer has dried, you can add more layers of different colors to create a gradient effect. This is where the kitchen sponge technique really shines, as it allows for a seamless blend of colors. Just make sure to let each layer dry before adding another to avoid smudging.
Step 5: Seal and Finish
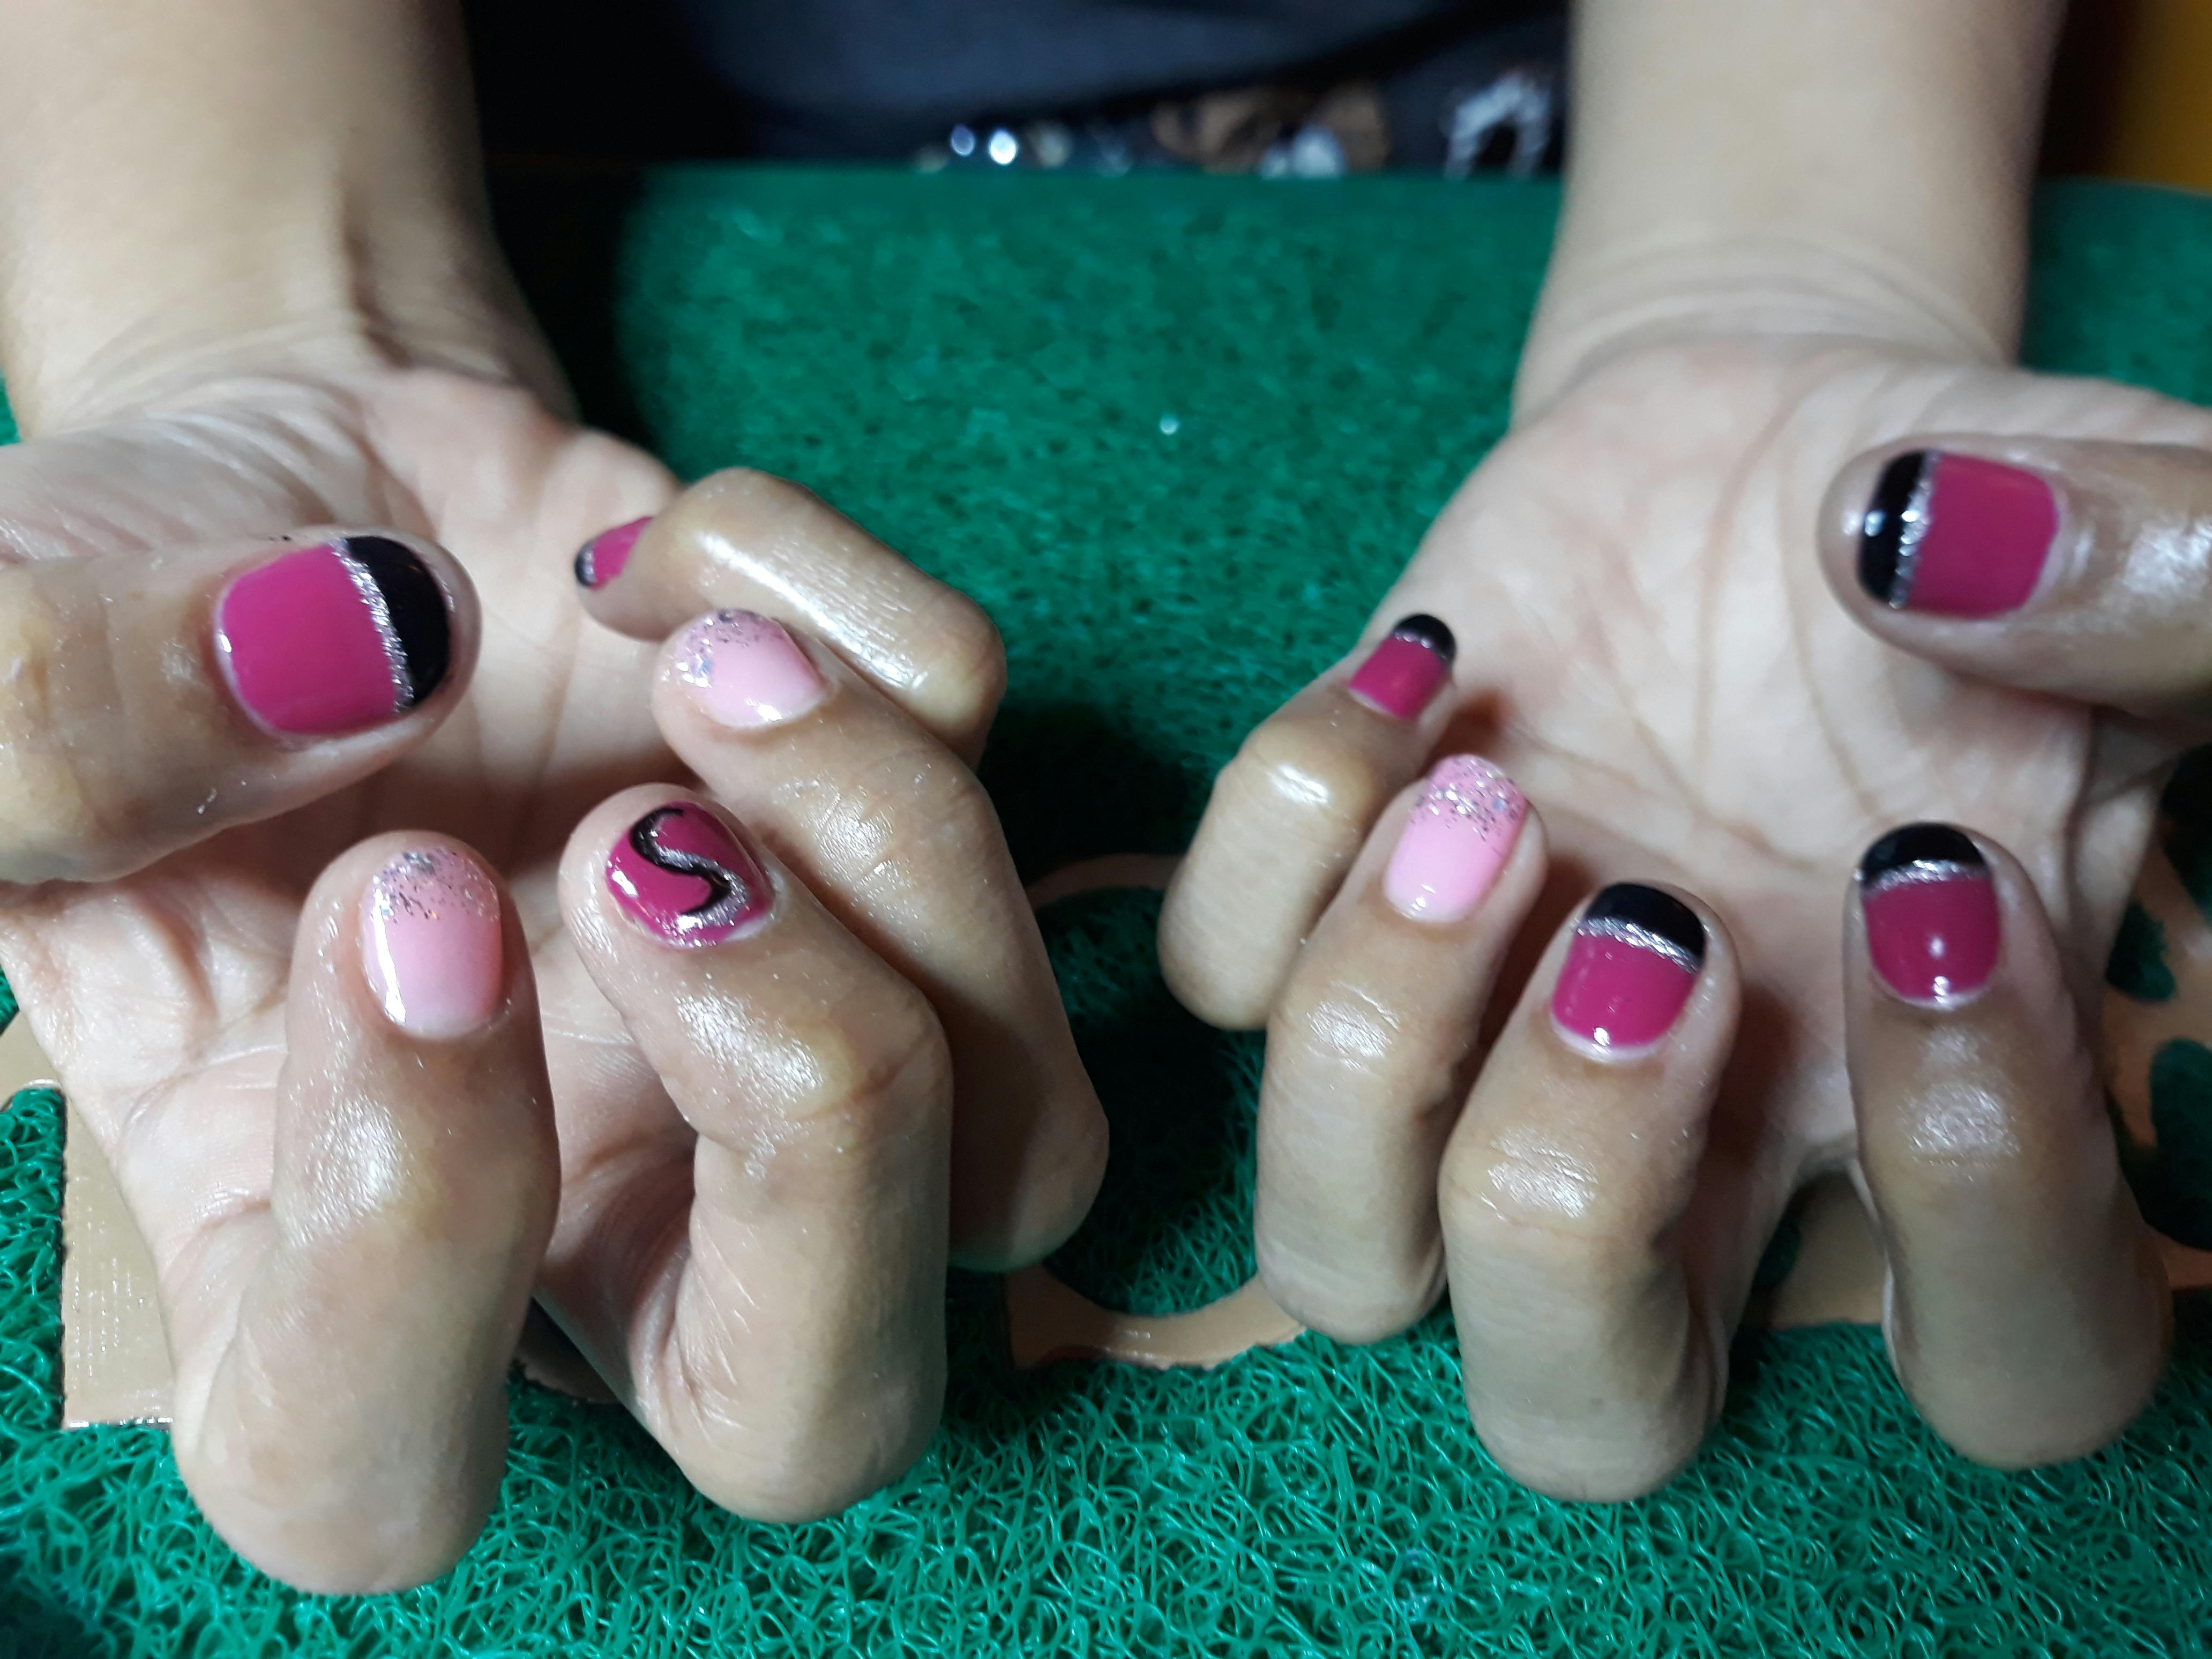 Once you're happy with your design, seal it in with a top coat. This will not only add shine but also protect your design from chipping and peeling. Allow your nails to dry completely and voila – you now have a unique and eye-catching nail design created with a kitchen sponge.
Final Thoughts
 Nail art is a fun and creative way to express yourself and add a unique touch to your personal style. And with the kitchen sponge technique, you can achieve professional-looking designs without breaking the bank. So next time you're in the mood for a new nail design, don't overlook the humble kitchen sponge – it just might become your new favorite nail art tool.


