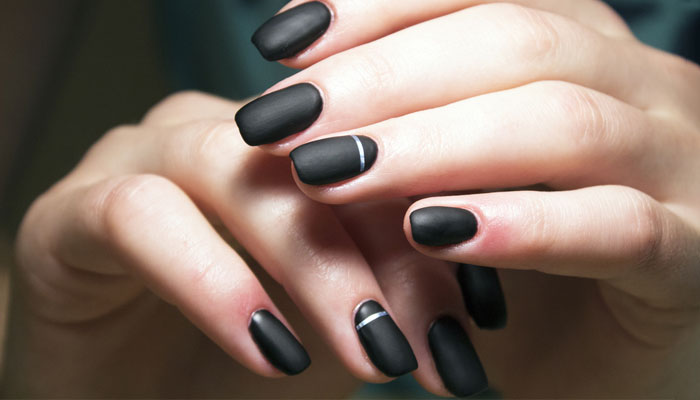
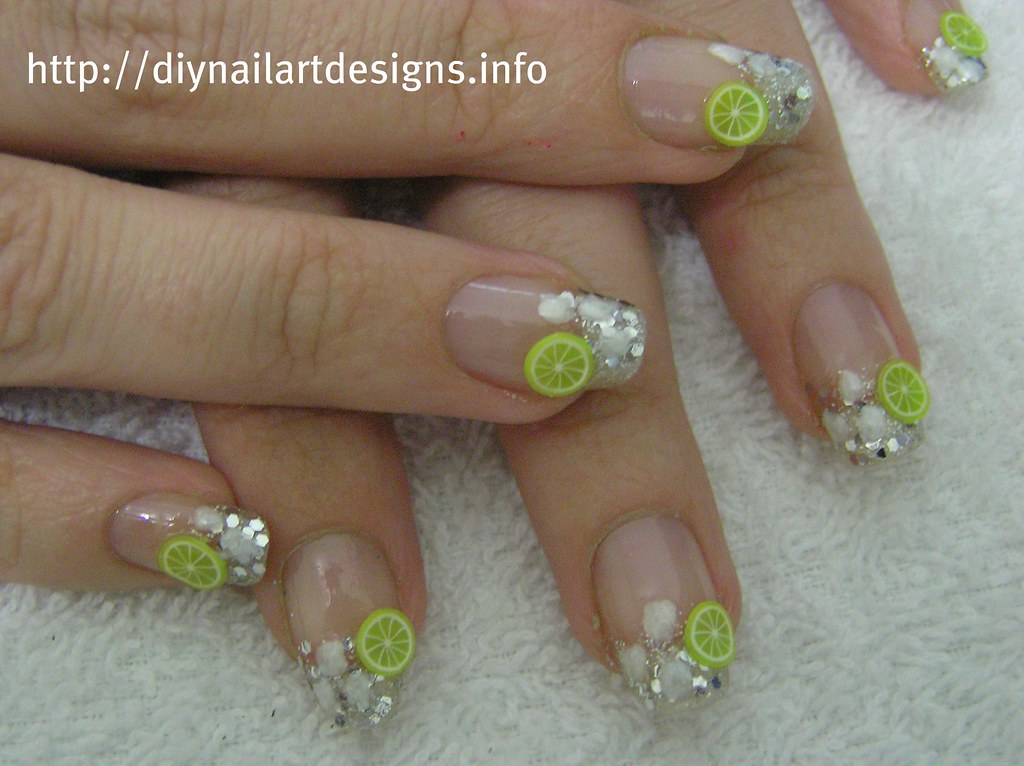
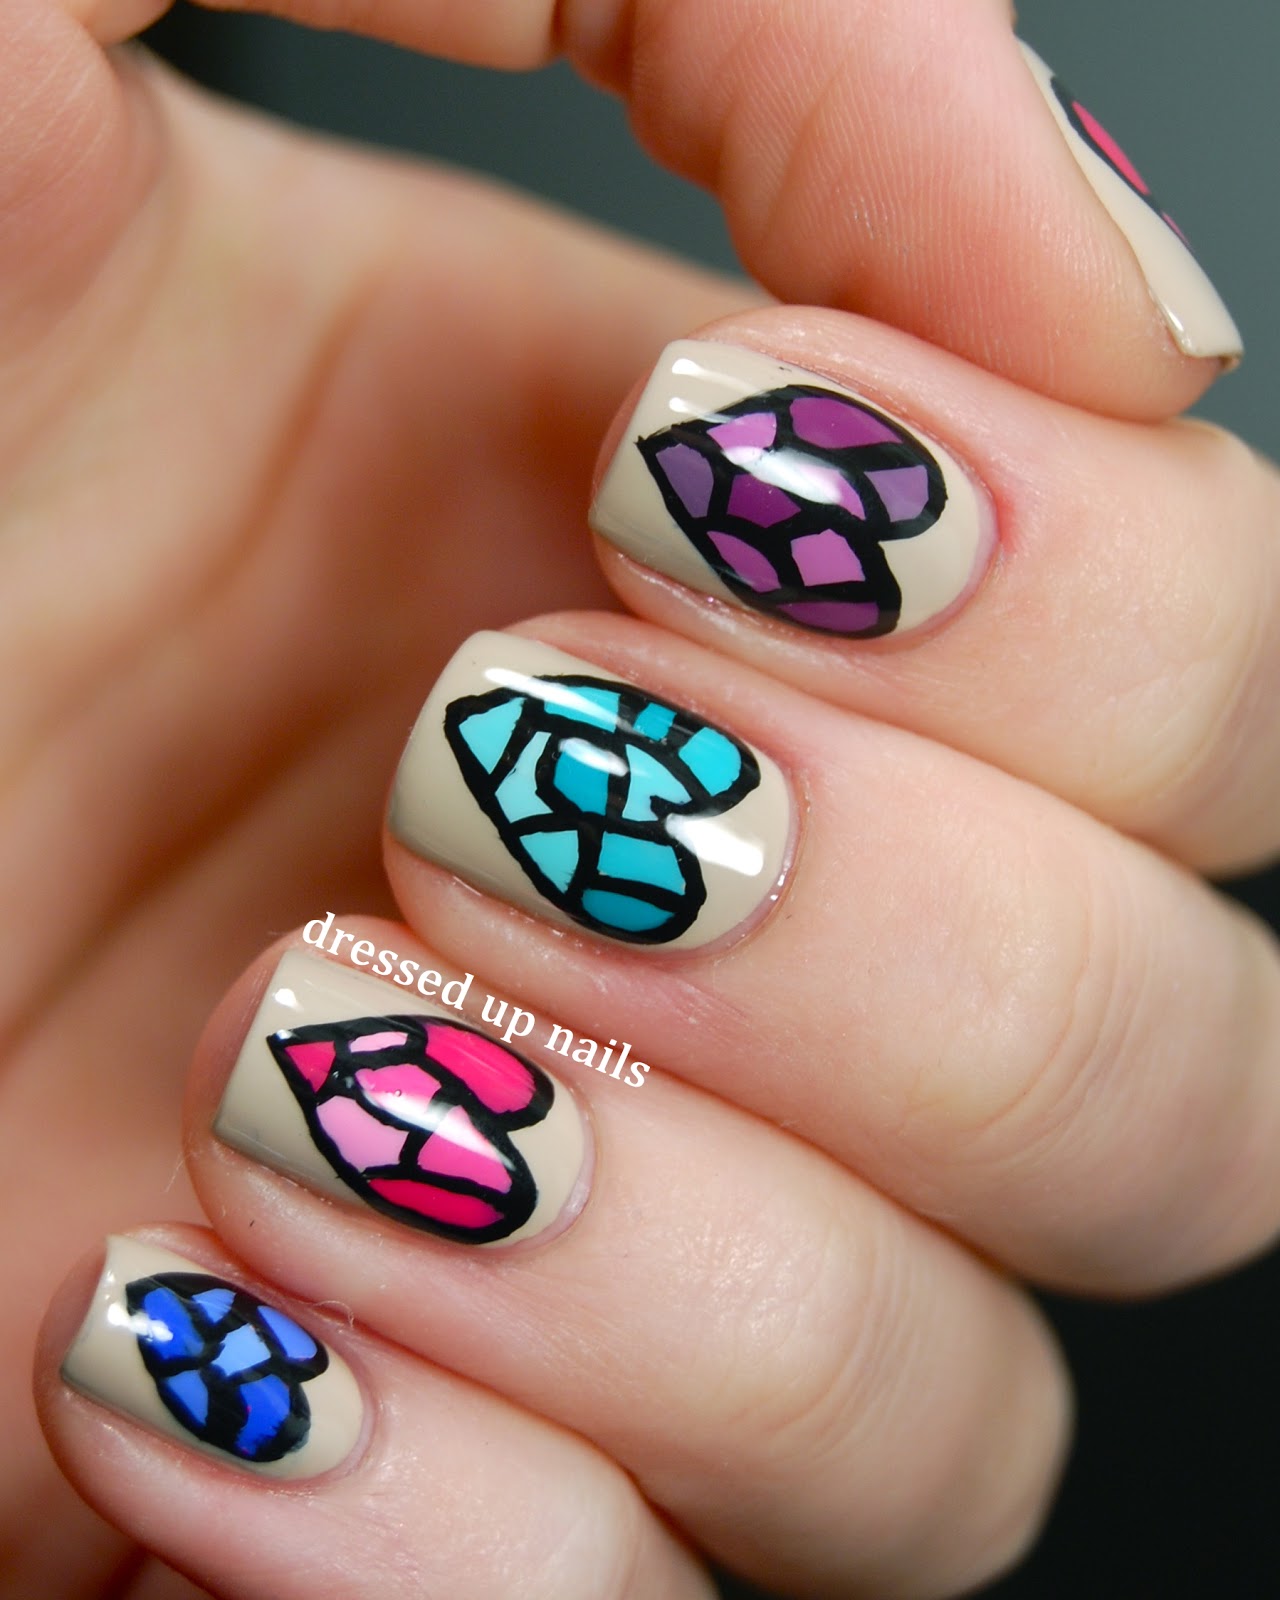
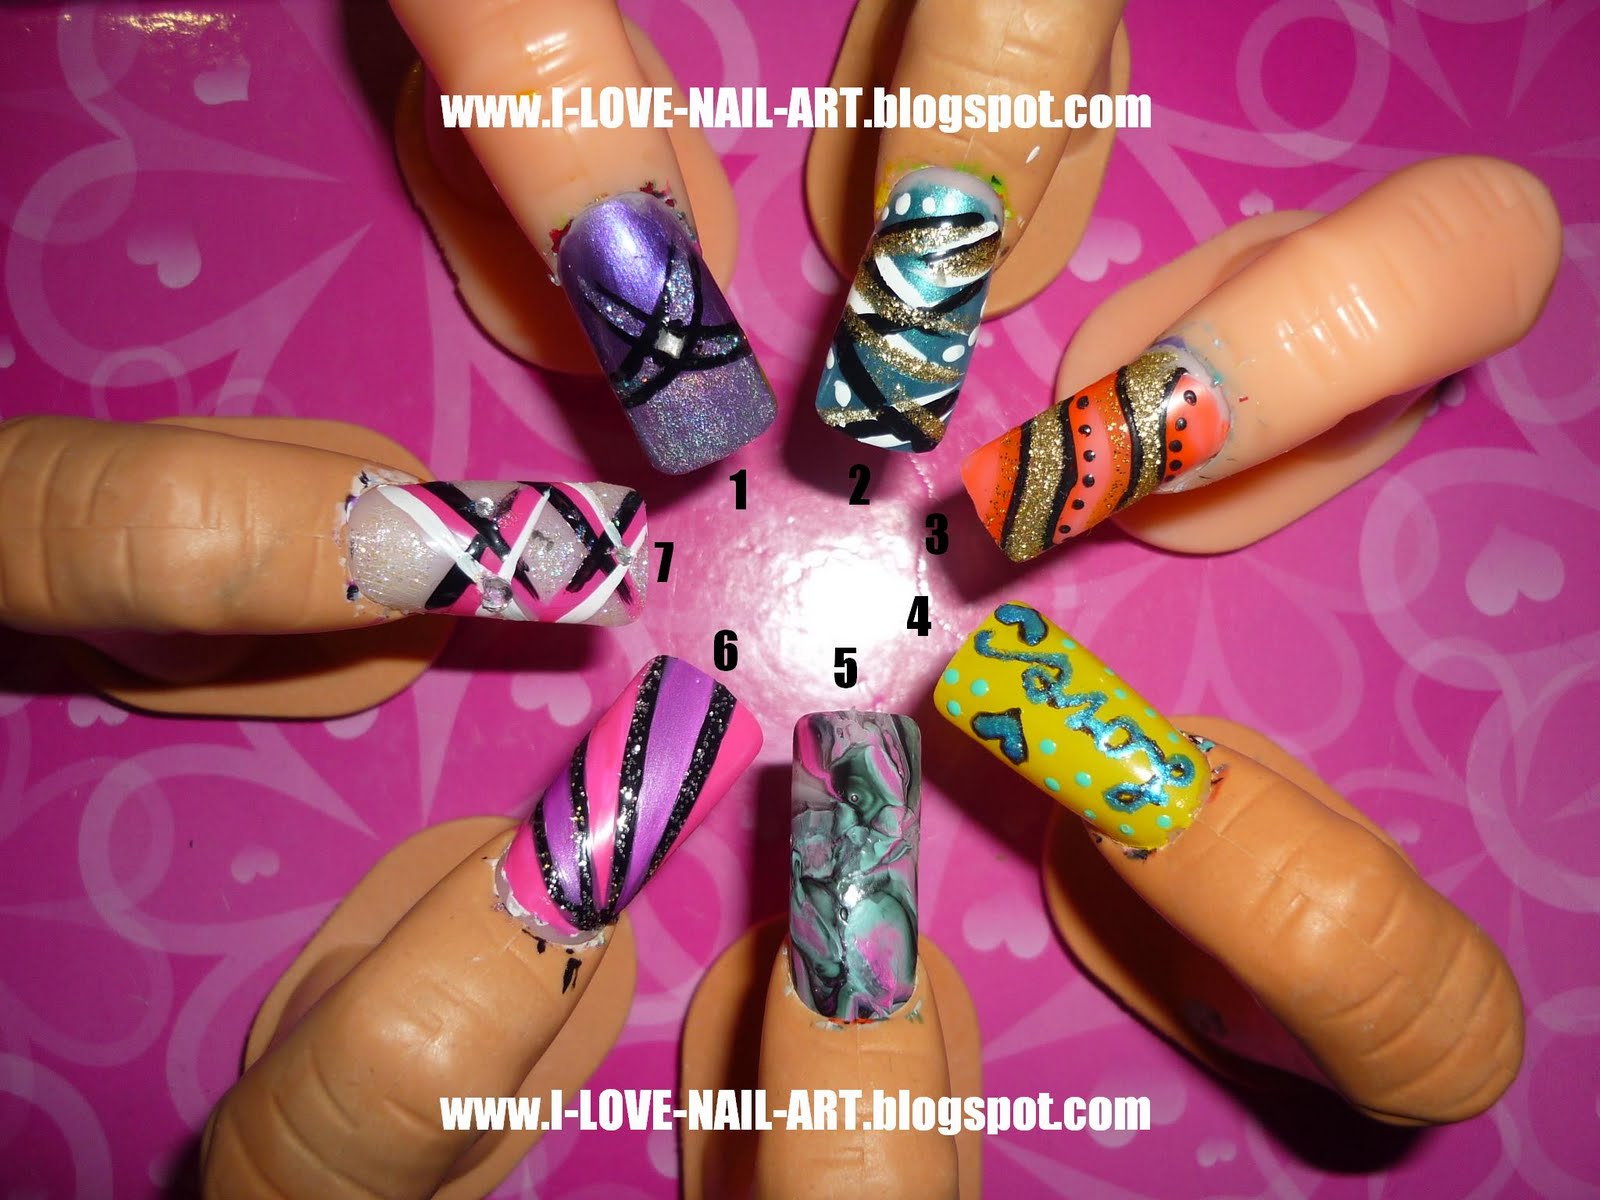
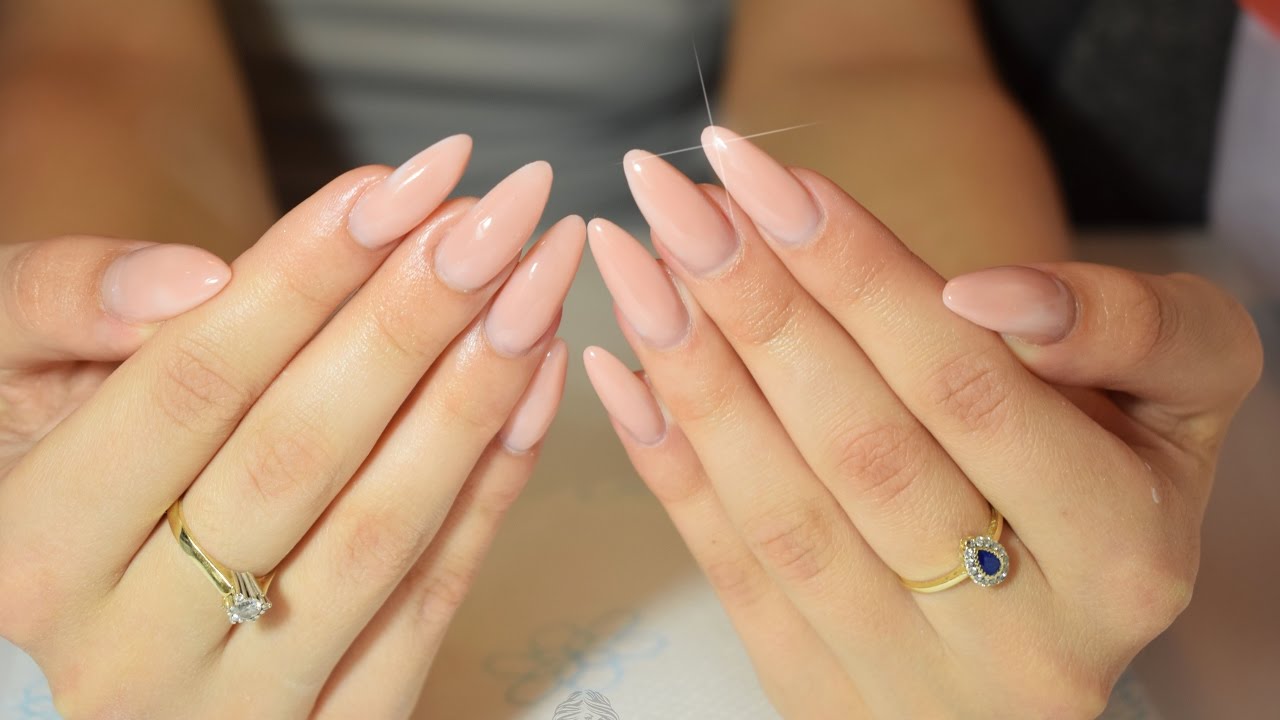
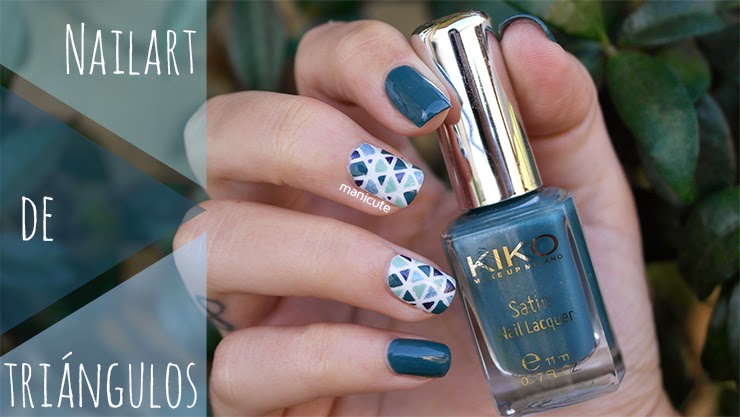
Shape tapes are the latest trend in the world of nail art, and for good reason. These thin adhesive strips come in various shapes and designs, making it easy to create intricate and unique nail designs without the hassle of using nail polish or a nail brush. Here are 10 creative ideas for using shape tapes in your next manicure. Nail Art Idea #1: Geometric Patterns One of the most popular ways to use shape tapes is to create geometric patterns on your nails. You can use thin strips to create lines and shapes, or opt for thicker tapes to create bold and eye-catching designs. Mix and match different colors and shapes for a fun and modern look. Nail Art Idea #2: Negative Space Negative space nail art is a chic and minimalist way to use shape tapes. Simply place the tapes on your nails in a pattern, leaving some areas bare to create a negative space effect. This is a great option for those who want a subtle yet stylish manicure. Nail Art Idea #3: French Tips with a Twist Give your classic French manicure a twist by using shape tapes to create unique tips. You can experiment with different shapes and designs, such as chevrons or triangles, to add a fun and modern touch to this timeless nail look. Nail Art Idea #4: Ombre Effect Create a stunning ombre effect on your nails with the help of shape tapes. Simply place the tapes at an angle on your nails, with one end close to the cuticle and the other near the tip. Then, use a sponge to apply two different nail polish shades over the tapes for a seamless gradient effect. Nail Art Idea #5: Animal Print Get wild with your nails by using shape tapes to create animal print designs. From leopard spots to zebra stripes, the possibilities are endless. You can also use different colors to add a unique twist to these classic prints. Nail Art Idea #6: Floral Designs Add a touch of femininity to your nails with floral designs created using shape tapes. You can create delicate petals or bold blooms – the choice is yours. Mix and match different tapes to create a bouquet of flowers on your nails. Nail Art Idea #7: Galaxy Nails Take your nails to another dimension with galaxy nail art using shape tapes. Simply place the tapes on your nails in a random pattern and then use a sponge to apply different shades of nail polish to create a galaxy effect. You can also add some glitter for a sparkling touch. Nail Art Idea #8: Abstract Art Let your creativity run wild and create abstract nail art with shape tapes. You can mix and match different shapes and colors to create a one-of-a-kind design that is unique to you. This is a great option for those who love bold and unconventional nail looks. Nail Art Idea #9: Nautical Vibes Bring the beach to your nails with nautical-inspired designs using shape tapes. From anchors to stripes, you can create a variety of designs that will make you feel like you're on a seaside vacation. This is a perfect option for summer or if you just want to add a touch of whimsy to your nails. Nail Art Idea #10: Monochrome Magic If you love a classic and timeless look, then monochrome nail art with shape tapes is for you. You can use black and white tapes to create a variety of patterns, from simple stripes to intricate designs. This is a great option for those who prefer a more subtle and sophisticated manicure.1. Nail Art with Shape Tapes: 10 Creative Ideas for Your Next Manicure
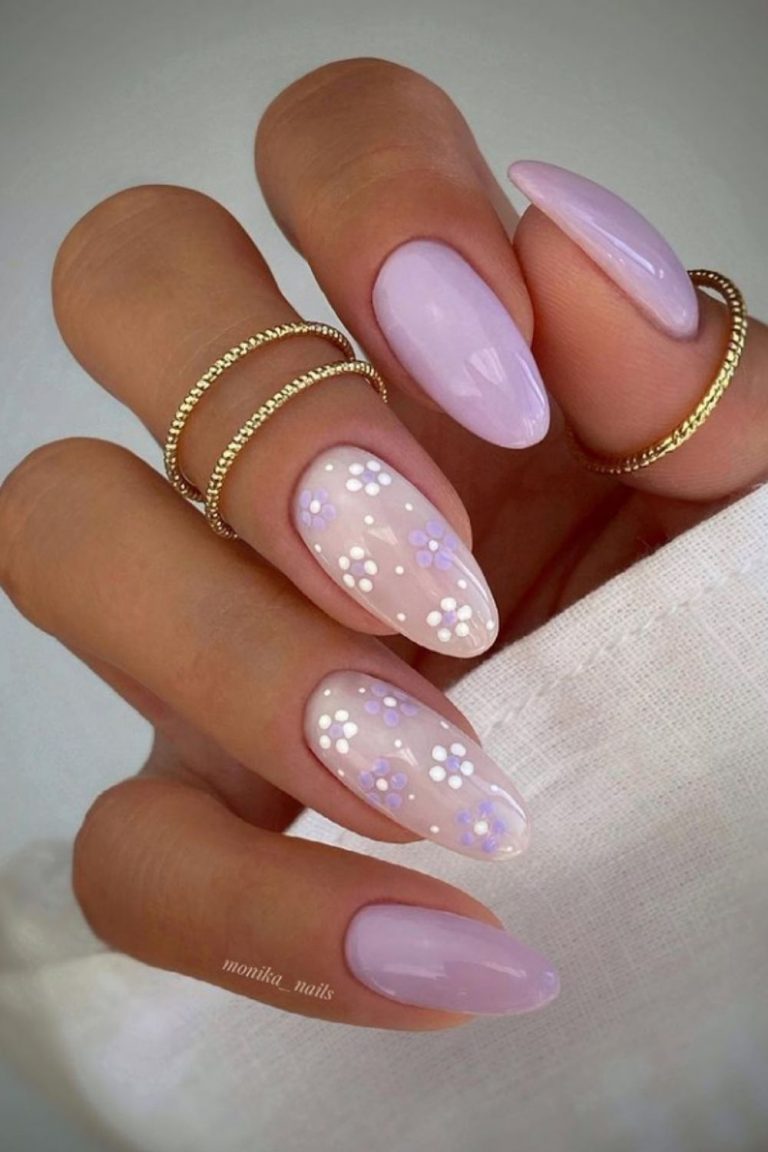

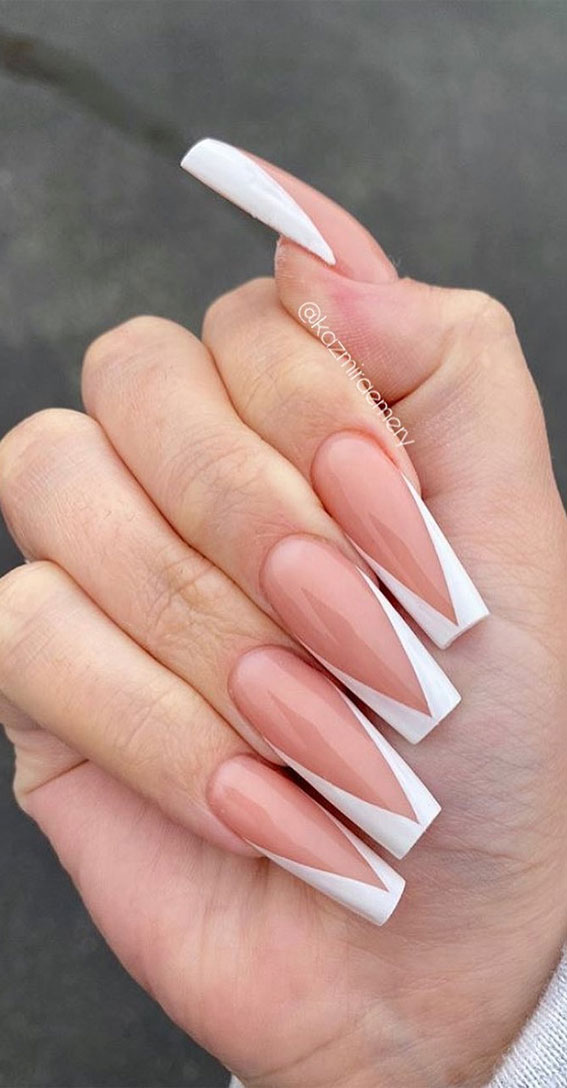
1. Nail Art with Shape Tapes: 10 Creative Ideas for Your Next Manicure


Using shape tapes for nail art may seem intimidating at first, but with a few simple steps, you can achieve flawless and professional-looking designs. Here is a step-by-step guide on how to use shape tapes for nail art. Step 1: Prep Your Nails Start by prepping your nails for the manicure. Remove any old nail polish and trim and shape your nails. Then, push back your cuticles and gently buff the surface of your nails to create a smooth canvas for your nail art. Step 2: Choose Your Shape Tapes There are various shape tapes available in the market, from thin lines to bold shapes. Choose the tapes that best fit the design you want to create. You can also cut the tapes to create custom shapes and designs. Step 3: Apply the Shape Tapes Carefully place the shape tapes on your nails in the desired pattern or design. Make sure to press them down firmly to avoid any gaps or air bubbles. Step 4: Paint Your Nails Once the tapes are in place, paint your nails with your chosen nail polish color. You can use one color or create a gradient effect by using multiple shades. Make sure to paint over the tapes as well. Step 5: Remove the Tapes While the nail polish is still wet, gently remove the shape tapes using tweezers. Be careful not to smudge the design as you remove the tapes. If any excess polish has seeped under the tapes, use a clean brush dipped in nail polish remover to clean it up. Step 6: Finish with a Top Coat Once your design is complete, finish off with a top coat to seal in the design and add shine. This will also help the design last longer. Now you know how to use shape tapes for nail art, so go ahead and let your creativity flow!2. How to Use Shape Tapes for Nail Art: Step-by-Step Guide


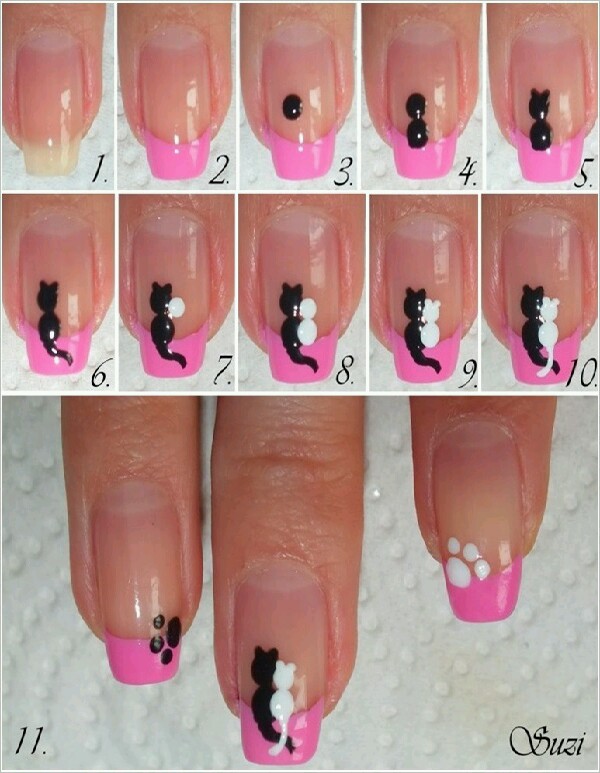
2. How to Use Shape Tapes for Nail Art: Step-by-Step Guide


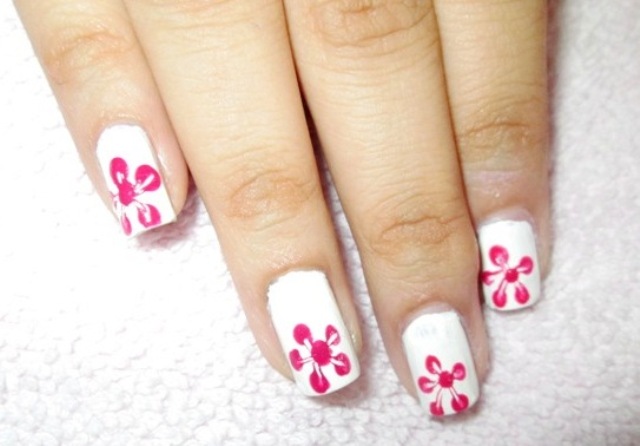


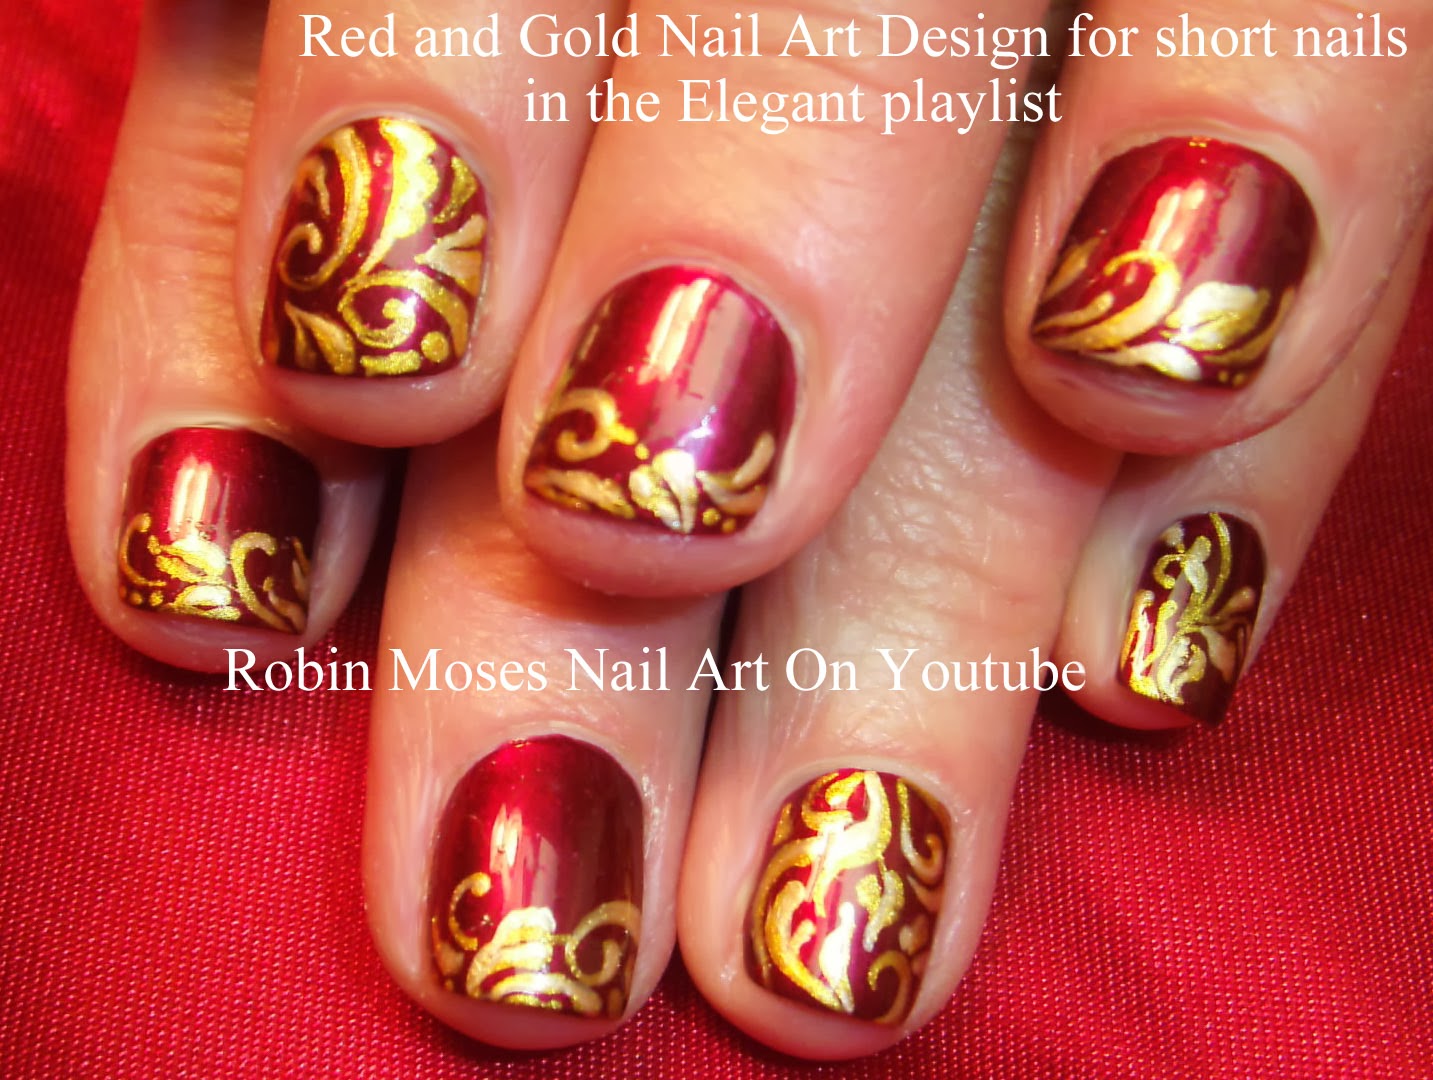
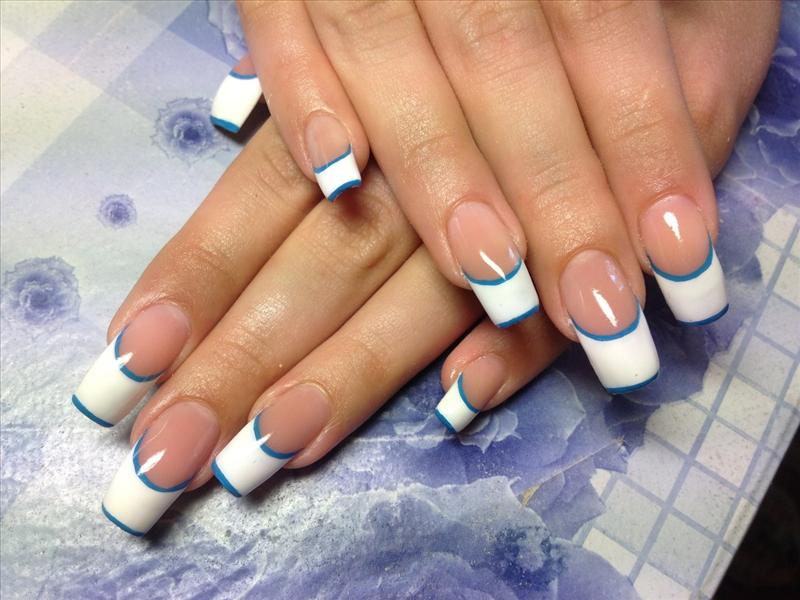
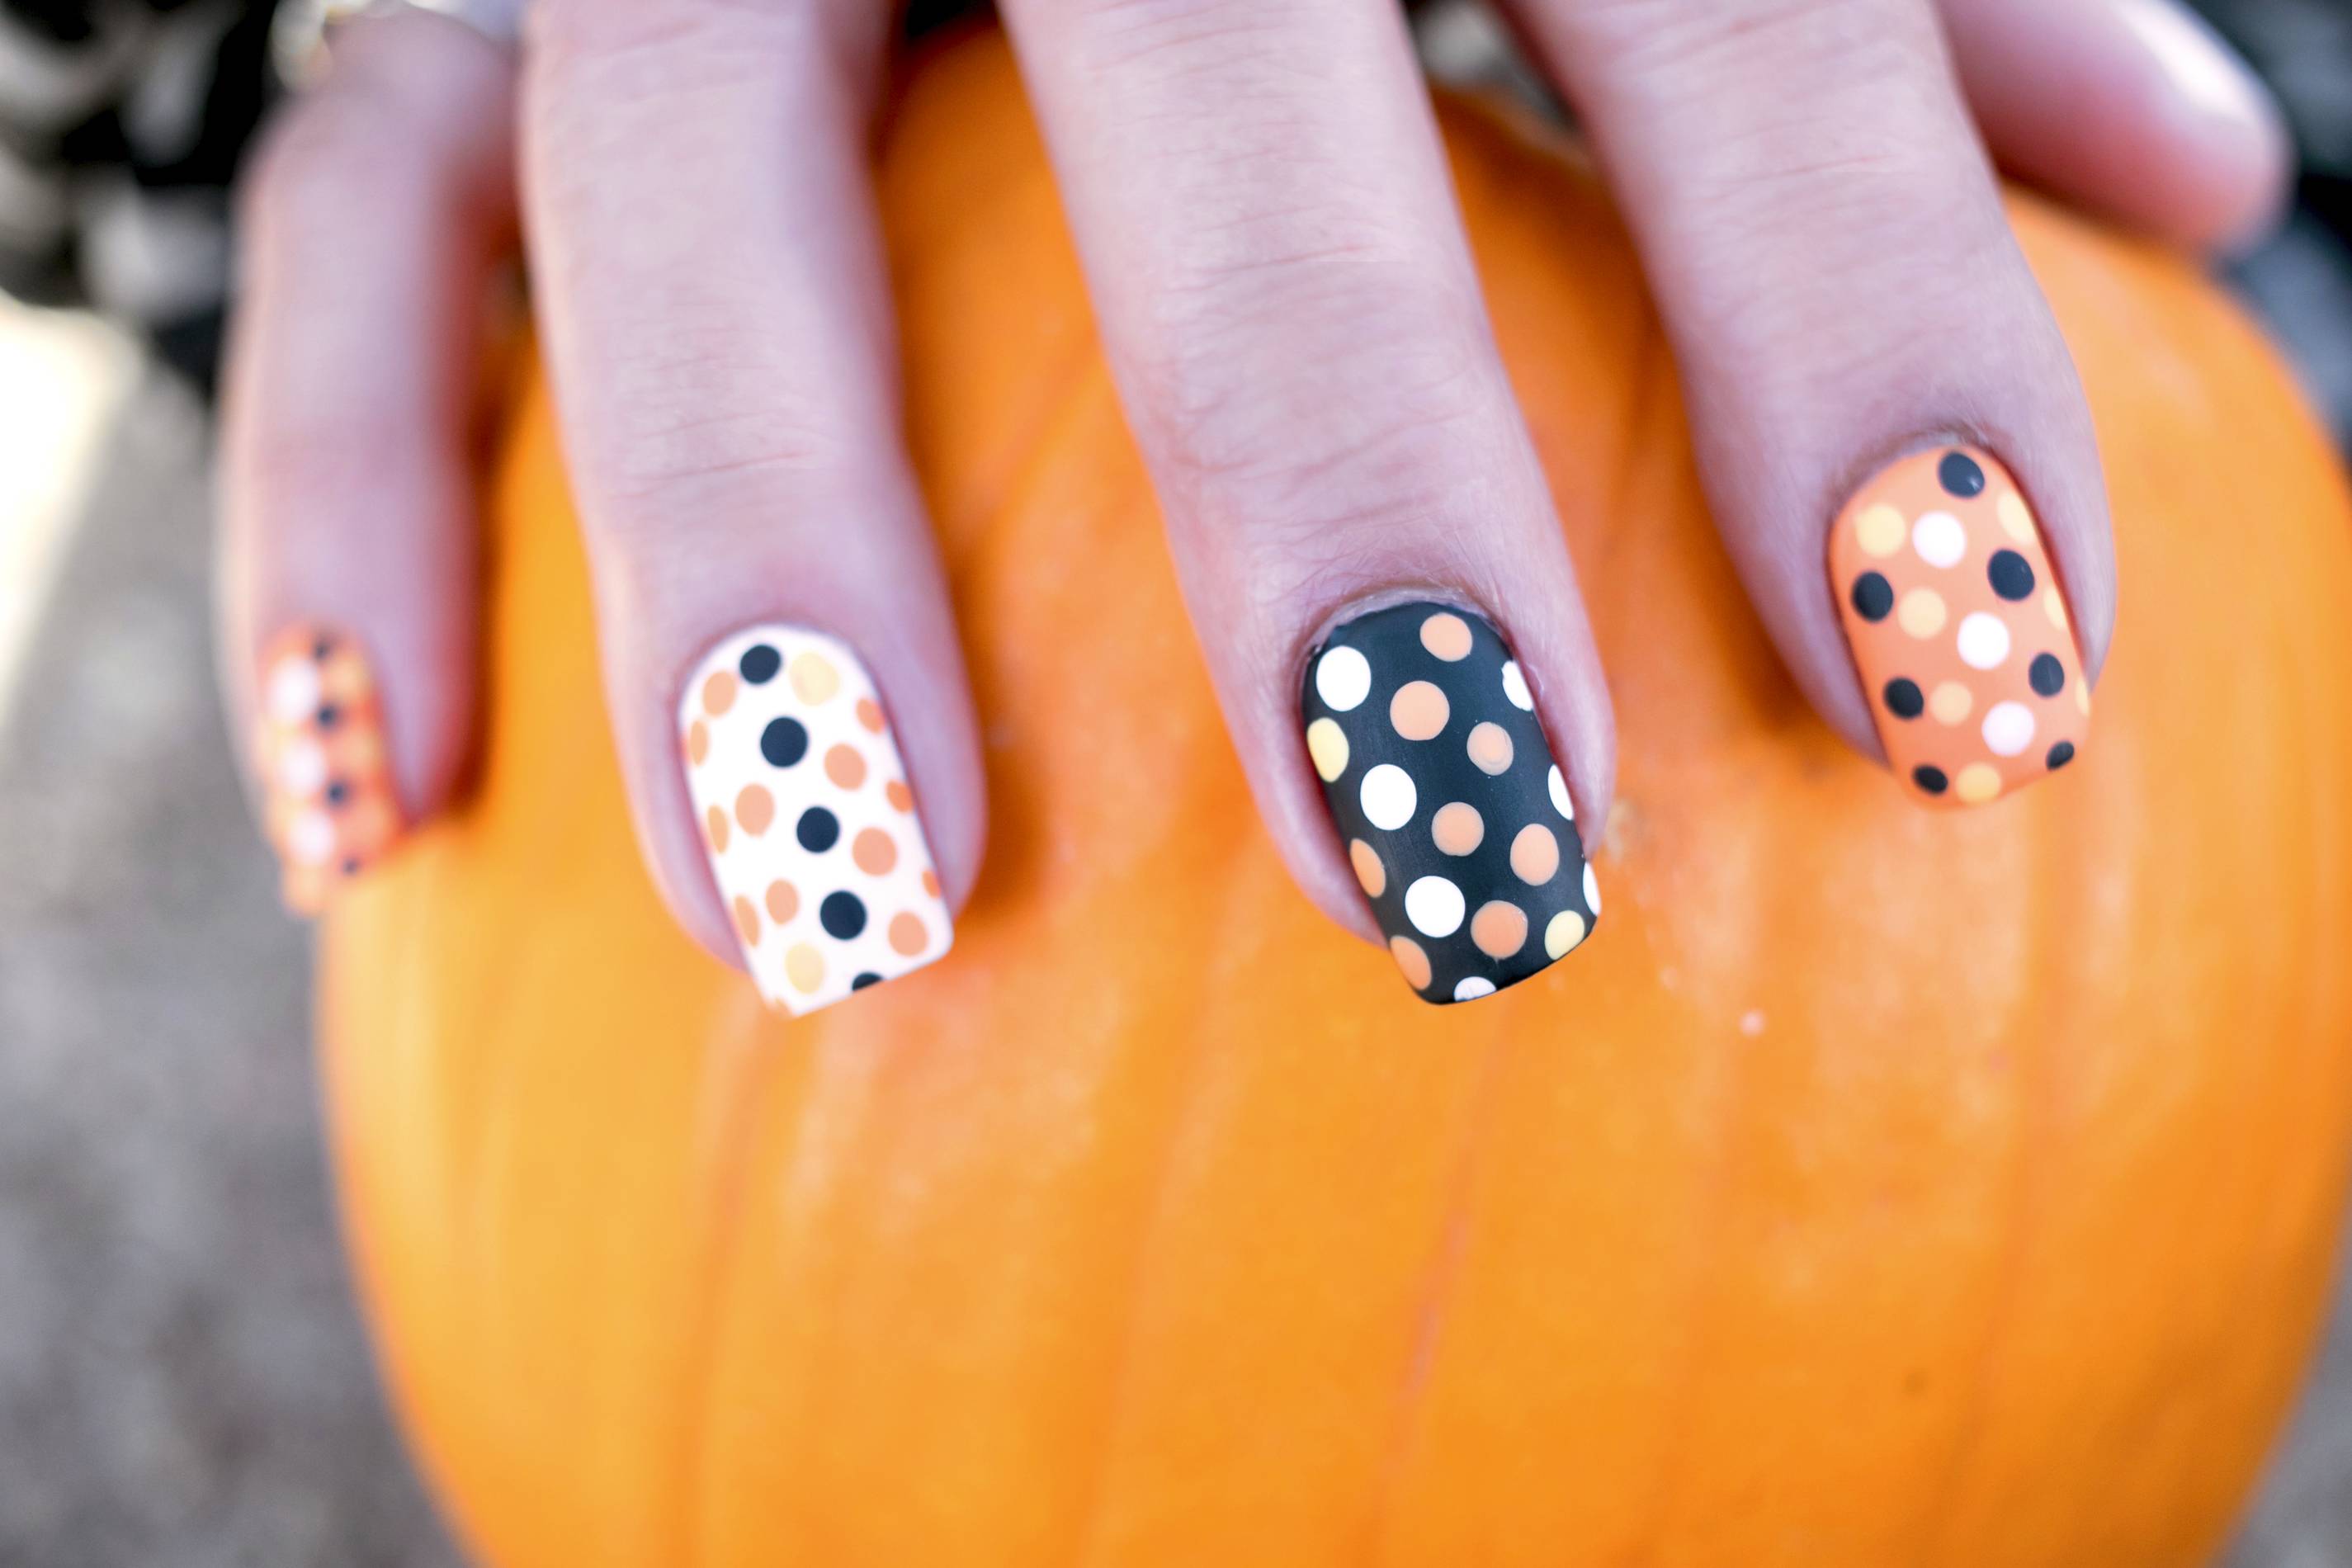
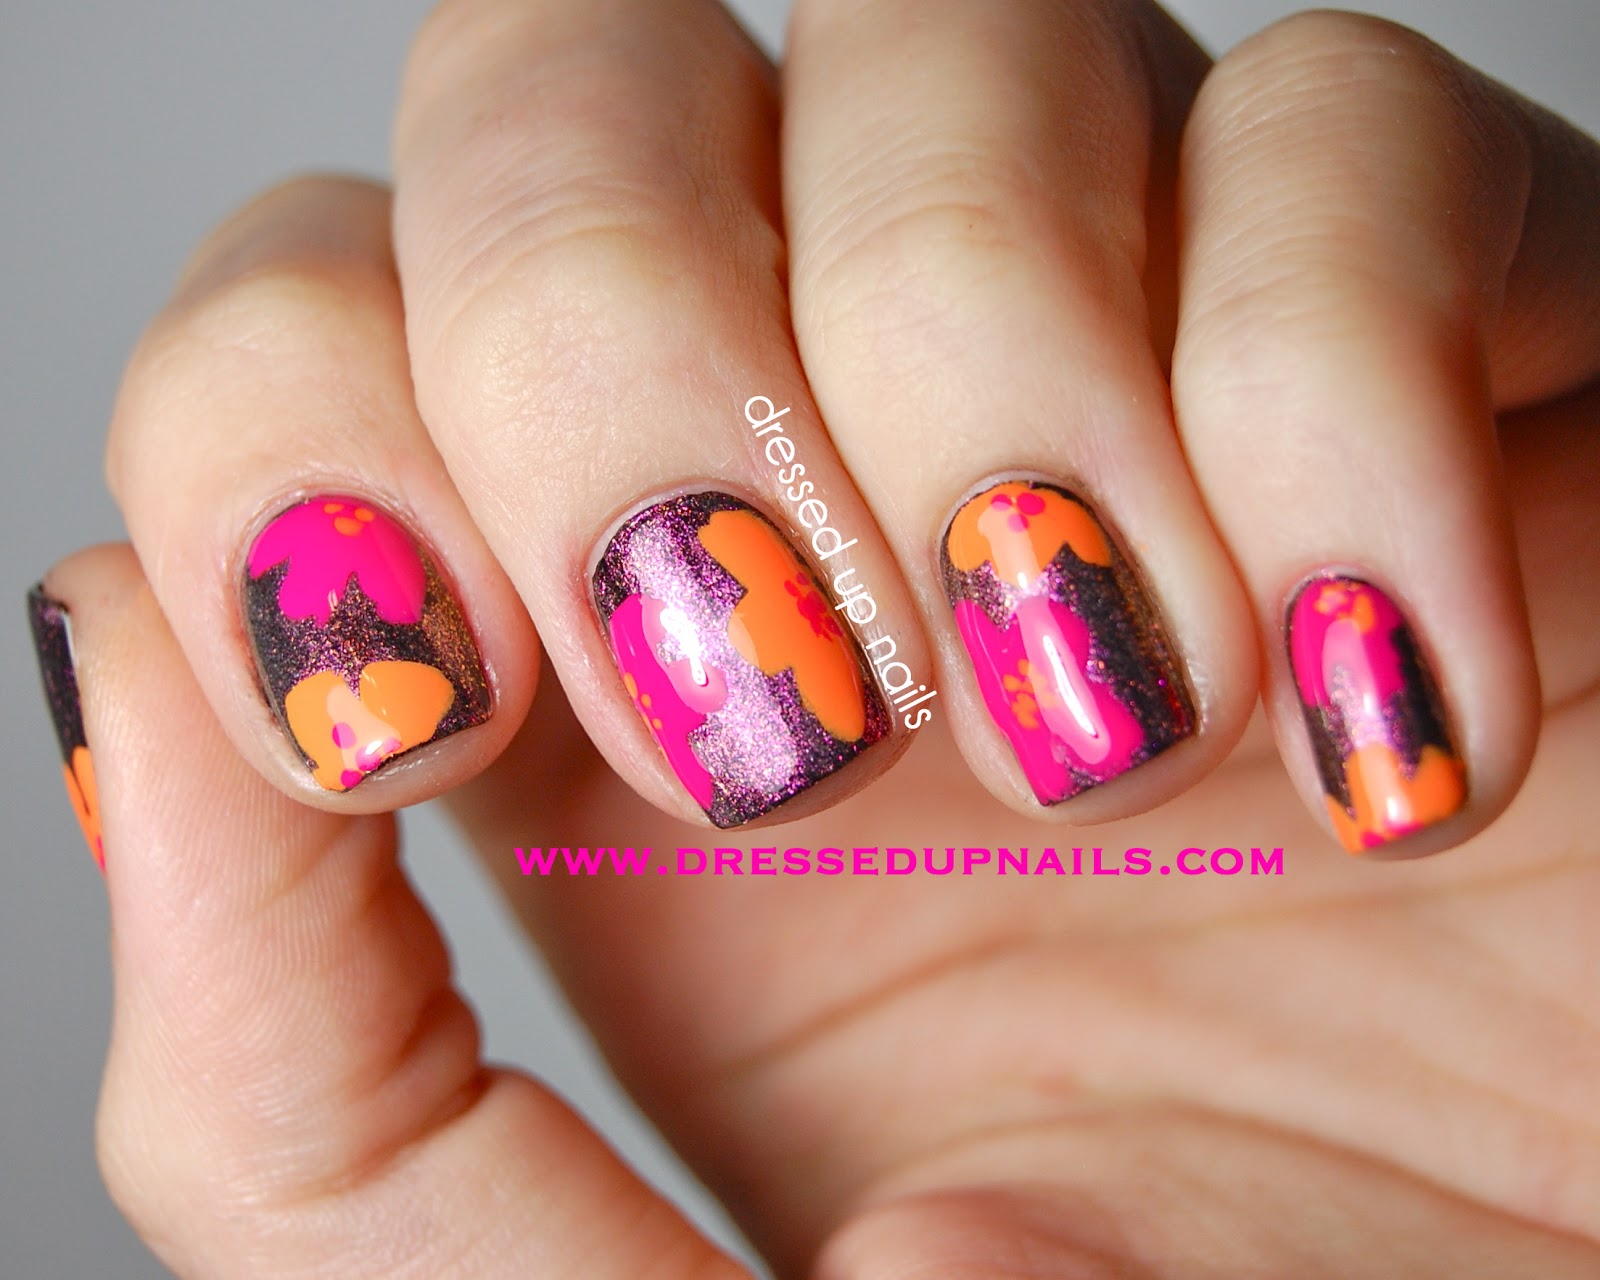
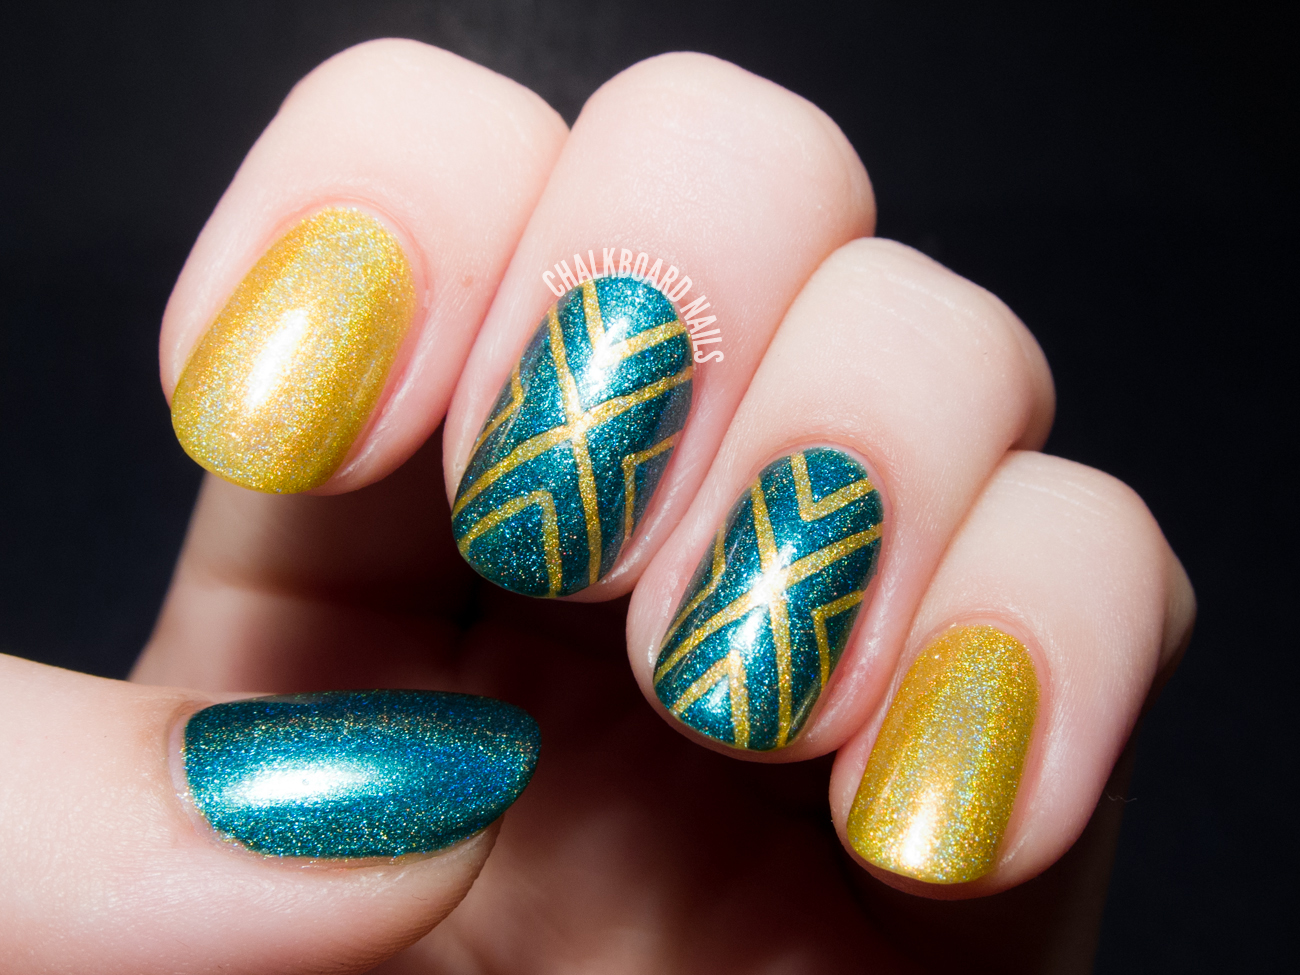
There are endless possibilities when it comes to using shape tapes for nail art, but here are five must-try designs that are sure to make a statement. 1. Rainbow Stripes Create a colorful and fun manicure by using thin shape tapes to create rainbow stripes on your nails. This is a great option for a playful and vibrant look. 2. Polka Dots Add a touch of retro charm to your nails with polka dot designs using shape tapes. You can opt for classic black and white dots or mix it up with different colors for a modern twist. 3. Heart Tips Add a romantic touch to your nails with heart-shaped tips using shape tapes. You can also switch it up with different shapes like stars or triangles for a unique look. 4. Checkered Pattern Create a chic and sophisticated look with a checkered pattern using shape tapes. This design is perfect for a monochrome look or add some color for a bold statement. 5. Tribal Prints Get inspired by tribal patterns and use shape tapes to create unique nail art designs. You can mix and match different shapes and colors to create a truly tribal-inspired look.3. 5 Must-Try Nail Art Designs Using Shape Tapes


3. 5 Must-Try Nail Art Designs Using Shape Tapes


Now that you know how to use shape tapes for nail art and have some design ideas, it's time to choose the best tapes for your needs. Here are some of the top shape tapes for nail art, according to reviews and recommendations. 1. Whats Up Nails Skinny Straight Tape These thin straight tapes are perfect for creating clean and precise lines in your nail art. They come in a variety of colors and are easy to use. 2. Twinkled T Chevron Nail Vinyls These chevron-shaped vinyls are great for creating geometric patterns and designs on your nails. They are also reusable, making them a cost-effective option. 3. Born Pretty Geometric Nail Stickers These stickers come in a variety of shapes and designs, making it easy to create intricate and unique nail art. They are also self-adhesive, making application a breeze. 4. Ejiubas Nail Stamping Plates For those who prefer stamping over painting, these stamping plates come with various nail designs and shapes. Simply stamp the design onto your nails and then add shape tapes for a more intricate look. 5. Kiss Design Perfection Nail Art Tape These tapes come in a variety of widths and patterns, making them versatile for creating different designs. They also have a self-adhesive backing, making application easy and mess-free.4. The Best Shape Tapes for Nail Art: Reviews and Recommendations


4. The Best Shape Tapes for Nail Art: Reviews and Recommendations


While shape tapes make creating nail art easier, there are still some tips and tricks to keep in mind for a flawless and long-lasting look. 1. Use a Base Coat Applying a base coat before using shape tapes can help the tapes adhere better to your nails and prevent any nail polish from bleeding under the tapes. 2. Cut the Tapes to Size If the shape tapes you have are too long or wide for your nails, don't be afraid to cut them to size. This will help create a more precise and clean look. 3. Experiment with Different Patterns and Designs Don't limit yourself to just using shape tapes in one way. Experiment with different patterns and designs to find what works best for you and your style. 4. Seal with a Top Coat To make your design last longer, make sure to seal it with a top coat. This will also add shine and prevent any peeling or chipping. 5. Practice Makes Perfect Using shape tapes for nail art may take some practice, so don't be discouraged if your first attempt doesn't turn out perfectly. Keep practicing and you'll soon become a pro at creating flawless nail designs.5. Nail Art with Shape Tapes: Tips and Tricks for a Flawless Look


5. Nail Art with Shape Tapes: Tips and Tricks for a Flawless Look


Creating nail art with shape tapes doesn't have to break the bank. Here are some easy and affordable DIY ideas that you can try at home. 1. Glitter Tips Add some sparkle to your classic French tips by using shape tapes to create a clean line and then adding glitter nail polish over it. This is a great option for a glamorous and festive look. 2. Color Block Design Create a bold and modern look by using shape tapes to create color blocks on your nails. You can use two or more colors to create a unique and eye-catching design. 3. Alphabet Nails Get creative and use shape tapes to create letters on your nails. You can spell out words or simply add your initials for a personalized touch. 4. Metallic Stripes Add a touch of sophistication to your nails by using metallic shape tapes to create stripes on your nails. This is a great option for a chic and trendy look. 5. Stencil Designs Create intricate designs on your nails with the help of stencils and shape tapes. Simply place the stencil over your nails and use shape tapes to create the design, then fill in with nail polish.6. DIY Nail Art with Shape Tapes: Easy and Affordable Ideas


6. DIY Nail Art with Shape Tapes: Easy and Affordable Ideas


Need some inspiration for your next nail art design using shape tapes? Look no further than Instagram's top nail artists who are constantly pushing the boundaries and creating stunning designs. 1. @so_nailicious This Australian nail artist is known for her intricate and creative nail art designs, often incorporating shape tapes for a clean and precise look. 2. @nailjerks Based in Los Angeles, this nail artist creates bold and edgy designs using shape tapes, often mixing and matching different patterns and colors for a unique look. 3. @nail_unistella This South Korean nail artist is known for her minimalistic yet eye-catching designs, often using shape tapes to create negative space and geometric patterns. 4. @mpnails Based in New York, this nail artist is known for her bold and colorful designs that often incorporate shape tapes for clean lines and intricate patterns. 5. @paintboxnails This New York-based nail studio is known for their modern and artistic approach to nail art, often incorporating shape tapes in unique and unexpected ways.7. Nail Art with Shape Tapes: Inspiration from Instagram's Top Nail Artists
.jpg)

7. Nail Art with Shape Tapes: Inspiration from Instagram's Top Nail Artists


Removing shape tapes from your nails can be tricky, but with the right technique, you can do it without damaging your nails. Step 1: Soak Your Nails Start by soaking your nails in warm water for a few minutes. This will help soften the adhesive on the tapes, making it easier to remove them. Step 2: Gently Peel Off the Tapes Using tweezers, gently peel off the shape tapes from your nails. If they are not coming off easily, soak your nails for a few more minutes and try again. Step 3: Clean Up Any Residue If there is any adhesive residue left on your nails, use a cotton pad soaked in nail polish remover to clean it off. Be gentle to avoid damaging your nails. Step 4: Moisturize Your Nails8. How to Remove Shape Tapes from Your Nails Without Damaging Them


8. How to Remove Shape Tapes from Your Nails Without Damaging Them


Enhance Your Nail Art Game with Shape Tapes
 As the world of nail art continues to evolve and expand, there are always new and innovative ways to take your manicure to the next level. One trend that has been gaining popularity in recent years is using shape tapes to create unique and intricate designs on your nails. This simple yet effective tool can elevate your nail art game and make you stand out from the crowd. So, if you're looking to up your nail game, read on to learn more about the wonders of nail art with shape tapes.
What are Shape Tapes?
 Shape tapes, also known as nail stencils, are thin adhesive strips that come in various shapes and designs. They are typically made of vinyl or paper and can be easily applied to your nails to create crisp lines and shapes. These tapes come in a wide range of designs, from geometric patterns to intricate lace designs, giving you endless options for your nail art.
Featured Keyword: Nail Art
Other related main keywords: Manicure, Shapes, Designs, Stencils, Vinyl, Paper, Geometric, Patterns, Intricate, Lace
Shape tapes, also known as nail stencils, are thin adhesive strips that come in various shapes and designs. They are typically made of vinyl or paper and can be easily applied to your nails to create crisp lines and shapes. These tapes come in a wide range of designs, from geometric patterns to intricate lace designs, giving you endless options for your nail art.
Featured Keyword: Nail Art
Other related main keywords: Manicure, Shapes, Designs, Stencils, Vinyl, Paper, Geometric, Patterns, Intricate, Lace
How to Use Shape Tapes for Nail Art
 Using shape tapes for nail art is a simple and straightforward process. To begin, start by applying a base coat to your nails and let it dry completely. Next, choose the shape tape design you want to use and carefully place it on your nail, making sure it is fully adhered to your nail. Then, apply your desired nail polish color over the tape and let it dry for a few seconds. Finally, gently peel off the tape to reveal a perfect design on your nails. You can also use multiple tapes to create intricate and layered designs for a more unique look.
The Benefits of Using Shape Tapes for Nail Art
 There are numerous benefits to using shape tapes for nail art. Firstly, they allow you to create intricate and precise designs with ease, even if you're not a professional nail artist. The tapes act as a guide, ensuring that your lines and shapes are clean and crisp. Additionally, shape tapes are versatile and can be used on both natural and artificial nails, making them suitable for everyone. They also come in various sizes, making it easy to find the perfect fit for your nails.
Featured Keyword: Shape Tapes
Other related main keywords: Benefits, Intricate, Precise, Clean, Versatile, Natural, Artificial, Suitable, Sizes
There are numerous benefits to using shape tapes for nail art. Firstly, they allow you to create intricate and precise designs with ease, even if you're not a professional nail artist. The tapes act as a guide, ensuring that your lines and shapes are clean and crisp. Additionally, shape tapes are versatile and can be used on both natural and artificial nails, making them suitable for everyone. They also come in various sizes, making it easy to find the perfect fit for your nails.
Featured Keyword: Shape Tapes
Other related main keywords: Benefits, Intricate, Precise, Clean, Versatile, Natural, Artificial, Suitable, Sizes
In Conclusion
 Shape tapes are an excellent tool for anyone looking to step up their nail art game. With their versatility and ease of use, they are perfect for both beginners and experienced nail artists. So, why not give them a try and take your nail art to the next level? With endless design options and professional-looking results, you'll be sure to impress with your stunning and unique manicure.


