Sponge nail art is a trendy and easy way to add some flair to your nails. This technique involves using a sponge to create a gradient or ombre effect on your nails, resulting in a unique and eye-catching design. Here, we will guide you through the step-by-step process of creating a stunning sponge nail art design. To start, you will need a few basic supplies: nail polish in your desired colors, a sponge (such as a makeup sponge), and a top coat. You can also use a small brush or toothpick to clean up any excess polish around your cuticles. Pro tip: choose colors that complement each other well and have a good contrast to create a striking design. First, paint your nails with a base coat to protect them from staining and to help your nail polish adhere better. Let it dry completely before moving on to the next step. Next, apply two coats of your base color on your nails. Let each coat dry completely before moving on to the next. This will ensure that your base color is fully opaque. Now, it's time to start creating your gradient. Apply your chosen colors onto the sponge, making sure to blend them slightly at the edges. Press the sponge onto your nail and gently dab it to transfer the polish onto your nails. Repeat this step until you achieve the desired intensity of the gradient. You may need to add more polish to the sponge in between each application. Once you're happy with your gradient, let it dry completely. Then, you can clean up any excess polish around your nails using a small brush or toothpick dipped in nail polish remover. Pro tip: to make the colors blend even more seamlessly, you can lightly dab another layer of the base color over the gradient using the sponge. Finally, finish off your design with a layer of top coat to seal in your design and add shine. And voila! You now have a gorgeous sponge nail art design.1. How to Create a Sponge Nail Art Design Step by Step


1. How to Create a Sponge Nail Art Design Step by Step


Sponge nail art may seem intimidating, but it's actually a simple and beginner-friendly technique. With a little practice, you can create stunning designs that will make you feel like a professional nail artist. Here's an easy tutorial to get you started on your sponge nail art journey. Featured keywords: sponge nail art, easy, beginners Step 1: Gather your supplies - nail polish in your desired colors, a sponge, and a top coat. Step 2: Apply a base coat to protect your nails and let it dry completely. Step 3: Apply two coats of your base color and let each coat dry completely. Step 4: Take your sponge and apply your chosen colors onto it, making sure to blend them slightly at the edges. Step 5: Press the sponge onto your nail and gently dab it to transfer the polish onto your nails. Repeat this step until you achieve the desired intensity of the gradient. Step 6: Let your gradient dry completely and clean up any excess polish around your nails. Step 7: Finish off with a layer of top coat to seal in your design and add shine. And there you have it - a simple and easy sponge nail art design that even beginners can achieve. With practice, you can experiment with different color combinations and techniques to create unique and beautiful designs.2. Easy Sponge Nail Art Tutorial for Beginners

2. Easy Sponge Nail Art Tutorial for Beginners


Gradient nail art is a popular and versatile trend that can be achieved using a variety of tools, including a sponge. It's a fun and creative way to add some color and dimension to your nails. Follow these steps to create a gradient nail art design using a sponge. Main keywords: gradient nail art, sponge, step by step Step 1: Start by gathering your supplies - nail polish in your desired colors, a sponge, and a top coat. Step 2: Apply a base coat to protect your nails and let it dry completely. Step 3: Apply two coats of your base color and let each coat dry completely. Step 4: Take your sponge and apply your chosen colors onto it, making sure to blend them slightly at the edges. Step 5: Press the sponge onto your nail and gently dab it to transfer the polish onto your nails. Repeat this step until you achieve the desired intensity of the gradient. Step 6: Let your gradient dry completely and clean up any excess polish around your nails. Step 7: Finish off with a layer of top coat to seal in your design and add shine. Now you have a beautiful gradient nail art design that will surely turn heads. Experiment with different colors and patterns to create unique and eye-catching designs.3. Step by Step Guide to Creating Gradient Nail Art with a Sponge


3. Step by Step Guide to Creating Gradient Nail Art with a Sponge


Creating sponge nail art can be a bit messy, but with the right techniques and tips, you can achieve flawless results every time. Here are some helpful tips and tricks for a smooth and successful DIY sponge nail art experience. Main keywords: DIY, sponge nail art, tips and tricks, flawless results Tip 1: Use a makeup sponge instead of a regular kitchen sponge. Makeup sponges have a finer texture, making it easier to achieve a smooth and seamless gradient. Tip 2: Prep your nails properly before starting. This includes shaping and buffing your nails, pushing back your cuticles, and removing any old polish. Tip 3: Keep a small dish of water nearby to dip your sponge in between applications. This will help keep the sponge moist and prevent it from absorbing too much polish. Tip 4: Clean up any excess polish around your nails using a small brush or toothpick dipped in nail polish remover. This will give your design a clean and polished look. Tip 5: Experiment with different patterns and techniques. You can create a gradient horizontally, vertically, or diagonally. You can also try dabbing the sponge in different directions for a unique effect. Tip 6: Finish off your design with a layer of top coat to seal in your design and add shine. This will also help smooth out any bumps or imperfections. With these tips and tricks, you'll be able to create flawless sponge nail art designs in no time. Don't be afraid to get creative and have fun with different colors and techniques.4. DIY Sponge Nail Art: Tips and Tricks for Flawless Results


4. DIY Sponge Nail Art: Tips and Tricks for Flawless Results


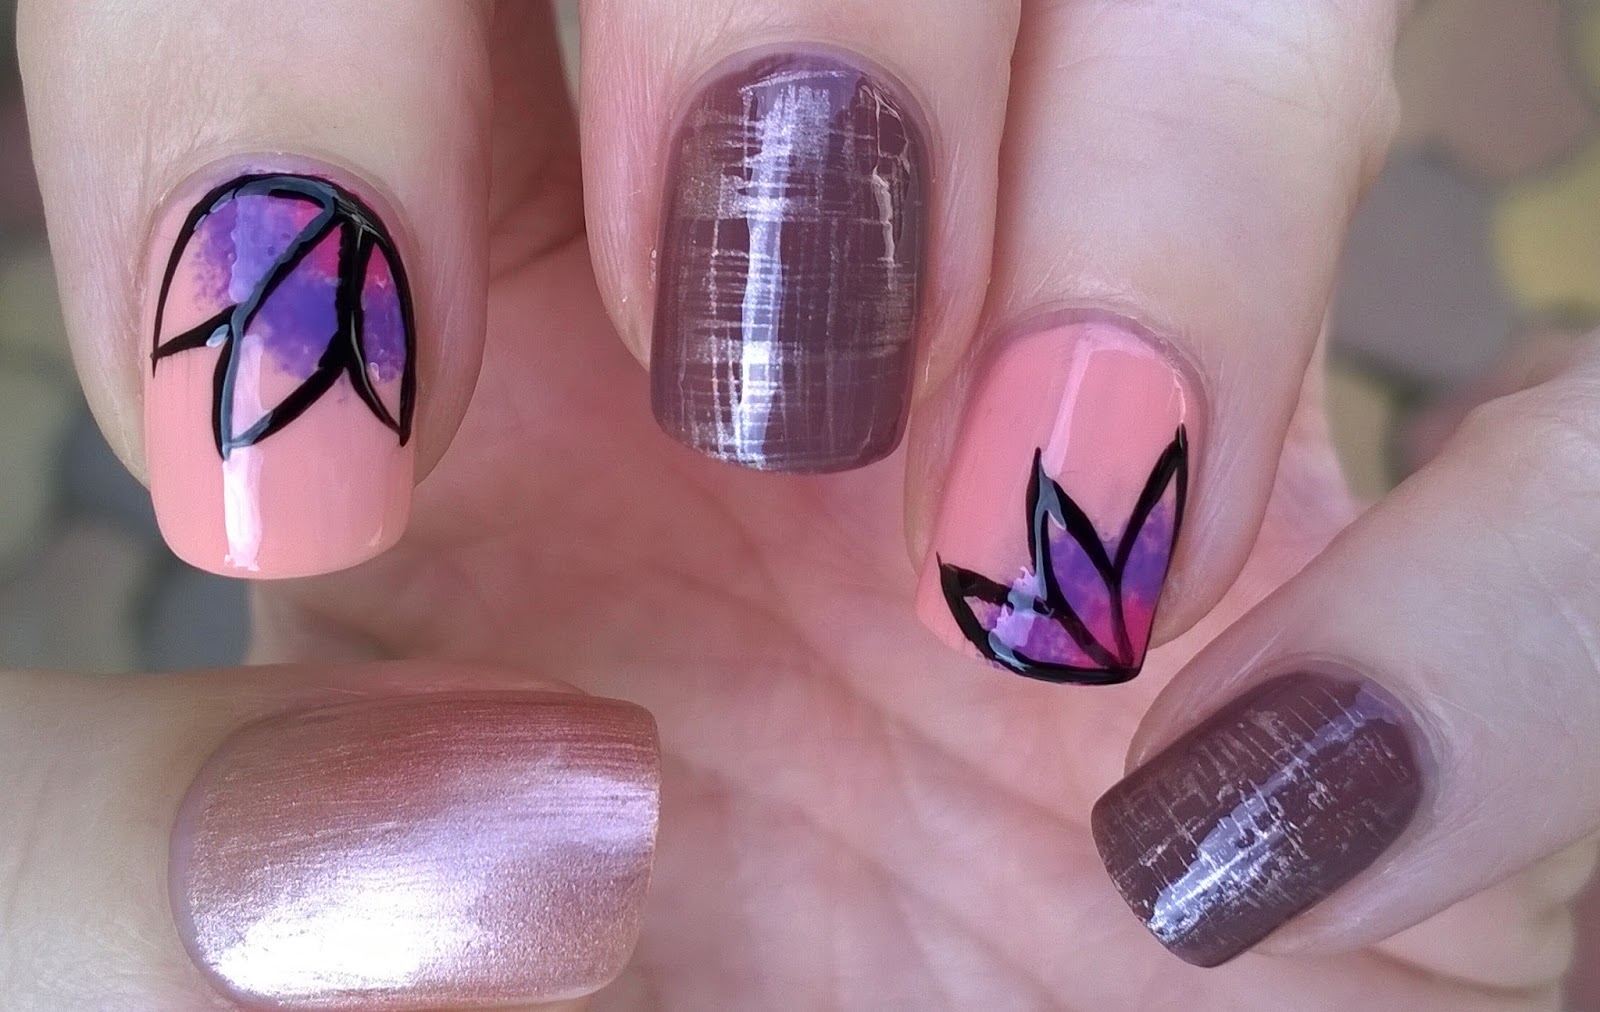
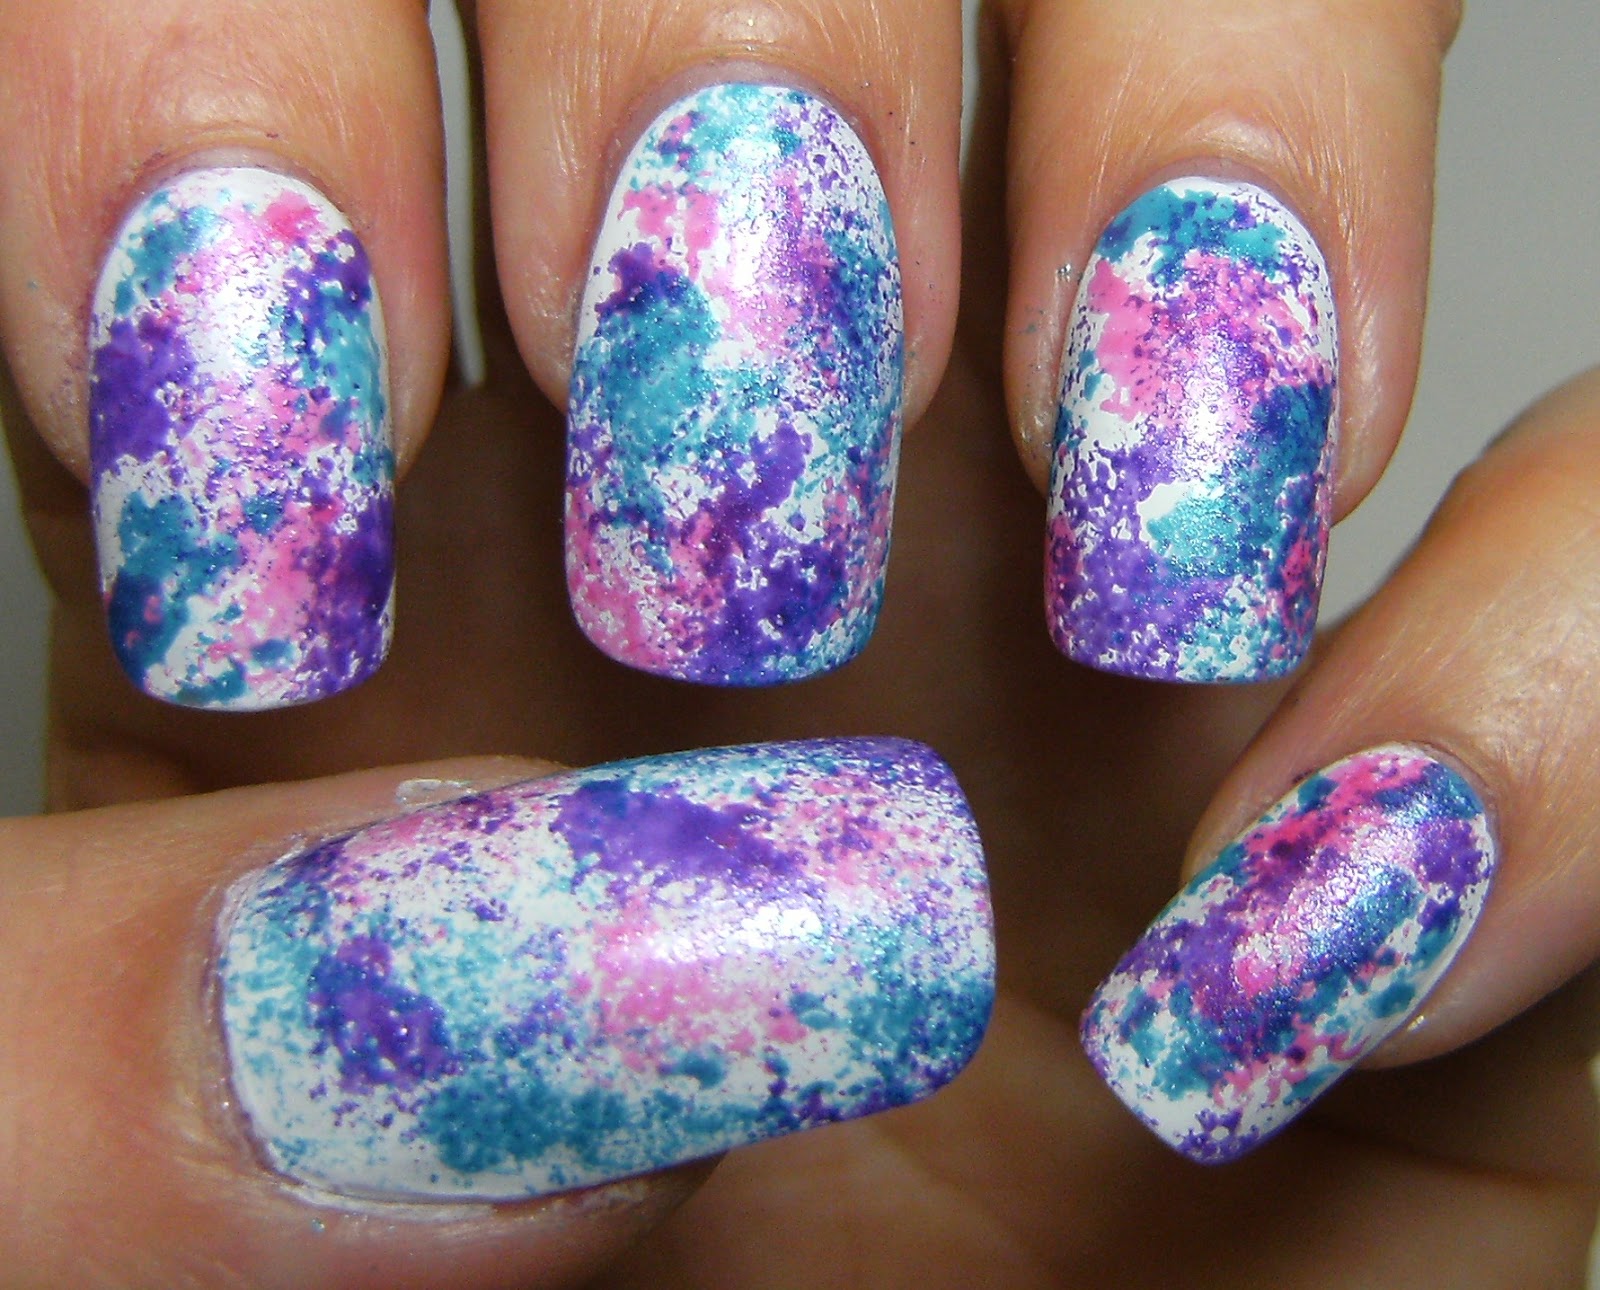
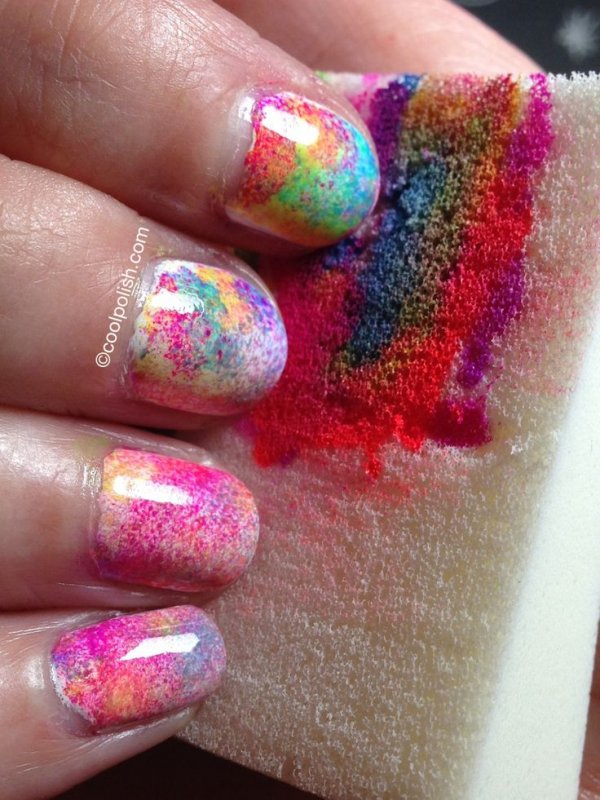
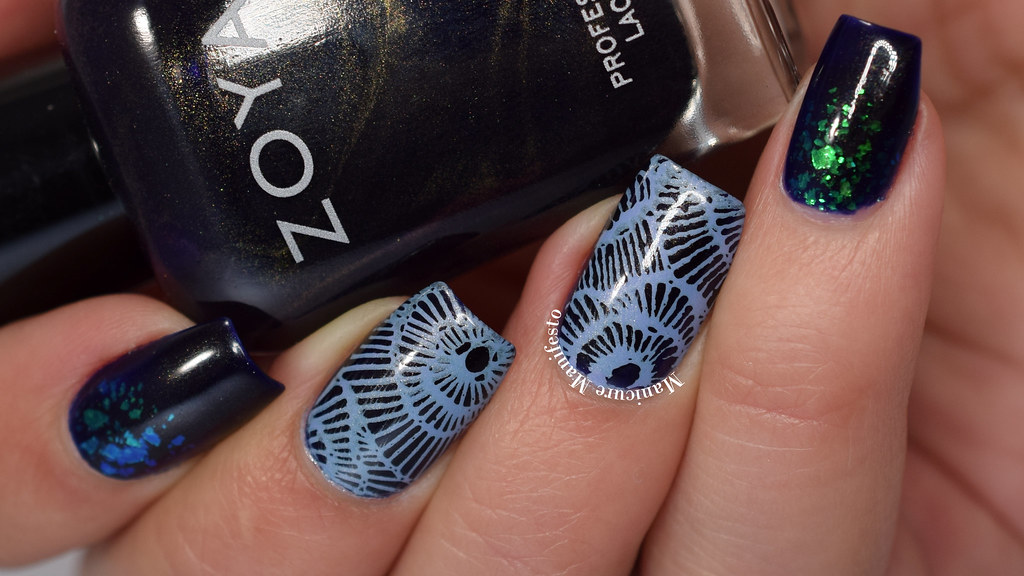
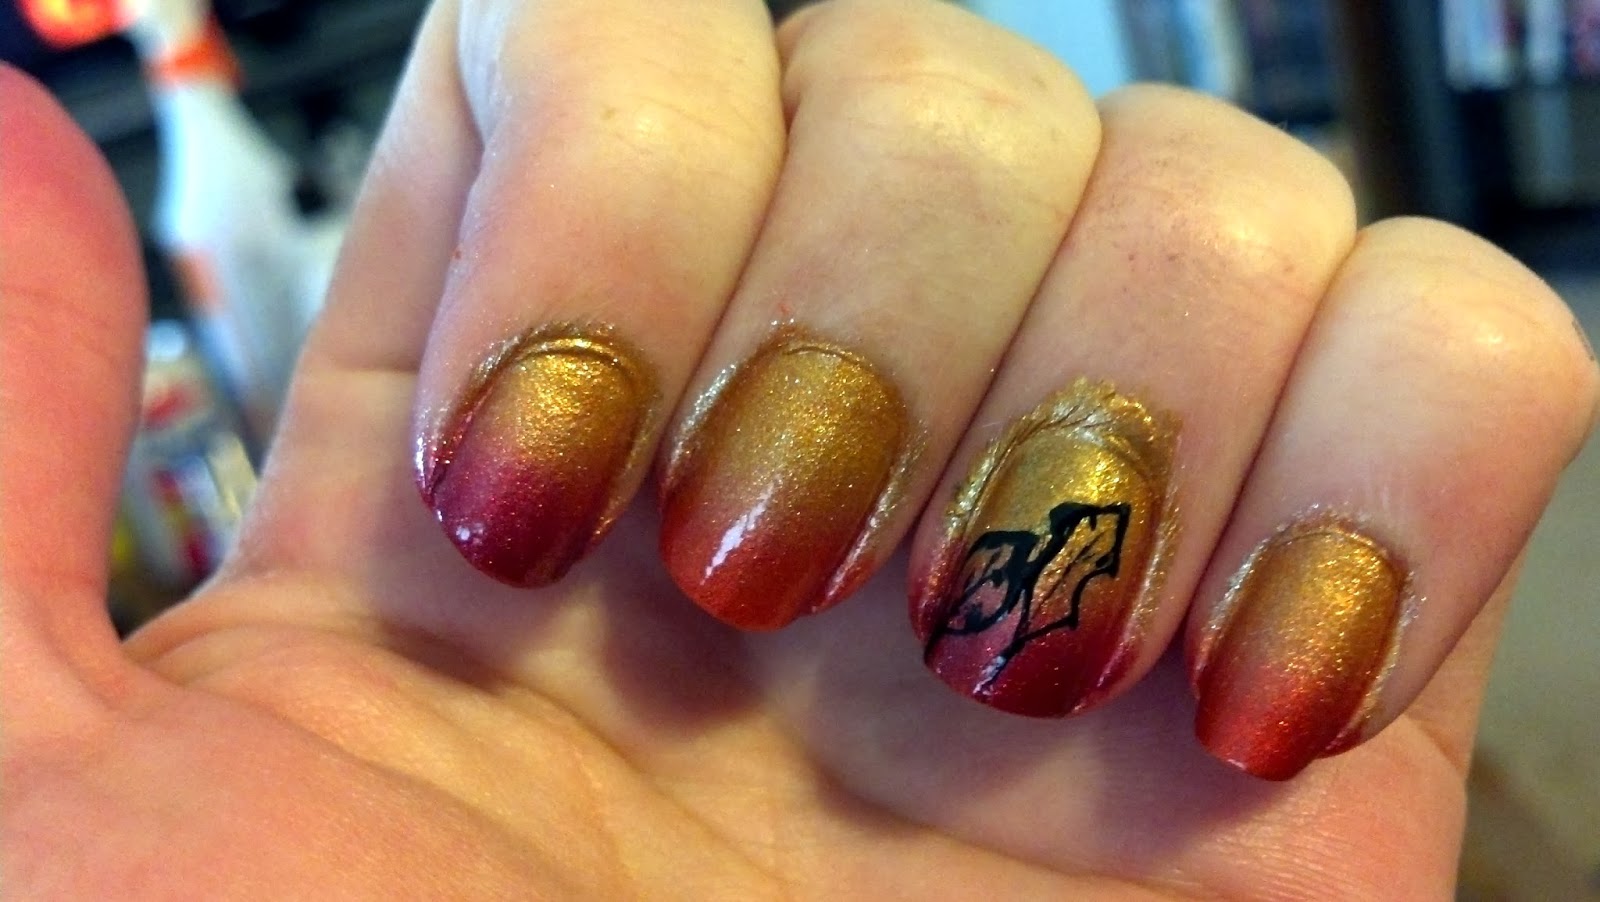
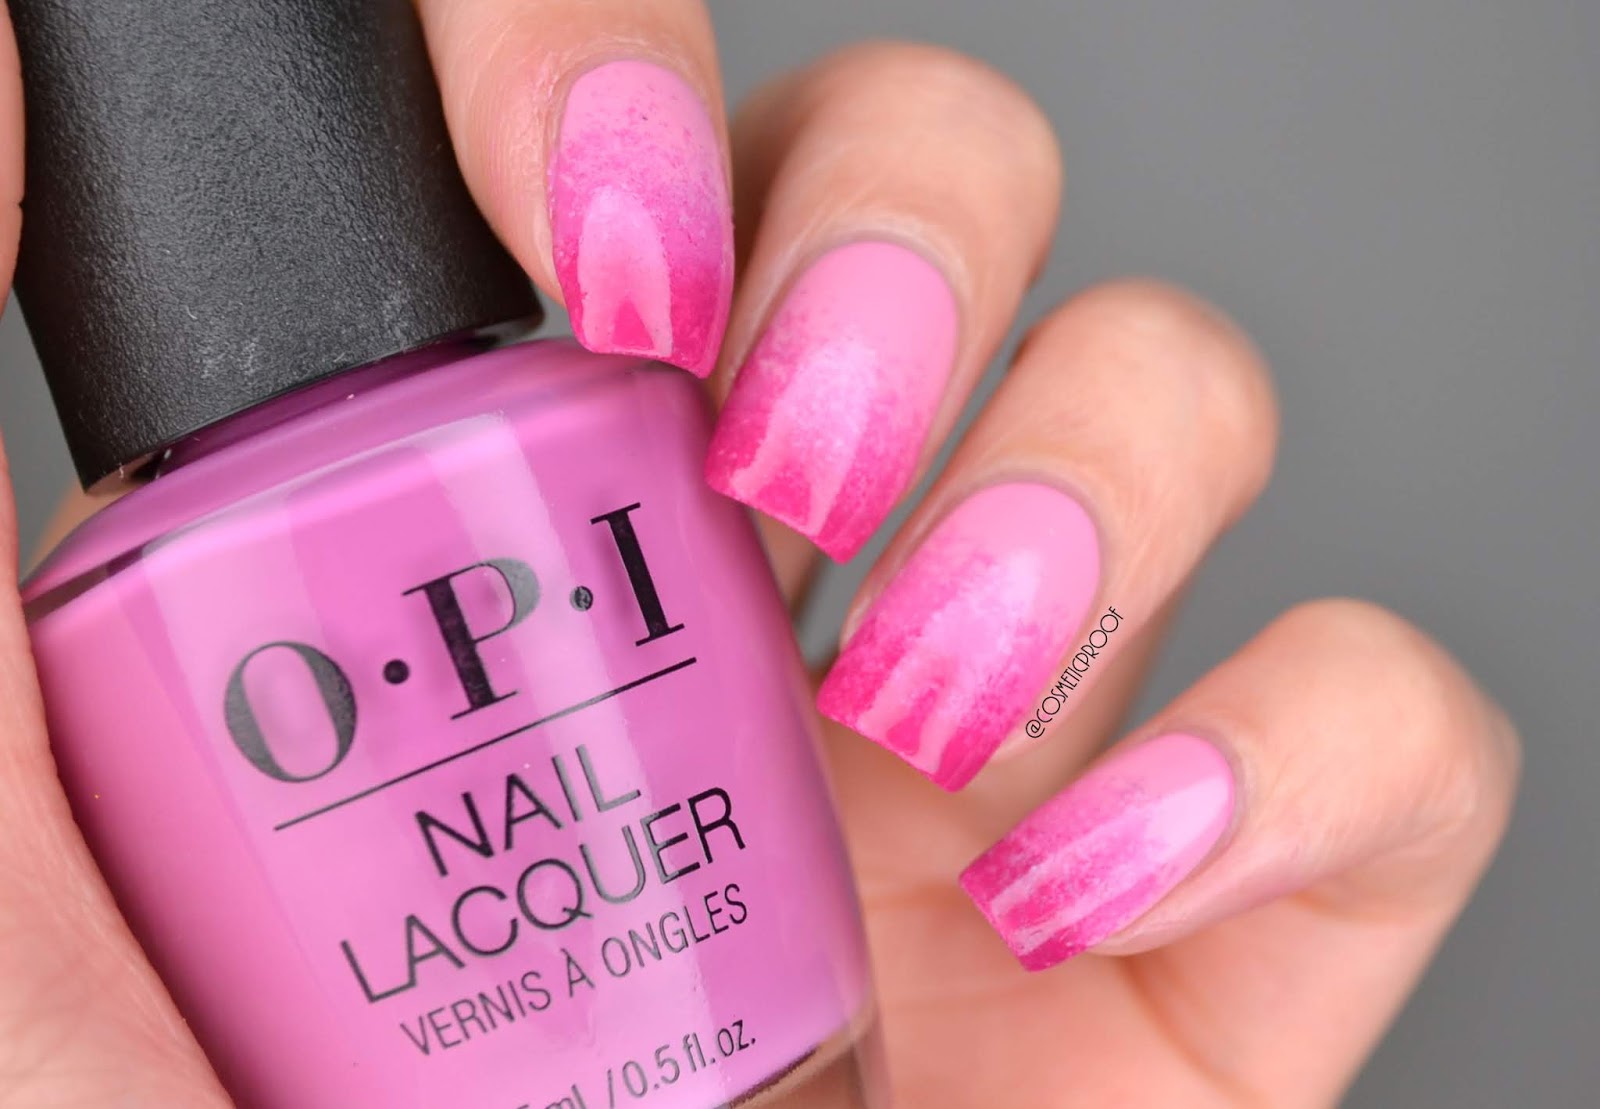
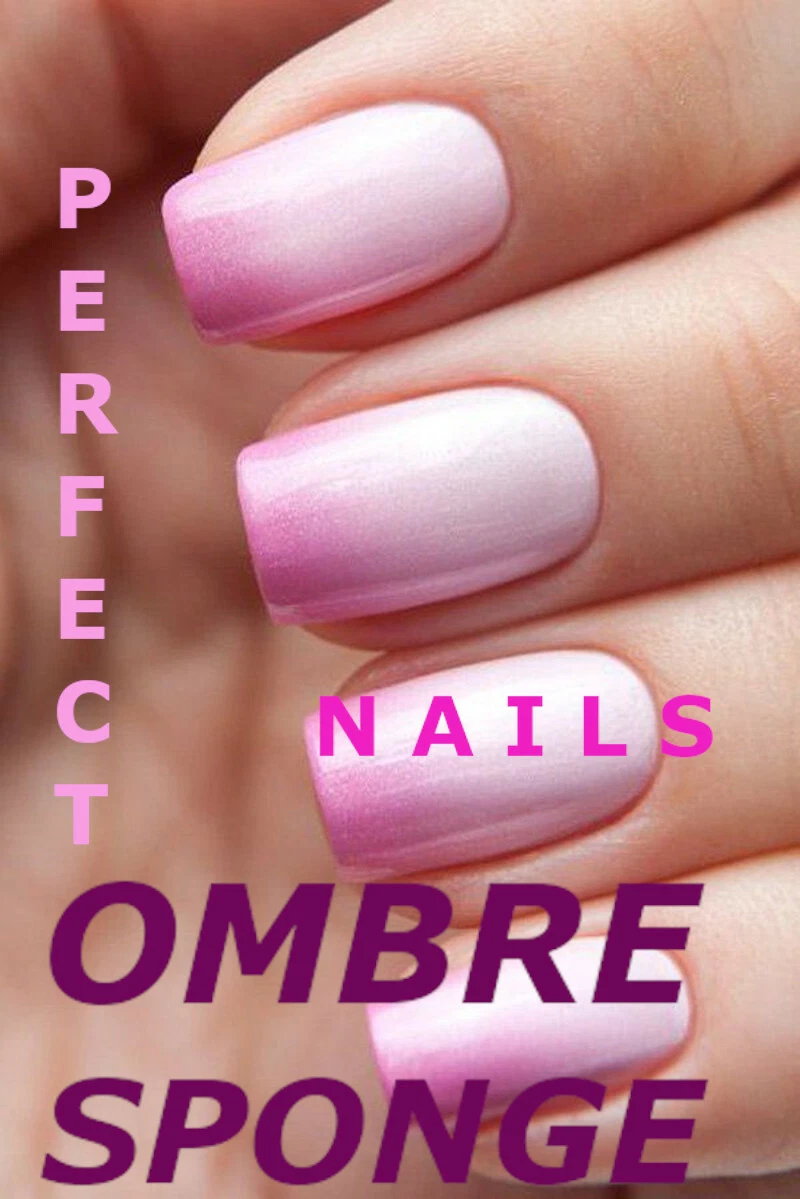
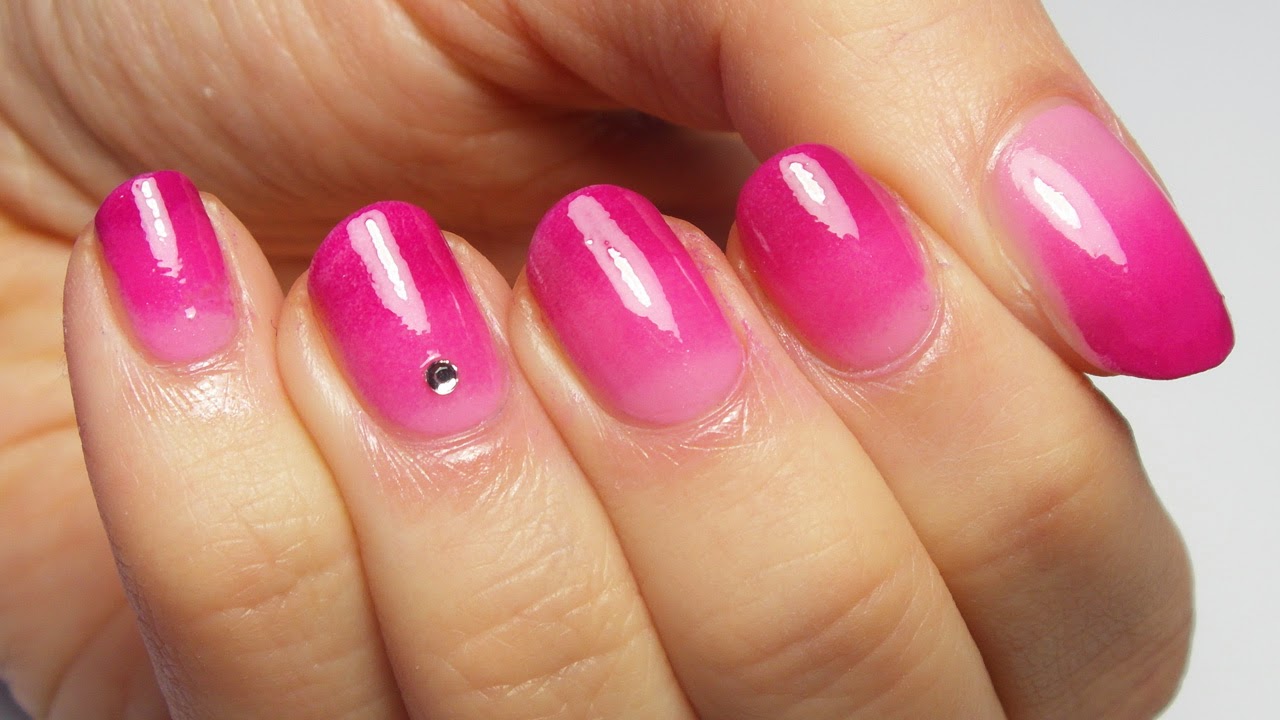
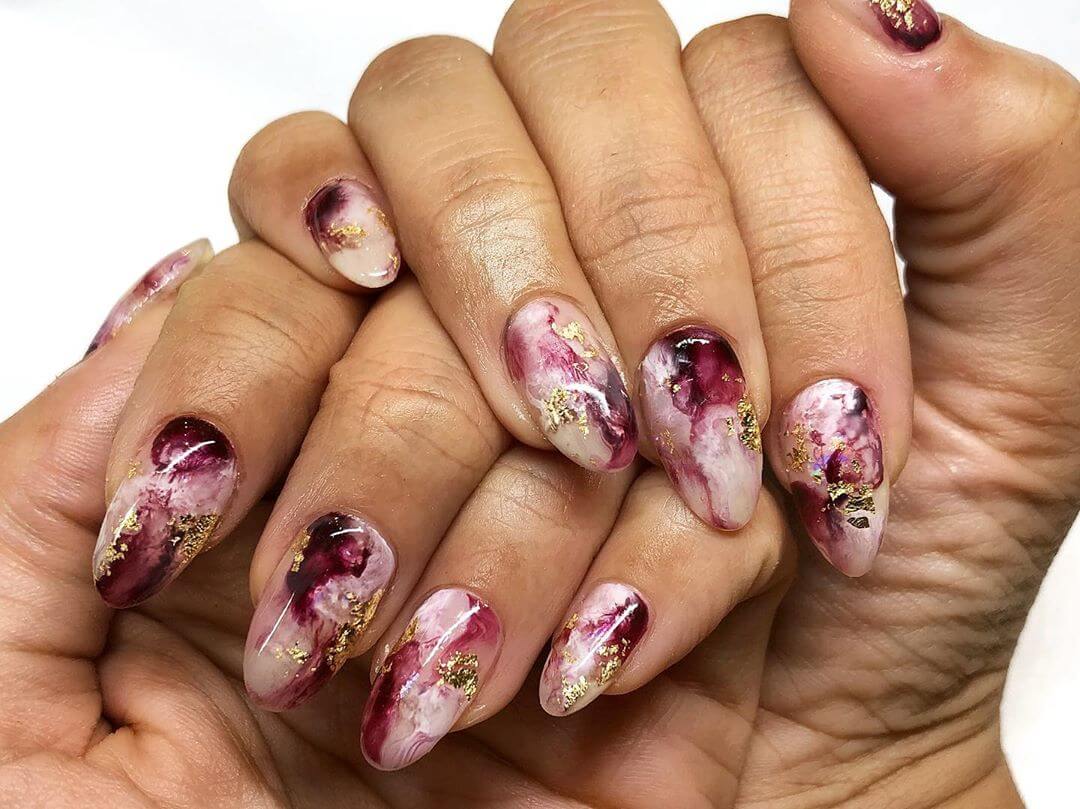
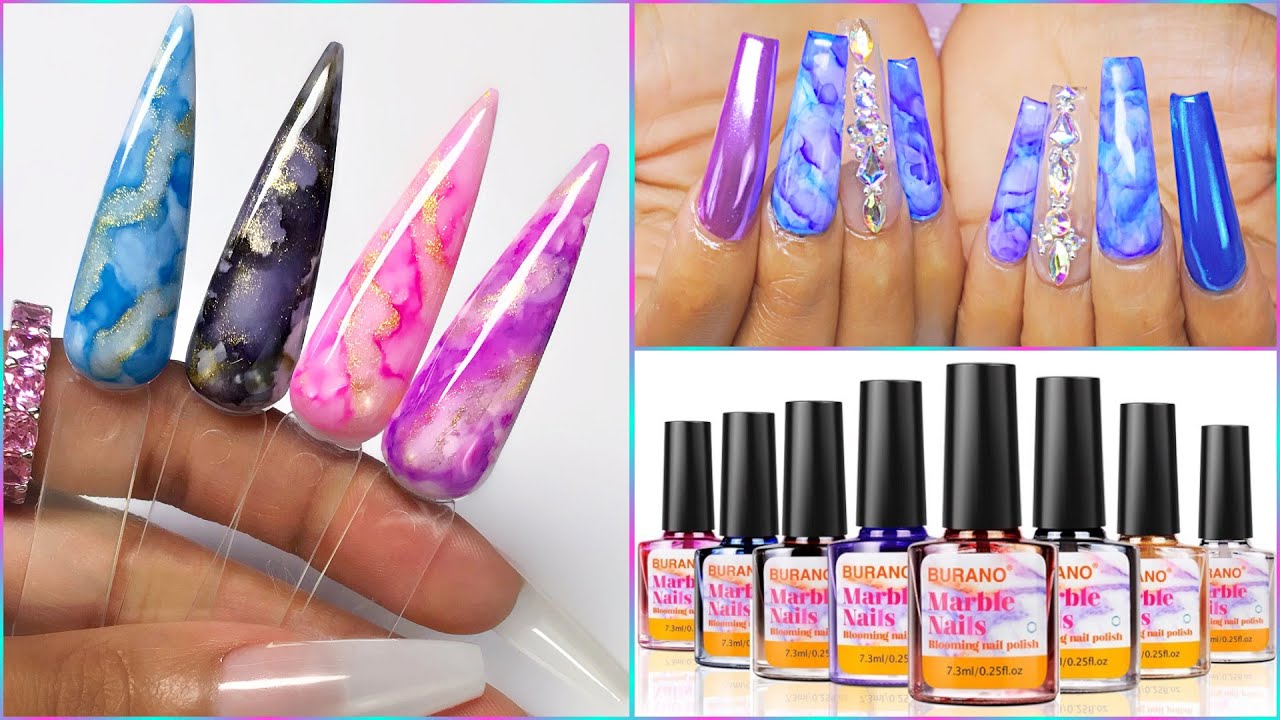
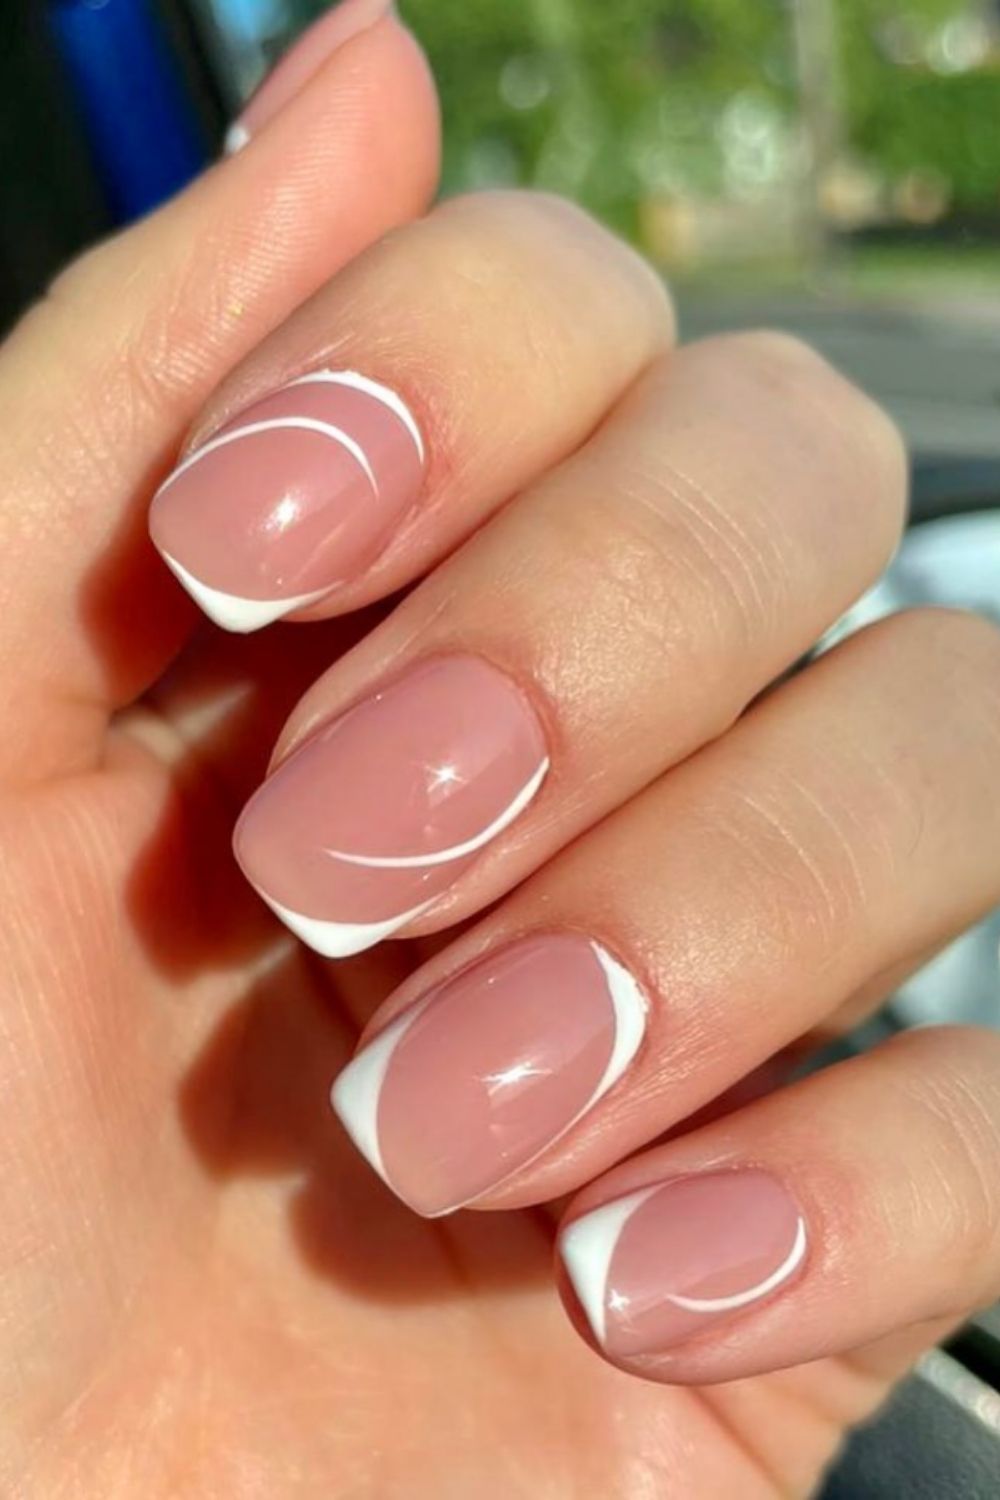
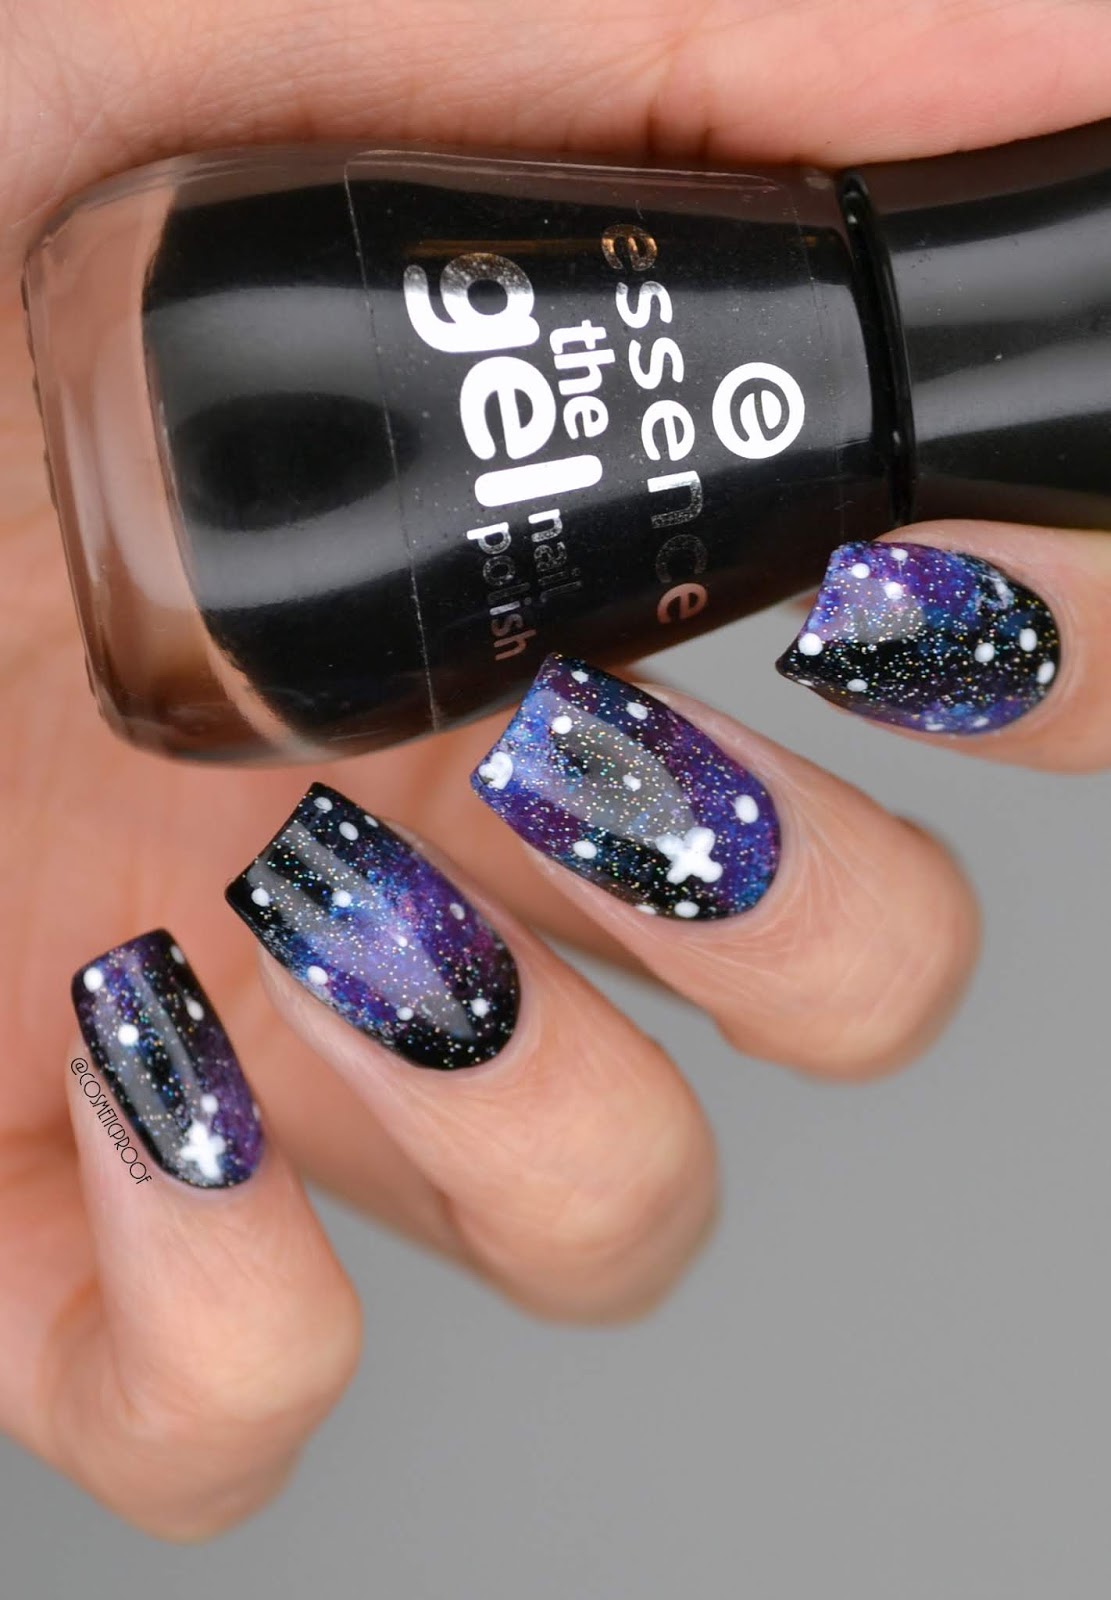
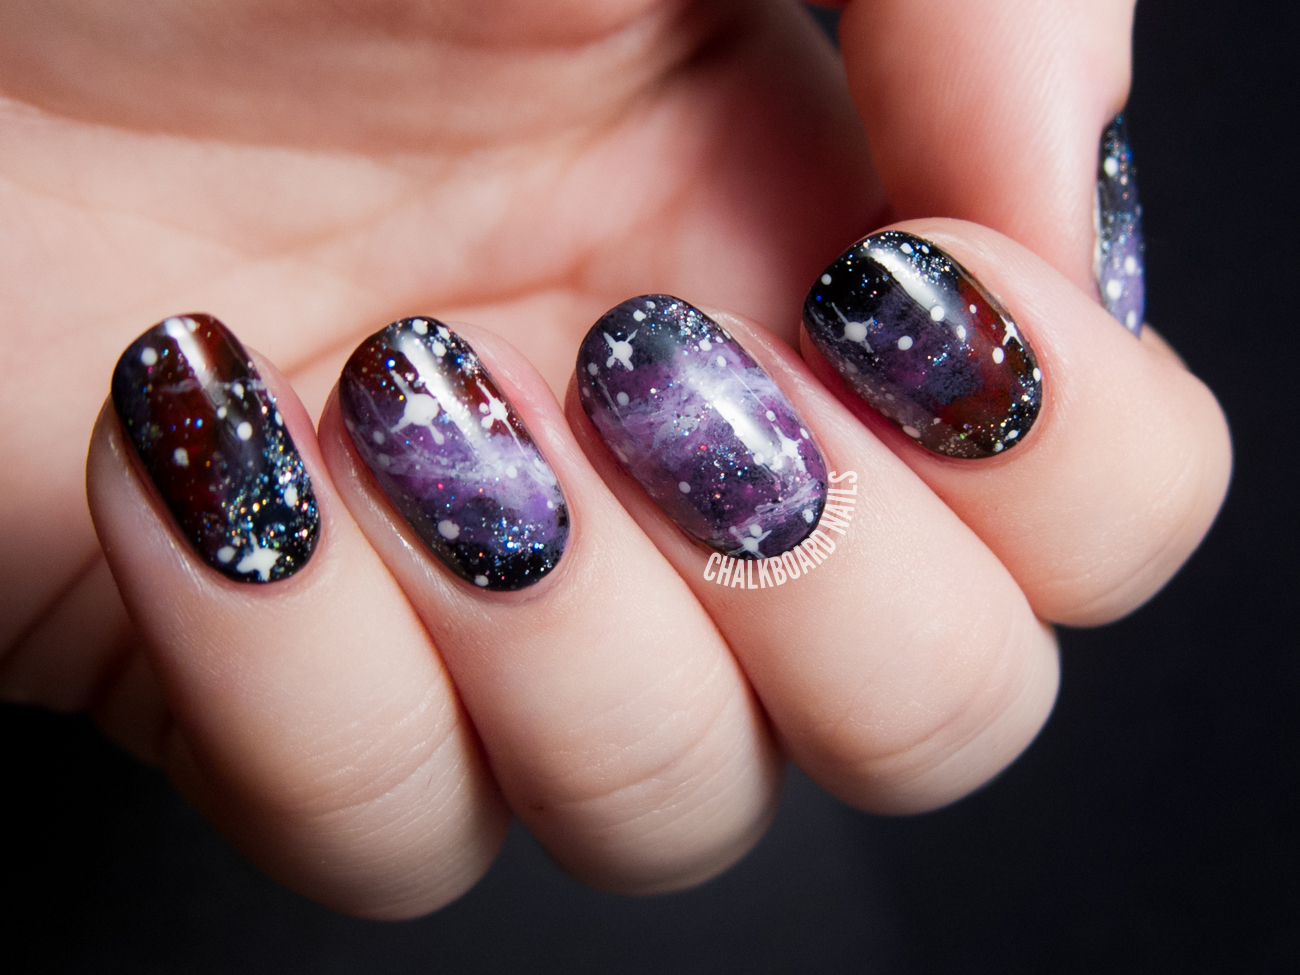
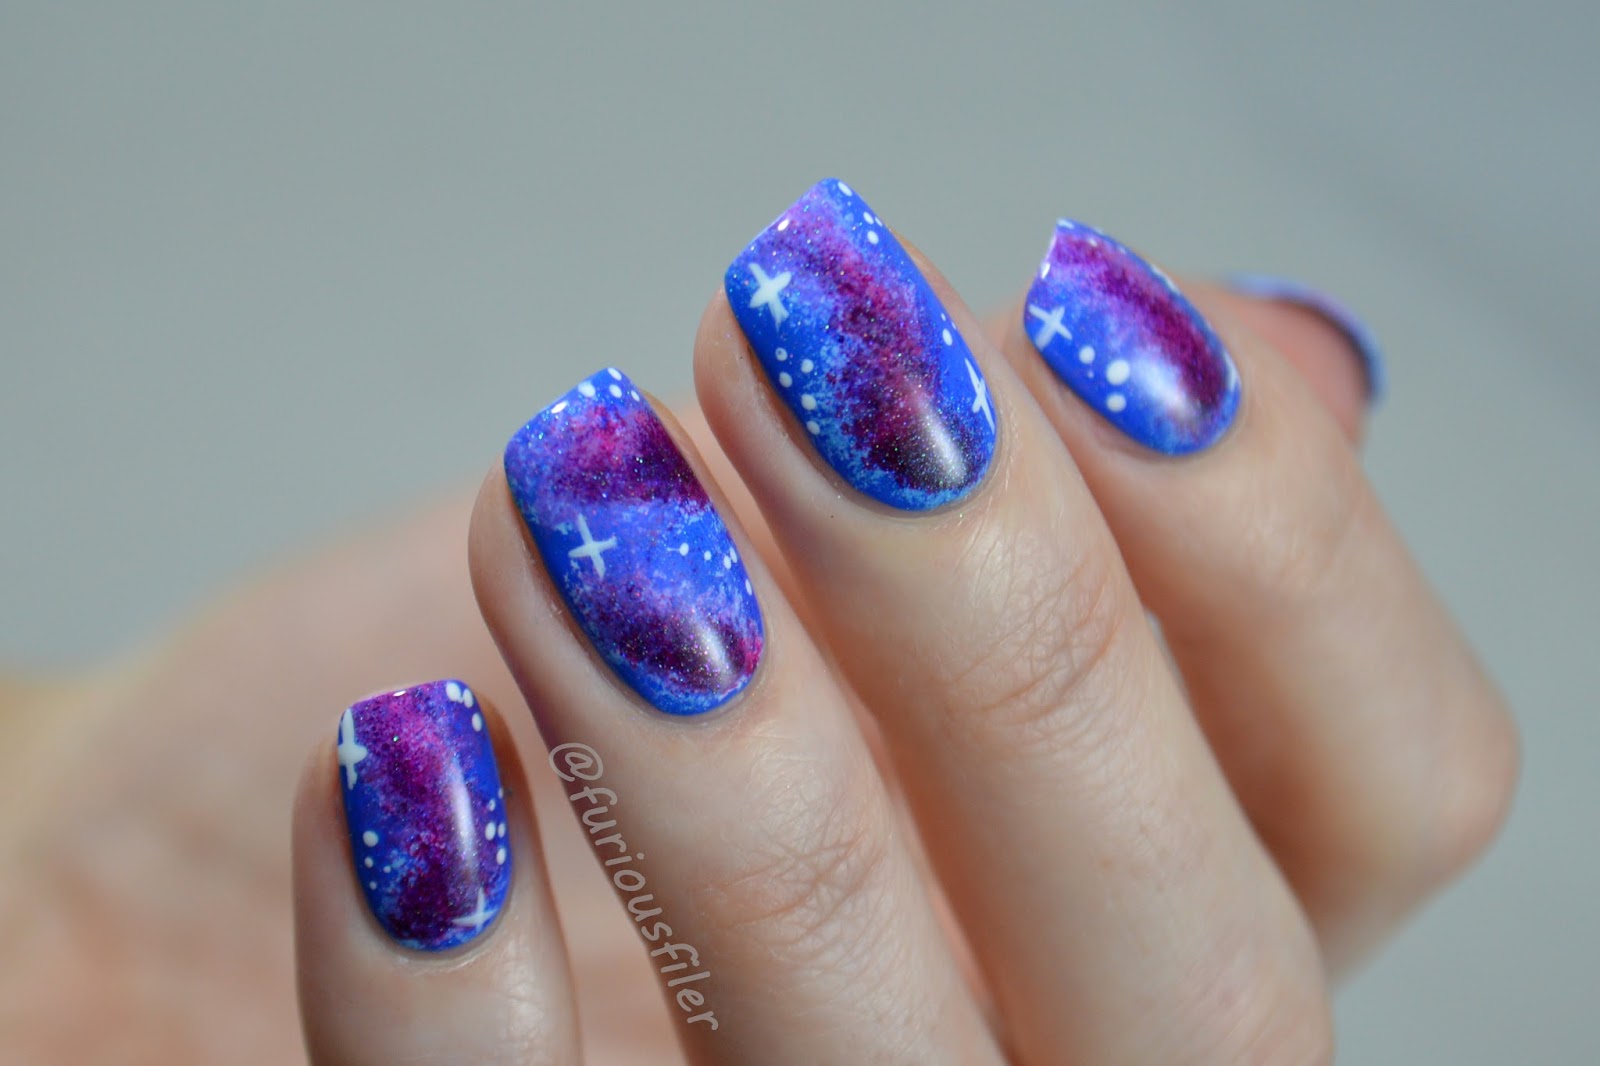
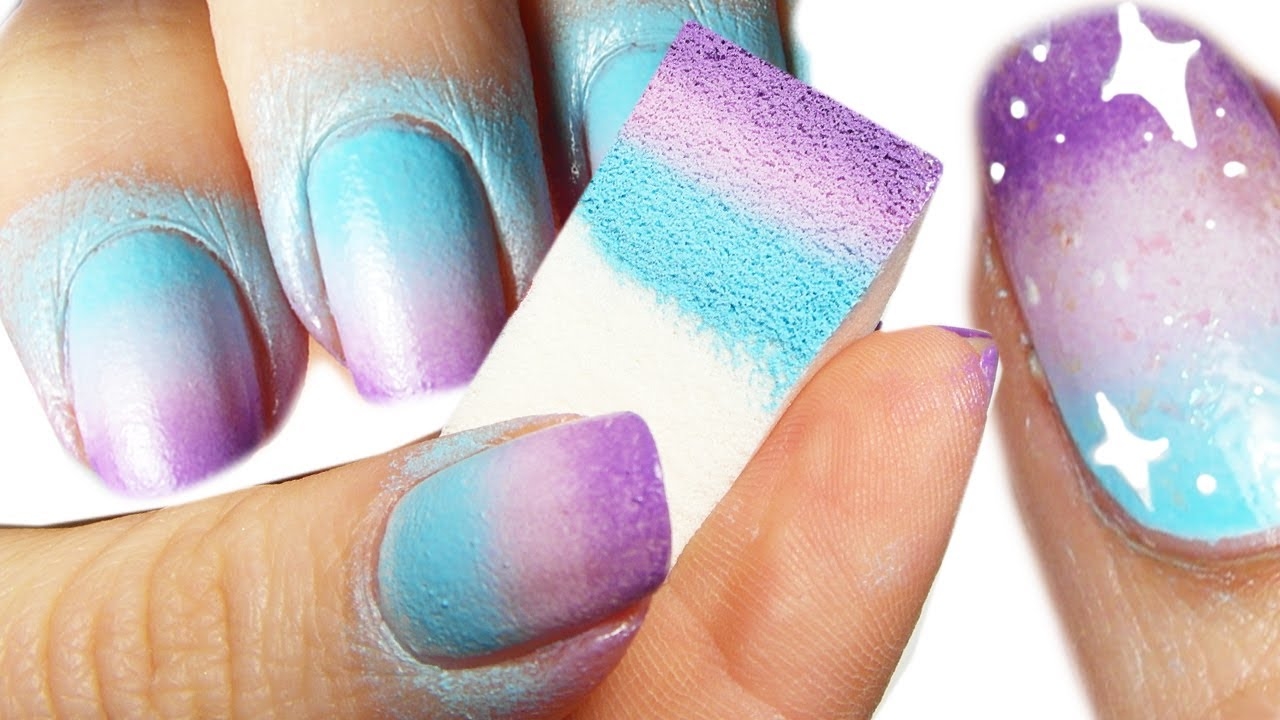
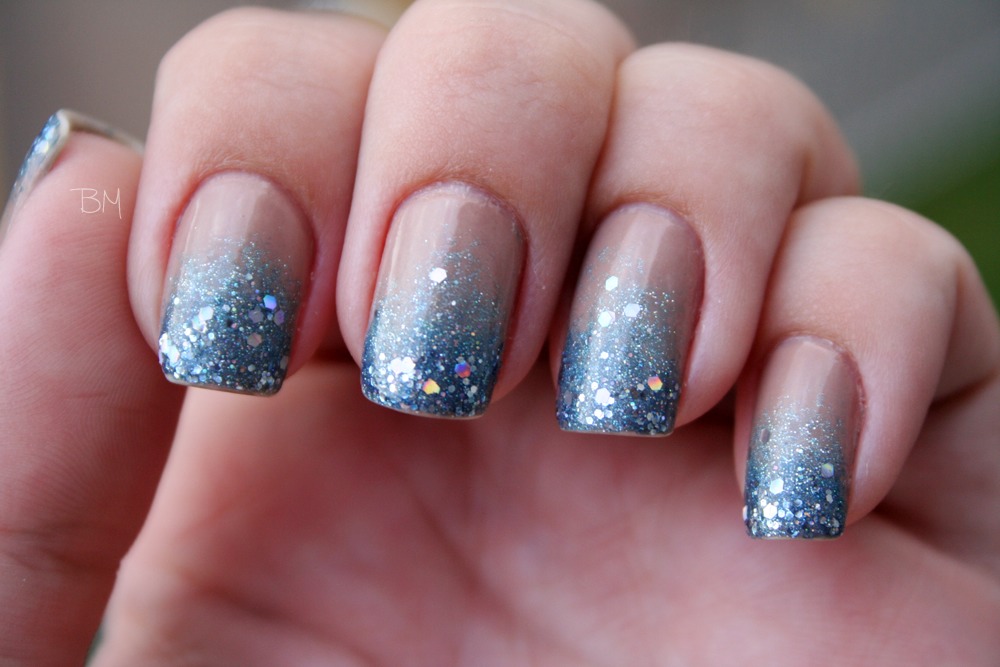
Sponge nail art is a versatile technique that can be used to create various designs and patterns. Whether you're looking for a subtle and understated design or something bold and eye-catching, there's a sponge nail art design for every occasion. Here are some ideas to inspire your next nail look. Main keywords: sponge nail art, ideas, every occasion Idea 1: Create a gradient using soft pastel colors for a delicate and feminine look perfect for springtime. Idea 2: Use vibrant neon colors to create a bold and fun gradient for your next music festival or summer party. Idea 3: Create an ombre effect using shades of the same color for a chic and sophisticated look. Idea 4: Create a galaxy-inspired design using a sponge to create a mesmerizing blend of colors and glitter. Idea 5: Use a sponge to create a marble effect by blending different colors together for a unique and elegant design. Idea 6: Create a gradient using metallic shades for a glamorous and edgy look. Idea 7: Use a sponge to create a watercolor effect by blending different colors together for a dreamy and artistic design. Idea 8: Create a gradient using shades of blue and white for a beachy and nautical look. Idea 9: Create a rainbow gradient using different colors for a fun and colorful design. Idea 10: Use a sponge to create a plaid or tartan pattern by blending different colors together for a trendy and unique design. These are just a few ideas to get you started, but the possibilities are endless when it comes to sponge nail art. Let your creativity and imagination run wild to create your own unique designs for any occasion.5. Sponge Nail Art Ideas for Every Occasion


5. Sponge Nail Art Ideas for Every Occasion


Ombre nail art is a popular trend that involves blending two or more colors seamlessly, resulting in a gradient effect. While there are various tools and techniques for creating ombre nails, using a sponge is one of the easiest and most foolproof methods. Here's how you can master the ombre nail art technique using a sponge. Main keywords: ombre nail art, sponge, mastering, technique Step 1: Gather your supplies - nail polish in your desired colors, a sponge, and a top coat. Step 2: Apply a base coat to protect your nails and let it dry completely. Step 3: Apply two coats of your base color and let each coat dry completely. Step 4: Take your sponge and apply your chosen colors onto it, making sure to blend them slightly at the edges. Step 5: Press the sponge onto your nail and gently dab it to transfer the polish onto your nails. Repeat this step until you achieve the desired intensity of the gradient. Step 6: Let your gradient dry completely and clean up any excess polish around your nails. Step 7: Finish off your design with a layer of top coat to seal in your design and add shine. With a little practice and patience, you can master the ombre nail art technique using a sponge and create stunning gradient designs that will make your nails stand out.6. Mastering the Ombre Nail Art Technique with a Sponge

6. Mastering the Ombre Nail Art Technique with a Sponge


Marble nail art is a popular and elegant design that can be achieved using a sponge. This technique involves creating a marbled effect on your nails using different colors and a sponge. Here's a step-by-step tutorial on how you can create marble nail art with a sponge. Main keywords: marble nail art, sponge, step by step, tutorial Step 1: Gather your supplies - nail polish in your desired colors, a sponge, and a top coat. Step 2: Apply a base coat to protect your nails and let it dry completely. Step 3: Apply two coats of your base color and let each coat dry completely. Step 4: Take your sponge and apply your chosen colors onto it, making sure to blend them slightly at the edges. Step 5: Press the sponge onto your nail and gently dab it to transfer the polish onto your nails. Repeat this step until you achieve the desired intensity of the marbled effect. Step 6: Let your design dry completely and clean up any excess polish around your nails. Step 7: Finish off with a layer of top coat to seal in your design and add shine. With a little practice, you can create beautiful and unique marble nail art designs using a sponge. Experiment with different color combinations and techniques to create your own one-of-a-kind designs.7. Step by Step Tutorial for Creating Marble Nail Art with a Sponge


7. Step by Step Tutorial for Creating Marble Nail Art with a Sponge


Short nails don't have to be boring. In fact, sponge nail art is the perfect solution for those with short nails. This technique can help create the illusion of longer nails and add some fun and color to your fingertips. Here's how you can use sponge nail art to enhance short nails. Main keywords: sponge nail art, short nails, perfect solution Step 1: Gather your supplies - nail polish in your desired colors, a sponge, and a top coat. Step 2: Apply a base coat to protect your nails and let it dry completely. Step 3: Apply two coats of your base color and let each coat dry completely. Step 4: Take your sponge and apply your chosen colors onto it, making sure to blend them slightly at the edges. Step 5: Press the sponge onto your nail and gently dab it to transfer the polish onto your nails. Repeat this step until you achieve the desired intensity of the gradient. Step 6: Let your gradient dry completely and clean up any excess polish around your nails. Step 7: Finish off with a layer of top coat to seal in your design and add shine. Using a sponge to create a gradient design can make your nails appear longer and more elongated. So don't let short nails stop you from rocking some fun and stylish nail art.8. Sponge Nail Art: The Perfect Solution for Short Nails

8. Sponge Nail Art: The Perfect Solution for Short Nails

9. How to Create a Galaxy Nail Art Design with a Sponge


9. How to Create a Galaxy Nail Art Design with a Sponge
/cloudfront-us-east-1.images.arcpublishing.com/elespectador/CV3IIYBLJVGMHOZYNK5OPF3J5M.jpg)
Nail Art with Sponge: A Fun and Easy Way to Elevate Your Nails
What is Nail Art with Sponge?
 Nail art has become increasingly popular in recent years, with new techniques and designs constantly emerging. One of the most fun and easy ways to add some creativity to your nails is through
nail art with sponge
. This technique involves using a makeup sponge to create a gradient effect on your nails, resulting in a unique and eye-catching look. Whether you're a beginner or an experienced nail artist, this step-by-step guide will help you achieve a flawless sponge nail art design.
Nail art has become increasingly popular in recent years, with new techniques and designs constantly emerging. One of the most fun and easy ways to add some creativity to your nails is through
nail art with sponge
. This technique involves using a makeup sponge to create a gradient effect on your nails, resulting in a unique and eye-catching look. Whether you're a beginner or an experienced nail artist, this step-by-step guide will help you achieve a flawless sponge nail art design.
Step 1: Gather Your Materials
 Before you begin, make sure you have all the necessary materials. These include
nail polish
in your desired colors, a
makeup sponge
, a small dish with water,
nail polish remover
, a
top coat
, and
nail art tools
(optional).
Before you begin, make sure you have all the necessary materials. These include
nail polish
in your desired colors, a
makeup sponge
, a small dish with water,
nail polish remover
, a
top coat
, and
nail art tools
(optional).
Step 2: Prep Your Nails
 Start by removing any existing nail polish and shaping your nails. Then, apply a base coat to protect your nails from the pigment and prevent staining.
Step 3: Paint Your Nails
 Choose your base color and paint all your nails with it. You can use any color you like, but make sure it's a shade that will complement the other colors you'll be using. Let the polish dry completely before moving on to the next step.
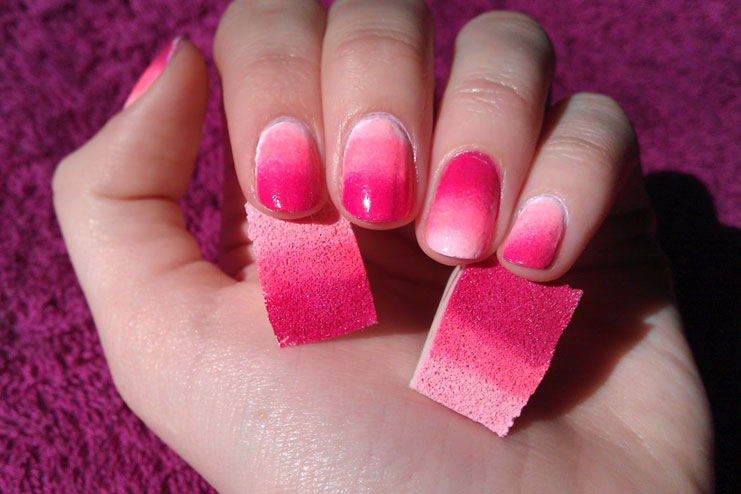
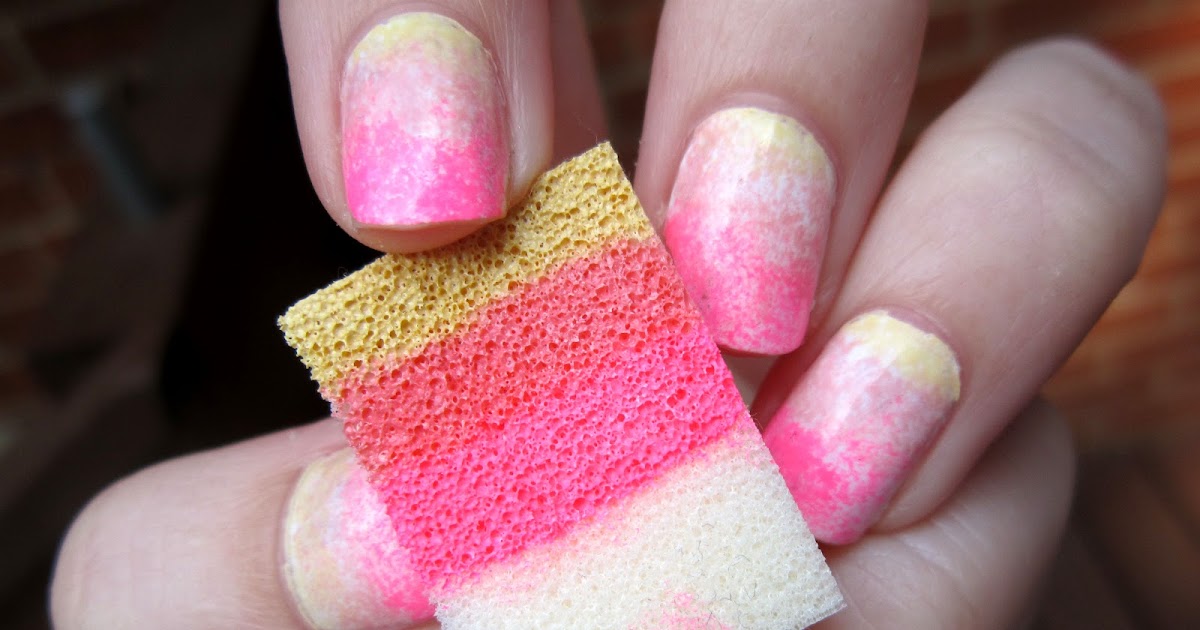
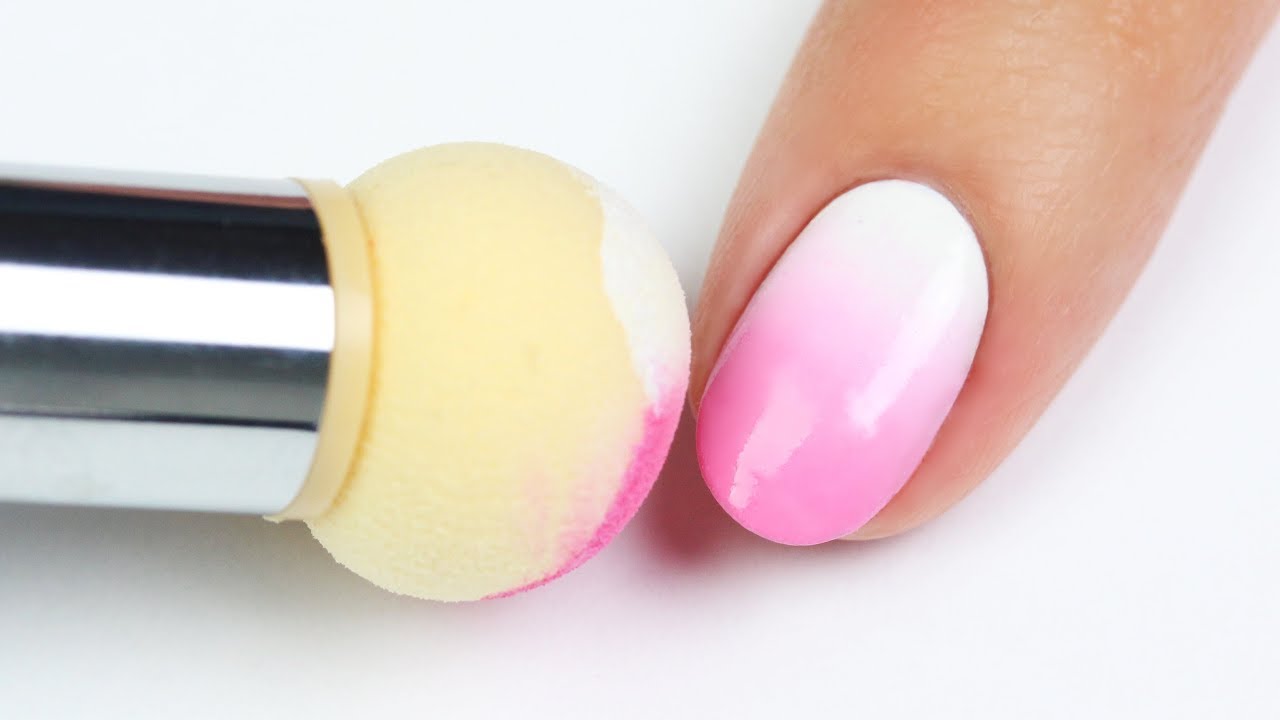
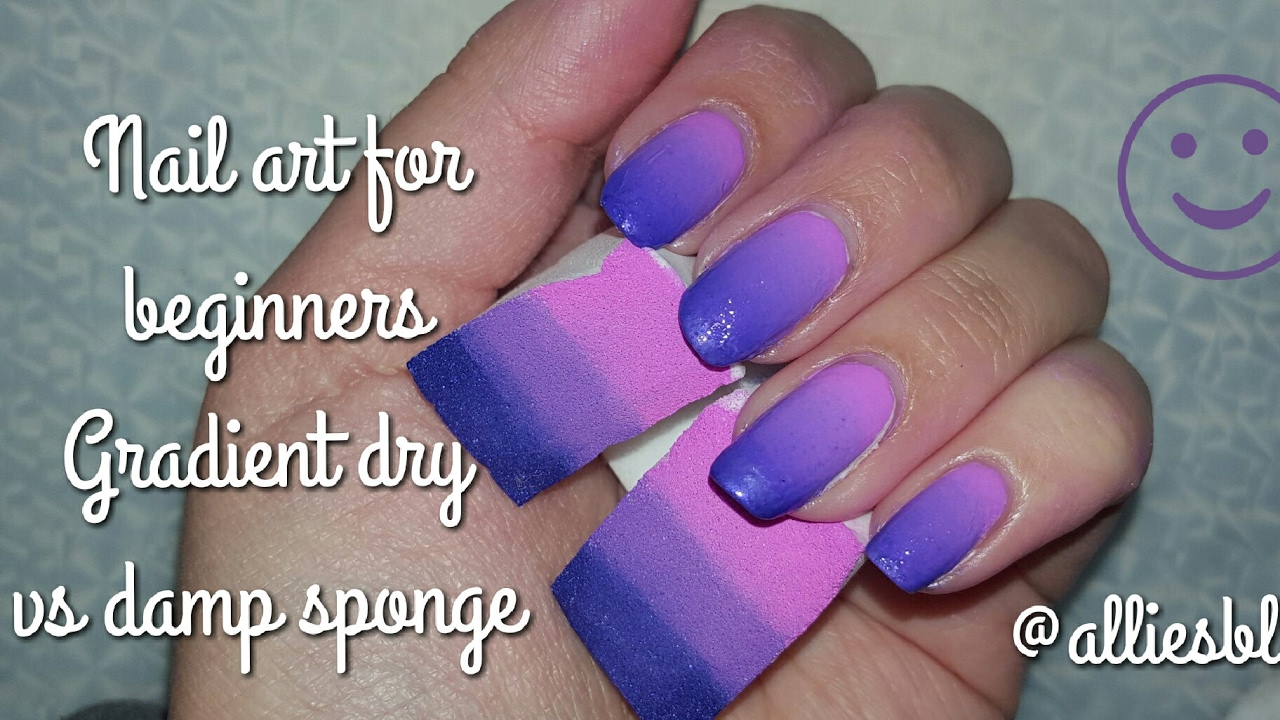
Step 4: Create the Gradient Effect
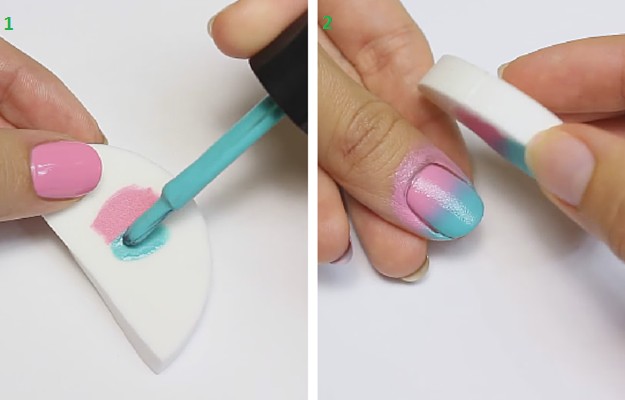 Take your makeup sponge and cut it into small pieces. Use a different piece for each color you'll be using. Apply a few drops of your chosen colors onto the sponge, making sure they slightly overlap. Then, gently dab the sponge onto your nails, starting from the tip and working your way down. Repeat this step on all your nails until you achieve the desired gradient effect.
Step 5: Clean Up
 Nail polish tends to get messy when using a sponge, so it's important to clean up any excess polish around your nails. You can use a cotton swab dipped in nail polish remover to clean up any mistakes.
Step 6: Add the Finishing Touches
 Once your design has dried, apply a top coat to seal and protect your nails. This will also give your nails a glossy finish and make your design last longer. You can also use nail art tools to add some extra details or designs to your nails if desired.
Final Thoughts
 Nail art with sponge is a fun and easy way to elevate your nails and express your creativity. With a few simple steps and some basic materials, you can achieve a unique and eye-catching design. So next time you're looking to add some pizzazz to your nails, give this technique a try and watch your nails transform into a work of art.


