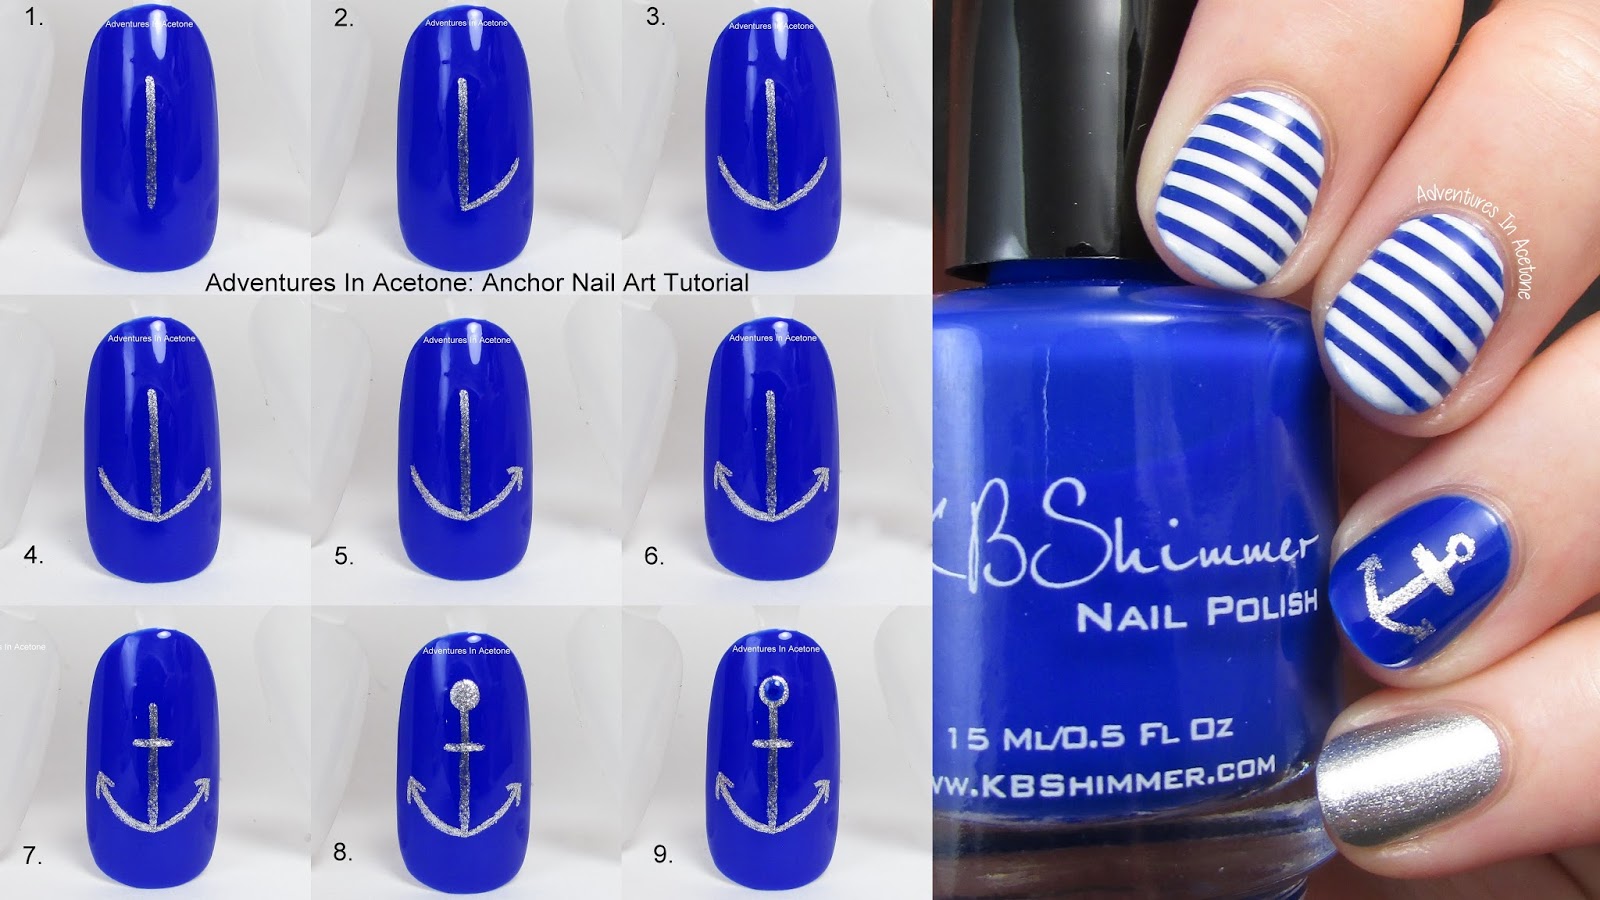
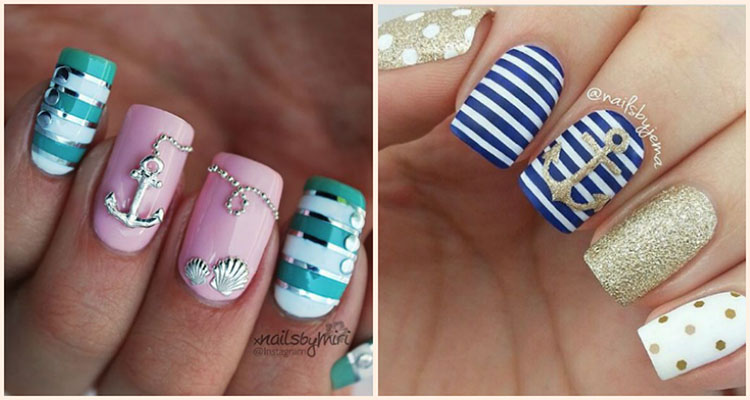
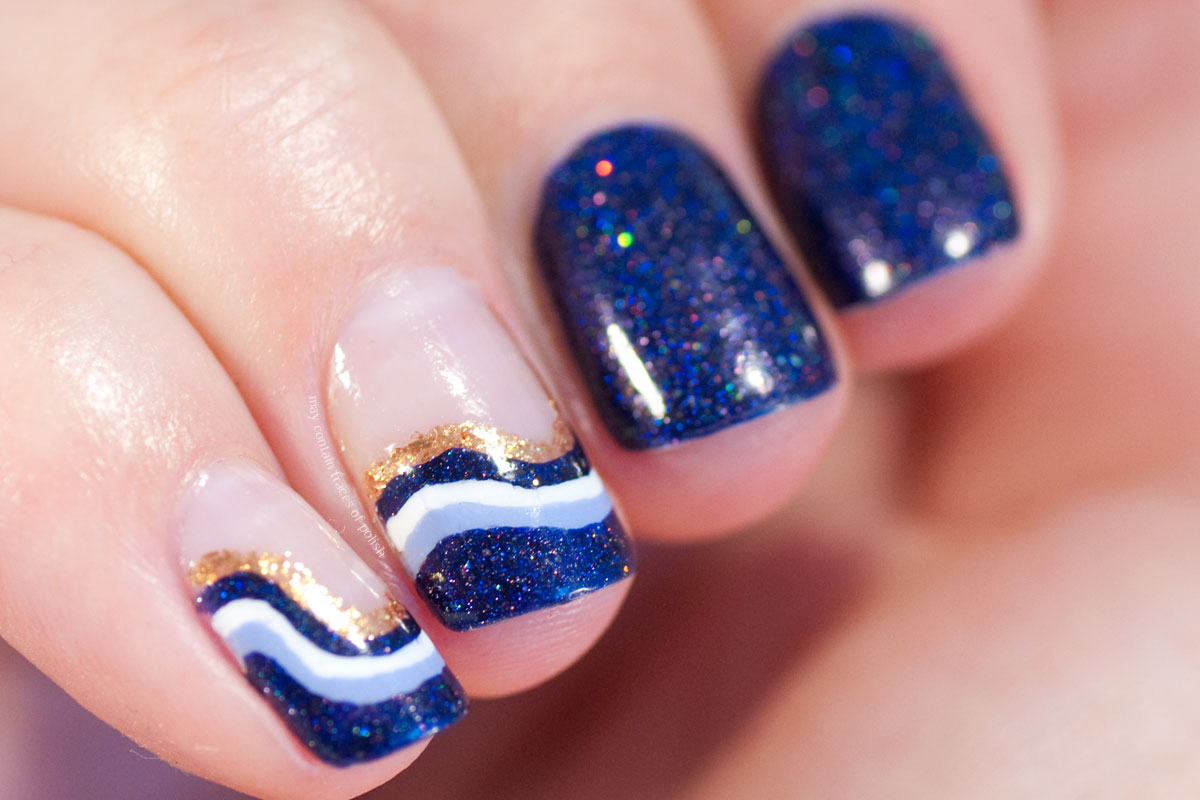
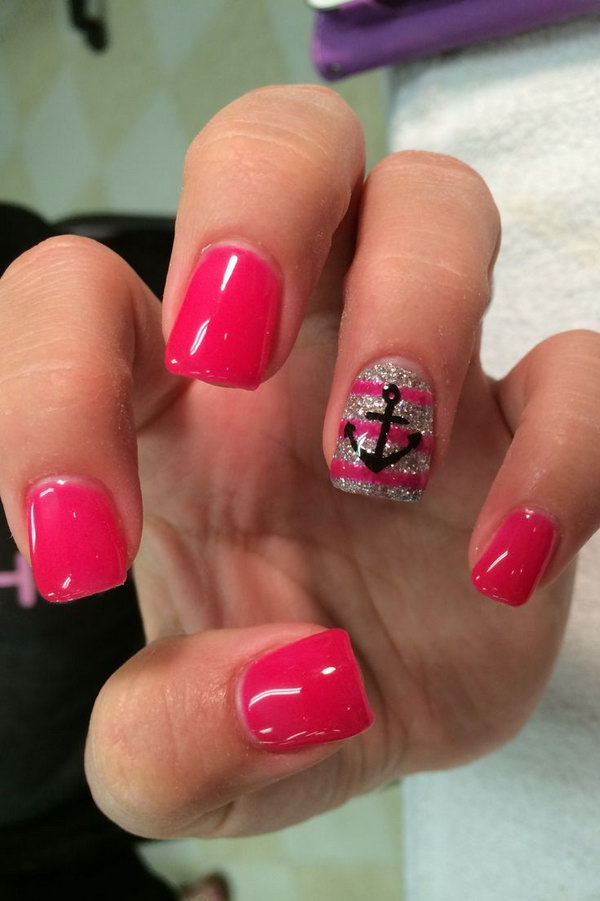
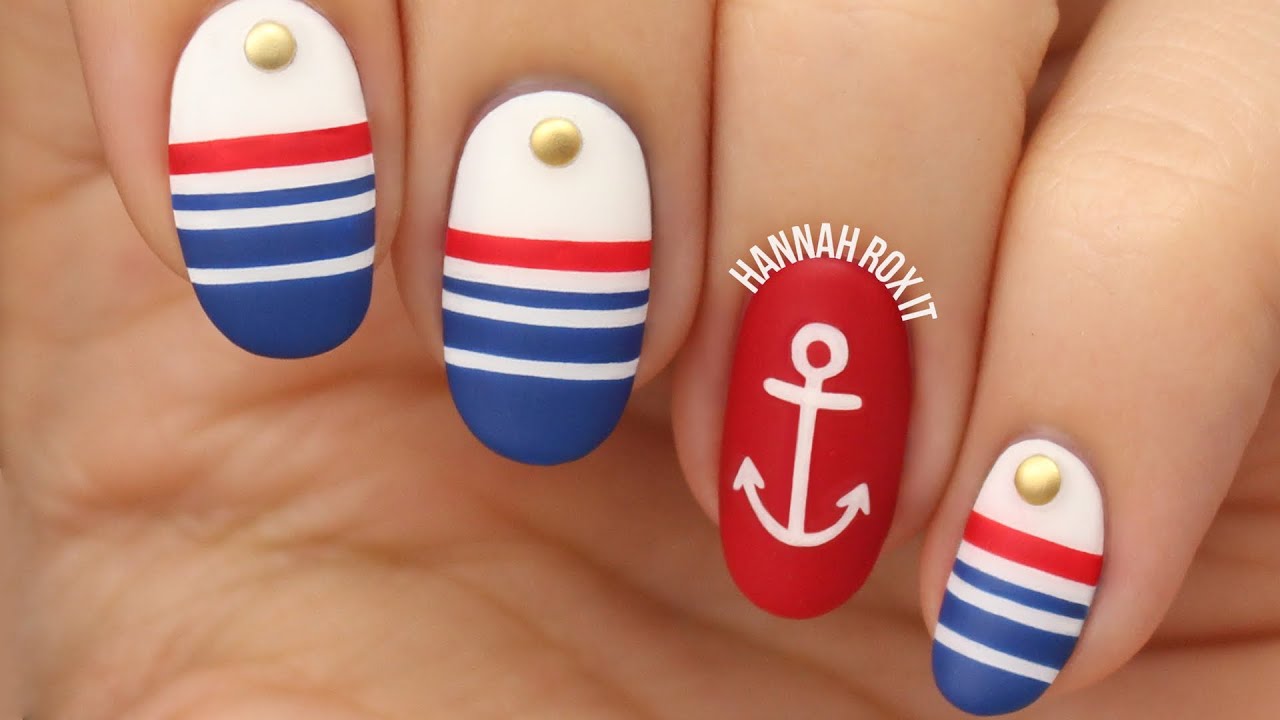
Are you a fan of nautical-inspired nail art? Then you will love this tutorial for striped anchor nail art! Not only is it easy to create, but it is also perfect for any summer day or beach vacation. So grab your nail polish and let's get started! To begin, you will need a base coat, white nail polish, blue nail polish, red nail polish, black nail polish, a small paintbrush, and nail art tape. Start by applying a base coat to protect your nails and allow it to dry completely. Next, apply two coats of white nail polish on all your nails and let it dry completely. Then, take your nail art tape and create a diagonal line across your nail, leaving one side white and the other side exposed. Make sure to press down the tape firmly to prevent any nail polish from bleeding. Using your blue nail polish, paint the exposed side of your nail and remove the tape while the nail polish is still wet. This will create a clean and crisp line. Let the blue nail polish dry completely before moving on to the next step. Now, it's time to create the anchor. Using your small paintbrush and black nail polish, carefully draw an anchor on the white side of your nail. If you're not confident in your painting skills, you can use a nail art stencil or sticker instead. Let the anchor dry before moving on. For the final touch, use your red nail polish to add a small horizontal line across the anchor to create the classic nautical look. Once everything is dry, finish off with a top coat to seal and protect your design. And there you have it, a fun and easy tutorial for striped anchor nail art. You can play around with different colors and even add some glitter or rhinestones for a more personalized look. So why not try this design out for your next beach trip or simply to add some nautical vibes to your everyday look?1. Striped Anchor Nail Art Tutorial


1. Striped Anchor Nail Art Tutorial


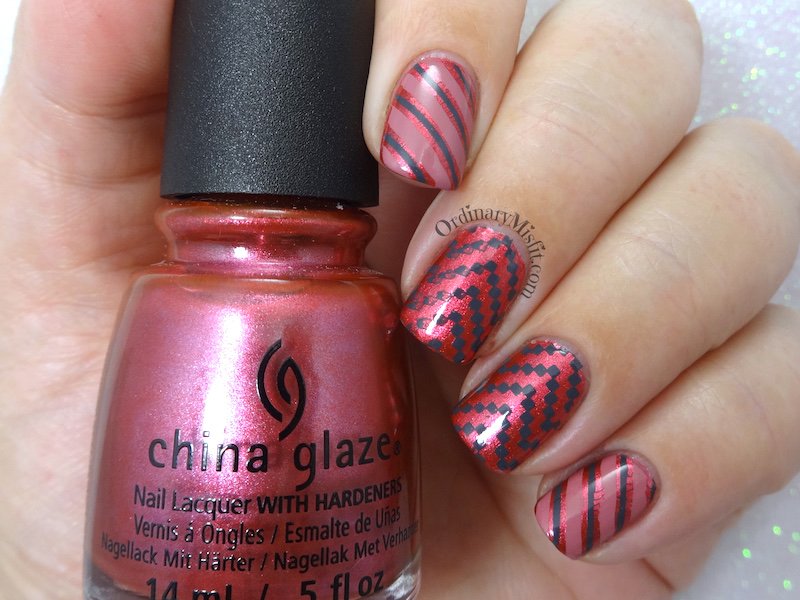
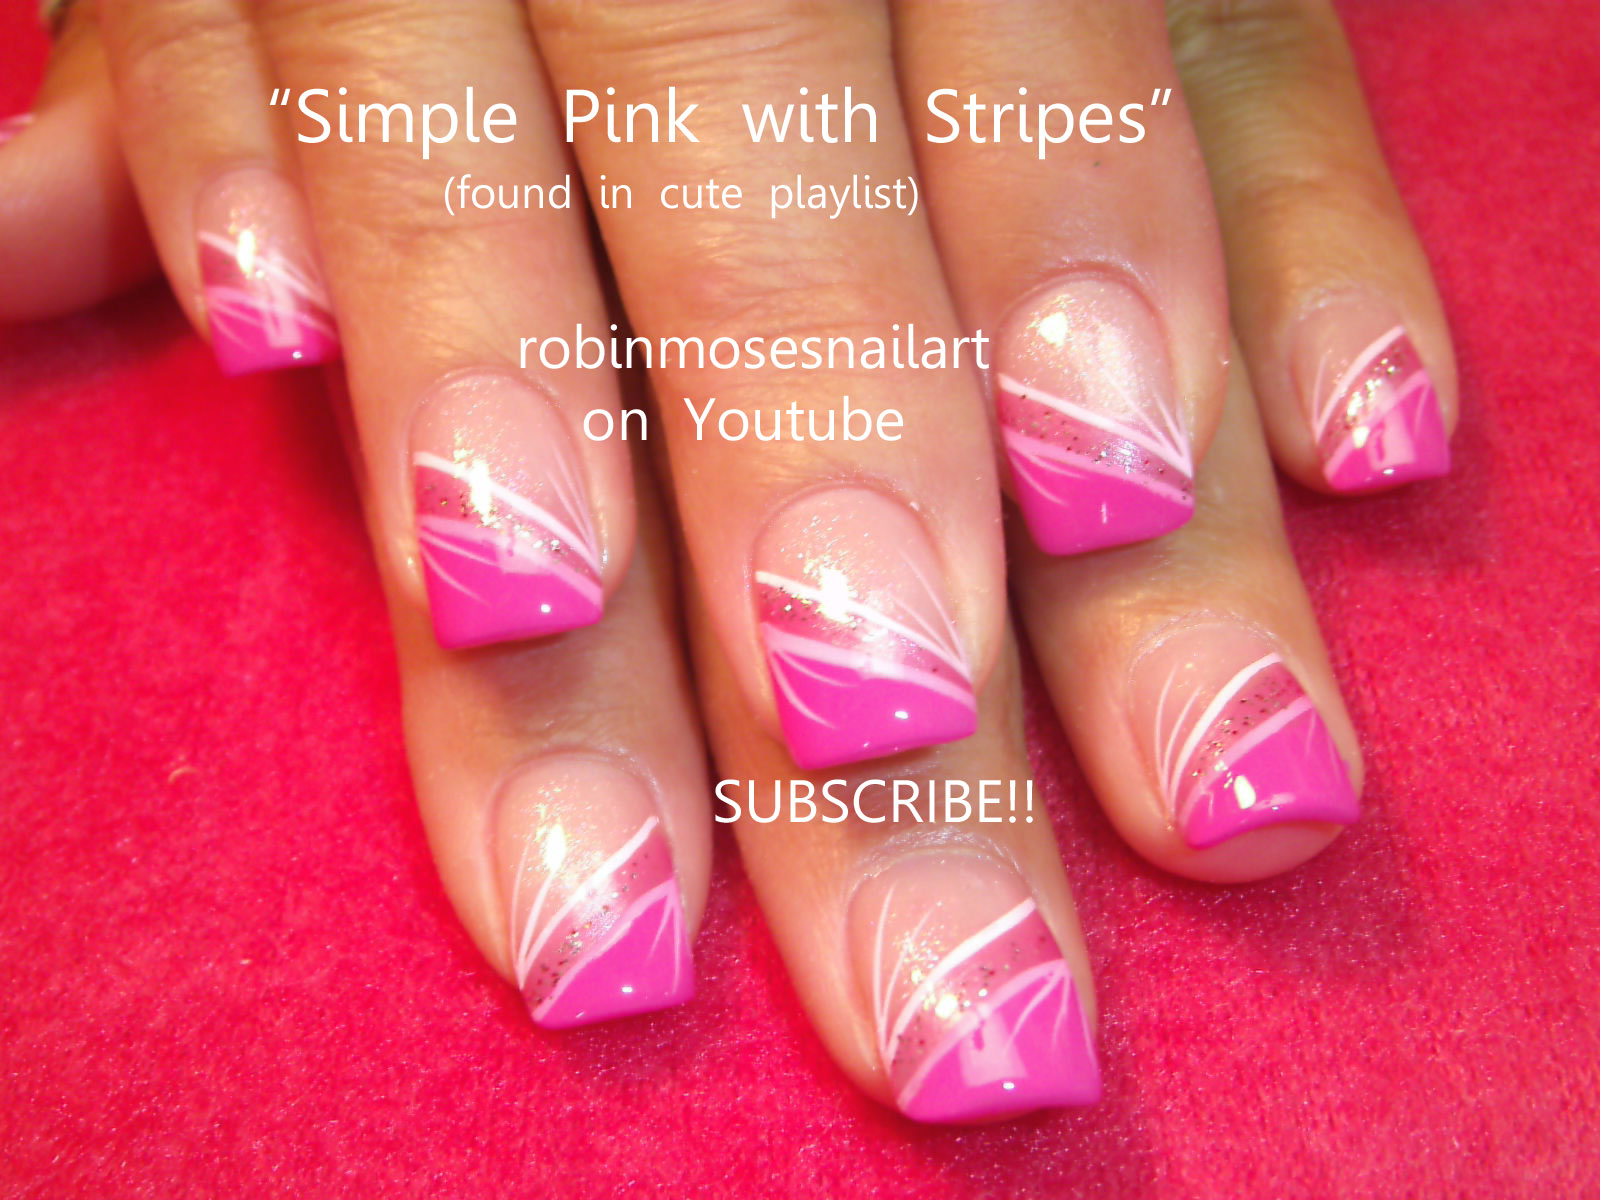
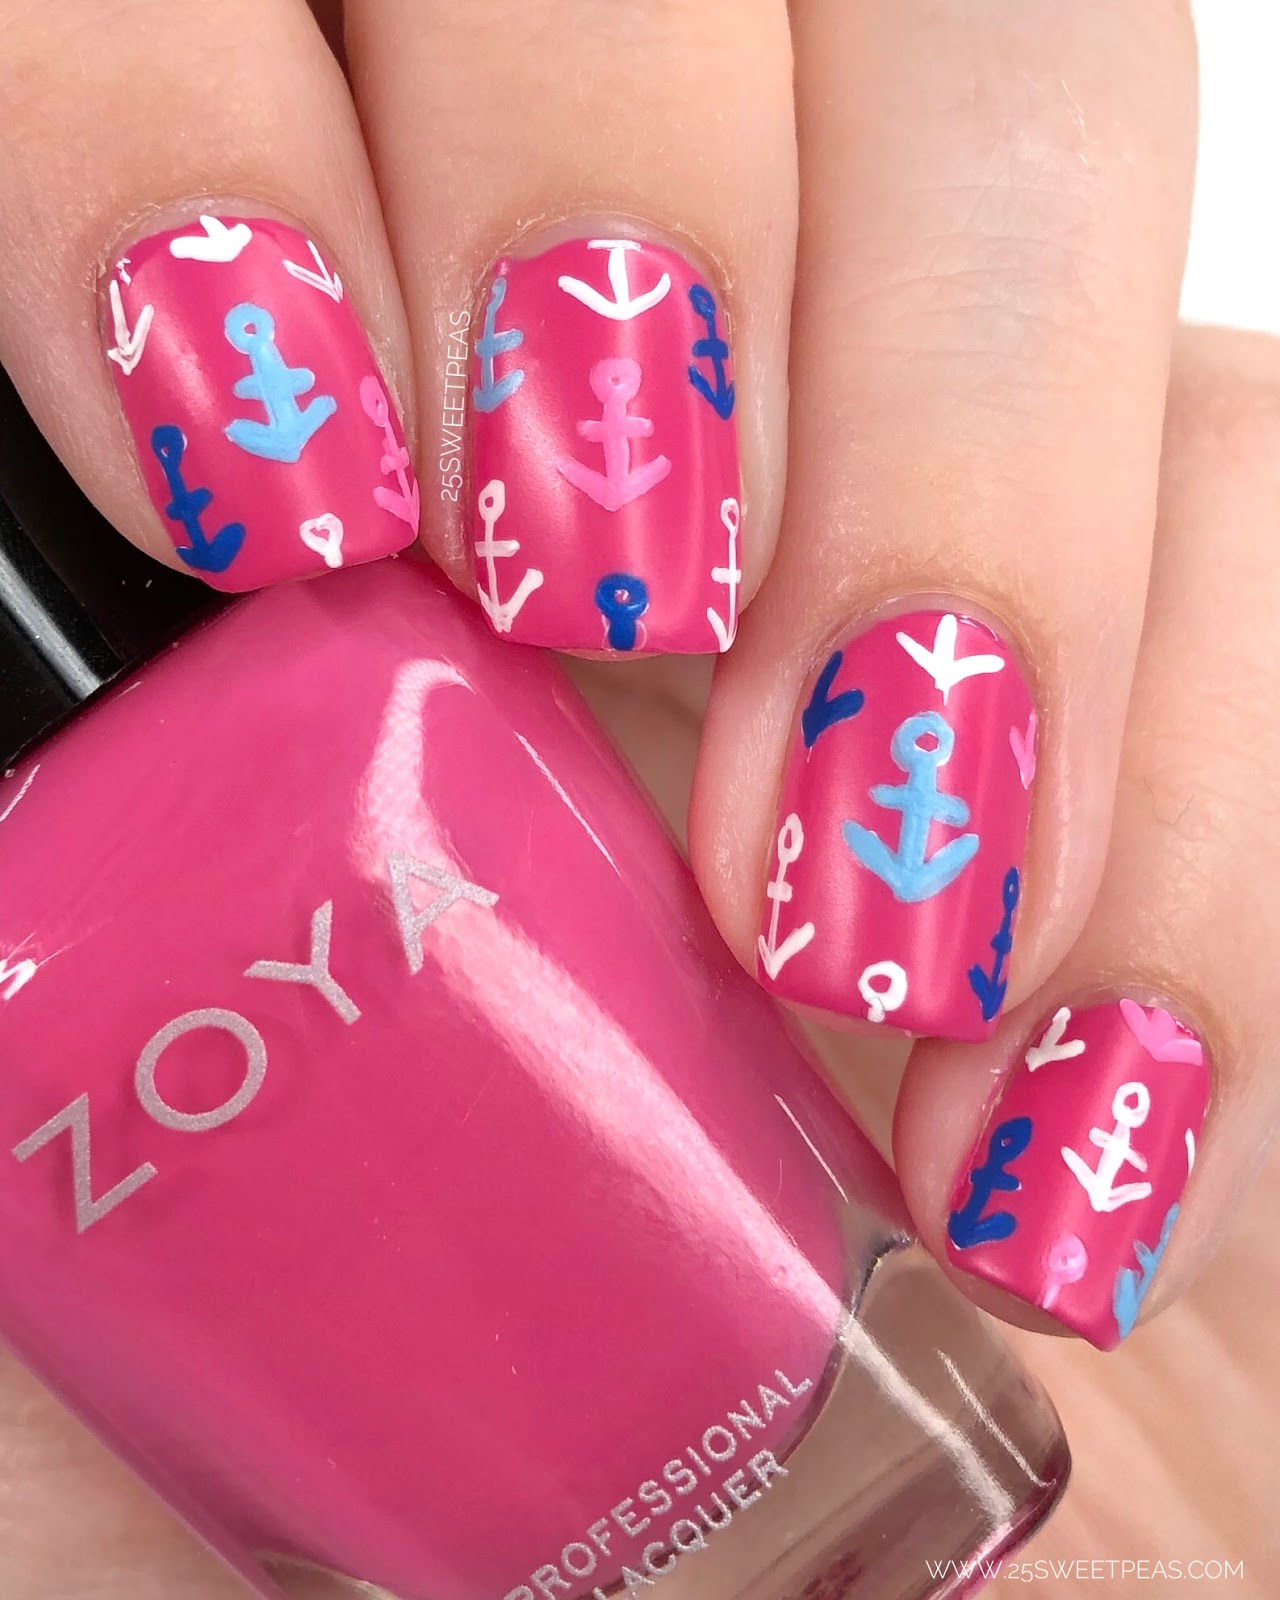
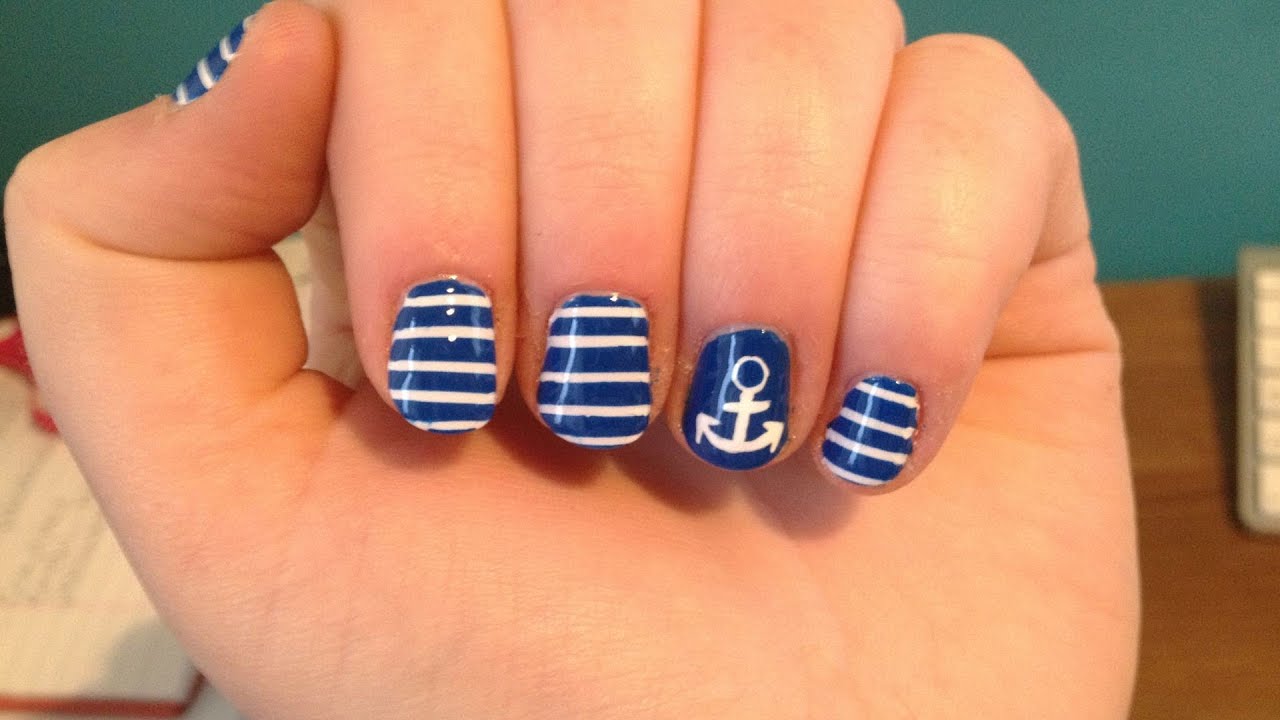
If you're a fan of all things nautical, then this nail art design is perfect for you. Combining classic blue and white stripes with cute anchor accents, this design is perfect for any summer day or beach vacation. So let's dive into how to create this nautical nail art with stripes and anchors! First, start with a base coat to protect your nails and allow it to dry completely. Then, apply two coats of white nail polish on all your nails and let them dry. Once they're dry, take a thin striping brush and dip it into a blue nail polish. Starting at the base of your nail, paint a diagonal line across your nail, leaving some space at the tip. This will create the first stripe. Next, using the same technique, paint another blue stripe next to the first one. Make sure to leave the same amount of space at the tip. Continue this until your entire nail is covered in blue stripes. You can also use a nail art tape to create clean and straight lines. Once your stripes are dry, it's time to add the anchor accent. You can either use a nail art stencil or sticker, or you can freehand it using a small paintbrush and black nail polish. Carefully draw an anchor on one of your nails and let it dry before moving on to the next step. For a little extra touch, you can add some silver rhinestones on the blue stripes to mimic the look of an anchor chain. Once everything is dry, finish with a top coat to seal and protect your design. This nautical nail art with stripes and anchors is perfect for any summer occasion and will make your nails stand out in a crowd. So why not give it a try and show off your love for all things nautical?2. Nautical Nail Art with Stripes and Anchors


2. Nautical Nail Art with Stripes and Anchors
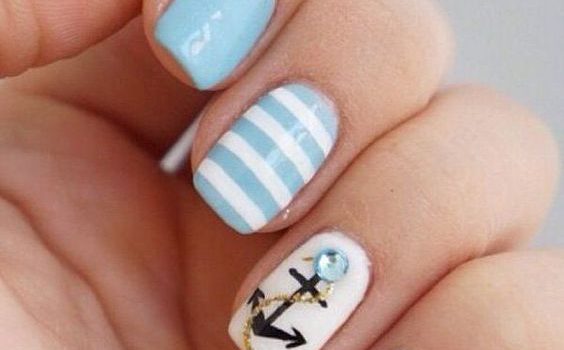


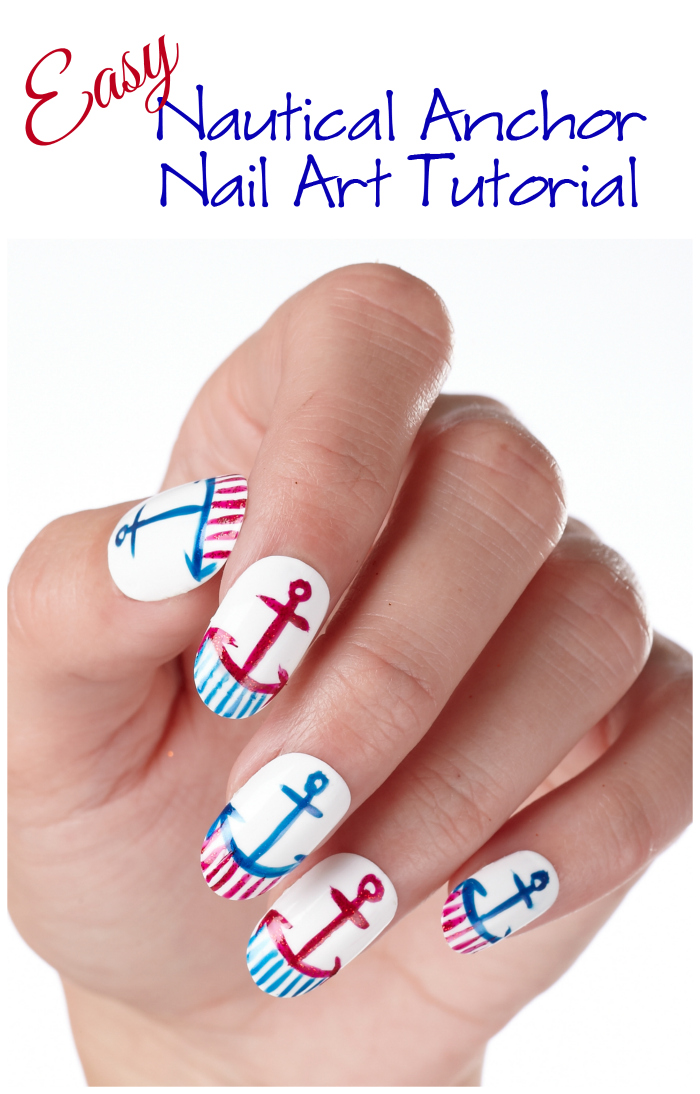
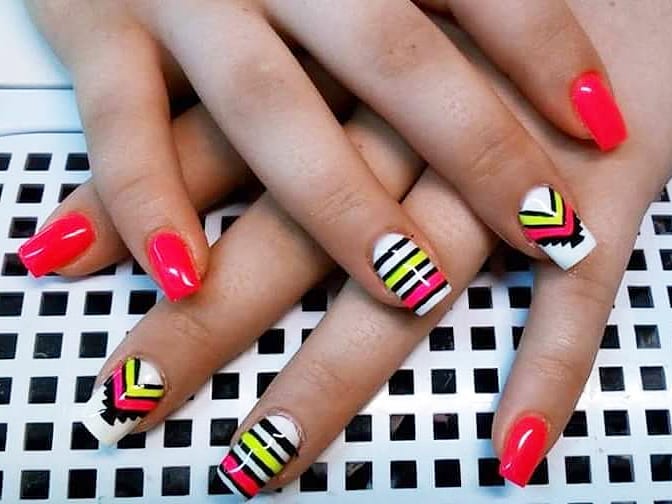
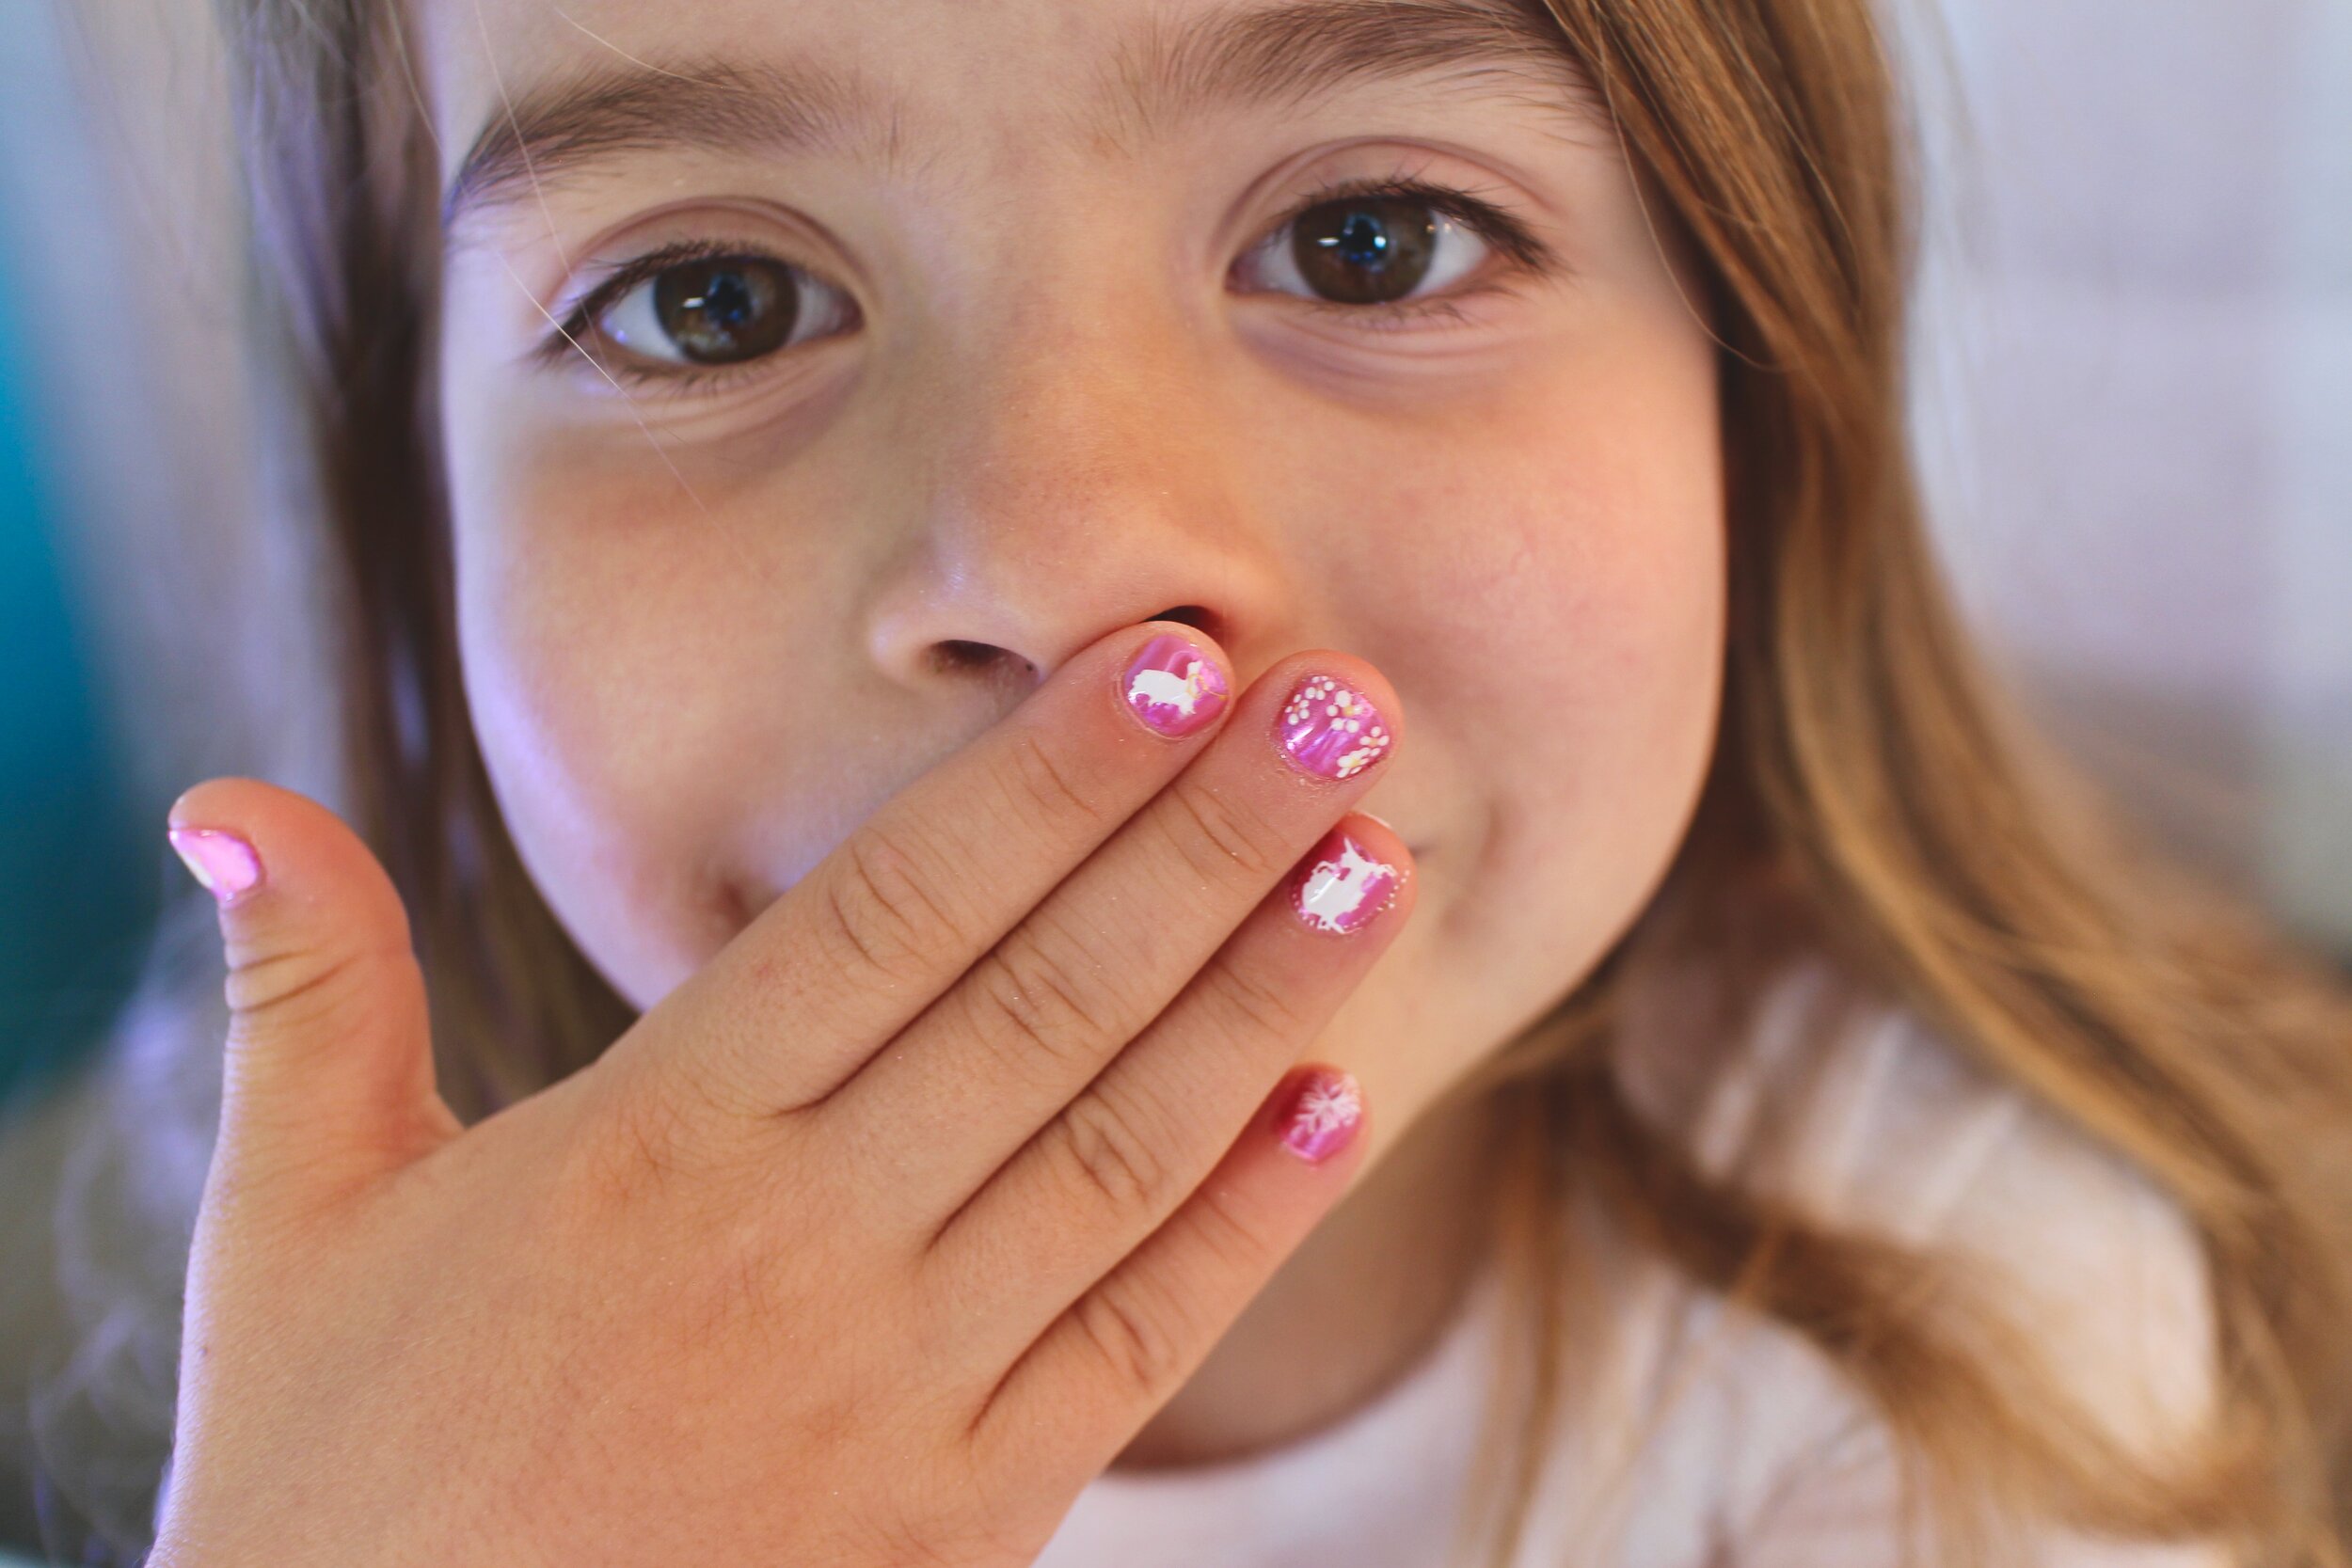
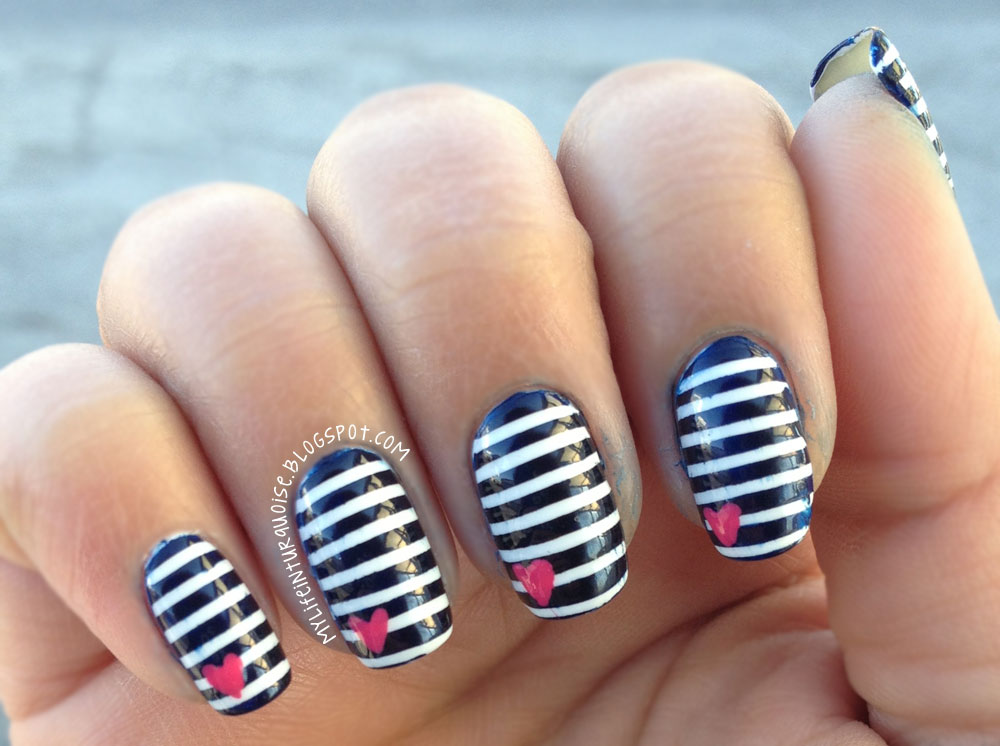
If you're looking for a quick and easy nail design that still makes a statement, then this DIY striped anchor nail design is perfect for you. With just a few simple steps, you can have cute and nautical nails in no time! Start with a base coat to protect your nails and allow it to dry completely. Then, apply two coats of white nail polish on all your nails and let them dry. Once they're dry, take a thin striping brush and dip it into a blue nail polish. Starting at the base of your nail, paint a diagonal line across your nail, leaving some space at the tip. This will create the first stripe. Next, using the same technique, paint another blue stripe next to the first one. Make sure to leave the same amount of space at the tip. Continue this until your entire nail is covered in blue stripes. You can also use a nail art tape to create clean and straight lines. Now, it's time to add the anchor accent. Using a small paintbrush and black nail polish, carefully draw an anchor on one of your nails. If you're not confident in your painting skills, you can use a nail art stencil or sticker instead. Let the anchor dry before moving on to the final step. For a pop of color, you can add a small red heart at the top of the anchor using red nail polish. Once everything is dry, finish off with a top coat to seal and protect your design. And there you have it, an easy DIY striped anchor nail design that is perfect for any nautical lover. You can switch up the colors and add some glitter or rhinestones to make it your own. So why not try this out for your next manicure?3. Easy DIY Striped Anchor Nail Design


3. Easy DIY Striped Anchor Nail Design
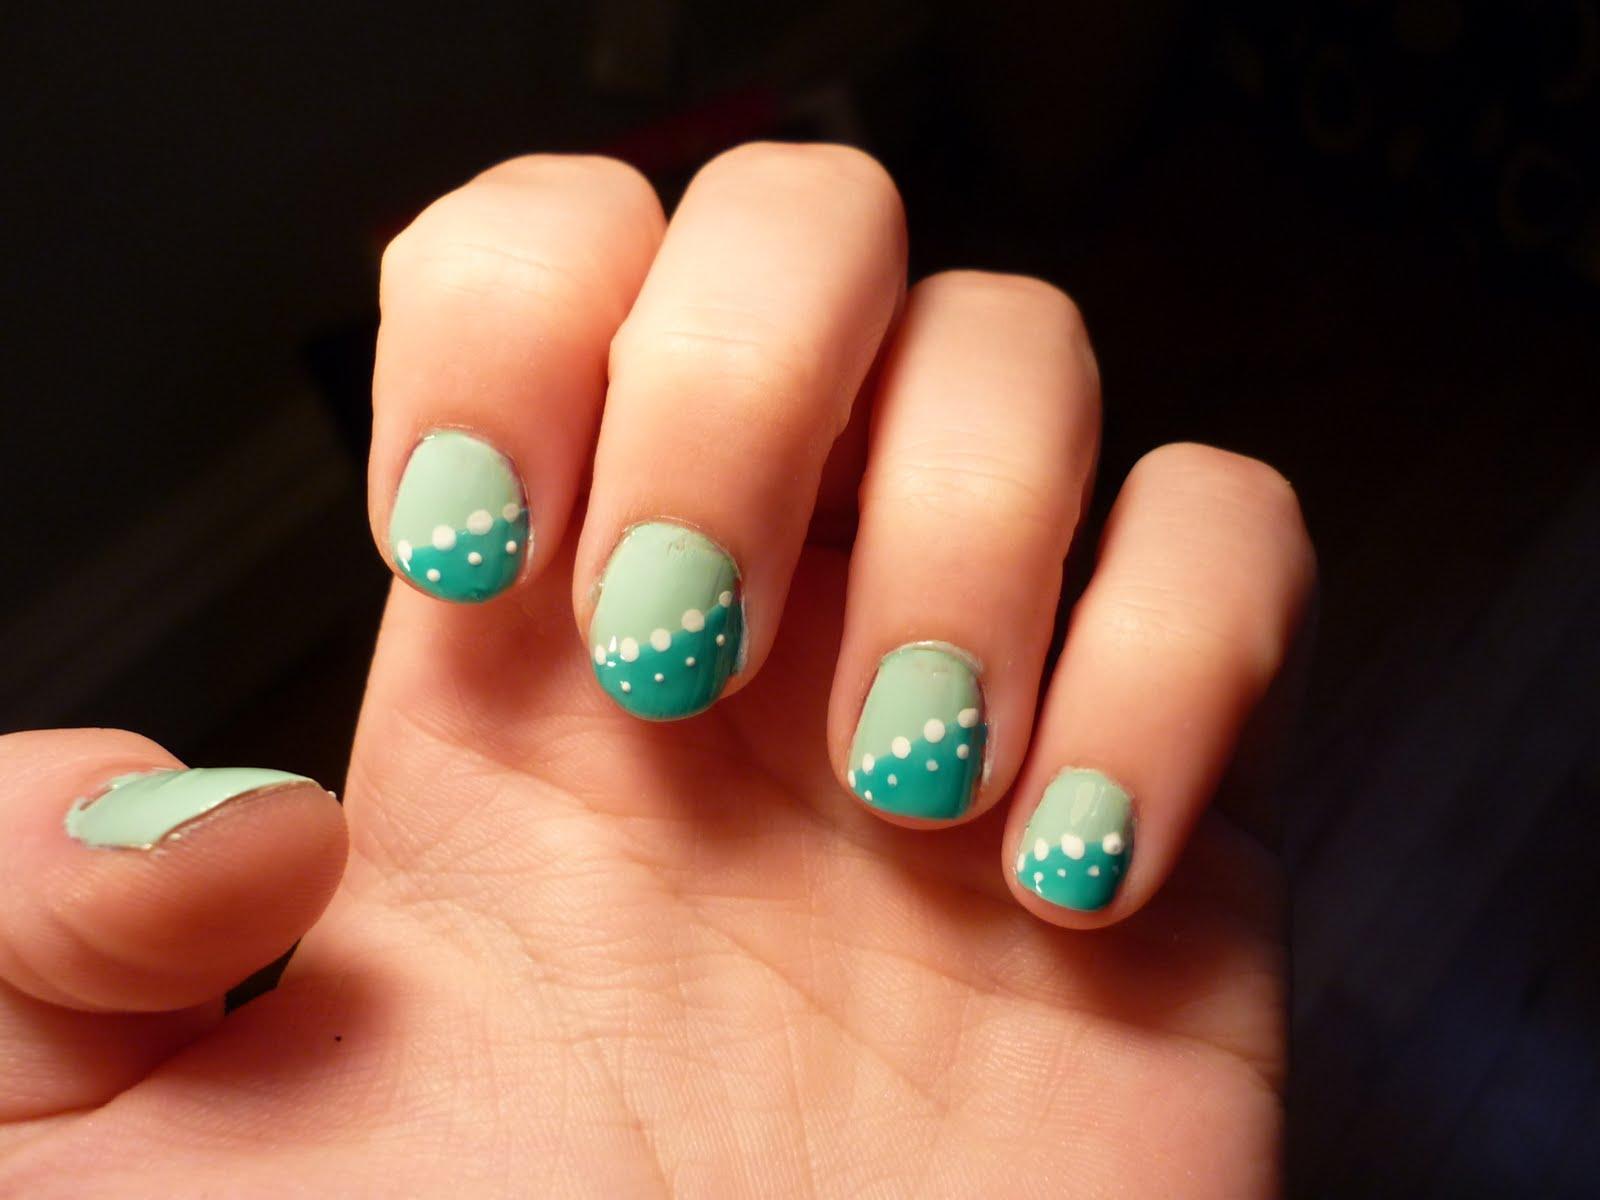

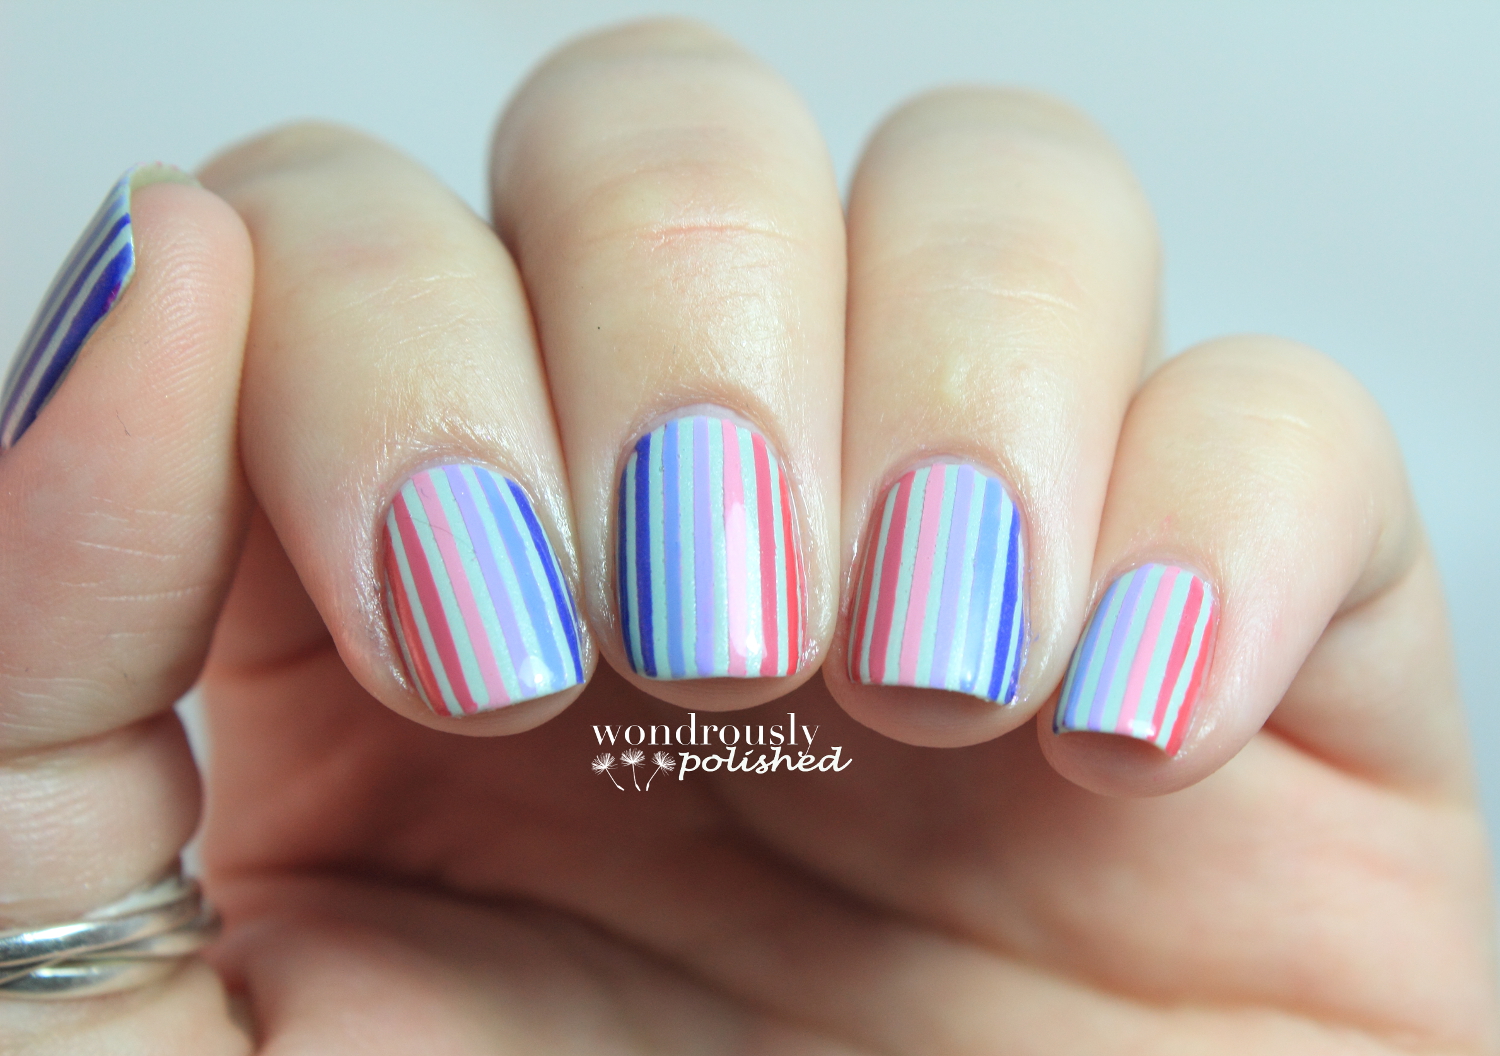


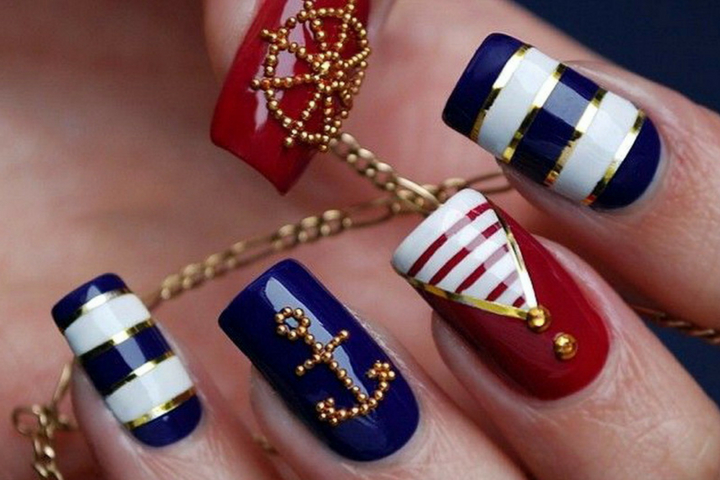
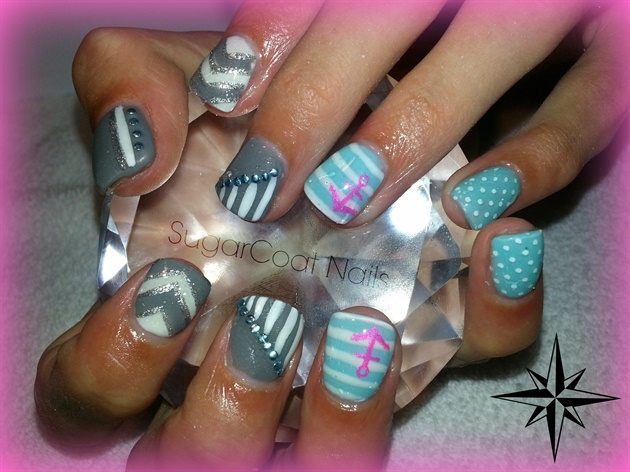
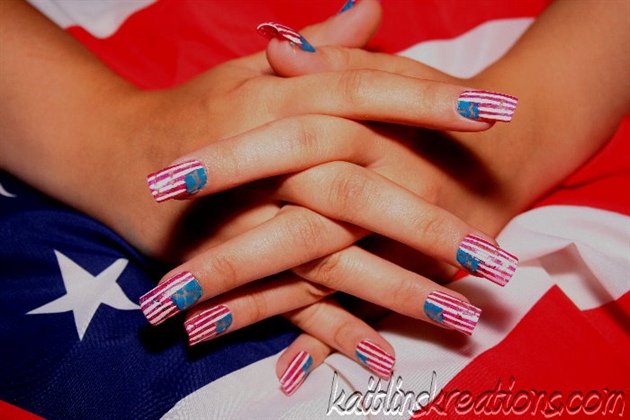
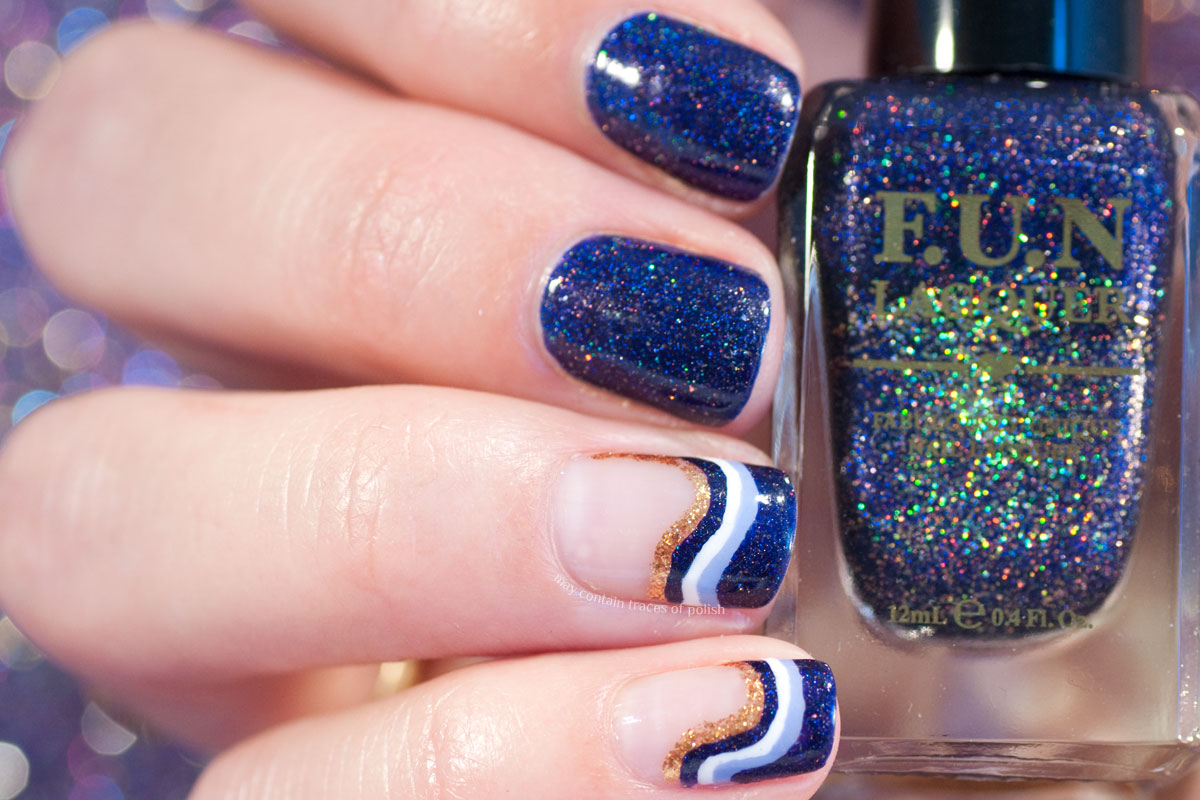
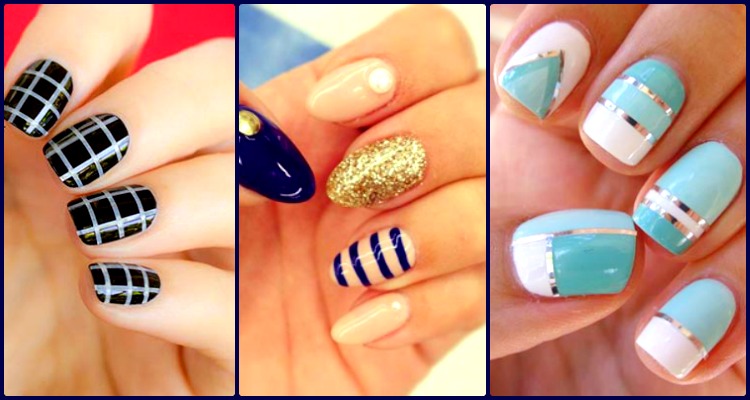
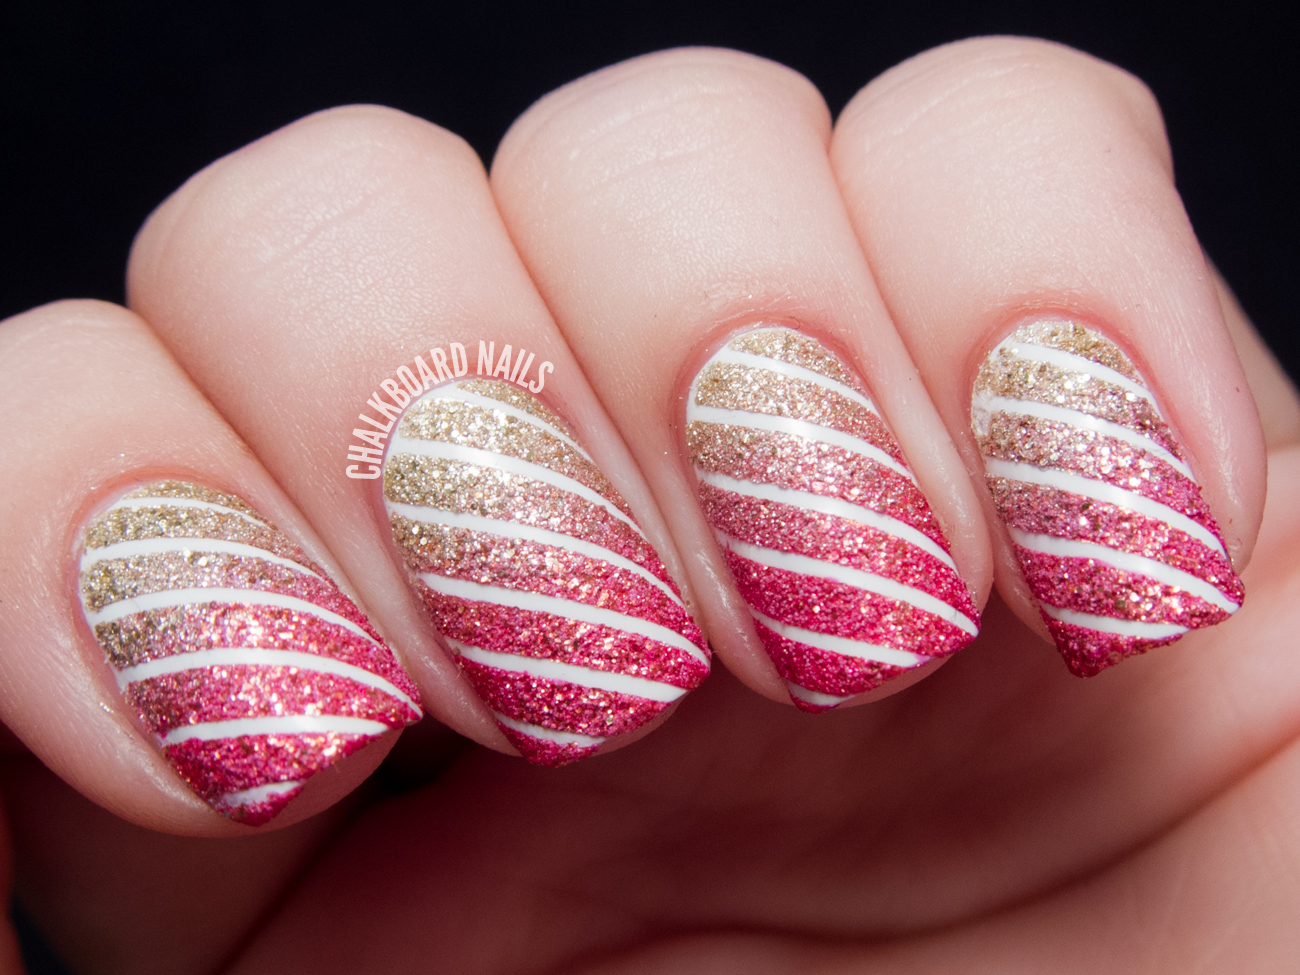
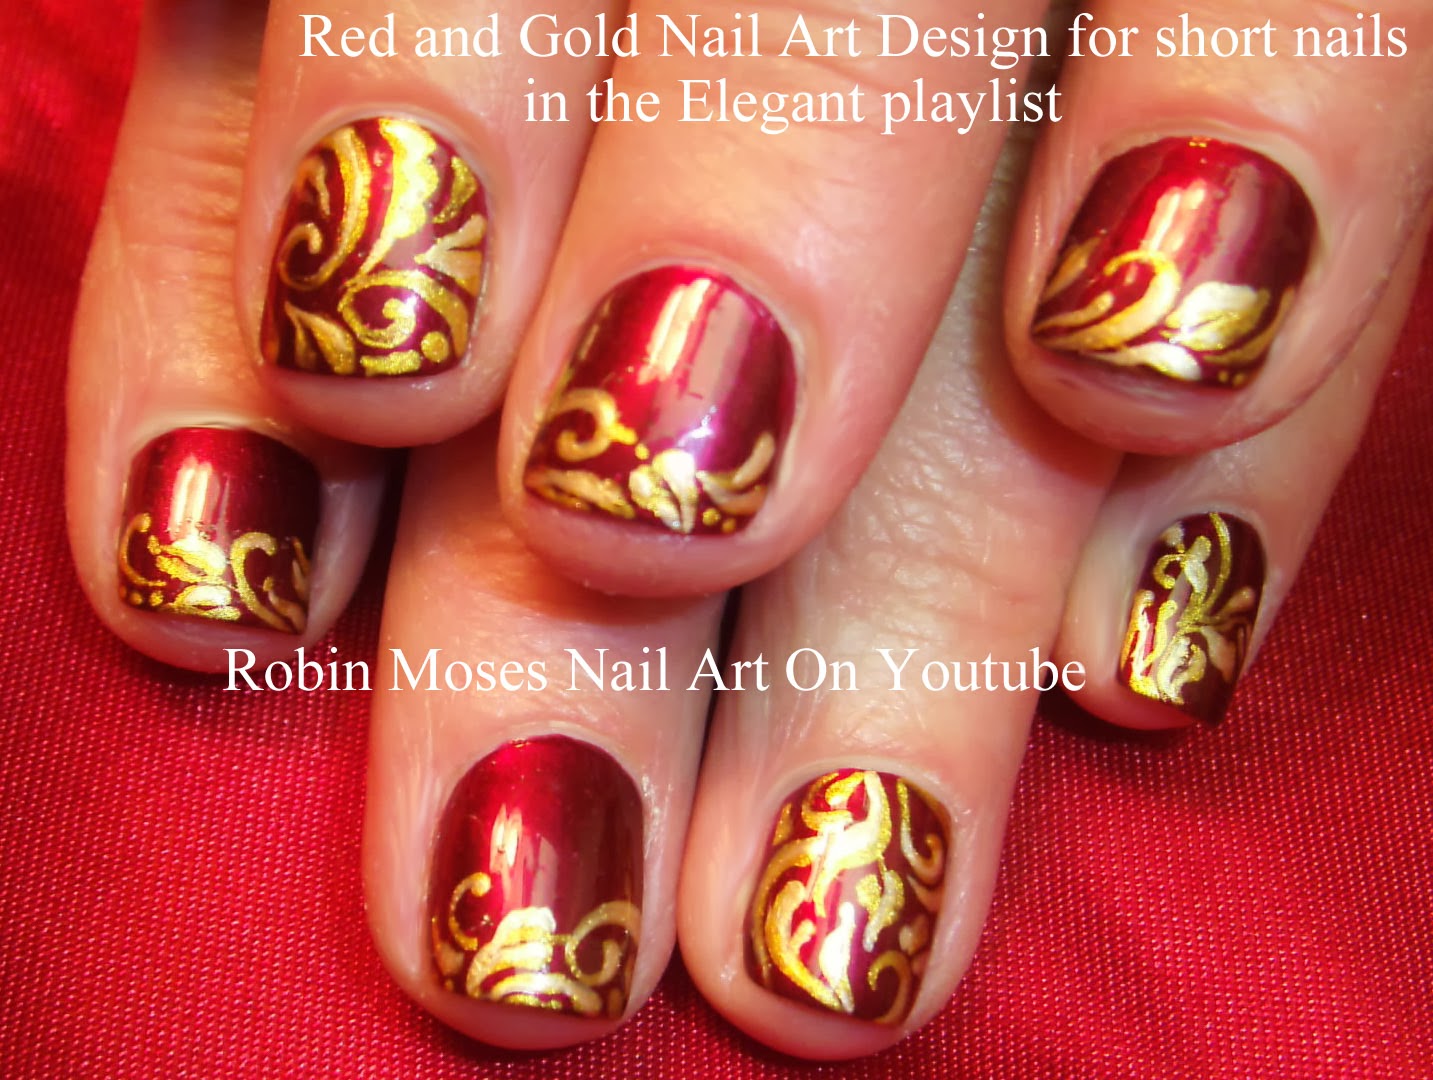
If you're looking for some inspiration for your next nautical-inspired manicure, then look no further. Here are some anchor and stripes nail art ideas that will make your nails stand out in a sea of boring designs. 1. Classic Blue and White Stripes with Anchor Accent: This design is perfect for those who love a classic and clean look. Simply paint blue and white stripes on your nails and add a small black anchor accent for a touch of nautical charm. 2. Red, White, and Blue Stripes with Glitter Anchor: Show your patriotism with this design by painting your nails with red, white, and blue stripes and adding a glittery anchor accent on one nail. 3. Ombre Striped Nails with Anchor Charm: For a more subtle nautical look, try creating an ombre effect with blue and white stripes and add a small anchor charm on one nail. 4. Nautical Stripes and Gold Anchor: Give your nails a touch of luxury by painting blue and white stripes and adding a gold anchor accent on one nail. You can also add some gold glitter for an extra sparkle. 5. Pastel Stripes with Anchor Decal: For a softer and more feminine look, try using pastel colors for your stripes and add a cute anchor decal on one nail. With these anchor and stripes nail art ideas, you will have endless options to show off your love for the sea. So why not give them a try and make a splash with your next manicure?4. Anchor and Stripes Nail Art Ideas

4. Anchor and Stripes Nail Art Ideas


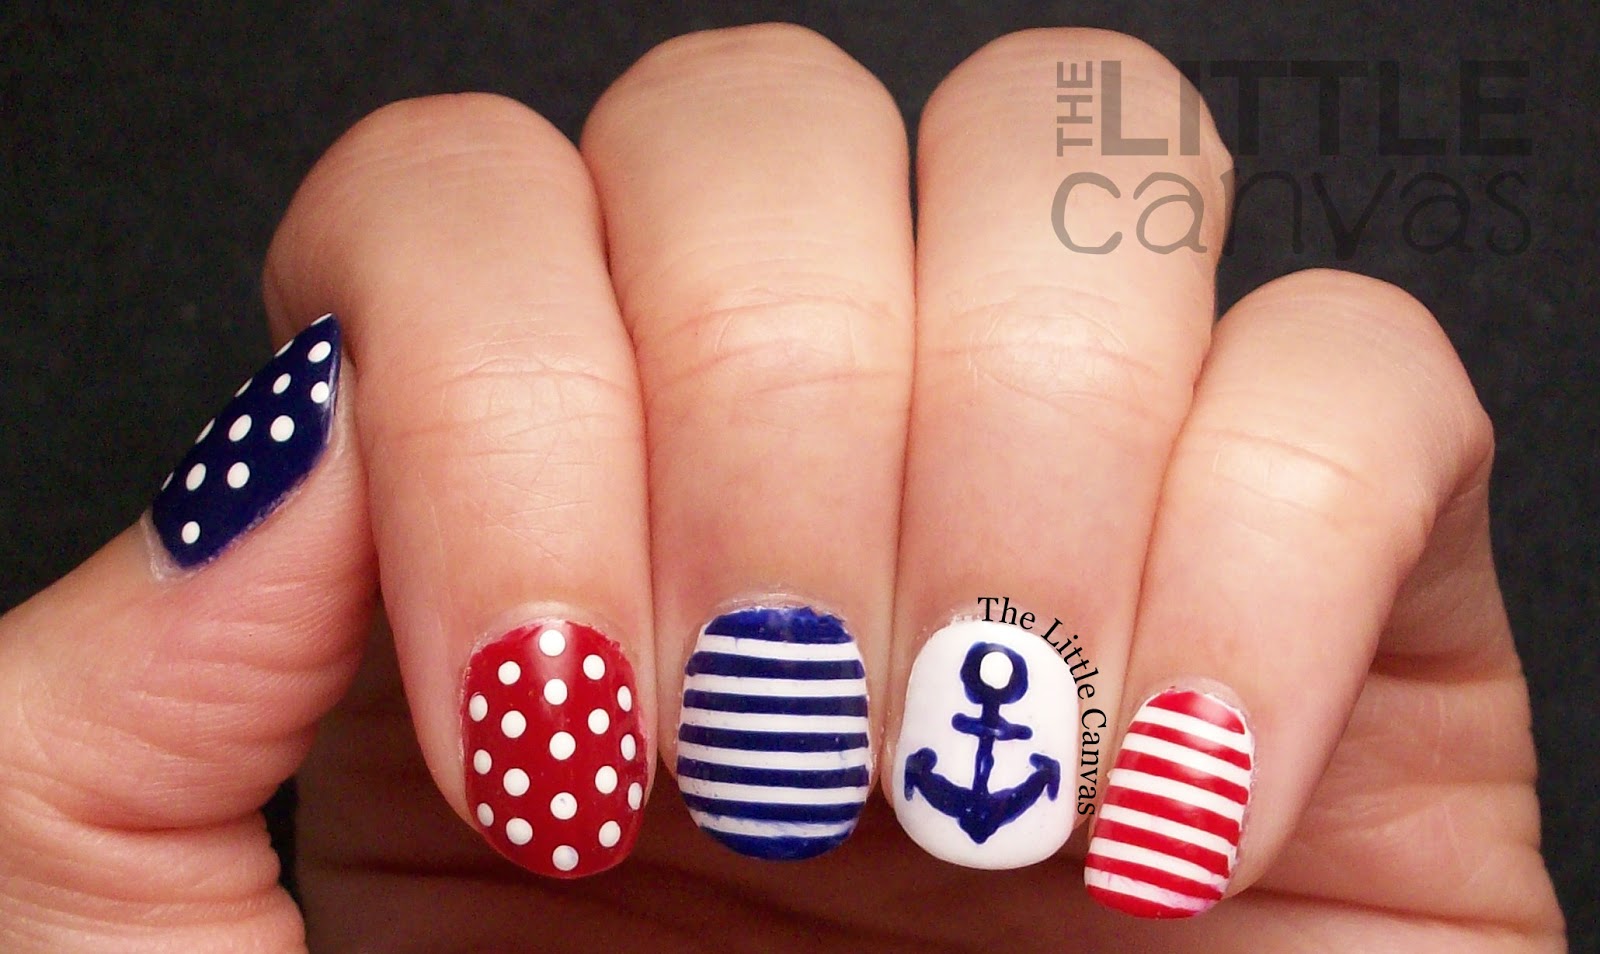
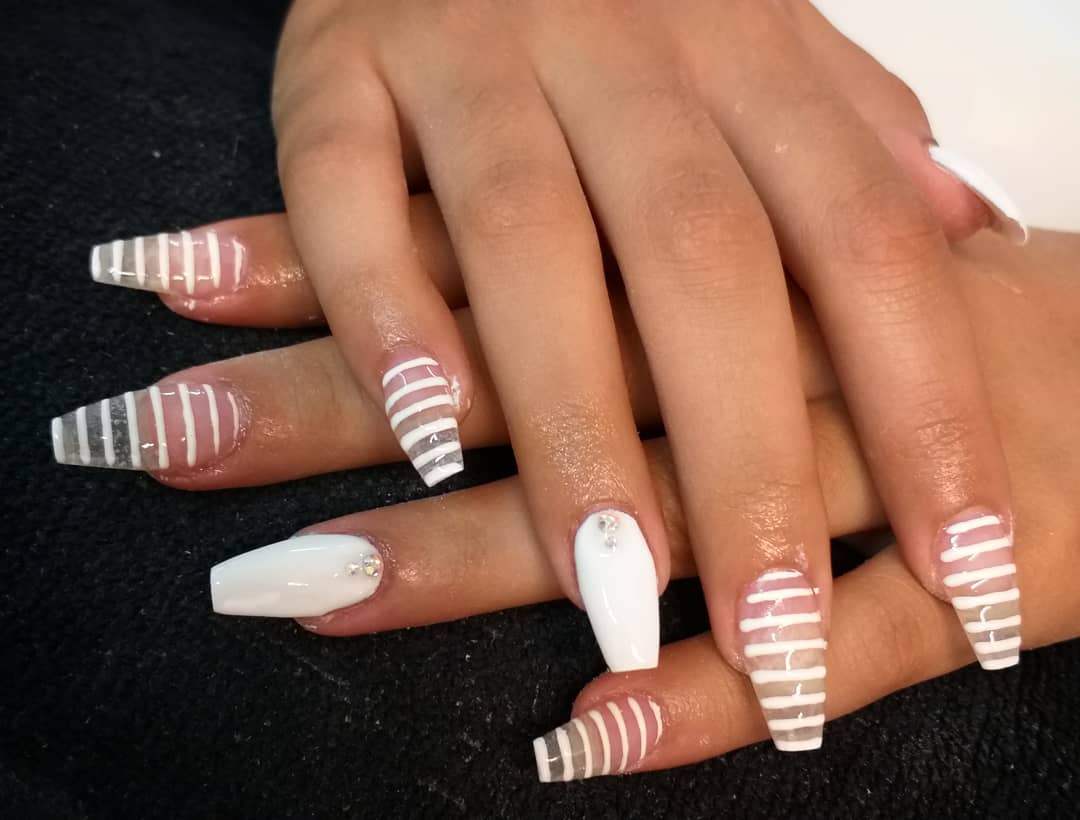
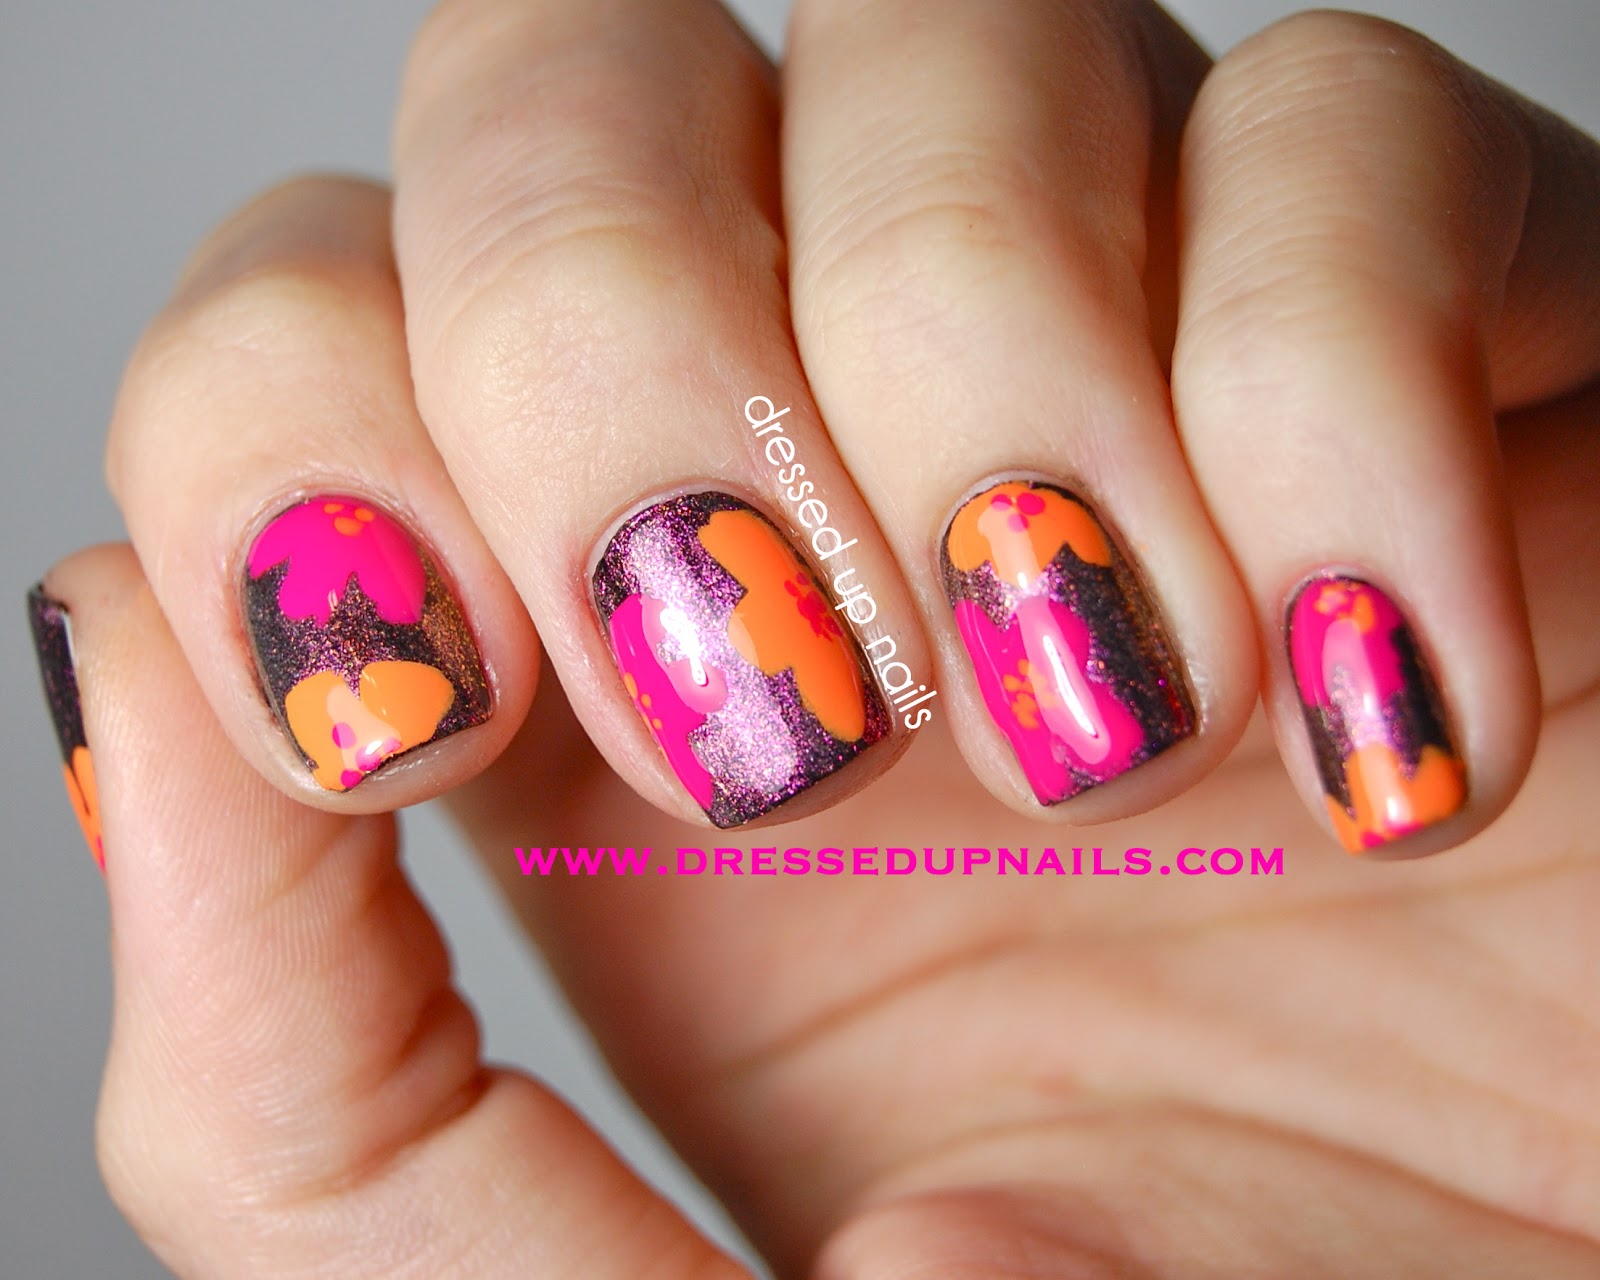
If you're a fan of cute and playful nail designs, then these striped anchor nail designs are perfect for you. With just a few simple steps, you can create adorable and eye-catching nails that will make a statement wherever you go. 1. Rainbow Striped Anchor Nails: For a fun and colorful look, try painting rainbow stripes on your nails and adding a small anchor accent on one nail. You can also add some glitter for an extra touch of sparkle. 2. Polka Dot Stripes with Anchor Accent: This design is perfect for those who love a mix of patterns. Paint blue and white stripes on your nails and add a black and white polka dot accent nail with a small anchor on top. 3. Glitter Stripes and Anchor Charm: Add some glamour to your nails by painting blue and white stripes and adding a glittery anchor charm on one nail. 4. Striped French Manicure with Anchor Detail: Give a twist to the classic French manicure by adding blue stripes on the tips and a small anchor detail on one nail. 5. Neon Stripes and Anchor Nail Art: Make a statement with neon colors by painting stripes in different shades and adding a black anchor accent on one nail. This design is perfect for a summer day at the beach. Whether you prefer a fun and colorful look or a more glamorous one, these cute striped anchor nail designs will suit any style. So why not give them a try and add some playfulness to your manicure?5. Cute Striped Anchor Nail Designs

5. Cute Striped Anchor Nail Designs


Are you ready to create your own striped anchor nails? Follow these simple steps to get the perfect nautical-inspired manicure. 1. Prepare Your Nails: Start by removing any old nail polish and shaping your nails with a file. Apply a base coat to protect your nails and allow it to dry completely. 2. Paint Your Nails White: Once the base coat is dry, apply two coats of white nail polish on all your nails and let them dry. 3. Create the Stripes: Using a thin striping brush, paint diagonal blue stripes on your nails. You can also use a nail art tape to create clean and straight lines. Let the stripes dry completely before moving on. 4. Add the Anchor: Using a small paintbrush and black nail polish, carefully draw an anchor on one of your nails. If you're not confident in your painting skills, you can use a nail art stencil or sticker instead. Let the anchor dry before moving on. 5. Add Final Touches: For a pop of color, you can use red nail polish to add a small heart at the top of the anchor. Once everything is dry, finish off with a top coat to seal and protect your design. And there you have it, your very own striped anchor nails. You can switch up the colors and add some glitter or rhinestones to make it your own. So why not give it a try and show off your love for all things nautical?6. How to Create Striped Anchor Nails


6. How to Create Striped Anchor Nails


If you're a visual learner, then this tutorial for anchor and stripes nail art is perfect for you. Follow along to create a stunning nautical-inspired manicure in just a few simple steps. 1. Prepare Your Nails: Start by removing any old nail polish and shaping your nails with a file. Apply a base coat to protect your nails and allow it to dry completely. 2. Paint Your Nails White: Once the base coat is dry, apply two coats of white nail polish on all your nails and let them dry. 3. Create the Stripes: Using a thin striping brush, paint diagonal blue stripes on your nails. You can also use a nail art tape to create clean and straight lines. Let the stripes dry completely before moving on. 4. Add the Anchor: Using a small paintbrush and black nail polish, carefully draw an anchor on one of your nails. If you're not confident in your painting skills, you can use a nail art stencil or sticker instead. Let the anchor dry before moving on. 5. Add Final Touches: For a pop of color, you can use red nail polish to add a small heart at the top of the anchor. Once everything is dry, finish off with a top coat to seal and protect your design. And there you have it, a step-by-step tutorial for anchor and stripes nail art. You can switch up the colors and add some glitter or rhinestones to make it your own. So why not give it a try and show off your love for all things nautical?7. Anchor and Stripes Nail Art Tutorial

7. Anchor and Stripes Nail Art Tutorial


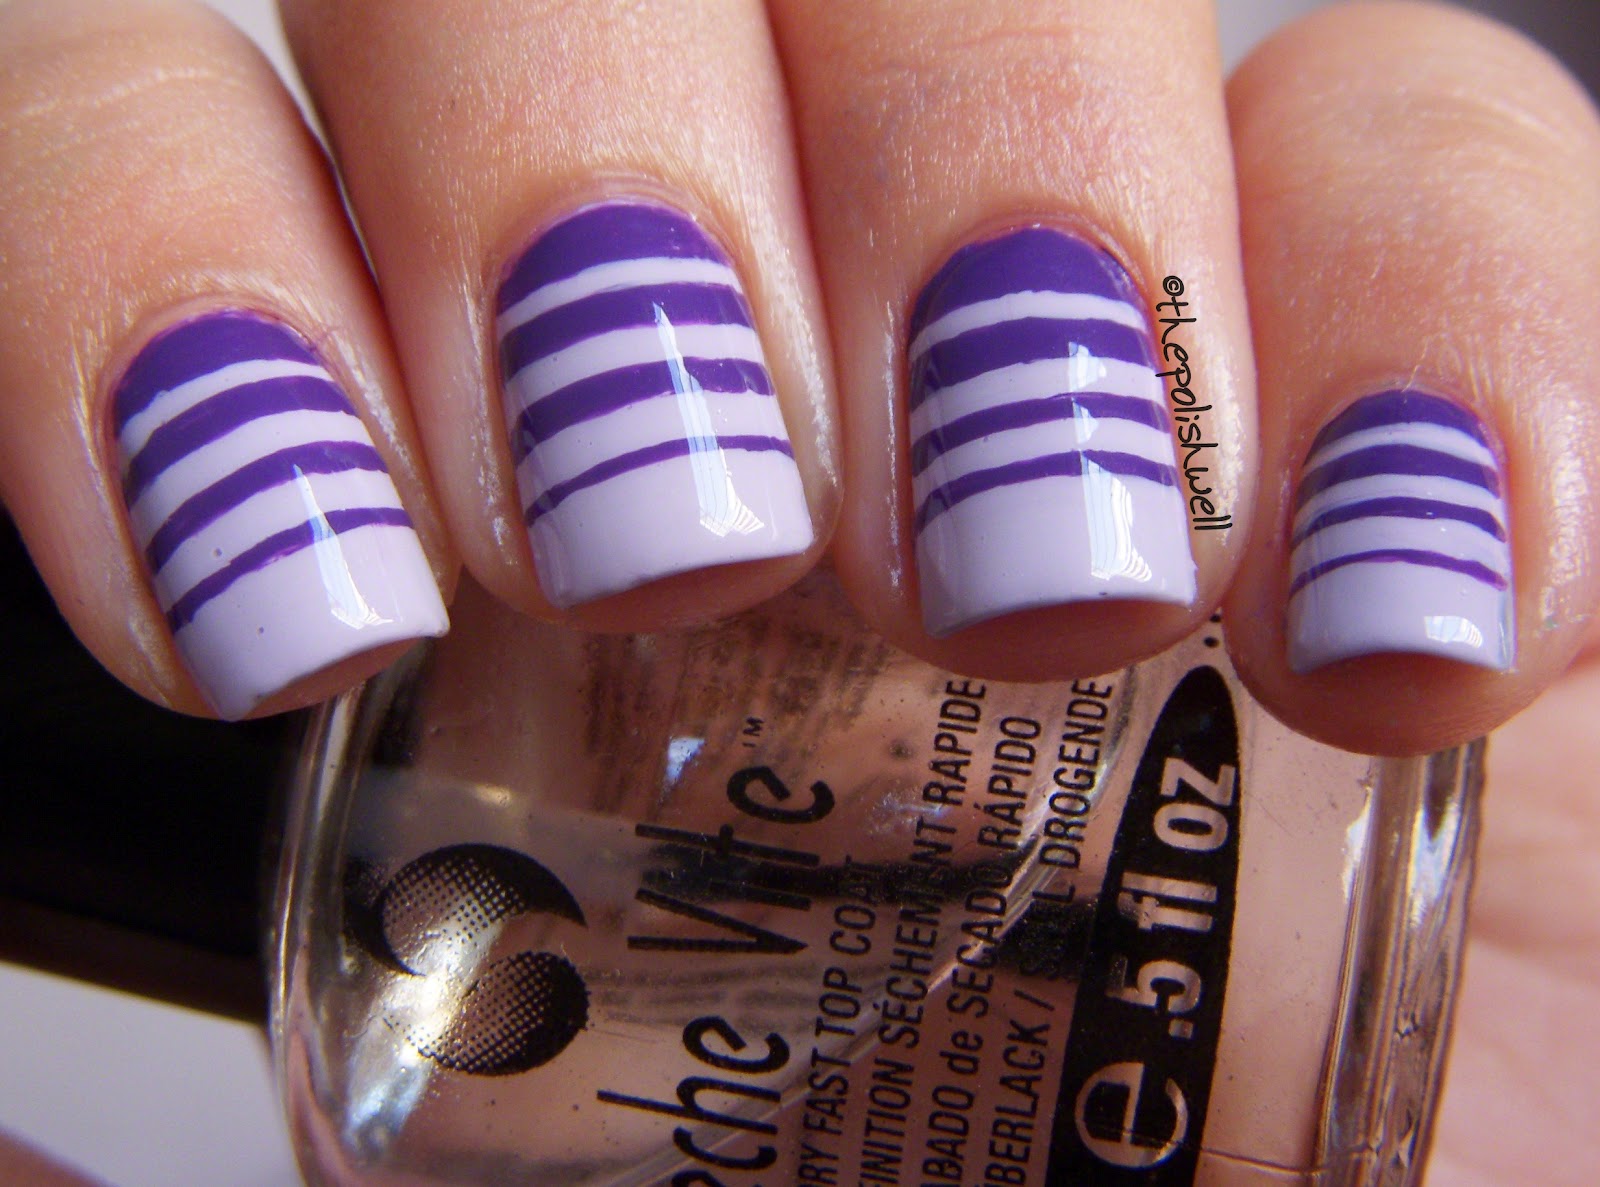
If you're looking for some inspiration for your next nautical-themed manicure, then take a look at these striped anchor nail art designs for some ideas. 1. Blue and White Stripes with Anchor Charm: Keep it simple and classic with blue and white stripes and a cute anchor charm on one nail. 2. Ombre Striped Nails with Anchor Decal: Create a subtle nautical look by painting ombre stripes and adding a small anchor decal on one nail. 3. Red and White Stripes with Anchor Detail: Show your love for the sea with red and white stripes and an anchor detail on one nail. 4. Striped French Manicure with Anchor Accent: Give a twist to the classic French manicure by adding blue stripes on the tips and a small anchor detail on one nail. 5. Nautical Stripes and Gold Anchor: This design is perfect for those who love a touch of luxury. Paint blue and white stripes and add a gold anchor accent on one nail. With these striped anchor nail art designs, you can find inspiration to create your own unique and beautiful manicure. So why not give them a try and show off your love for all things nautical?8. Striped Anchor Nail Art Inspiration

8. Striped Anchor Nail Art Inspiration


If you're a fan of all things nautical, then these striped anchor nail designs are perfect for you. Combining classic blue and white stripes with cute anchor accents, these designs are perfect for any summer day or beach vacation.9. Nautical Striped Anchor Nail Designs

9. Nautical Striped Anchor Nail Designs


Nail Art with Stripes and Anchors: A Fun and Nautical Design for Your Nails
 If you're looking for a way to add some nautical flair to your nails, then look no further than nail art with stripes and anchors. This fun and playful design is a great way to show off your love for the ocean and add a unique touch to your overall look.
The Beauty of Stripes and Anchors
 Stripes and anchors are classic nautical symbols that have been used in fashion and design for decades. Stripes represent the waves of the ocean while anchors symbolize stability and strength. When combined, they create a charming and eye-catching pattern that is perfect for nail art.
How to Achieve the Look
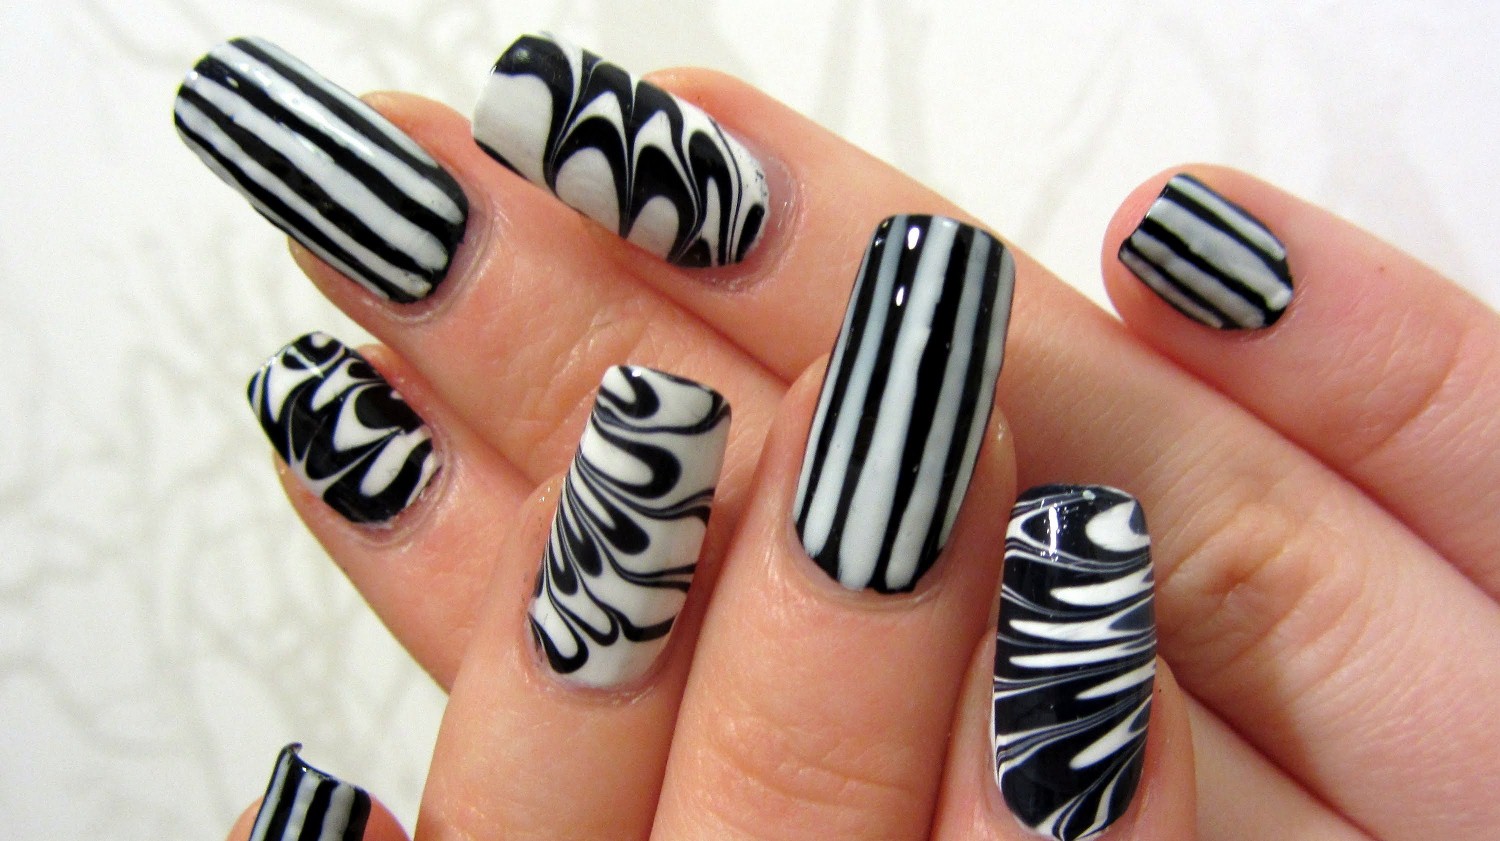
 To achieve this nail art design, you will need a few key tools: a base coat, your choice of nail polish colors, a thin nail art brush, and a top coat. Start by applying a base coat to protect your nails and allow it to dry. Then, using a white nail polish, paint two coats on your nails. Once the white polish is dry, use a thin nail art brush to create stripes using a
blue
or
red
nail polish. You can create horizontal or vertical stripes, or even a mix of both. Next, using the same thin brush, paint small anchors using a
dark blue
or
black
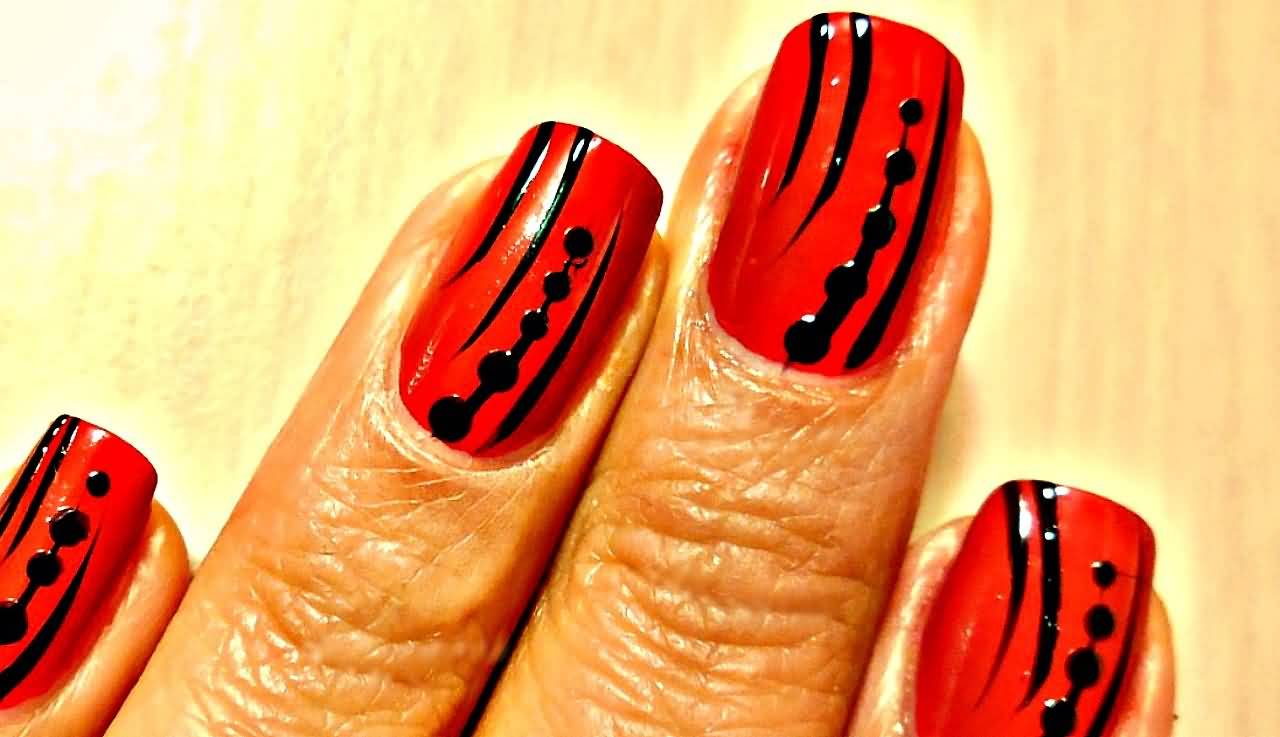
nail polish. You can also use a dotting tool to create the anchor's circular shape. Allow the design to dry before applying a top coat to seal in the design and add shine.
To achieve this nail art design, you will need a few key tools: a base coat, your choice of nail polish colors, a thin nail art brush, and a top coat. Start by applying a base coat to protect your nails and allow it to dry. Then, using a white nail polish, paint two coats on your nails. Once the white polish is dry, use a thin nail art brush to create stripes using a
blue
or
red
nail polish. You can create horizontal or vertical stripes, or even a mix of both. Next, using the same thin brush, paint small anchors using a
dark blue
or
black
nail polish. You can also use a dotting tool to create the anchor's circular shape. Allow the design to dry before applying a top coat to seal in the design and add shine.
Customize Your Look
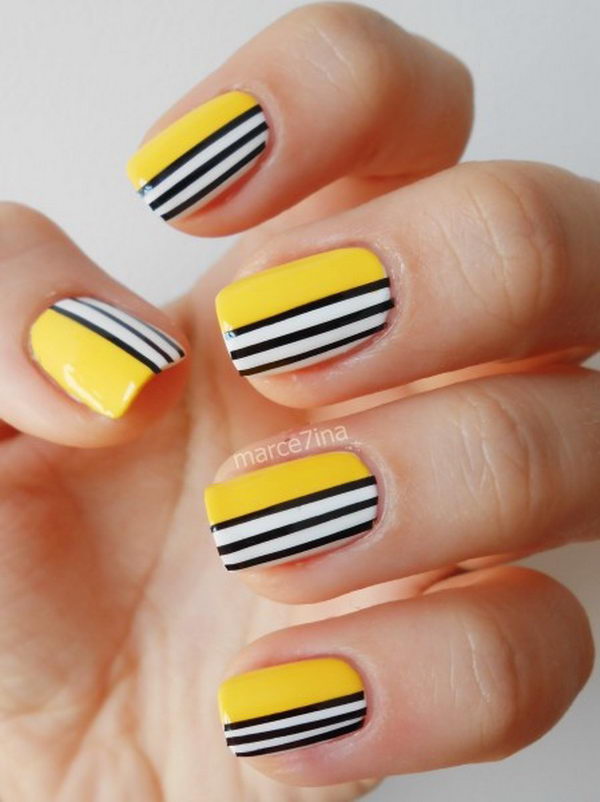
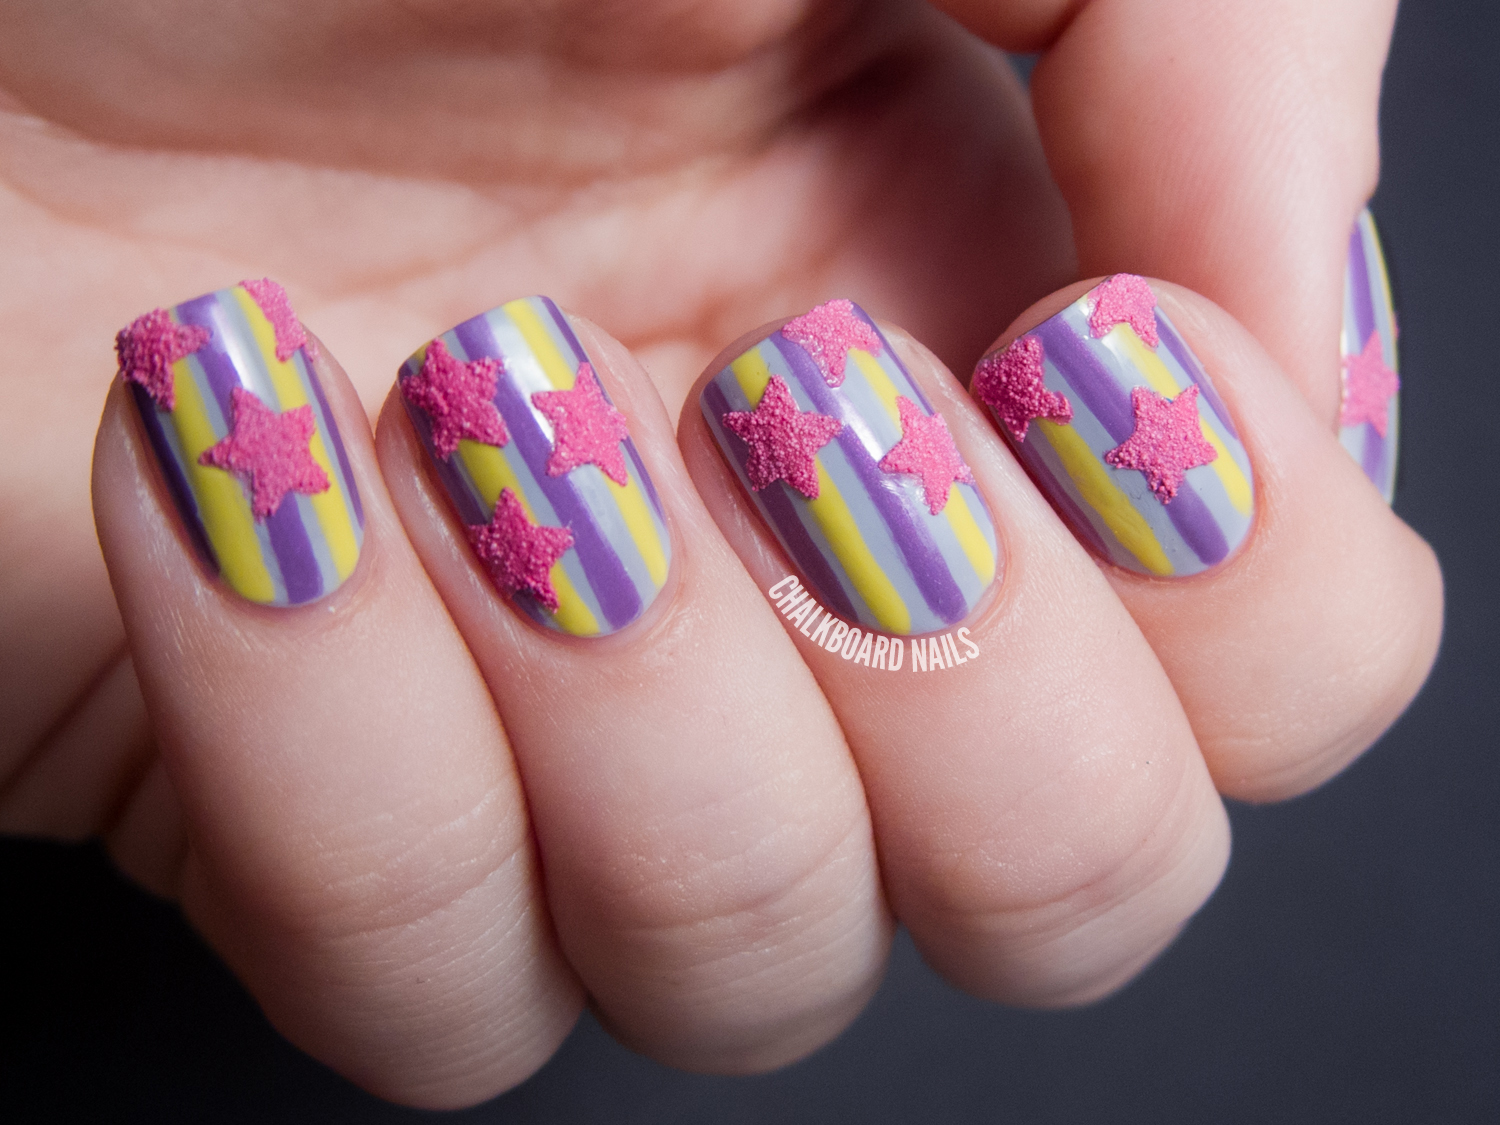
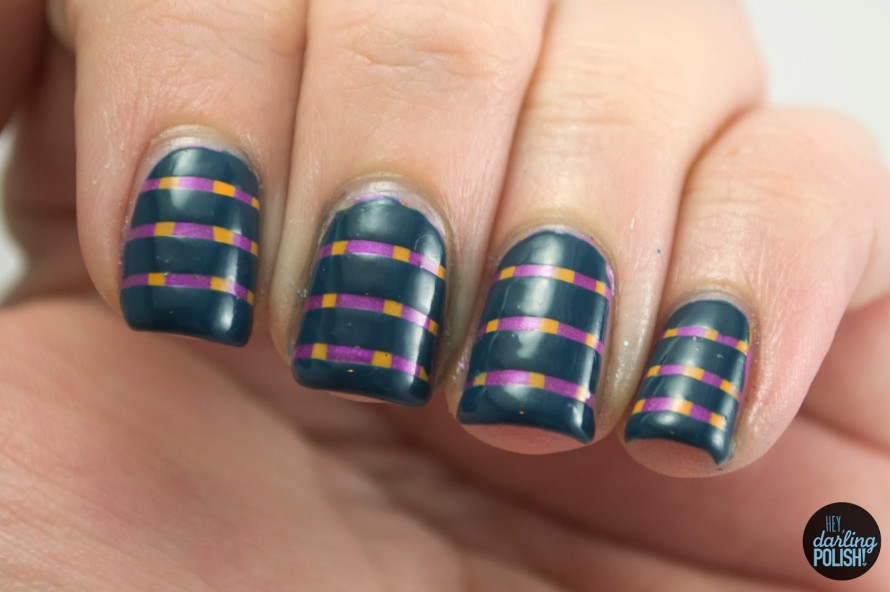
 The great thing about nail art with stripes and anchors is that you can customize it to your liking. You can switch up the colors and create a more vibrant look with
yellow
or
pink
stripes, or even add some glitter for a touch of sparkle. You can also play around with different nail shapes and lengths to make the design truly unique.
The great thing about nail art with stripes and anchors is that you can customize it to your liking. You can switch up the colors and create a more vibrant look with
yellow
or
pink
stripes, or even add some glitter for a touch of sparkle. You can also play around with different nail shapes and lengths to make the design truly unique.
Perfect for Any Occasion
 This nail art design is perfect for any occasion. Whether you're heading to the beach or just want to add a fun touch to your everyday look, stripes and anchors are a versatile and playful design that will surely make a statement. Plus, it's a great conversation starter and a fun way to show off your love for the ocean.
In conclusion, nail art with stripes and anchors is a fun and creative way to add a nautical touch to your nails. With endless possibilities for customization, this design is perfect for any occasion and is sure to turn heads. So go ahead and give it a try, and get ready to sail away with this charming and eye-catching nail art design.
This nail art design is perfect for any occasion. Whether you're heading to the beach or just want to add a fun touch to your everyday look, stripes and anchors are a versatile and playful design that will surely make a statement. Plus, it's a great conversation starter and a fun way to show off your love for the ocean.
In conclusion, nail art with stripes and anchors is a fun and creative way to add a nautical touch to your nails. With endless possibilities for customization, this design is perfect for any occasion and is sure to turn heads. So go ahead and give it a try, and get ready to sail away with this charming and eye-catching nail art design.


