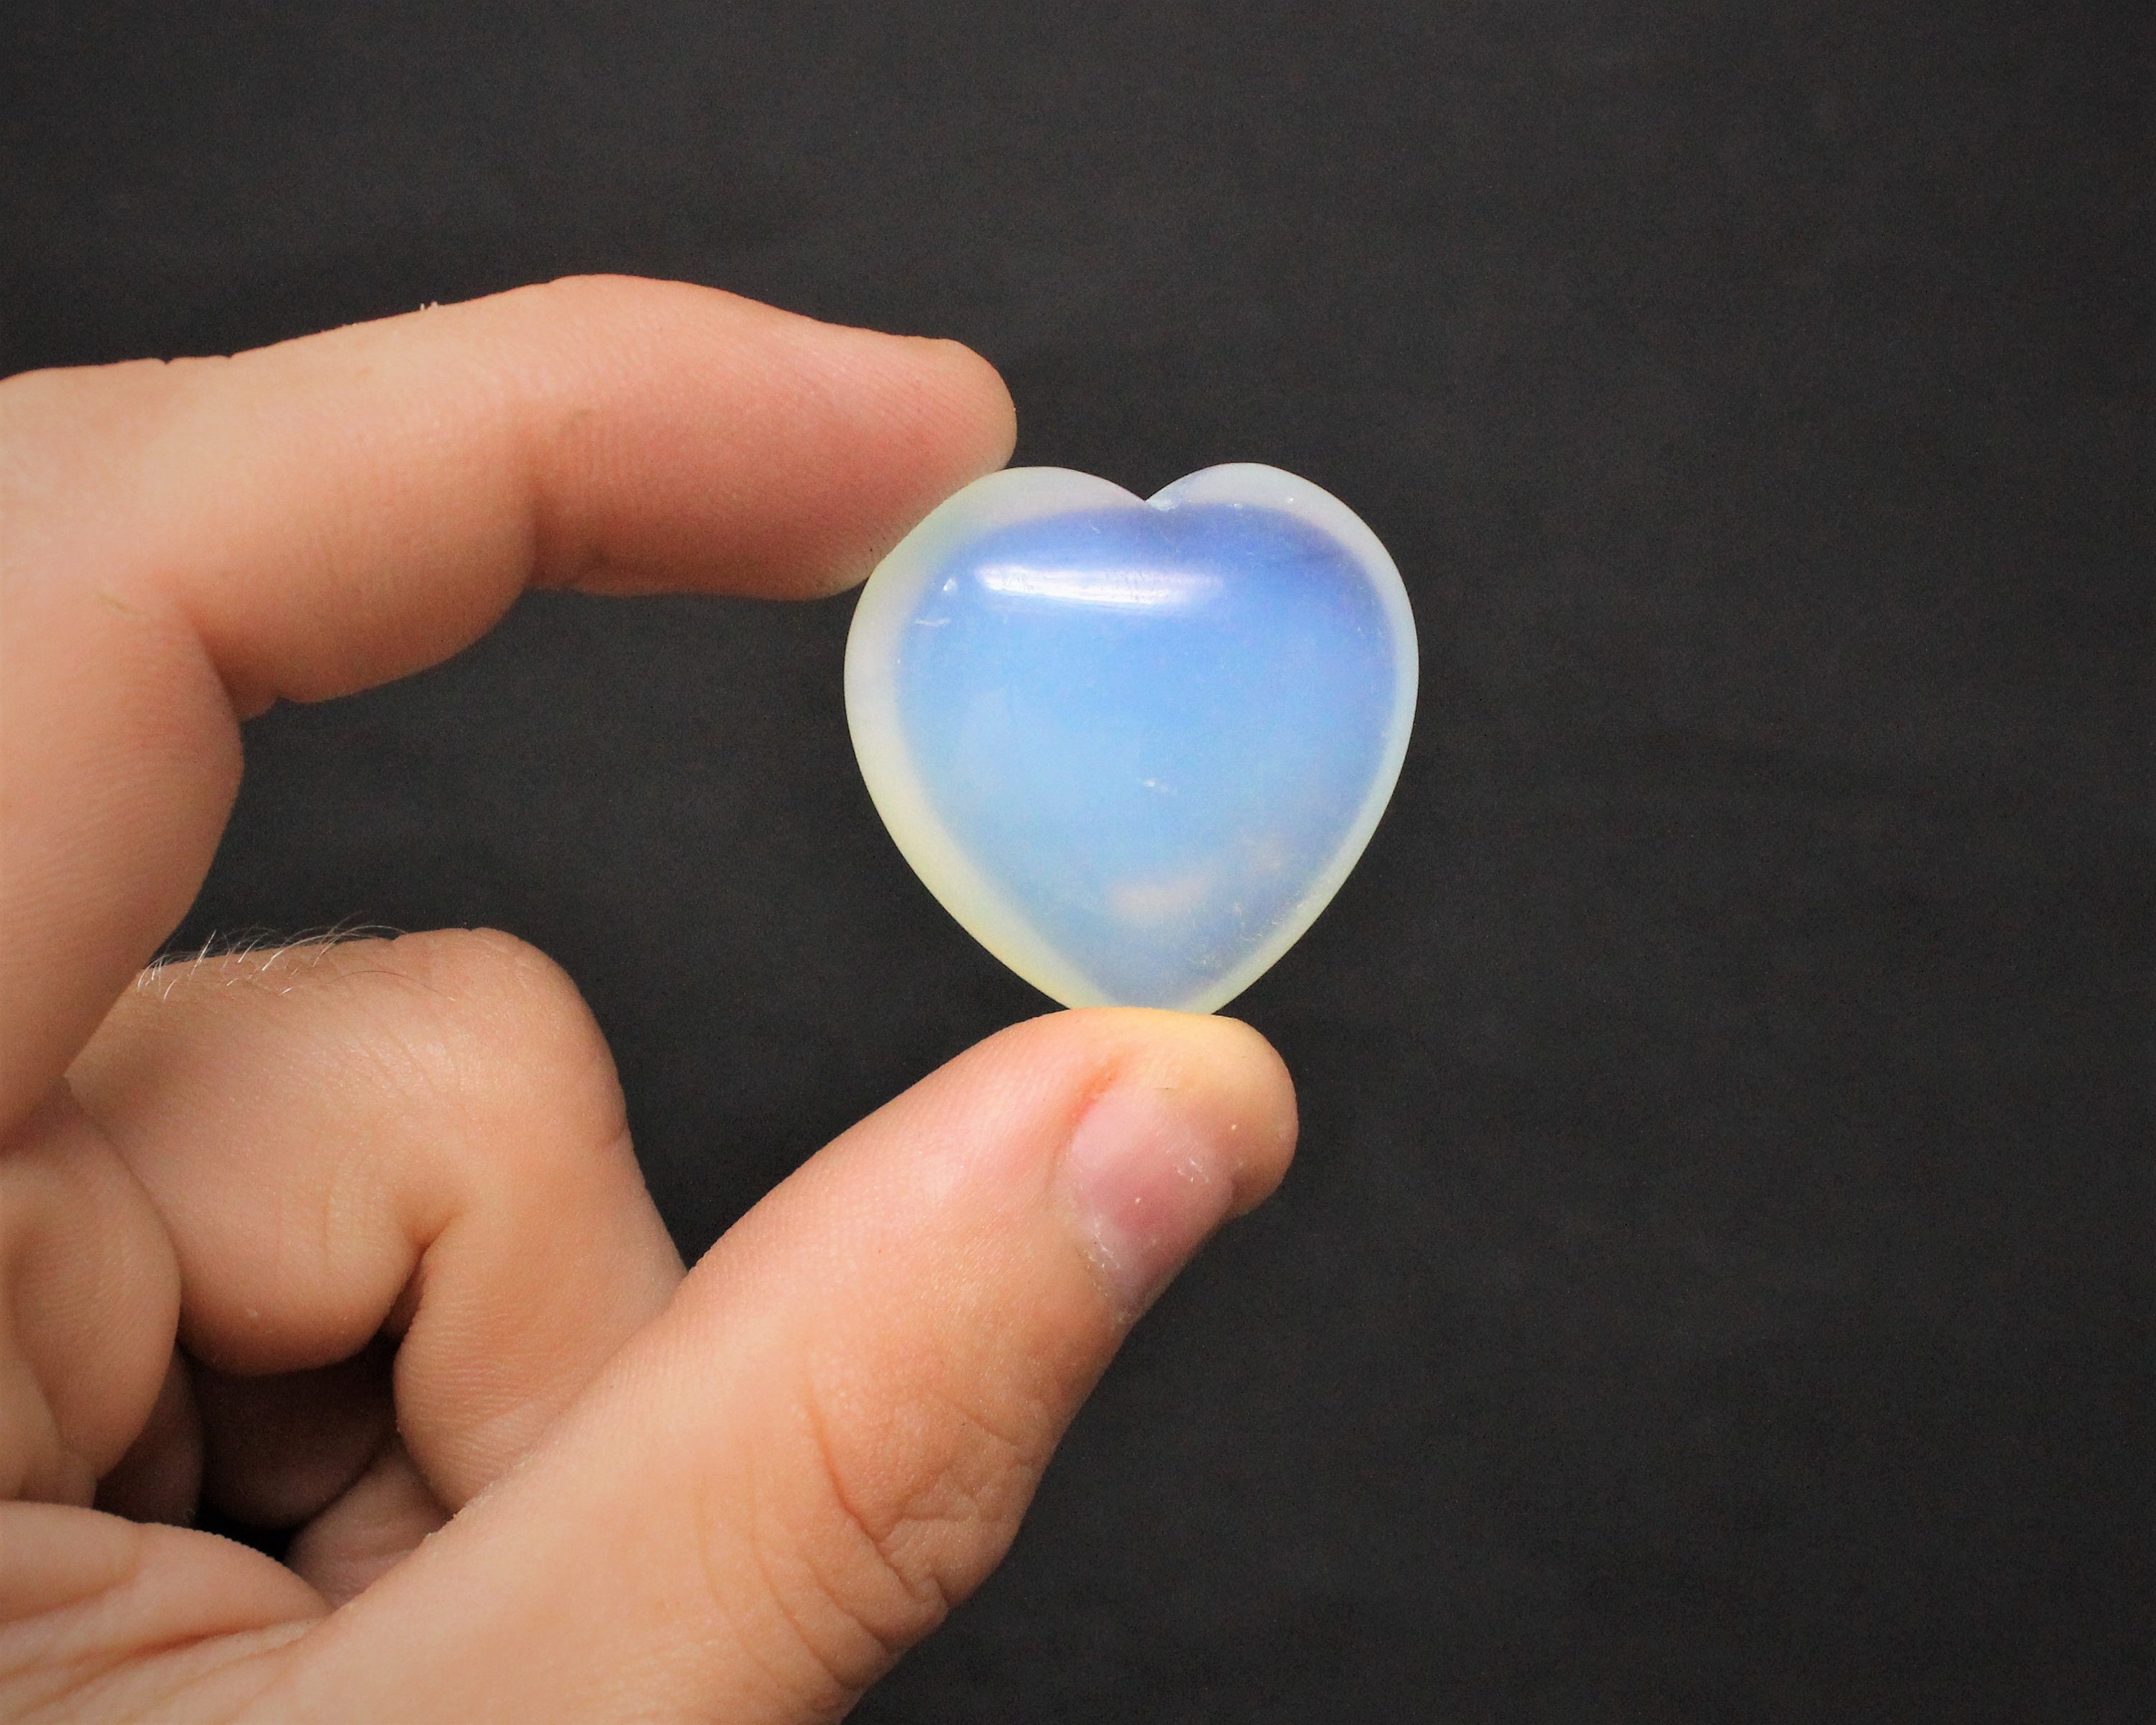
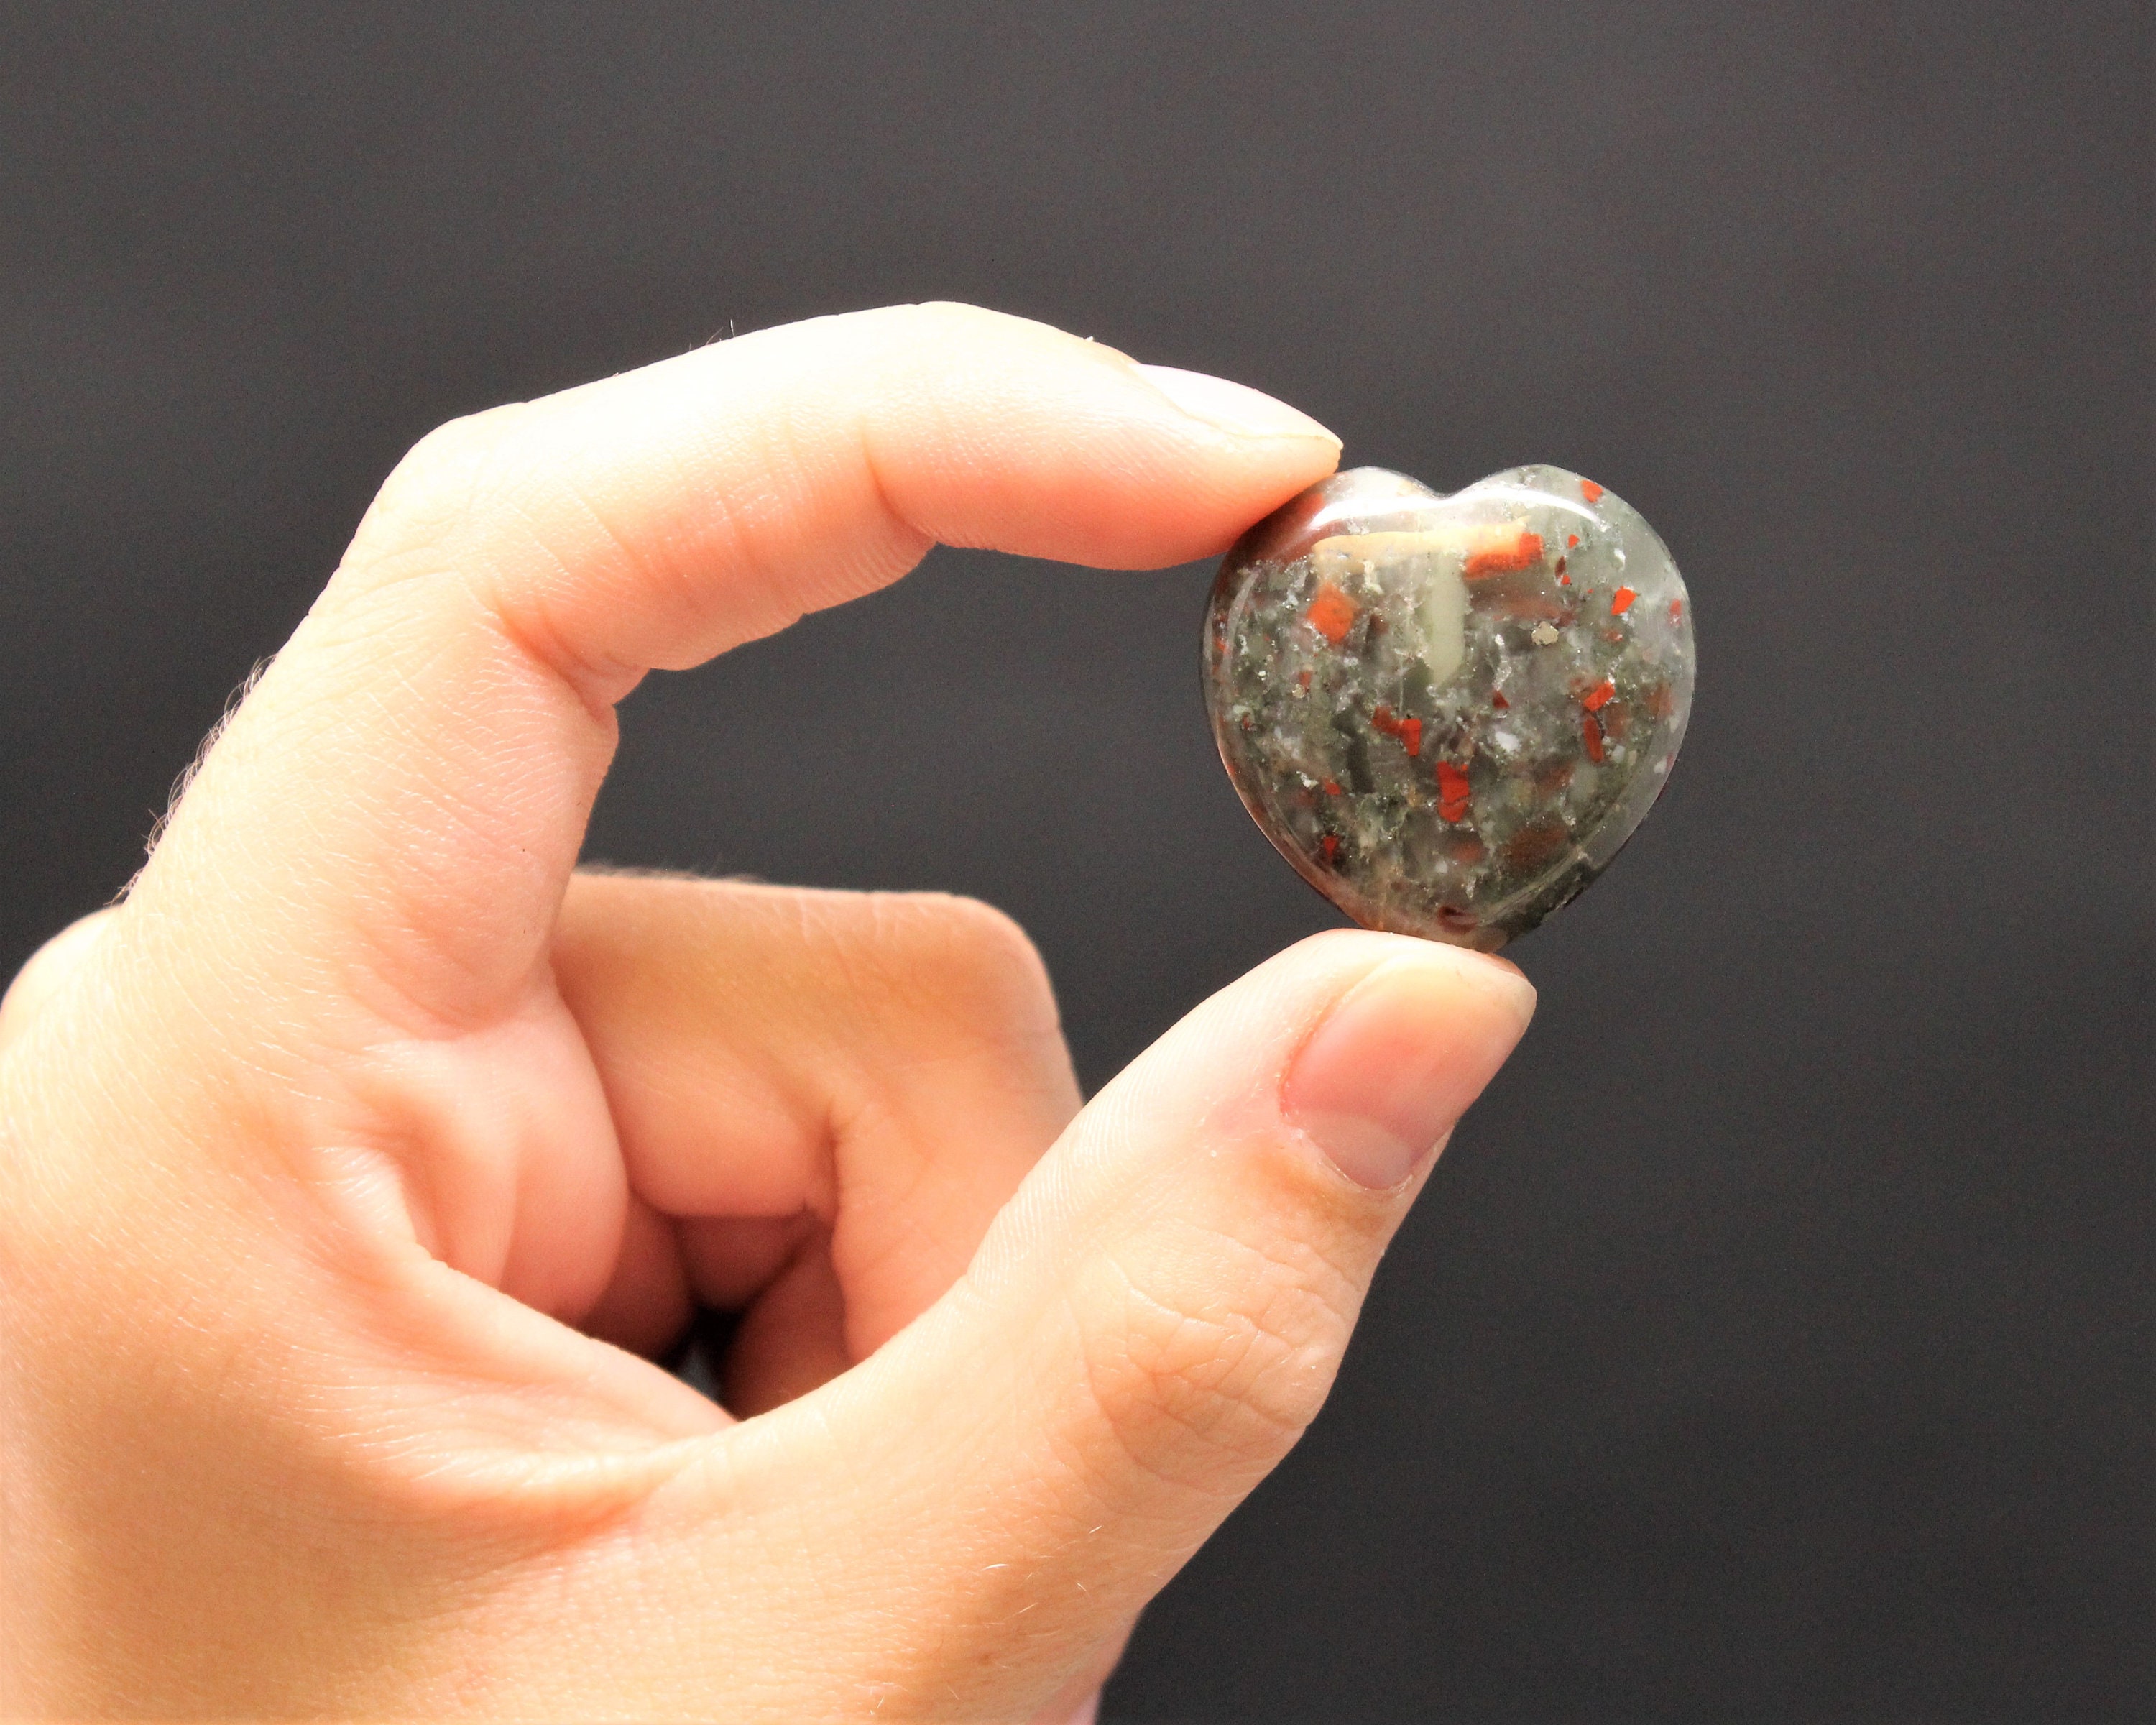
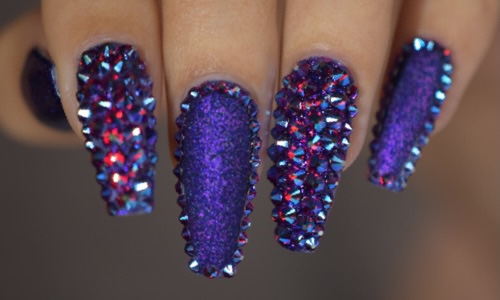
If you're a fan of all things sparkly and girly, then crystal heart nail art is the perfect design for you. This elegant and eye-catching design combines the beauty of crystals with the sweet and romantic symbol of a heart. In this tutorial, we'll show you how to create your own stunning crystal heart nail art. First, gather all the necessary supplies. You'll need a base coat, your favorite nail polish color, clear top coat, a dotting tool, and, of course, crystals in the shape of hearts. You can find these crystals at your local craft store or online. Start by applying a base coat to your nails, this will help protect your natural nails and make the polish last longer. Next, choose a color for your nails, it can be a soft pastel color or a bold and bright one, depending on your personal style. Once your base color is dry, it's time to add the crystals. Using your dotting tool, apply a small dot of clear top coat to your nail. Then, using tweezers, carefully place the crystal heart on top of the dot of top coat. Make sure to press down gently to secure the crystal in place. Repeat this step for all the nails you want to add crystals to. For a more dramatic effect, you can add multiple crystals to each nail, creating a cluster of hearts. You can also mix and match different sizes and colors of crystals for a unique and personalized look. Once all the crystals are in place, apply a generous layer of clear top coat to seal everything in and make your nail art last longer. And voila, you now have stunning crystal heart nail art!1. Crystal Heart Nail Art Tutorial


1. Crystal Heart Nail Art Tutorial


If you're on a budget or simply enjoy getting creative, then DIY crystal nail art is the perfect option for you. With just a few supplies, you can create your own unique and beautiful crystal nail designs. First, gather your supplies. You'll need a base coat, your favorite nail polish color, clear top coat, crystals in various shapes and sizes, and a pair of tweezers. You can find these crystals at your local craft store or online. Start by applying a base coat to your nails, this will help protect your natural nails and make the polish last longer. Next, choose a color for your nails, it can be a soft pastel color or a bold and bright one, depending on your personal style. Once your base color is dry, it's time to get creative. Using your tweezers, carefully select and place the crystals on your nails. You can create designs such as a heart shape, a line of crystals along the nail, or a scattered pattern. Don't be afraid to mix and match different shapes and sizes of crystals to create a unique and personalized design. You can also add a touch of glitter or other nail decorations for an extra wow factor. Once you're happy with your design, seal everything in with a layer of clear top coat. This will not only make your nail art last longer but also give it a smooth and glossy finish. With a little bit of creativity and patience, you can create your own stunning DIY crystal nail art that will surely turn heads.2. DIY Crystal Nail Art


2. DIY Crystal Nail Art


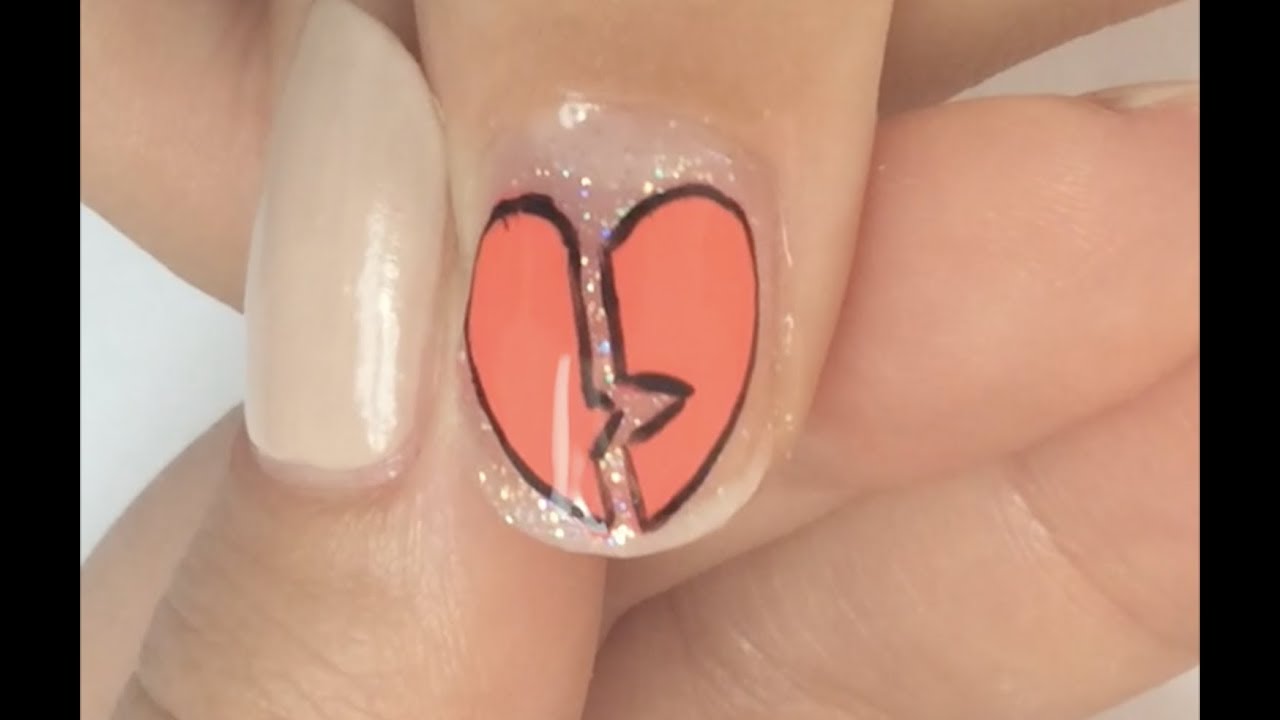
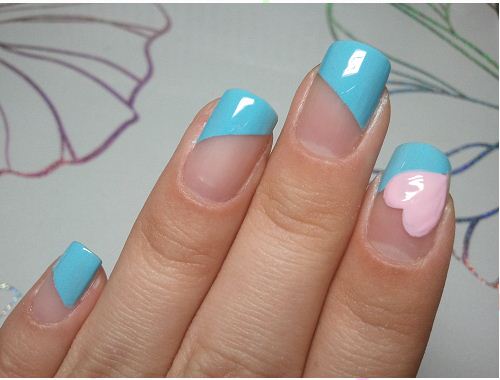
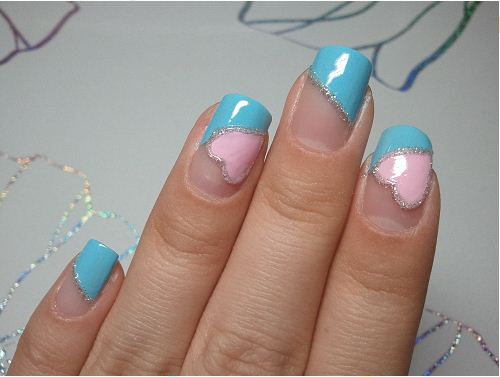
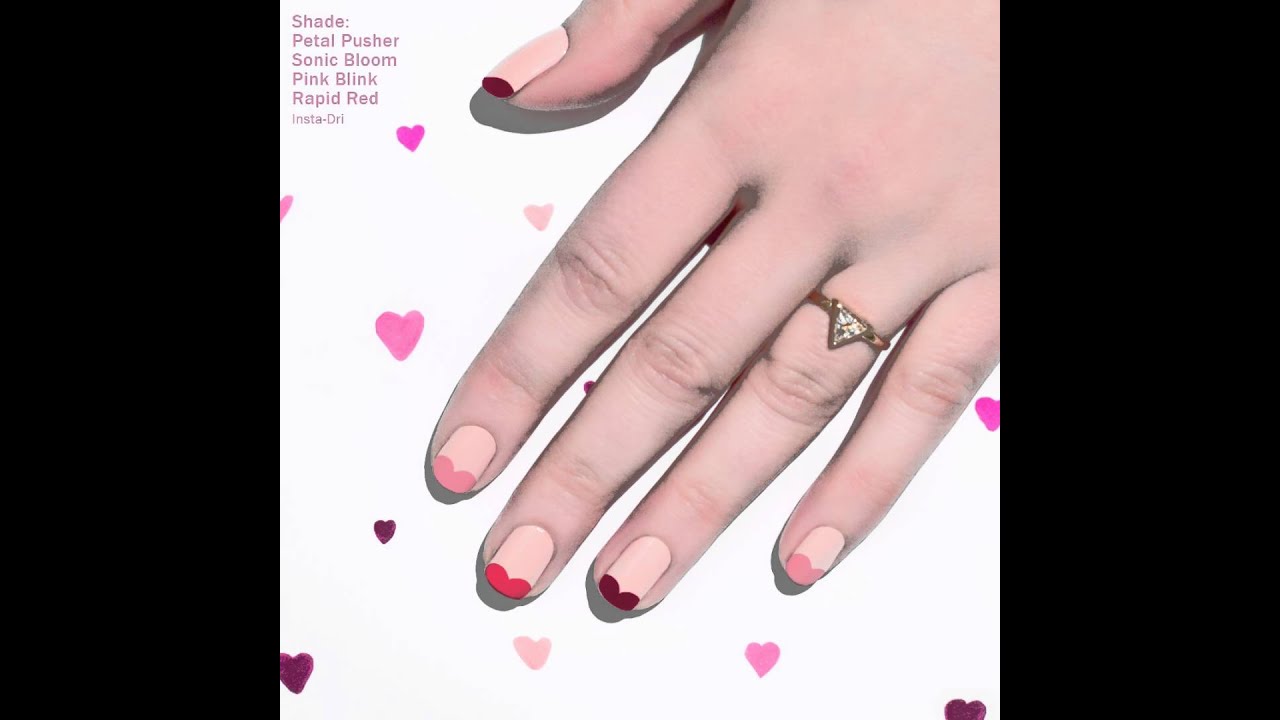
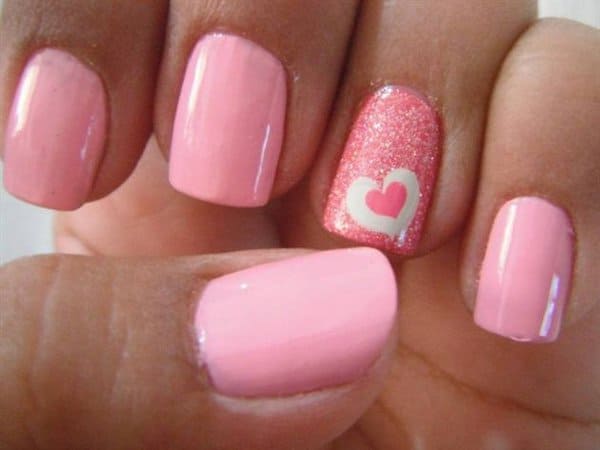
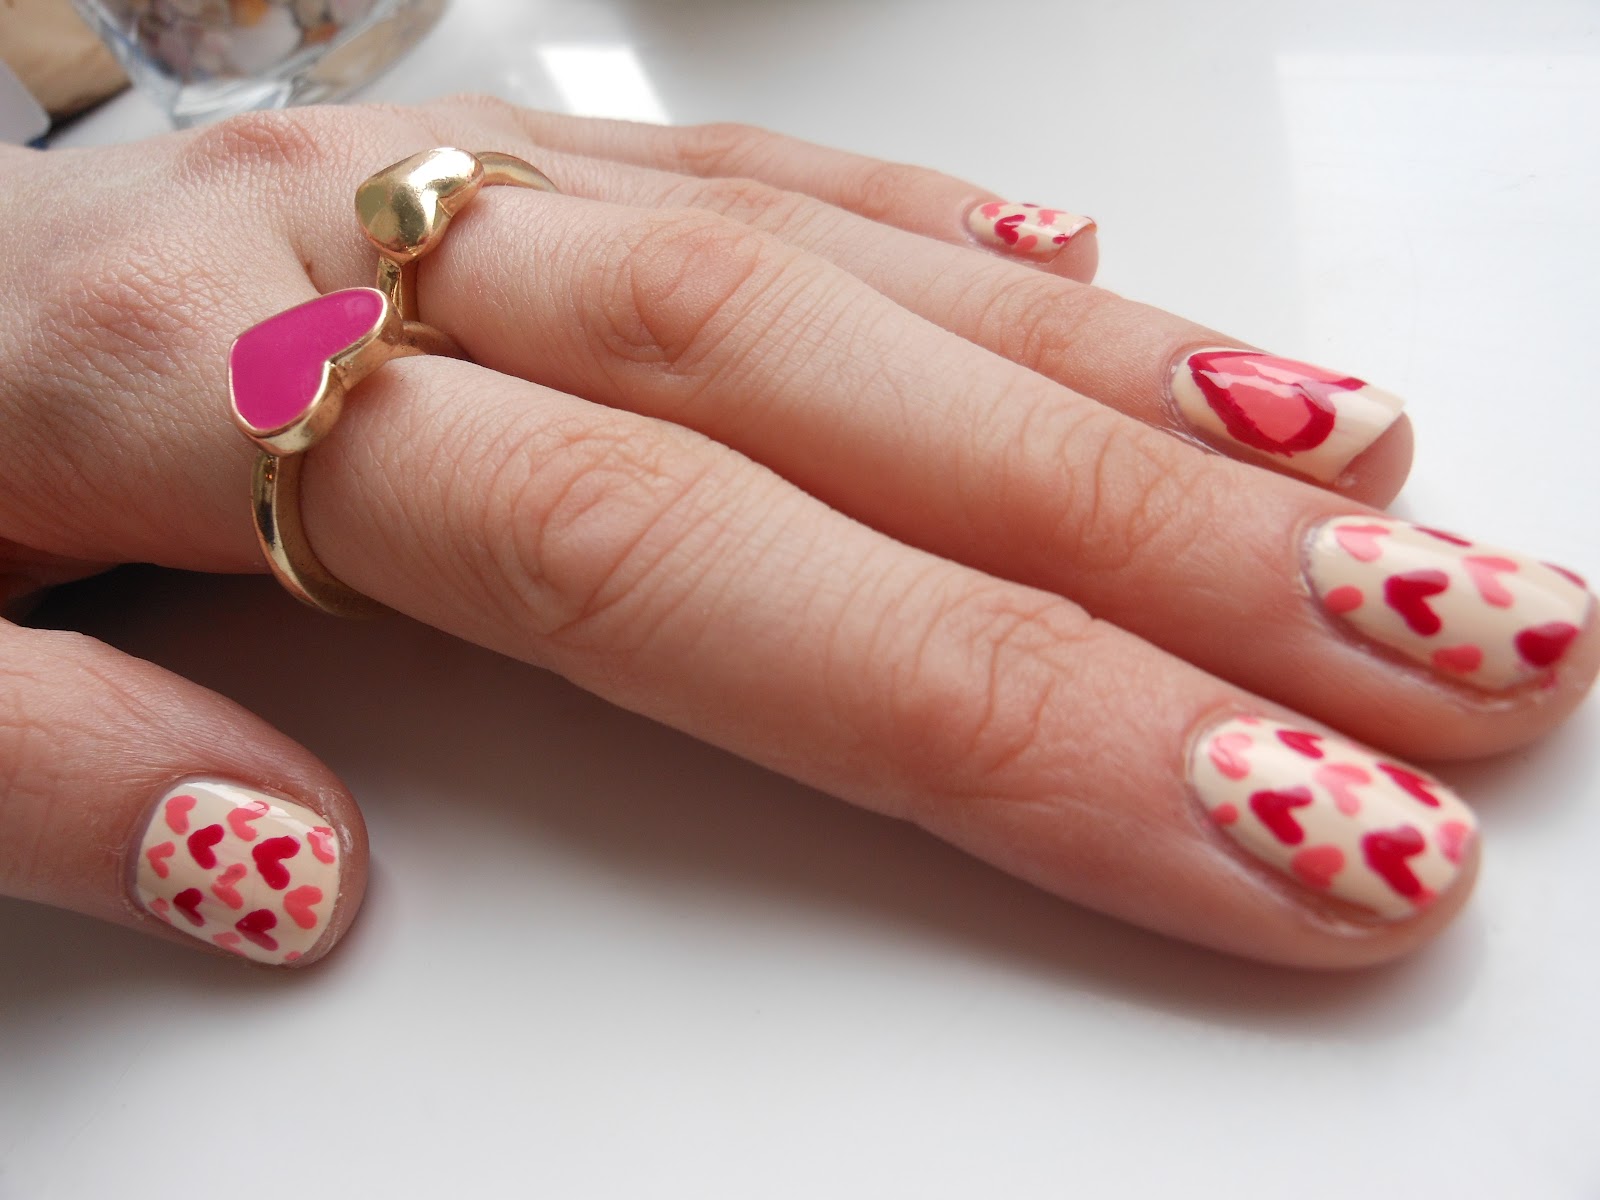
Nothing says romance more than a heart-shaped design on your nails. Whether you're celebrating Valentine's Day, a special anniversary, or just want to show some love, heart-shaped nail art is the perfect choice. There are endless possibilities when it comes to creating heart-shaped nail art. You can go for a simple and classic look with a single heart on each nail, or get creative and use multiple hearts in different sizes and colors. If you want to keep it simple, you can use a heart-shaped nail stencil or stamp to create the perfect heart shape on your nails. Another option is using a toothpick or dotting tool to draw the shape yourself. For a more intricate design, you can use different colors and sizes of hearts to create a pattern on your nails. You can also add other elements such as flowers, polka dots, or glitter for a unique and eye-catching look. Heart-shaped nail art is not only perfect for special occasions, but it's also a great way to add a touch of romance to your everyday look. So go ahead and show some love with these beautiful nail designs.3. Heart Shaped Nail Art Designs


3. Heart Shaped Nail Art Designs


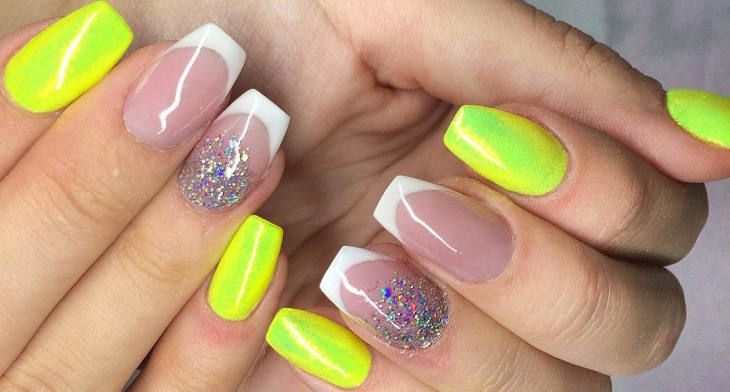
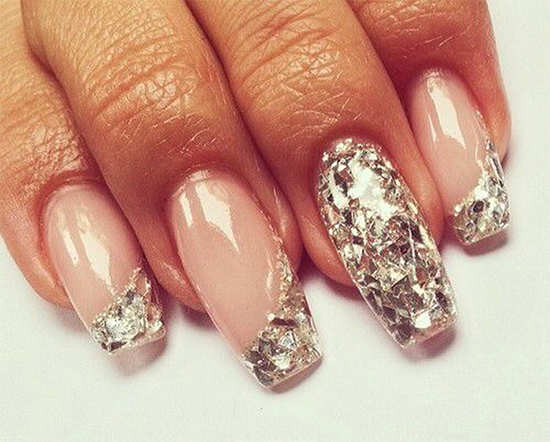
For a luxurious and glamorous look, nail art with crystals and gems is the way to go. These sparkling and eye-catching designs will make you feel like a million bucks. The key to creating nail art with crystals and gems is to keep it simple. You don't want to overwhelm your nails with too many stones, as it can look tacky. Instead, choose a few key nails to add crystals to, and keep the rest of the nails simple with a solid color. You can use crystals and gems in different shapes and sizes, such as round, teardrop, or square, to create a unique and personalized design. You can also mix and match different colors for a bold and colorful look. Another option is to create a gradient effect, starting with larger crystals at the base of your nail and gradually getting smaller as you move towards the tip. This will give your nails a stunning ombre effect. Remember to seal everything in with a layer of clear top coat to make your nail art last longer and give it a smooth and glossy finish. With nail art with crystals and gems, you'll surely make a statement wherever you go.4. Nail Art with Crystals and Gems


4. Nail Art with Crystals and Gems


If you're new to nail art or simply don't have much time to spend on intricate designs, there are still plenty of easy crystal nail art ideas that you can try. These designs are perfect for beginners and will only take a few minutes to create. One simple idea is to add a single crystal to each nail, near the cuticle or on the tip of the nail. This will add a touch of sparkle and elegance to your nails without being too overwhelming. Another easy idea is to create a heart shape on one or two nails using small crystals. This is a sweet and romantic design that will surely catch everyone's attention. You can also try using a glitter nail polish as a base and then adding a few crystals in a matching color on top. This will give your nails a subtle and glamorous look. Remember, the key to easy crystal nail art is to keep it simple and not overdo it. Less is more, and even a few crystals can make a big impact on your manicure.5. Easy Crystal Nail Art Ideas


5. Easy Crystal Nail Art Ideas


If you're just starting out with nail art, creating intricate designs may seem a bit intimidating. However, there are plenty of heart nail art designs that are perfect for beginners and will help you master the basics of nail art. One easy design is to create a heart using two different colors of nail polish. Simply paint your nails with one color, let it dry, then use a toothpick or dotting tool to draw a heart with the second color. You can also use a heart-shaped nail stencil to create the perfect heart shape on your nails. This is a foolproof way to achieve a clean and symmetrical heart on each nail. Another simple design is to paint your nails with a solid color and then add a small heart-shaped sticker or decal on one or two nails. This will save you time and effort, while still giving you a cute and romantic look. With these easy heart nail art designs, you'll be on your way to becoming a nail art pro in no time.6. Heart Nail Art Designs for Beginners


6. Heart Nail Art Designs for Beginners
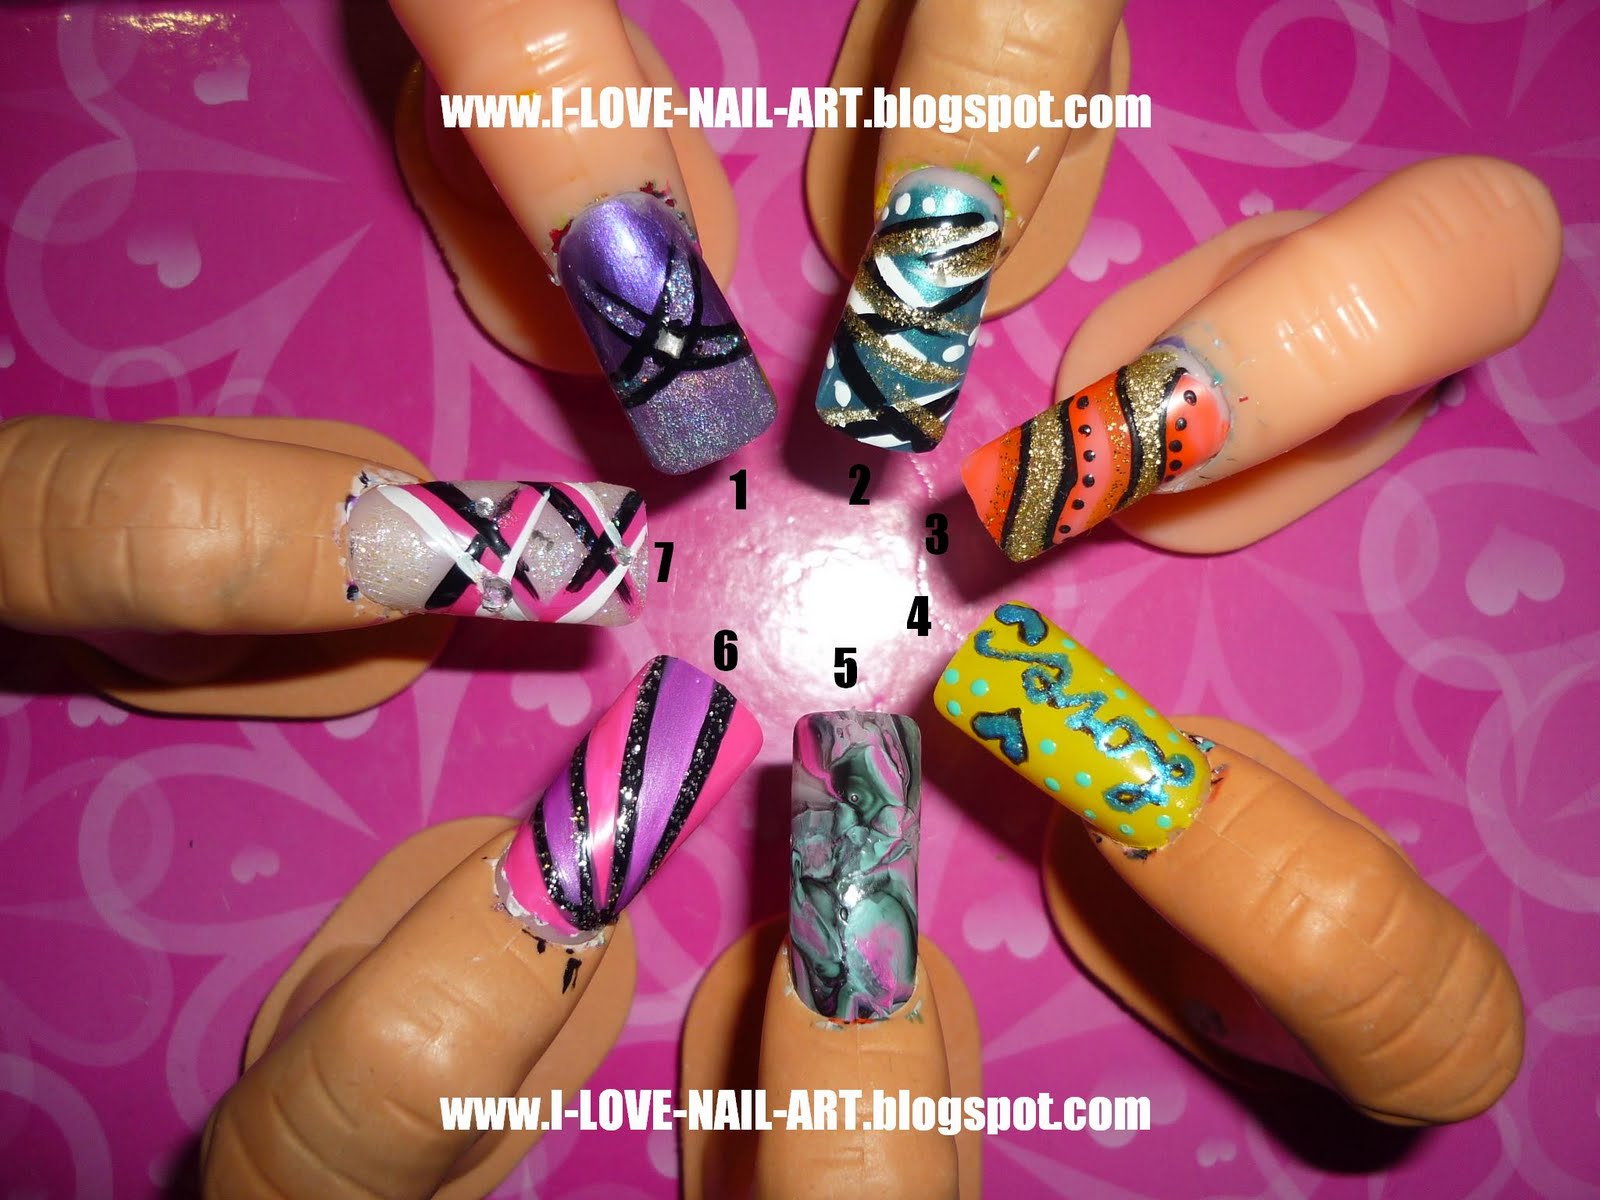


To create stunning crystal nail art, you'll need to have the right supplies on hand. Here are some essential supplies you'll need to create your own crystal nail designs: - Base coat: This will help protect your natural nails and make your polish last longer. - Nail polish: Choose your favorite color or colors to use as a base for your nail art. - Clear top coat: This will seal in your design and give your nail art a smooth and glossy finish. - Crystals and gems: You can find these at your local craft store or online. Make sure to choose crystals in different shapes and sizes for a more versatile design. - Dotting tool: This will help you apply the crystals to your nails with precision. - Tweezers: These will come in handy when placing the crystals on your nails. With these supplies, you'll be well on your way to creating your own stunning crystal nail art.7. Crystal Nail Art Supplies

7. Crystal Nail Art Supplies


For the ultimate in luxury and elegance, nail art with Swarovski crystals is the way to go. These high-quality crystals will give your nails a dazzling and sophisticated look. One easy way to use Swarovski crystals in your nail art is to create an accent nail. Choose one or two nails to add crystals to, while keeping the rest of your nails simple with a solid color. This will make the crystals stand out even more. You can also create a gradient effect by starting with larger crystals at the base of your nail and gradually getting smaller as you move towards the tip. This will give your nails a stunning ombre effect. Another idea is to use different colors of Swarovski crystals to create a pattern on your nails. You can add other elements such as flowers or hearts for a unique and personalized design. With Swarovski crystals, your nail art will surely make a statement and turn heads wherever you go.8. Nail Art with Swarovski Crystals


8. Nail Art with Swarovski Crystals


Just because you have short nails doesn't mean you can't rock crystal nail art. There are plenty of designs that are perfect for shorter nails. One simple option is to add a single crystal at the base of each nail, near the cuticle. This will elongate your nails and make them look longer. You can also create a diagonal line of crystals across each nail, starting from the base and ending at the tip. This will give your nails a modern and edgy look. Another idea is to use smaller crystals and create a scattered pattern on your nails. This will give the illusion of longer nails while still keeping the design simple. With these crystal nail art designs for short nails, you'll be able to flaunt your beautiful manicure no matter the length of your nails.9. Crystal Nail Art Designs for Short Nails

9. Crystal Nail Art Designs for Short Nails


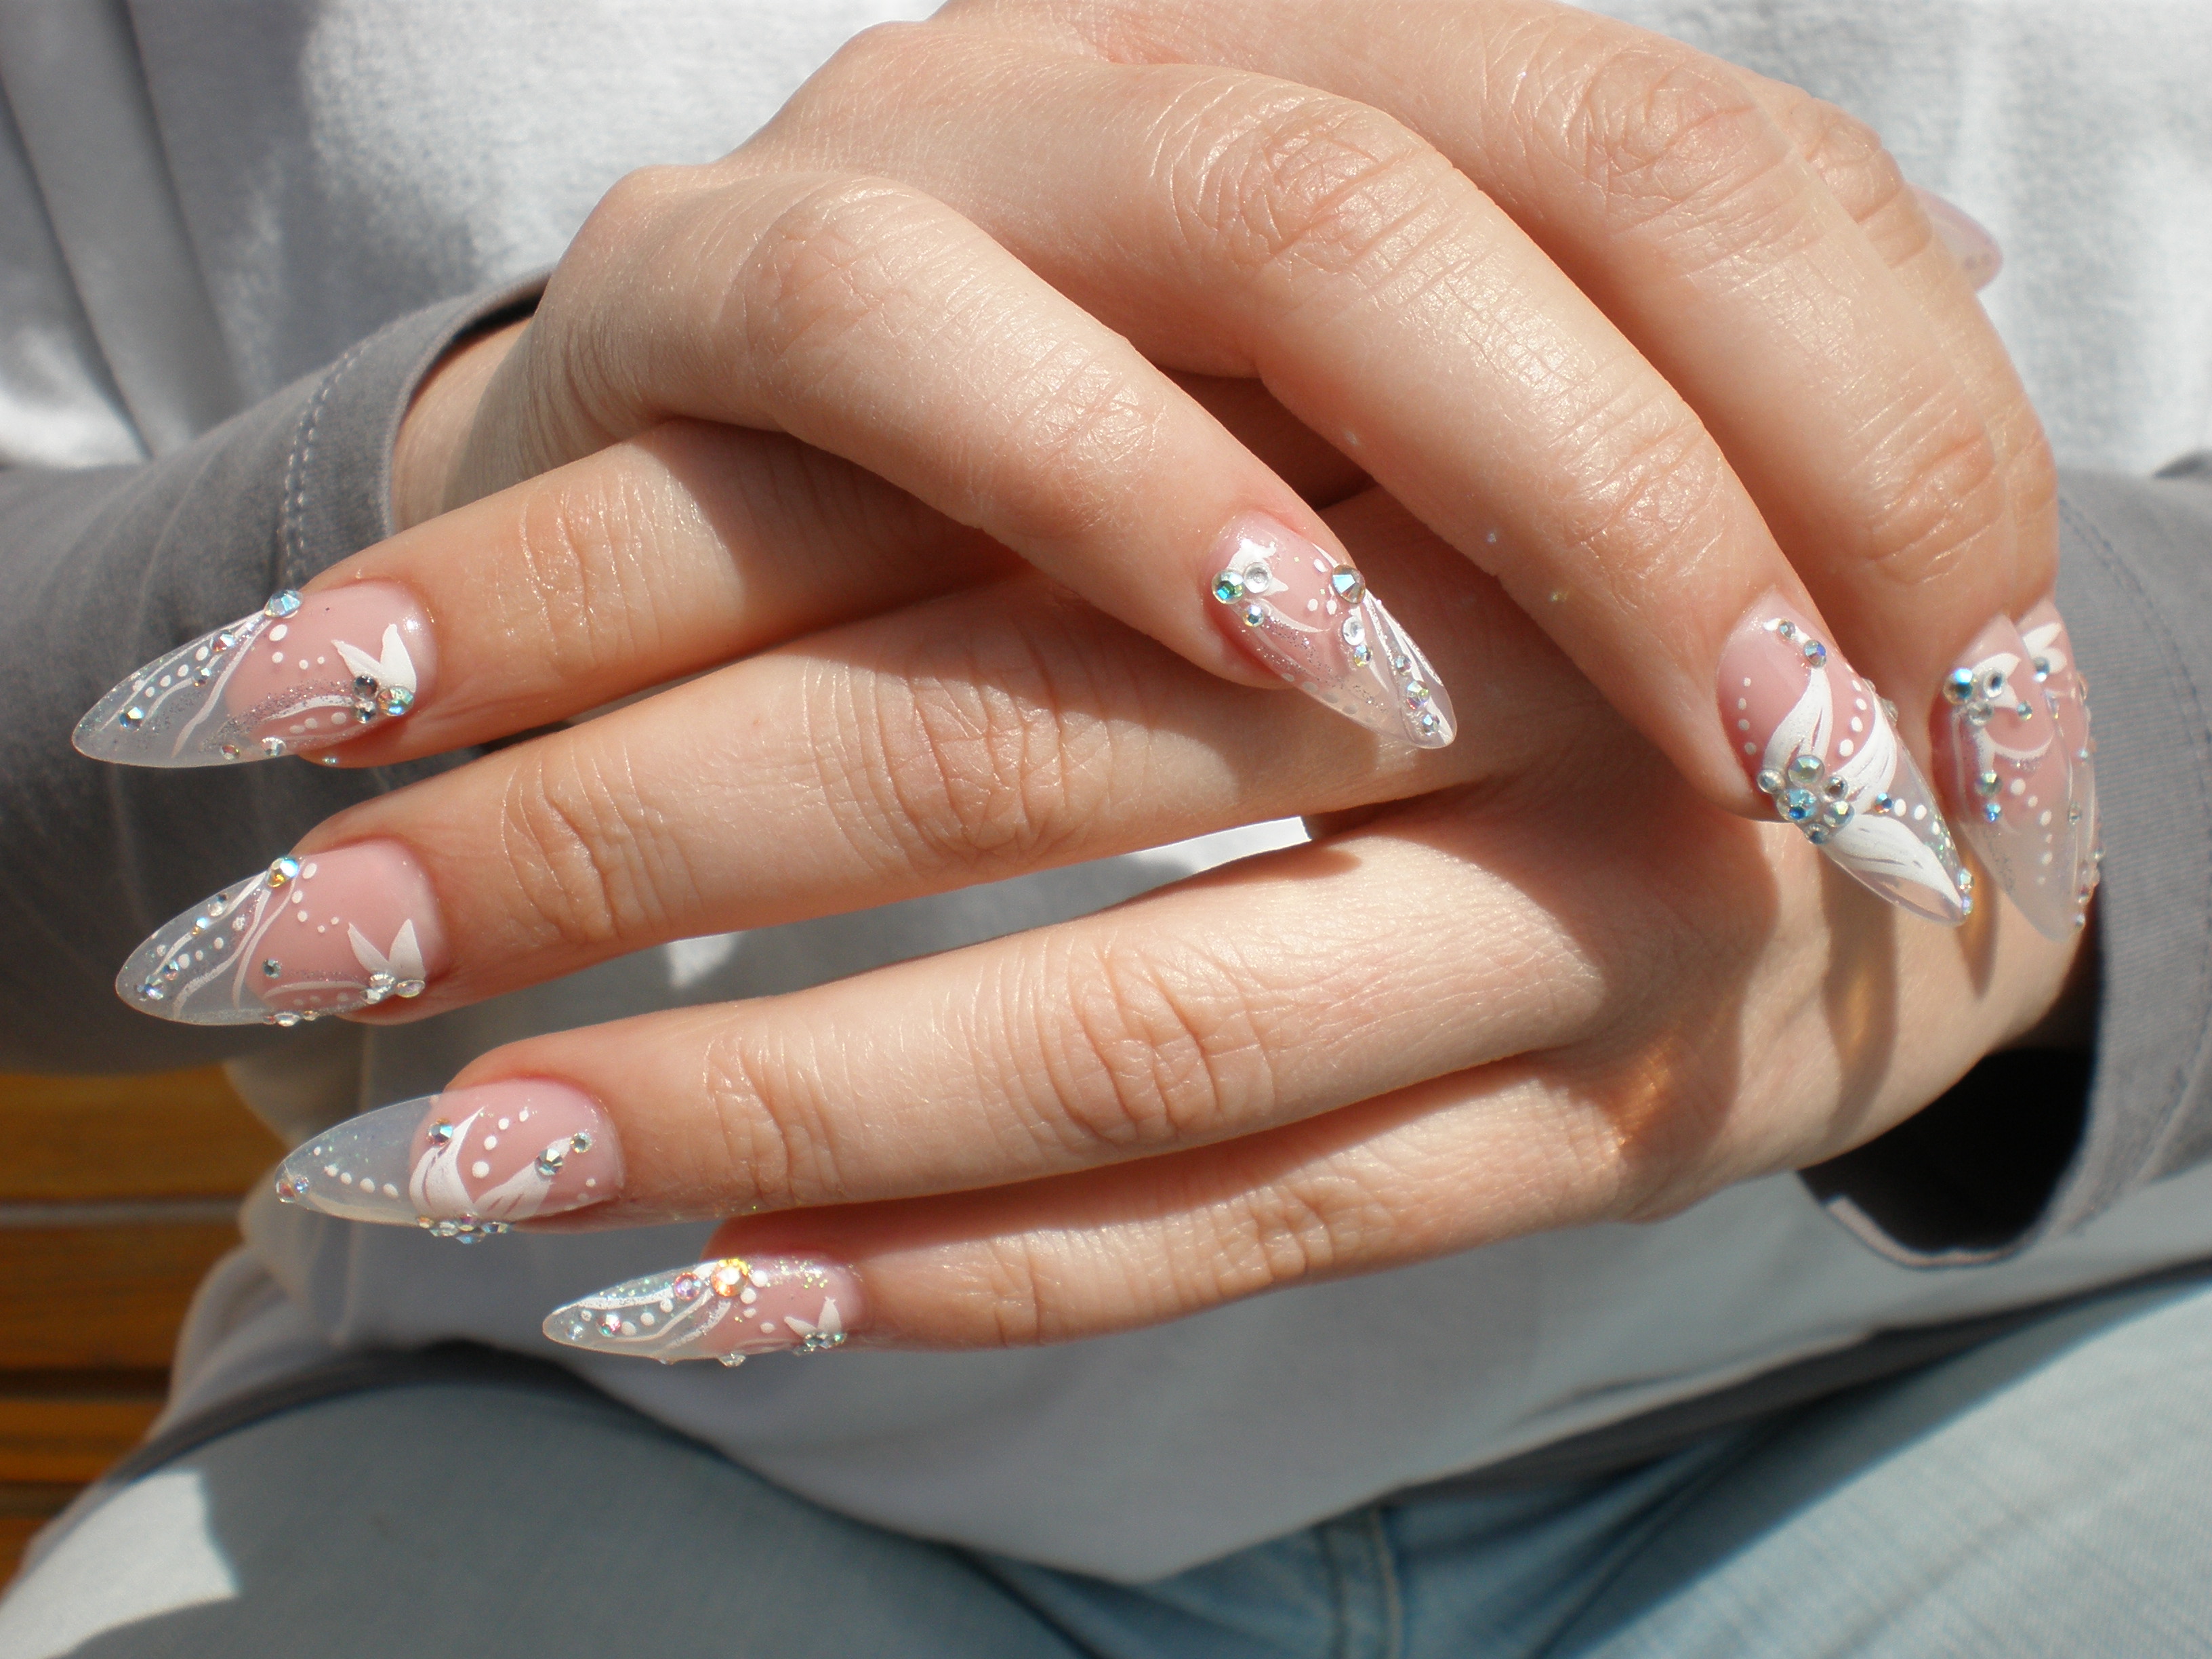


If you're a fan of heart-shaped designs, then this tutorial is for you. In this step-by-step guide, we'll show you how to create a stunning heart-shaped crystal nail art design. First, gather your supplies. You'll need a base coat, your favorite nail polish color, clear top coat, crystals in the shape of hearts, and a dotting tool. Start by applying a base coat to your nails, this will help protect your natural nails and make the polish last longer. Next, choose a color for your nails, it can be a soft pastel color or a bold and bright one, depending on your personal style. Once your base color is dry, it's time to add the crystals. Using your dotting tool, apply a small dot of clear top coat to your nail. Then, using tweezers, carefully place the crystal heart on top of the dot of top coat. Make sure to press down gently to secure the crystal in place. Repeat this step for all the nails you want to add crystals to. For a more dramatic effect, you can add multiple crystals to each nail, creating a cluster of hearts. You can also mix and match different sizes and colors of crystals for a unique and personalized look. Once all the crystals are in place, apply a generous layer of clear top coat to seal everything in and make your nail art last longer. And voila, you now have stunning heart-shaped crystal nail art!10. Heart Shaped Crystal Nail Art Tutorial


10. Heart Shaped Crystal Nail Art Tutorial


The Art of Creating Crystal Heart Nail Designs
Adding a Touch of Elegance to Your Nails
 Are you tired of the same old plain manicures? Do you want to add some sparkle and sophistication to your nails? Look no further than crystal heart nail art! This trend has taken the nail world by storm, and it's not hard to see why. With its intricate designs and stunning sparkle, crystal heart nail art is the perfect way to elevate your nail game. Let's dive into the world of nail creation and explore the beauty of crystal heart art.
Nail creation
is a form of self-expression and an extension of your personal style. It's a way to make a statement without saying a word. And what better way to make a statement than with a crystal heart design? These designs are not only beautiful but also versatile. You can choose from a variety of styles, colors, and sizes to suit your taste and occasion. Whether you're going for a subtle and elegant look or a bold and eye-catching one, crystal heart nail art has got you covered.
But what exactly is crystal heart nail art?
Crystal heart art
involves using crystals, gems, and rhinestones to create intricate patterns and designs on your nails. This technique adds dimension, texture, and a touch of luxury to your nails. The crystals are carefully placed on the nails using tweezers and a special nail adhesive to ensure they stay in place. The end result is a stunning, sparkling work of art that will have everyone admiring your nails.
One of the best things about crystal heart nail art is its versatility. You can incorporate it into any nail design, whether it's a classic French tip, a trendy ombre, or a fun and playful design. The possibilities are endless, and you can let your creativity run wild. You can also choose to have one crystal heart accent nail or go all out and have multiple hearts on each nail. Either way, your nails will look elegant and sophisticated.
Not only is crystal heart nail art stylish, but it's also long-lasting. The crystals are durable and can stay on your nails for up to two weeks, making it the perfect choice for special occasions or even for everyday wear. And if you're worried about the removal process, fear not! It's as easy as removing regular nail polish. Just soak your nails in acetone for a few minutes, and the crystals will come off effortlessly.
In conclusion,
crystal heart nail art
is a beautiful and unique way to elevate your nail game. It adds a touch of elegance and luxury to your nails and is perfect for any occasion. So why settle for plain nails when you can have sparkling crystal hearts? Give it a try and watch your nails transform into works of art.
Are you tired of the same old plain manicures? Do you want to add some sparkle and sophistication to your nails? Look no further than crystal heart nail art! This trend has taken the nail world by storm, and it's not hard to see why. With its intricate designs and stunning sparkle, crystal heart nail art is the perfect way to elevate your nail game. Let's dive into the world of nail creation and explore the beauty of crystal heart art.
Nail creation
is a form of self-expression and an extension of your personal style. It's a way to make a statement without saying a word. And what better way to make a statement than with a crystal heart design? These designs are not only beautiful but also versatile. You can choose from a variety of styles, colors, and sizes to suit your taste and occasion. Whether you're going for a subtle and elegant look or a bold and eye-catching one, crystal heart nail art has got you covered.
But what exactly is crystal heart nail art?
Crystal heart art
involves using crystals, gems, and rhinestones to create intricate patterns and designs on your nails. This technique adds dimension, texture, and a touch of luxury to your nails. The crystals are carefully placed on the nails using tweezers and a special nail adhesive to ensure they stay in place. The end result is a stunning, sparkling work of art that will have everyone admiring your nails.
One of the best things about crystal heart nail art is its versatility. You can incorporate it into any nail design, whether it's a classic French tip, a trendy ombre, or a fun and playful design. The possibilities are endless, and you can let your creativity run wild. You can also choose to have one crystal heart accent nail or go all out and have multiple hearts on each nail. Either way, your nails will look elegant and sophisticated.
Not only is crystal heart nail art stylish, but it's also long-lasting. The crystals are durable and can stay on your nails for up to two weeks, making it the perfect choice for special occasions or even for everyday wear. And if you're worried about the removal process, fear not! It's as easy as removing regular nail polish. Just soak your nails in acetone for a few minutes, and the crystals will come off effortlessly.
In conclusion,
crystal heart nail art
is a beautiful and unique way to elevate your nail game. It adds a touch of elegance and luxury to your nails and is perfect for any occasion. So why settle for plain nails when you can have sparkling crystal hearts? Give it a try and watch your nails transform into works of art.


