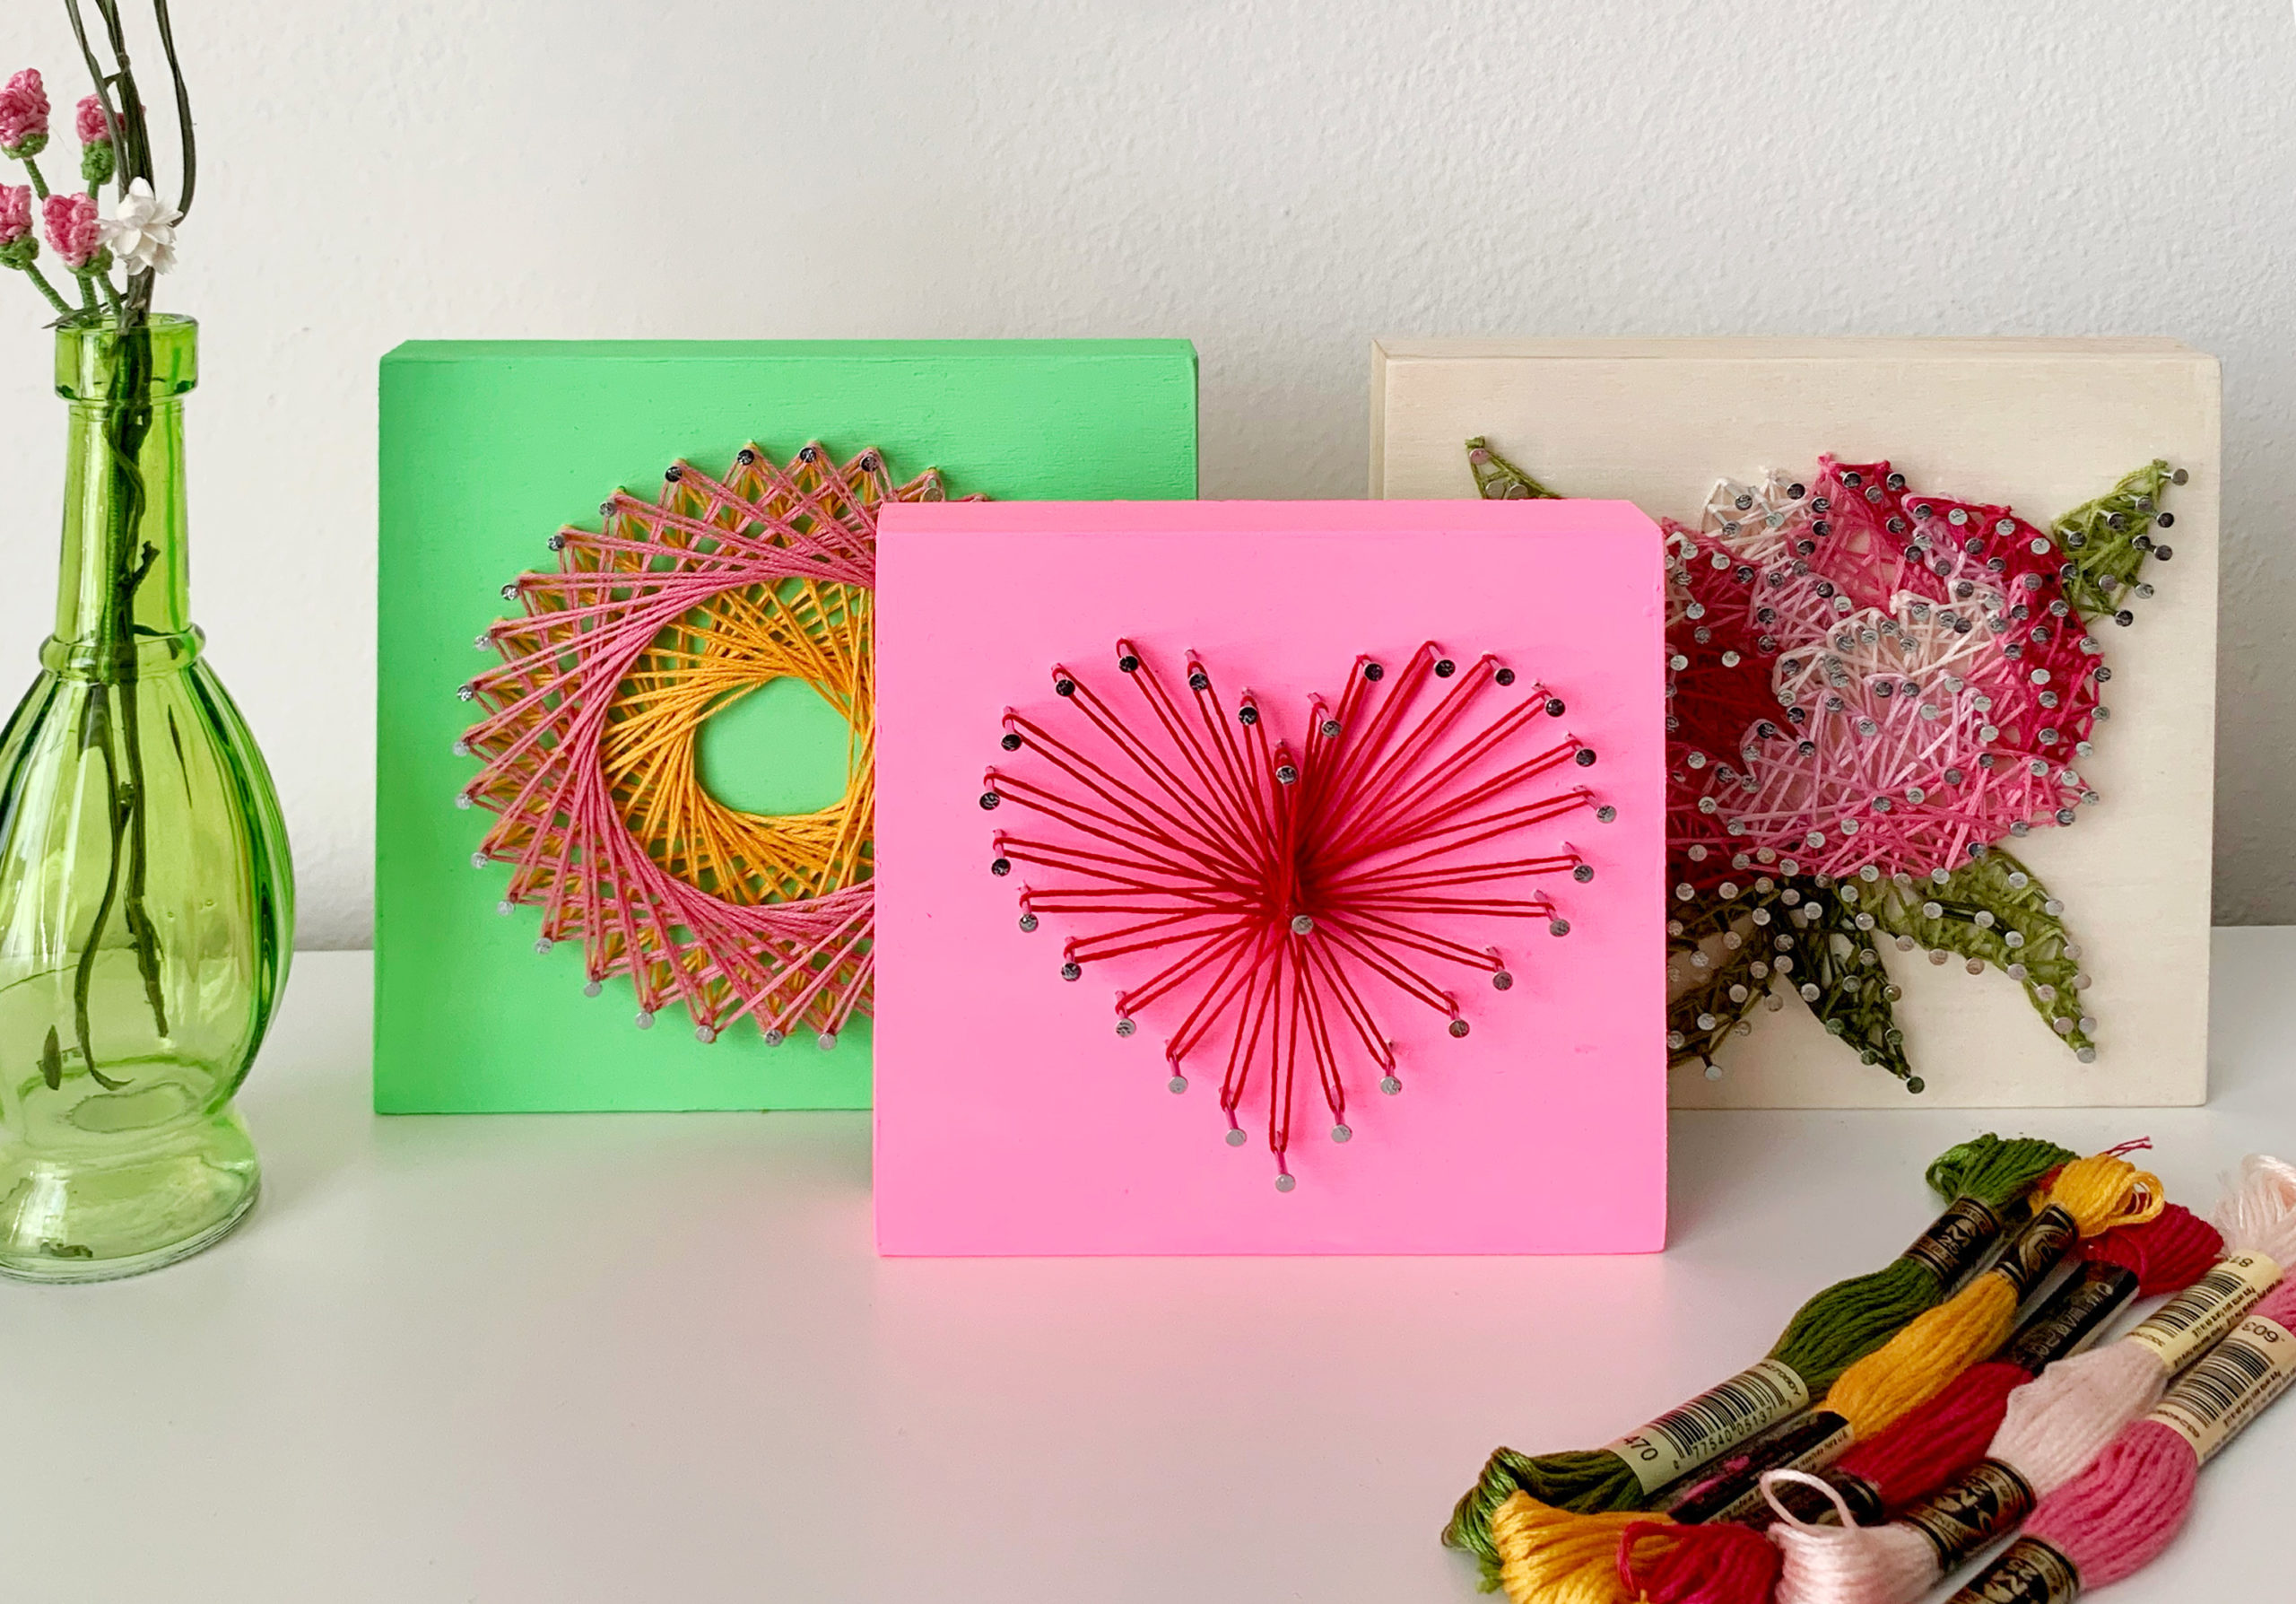
String art has been a popular crafting technique for decades, and it's no wonder why – the combination of colorful string and simple nails can create stunning and intricate designs. If you're looking to try your hand at this fun and creative art form, we've got you covered with this DIY string art tutorial. Follow these 10 steps with pictures to create your own beautiful string art masterpiece.DIY String Art Tutorial: 10 Steps (with Pictures) - Instructables


DIY String Art Tutorial: 10 Steps (with Pictures) - Instructables
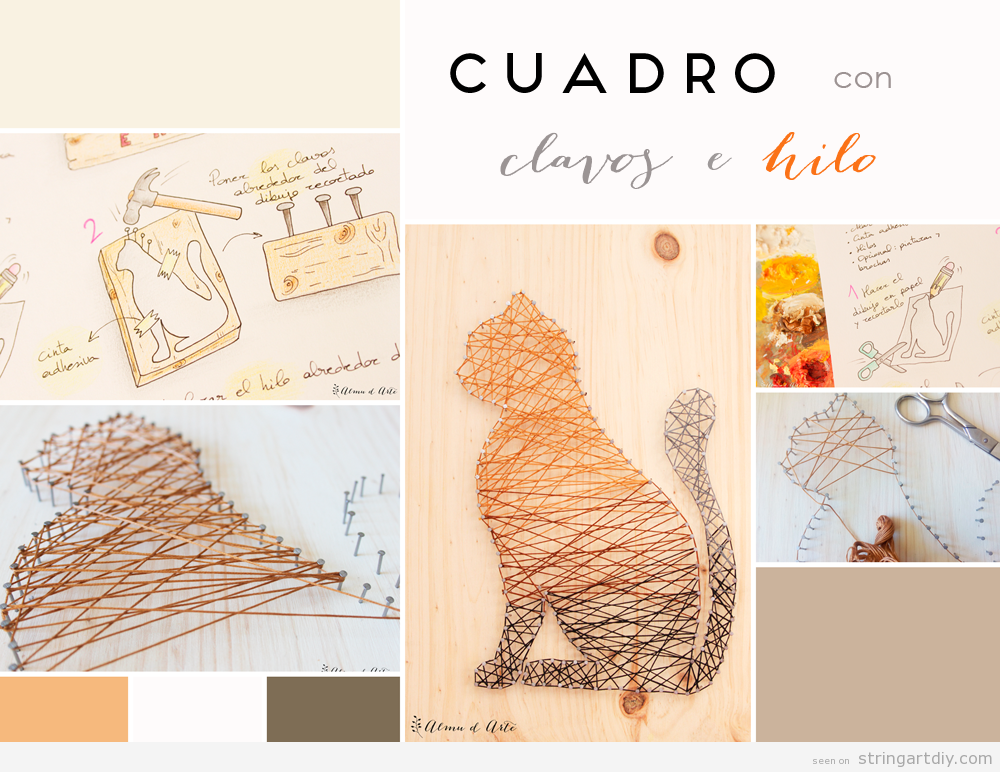


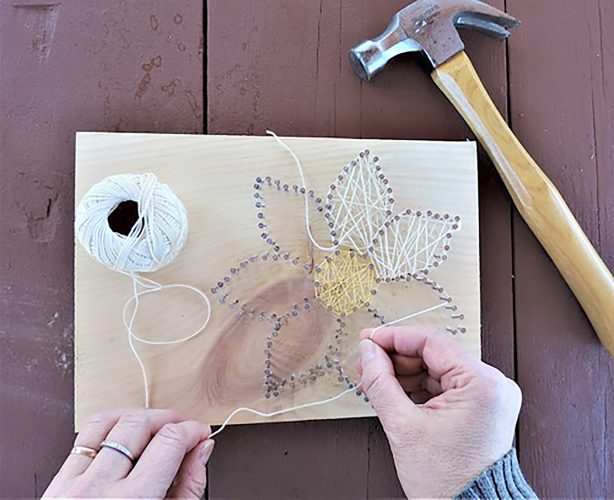
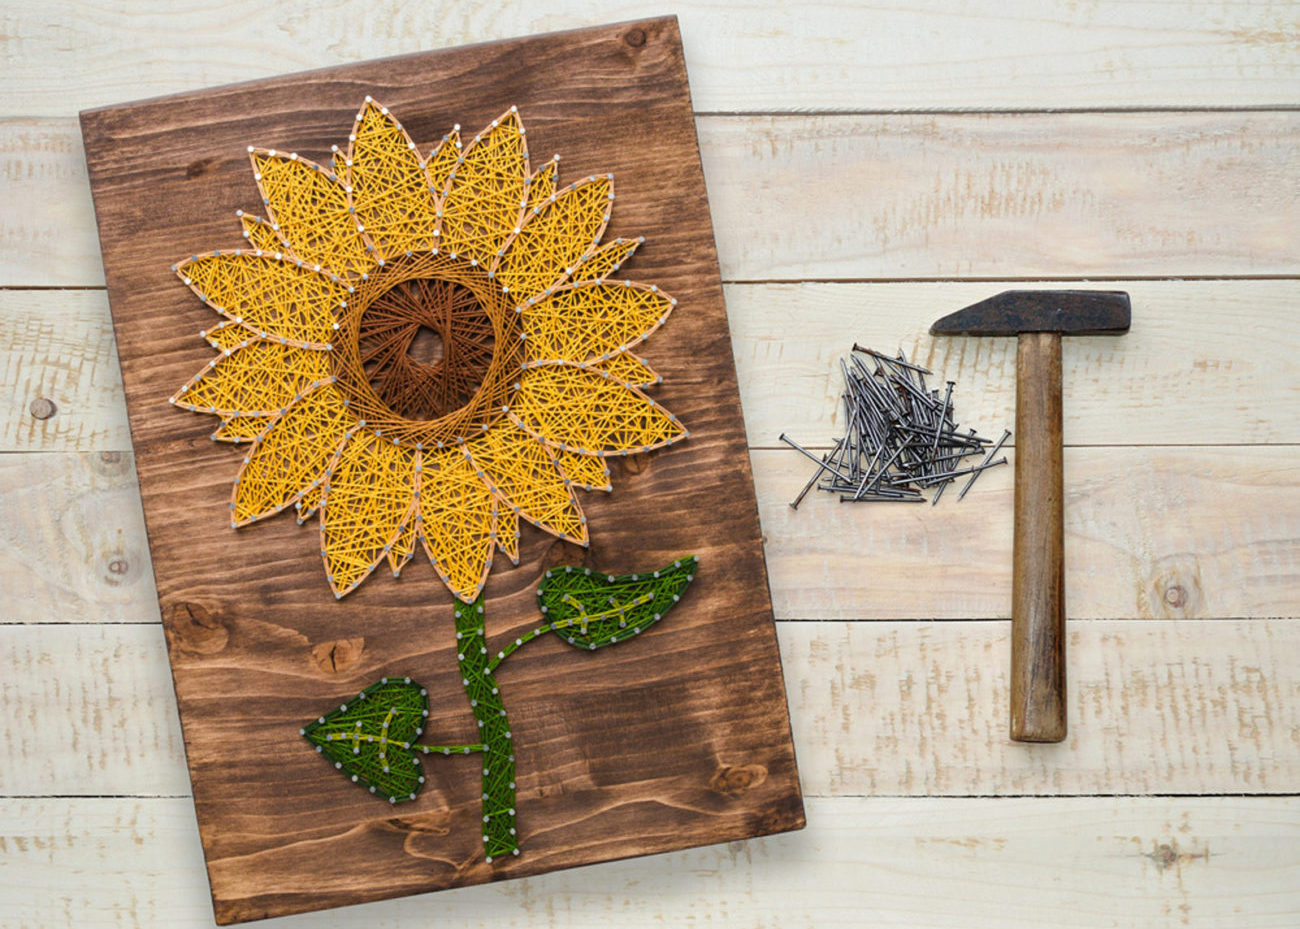
To begin, gather your materials. You will need a wooden board, nails, hammer, string, and a template or pattern for your design. You can find a variety of patterns and templates online or create your own. Make sure your board is sturdy enough to hold the nails and withstand the tension of the string.String Art Tutorial: 10 Steps (with Pictures) - Instructables


String Art Tutorial: 10 Steps (with Pictures) - Instructables


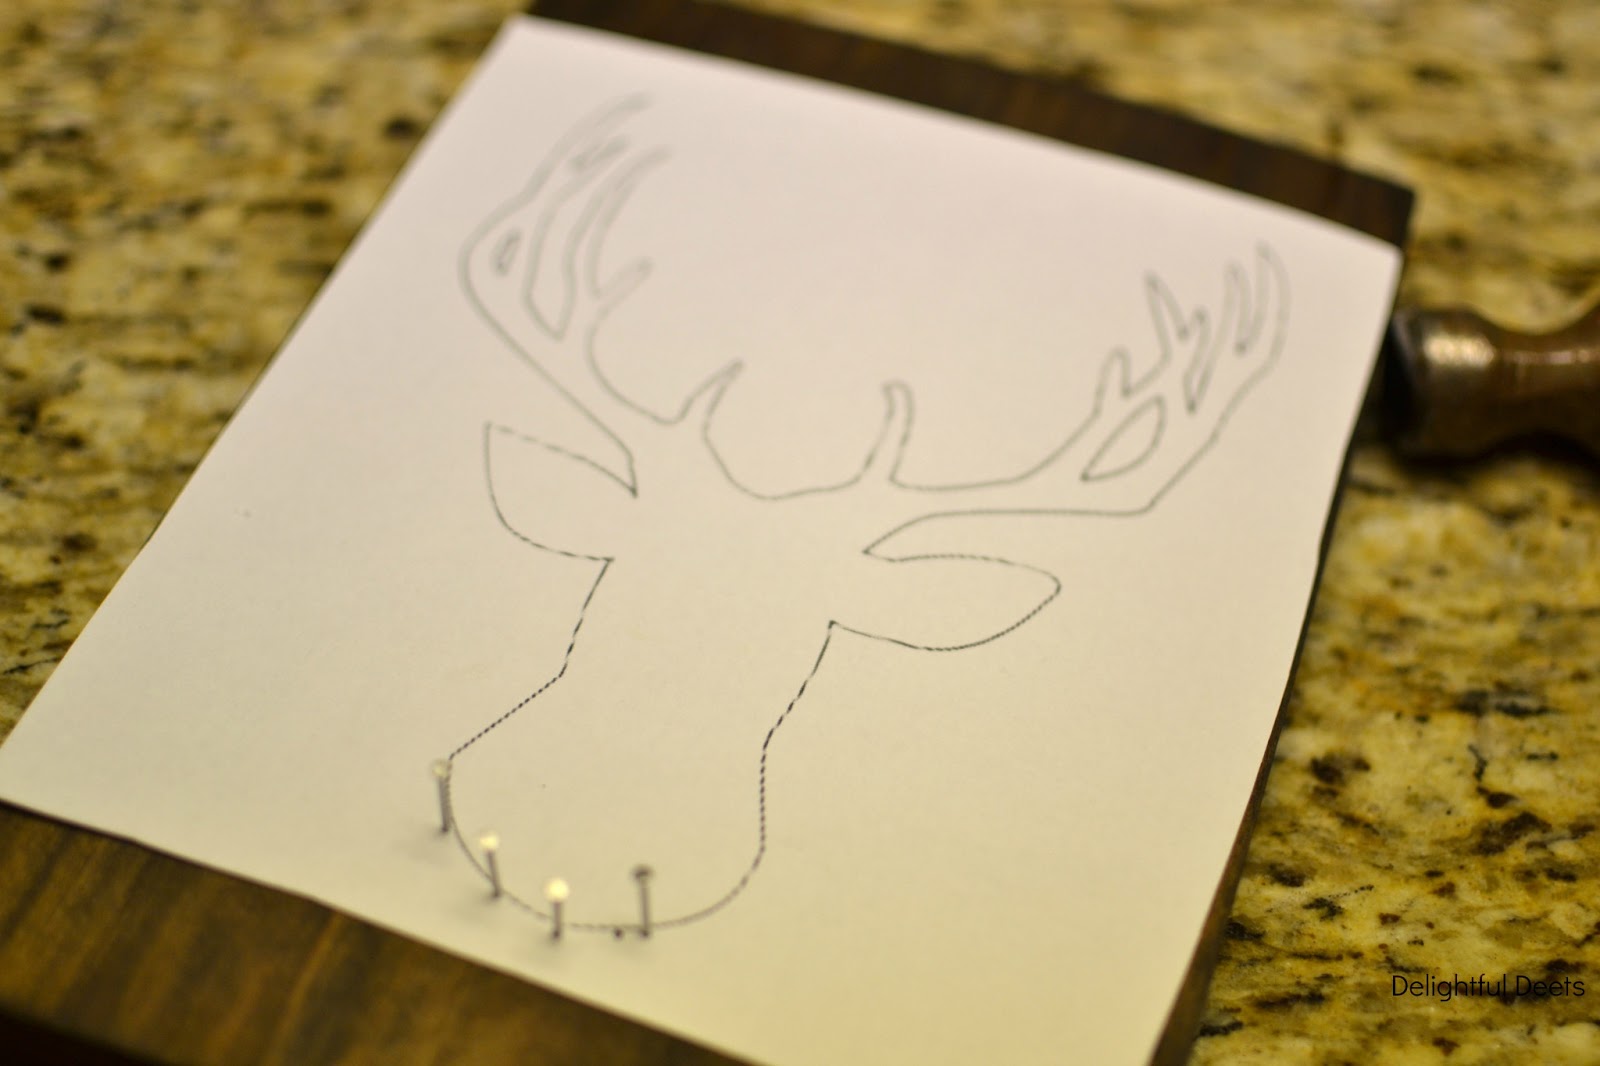
Next, use a ruler and pencil to mark the placement of your nails on the board. For a more precise design, you can use a protractor or compass to create more intricate angles and curves. Hammer the nails into the board at each marked spot, leaving about 1/2 inch of the nail exposed. For a stronger hold, you can use a dab of glue on each nail before hammering it in.How to Make Your Own String Art - DIY Network


How to Make Your Own String Art - DIY Network


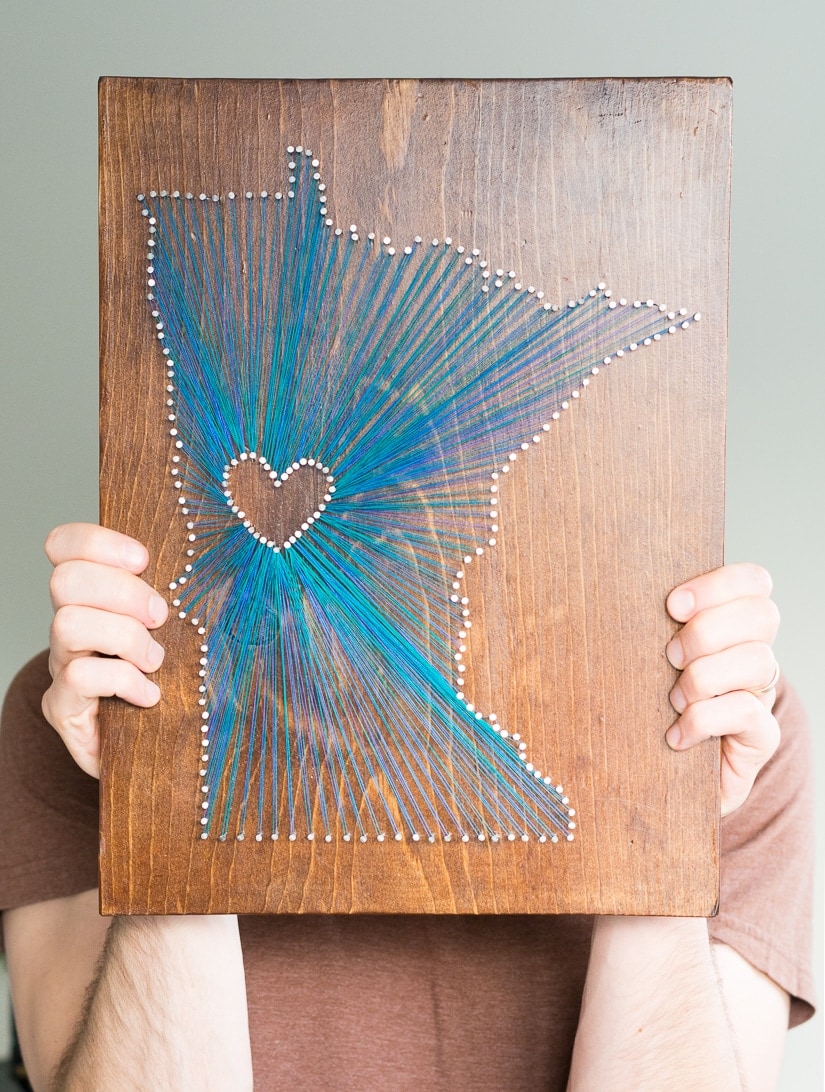
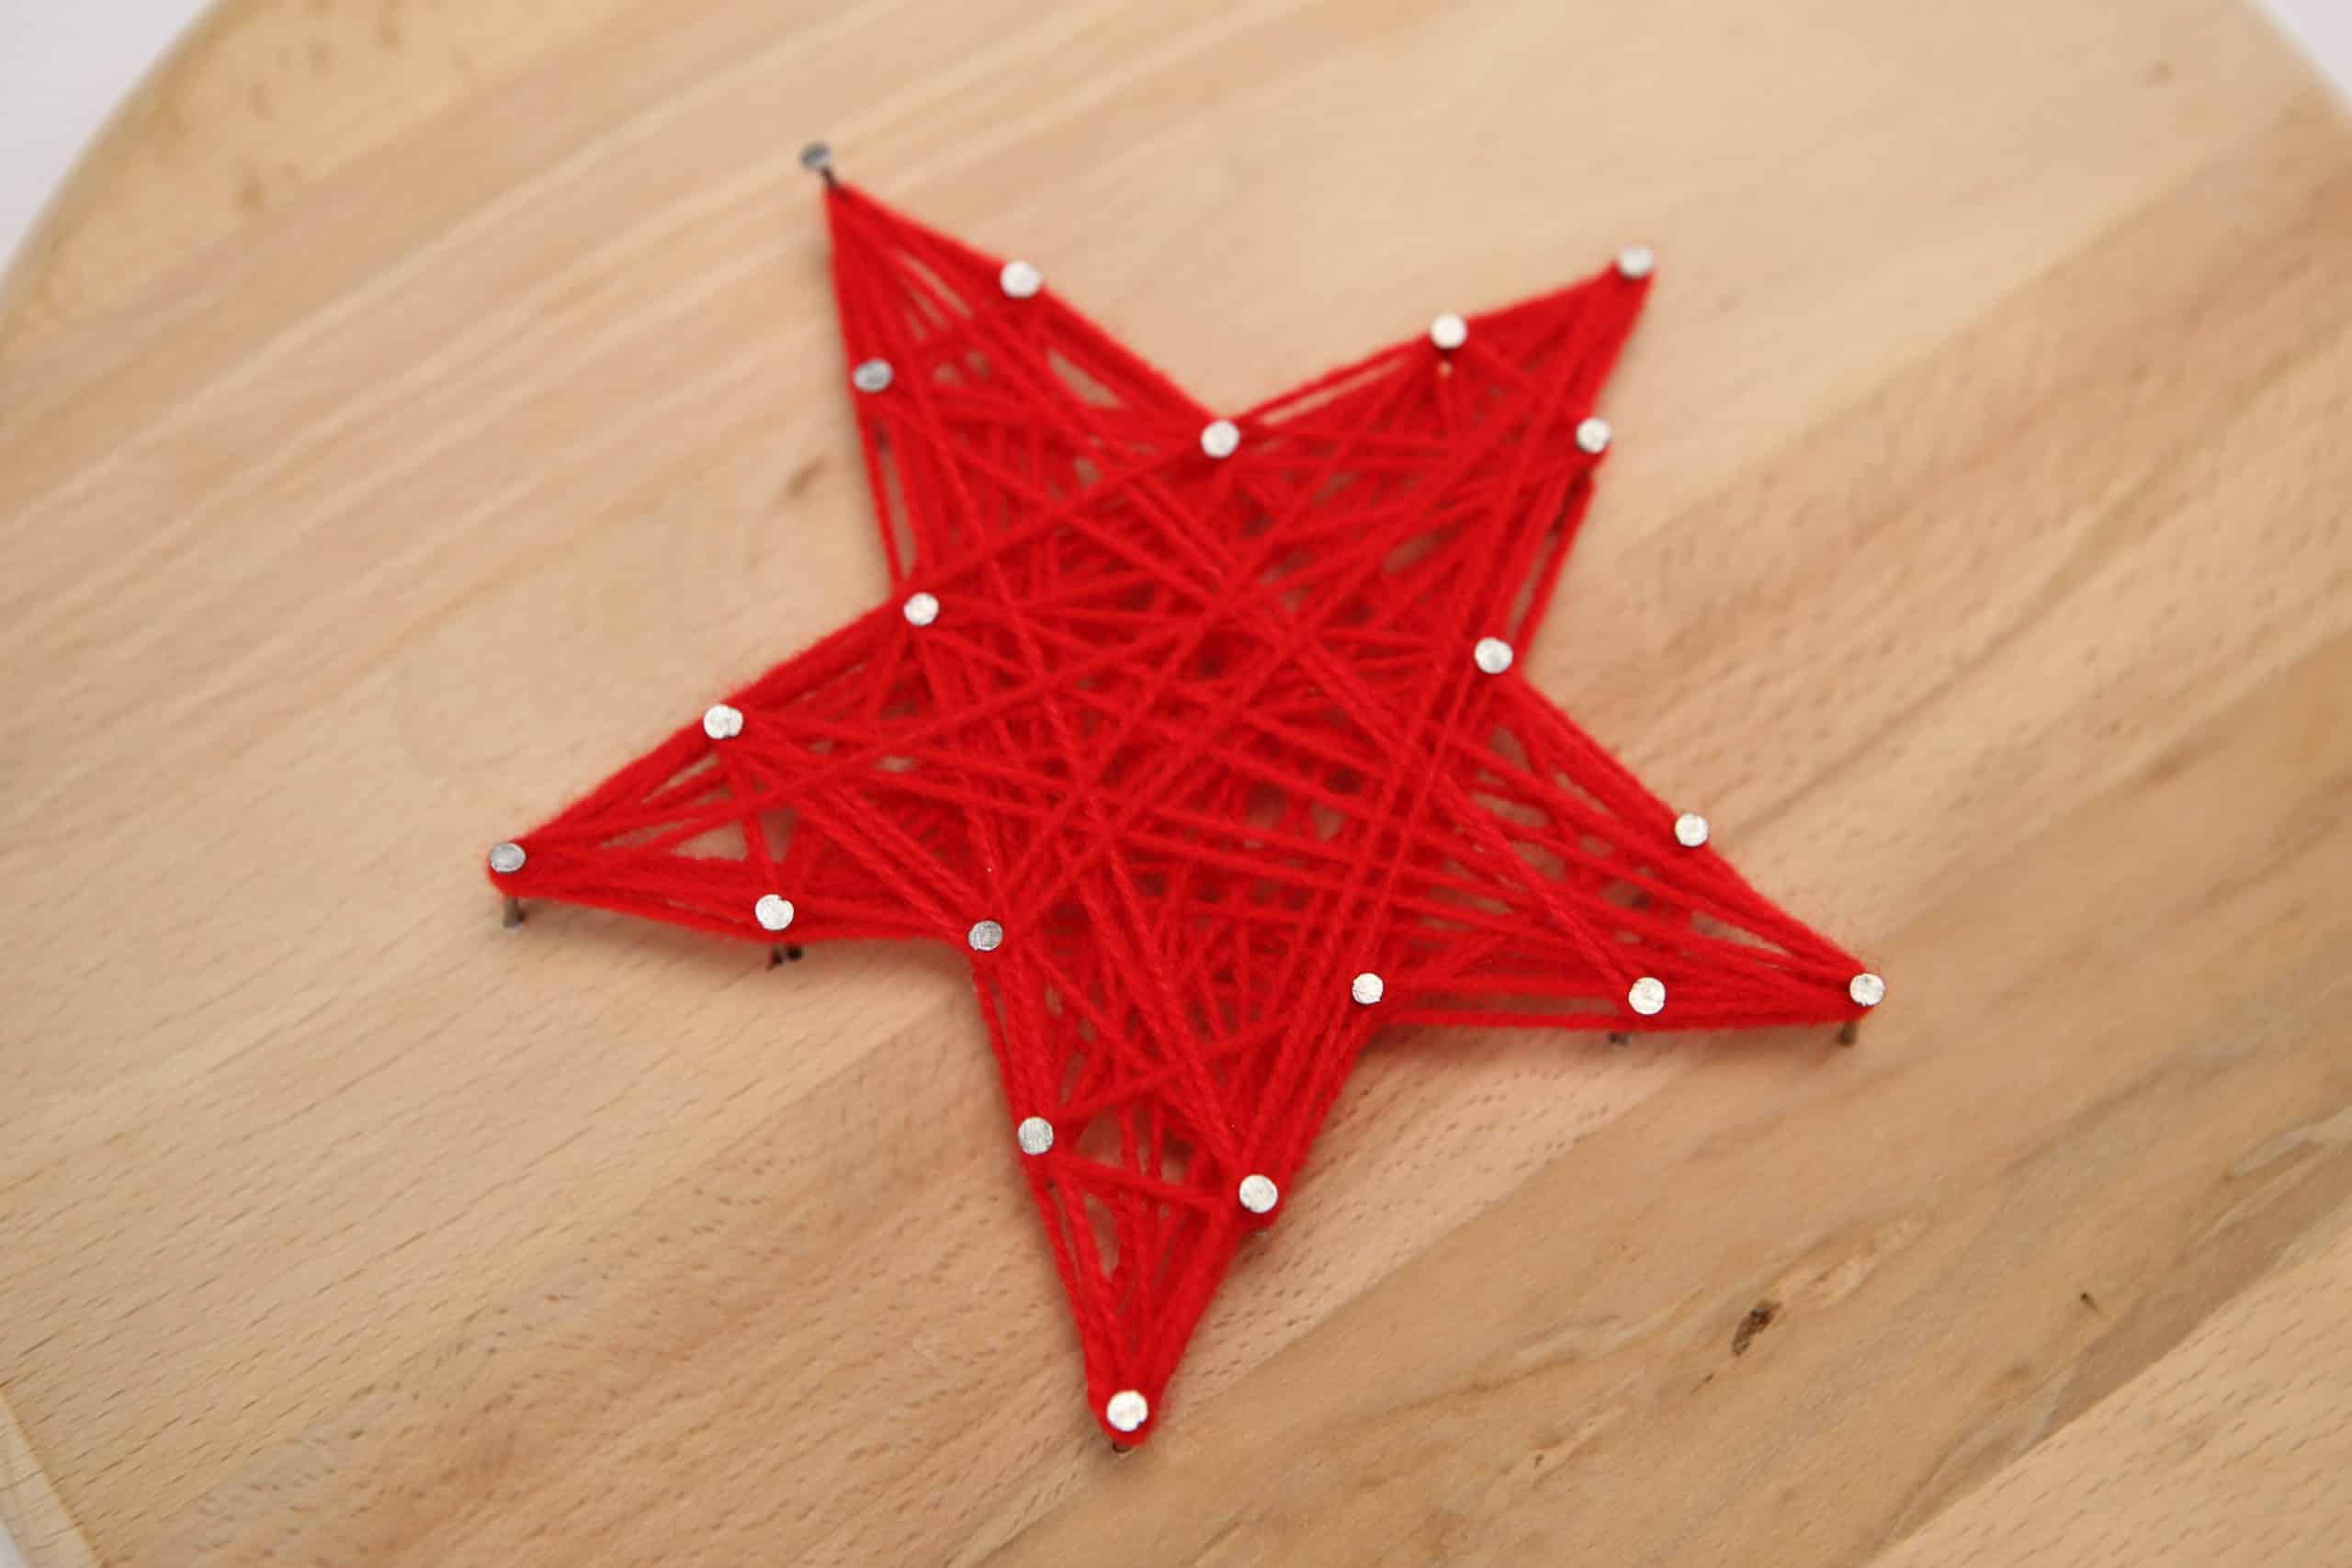
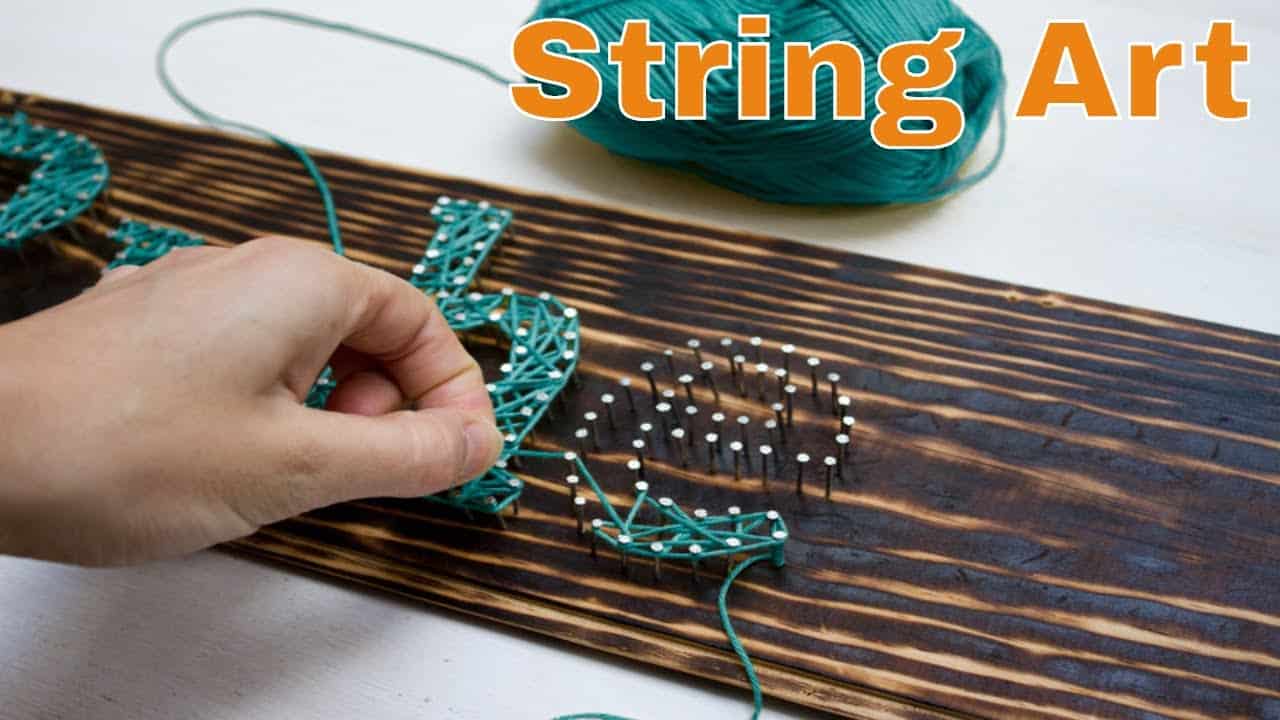
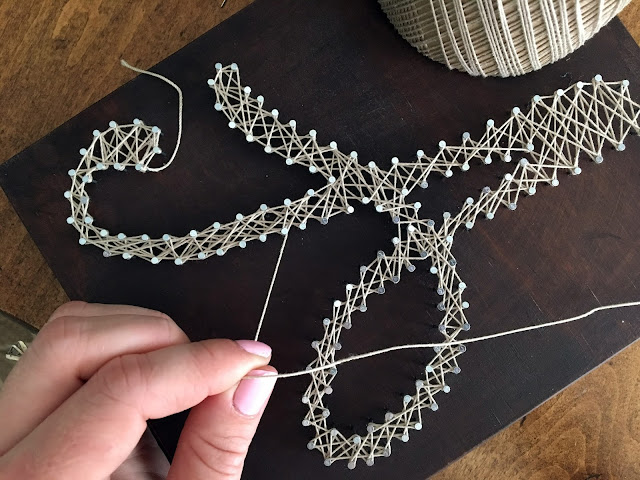
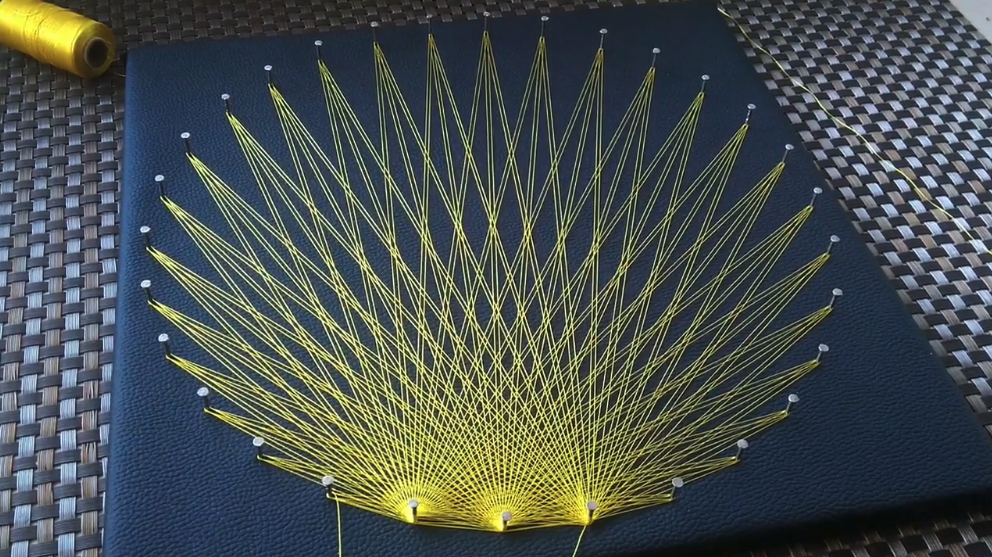
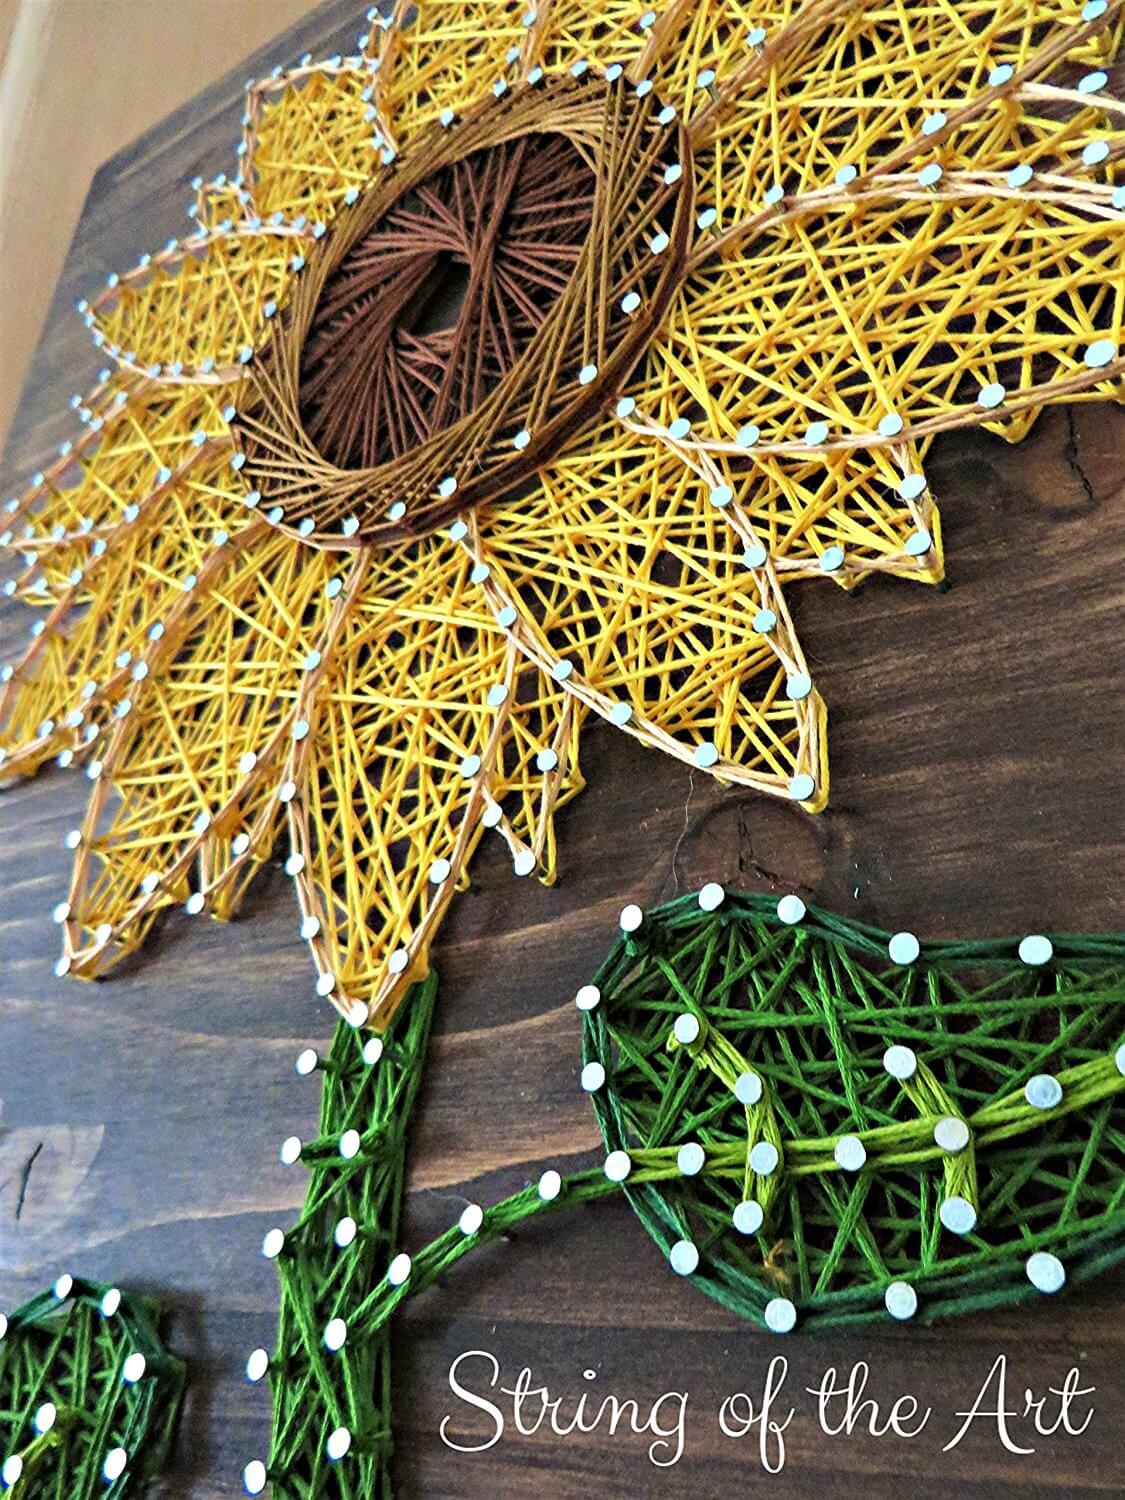
Once all the nails are in place, remove the template or pattern from the board. Now comes the fun part – stringing! Choose your first color of string and tie it tightly around one nail. Then, start wrapping the string around each nail, creating your desired pattern. You can wrap the string multiple times around each nail for a thicker and more defined look.String Art: 10+ ideas about string art, string art patterns, string art ...

String Art: 10+ ideas about string art, string art patterns, string art ...

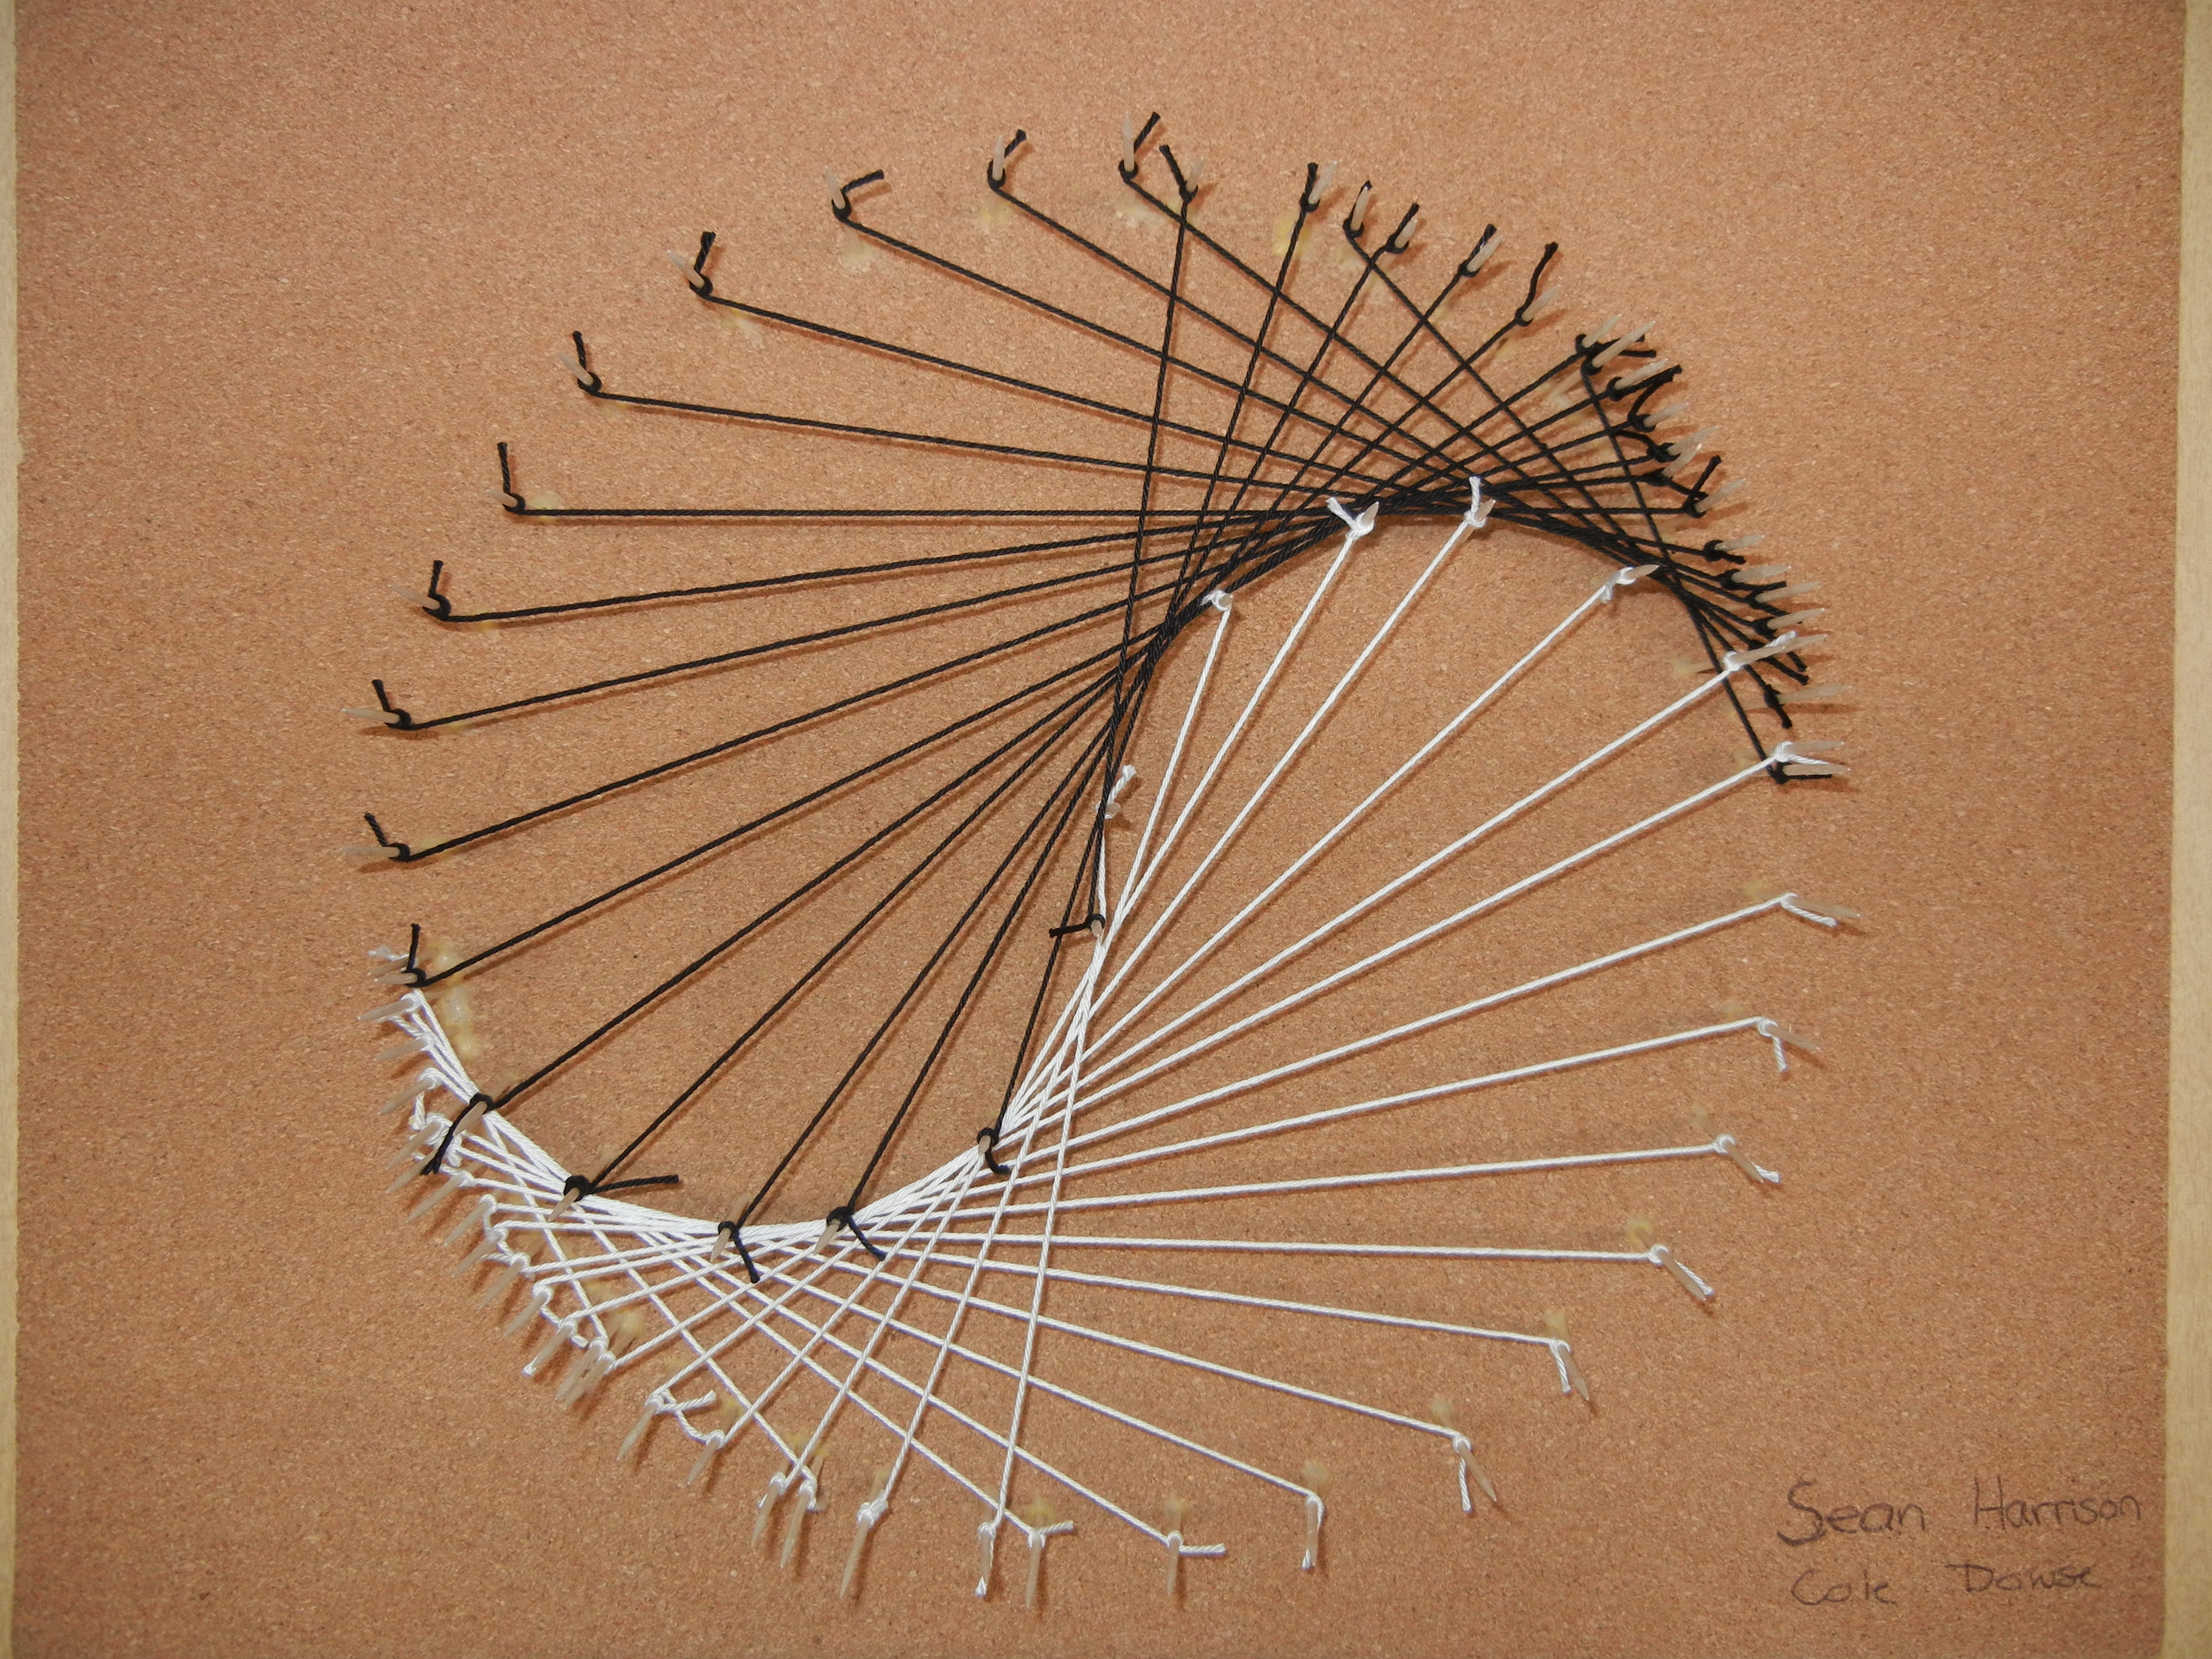


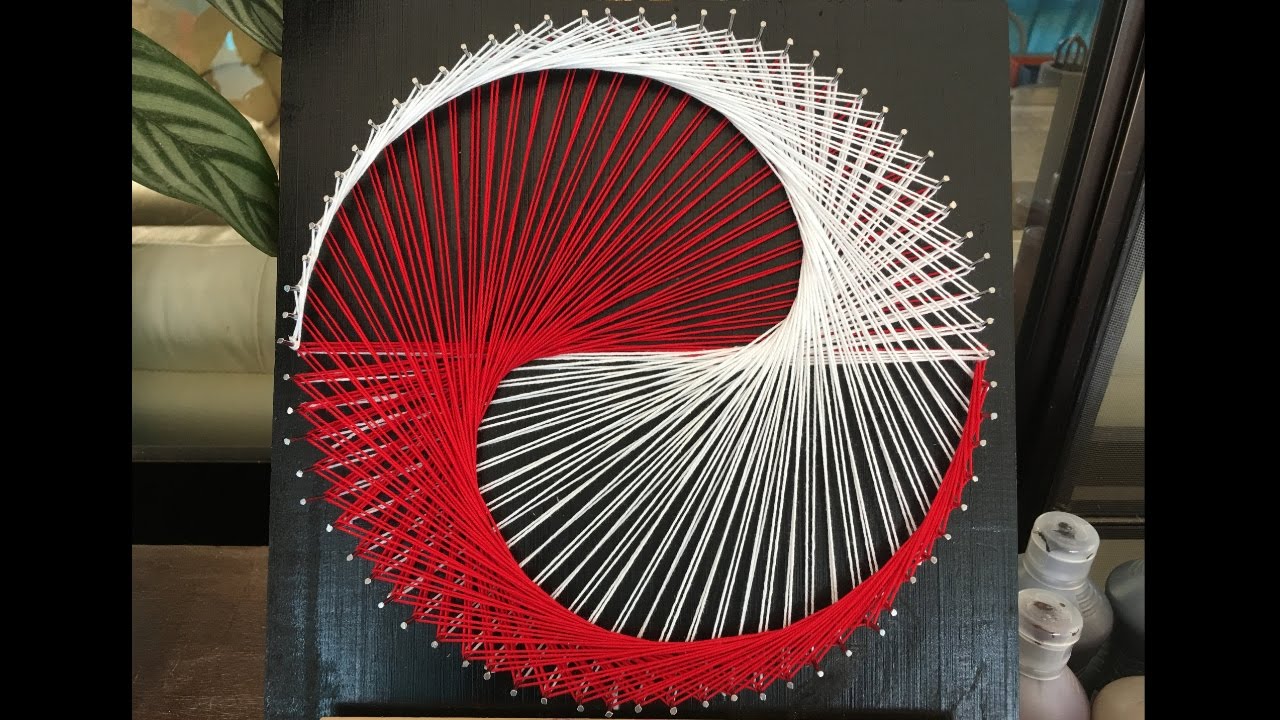
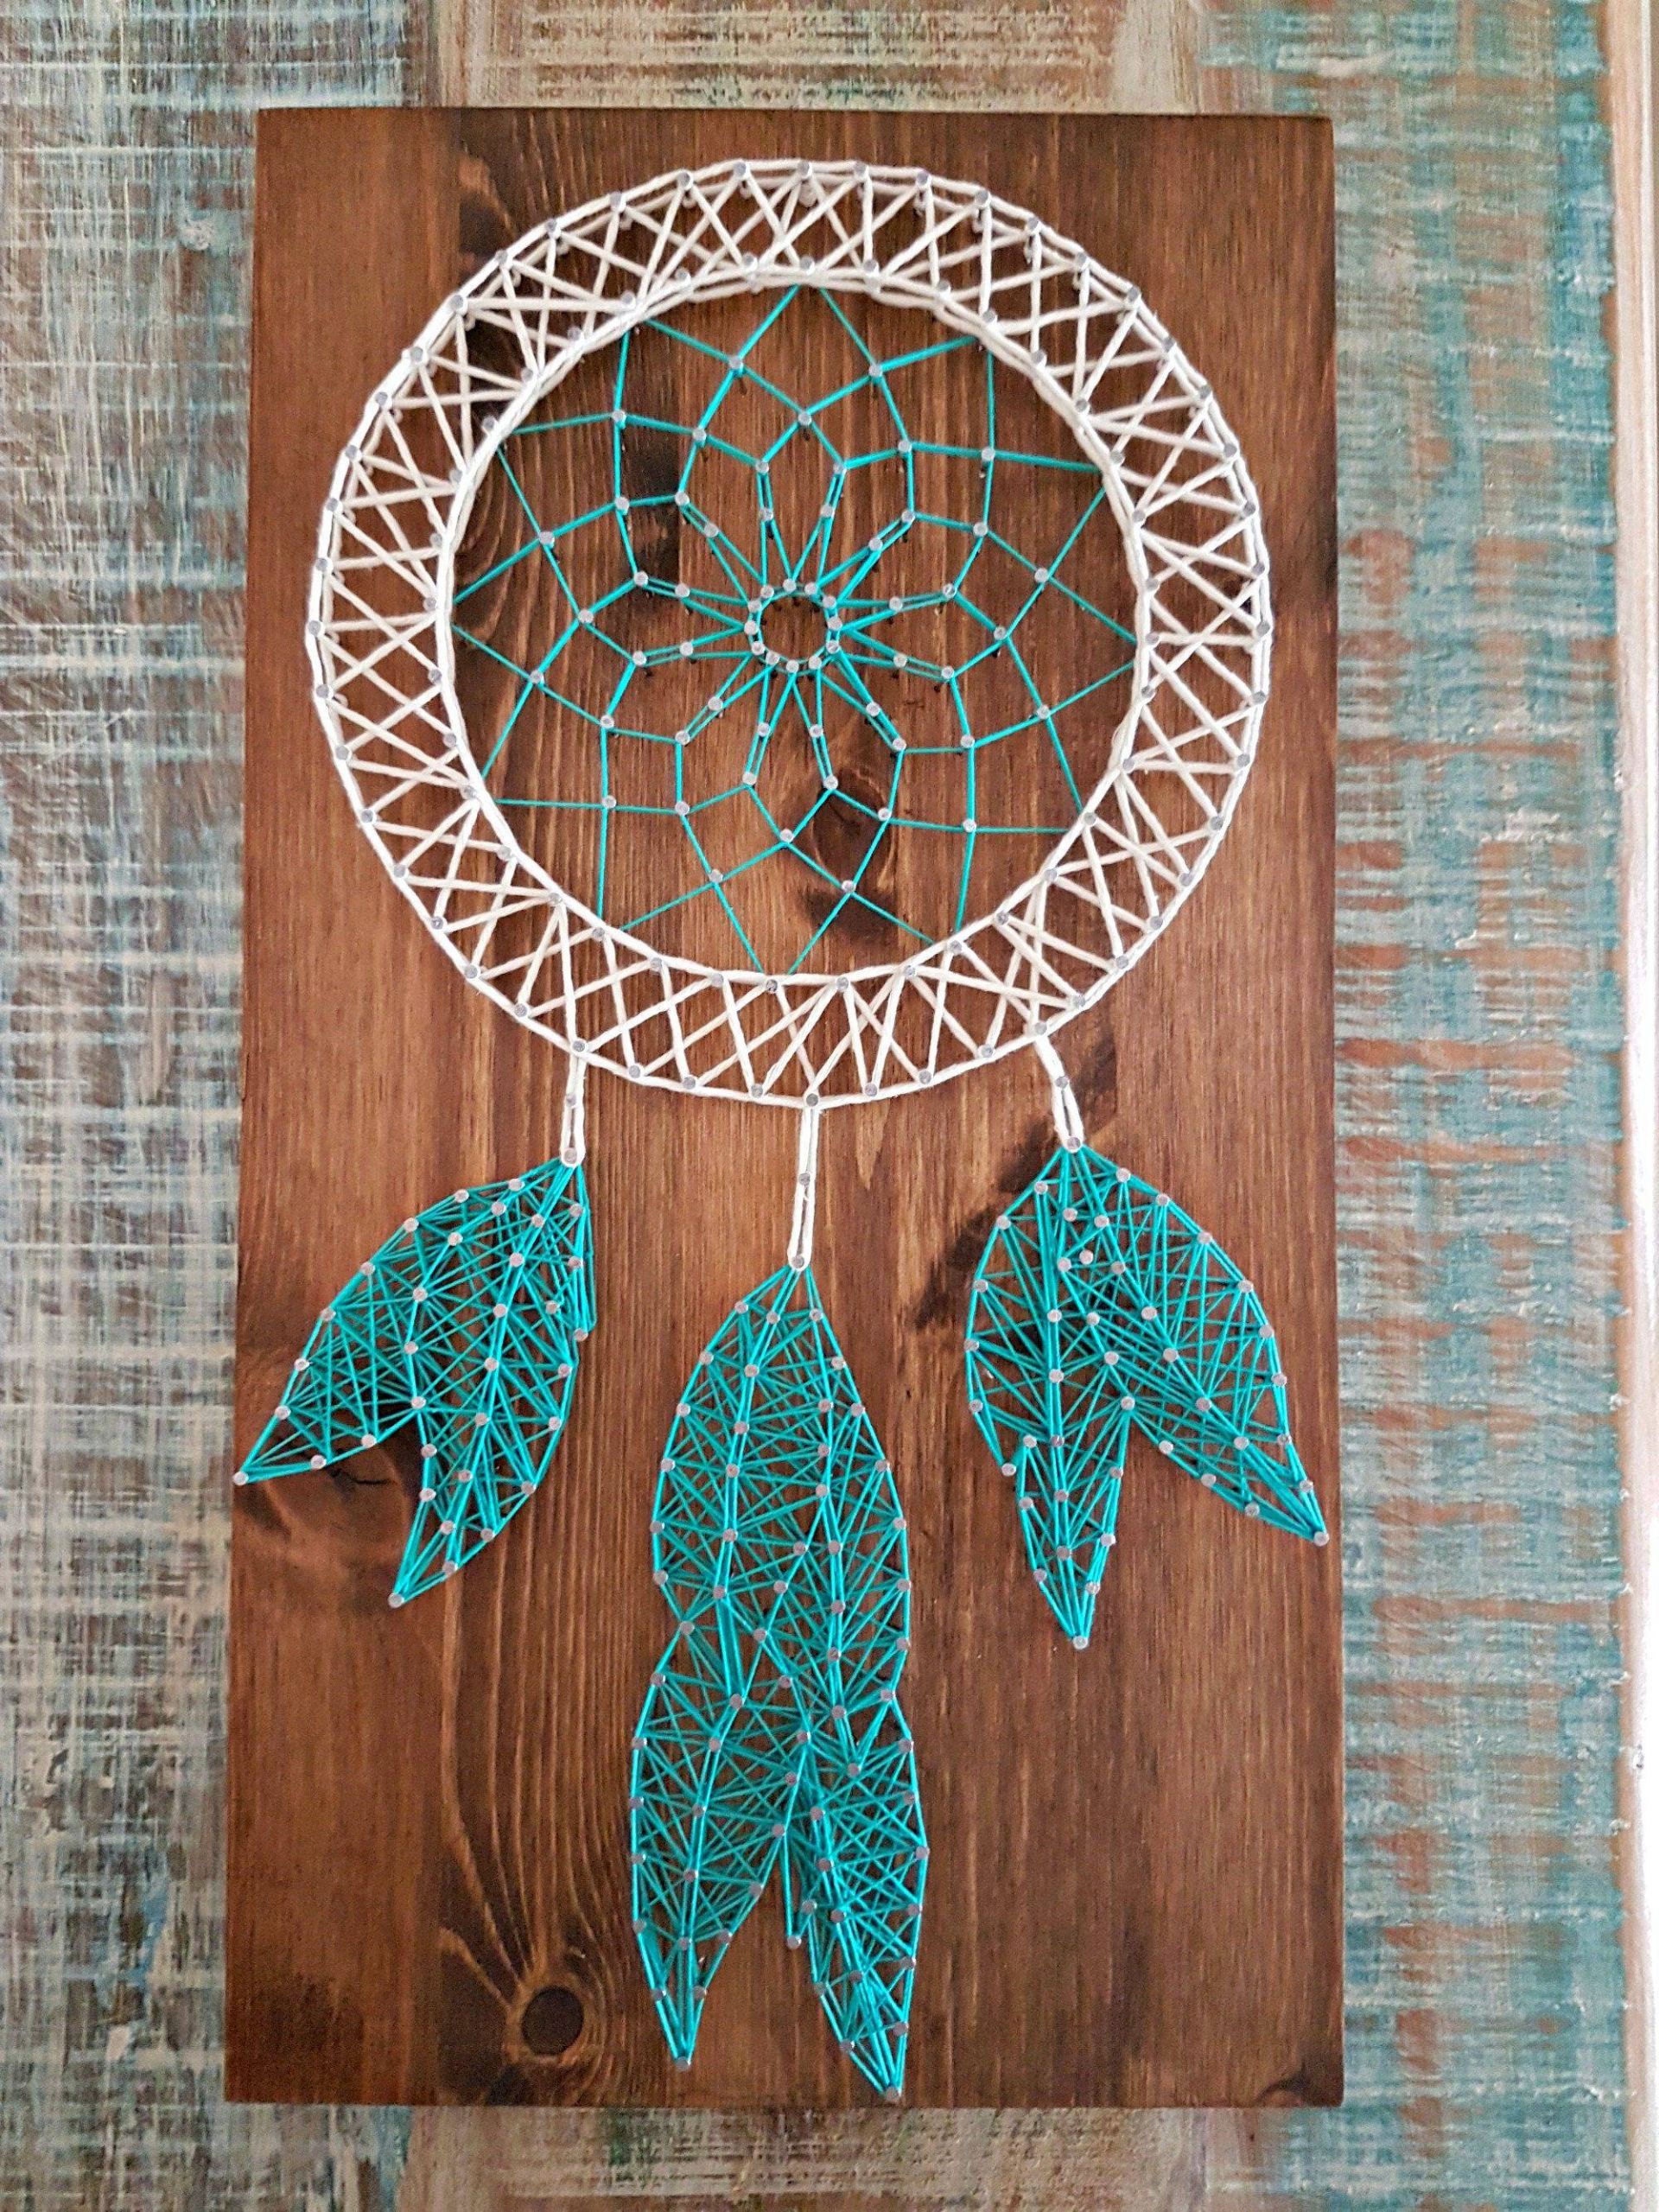
Continue this process with different colors of string until your design is complete. You can switch up the colors and patterns to create a unique and eye-catching string art piece. Experiment with different techniques, such as weaving the string through the nails or creating a gradient effect with different shades of string.String Art: 10+ ideas about string art, string art patterns, string art ...


String Art: 10+ ideas about string art, string art patterns, string art ...
Once you are satisfied with your design, tie off the string on one of the nails and trim off any excess. You can also add a dab of glue to the back of the board to secure the string in place and prevent it from unraveling over time.String Art: 10+ ideas about string art, string art patterns, string art ...
String Art: 10+ ideas about string art, string art patterns, string art ...


And there you have it – your very own string art creation! You can display your masterpiece on a shelf, hang it on the wall, or give it as a unique and handmade gift to someone special.String Art: 10+ ideas about string art, string art patterns, string art ...
String Art: 10+ ideas about string art, string art patterns, string art ...
This DIY string art tutorial is a great way to get creative and add a personal touch to your home decor. Plus, it's a fun and relaxing activity to do alone or with friends and family. Get inspired by browsing through different string art patterns and templates, and let your imagination and string do the rest.String Art: 10+ ideas about string art, string art patterns, string art ...
String Art: 10+ ideas about string art, string art patterns, string art ...


Don't be afraid to experiment and try new techniques with your string art – the possibilities are endless. And with the right tools and materials, you can create a stunning and intricate design that will surely impress. So go ahead, grab your hammer and string, and let's get stringing!String Art: 10+ ideas about string art, string art patterns, string art ...

String Art: 10+ ideas about string art, string art patterns, string art ...
The Beauty of Nail and String Art in House Design

Creating Unique and Eye-Catching Designs
 Adding nail and string art to your house design is a simple and creative way to add a unique touch to your home. This DIY trend has gained popularity in recent years and for good reason. It allows you to create custom and personalized pieces of art that can be used to decorate your walls, furniture, or even outdoor spaces. With just a few simple materials, you can create stunning designs that will impress anyone who visits your home.
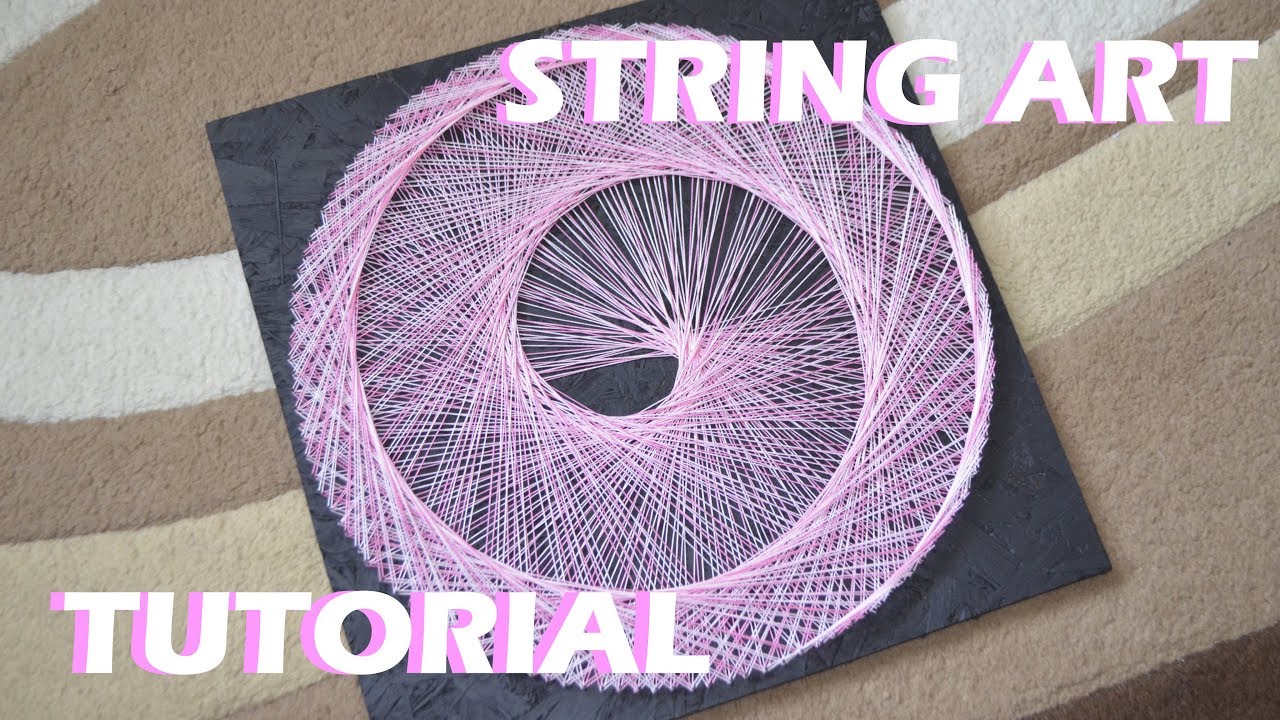
One of the main benefits of using nail and string art in house design is the versatility it offers. You can create any design you want, from simple geometric patterns to intricate landscapes or portraits. This allows you to truly make your home your own and reflect your personal style and taste. You can also choose the colors and types of strings to use, giving you even more control over the final result.
Another advantage of nail and string art is its affordability. Unlike other forms of art that can be expensive, this technique requires only a few basic materials such as nails, string, and a hammer. This makes it accessible to anyone, regardless of their budget. Plus, since you can create your own designs, you won't have to spend money on pricey artwork to decorate your home.
Not only is nail and string art budget-friendly, but it is also a great way to upcycle and repurpose materials. You can use old wooden boards, pallets, or even cardboard as your canvas, giving new life to items that would have otherwise been thrown away. This not only helps the environment, but it also adds a unique and rustic touch to your home decor.
In addition to being a budget-friendly and eco-friendly option, nail and string art is also a fun and therapeutic activity. It allows you to tap into your creativity and de-stress while creating something beautiful for your home. It can also be a great family activity, getting everyone involved in designing and creating pieces for the house.
In conclusion, nail and string art is a wonderful addition to any house design. It offers endless possibilities for creating unique and eye-catching designs, while also being affordable, eco-friendly, and a fun activity for the whole family. So why not give it a try and add a personal touch to your home decor with this trendy and versatile technique?
Adding nail and string art to your house design is a simple and creative way to add a unique touch to your home. This DIY trend has gained popularity in recent years and for good reason. It allows you to create custom and personalized pieces of art that can be used to decorate your walls, furniture, or even outdoor spaces. With just a few simple materials, you can create stunning designs that will impress anyone who visits your home.
One of the main benefits of using nail and string art in house design is the versatility it offers. You can create any design you want, from simple geometric patterns to intricate landscapes or portraits. This allows you to truly make your home your own and reflect your personal style and taste. You can also choose the colors and types of strings to use, giving you even more control over the final result.
Another advantage of nail and string art is its affordability. Unlike other forms of art that can be expensive, this technique requires only a few basic materials such as nails, string, and a hammer. This makes it accessible to anyone, regardless of their budget. Plus, since you can create your own designs, you won't have to spend money on pricey artwork to decorate your home.
Not only is nail and string art budget-friendly, but it is also a great way to upcycle and repurpose materials. You can use old wooden boards, pallets, or even cardboard as your canvas, giving new life to items that would have otherwise been thrown away. This not only helps the environment, but it also adds a unique and rustic touch to your home decor.
In addition to being a budget-friendly and eco-friendly option, nail and string art is also a fun and therapeutic activity. It allows you to tap into your creativity and de-stress while creating something beautiful for your home. It can also be a great family activity, getting everyone involved in designing and creating pieces for the house.
In conclusion, nail and string art is a wonderful addition to any house design. It offers endless possibilities for creating unique and eye-catching designs, while also being affordable, eco-friendly, and a fun activity for the whole family. So why not give it a try and add a personal touch to your home decor with this trendy and versatile technique?


