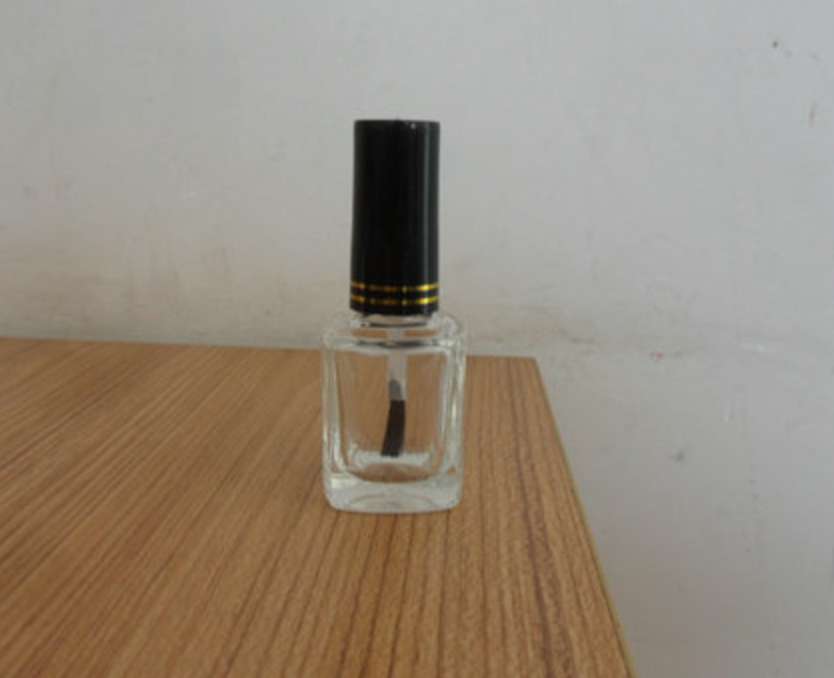
Are you tired of the same old nail polish designs? Why not take your creativity to the next level and try making your own nail polish marbled glass art! This fun and easy DIY project will not only add a unique touch to your home decor, but it also allows you to use up any old or unused nail polish colors. To begin, gather some clear glass objects such as vases, jars, or candle holders. You can even use old glass bottles or glasses. Next, fill a container with lukewarm water and choose your desired nail polish colors. Just make sure to use nail polish that is not quick-drying as it will not spread properly in the water. Once you have your materials ready, choose one color to start with and drop a few drops into the water. You can use a toothpick to gently swirl and create a marbled effect. Be careful not to mix the colors too much or it will become muddy. Then, dip your glass object into the water and the nail polish will transfer onto it. Let it dry and repeat the process with different colors until you achieve your desired look!1. DIY Nail Polish Marbled Glass Art


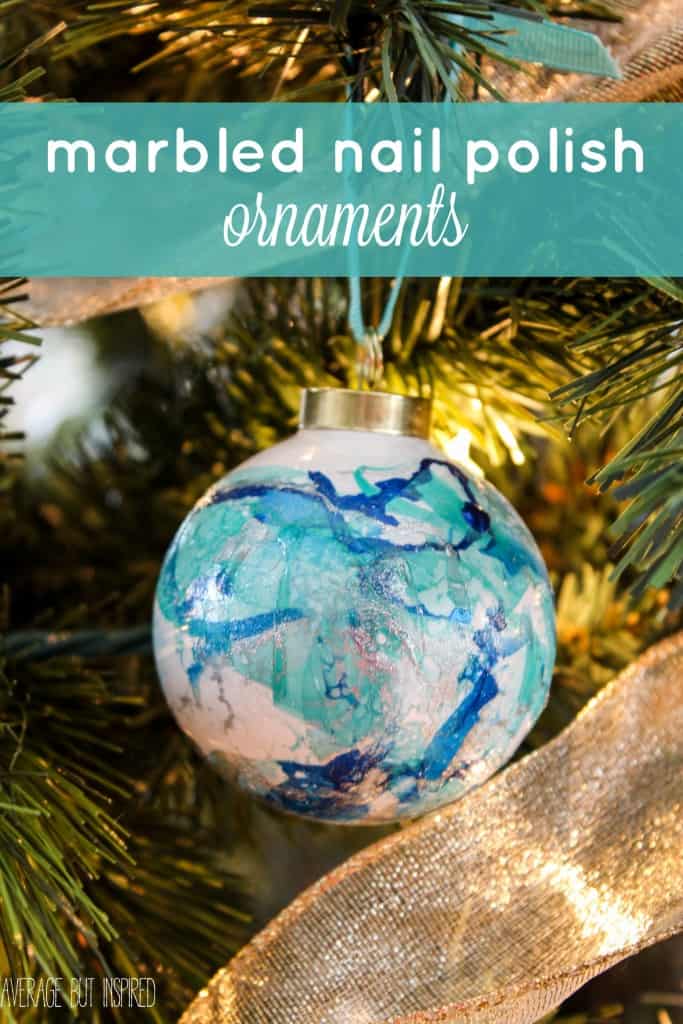
1. DIY Nail Polish Marbled Glass Art


Stained glass art is a beautiful and intricate form of art that can add a touch of elegance to any room. And with the use of nail polish, you can easily create your own stained glass masterpiece at home. Not to mention, it is a great way to use up any old or unwanted nail polish colors. To make your own nail polish stained glass art, you will need some glass objects such as picture frames, mirrors, or even windows. Start by cleaning the glass thoroughly and apply a base coat of white nail polish to the entire surface. This will help the colors to stand out more. Next, choose your desired nail polish colors and apply them in small drops onto the glass. You can use a toothpick to swirl and mix the colors, creating a stained glass effect. Be sure to let each layer dry before adding another color to prevent smudging. Once you are satisfied with the design, seal it with a clear nail polish topcoat to protect it. Hang it up or display it to admire your beautiful nail polish stained glass art!2. Nail Polish Stained Glass Art


2. Nail Polish Stained Glass Art


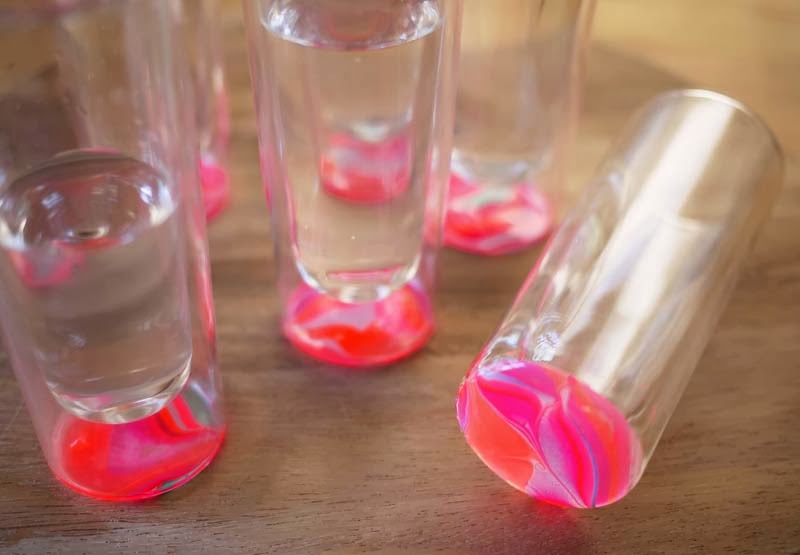
If you are looking for a simple yet stunning way to decorate your glass objects, then nail polish swirl glass art is the perfect technique for you. This method creates a mesmerizing swirl pattern on any glass surface, making it a great option for vases, candle holders, or even glass plates. To start, fill a container with lukewarm water and choose your desired nail polish colors. Drop a few drops of each color into the water and use a toothpick to gently swirl and mix the colors. Once you have achieved your desired design, dip your glass object into the water and the nail polish will transfer onto it. Let it dry completely before using or displaying.3. Nail Polish Swirl Glass Art


3. Nail Polish Swirl Glass Art


For a more abstract and modern look, try creating nail polish drip glass art. This technique is perfect for adding a pop of color to any plain glass object such as a vase or candle holder. Start by cleaning and drying your glass object. Then, choose your desired nail polish colors and apply a few drops onto the top of the object. Be sure to hold the object over a protected surface as the nail polish will drip down. Use a toothpick to gently spread and swirl the colors, creating a drip effect. Let it dry completely before using or displaying.4. Nail Polish Drip Glass Art


4. Nail Polish Drip Glass Art


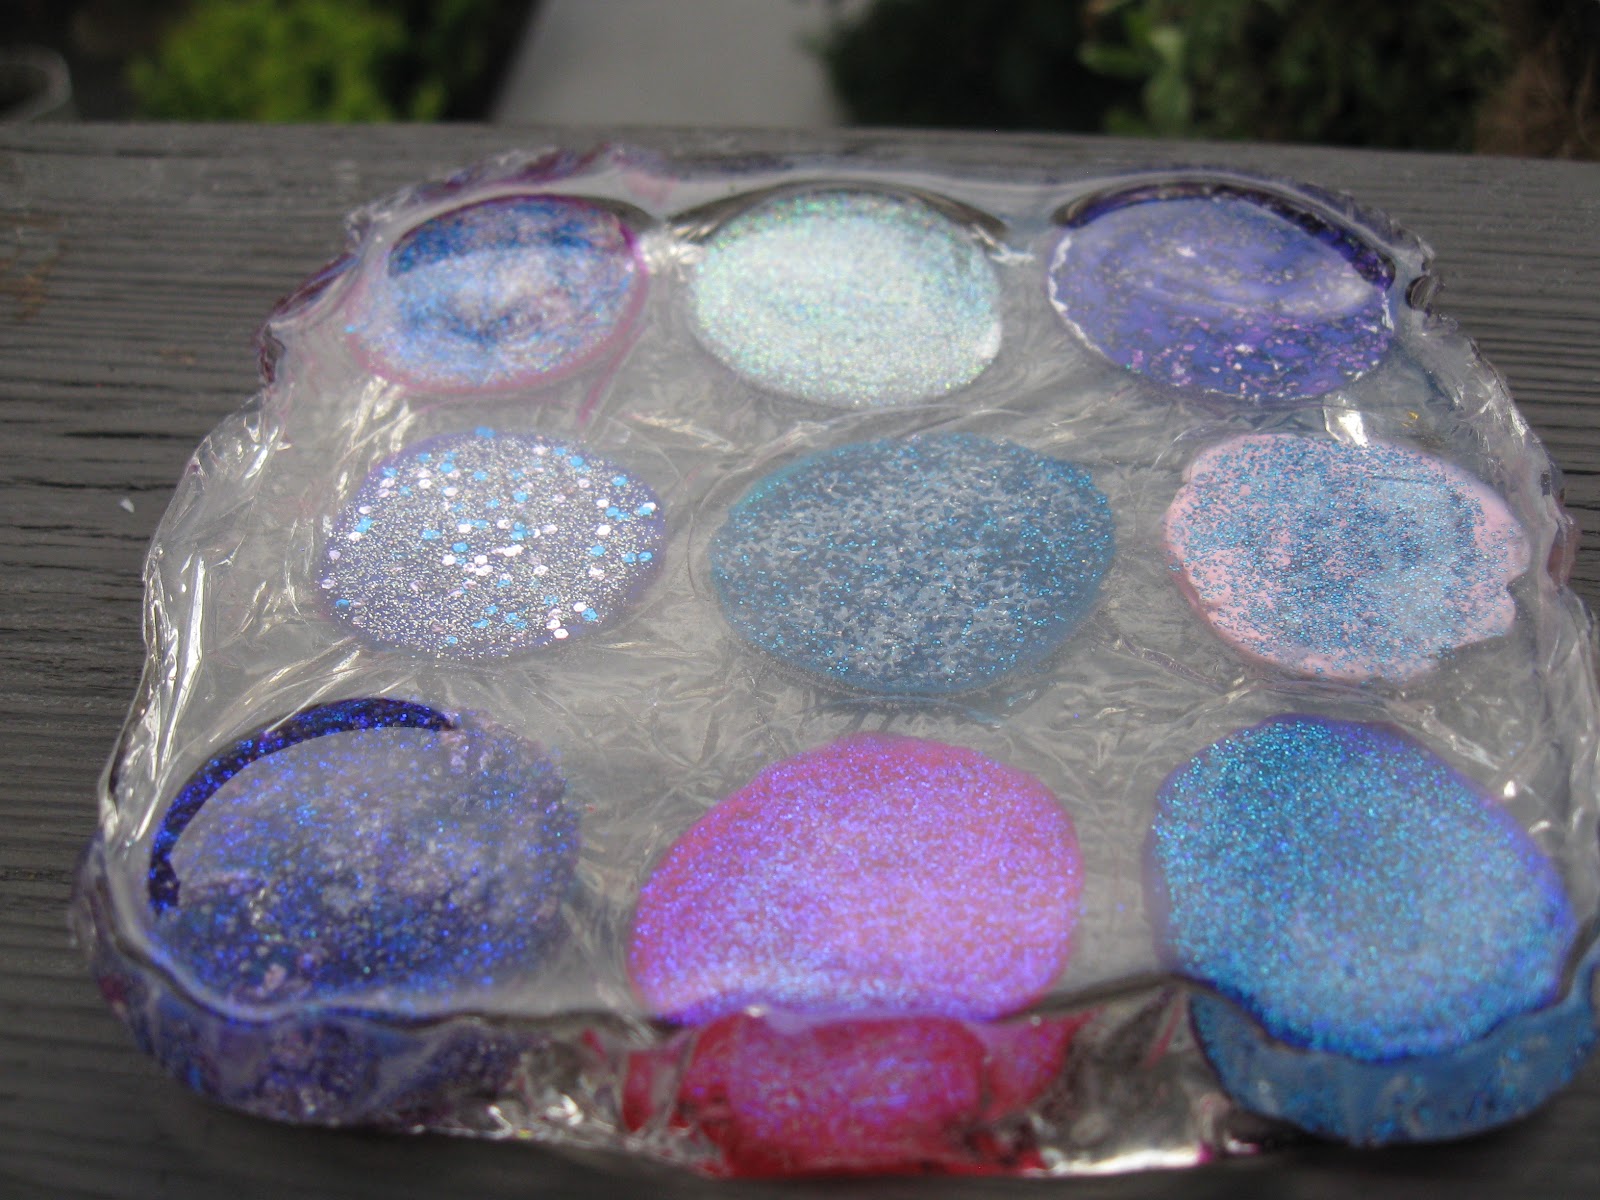
If you are feeling extra creative, why not try making some abstract nail polish glass art? This is a great way to use up any old or unwanted nail polish colors and create a unique and colorful piece for your home. To begin, choose a plain glass object such as a vase or picture frame. Apply a base coat of white nail polish to the entire surface and let it dry. Then, apply small drops of different nail polish colors onto the object. Use a toothpick to swirl and mix the colors, creating an abstract design. You can also add glitter or metallic nail polish for some extra sparkle. Once you are satisfied with the design, let it dry completely before using or displaying.5. Nail Polish Abstract Glass Art


5. Nail Polish Abstract Glass Art
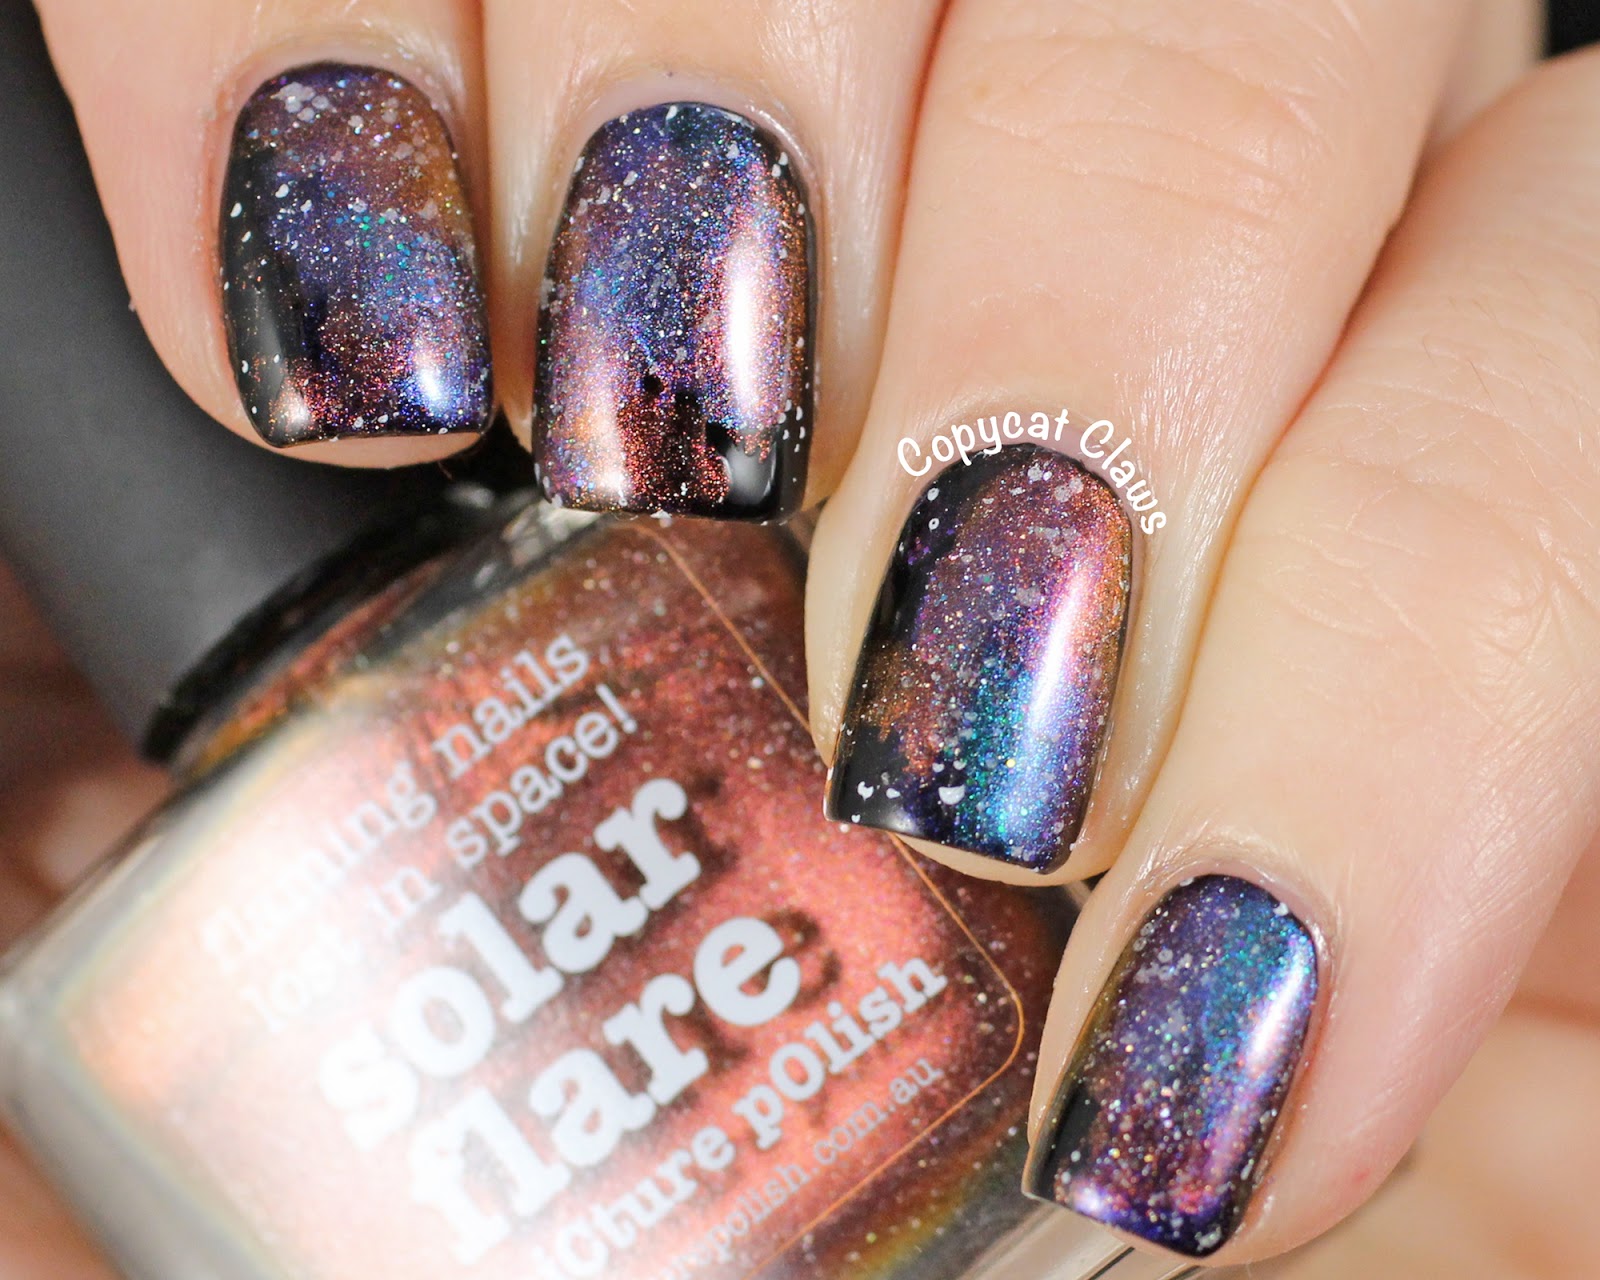
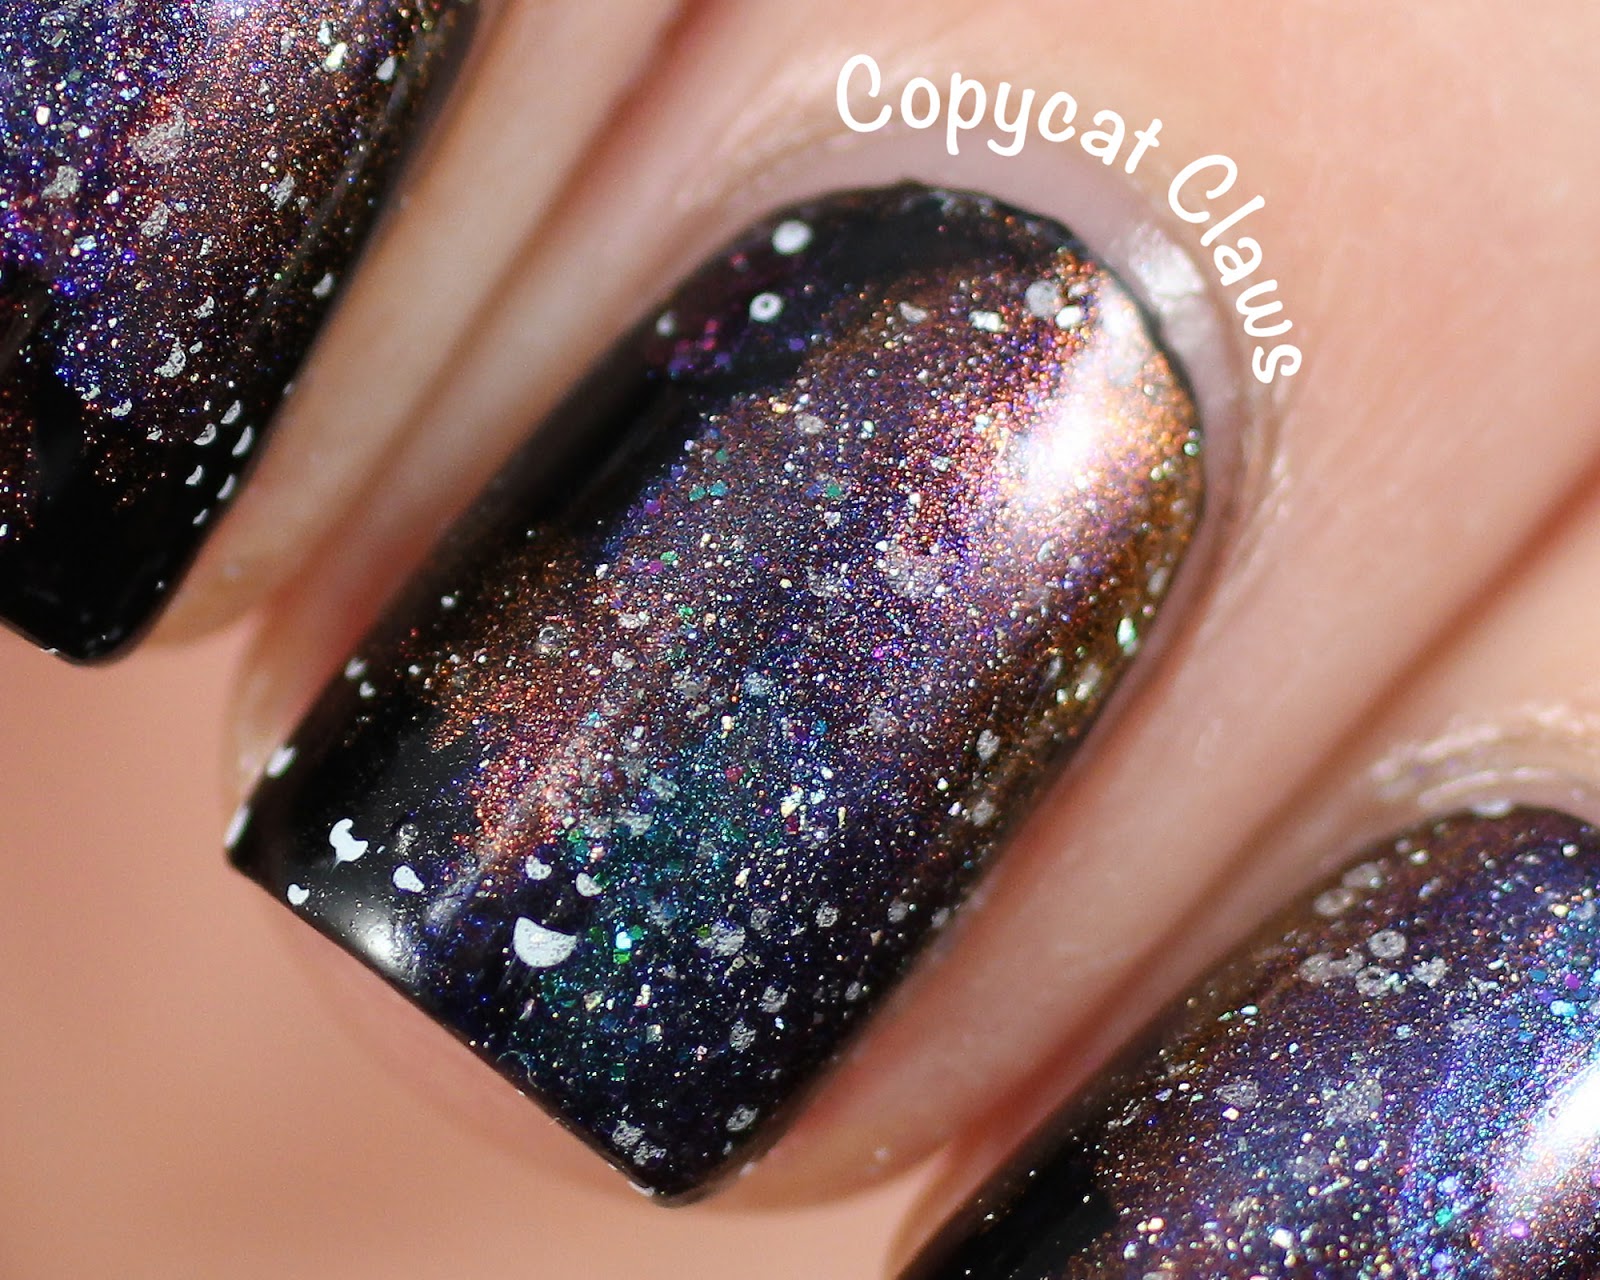
Bring the beauty of the galaxy into your home with some nail polish galaxy glass art. This technique involves creating a cosmic and dreamy design on any glass surface, making it perfect for vases, candle holders, or even coasters. To make your own nail polish galaxy glass art, start by applying a base coat of black or dark-colored nail polish to your glass object. Then, apply small drops of different colored nail polish onto the object. Use a toothpick to gently swirl and mix the colors, creating a galaxy effect. You can also add white or silver nail polish to create stars. Let it dry completely before using or displaying.6. Nail Polish Galaxy Glass Art


6. Nail Polish Galaxy Glass Art

Ombre is a popular and trendy design that is not just limited to hair. You can also create a beautiful ombre effect on your glass objects using nail polish. This technique works best on clear glass surfaces, such as vases or candle holders. To make your own nail polish ombre glass art, start by applying a base coat of white nail polish to the entire surface of your glass object. Then, choose your desired nail polish colors and apply them in small drops onto the top of the object. Use a toothpick to gently swirl and mix the colors, creating a gradient effect. Let it dry completely before using or displaying.7. Nail Polish Ombre Glass Art


7. Nail Polish Ombre Glass Art


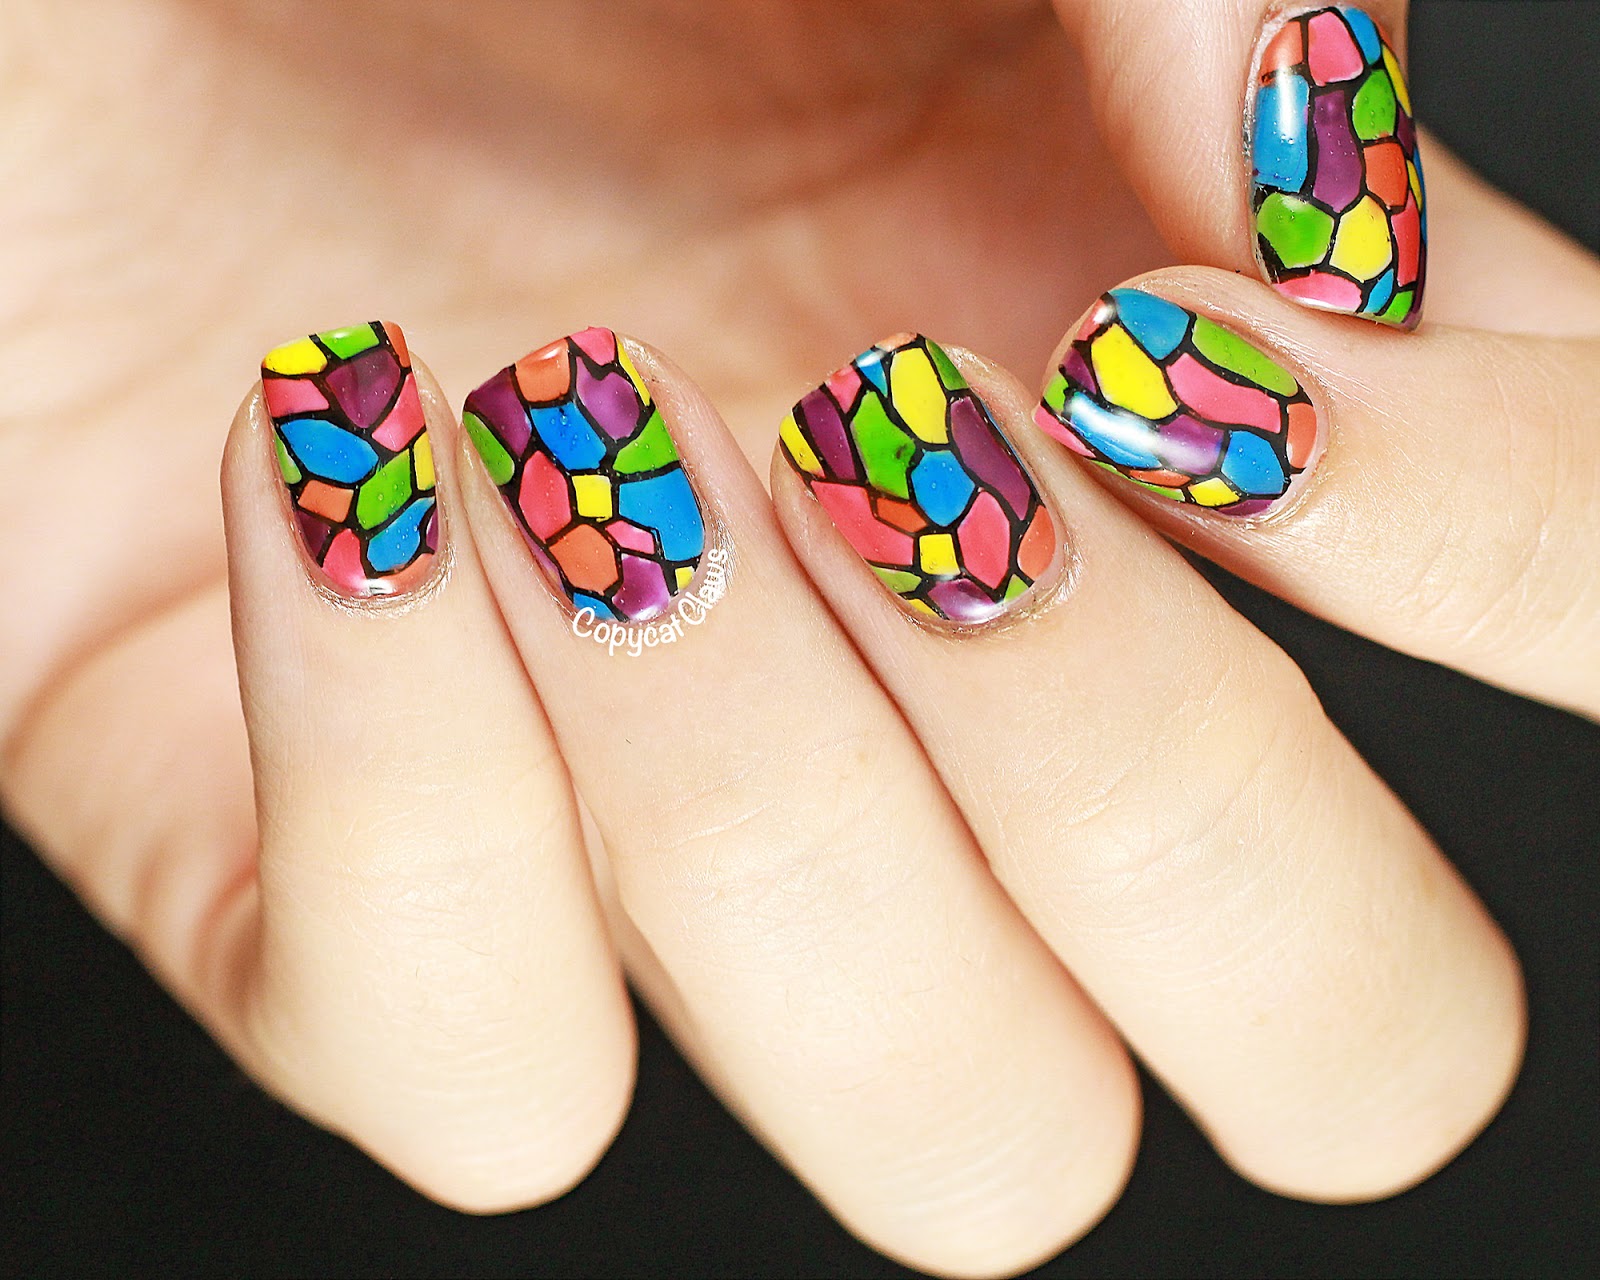
Create a stunning mosaic design on any glass surface with the use of nail polish. This technique is perfect for adding a pop of color to plain glass objects or even creating a unique design on a mirror. To start, clean and dry your glass object. Then, choose your desired nail polish colors and apply small drops onto the object. Use a toothpick to gently spread and swirl the colors, creating a mosaic effect. You can also use different shades of the same color to create a more cohesive look. Let it dry completely before using or displaying.8. Nail Polish Mosaic Glass Art

8. Nail Polish Mosaic Glass Art

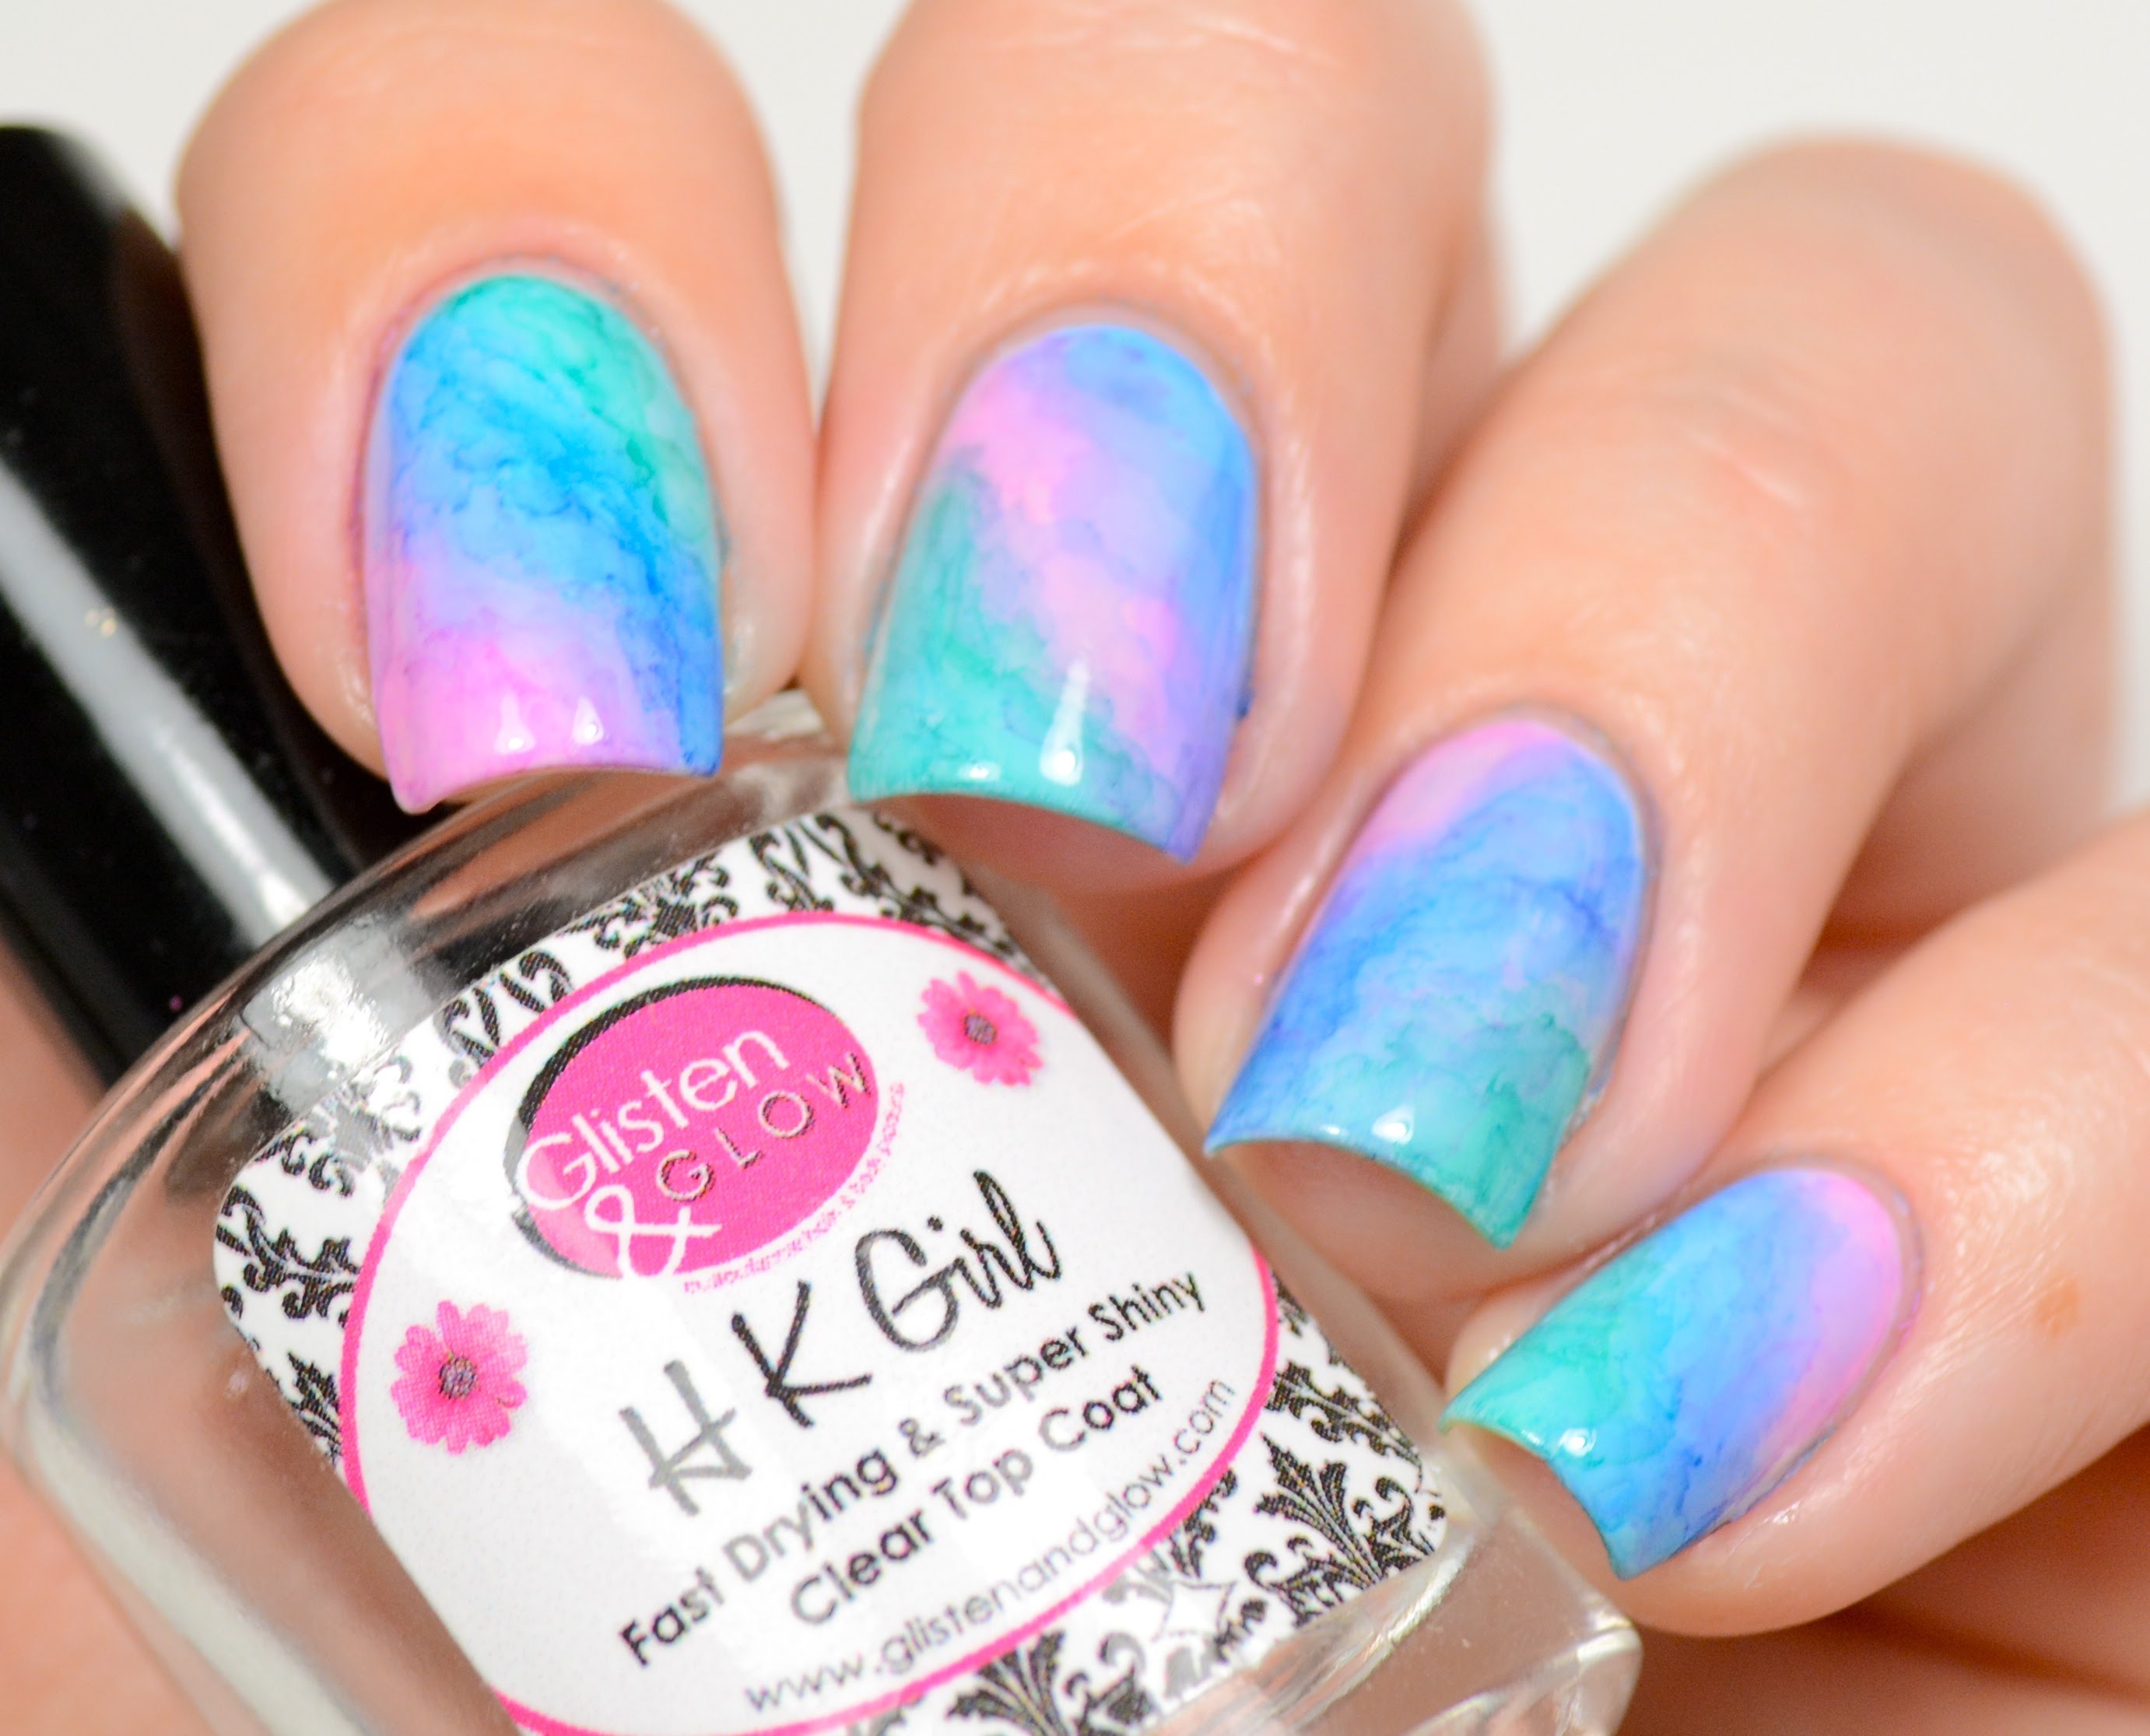
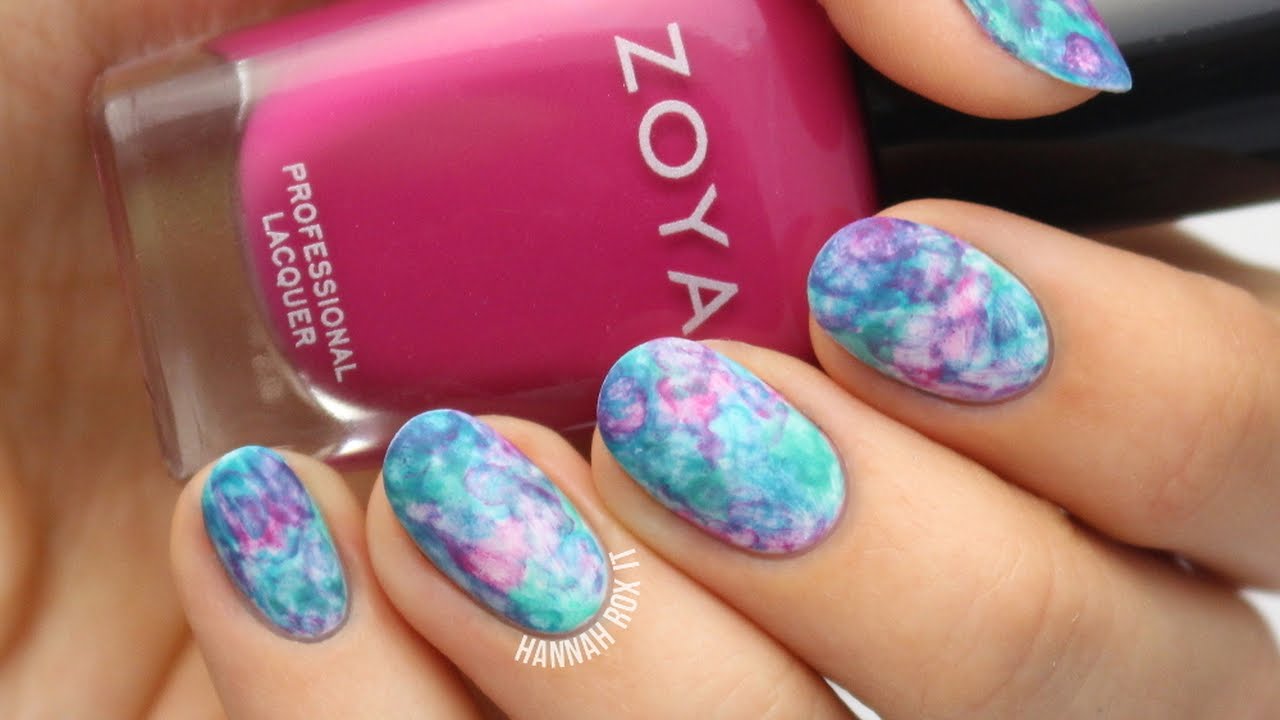
Watercolor art is known for its soft and dreamy look, and you can easily achieve this on your glass objects using nail polish. This technique is perfect for adding a touch of color to plain glass objects or creating a unique design on a vase or picture frame. To make your own nail polish watercolor glass art, start by applying a base coat of white nail polish to the entire surface of your glass object. Then, choose your desired nail polish colors and apply them in small drops onto the top of the object. Use a toothpick to gently swirl and mix the colors, creating a watercolor effect. Let it dry completely before using or displaying.9. Nail Polish Watercolor Glass Art


9. Nail Polish Watercolor Glass Art

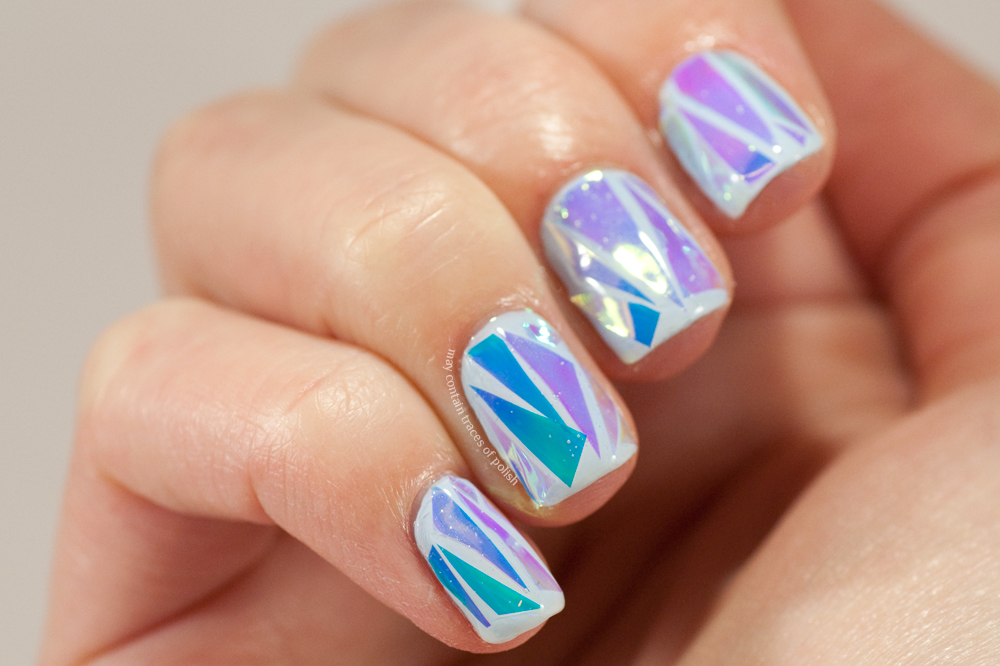
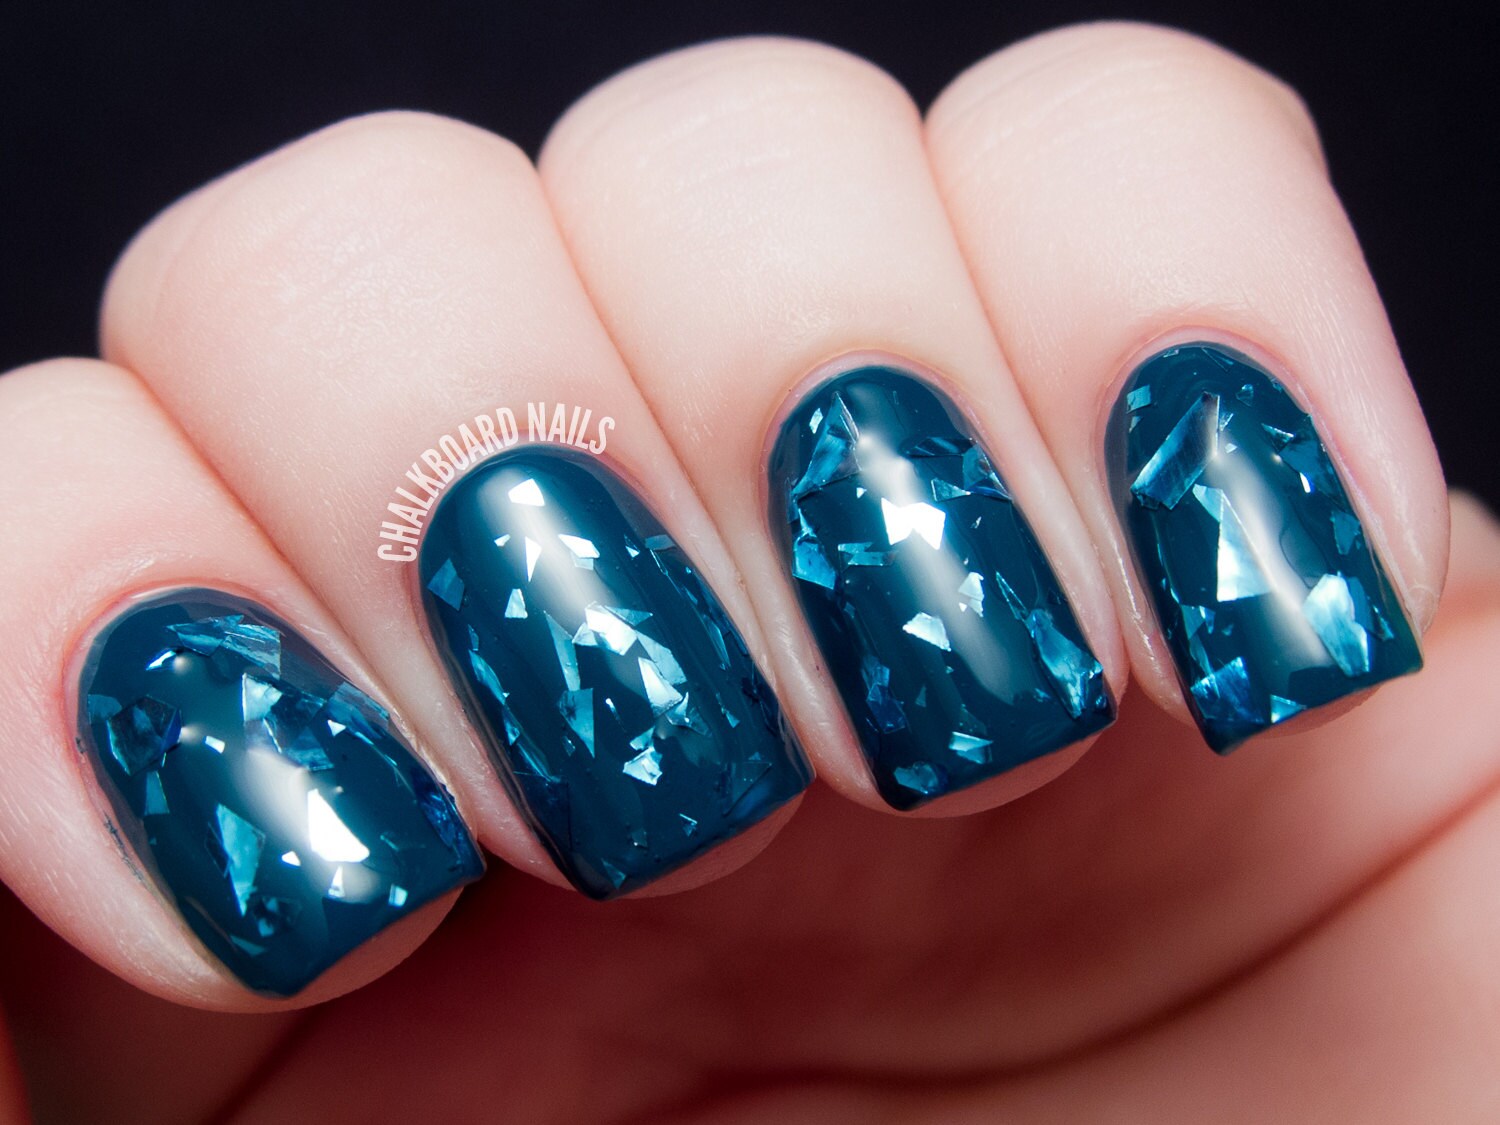


Geode art has become increasingly popular in recent years and you can easily create your own version using nail polish. This technique involves creating a crystal-like design on any glass surface, making it perfect for vases, candle holders, or coasters. To make your own nail polish geode glass art, start by applying a base coat of black or dark-colored nail polish to your glass object. Then, apply small drops of different colored nail polish onto the object. Use a toothpick to gently swirl and mix the colors, creating a crystal-like effect. You can also add metallic or glitter nail polish for some extra sparkle. Let it dry completely before using or displaying. With these top 10 nail polish glass art ideas, you can easily add a touch of color and creativity to your home decor. So gather your nail polish collection and get ready to create some beautiful and unique pieces that will surely impress anyone who sees them!10. Nail Polish Geode Glass Art


10. Nail Polish Geode Glass Art


The Perfect Accent for Your Home: Nail Polish Glass Art

Adding a Touch of Color and Sparkle to Your Home
 Nail polish may be a staple in your beauty routine, but did you know it can also be used as a stunning form of art in your home decor? Nail polish glass art is a unique and creative way to add a pop of color and personality to any room. This form of art has gained popularity in recent years, and for good reason. Not only is it budget-friendly, but it also allows you to express your creativity in a whole new way.
What is Nail Polish Glass Art?
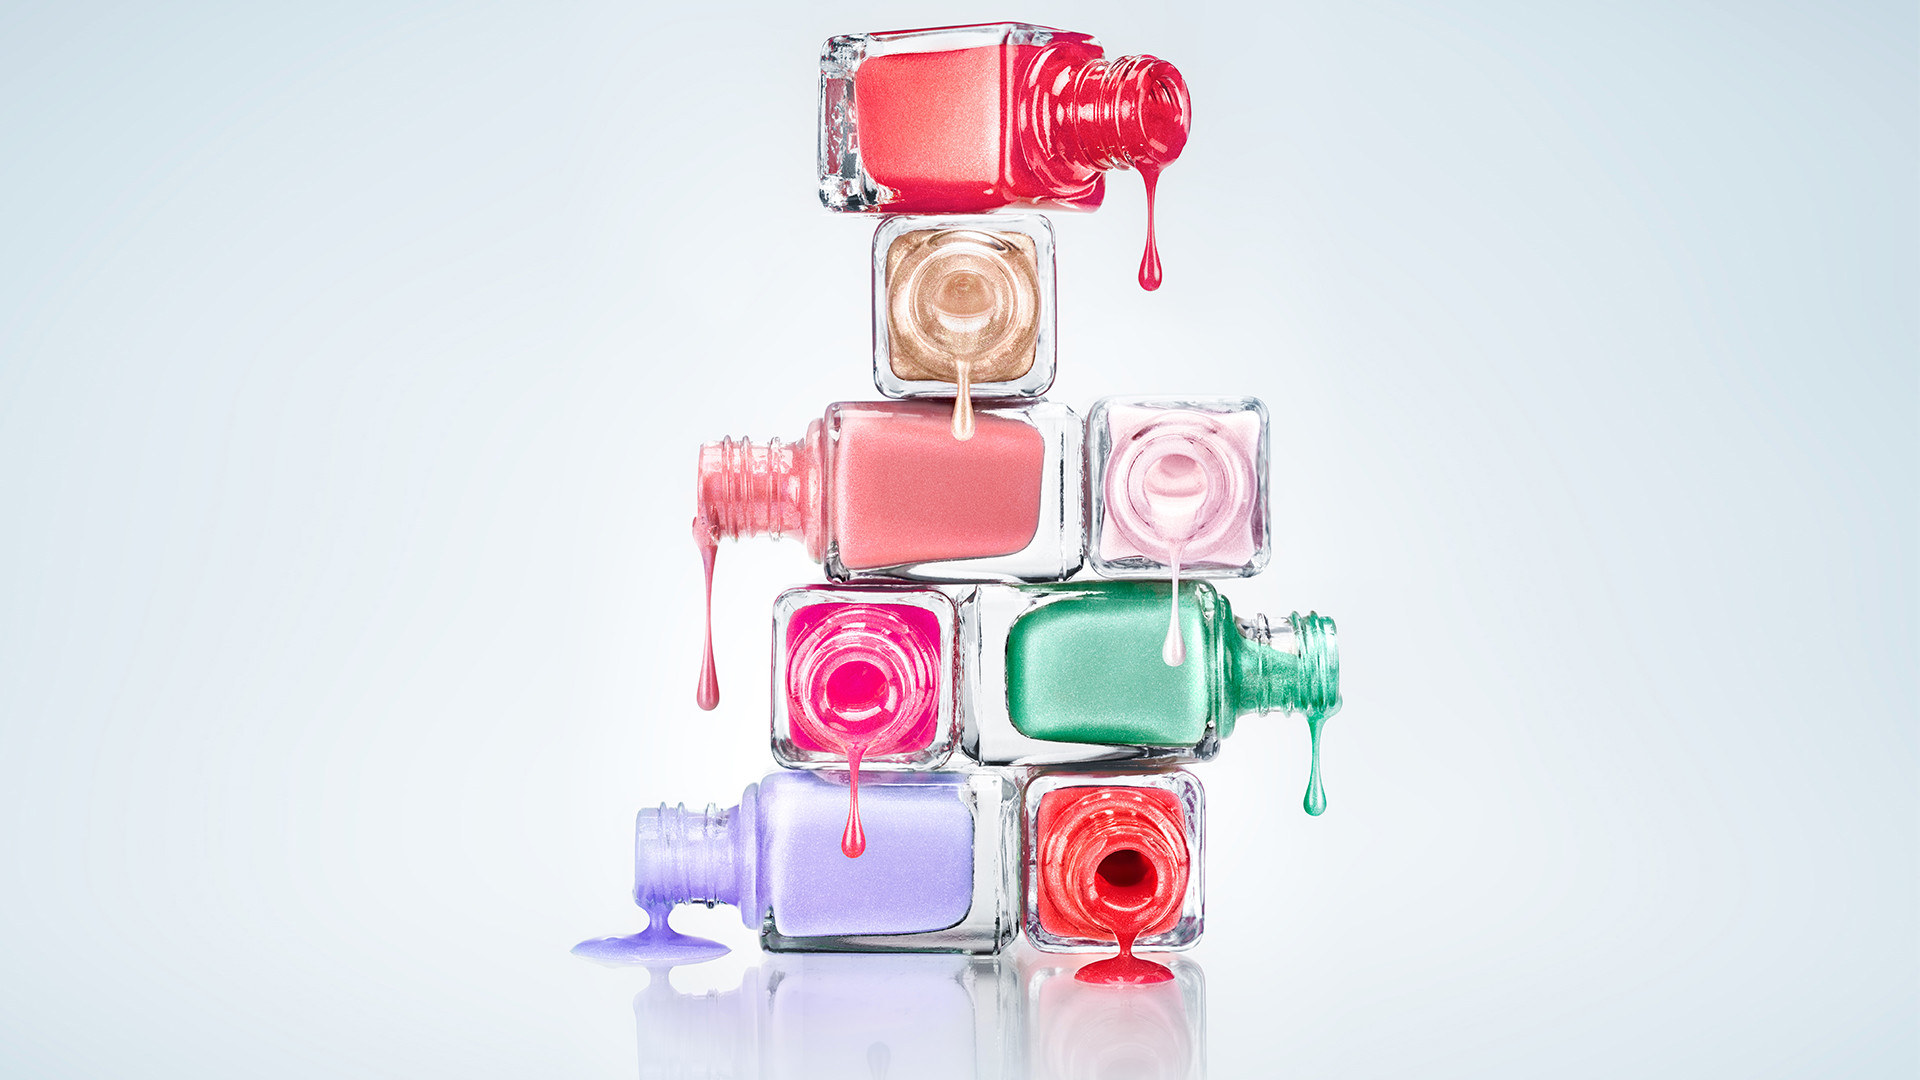
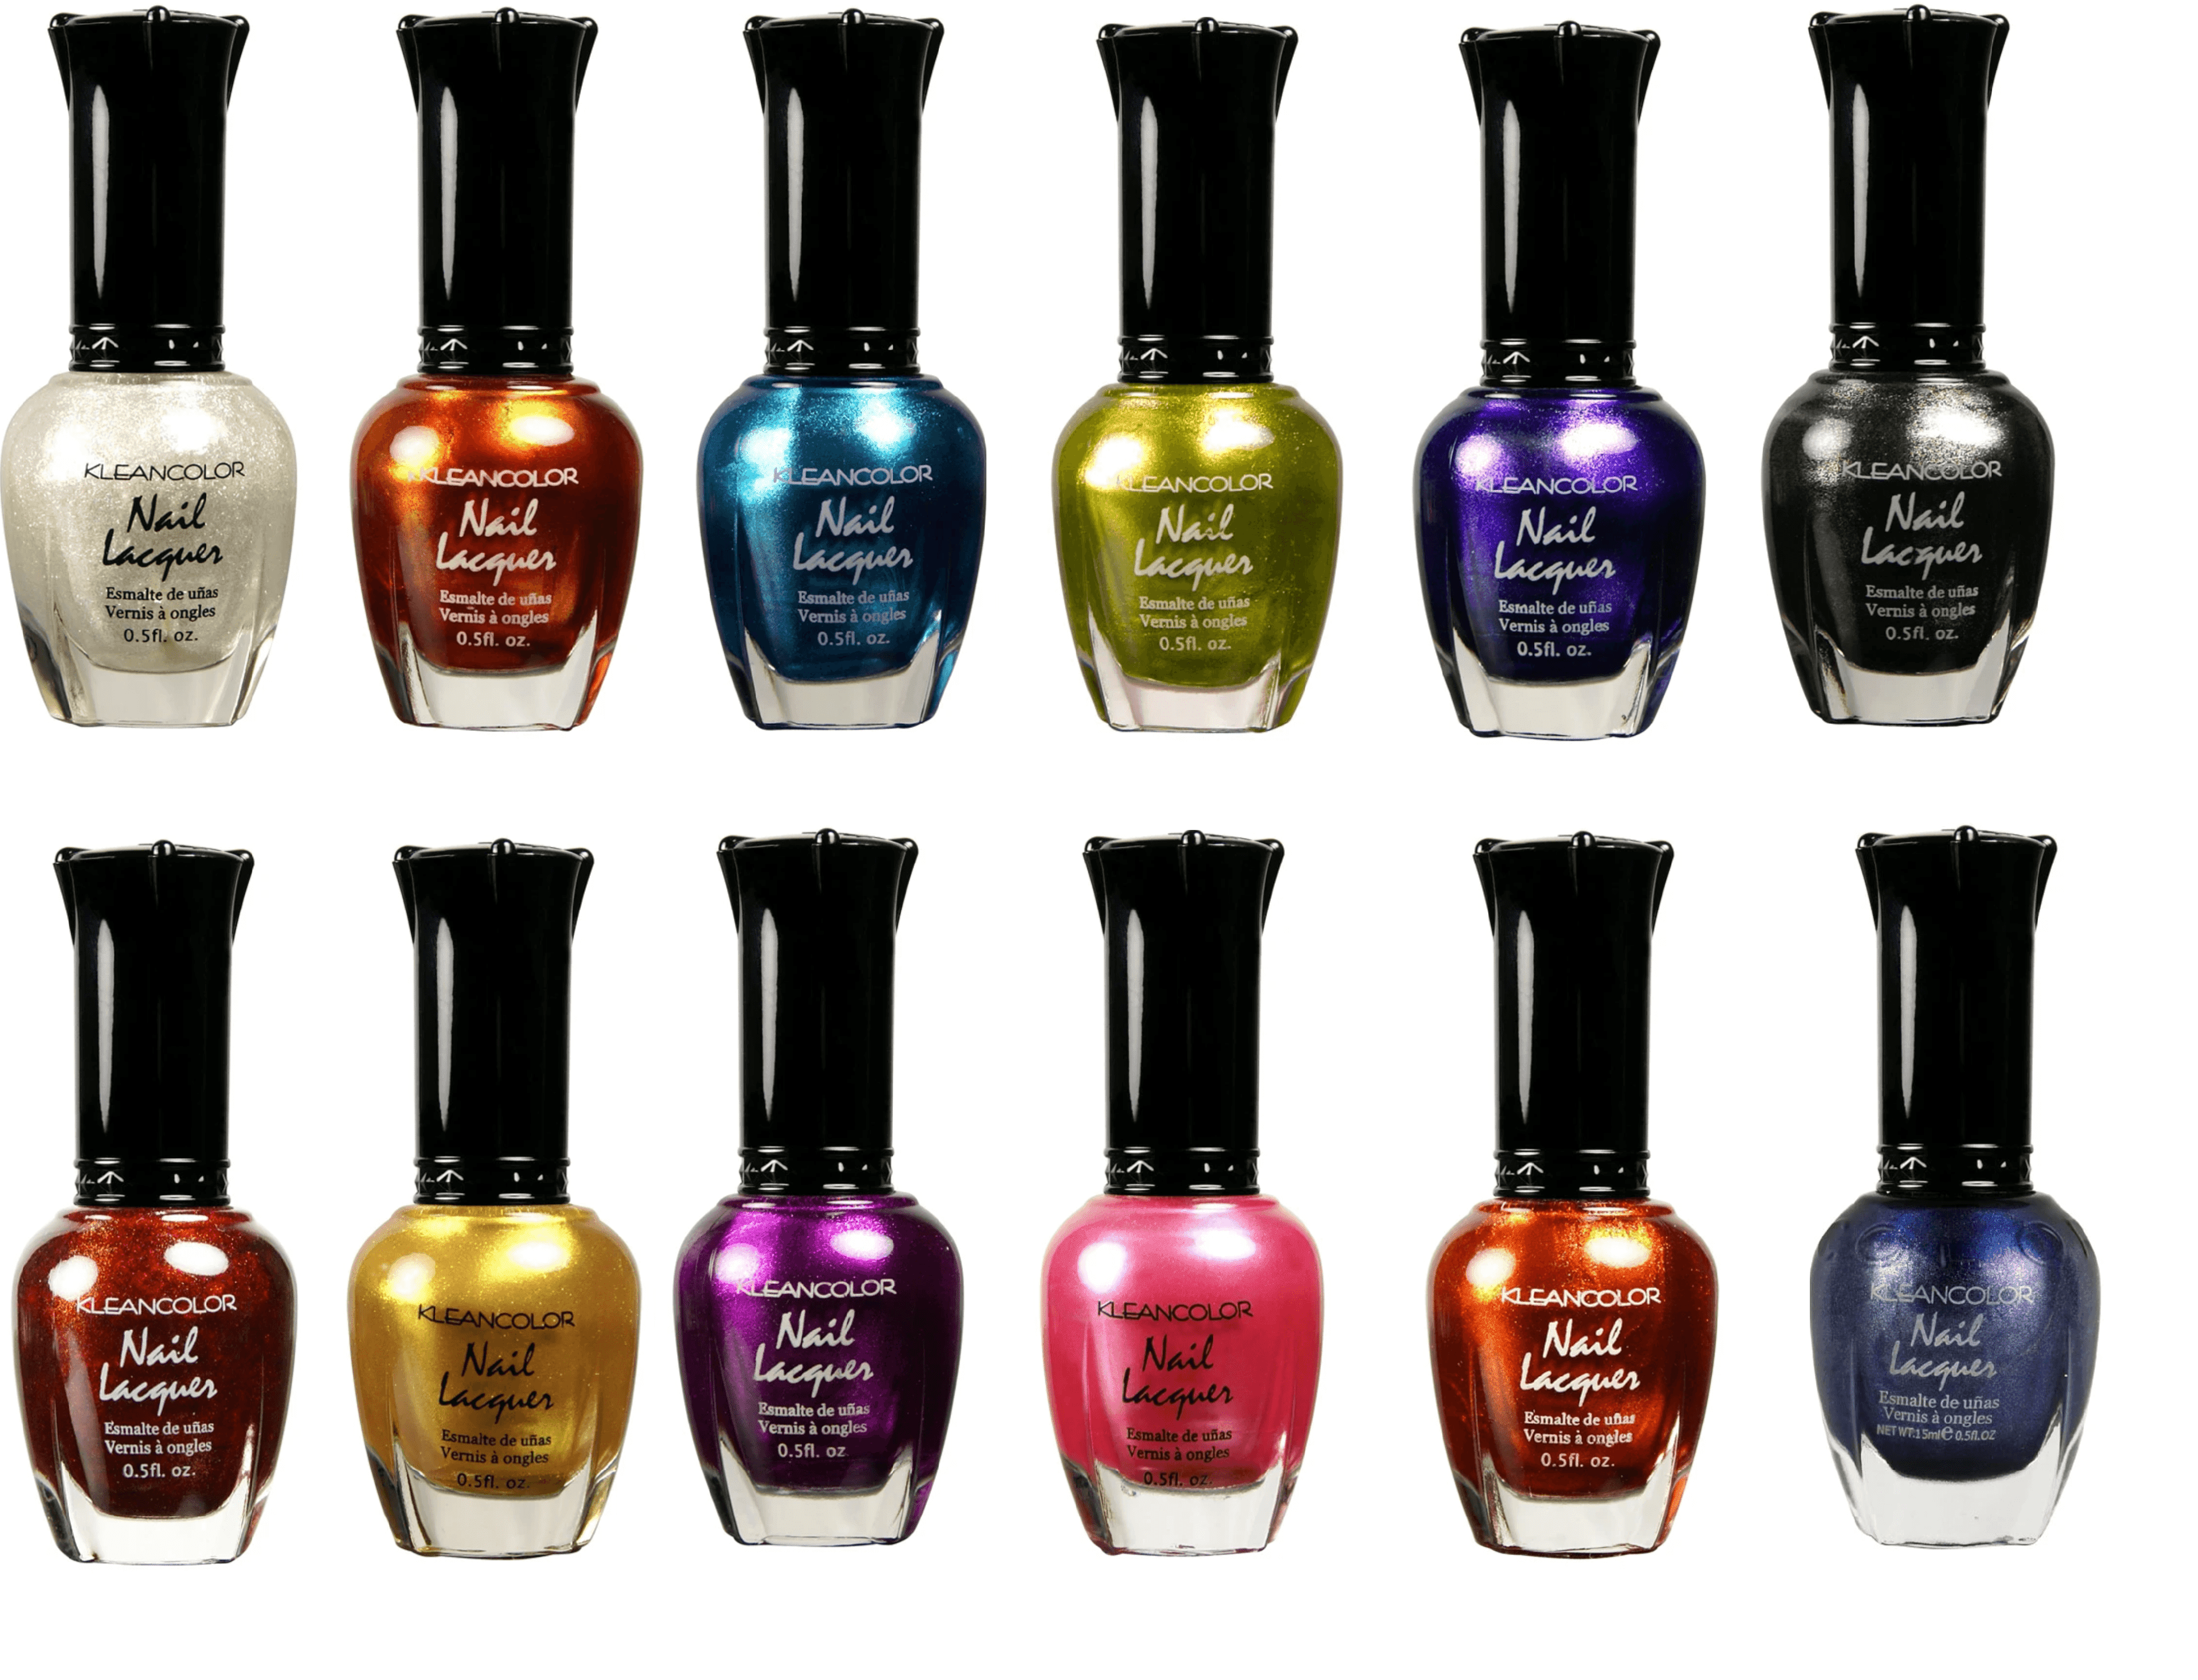
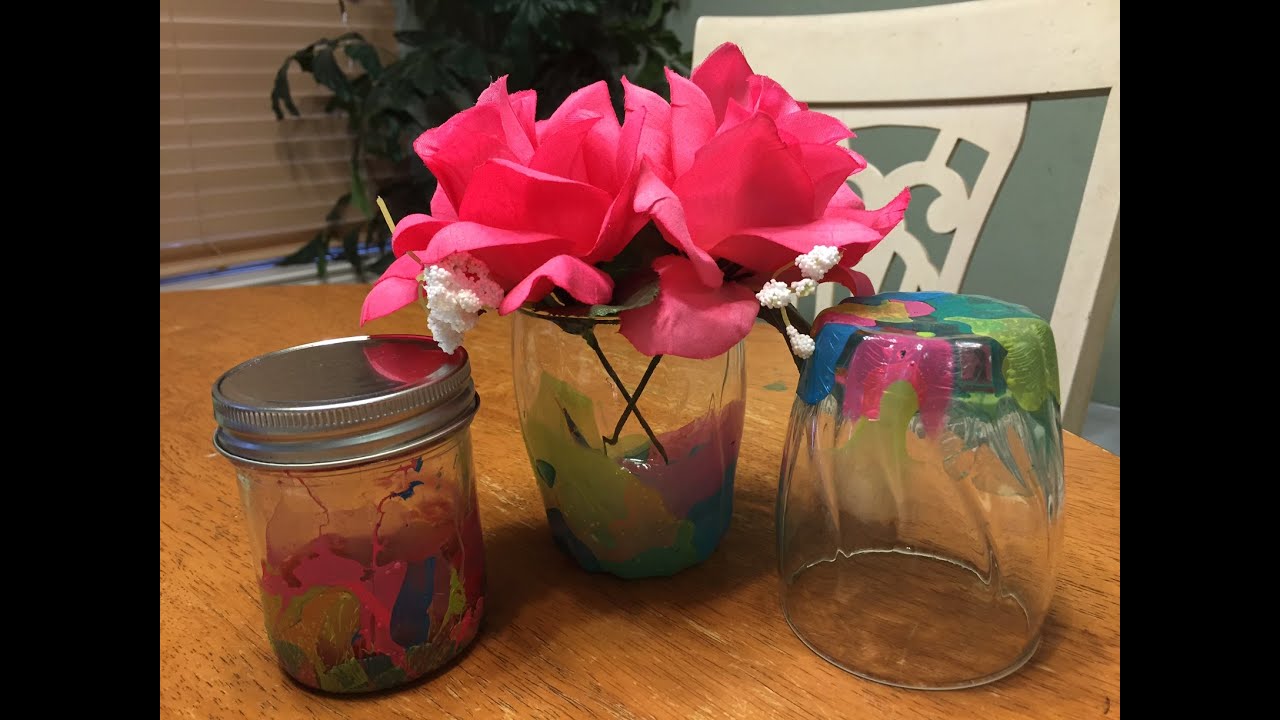
 Nail polish glass art involves using different shades of nail polish to create abstract designs on glass surfaces such as vases, jars, and candle holders. It's a fun and easy DIY project that anyone can do, regardless of their artistic abilities. All you need is some nail polish, glass objects, and a few basic supplies like toothpicks and rubbing alcohol.
Unleash Your Creativity
 One of the best things about nail polish glass art is that there are no rules. You can create any design you want, using any colors you like. Whether you prefer bold and bright or soft and pastel, there are endless possibilities to choose from. You can even mix and match different shades to create a unique and eye-catching look. Plus, since nail polish comes in a variety of finishes such as glitter, metallic, and matte, you can add an extra touch of sparkle and dimension to your creation.
A Versatile Addition to Your Home
 Nail polish glass art is not limited to just one room in your home. You can use it to spruce up your living room by adding a colorful vase to your coffee table, or liven up your bathroom with a vibrant jar for your toiletries. It's also a great way to add a personal touch to your bedroom by creating a custom candle holder or jewelry dish. The possibilities are endless, and the results are always stunning.
A Budget-Friendly Option
 Redecorating your home can be expensive, but with nail polish glass art, you can achieve a high-end look without breaking the bank. All you need is a few bottles of nail polish, which you can find at your local drugstore or dollar store. You can also repurpose old glass objects you have lying around the house, making it a budget-friendly and sustainable option for home decor.
Final Thoughts
 Incorporating nail polish glass art into your home design not only adds a touch of color and sparkle but also showcases your creativity and personal style. Whether you're looking for a budget-friendly way to revamp your home or simply want to add a unique and eye-catching accent to your space, nail polish glass art is the perfect solution. So, grab your nail polish and get ready to turn ordinary glass objects into stunning pieces of art for your home.


