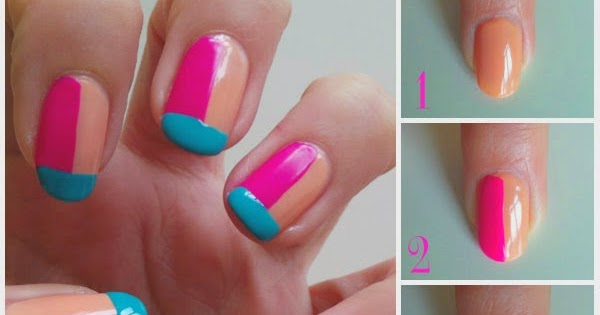
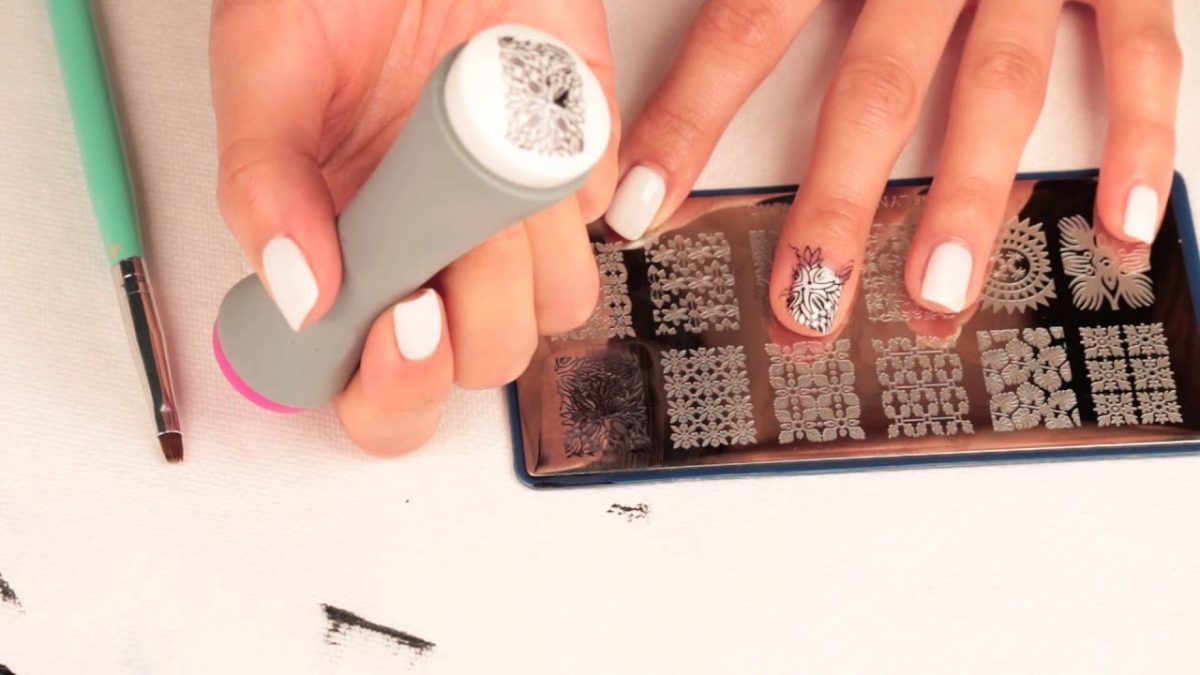
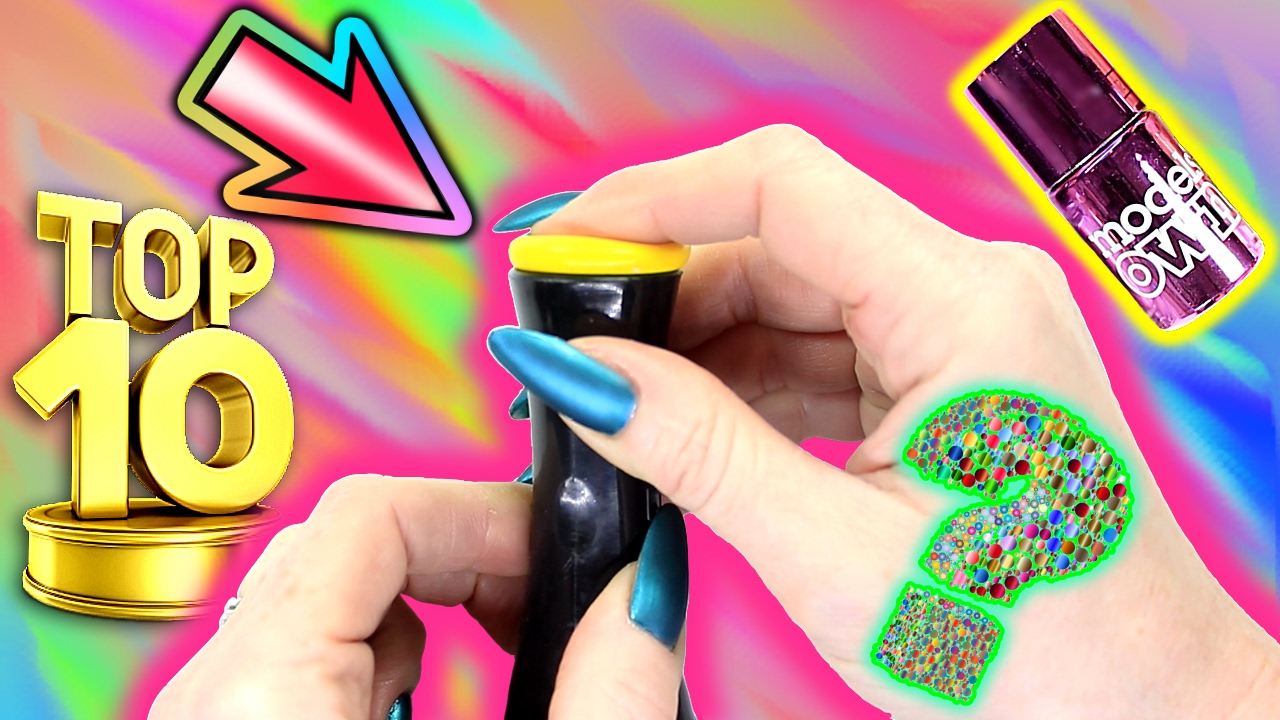
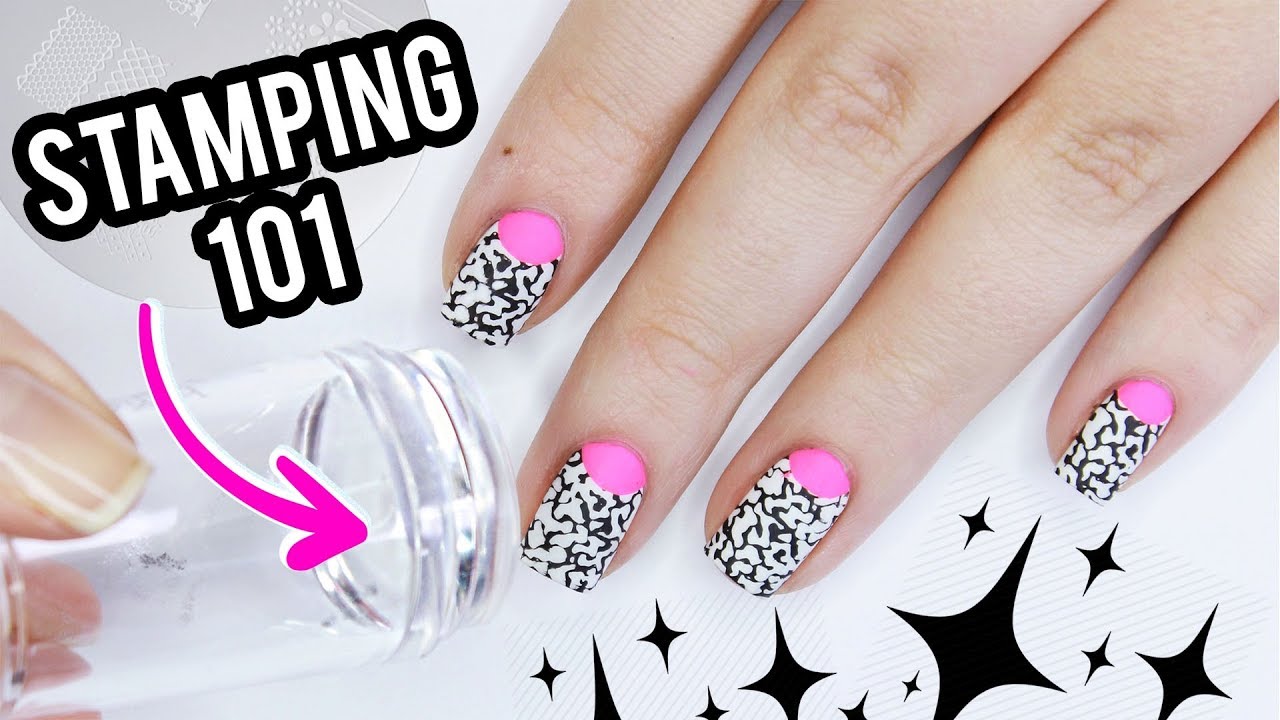
If you're new to the world of nail art, nail stamping can seem intimidating. But fear not, because we've got you covered with these easy nail art tutorials for beginners! With just a few simple tools, you can achieve stunning designs that will make your nails stand out. Start by choosing your favorite nail polish color and a nail stamping kit. We recommend MoYou London for high-quality stamping plates and stampers. Apply a base coat to protect your nails and let it dry completely before moving on to the fun part - stamping! Using the scraper, remove any excess polish from the stamping plate and gently press the stamper onto the design. Then, transfer the design onto your nail with a rolling motion. Seal it with a top coat and voila - you have a beautiful nail art design in minutes!1. Easy Nail Art Tutorials for Beginners
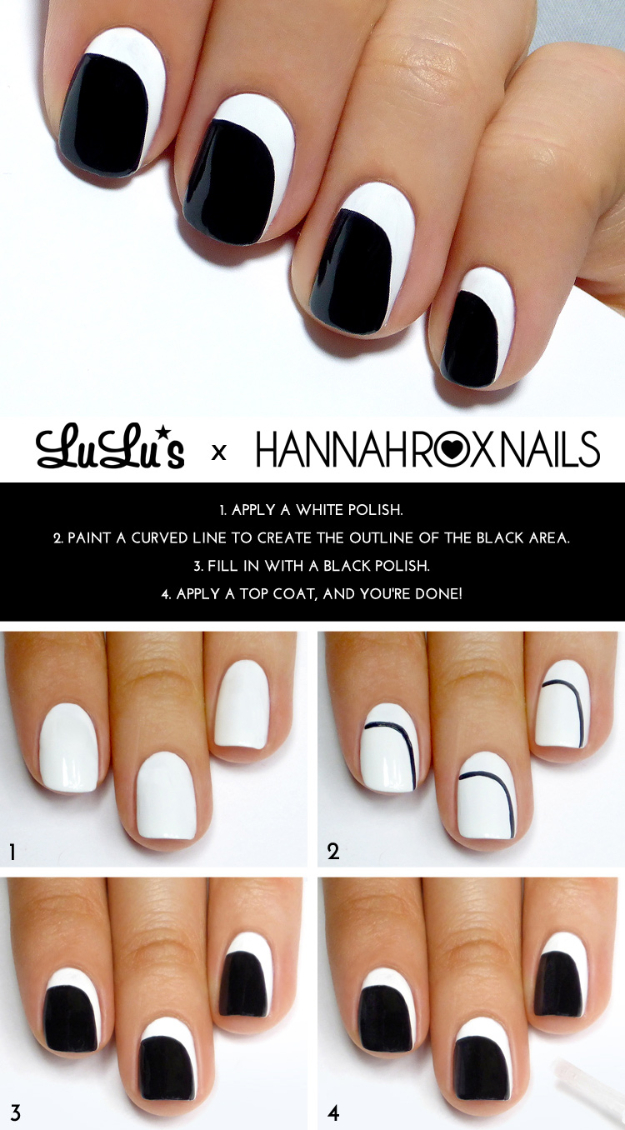


1. Easy Nail Art Tutorials for Beginners


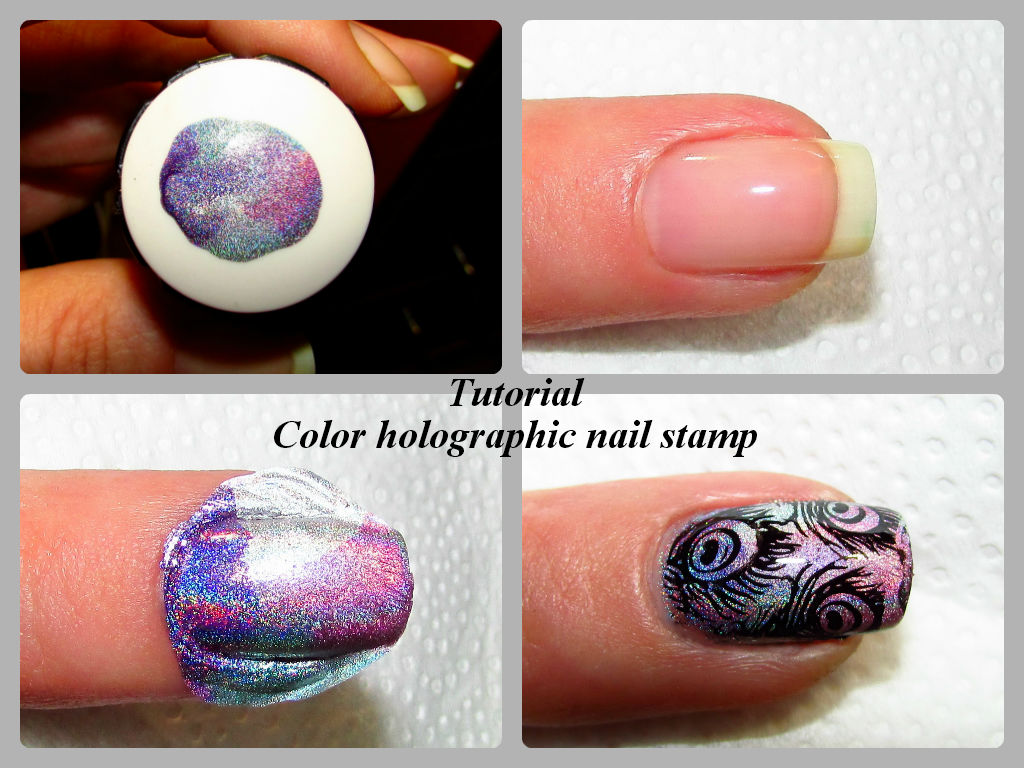
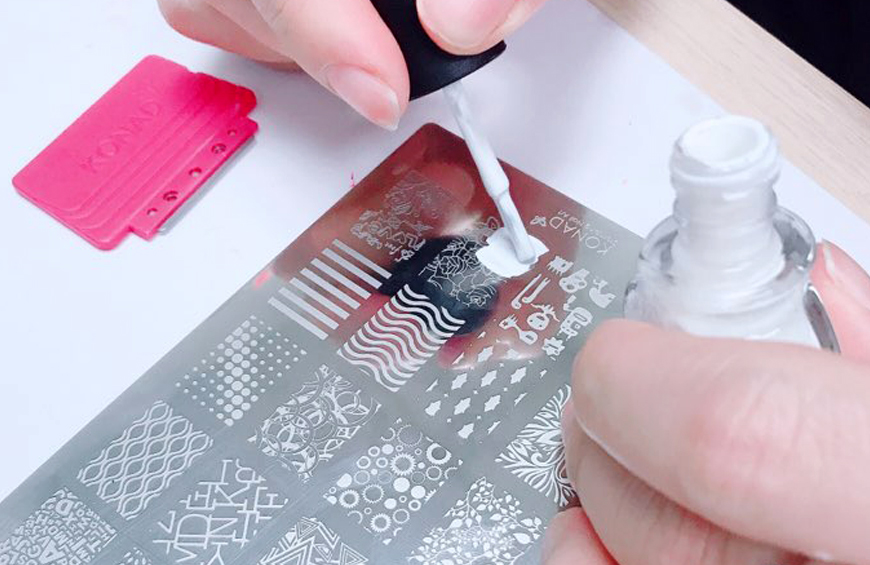
For a more detailed guide on how to nail stamp, check out this step-by-step tutorial. Start by prepping your nails with a base coat and your desired nail polish color. While your nails are drying, choose a design from your stamping plate and apply a generous amount of polish onto it. Using the scraper, remove the excess polish and quickly pick up the design with the stamper. Then, gently roll the stamper onto your nail to transfer the design. If you're not happy with the placement, don't worry! Simply remove the design with nail polish remover and try again. Finish with a top coat to seal in your design.2. Step-by-Step Nail Stamping Tutorial


2. Step-by-Step Nail Stamping Tutorial


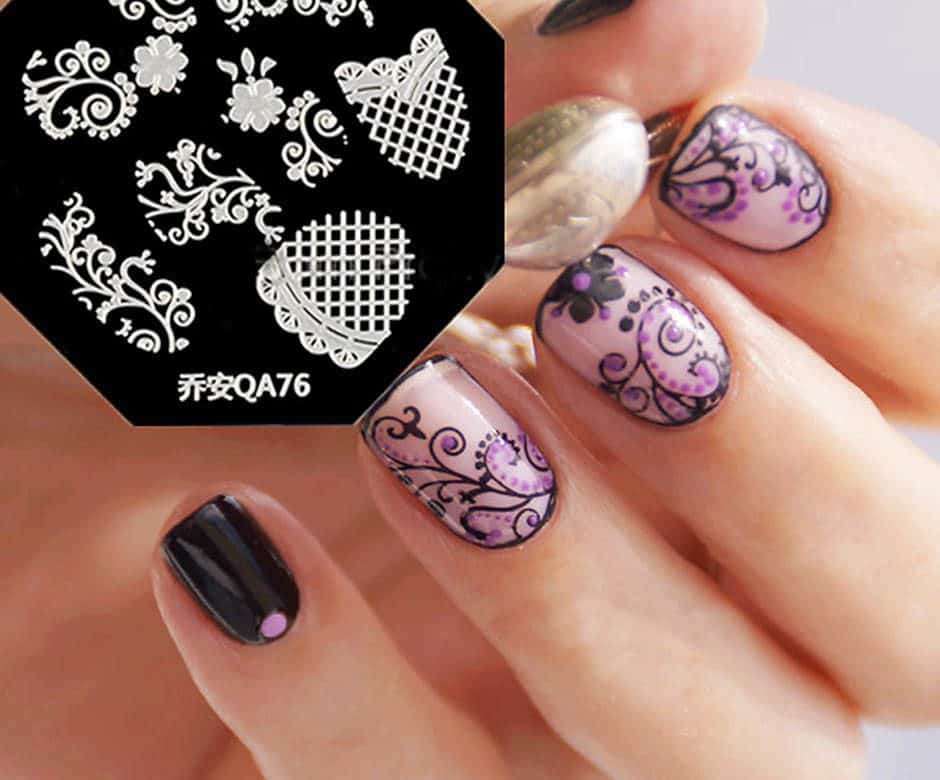
Nail stamping is a great way to add unique and creative designs to your nails. But you don't have to limit yourself to just using the designs on the stamping plates. Get creative and try DIY nail stamping art ideas using everyday items like lace, stickers, or even leaves! For a lace-inspired design, paint your nails with a base color and let it dry. Then, place a piece of lace on top of your nail and gently press a stamper over it. The lace will transfer onto your nail, creating a beautiful lace pattern. For a leaf design, simply paint a leaf with nail polish and press it onto your nail for a unique and natural look.3. DIY Nail Stamping Art Ideas


3. DIY Nail Stamping Art Ideas

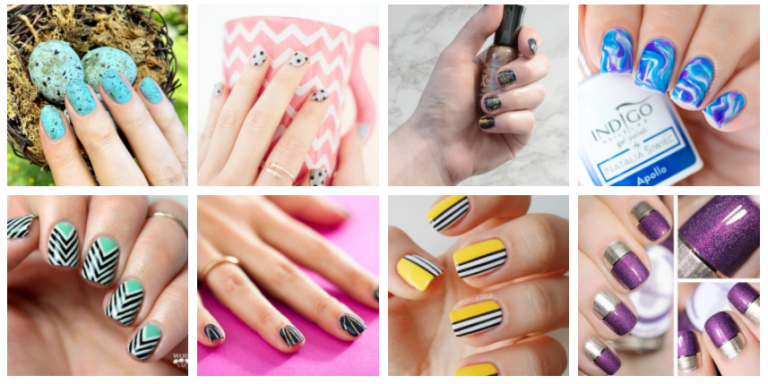
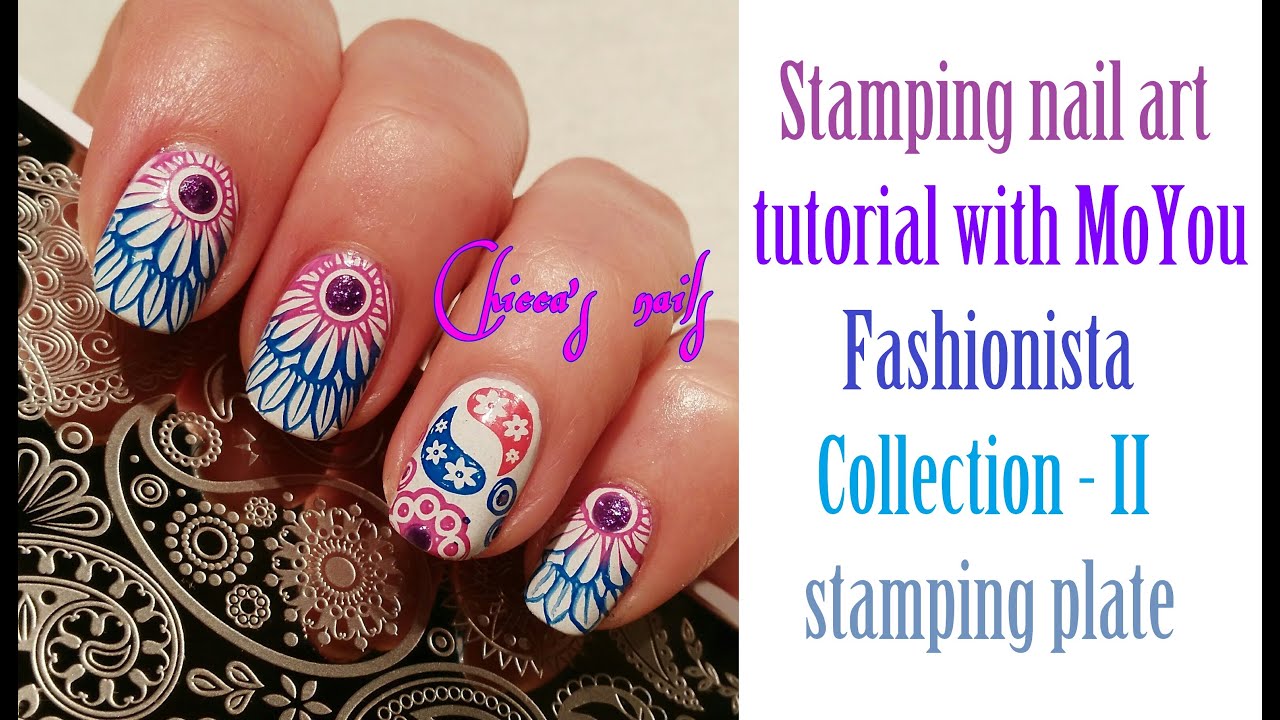
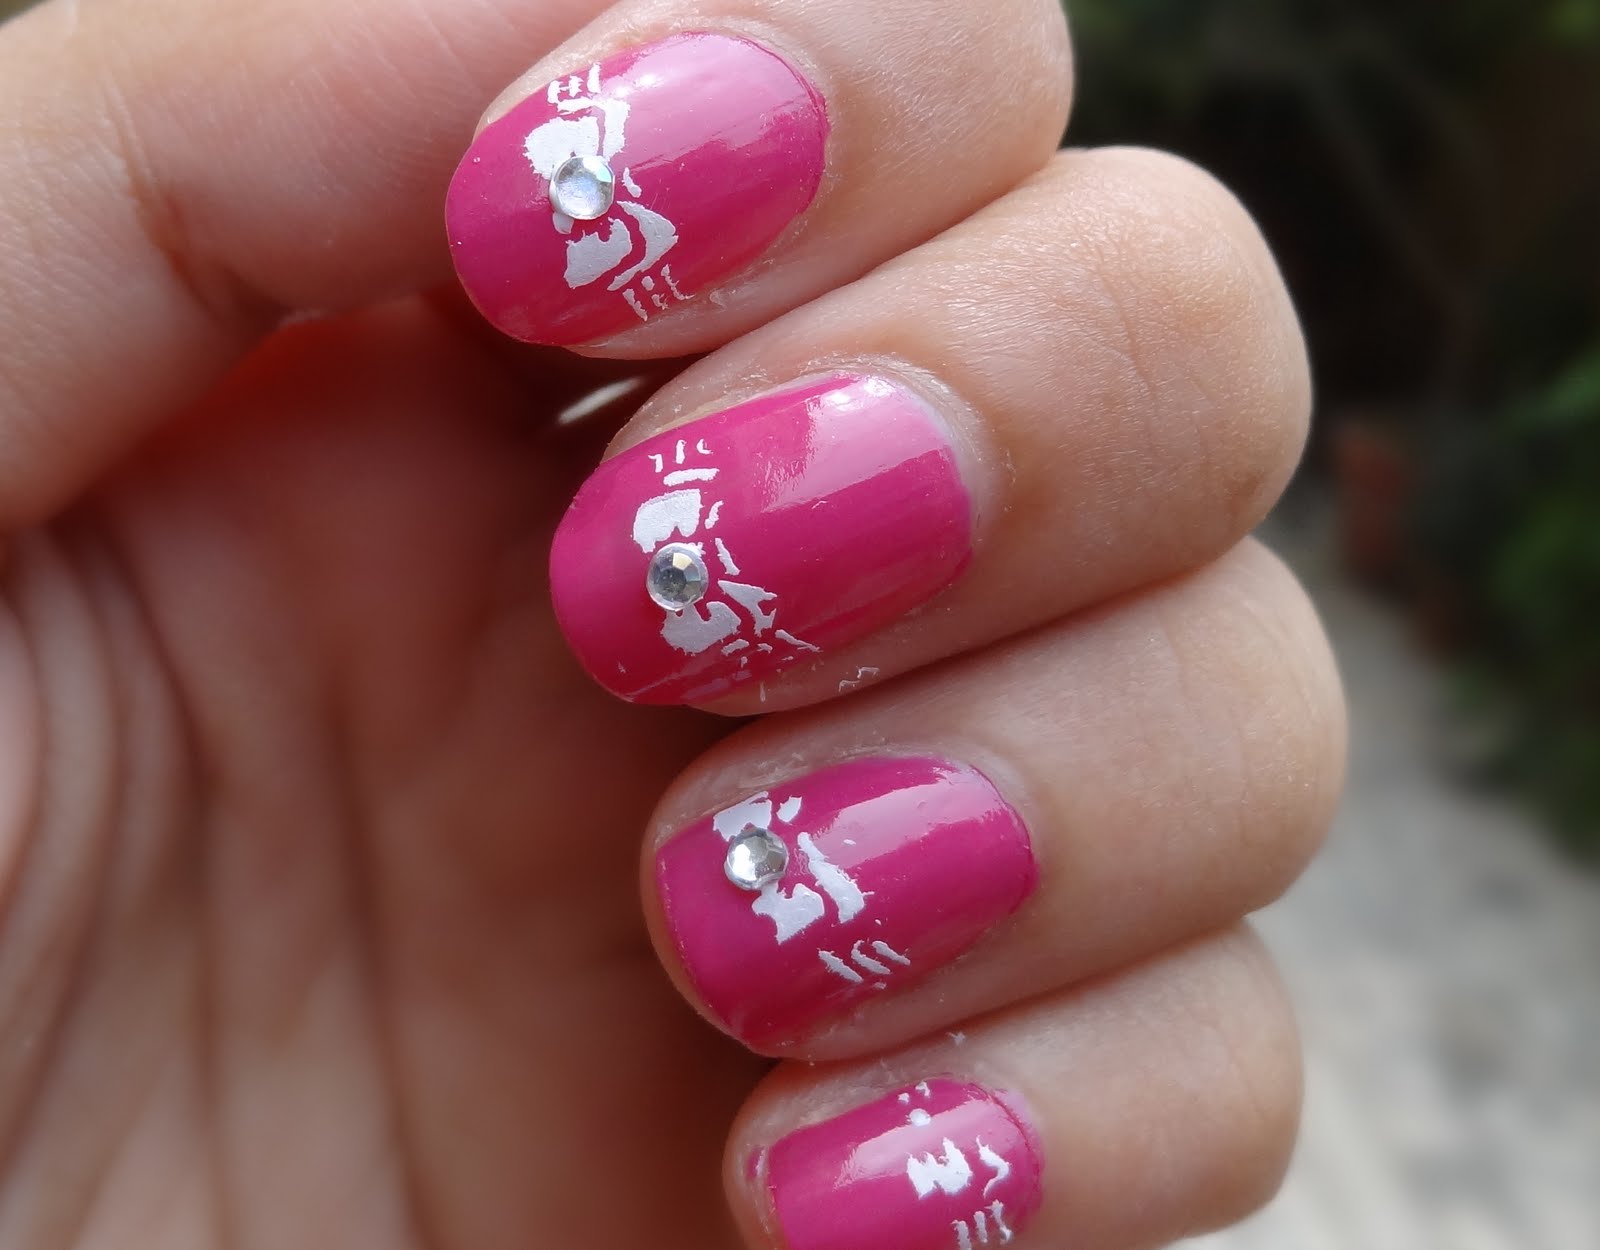
When it comes to nail stamping, the possibilities are endless. Get creative and experiment with different color combinations, designs, and even textures! For a standout look, try creative nail stamping designs such as ombré stamping, negative space stamping, or geometric patterns. To achieve an ombré stamping effect, apply two different nail polish colors to the stamping plate and gently roll the stamper over it. This will create a gradient effect on your nails. Negative space stamping involves stamping designs onto your nails while leaving some areas bare for a modern and edgy look. And for a fun and vibrant look, try stamping geometric shapes in different colors for a playful design.4. Creative Nail Stamping Designs

4. Creative Nail Stamping Designs

As with any form of nail art, there are certain techniques and tips that can help you achieve the best results with nail stamping. Firstly, make sure to clean your stamping plate and stamper with acetone or nail polish remover before each use to avoid any transfer issues. Additionally, if your nails are naturally oily, you may want to use a nail dehydrator before applying your base coat to help the polish adhere better. Another useful tip is to use a lint roller to remove any excess polish or lint on the stamper before picking up the design. This will prevent any unwanted particles from transferring onto your nails. And if you're having trouble picking up the design, try using a different stamper or gently buffing the stamper with a nail file to create a better grip.5. Nail Stamping Techniques and Tips


5. Nail Stamping Techniques and Tips

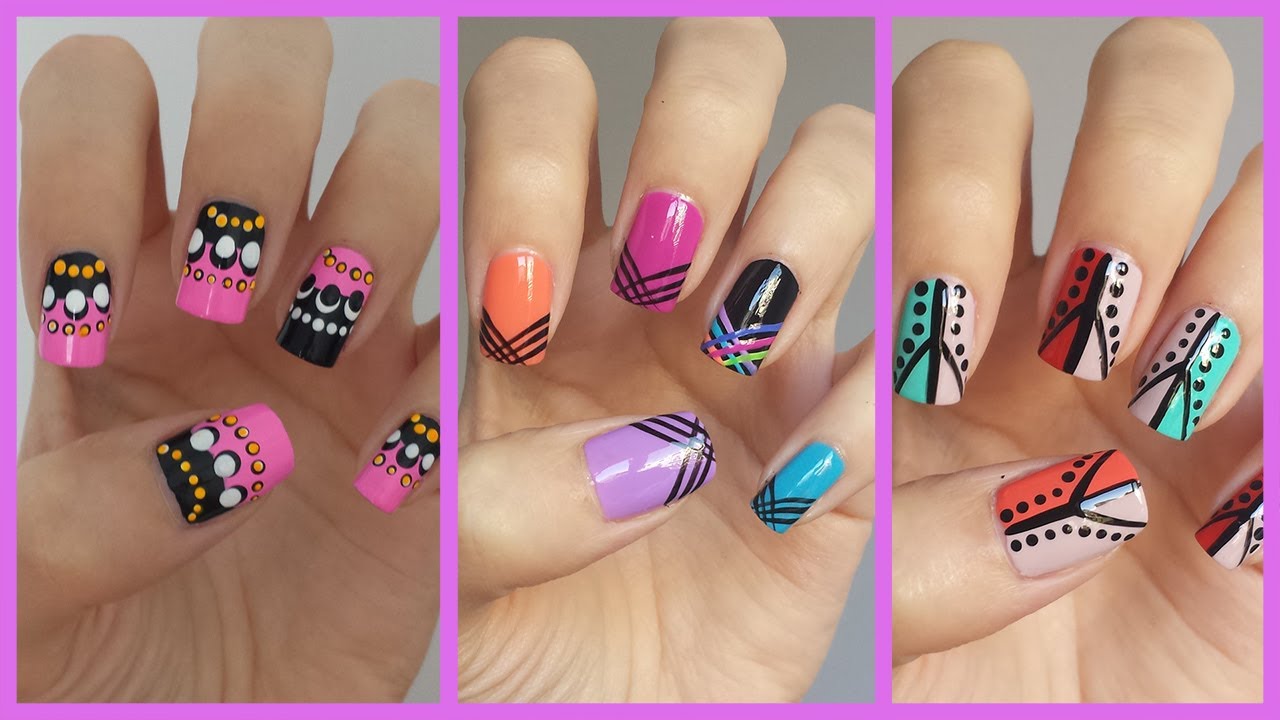
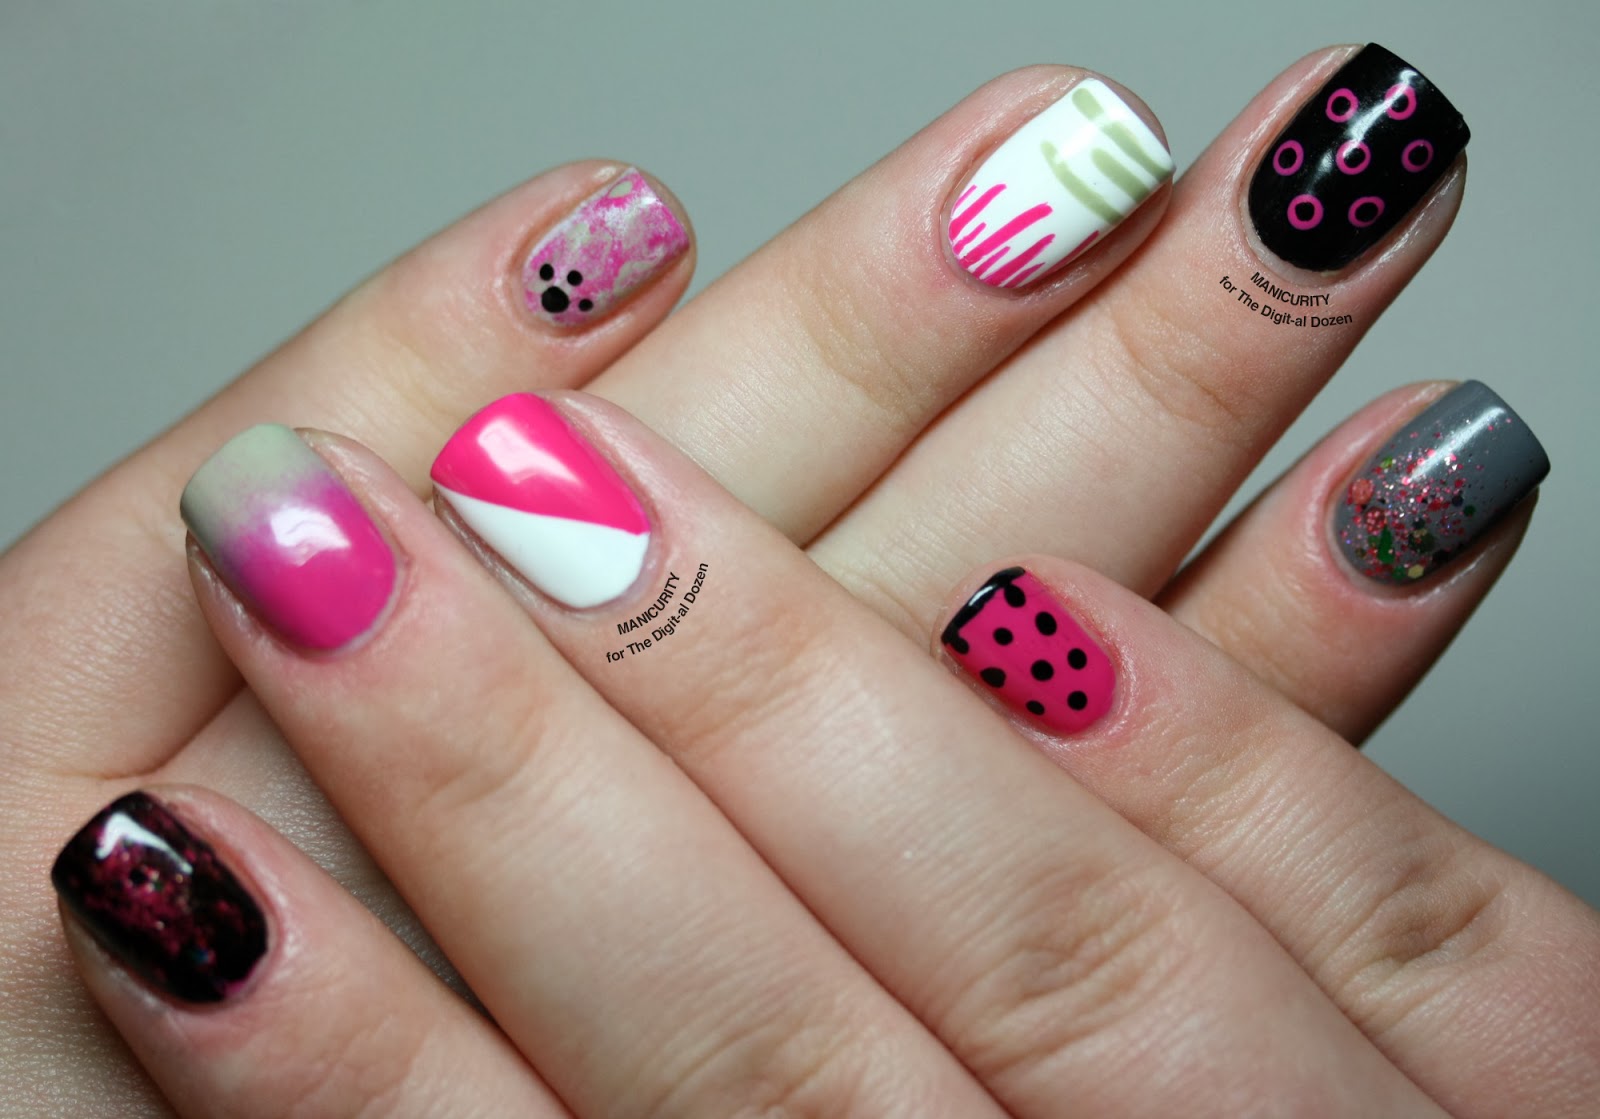
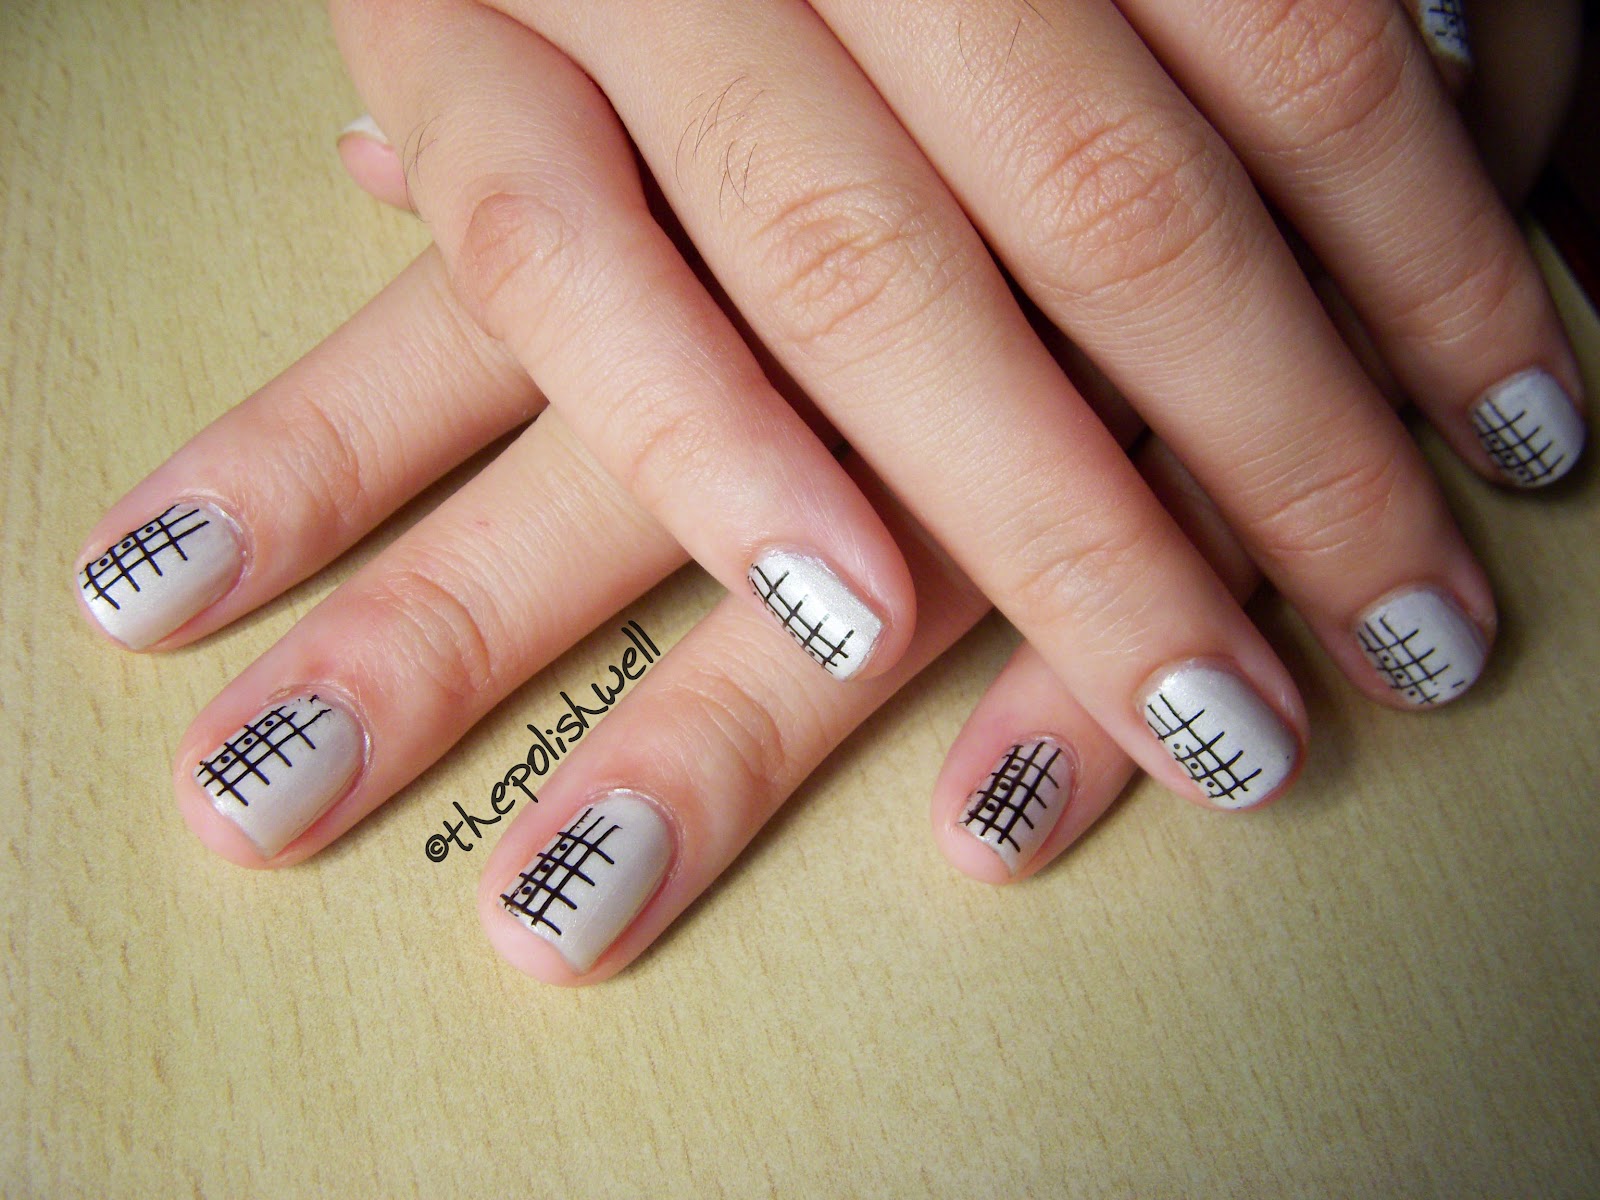
Looking for some fun and easy nail stamping ideas to try out? Look no further! One of the easiest and most versatile designs to create with stamping is a simple floral pattern. Start by painting your nails with a light color and let it dry. Then, use a darker color to stamp a floral design onto your nails. Finish off with a top coat for a feminine and chic look. Another fun idea is to use different colors and designs from the same stamping plate to create a mismatched and playful look. You can also mix and match stamping with other techniques such as marbling or glitter for a unique and eye-catching design.6. Fun and Easy Nail Stamping Ideas


6. Fun and Easy Nail Stamping Ideas


There are a few nail stamping hacks and tricks that can make the process even easier and more efficient. One trick is to use a piece of paper or a paper towel to clean off the excess polish from the stamper instead of the scraper. This will help prevent any accidental smudging of the design. Another useful hack is to use a clear jelly stamper. This type of stamper allows you to see through it, making it easier to place the design exactly where you want it on your nail. And if you're having trouble picking up the design from the stamping plate, try rolling the stamper instead of just pressing it onto the design for better transfer.7. Nail Stamping Hacks and Tricks


7. Nail Stamping Hacks and Tricks

If you're new to nail stamping, it can be overwhelming to try out new techniques and designs. That's why we've put together a beginner-friendly nail stamping tutorial to help you get started. Start by choosing a simple design and practice on a piece of paper before moving on to your nails. Once you feel comfortable with the process, you can start experimenting with different colors and designs. Remember to take your time and have fun with it - nail stamping is all about creativity and self-expression!8. Beginner-Friendly Nail Stamping Tutorial

8. Beginner-Friendly Nail Stamping Tutorial
While nail stamping is usually done with regular nail polish, you can also achieve stunning designs with gel polish. The process is similar to regular nail stamping, but there are a few techniques and tips to keep in mind. For best results, use a gel base coat and top coat to ensure the gel polish adheres well and stays in place. You can also use a gel cleanser or rubbing alcohol to clean the stamper instead of nail polish remover. And instead of letting the polish dry completely before stamping, cure it in a UV or LED lamp for a few seconds to keep the polish from smudging.9. Nail Stamping with Gel Polish Tutorial


9. Nail Stamping with Gel Polish Tutorial

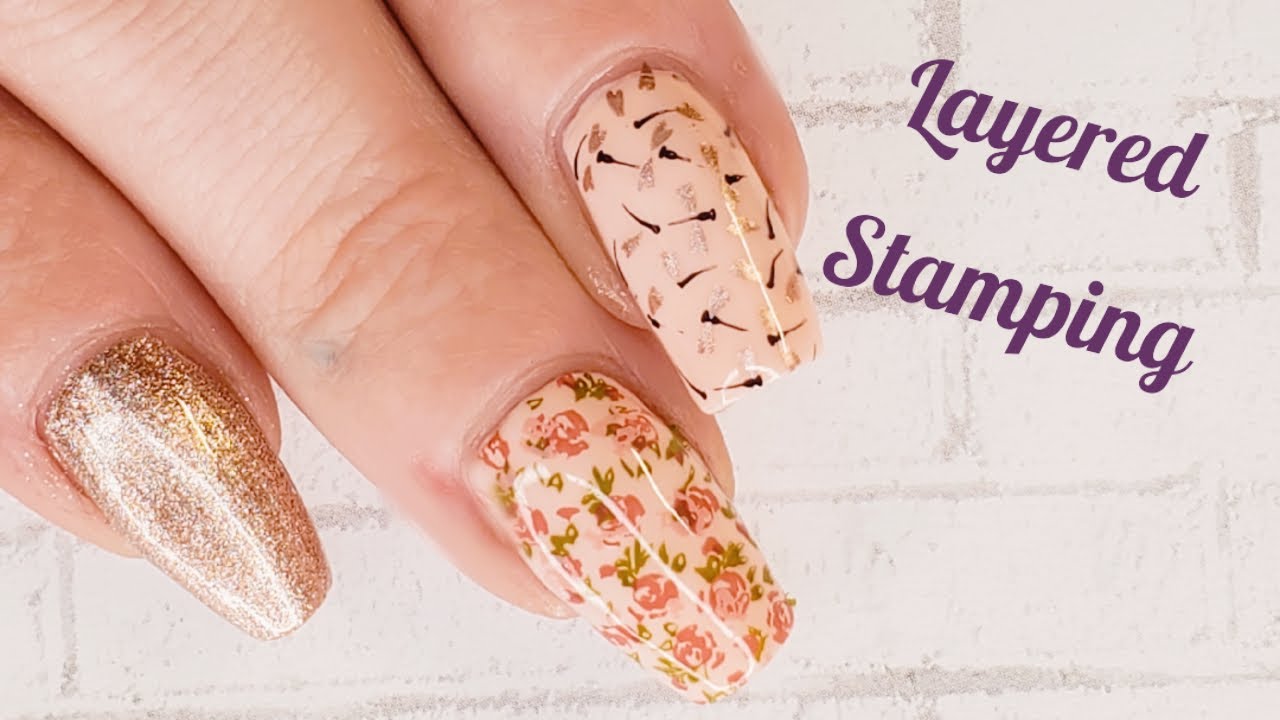
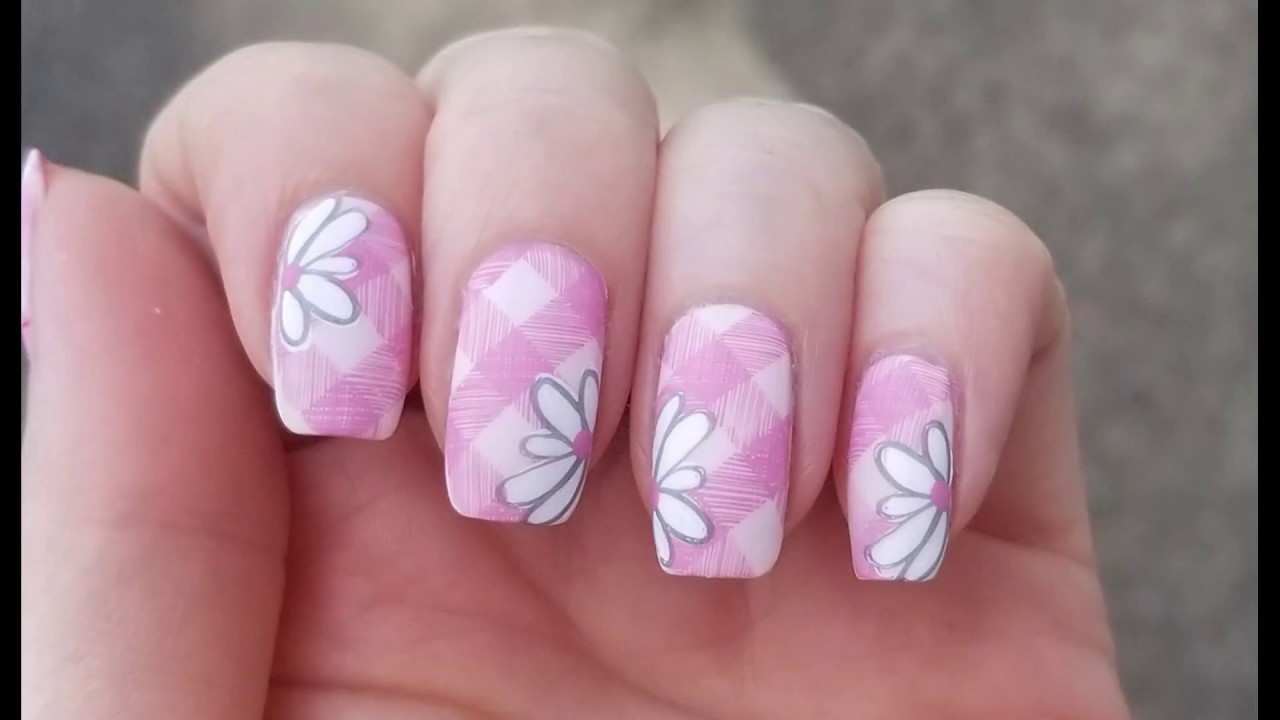
Floral designs are a popular choice for nail stamping, and for good reason - they're beautiful and versatile. For a floral nail stamping art tutorial, start by painting your nails with a light color and let it dry. Then, using a darker color, stamp a floral design onto your nails. You can also add small details with a thin brush or dotting tool. For a more intricate design, try layering different floral designs or using different colors for the petals and stems. Finish off with a top coat to seal in your design and admire your beautiful floral nails.10. Floral Nail Stamping Art Tutorial


10. Floral Nail Stamping Art Tutorial


Creating Stunning Nail Stamp Art: A Step-by-Step Tutorial for Beginners

What is Nail Stamp Art?
 If you're an avid follower of beauty trends, you've probably seen some stunning nail art designs on your social media feed. From intricate hand-painted designs to colorful embellishments, the possibilities for nail art are endless. One popular technique that has gained a lot of attention in recent years is nail stamp art. This easy and affordable method allows you to achieve professional-looking nail designs in the comfort of your own home.
Getting Started
 To get started with nail stamp art, you will need a few basic tools. These include a
nail stamping kit
, which typically includes a stamper, scraper, and image plates. You will also need
nail polish
in your desired colors,
nail polish remover
, and a
cotton pad
for clean-up.
To get started with nail stamp art, you will need a few basic tools. These include a
nail stamping kit
, which typically includes a stamper, scraper, and image plates. You will also need
nail polish
in your desired colors,
nail polish remover
, and a
cotton pad
for clean-up.
Step 1: Prepare Your Nails
 Before diving into the stamping process, it's essential to properly prepare your nails. Start by
trimming and shaping
your nails to your desired length and shape. Next, apply a
base coat
to protect your nails and help the polish adhere better.
Before diving into the stamping process, it's essential to properly prepare your nails. Start by
trimming and shaping
your nails to your desired length and shape. Next, apply a
base coat
to protect your nails and help the polish adhere better.
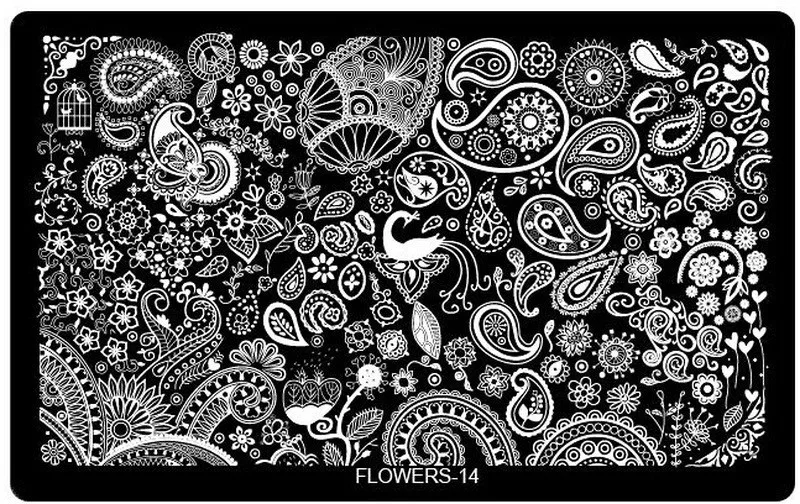
Step 2: Choose Your Design
 One of the best things about nail stamp art is the wide variety of designs you can choose from. From floral patterns to geometric shapes, there's something for everyone. You can also mix and match different designs to create a unique look.
Step 3: Apply the Nail Polish
 Once you've selected your desired design, it's time to apply the nail polish.
Apply a thin layer of polish
to the image on the plate using the brush included in your kit. Be sure to work quickly as the polish can dry fast.
Once you've selected your desired design, it's time to apply the nail polish.
Apply a thin layer of polish
to the image on the plate using the brush included in your kit. Be sure to work quickly as the polish can dry fast.
Step 4: Scrape and Stamp
 With your scraper, gently remove any excess polish from the plate, leaving only the design behind. Then, using your stamper,
press down firmly
on the design and then onto your nail in a rolling motion. Don't worry if it's not perfect on the first try, practice makes perfect!
With your scraper, gently remove any excess polish from the plate, leaving only the design behind. Then, using your stamper,
press down firmly
on the design and then onto your nail in a rolling motion. Don't worry if it's not perfect on the first try, practice makes perfect!
Step 5: Clean Up
 Once you've stamped all of your nails, use a cotton pad and nail polish remover to
clean up any excess polish
around your nails. This will give your design a clean and polished look.
Once you've stamped all of your nails, use a cotton pad and nail polish remover to
clean up any excess polish
around your nails. This will give your design a clean and polished look.
Step 6: Seal with a Top Coat
 To protect your nail art and make it last longer,
apply a top coat
to seal in the design. This will also add shine and give your nails a professional finish.
To protect your nail art and make it last longer,
apply a top coat
to seal in the design. This will also add shine and give your nails a professional finish.
Final Thoughts
 Nail stamp art may seem intimidating at first, but with practice, you'll be able to create stunning designs that will have everyone asking where you got your nails done. With the right tools and a little bit of creativity, the possibilities for nail stamp art are endless. So go ahead, give it a try and show off your beautiful nail art!


