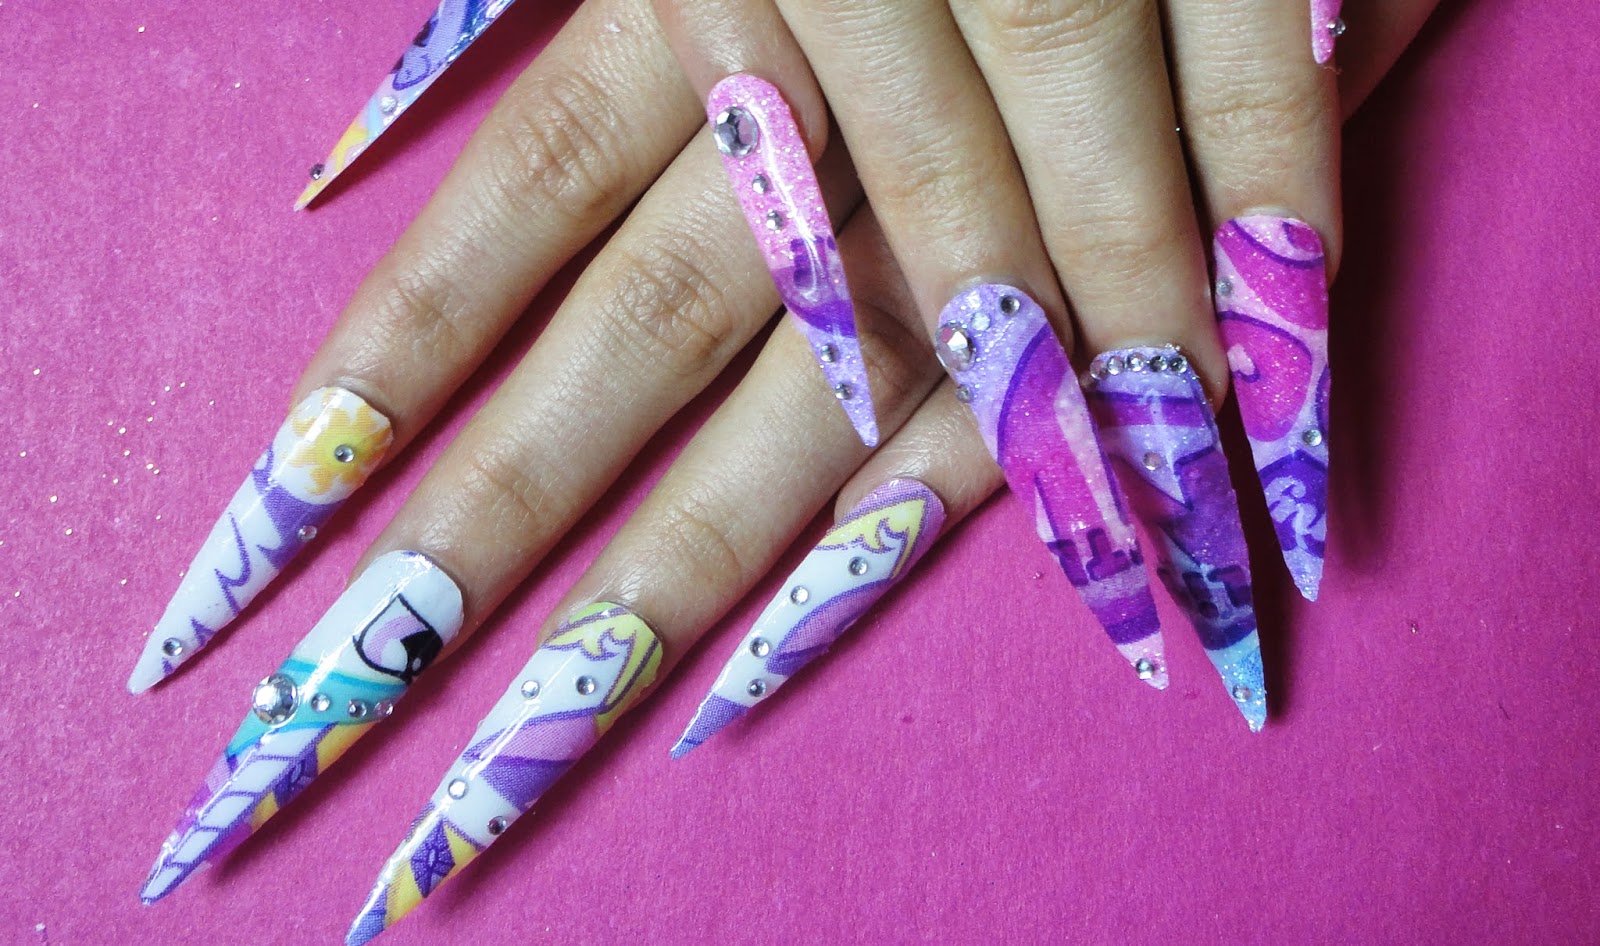
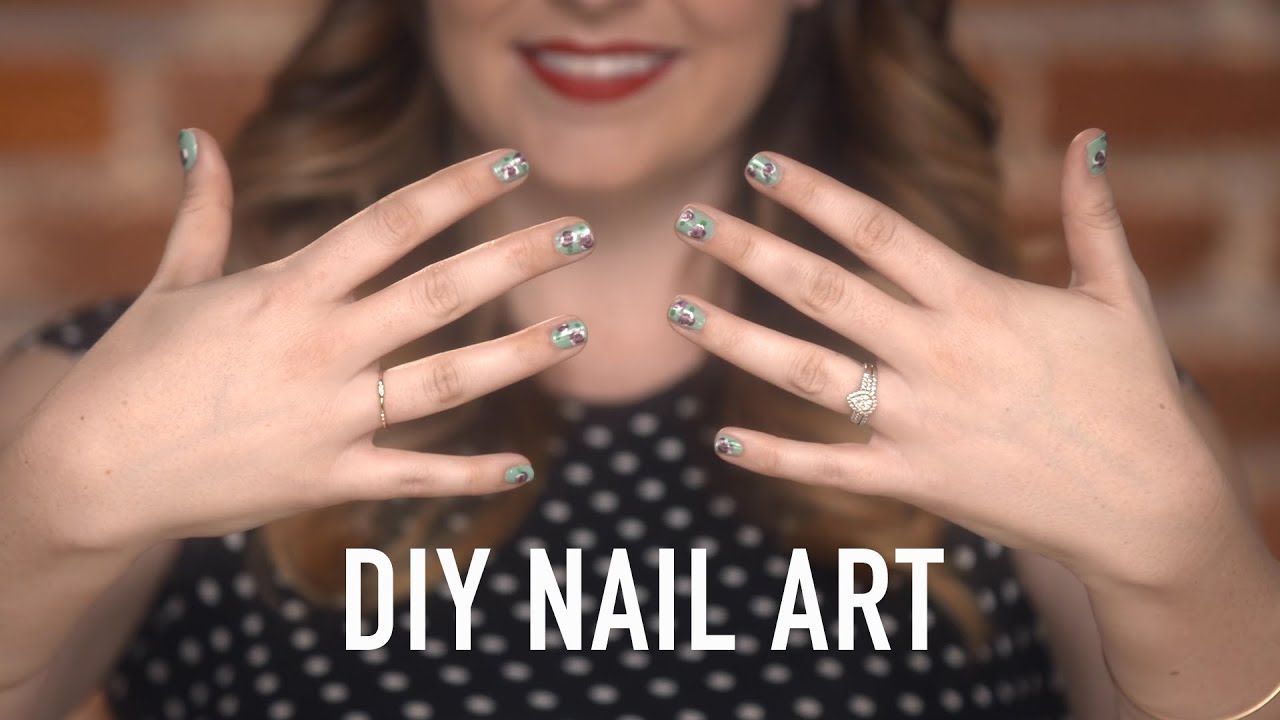
If you're new to the world of nail art, creating intricate designs can seem intimidating. But don't worry, with this easy net nail art tutorial, you'll be able to achieve a professional-looking manicure in no time. All you need is a few basic tools and nail polish colors of your choice to create a stunning net design on your nails.1. Easy Net Nail Art Tutorial for Beginners


1. Easy Net Nail Art Tutorial for Beginners


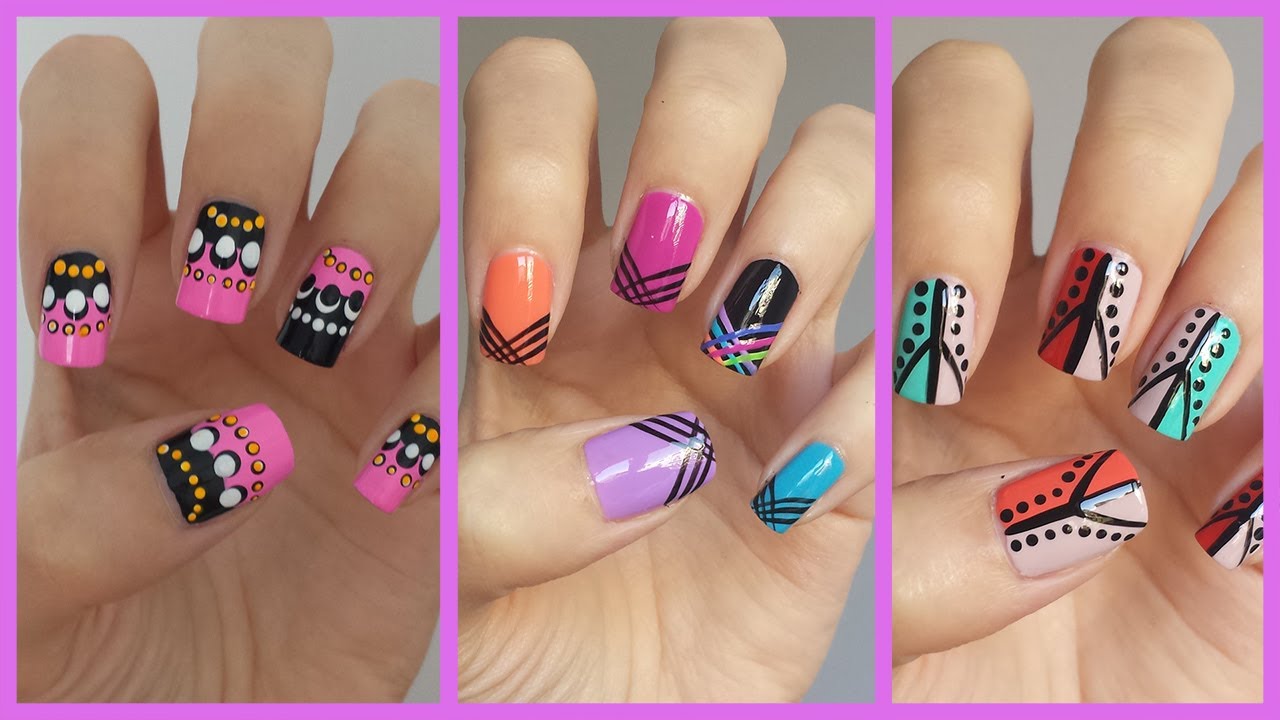


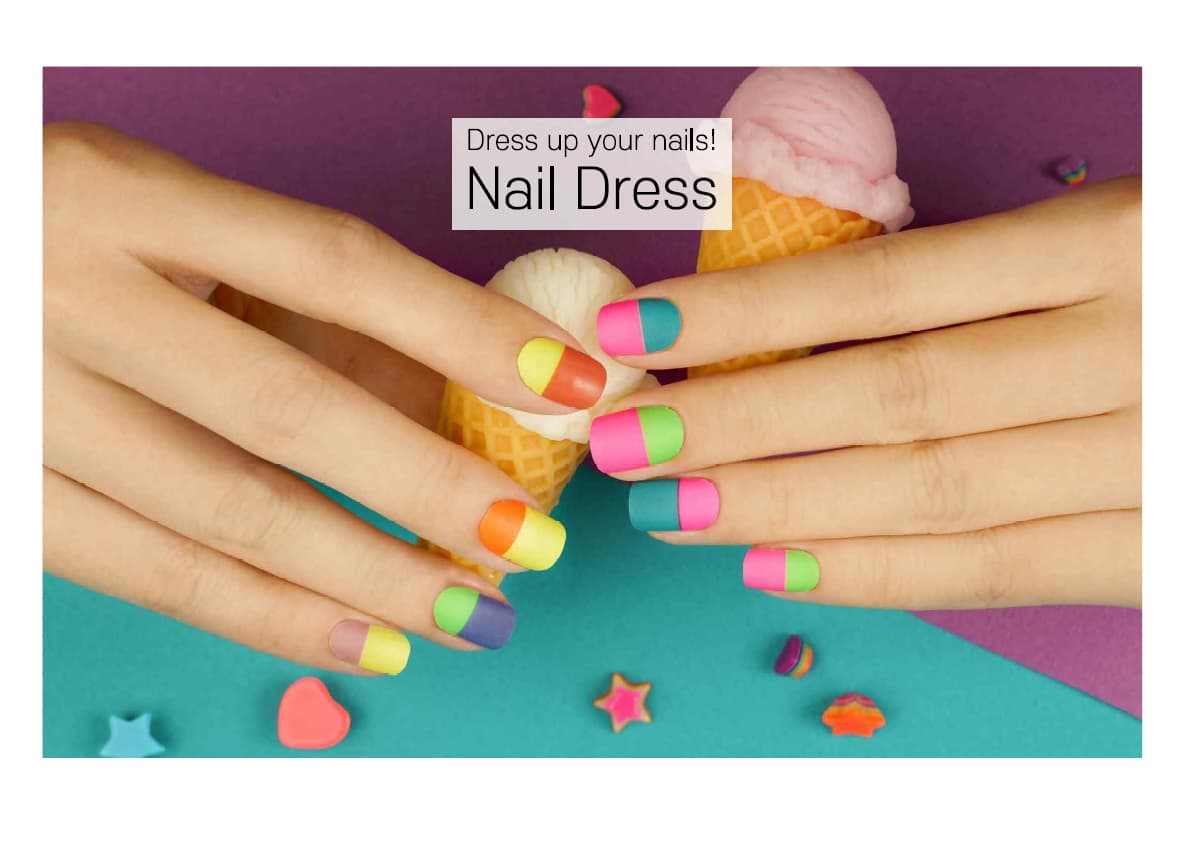
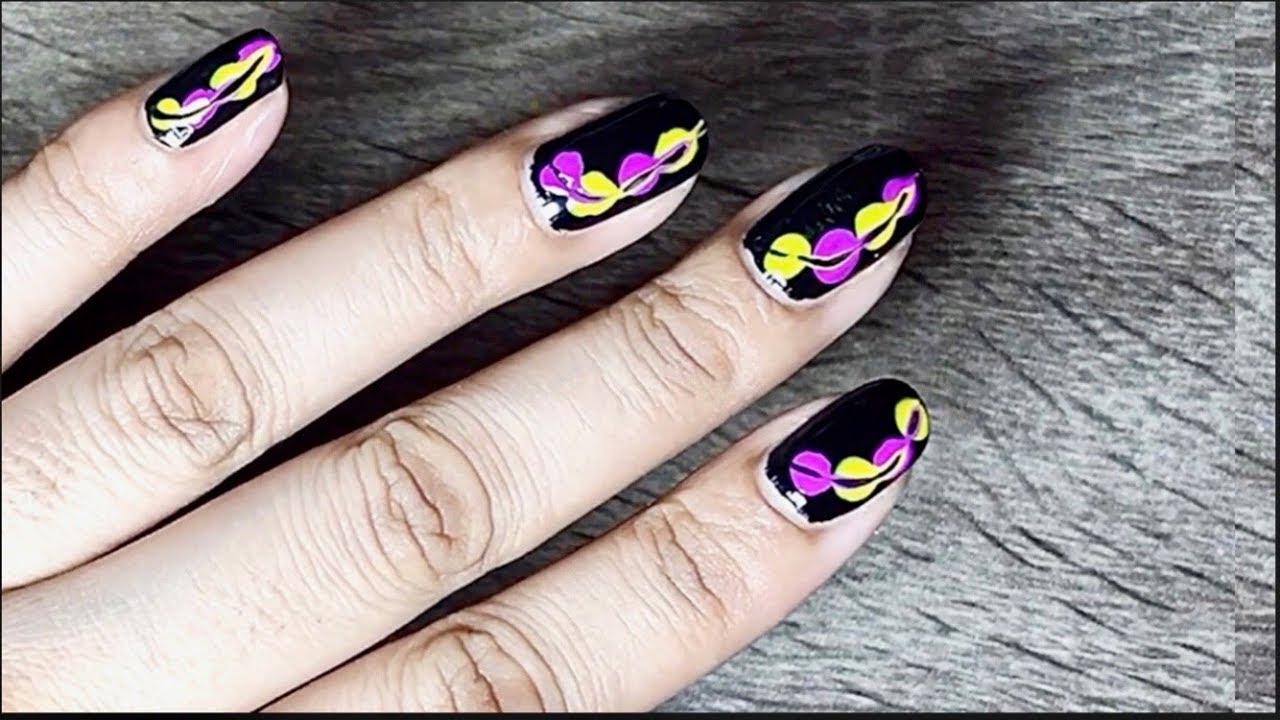
No need to spend money on expensive salon visits, you can create your own DIY net nail art at home with this tutorial. All you need is a base coat, a top coat, and your choice of nail polishes. You can use this technique to create a net design on all of your nails or just as an accent nail.2. DIY Net Nail Art Tutorial


2. DIY Net Nail Art Tutorial


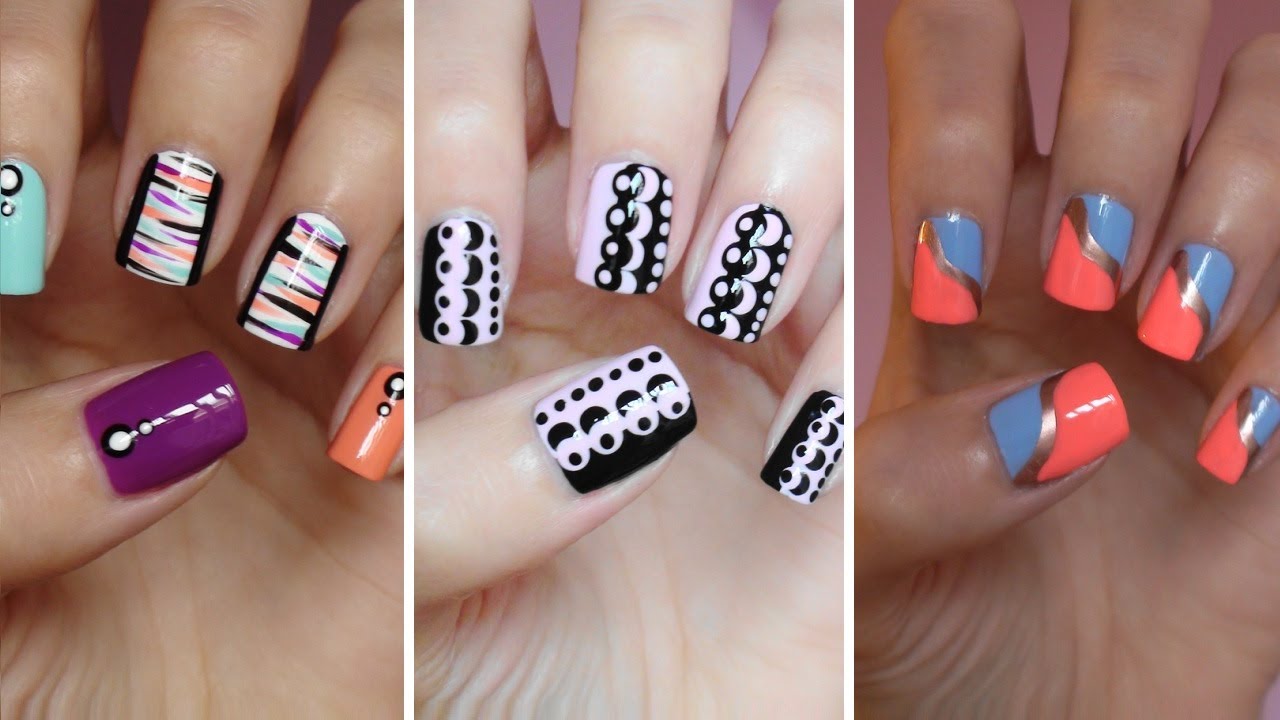
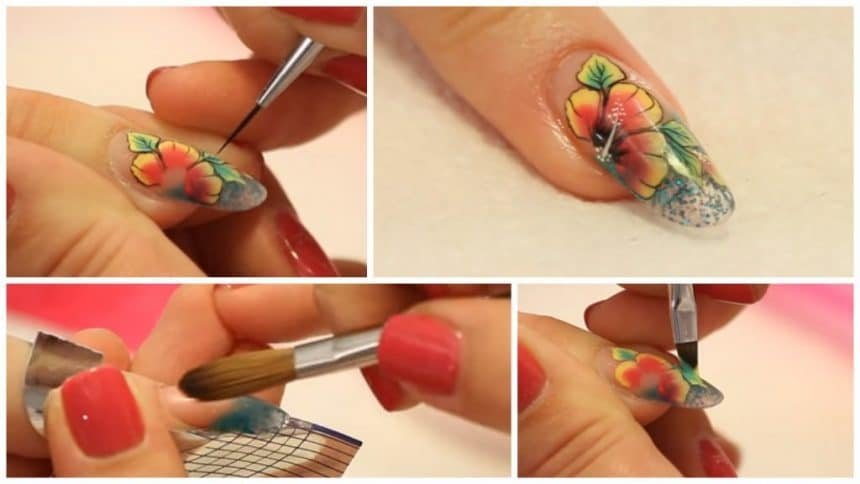
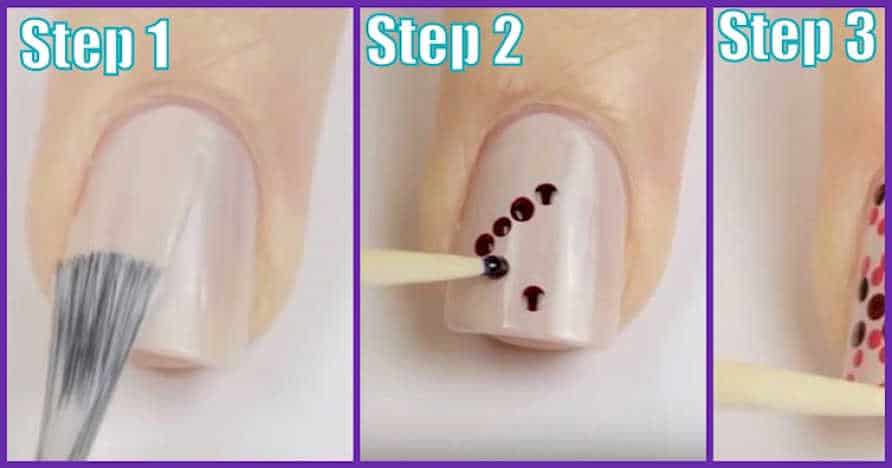
Follow these simple steps to achieve a net design on your nails: Step 1: Start by applying a base coat to protect your nails and help the polish adhere better. Step 2: Once the base coat is dry, apply your chosen nail polish color as the base color. Step 3: Using a nail art brush or a toothpick, create vertical lines on your nail with a different color nail polish. Step 4: Then, using a toothpick or a dotting tool, create horizontal lines on top of the vertical lines to create a net-like pattern. Step 5: Once the design is complete, let it dry for a few minutes before applying a top coat to seal and protect your net nail art.3. Step-by-Step Net Nail Art Tutorial


3. Step-by-Step Net Nail Art Tutorial
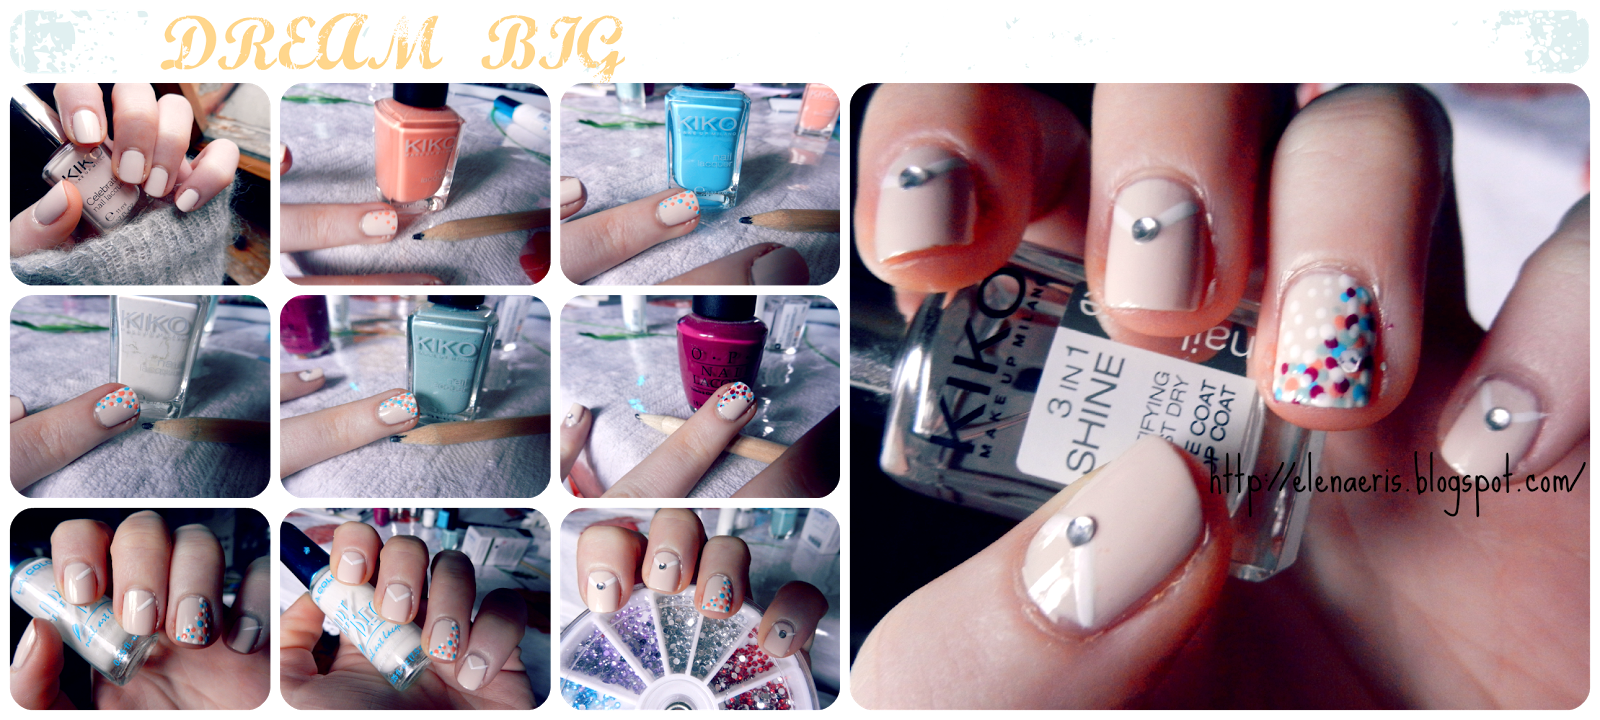
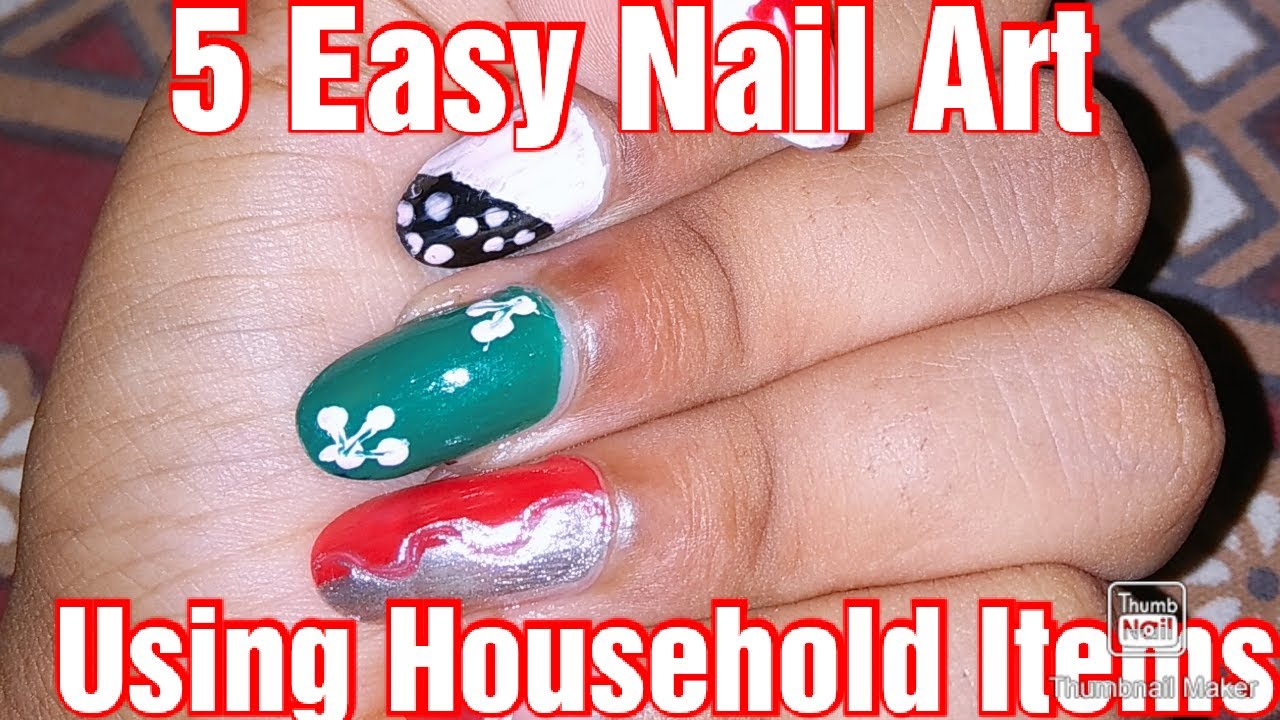
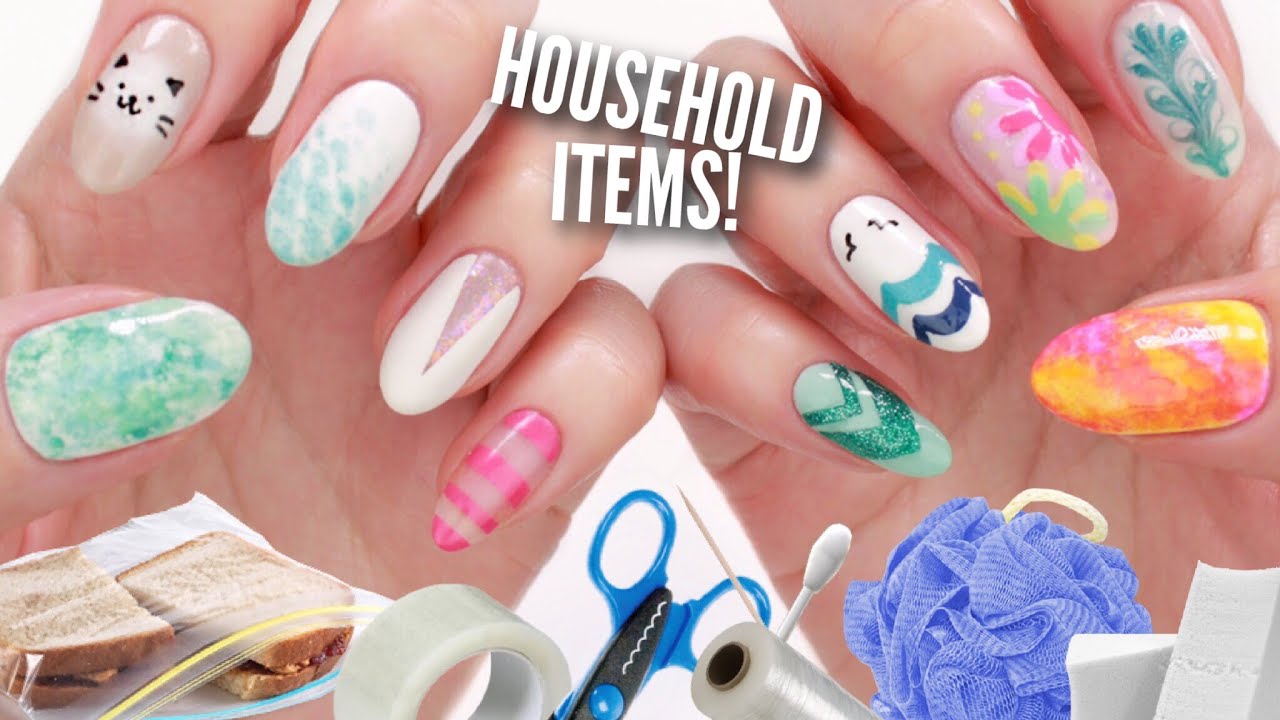
You don't need fancy tools to create a net design on your nails, you can use household items like a toothpick or a sponge to achieve the same effect. Simply dip the end of a toothpick or a small piece of sponge in your chosen nail polish and follow the same steps as mentioned above in the step-by-step tutorial.4. Net Nail Art Tutorial Using Household Items


4. Net Nail Art Tutorial Using Household Items


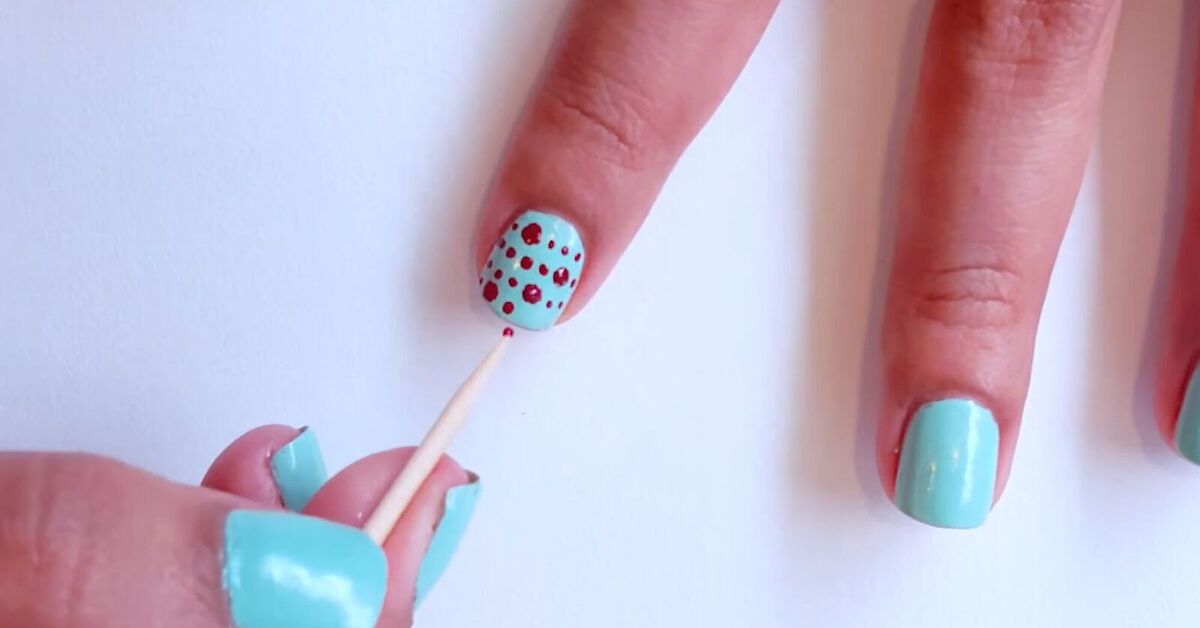
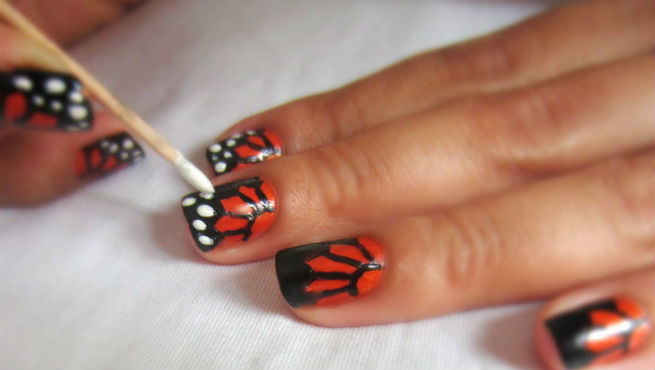
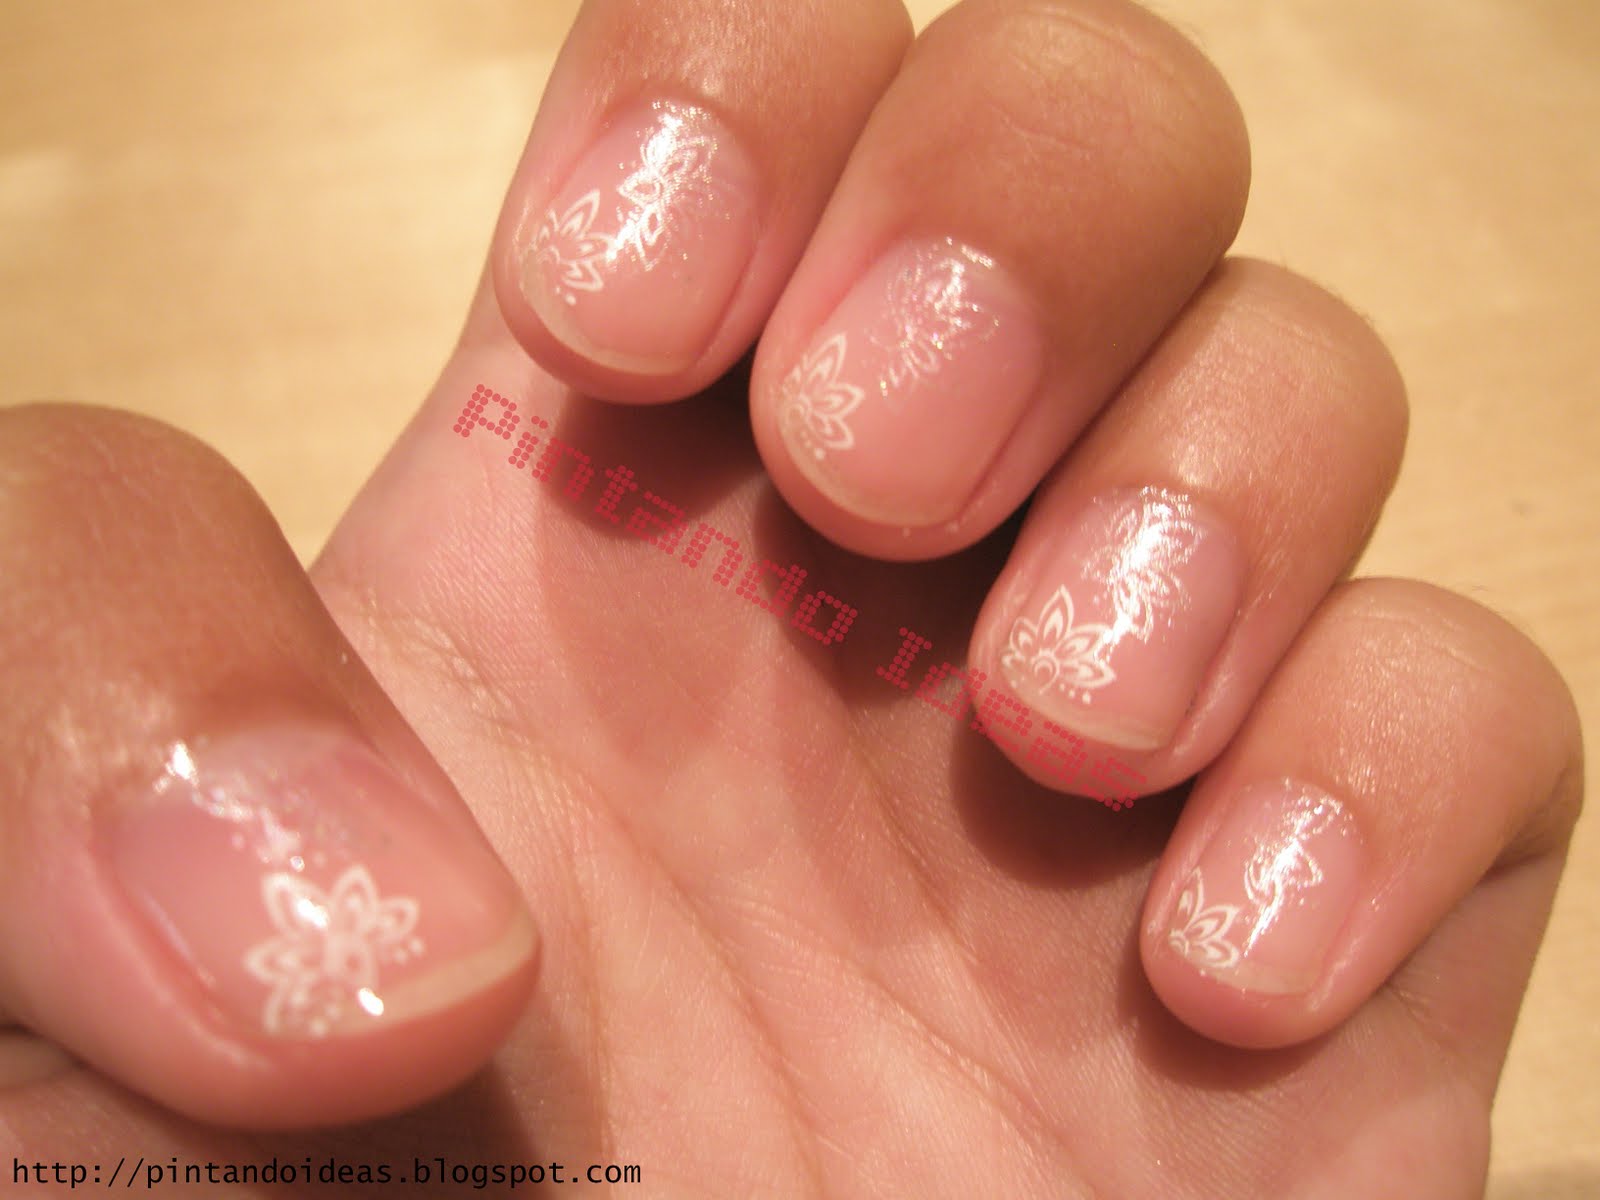
If you don't have a nail art brush or a dotting tool, don't worry! You can create a net design using just a toothpick. Dip the pointed end of the toothpick in your chosen nail polish and carefully create the net-like pattern on your nails. This technique requires a bit more patience and precision, but the end result is worth it.5. Net Nail Art Tutorial with Toothpick


5. Net Nail Art Tutorial with Toothpick


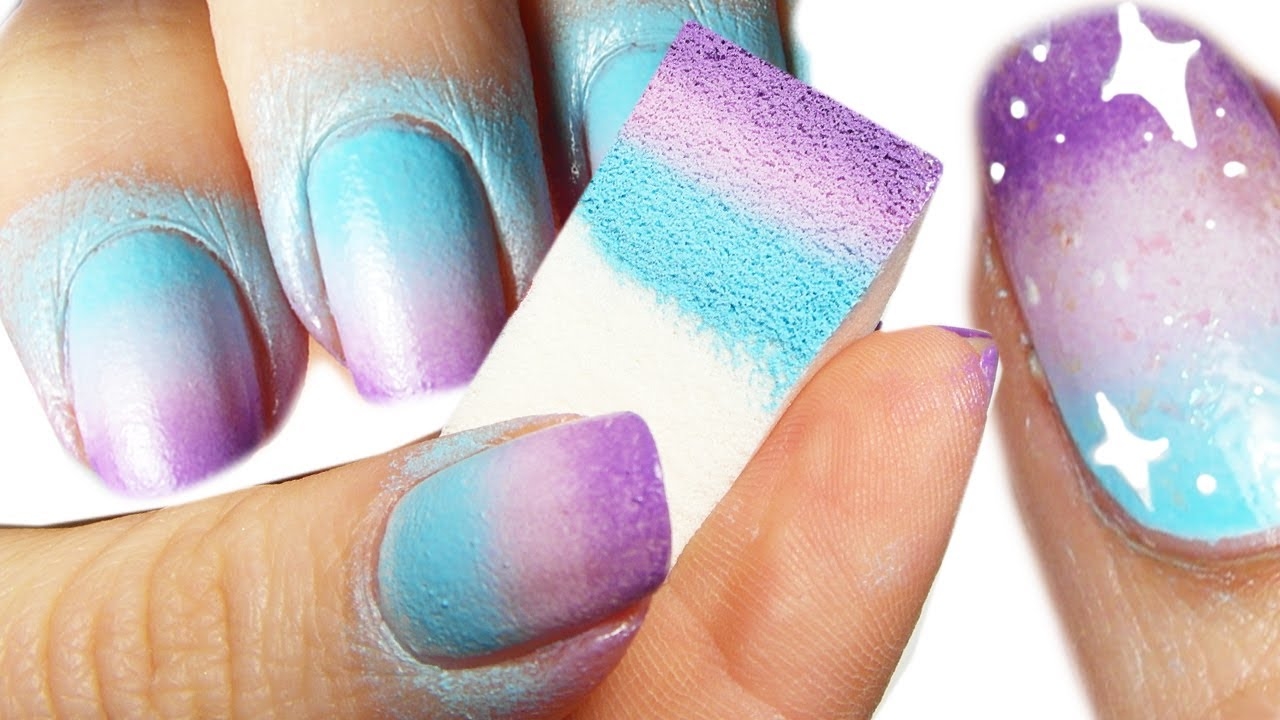
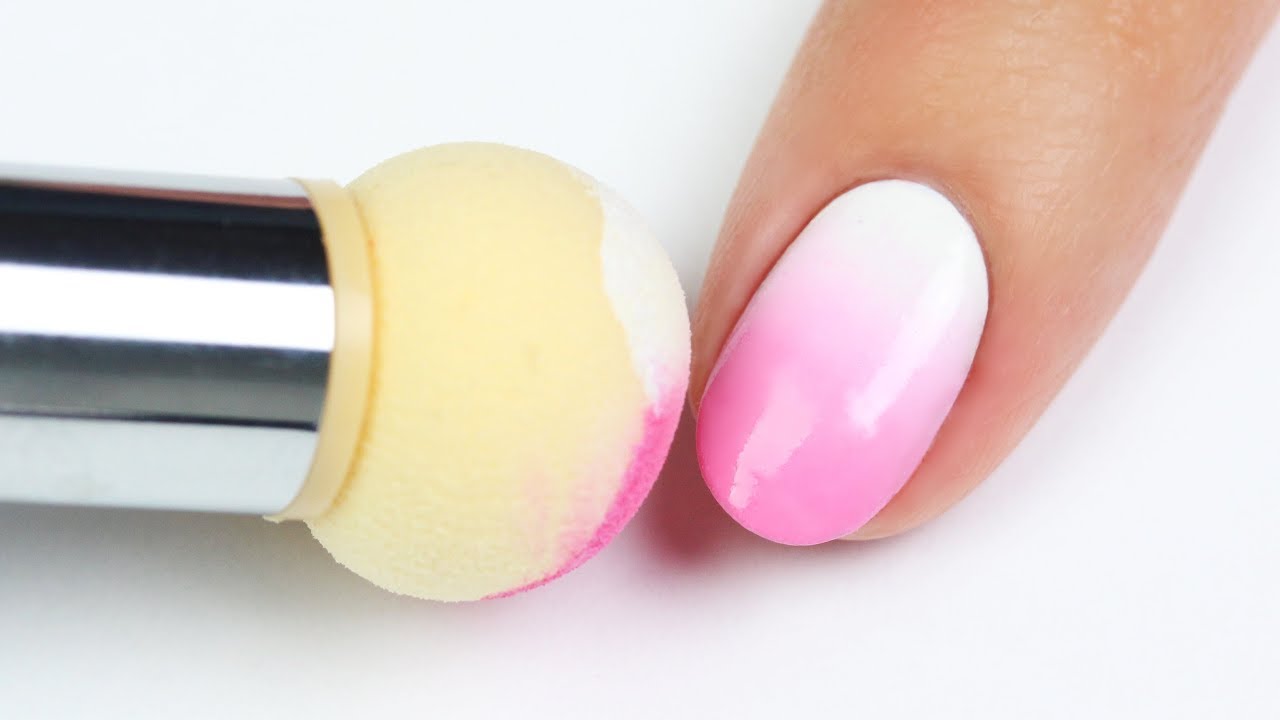
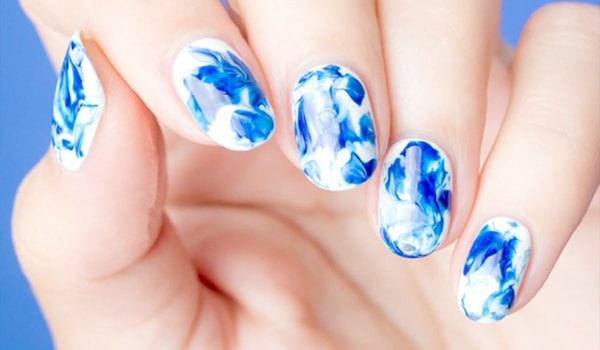
Sponging is a popular nail art technique that can also be used to create a net design. Simply cut a small piece of sponge, dip it in your chosen nail polish, and lightly dab it onto your nails to create a net-like texture. You can also use multiple nail polish colors to create a more colorful and unique net design.6. Net Nail Art Tutorial with Sponge

6. Net Nail Art Tutorial with Sponge


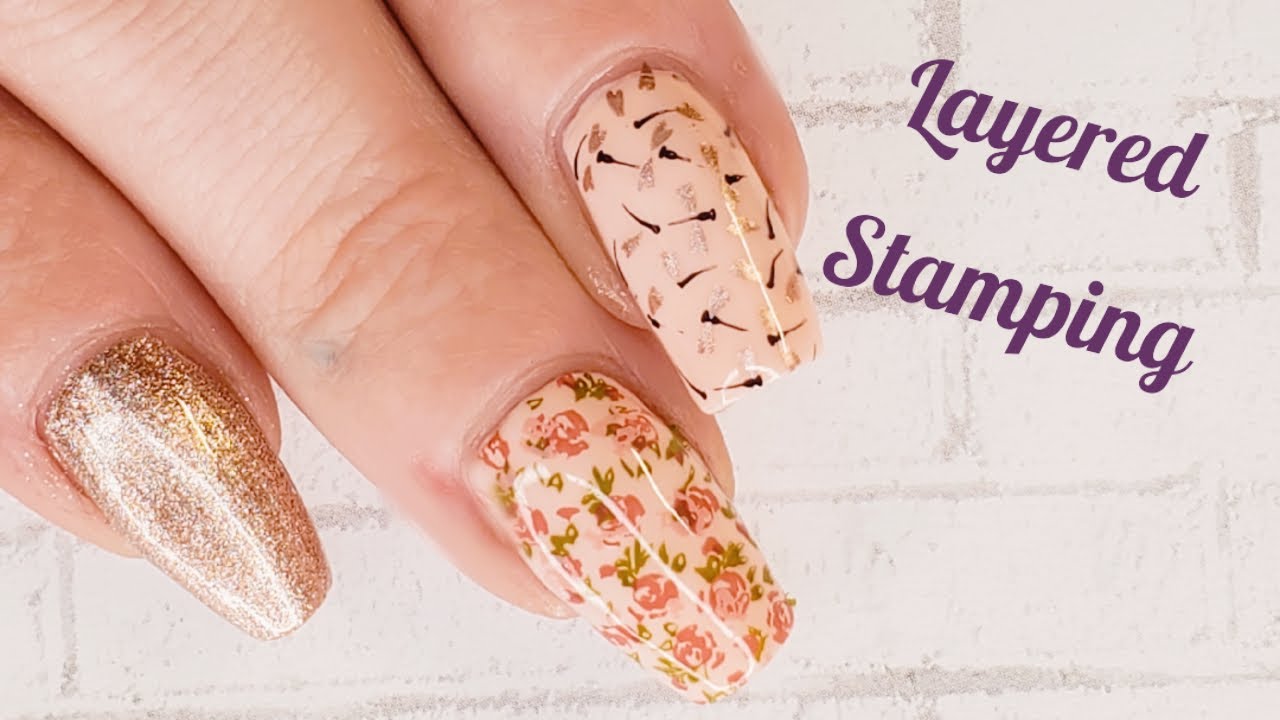
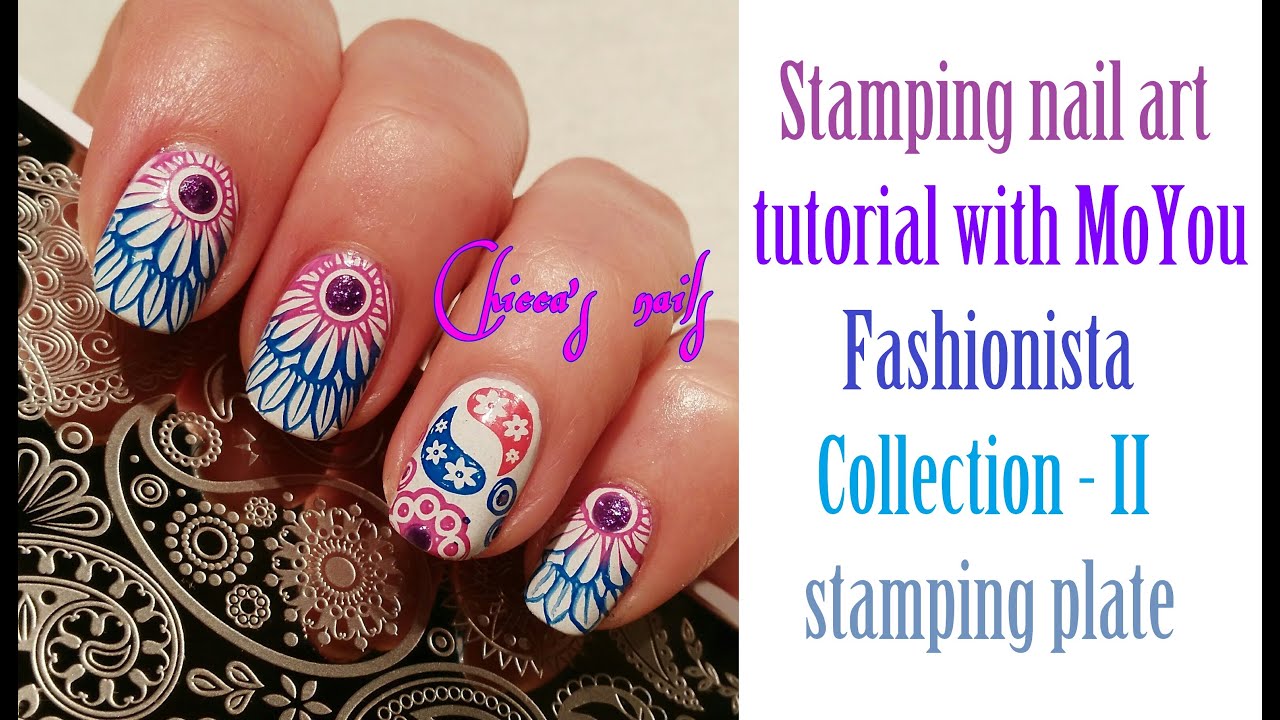
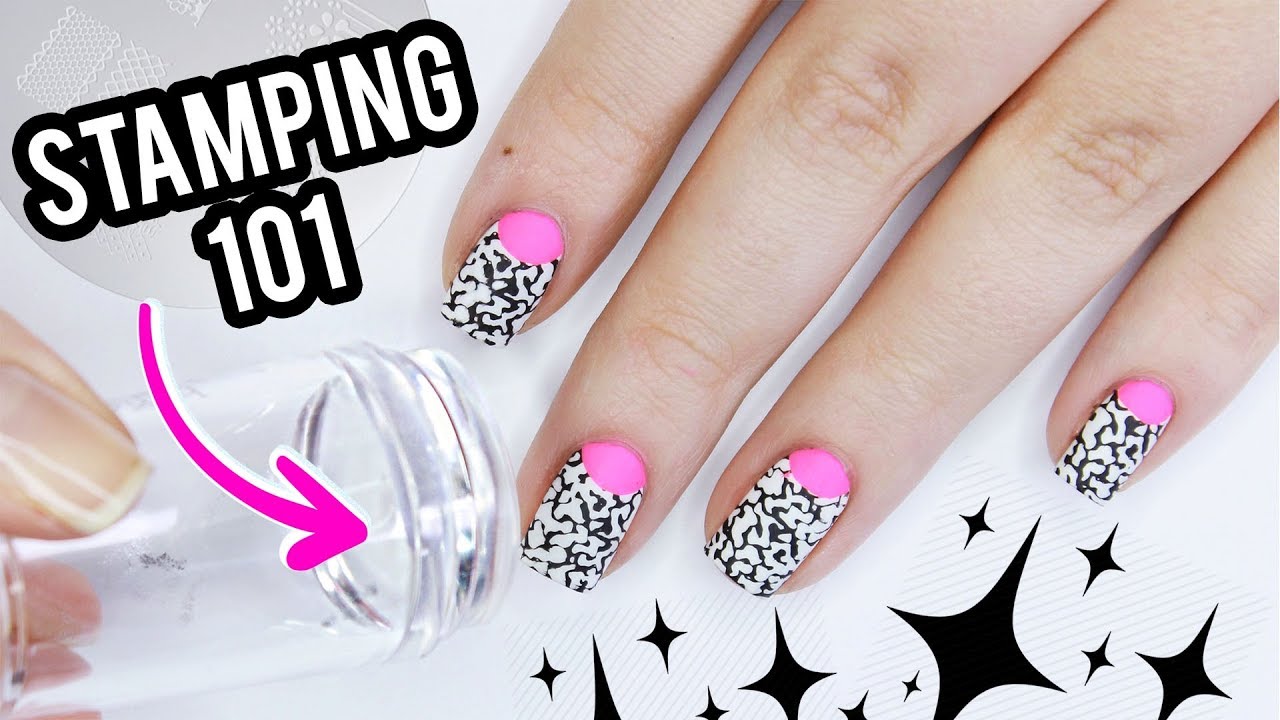
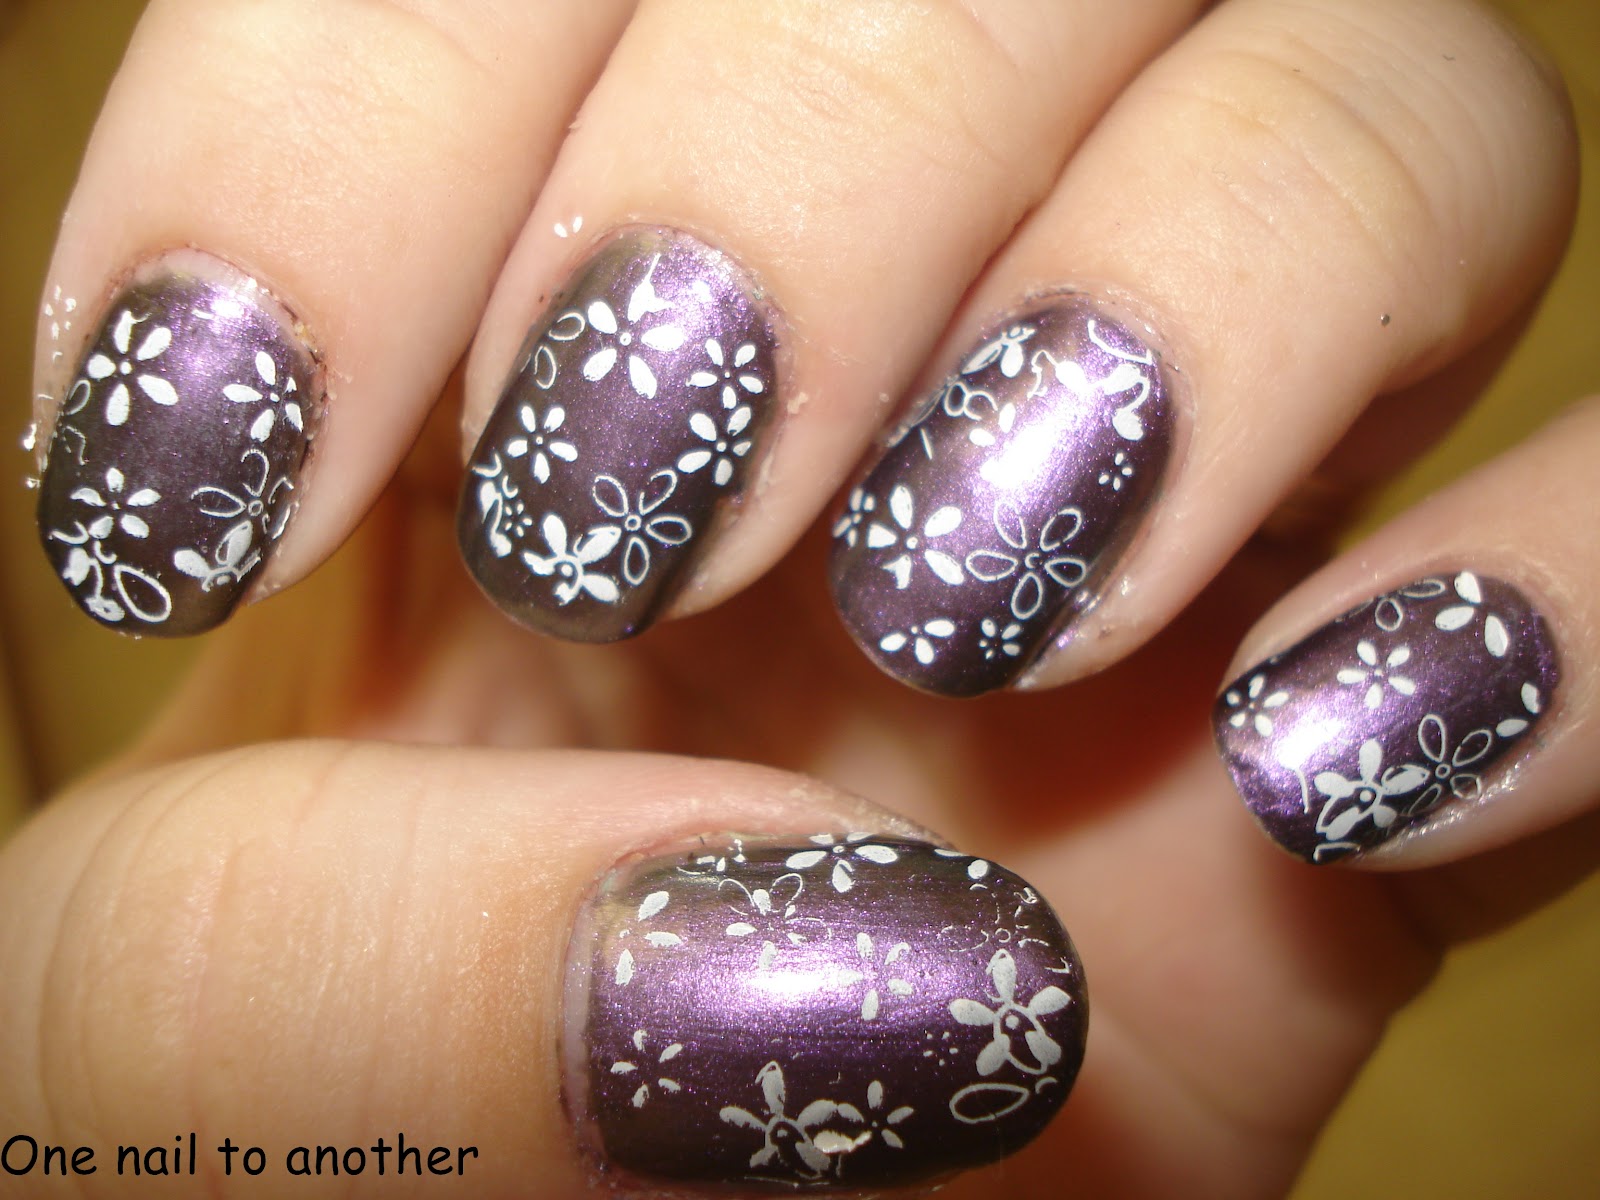
If you're a fan of nail stamping, you can also create a net design using a stamping plate. Simply choose a net-like pattern on the plate and transfer it onto your nails using a stamper. This technique is perfect for those who want a more intricate and precise net design on their nails.7. Net Nail Art Tutorial with Stamping Plate


7. Net Nail Art Tutorial with Stamping Plate


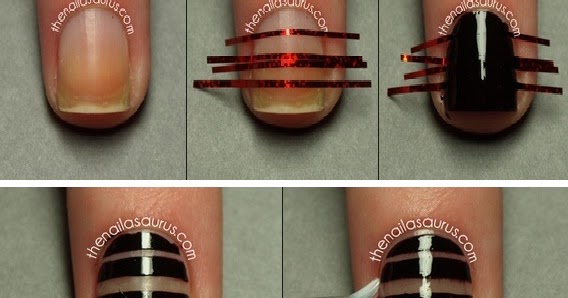
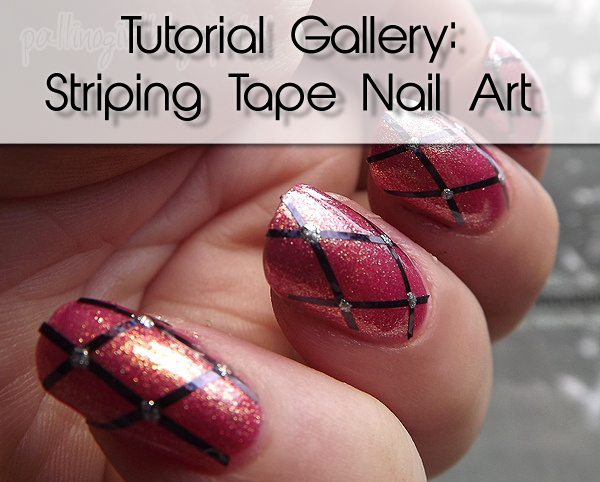
Striping tape is a great tool to create clean and crisp lines in your nail art. You can use it to create a net design by placing the tape in a net-like pattern on your nails, painting over it with your chosen nail polish, and then carefully removing the tape to reveal the net design. You can also use multiple colors of striping tape to create a more colorful net design.8. Net Nail Art Tutorial with Striping Tape


8. Net Nail Art Tutorial with Striping Tape


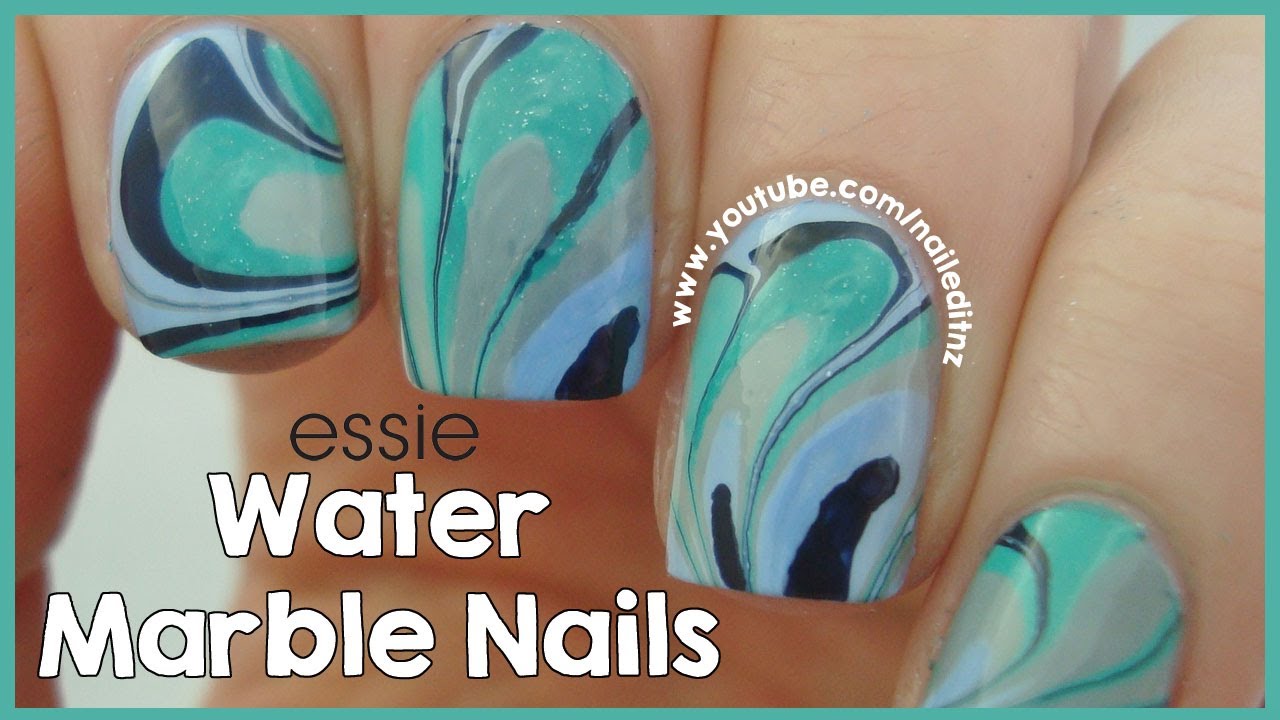
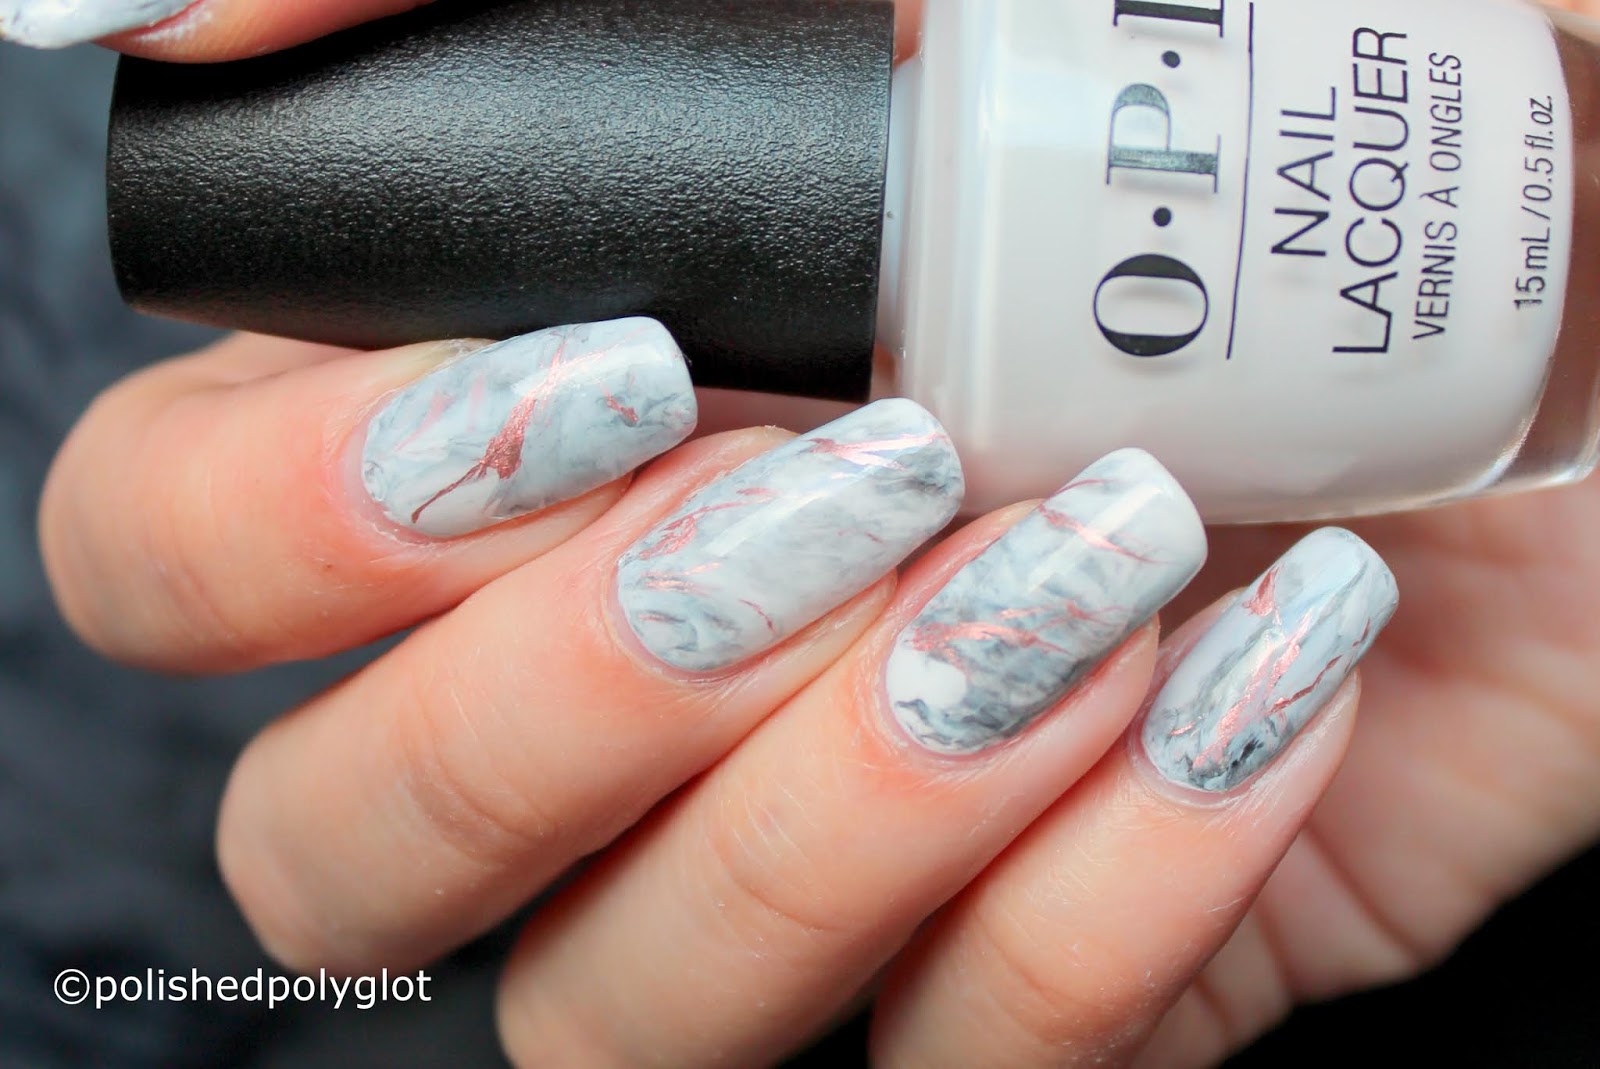
The water marble technique is a fun and creative way to create a net design on your nails. Simply drop different colors of nail polish into a cup of water, create a net-like pattern with a toothpick, and then dip your nails into the design. The excess polish can be removed with a cotton swab dipped in nail polish remover. This technique may require some practice, but the end result is a unique and eye-catching net design.9. Net Nail Art Tutorial with Water Marble Technique
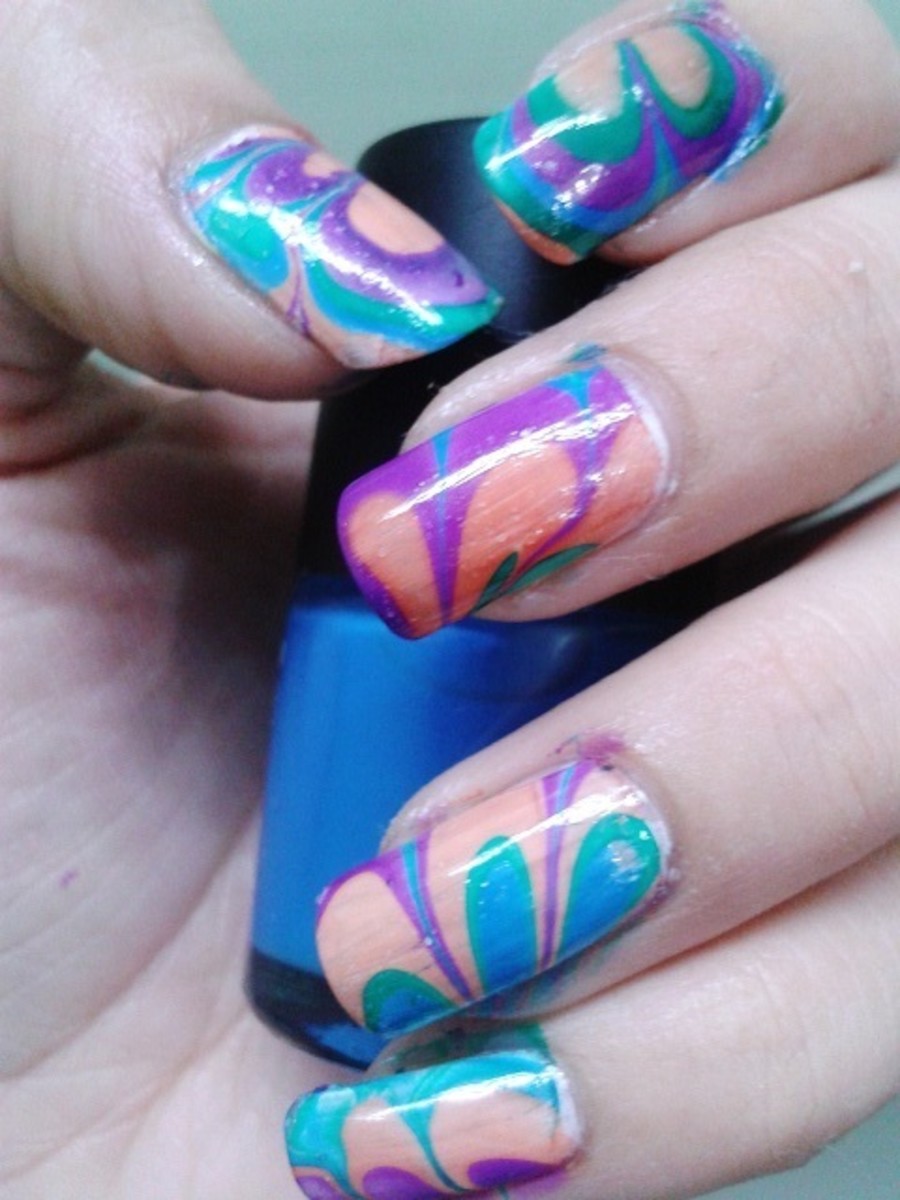

9. Net Nail Art Tutorial with Water Marble Technique


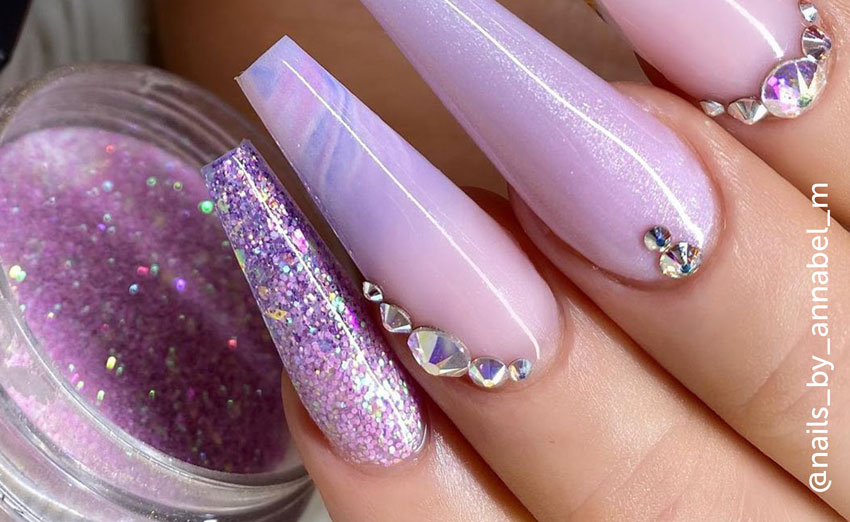
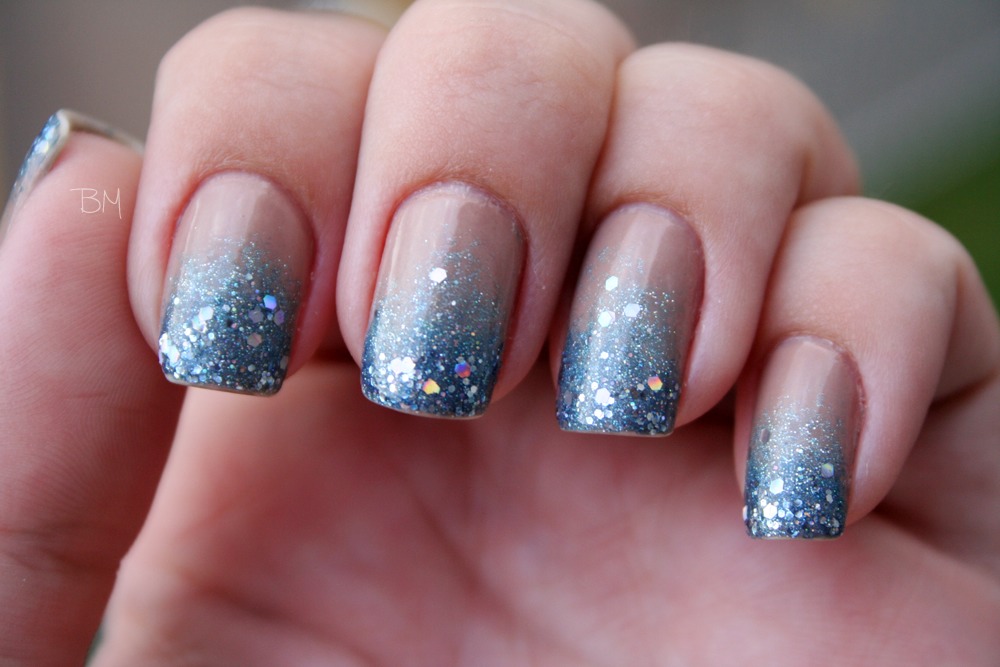
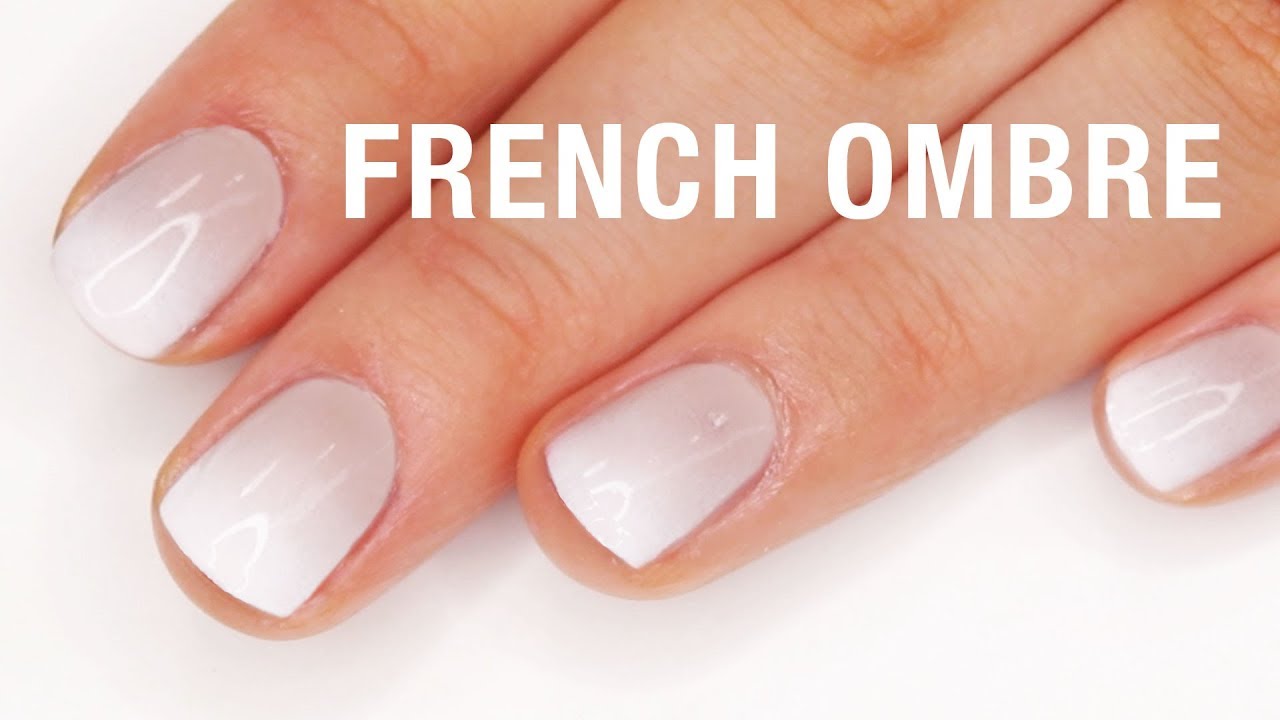
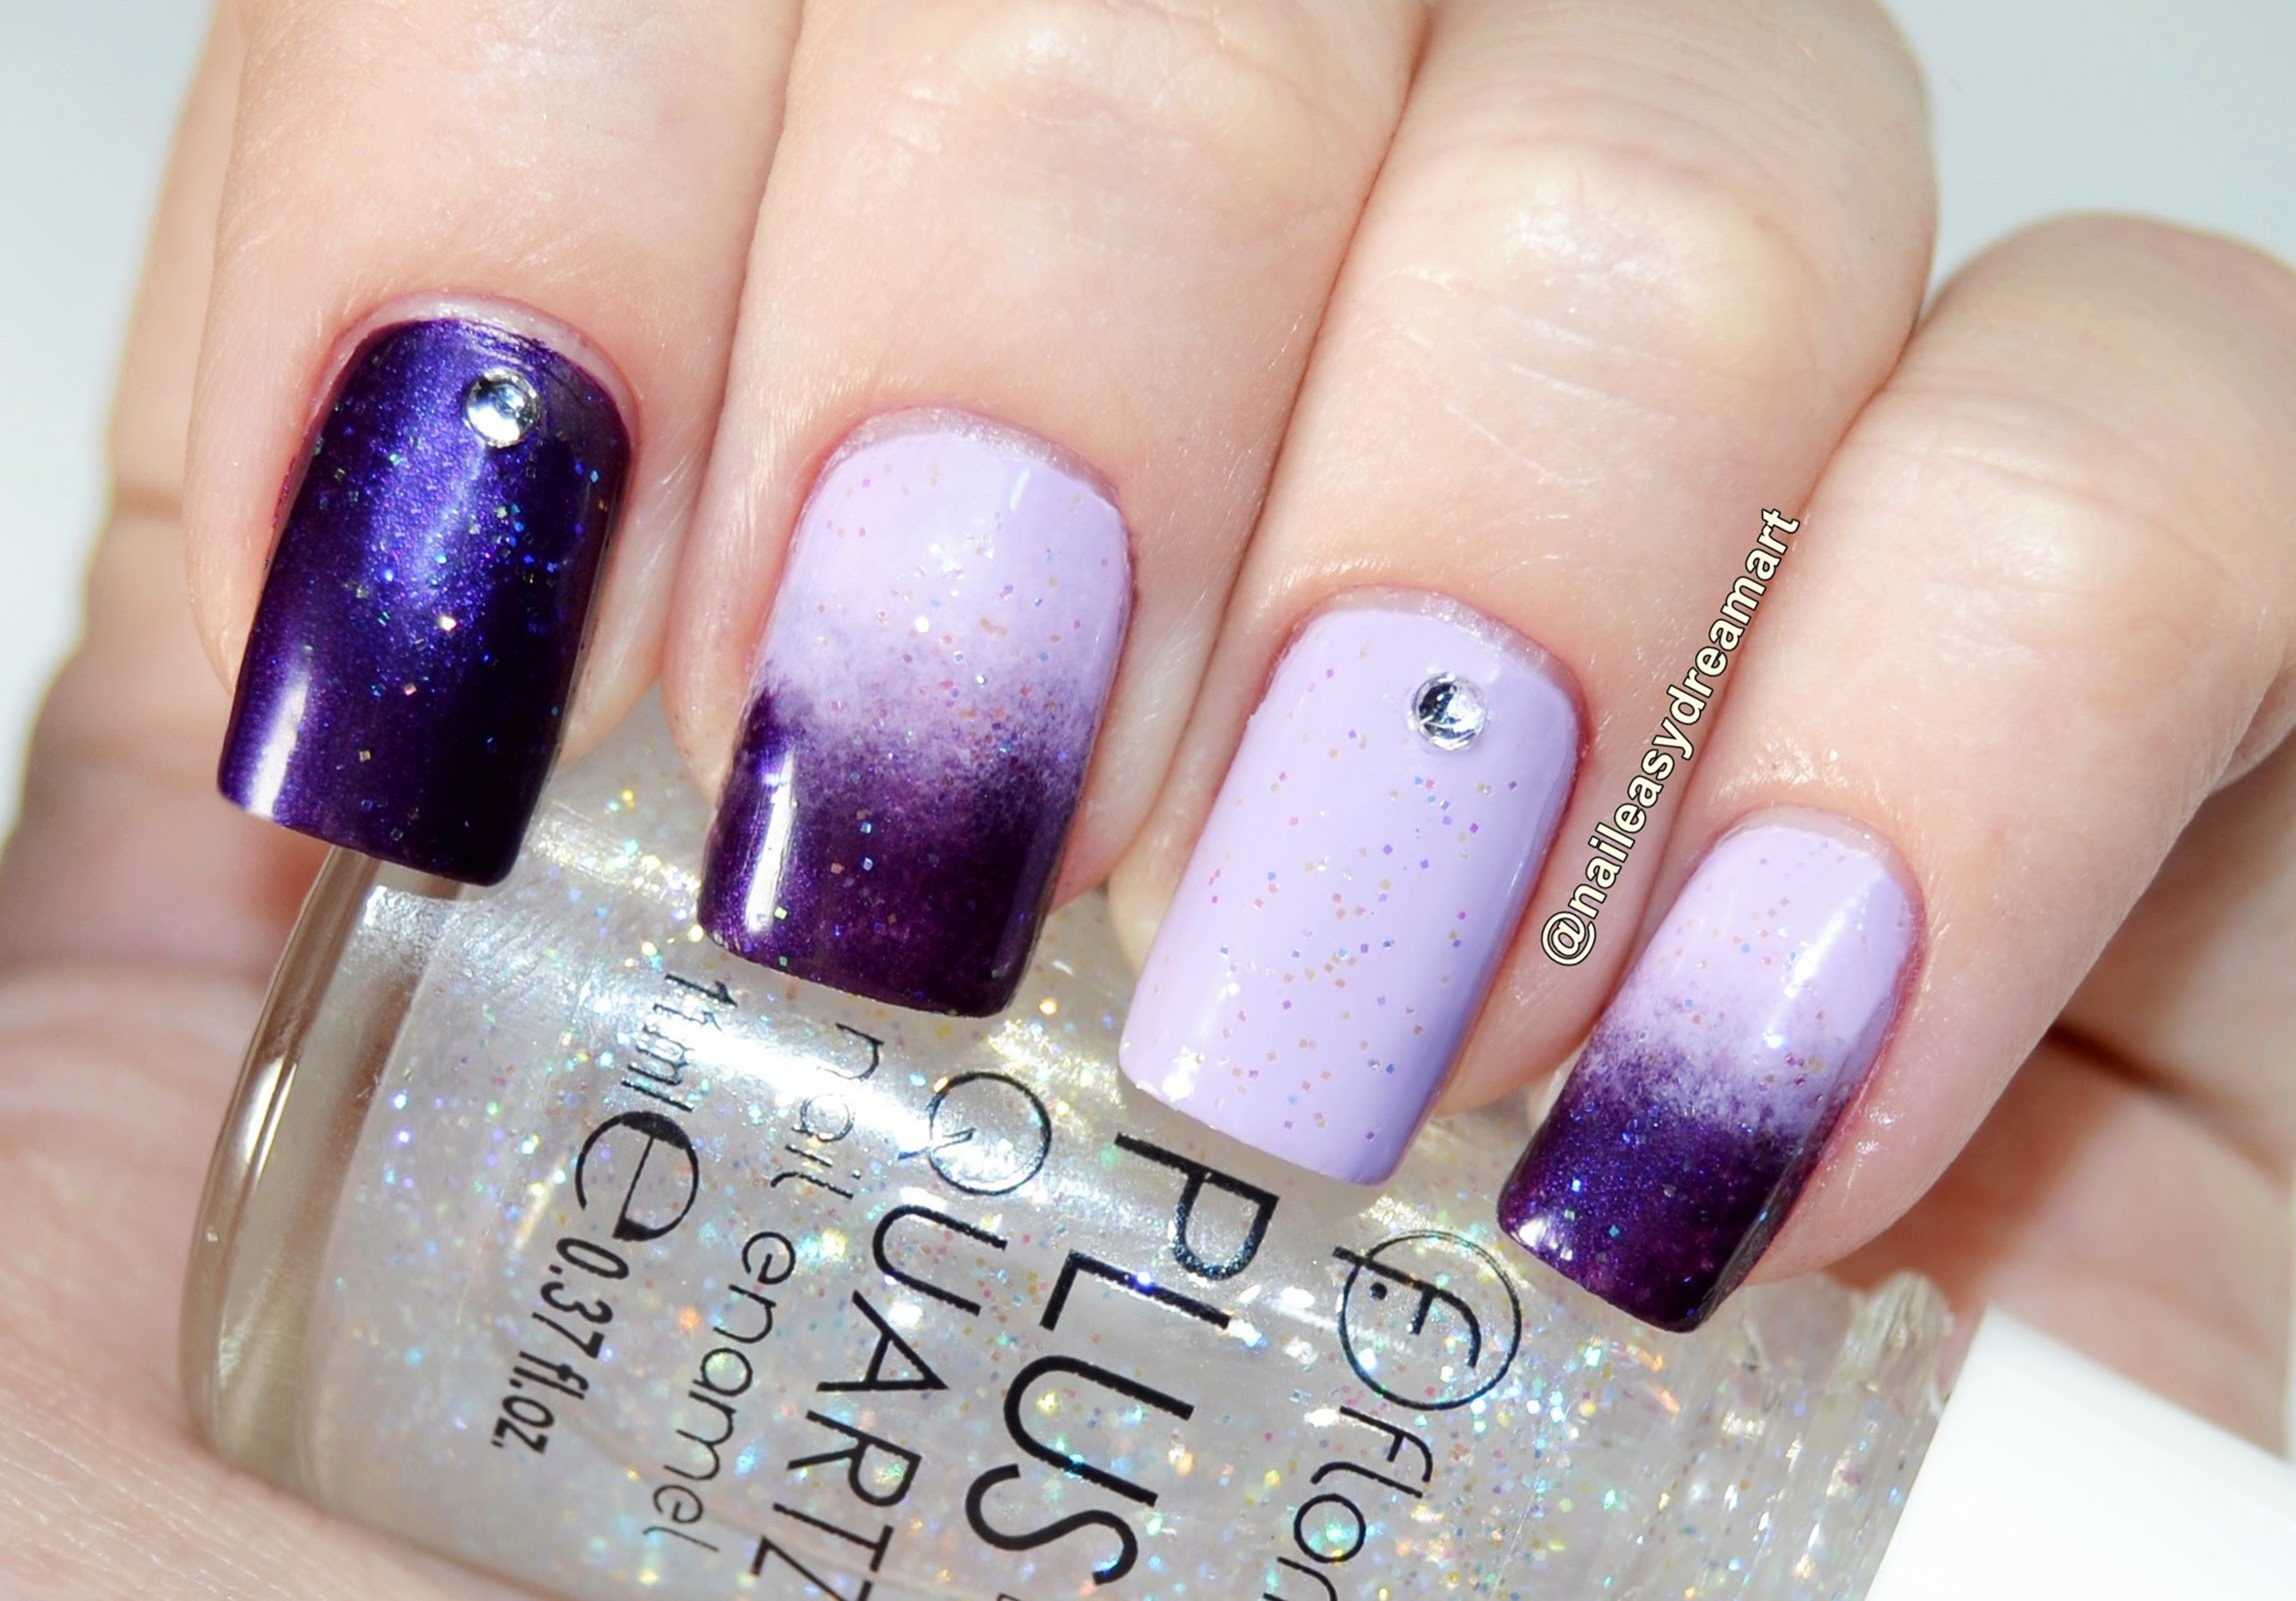
Why settle for a plain net design when you can add a trendy ombre effect to it? Simply choose two or more nail polish colors in the same color family, create a net design on your nails, and then use a sponge to blend the colors together for a beautiful ombre net design. You can also use this technique to create a gradient net design on your nails. With these 10 net nail art tutorials, you'll be able to create stunning and unique net designs on your nails. Experiment with different colors and techniques to find your favorite net nail art look. Remember to have fun and let your creativity shine through!10. Net Nail Art Tutorial with Ombre Effect


10. Net Nail Art Tutorial with Ombre Effect


How Net Nail Art Can Elevate Your House Design: A Step-by-Step Tutorial

Why Net Nail Art?
 Are you looking for a unique and eye-catching way to enhance your house design? Look no further than net nail art. This trendy and intricate nail art technique involves creating a net-like pattern on your nails, giving them a textured and whimsical look. But why stop at just your nails? This technique can also be applied to various surfaces in your house, adding a touch of creativity and charm to your living space.
Step-by-Step Tutorial
 Step 1: Gather Your Materials
Before you begin, make sure you have all the necessary materials. This includes nail polish in your preferred colors, a thin brush, and a top coat. If you're planning on applying net nail art to surfaces in your house, you may also need some stencils, a sponge, and a clear sealant.
Step 2: Apply a Base Color
Start by applying a base color of your choice on your nails or the surface you want to decorate. Let it dry completely before moving on to the next step.
Step 3: Create the Net Pattern
Using a thin brush, draw diagonal lines across your nails or surface, leaving a small gap between each line. Then, draw perpendicular lines over the diagonal lines, creating a net-like pattern.
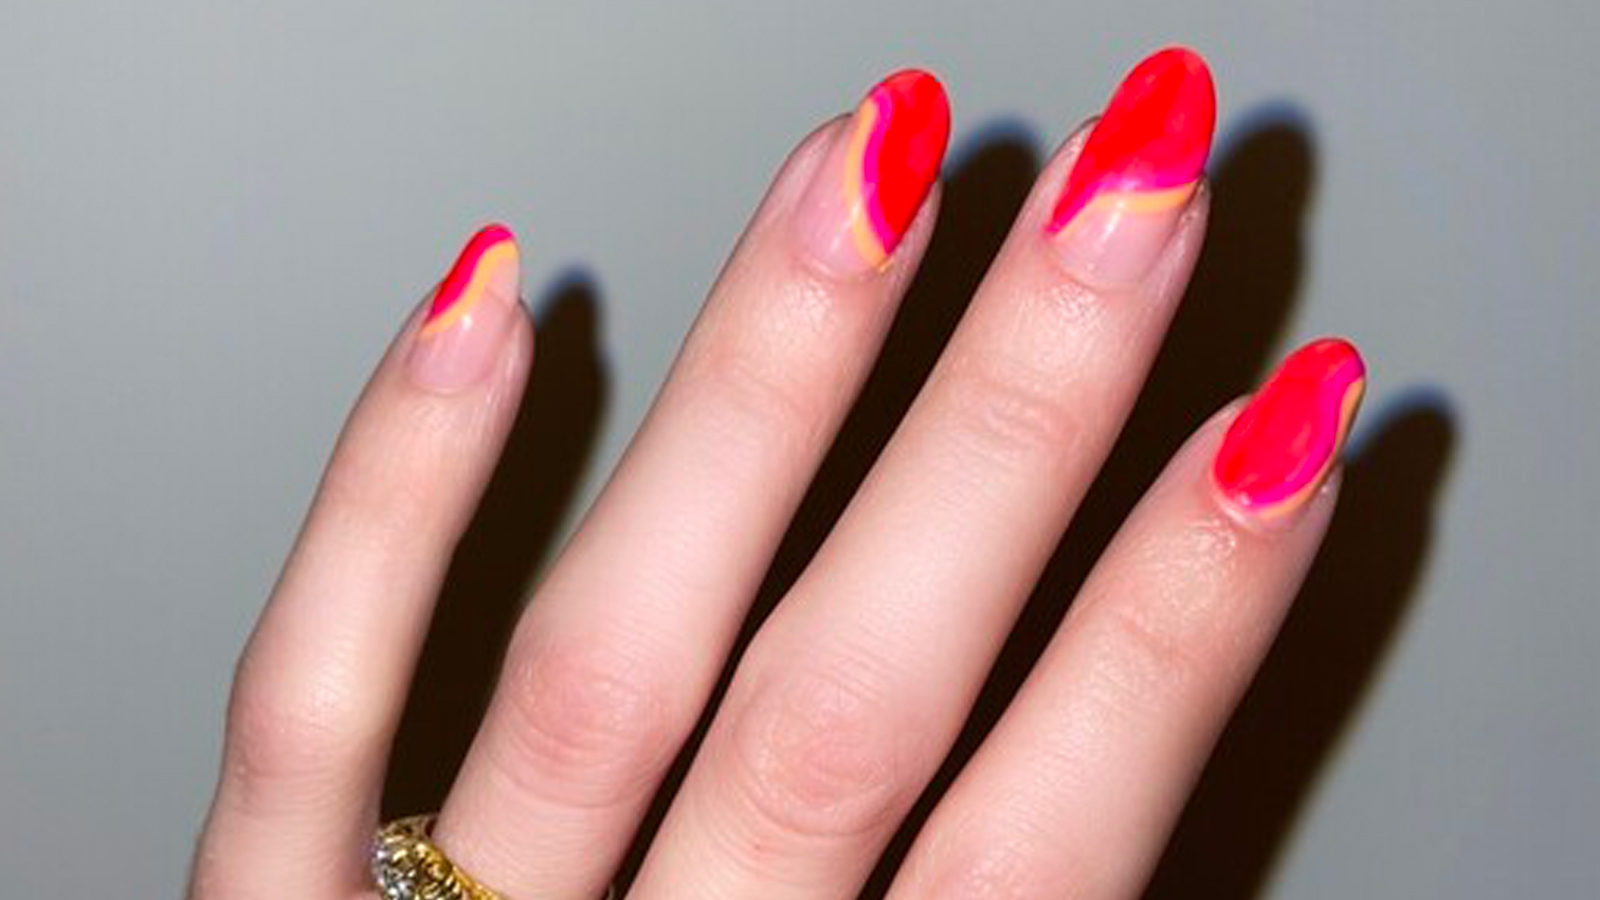
Step 4: Add Some Color
For a pop of color, use a different shade of nail polish to fill in some of the gaps in the net pattern. This will add dimension and make the design stand out.
Step 5: Seal It With a Top Coat
Once your design is complete, seal it with a top coat to ensure it lasts longer. This step is crucial if you're applying net nail art to surfaces in your house, as it will protect the design from wear and tear.
Step 1: Gather Your Materials
Before you begin, make sure you have all the necessary materials. This includes nail polish in your preferred colors, a thin brush, and a top coat. If you're planning on applying net nail art to surfaces in your house, you may also need some stencils, a sponge, and a clear sealant.
Step 2: Apply a Base Color
Start by applying a base color of your choice on your nails or the surface you want to decorate. Let it dry completely before moving on to the next step.
Step 3: Create the Net Pattern
Using a thin brush, draw diagonal lines across your nails or surface, leaving a small gap between each line. Then, draw perpendicular lines over the diagonal lines, creating a net-like pattern.
Step 4: Add Some Color
For a pop of color, use a different shade of nail polish to fill in some of the gaps in the net pattern. This will add dimension and make the design stand out.
Step 5: Seal It With a Top Coat
Once your design is complete, seal it with a top coat to ensure it lasts longer. This step is crucial if you're applying net nail art to surfaces in your house, as it will protect the design from wear and tear.
Elevate Your House Design with Net Nail Art
 Net nail art is a fun and creative way to add a touch of personality to your house design. Whether you're decorating your nails or various surfaces in your home, this technique is sure to impress. So go ahead, give it a try and see how net nail art can elevate your house design to the next level.


