Get ready to ring in the New Year with a stunning and festive manicure! With this easy-to-follow tutorial, you can create a dazzling nail look that will make you stand out at any New Year's Eve party. Glitter, sparkles, and bold colors are all the rage for New Year's nail art, so let's dive in and get started!1. "New Year's Eve Nail Art Tutorial"


1. "New Year's Eve Nail Art Tutorial"


If you're new to nail art or just don't have a lot of time, this simple tutorial is perfect for you. With just a few basic tools and colors, you can create a fun and festive New Year's nail design. Start by painting your nails with a base color of your choice. It can be a classic black or white or something more festive like gold or silver. Once your base color is dry, use a thin brush or toothpick to create dots or lines in a contrasting color. This simple design will add a fun touch to your New Year's look.2. "Easy New Year's Nail Art Tutorial"


2. "Easy New Year's Nail Art Tutorial"


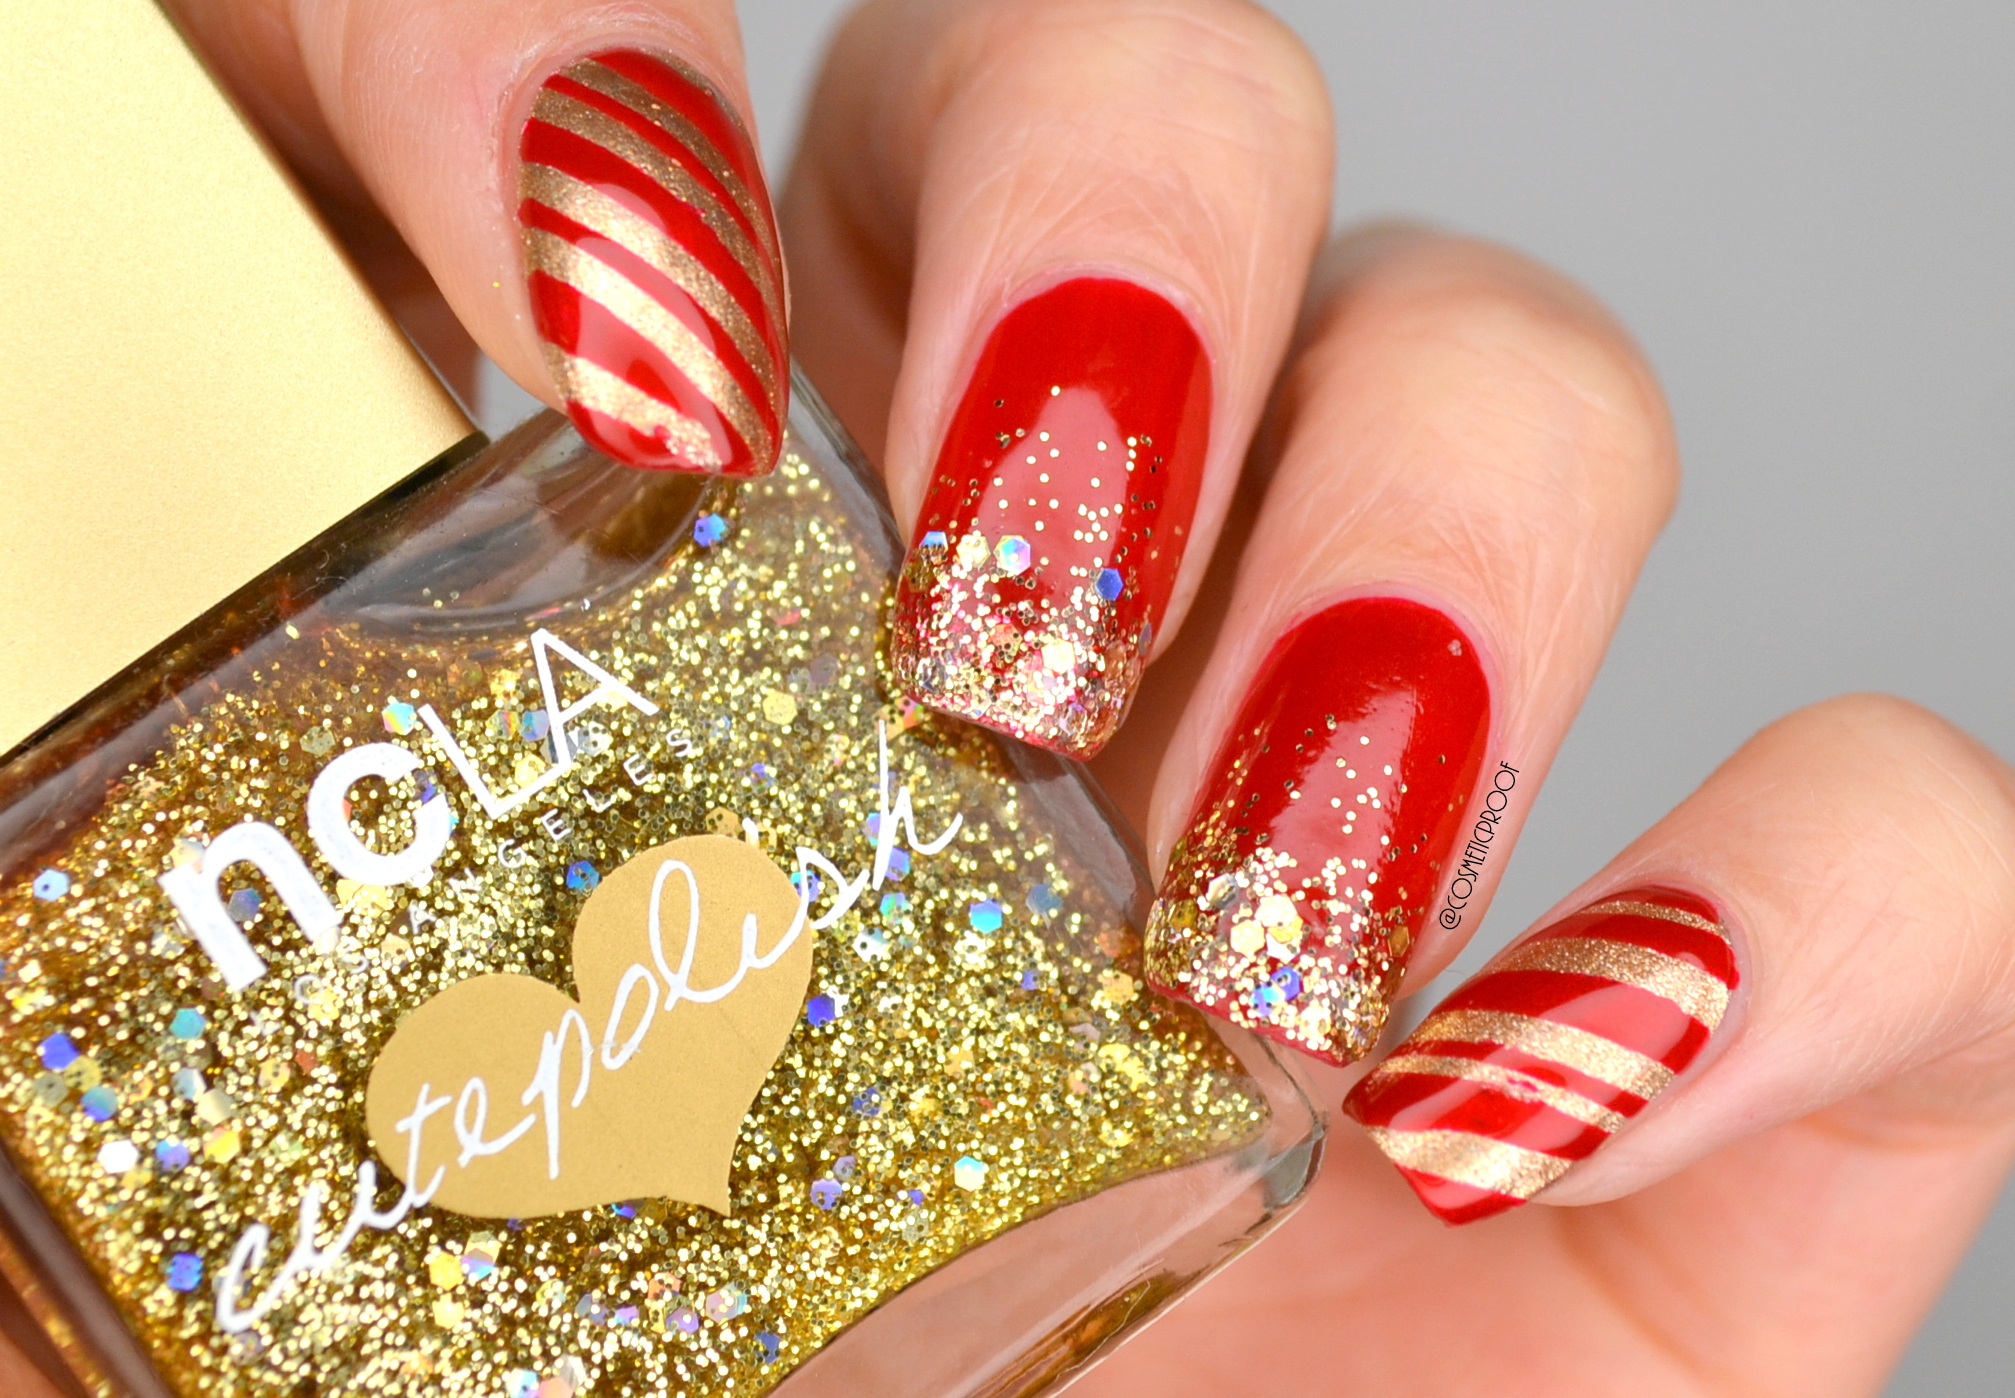
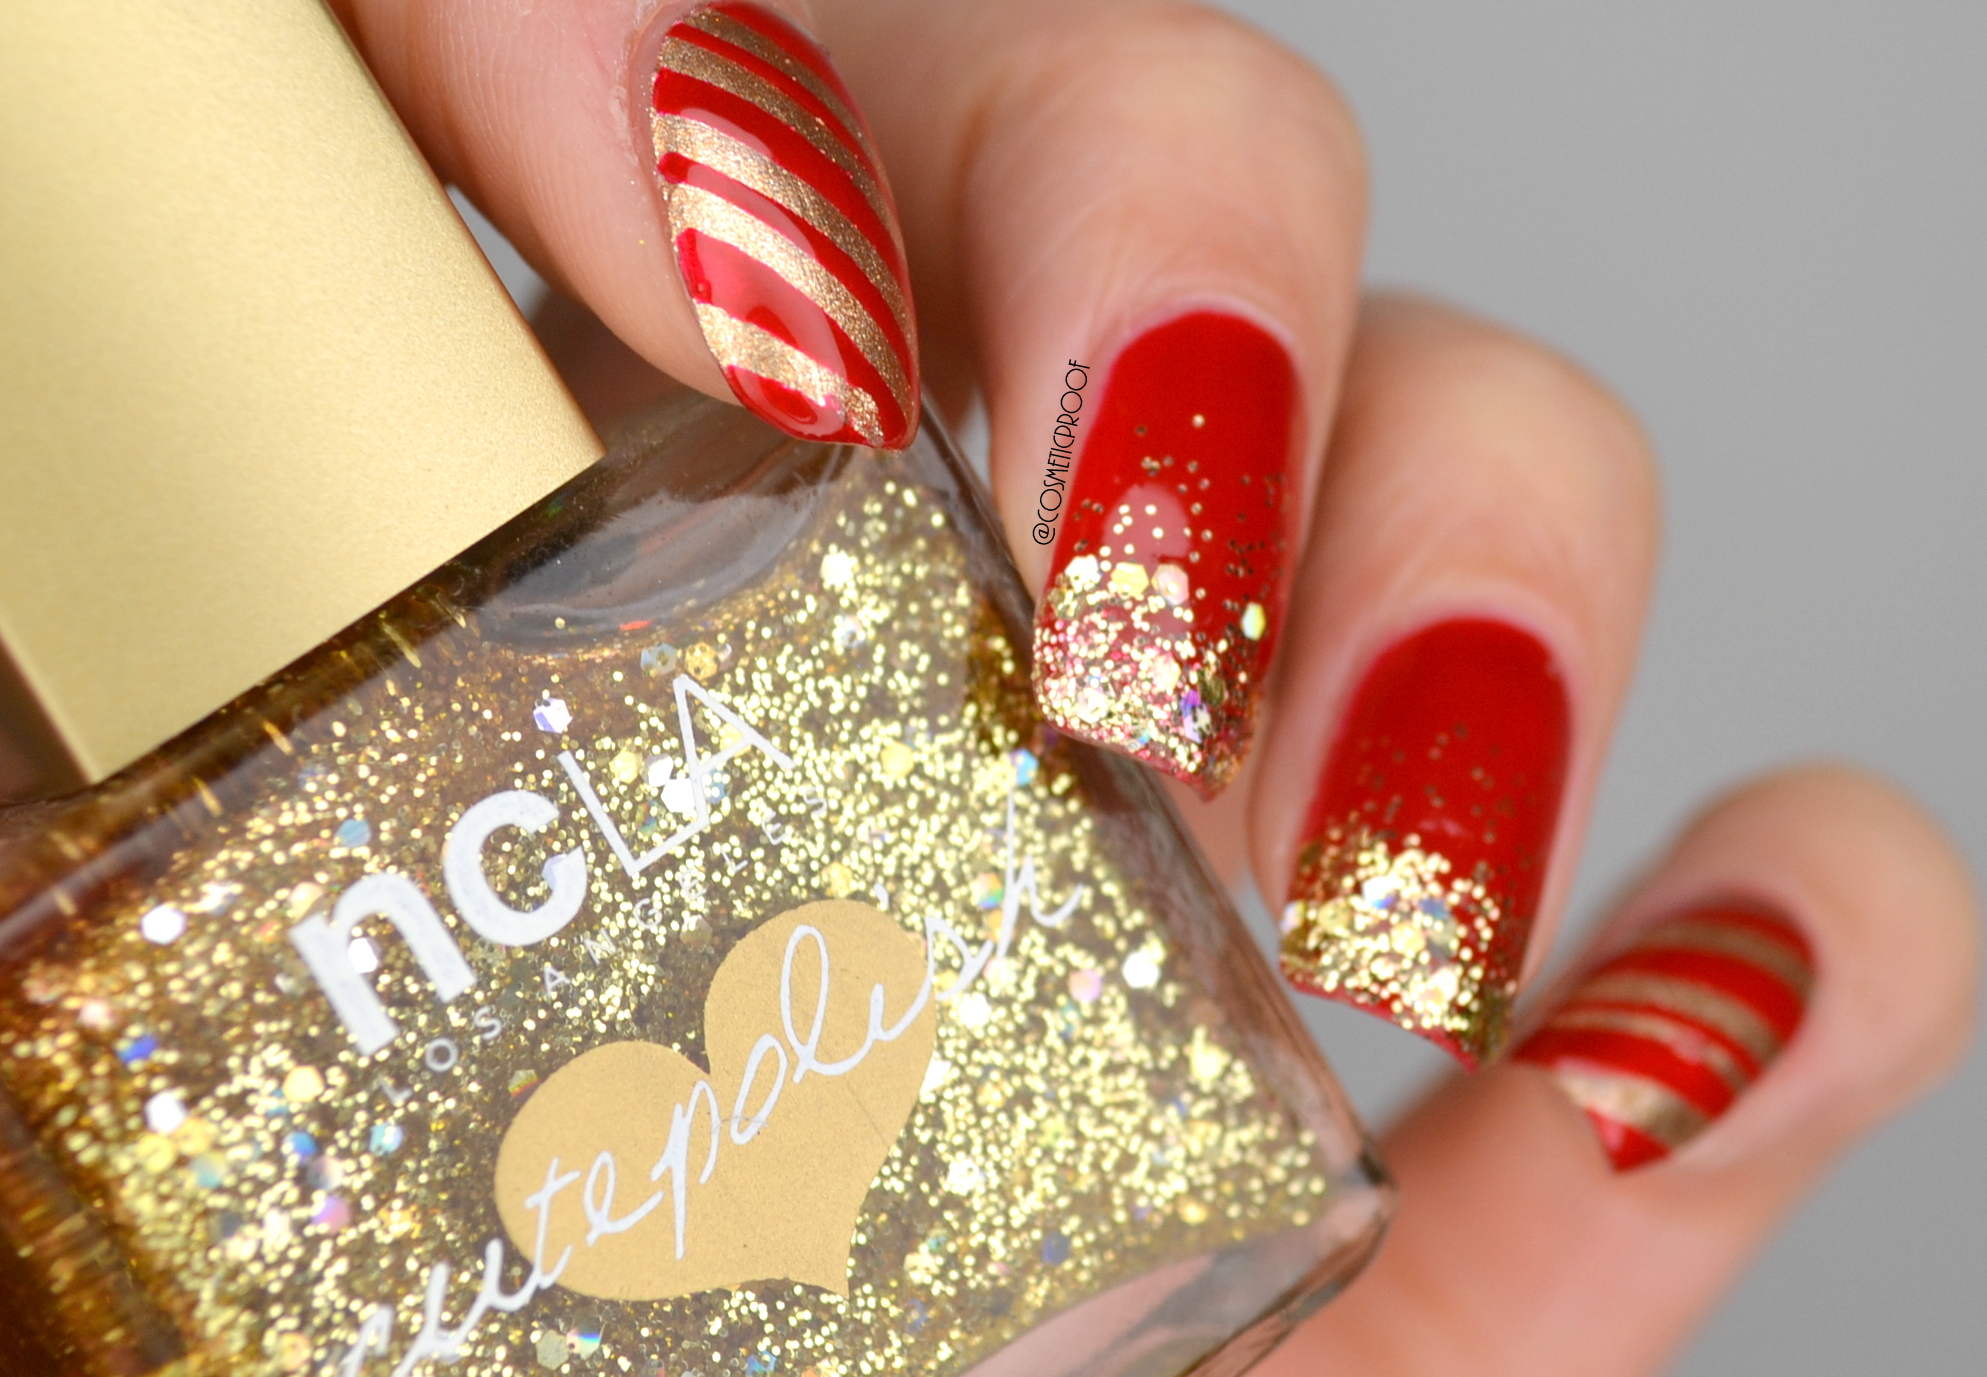
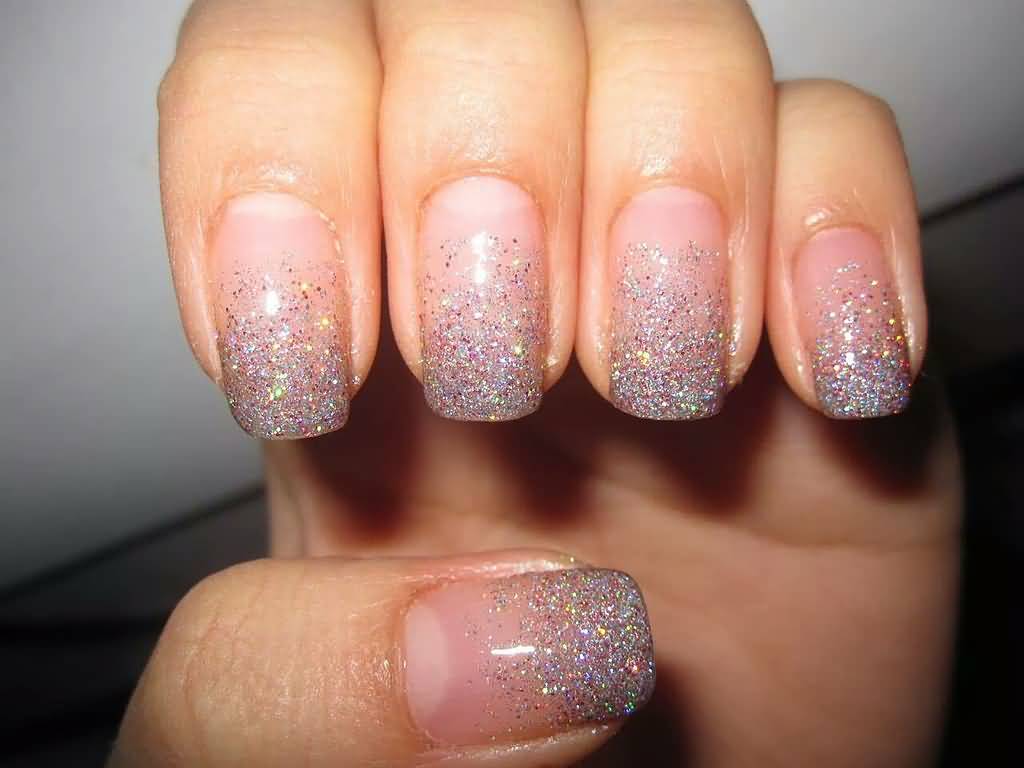
What better way to celebrate the New Year than with some sparkle? This tutorial will show you how to create a glitter gradient on your nails for a dazzling look. Start by painting your nails with a base color of your choice. Once it's dry, apply a clear top coat and while it's still wet, dip the tip of your brush into some glitter and gently dab it onto the tips of your nails. Repeat this process until you achieve your desired level of glitteriness. Finish off with another layer of top coat to seal in the glitter.3. "Glittery New Year's Nail Art Tutorial"

3. "Glittery New Year's Nail Art Tutorial"


If you're new to nail art, don't worry, this tutorial is perfect for you! With just a few basic tools and colors, you can create a fun and festive New Year's nail design. Start by painting your nails with a base color of your choice. Once it's dry, use a thin brush or toothpick to create dots, lines, or stripes in a contrasting color. You can also add some glitter or rhinestones for some extra sparkle. Experiment with different designs and have fun with it!4. "New Year's Nail Art Tutorial for Beginners"


4. "New Year's Nail Art Tutorial for Beginners"

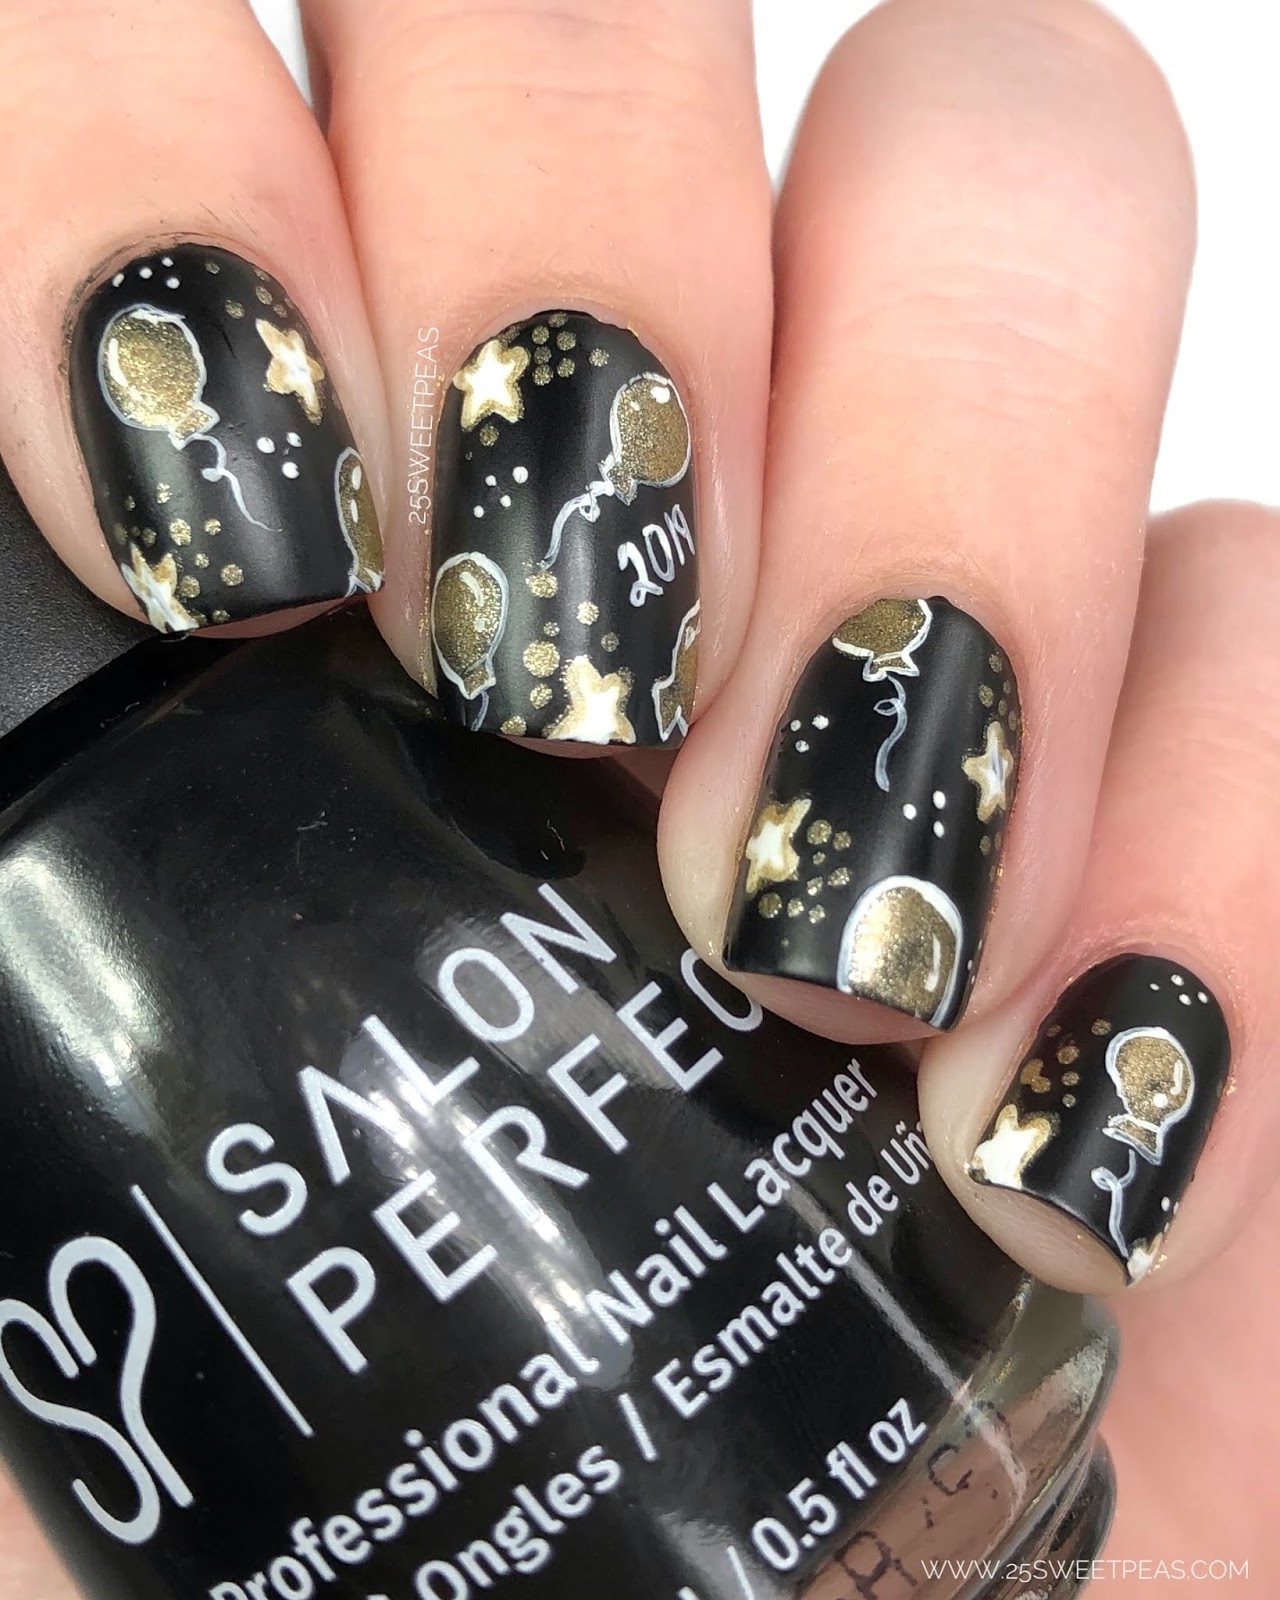
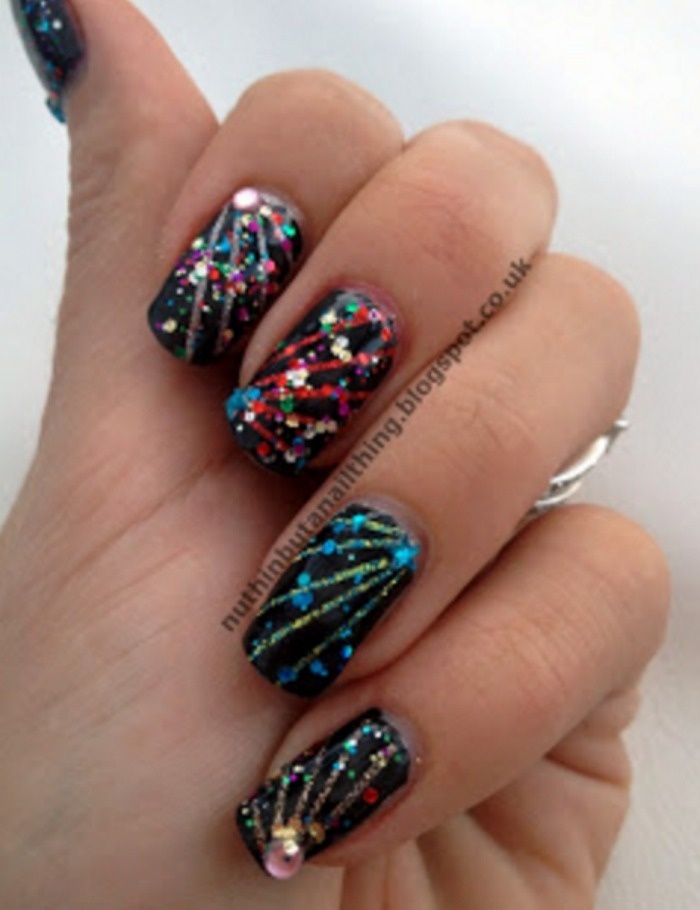
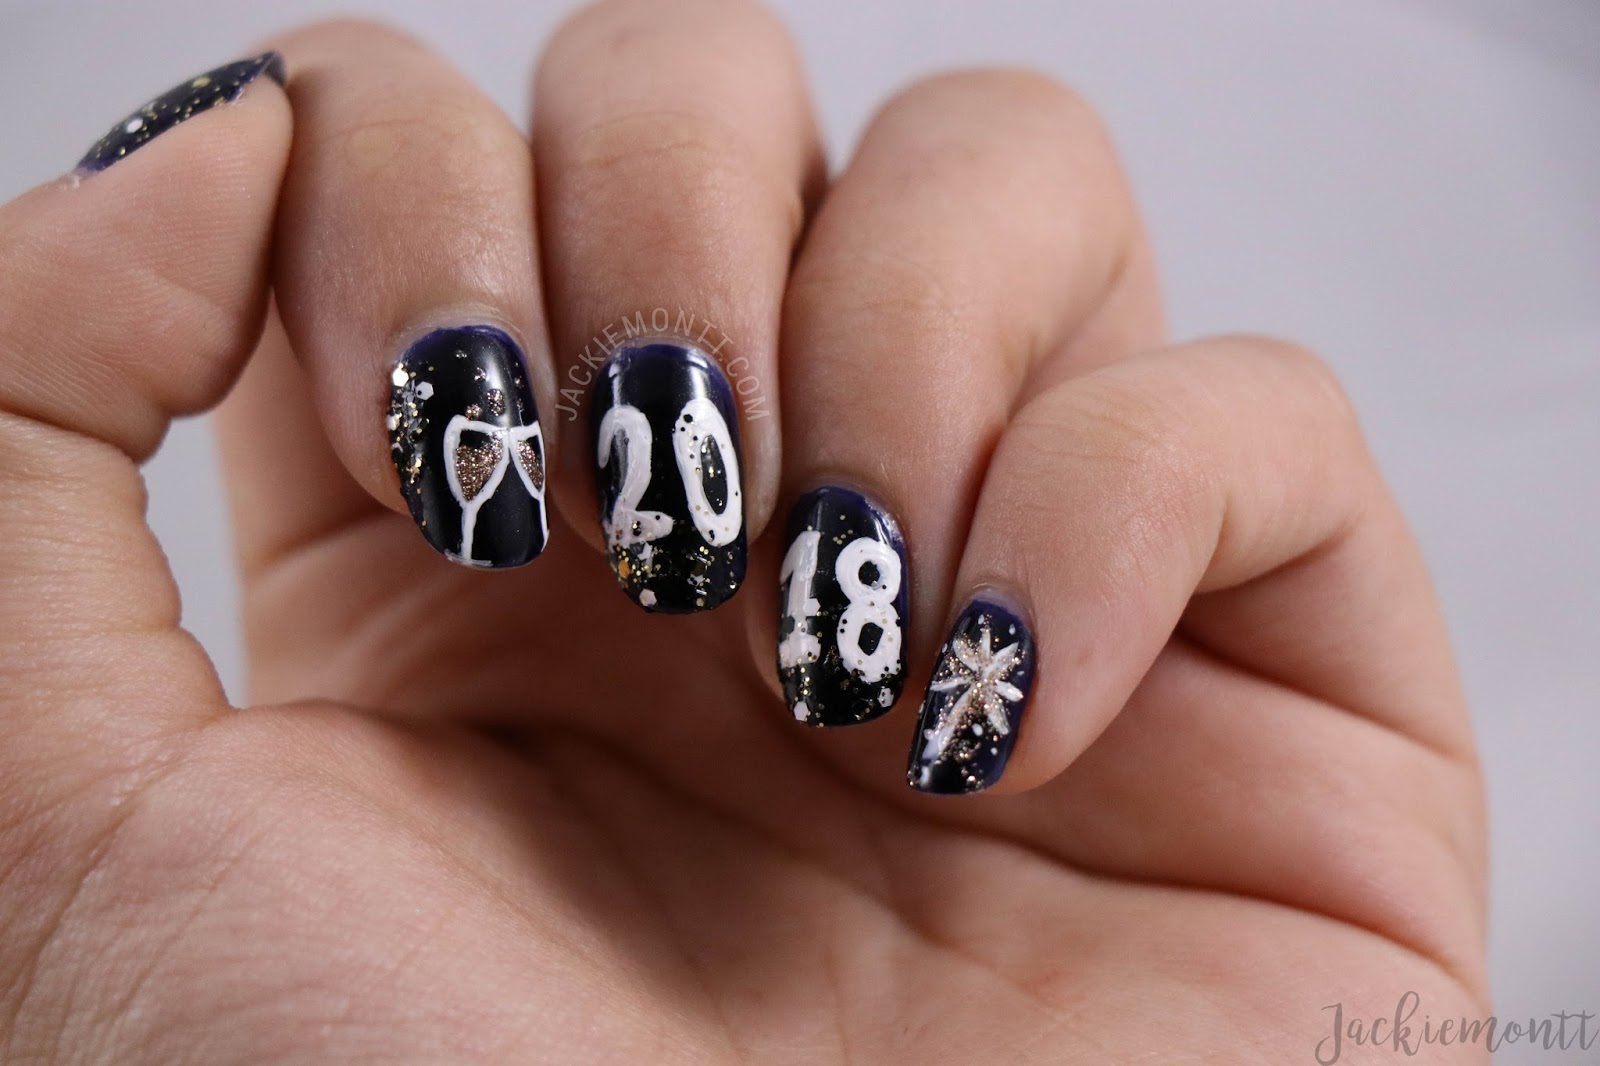
For a truly festive look, try out this tutorial that incorporates confetti and party hats into your nail design. Start by painting your nails with a base color of your choice. Once it's dry, use a thin brush or toothpick to create dots or lines in different colors to represent confetti. You can also use a dotting tool to create party hats on your nails. Finish off with a clear top coat to seal in your design.5. "Festive New Year's Nail Art Tutorial"

5. "Festive New Year's Nail Art Tutorial"

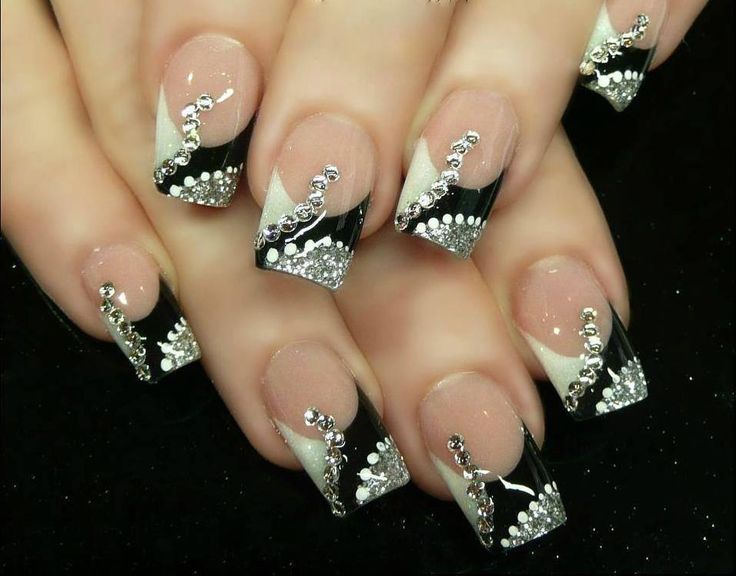
For a glamorous and elegant New Year's nail look, try out this tutorial that incorporates rhinestones into your design. Start by painting your nails with a base color of your choice. Once it's dry, use a thin brush or toothpick to apply a few dots of clear nail polish where you want to place your rhinestones. Use tweezers to carefully place the rhinestones onto the wet nail polish. Finish off with a clear top coat to seal in your design.6. "New Year's Nail Art Tutorial with Rhinestones"

6. "New Year's Nail Art Tutorial with Rhinestones"


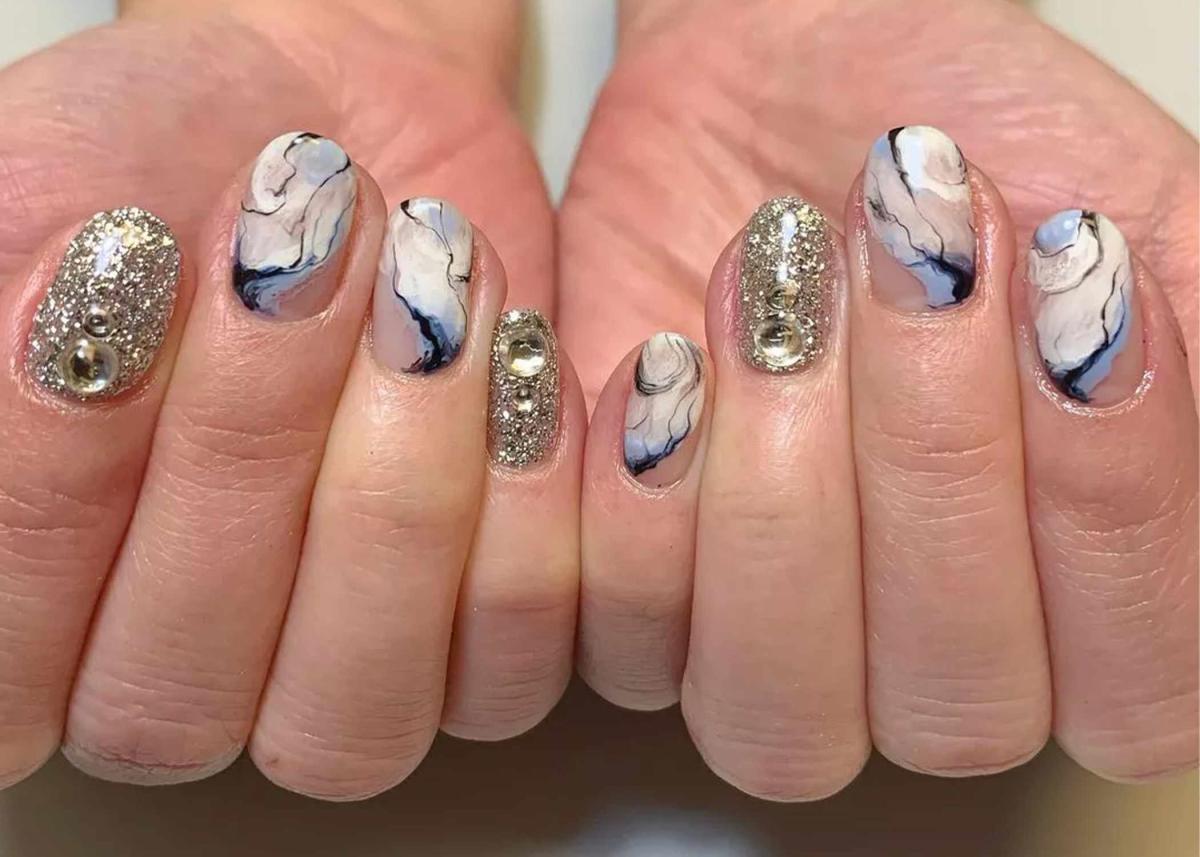
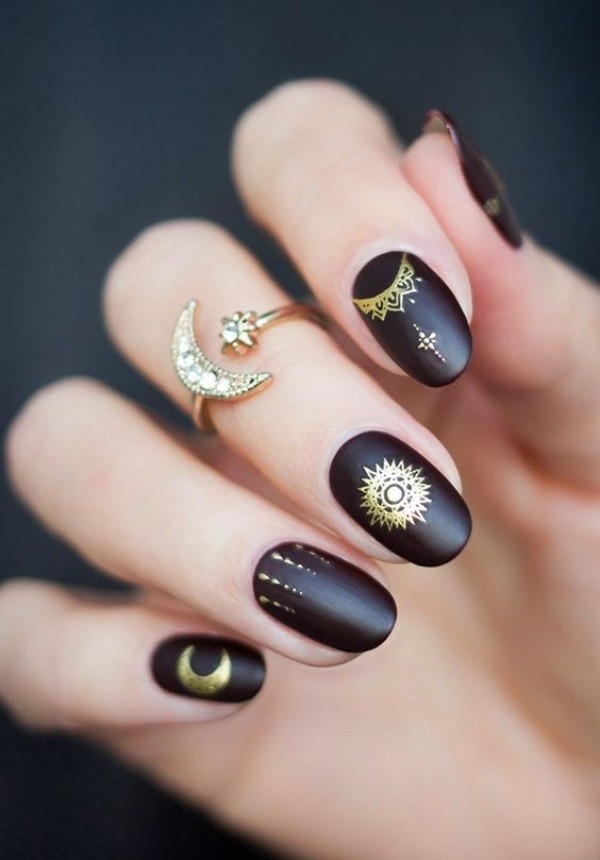
For a chic and sophisticated New Year's nail look, this tutorial is perfect for you. It incorporates negative space and a metallic accent for a modern twist on traditional New Year's nail art. Start by painting your nails with a base color of your choice. Once it's dry, use a striping brush to create lines or shapes on your nails, leaving some spaces empty. You can also add a metallic accent by painting a thin line or shape with a metallic nail polish. Finish off with a clear top coat to seal in your design.7. "Chic New Year's Nail Art Tutorial"
7. "Chic New Year's Nail Art Tutorial"

If you have a nail stamping kit, this tutorial is perfect for you! It incorporates stamping plates and glitter for a fun and festive New Year's nail look. Start by painting your nails with a base color of your choice. Once it's dry, apply a clear top coat and while it's still wet, use a nail stamper to transfer a design from a stamping plate onto your nail. You can also add some glitter for some extra sparkle. Finish off with another layer of top coat to seal in your design.8. "New Year's Nail Art Tutorial with Stamping"

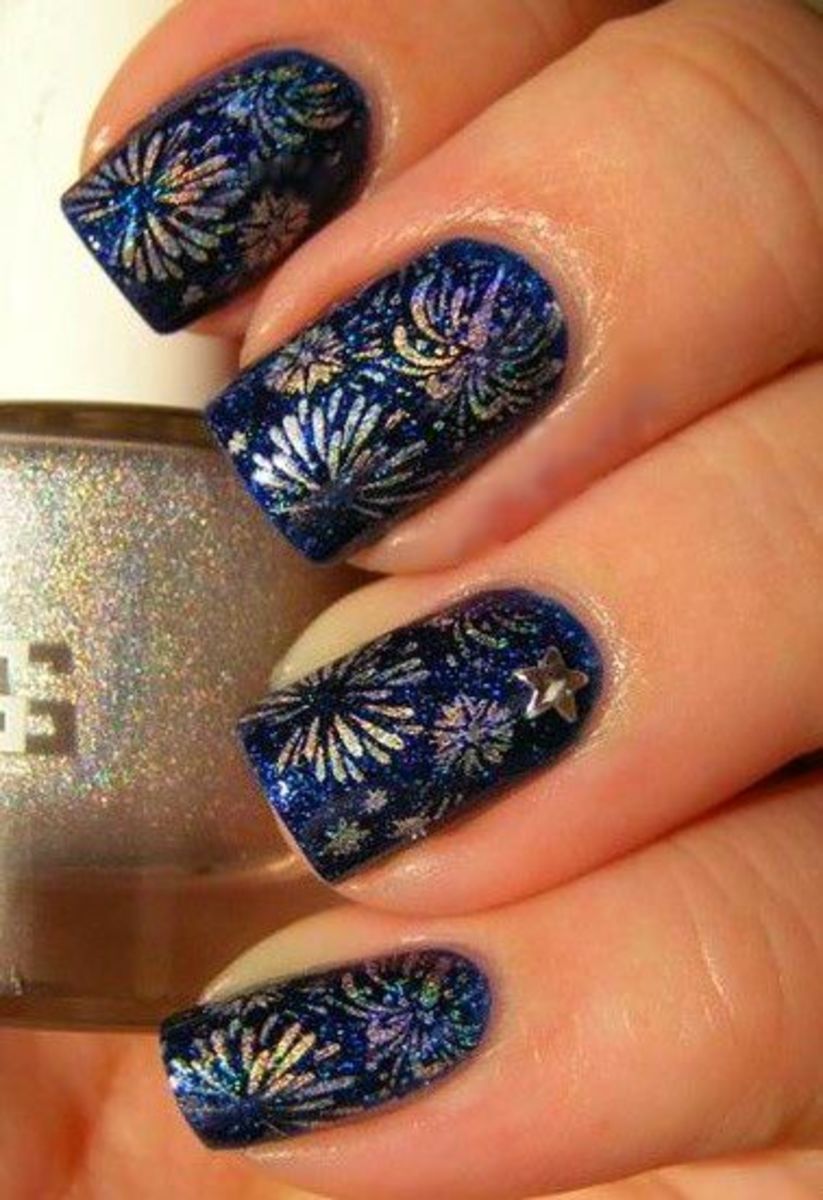

8. "New Year's Nail Art Tutorial with Stamping"

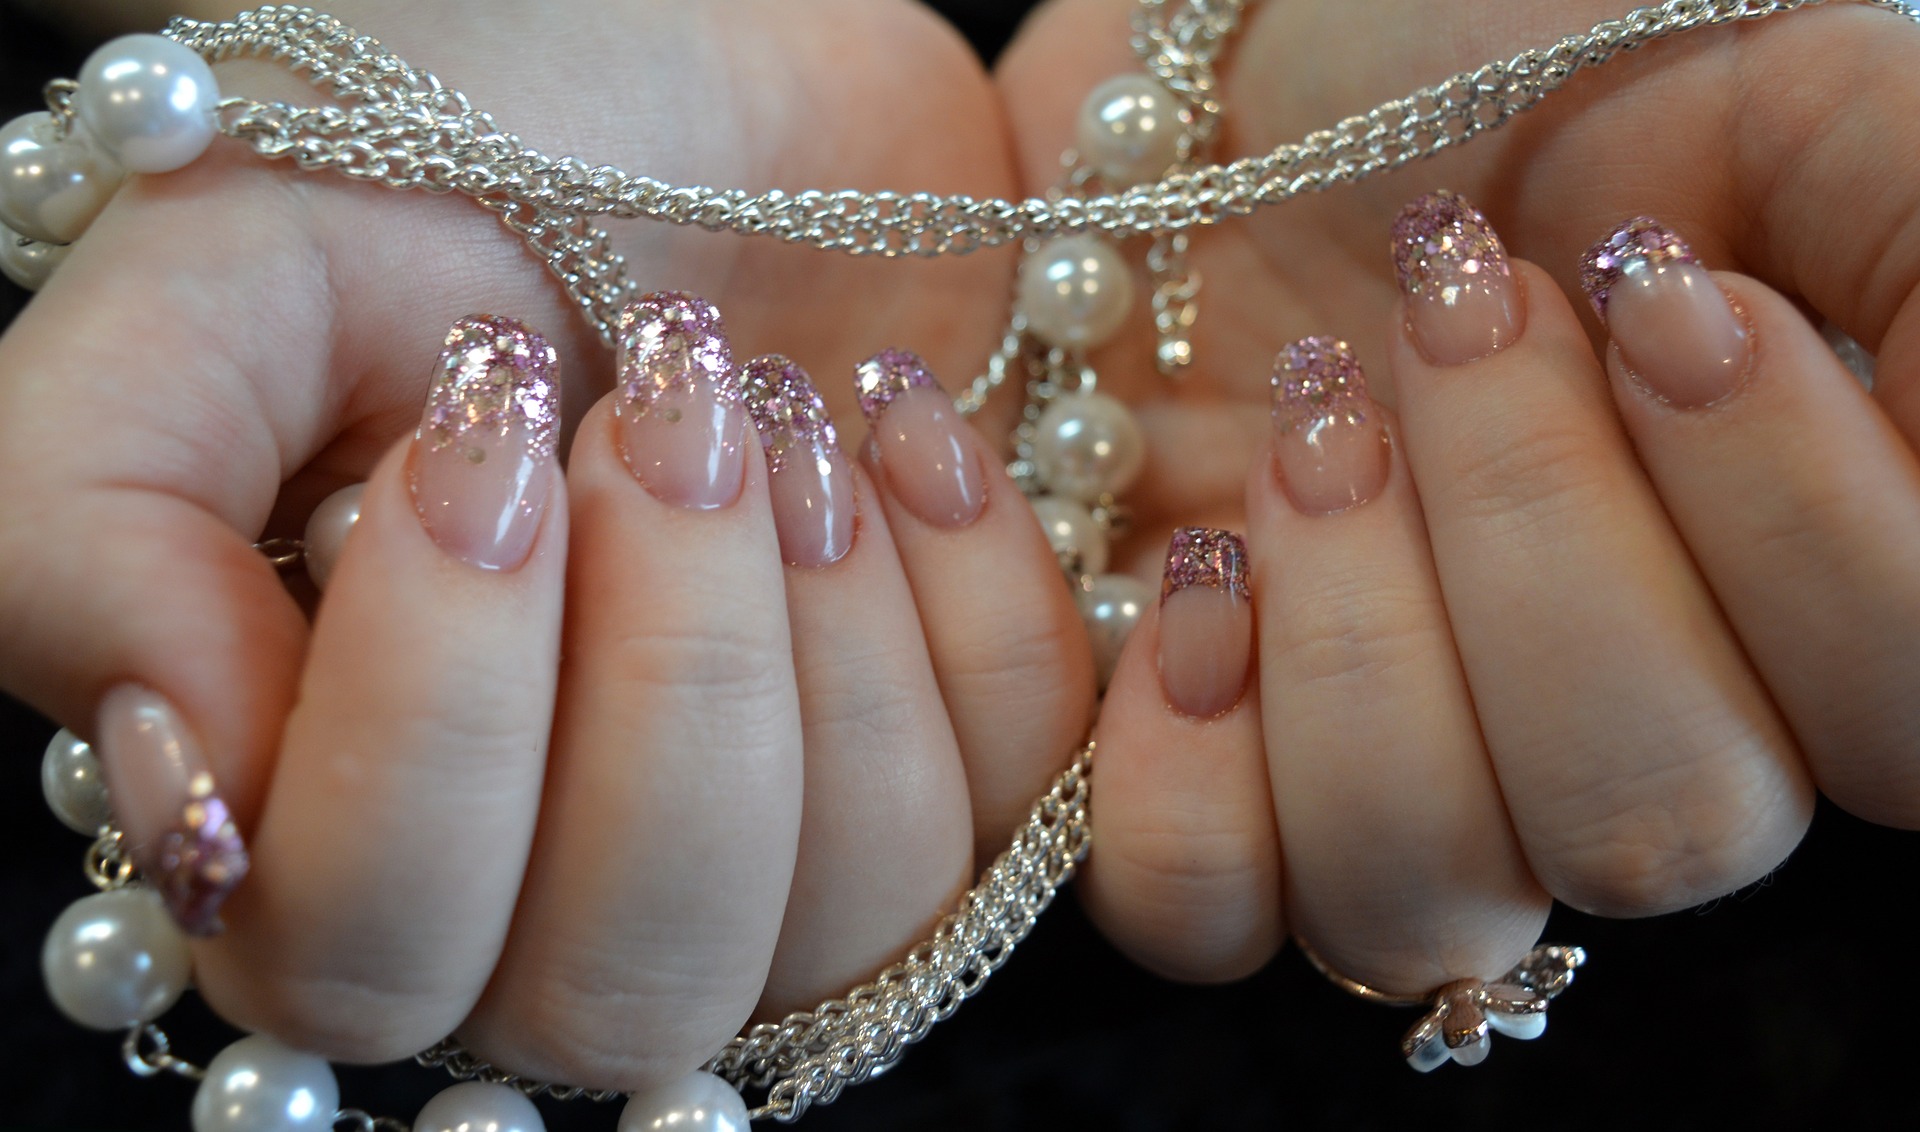
If you're looking for an understated and elegant New Year's nail look, this tutorial is for you. It incorporates pearl beads for a classy and sophisticated touch. Start by painting your nails with a base color of your choice. Once it's dry, use a thin brush or toothpick to apply clear nail polish where you want to place the pearl beads. Use tweezers to carefully place the pearl beads onto the wet nail polish. Finish off with a clear top coat to seal in your design.9. "Elegant New Year's Nail Art Tutorial"

9. "Elegant New Year's Nail Art Tutorial"

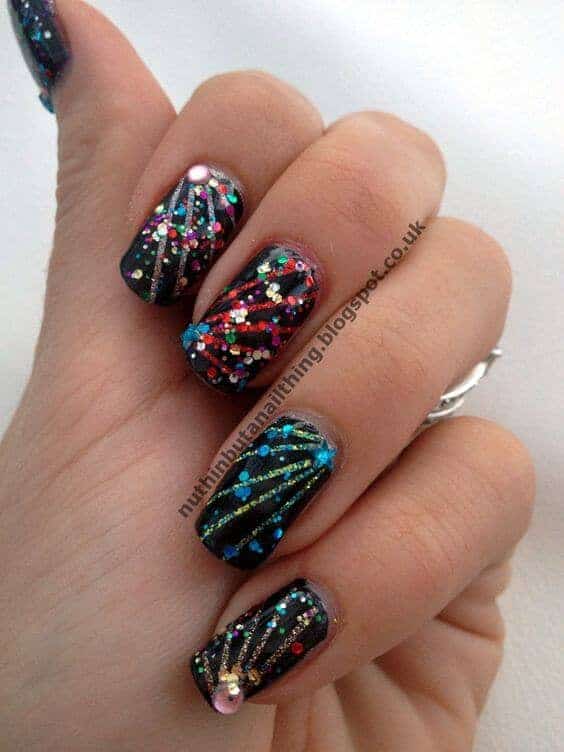
For a bold and dramatic New Year's nail look, try out this tutorial that incorporates a glitter gradient and negative space. Start by painting your nails with a base color of your choice. Once it's dry, use a striping brush to create lines or shapes on your nails, leaving some spaces empty. Then, use a sponge or makeup brush to apply a gradient of glitter onto your nails. Finish off with a clear top coat to seal in your design.10. "New Year's Nail Art Tutorial with Glitter Gradient"

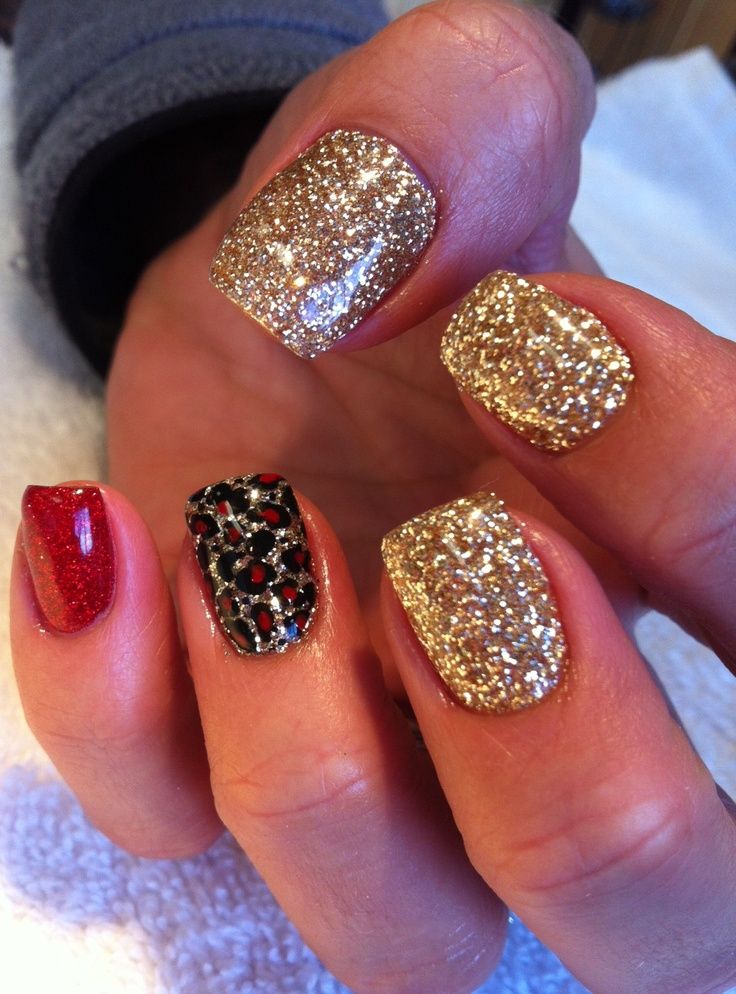
10. "New Year's Nail Art Tutorial with Glitter Gradient"

Get Festive with New Year's Nail Art: A Step-by-Step Tutorial

Ring in the New Year with Beautiful Nails
 As the countdown to the new year begins, it's time to start thinking about how you'll ring in the new year in style. And what better way to do that than with some festive and eye-catching nail art? With our step-by-step tutorial, you'll be able to create a unique and stunning look that will have everyone talking. So grab your nail polish and let's get started!
Step 1: Prep Your Nails
 Before you start painting, make sure your nails are clean and prepped. Begin by removing any old polish and filing your nails to your desired shape. Next, soak your hands in warm water for a few minutes to soften your cuticles. Use a cuticle pusher to gently push back your cuticles and then trim any excess skin. Finally, buff your nails to create a smooth surface for the polish to adhere to.
Step 2: Apply a Base Coat
 Once your nails are prepped, it's time to apply a base coat. This will not only protect your nails from staining but also help your nail polish last longer. Make sure to let the base coat dry completely before moving on to the next step.
Step 3: Choose Your Colors
 Now comes the fun part - choosing the colors for your new year's nail art. You can go with traditional colors like gold and silver or choose more vibrant shades like red and green. Whatever you choose, make sure to
incorporate the color theme of the new year into your nail design.
Now comes the fun part - choosing the colors for your new year's nail art. You can go with traditional colors like gold and silver or choose more vibrant shades like red and green. Whatever you choose, make sure to
incorporate the color theme of the new year into your nail design.
Step 4: Create Your Design
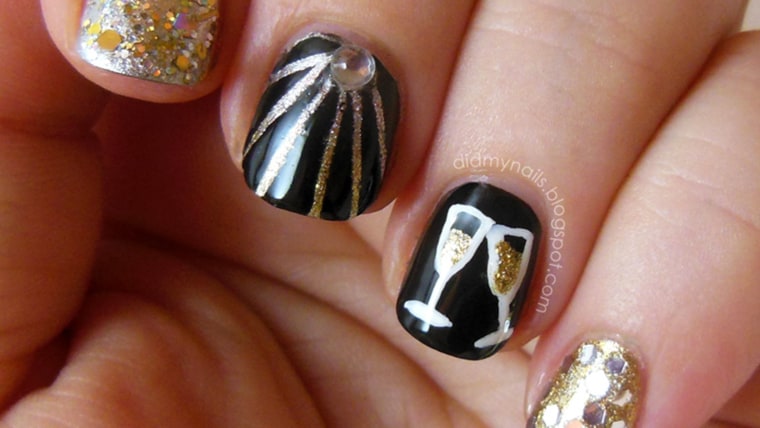
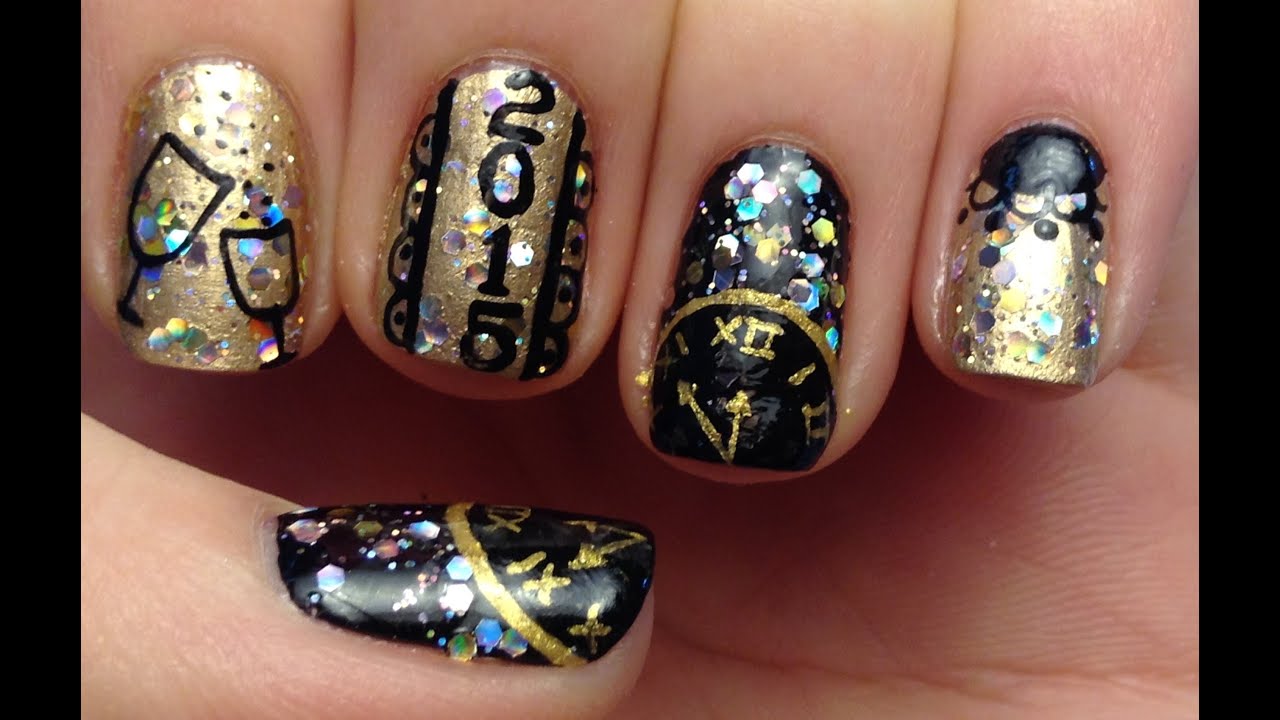
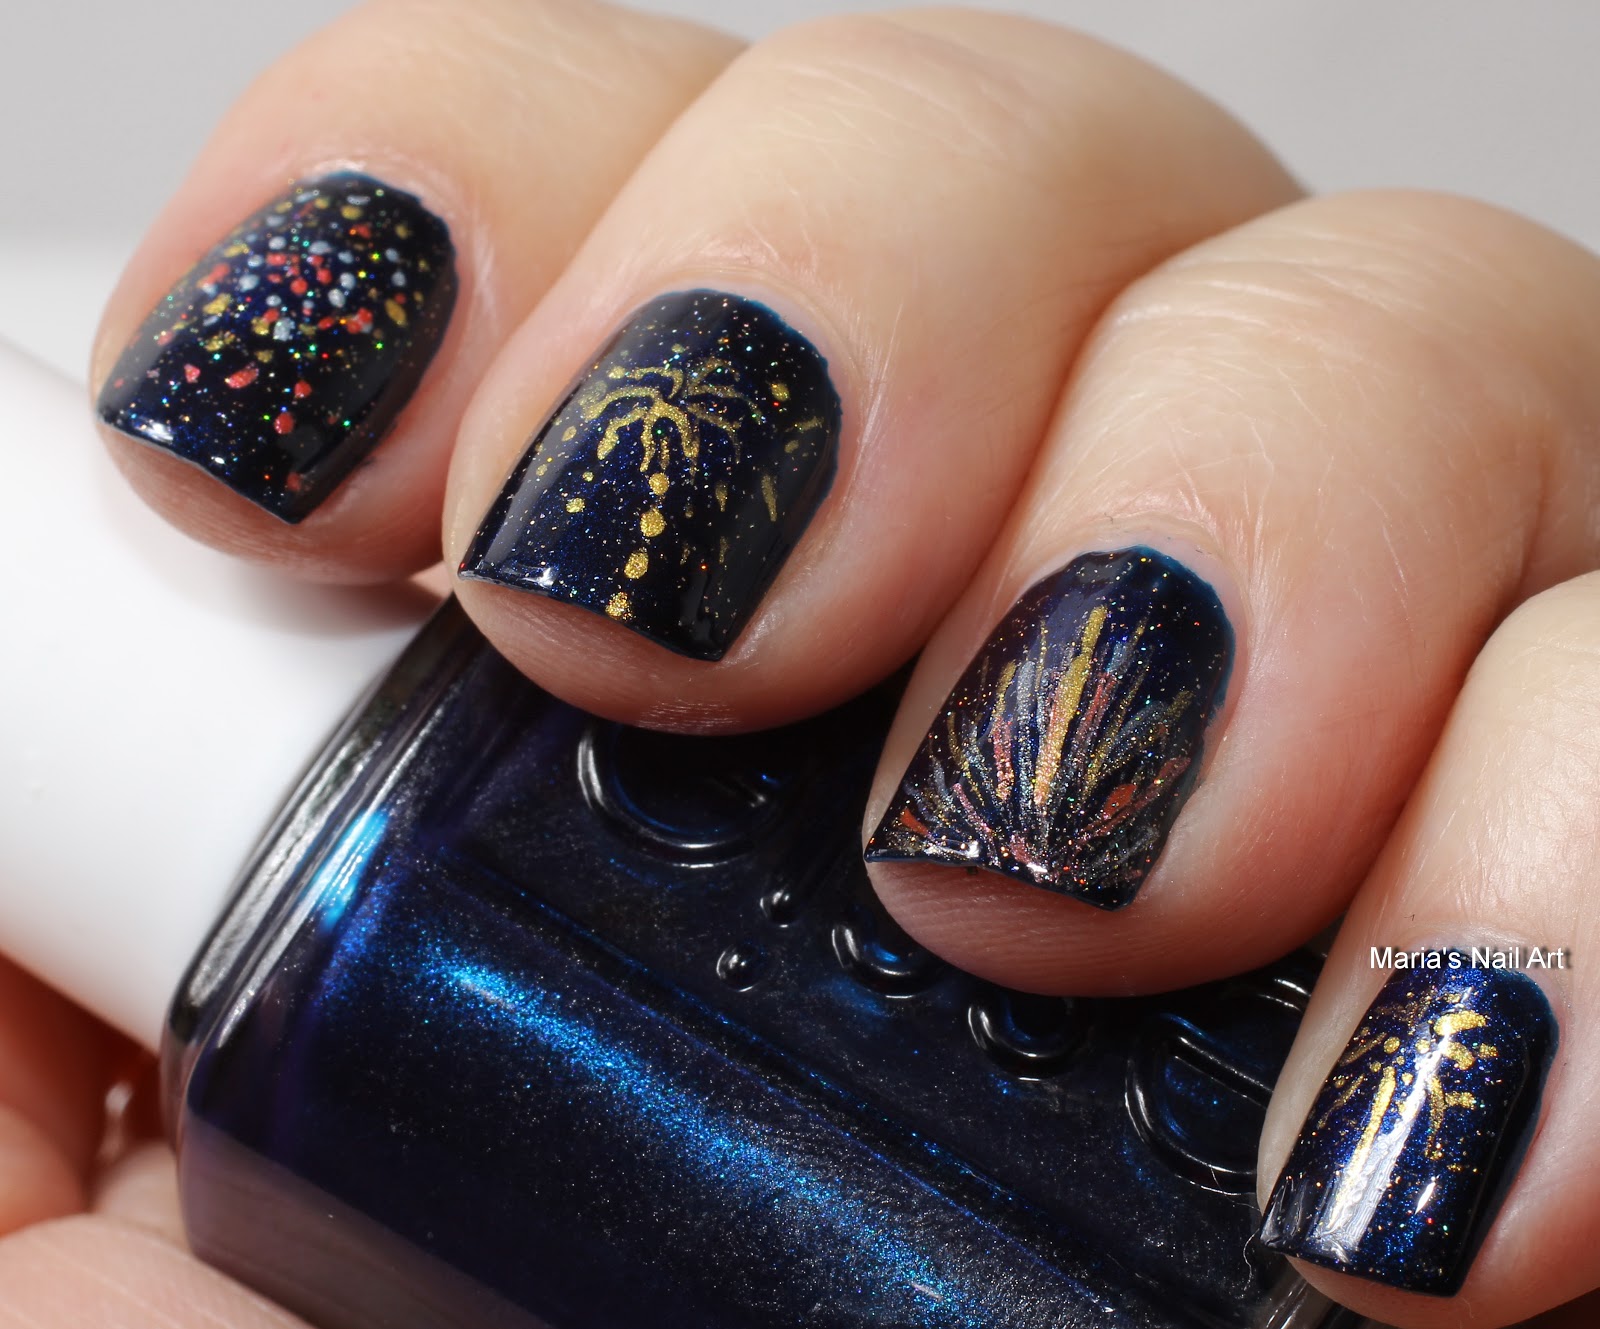
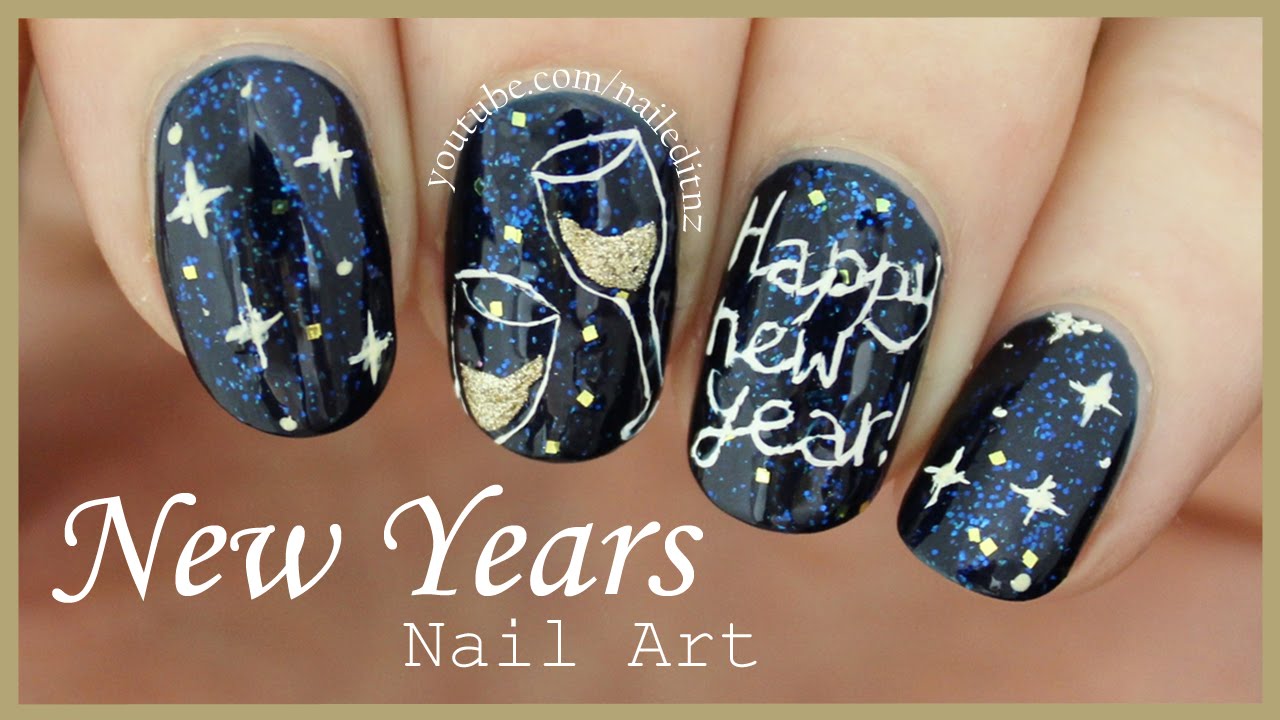
 Using a thin brush or a toothpick, start creating your design on your nails. You can go for a simple pattern or get more intricate with your design. Some popular designs for new year's nail art include fireworks, champagne glasses, and confetti. Get creative and have fun with it!
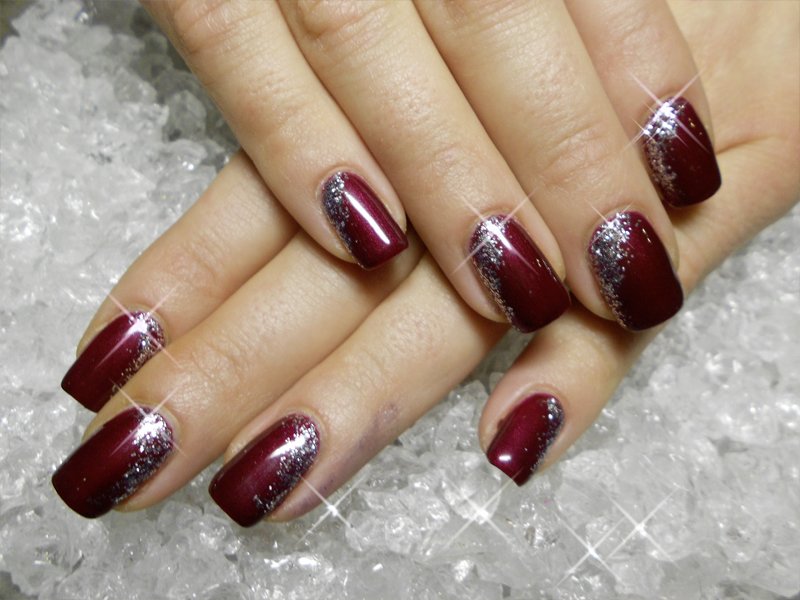
Step 5: Add Some Sparkle
 No new year's nail art is complete without a touch of sparkle.
Add some glitter or rhinestones to your design to make it truly shine.
You can also use a shimmery top coat to give your nails an extra festive touch.
No new year's nail art is complete without a touch of sparkle.
Add some glitter or rhinestones to your design to make it truly shine.
You can also use a shimmery top coat to give your nails an extra festive touch.
Step 6: Seal the Look with a Top Coat
 Once your design is complete, let it dry for a few minutes and then seal it with a top coat. This will not only make your nail art last longer but also give it a smooth and glossy finish.
And there you have it - a stunning new year's nail art design that will make your nails the talk of the party. So go ahead and show off your festive nails as you ring in the new year in style!
Once your design is complete, let it dry for a few minutes and then seal it with a top coat. This will not only make your nail art last longer but also give it a smooth and glossy finish.
And there you have it - a stunning new year's nail art design that will make your nails the talk of the party. So go ahead and show off your festive nails as you ring in the new year in style!


