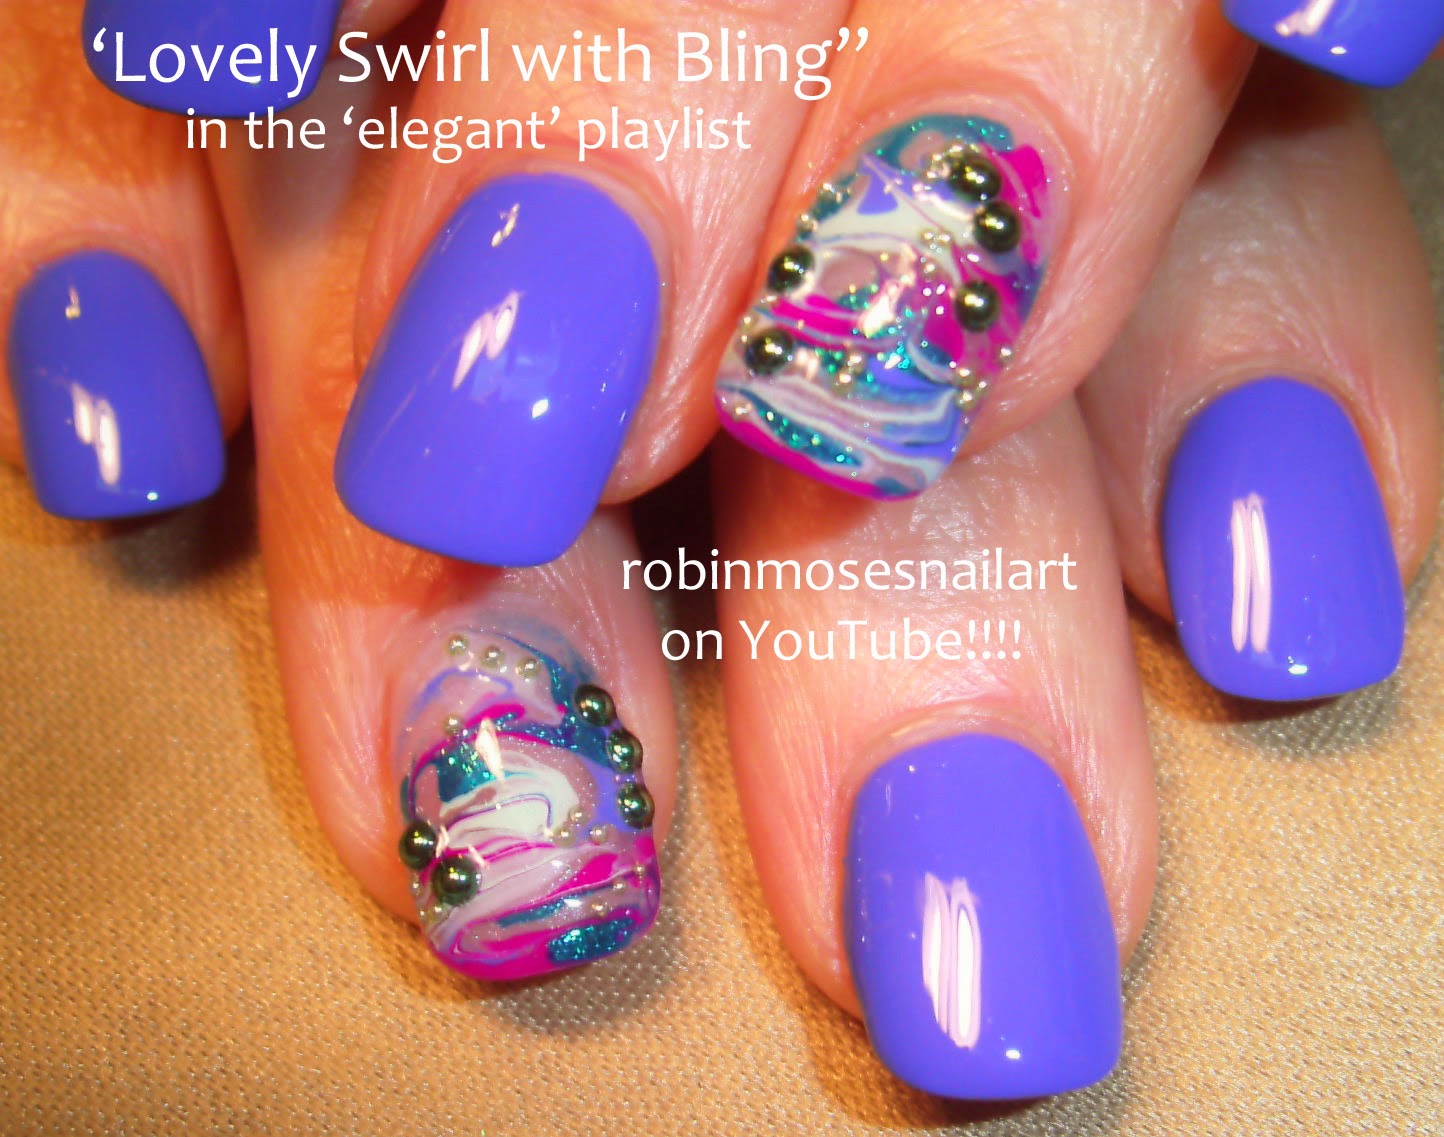
If you're tired of the mess and hassle of traditional water marble nail art, then this tutorial is for you. With just a few simple steps, you can achieve a stunning marbled effect on your nails without using any water. Let's get started!Easy No Water Marble Nail Art Tutorial


Easy No Water Marble Nail Art Tutorial


This no water marble nail art tutorial is perfect for beginners who are just starting to experiment with nail art. The technique is easy to follow and doesn't require any special tools or materials. All you need is some regular nail polish and a toothpick!No Water Marble Nail Art Tutorial for Beginners


No Water Marble Nail Art Tutorial for Beginners


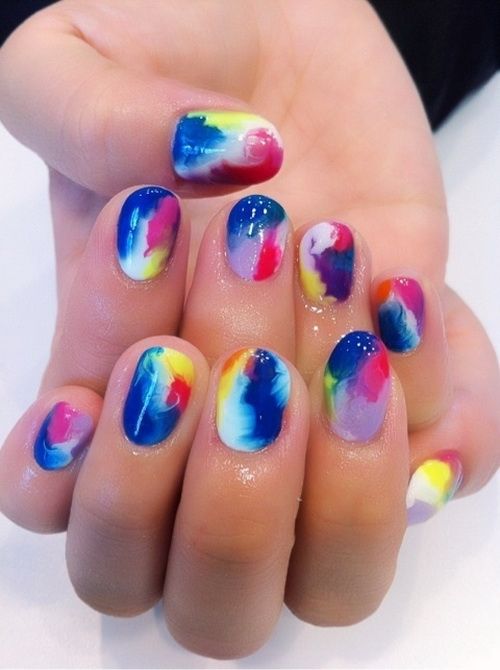
Don't have any fancy nail art supplies? No problem! You can still achieve a beautiful no water marble effect using regular nail polish. Simply choose two or three complementary colors and follow the steps in this tutorial.No Water Marble Nail Art Tutorial with Regular Nail Polish

No Water Marble Nail Art Tutorial with Regular Nail Polish


If you're a fan of gel polish, you'll be happy to know that you can also create a no water marble effect with it. This tutorial will show you how to achieve a long-lasting and glossy marbled look using gel polish and a plastic wrap technique.No Water Marble Nail Art Tutorial with Gel Polish
No Water Marble Nail Art Tutorial with Gel Polish
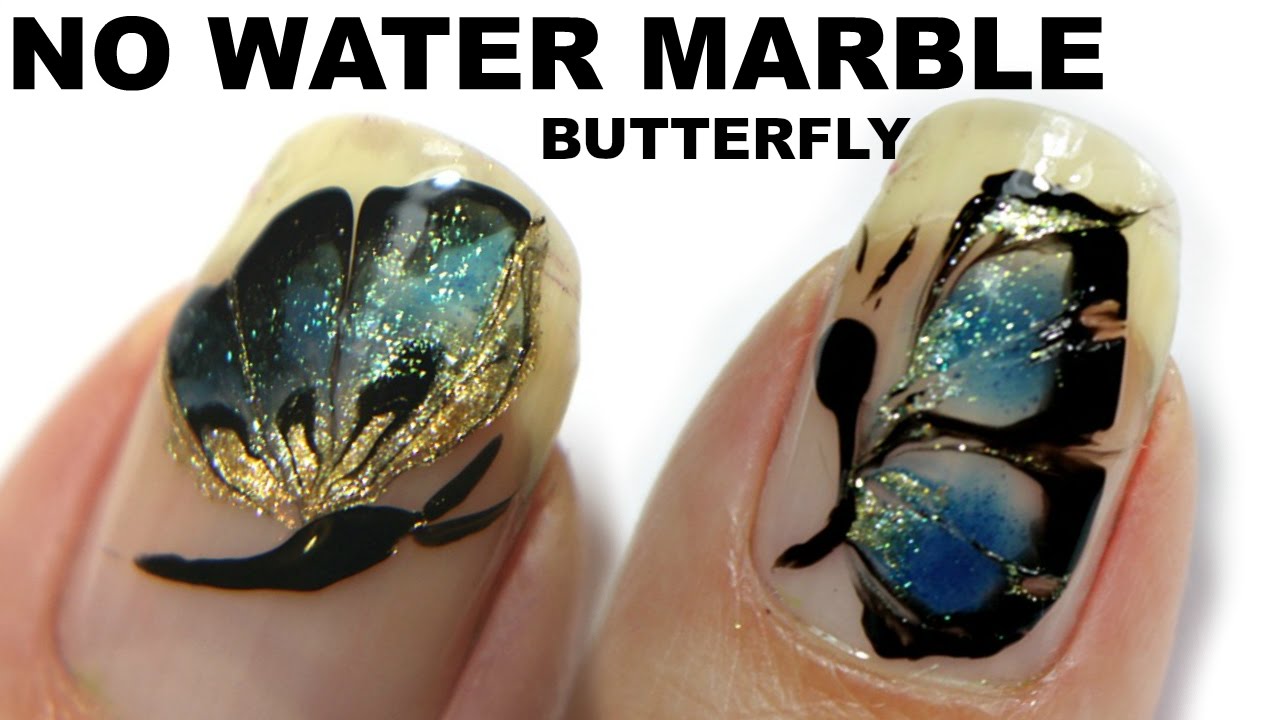
Acrylic paint is another great option for creating a no water marble effect on your nails. Not only is it affordable and easy to find, but it also dries quickly and is highly pigmented. Follow this tutorial to learn how to use acrylic paint for your no water marble nail art.No Water Marble Nail Art Tutorial with Acrylic Paint


No Water Marble Nail Art Tutorial with Acrylic Paint
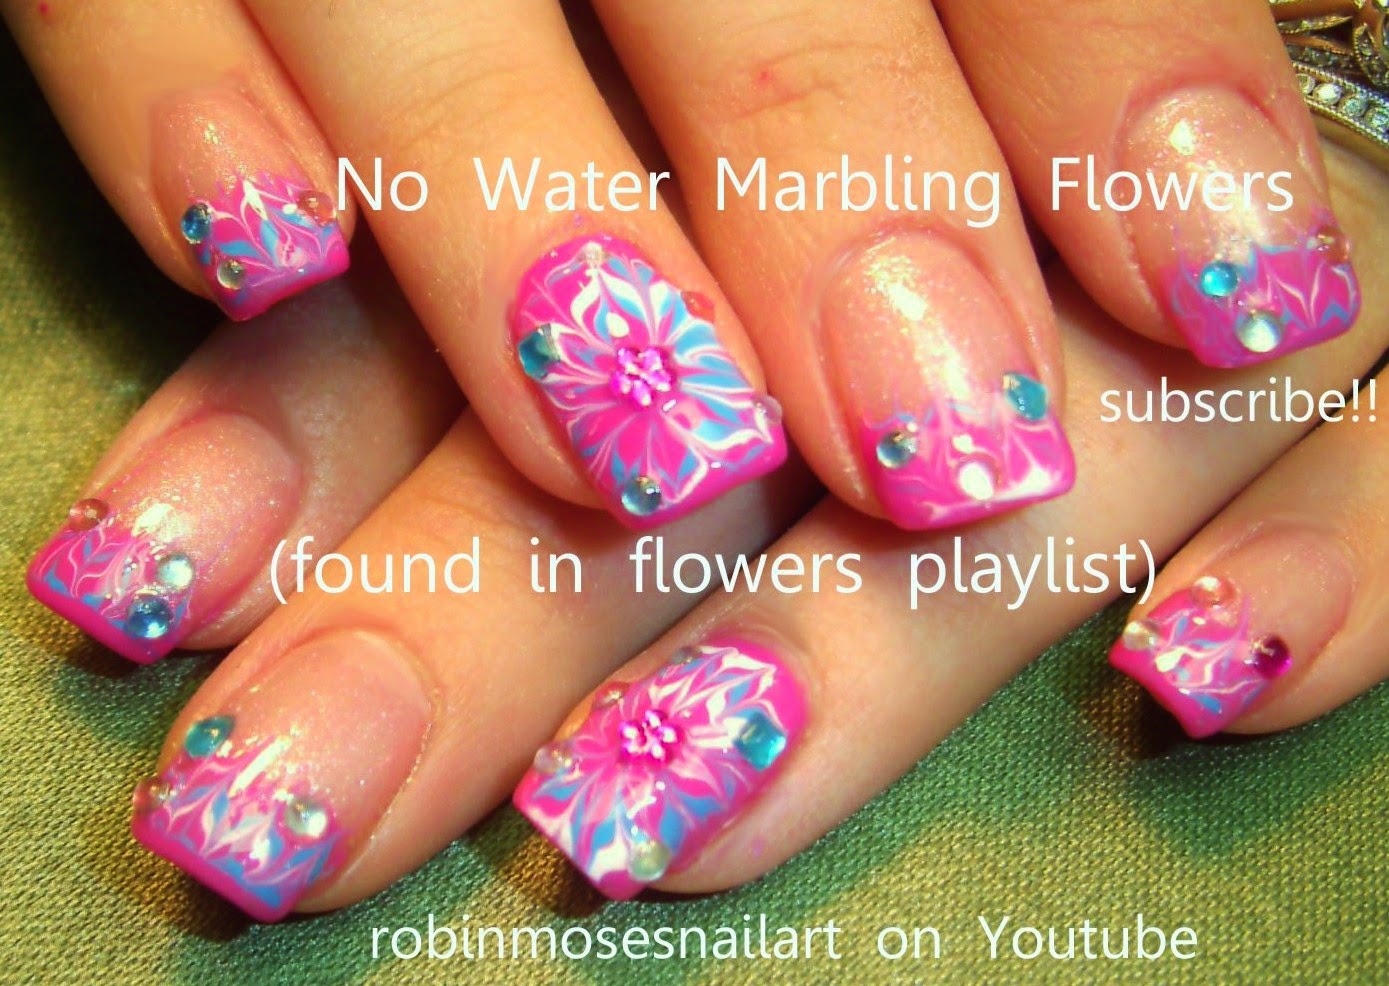
As mentioned earlier, you don't need any special tools for this no water marble nail art tutorial. In fact, all you need is a toothpick! This simple and budget-friendly option is perfect for anyone who wants to try out this technique without investing in expensive nail art tools.No Water Marble Nail Art Tutorial with Toothpick

No Water Marble Nail Art Tutorial with Toothpick

Plastic wrap is a popular material for creating a no water marble effect on nails. It's easy to work with and creates a unique marbled texture on your nails. Give this tutorial a try and see how you can achieve a stunning look with just a few simple steps.No Water Marble Nail Art Tutorial with Plastic Wrap

No Water Marble Nail Art Tutorial with Plastic Wrap
Similar to plastic wrap, Saran wrap can also be used to create a no water marble effect on your nails. This tutorial will guide you through the process, showing you how to achieve a more abstract and intricate look using this household item.No Water Marble Nail Art Tutorial with Saran Wrap
No Water Marble Nail Art Tutorial with Saran Wrap

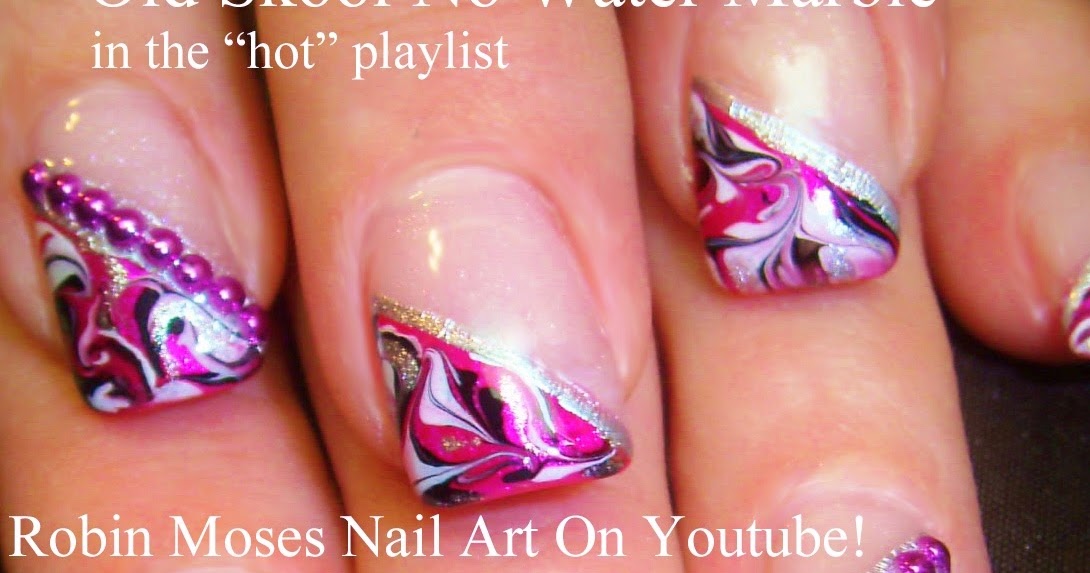
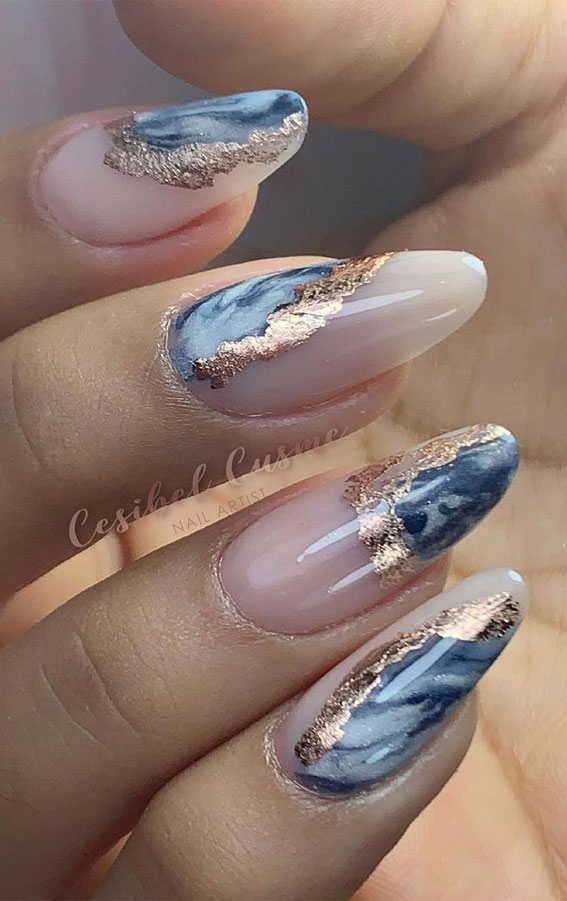
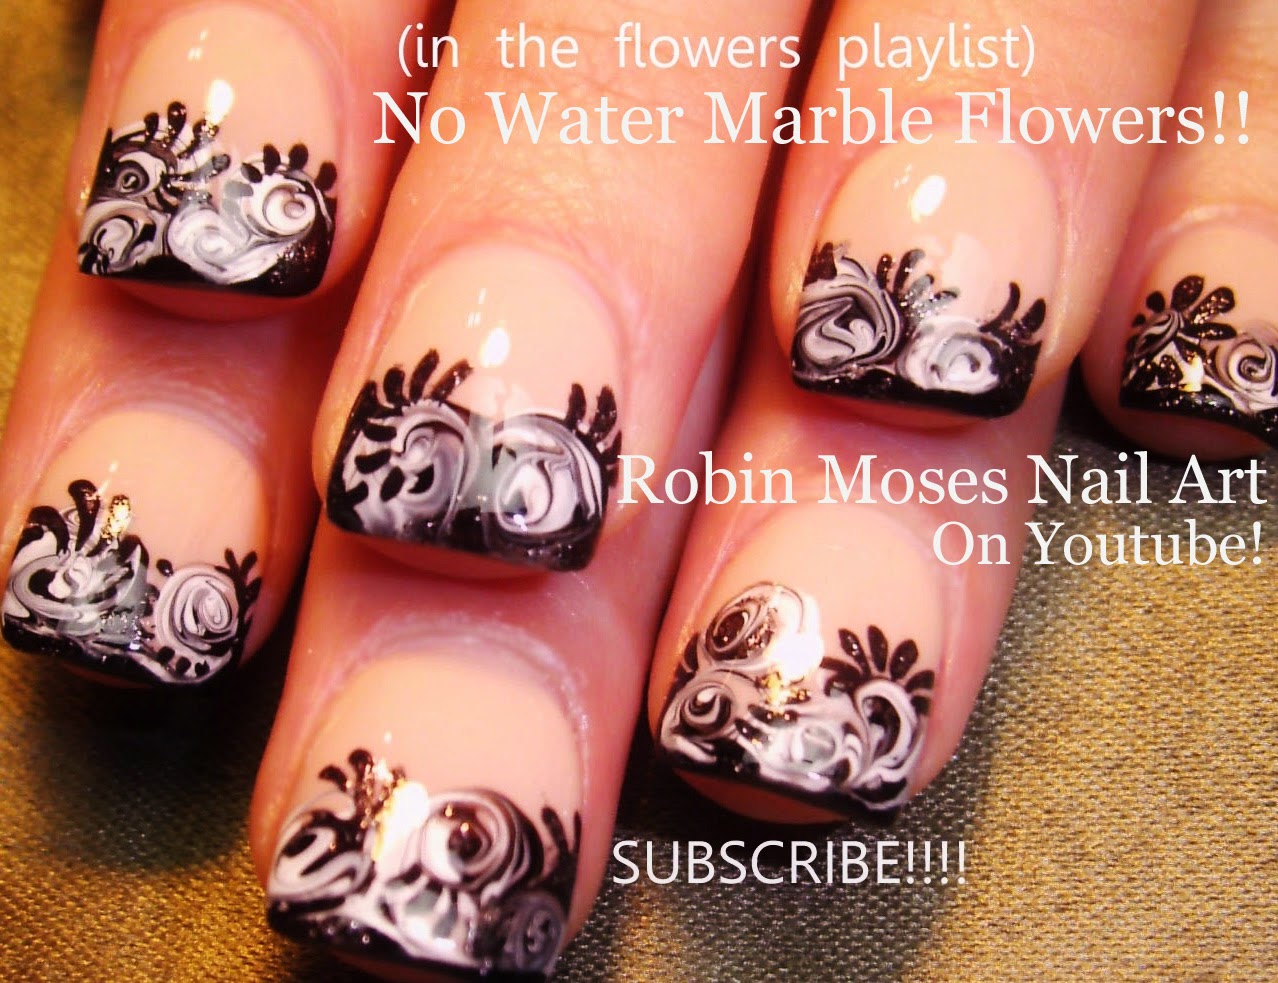
If you want to take your no water marble nail art to the next level, try using nail vinyls. These pre-cut stickers make it easy to create clean and precise lines on your nails. Follow this tutorial to see how you can use nail vinyls for your no water marble design.No Water Marble Nail Art Tutorial with Nail Vinyls
No Water Marble Nail Art Tutorial with Nail Vinyls
.jpg)
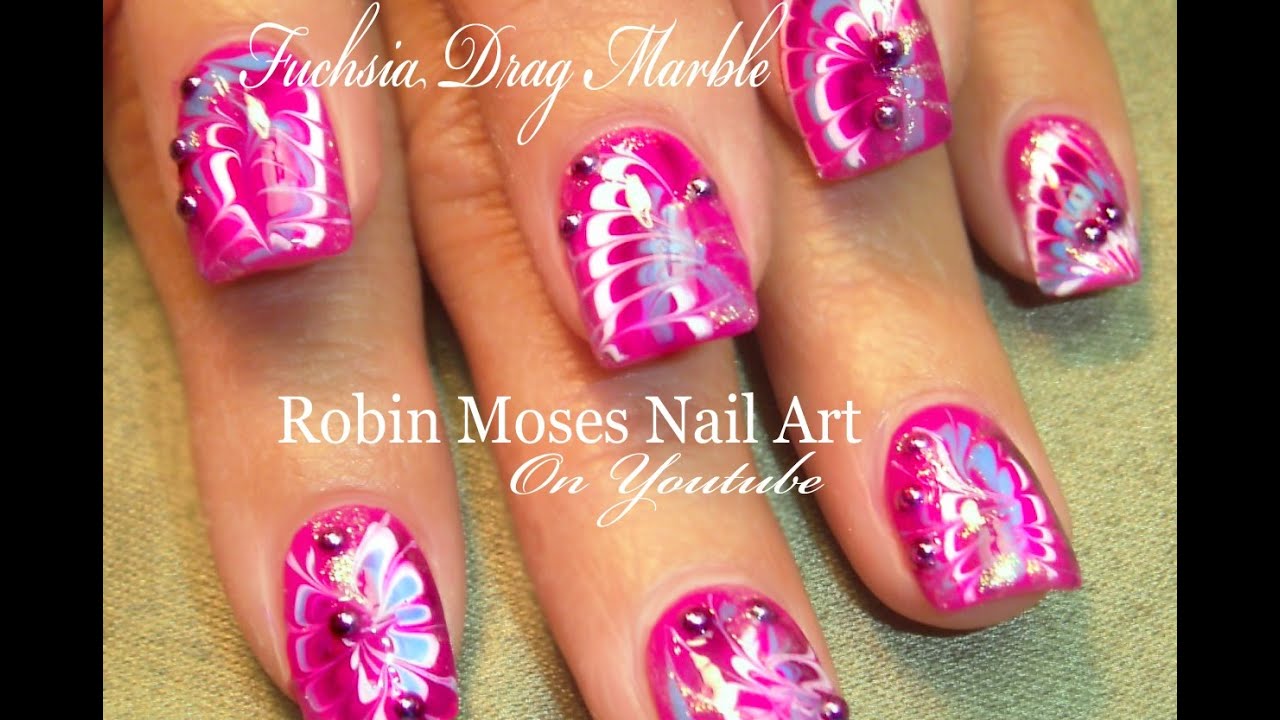
Last but not least, you can also use stamping plates to achieve a no water marble effect on your nails. This quick and easy technique is perfect for anyone who wants to create a stunning and intricate design without spending hours on it. Follow this tutorial to learn how to use stamping plates for your no water marble nail art.No Water Marble Nail Art Tutorial with Stamping Plates
No Water Marble Nail Art Tutorial with Stamping Plates
Creative House Design: Exploring the Art of Water Marble Nail Art

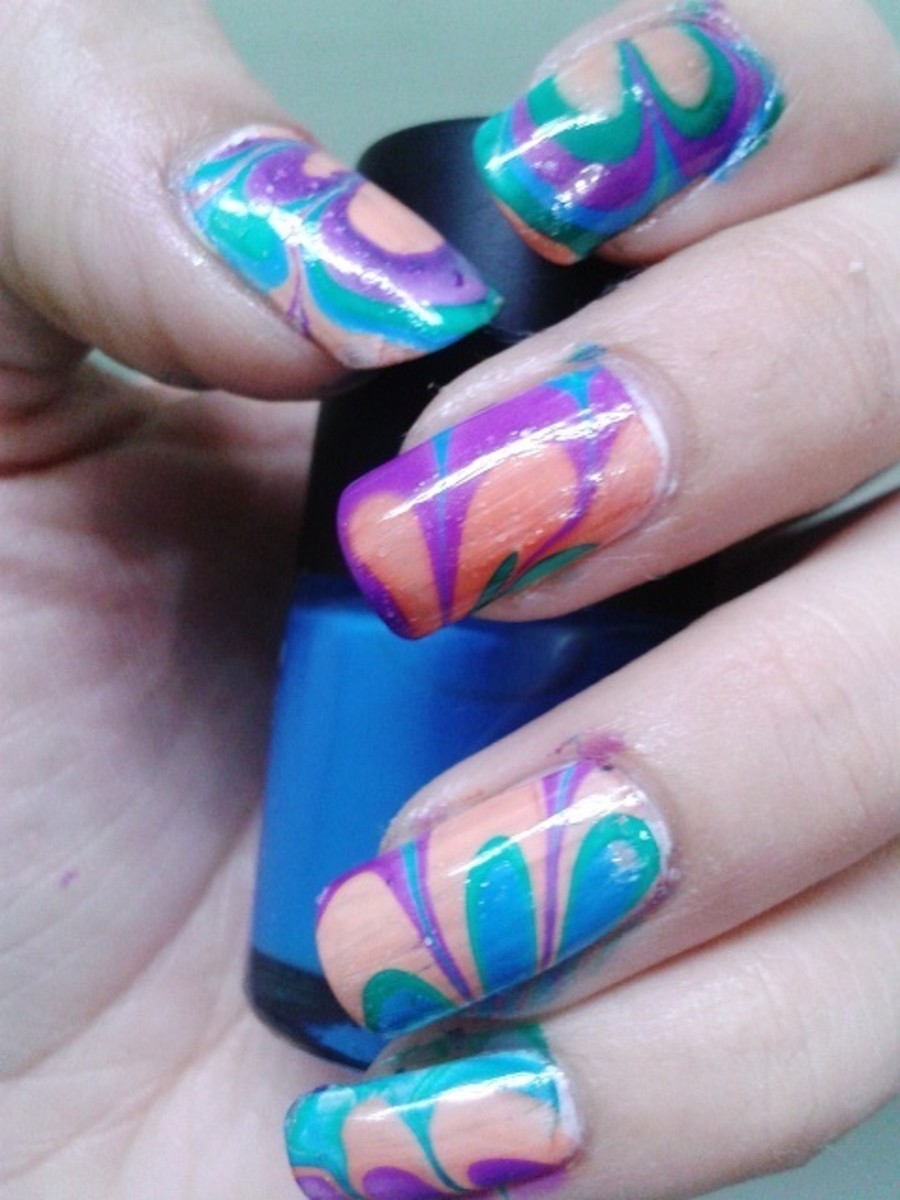
The Beauty of Water Marble Nail Art
 When it comes to nail art, one trend that has taken the world by storm is water marble nail art. This technique involves creating unique and intricate designs on your nails by dropping
nail polish
onto water and then swirling and manipulating the colors to achieve a marbled effect. The result is a stunning and eye-catching design that looks like it was done by a professional manicurist. While it may seem daunting and complicated, with the right tools and techniques, anyone can achieve this
nail art
masterpiece at home.
When it comes to nail art, one trend that has taken the world by storm is water marble nail art. This technique involves creating unique and intricate designs on your nails by dropping
nail polish
onto water and then swirling and manipulating the colors to achieve a marbled effect. The result is a stunning and eye-catching design that looks like it was done by a professional manicurist. While it may seem daunting and complicated, with the right tools and techniques, anyone can achieve this
nail art
masterpiece at home.
Materials and Preparation
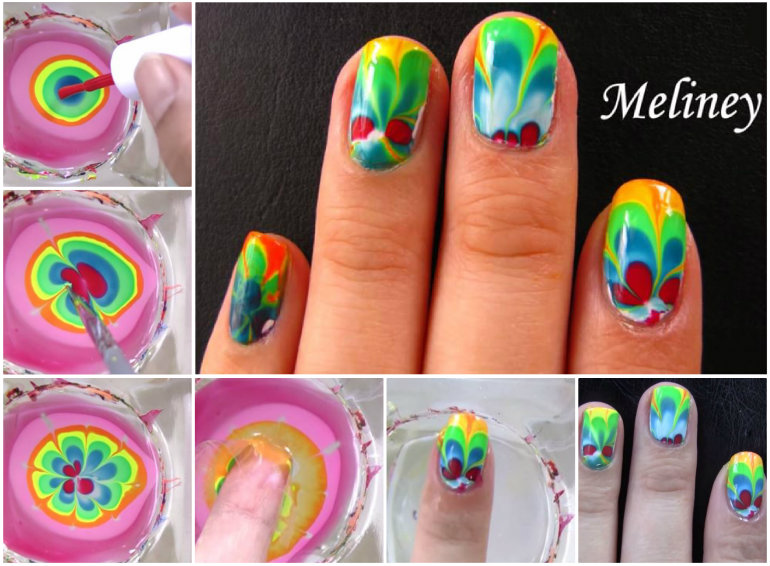
 To start your water marble nail art journey, you will need a few essential materials. These include a bowl of room temperature water,
nail polish
in various colors, a toothpick or
marbling tool
,
base coat
, and
top coat
. It is important to have all your materials ready before starting, as the process can be quite messy. You may also want to lay down some paper towels or newspaper to protect your workspace.
To start your water marble nail art journey, you will need a few essential materials. These include a bowl of room temperature water,
nail polish
in various colors, a toothpick or
marbling tool
,
base coat
, and
top coat
. It is important to have all your materials ready before starting, as the process can be quite messy. You may also want to lay down some paper towels or newspaper to protect your workspace.
Step-by-Step Guide
 Now that you have all your materials, it's time to get started. Begin by applying a
base coat
to your nails to protect them and ensure the
nail polish
adheres properly. Once the base coat is dry, you can start creating your marbled design. Drop a few drops of your chosen
nail polish
colors onto the water, and then use a toothpick or
marbling tool
to create swirls and patterns in the polish. Once you are happy with the design, dip your nails into the water, making sure to submerge them completely. Use the toothpick or
marbling tool
to remove any excess polish from the water before pulling your nails out. You can then use a cotton swab dipped in
acetone
to clean up any polish that may have gotten on your skin. Finish off with a
top coat
for a glossy and long-lasting finish.
Now that you have all your materials, it's time to get started. Begin by applying a
base coat
to your nails to protect them and ensure the
nail polish
adheres properly. Once the base coat is dry, you can start creating your marbled design. Drop a few drops of your chosen
nail polish
colors onto the water, and then use a toothpick or
marbling tool
to create swirls and patterns in the polish. Once you are happy with the design, dip your nails into the water, making sure to submerge them completely. Use the toothpick or
marbling tool
to remove any excess polish from the water before pulling your nails out. You can then use a cotton swab dipped in
acetone
to clean up any polish that may have gotten on your skin. Finish off with a
top coat
for a glossy and long-lasting finish.
Tips and Tricks
 Water marble nail art can take some practice to perfect, but here are a few tips to help you along the way. First, make sure your water is room temperature, as cold water can cause the
nail polish
to dry too quickly. Also, use
nail polish
that is specifically formulated for marbling, as regular polish may not spread properly on the water. Lastly, experiment with different color combinations and designs to create your own unique look.
In conclusion, water marble nail art is a fun and creative way to add a unique touch to your
nail design
. With the right materials and techniques, anyone can achieve this stunning look at home. So why not give it a try and unleash your inner artist?
Water marble nail art can take some practice to perfect, but here are a few tips to help you along the way. First, make sure your water is room temperature, as cold water can cause the
nail polish
to dry too quickly. Also, use
nail polish
that is specifically formulated for marbling, as regular polish may not spread properly on the water. Lastly, experiment with different color combinations and designs to create your own unique look.
In conclusion, water marble nail art is a fun and creative way to add a unique touch to your
nail design
. With the right materials and techniques, anyone can achieve this stunning look at home. So why not give it a try and unleash your inner artist?


