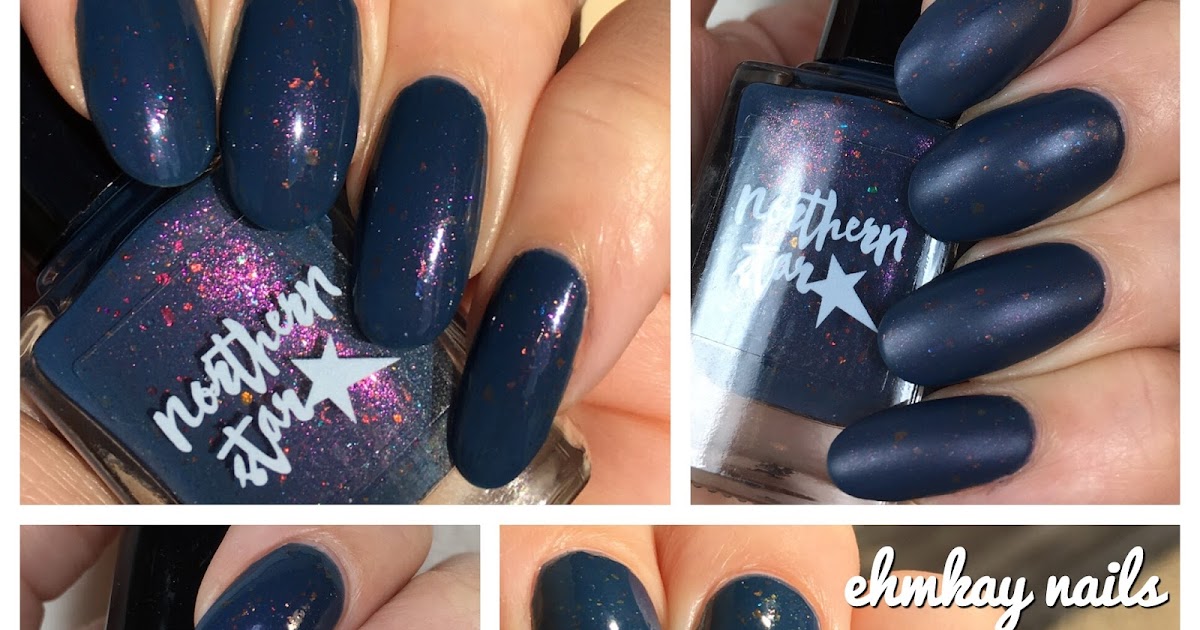
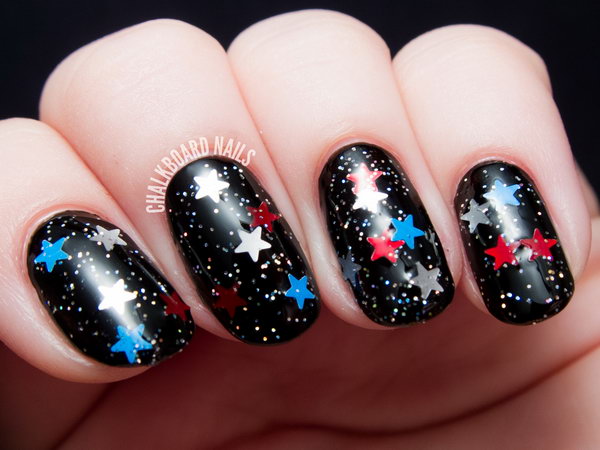
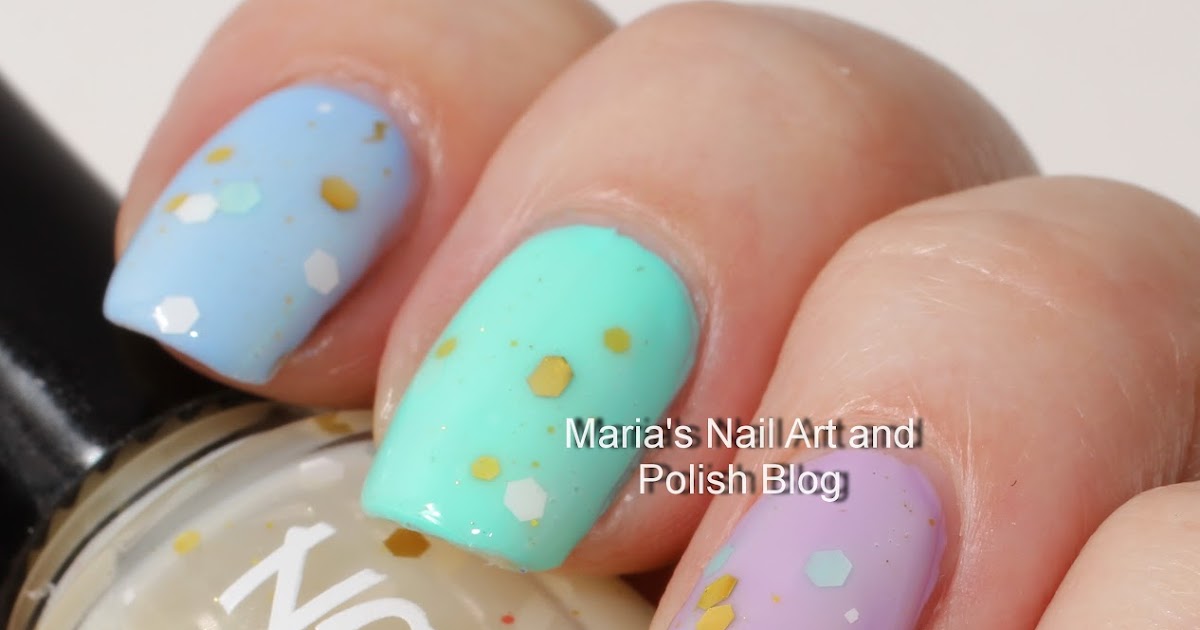
Creating a stunning northern star nail art design has never been easier with our step-by-step tutorial. Follow along and learn how to achieve this celestial look using just a few simple products. Start by applying a base coat to your nails to protect them and ensure the color lasts. Then, choose your preferred nail polish color for the base. We recommend a dark blue or black shade to represent the night sky. Next, take a small nail art brush and dip it into a gold glitter polish. Begin at the center of your nail and create a star shape by drawing five lines, meeting at the center point. Fill in the star with the glitter polish to make it stand out. For the final touch, use a clear top coat to seal in your design and add a glossy finish. And just like that, you have a beautiful northern star nail art design that will surely make you shine.1. Northern Star Nail Art Tutorial


1. Northern Star Nail Art Tutorial


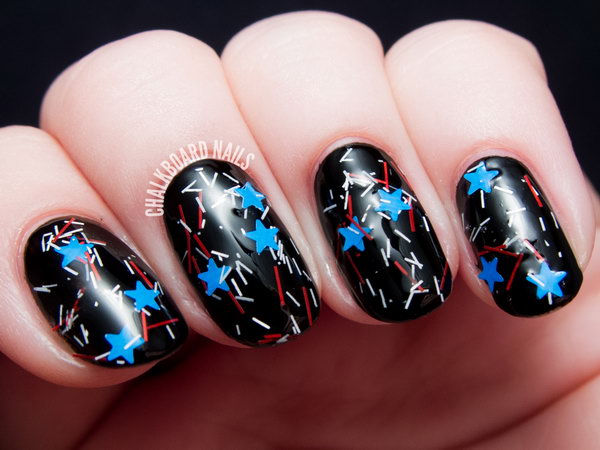
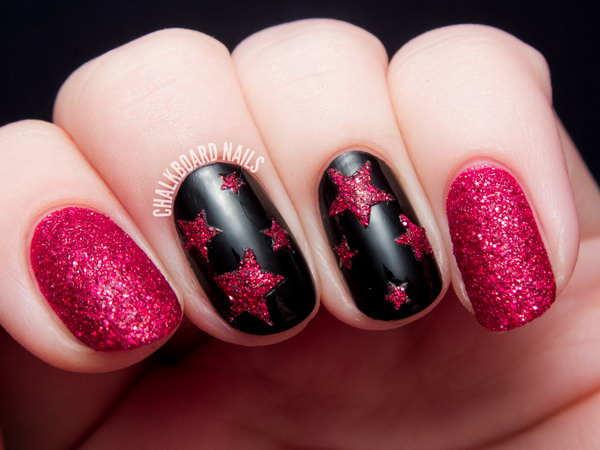
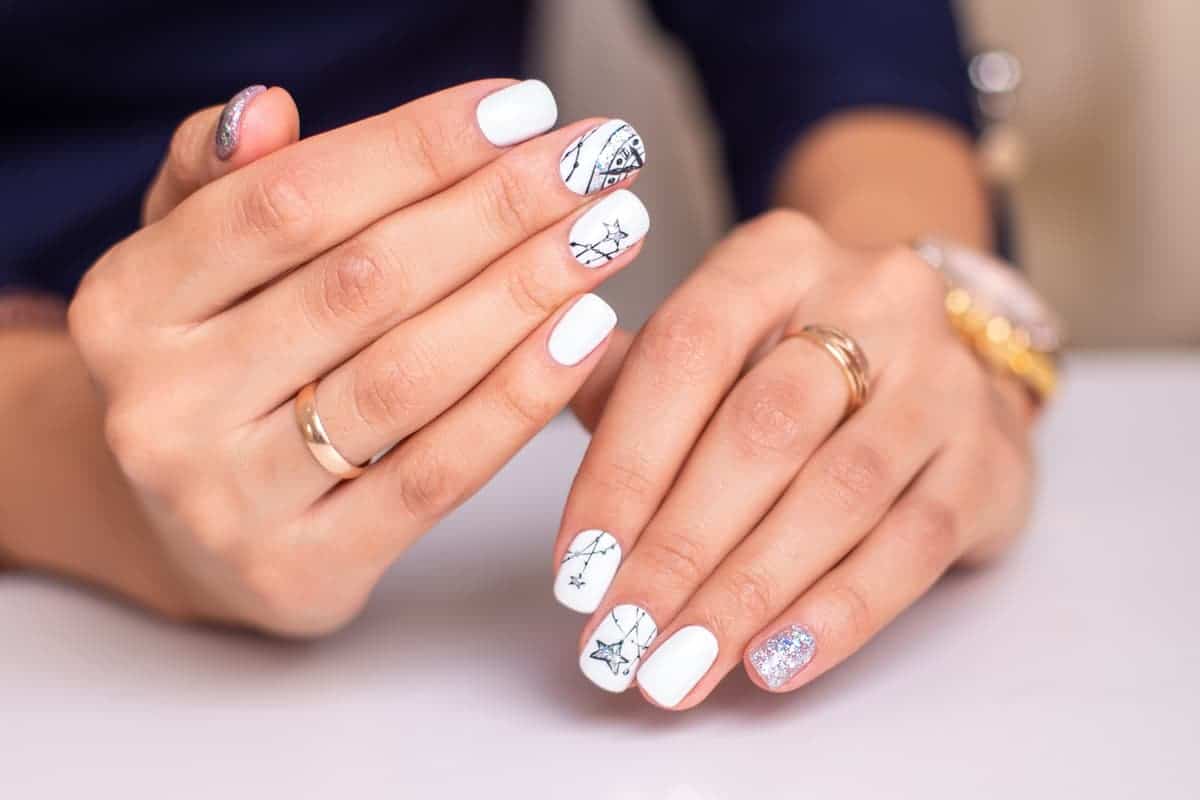
Looking for some inspiration for your next manicure? Look no further than these stunning northern star nail art designs. From simple and subtle to bold and eye-catching, there's a design for everyone. Black and gold is a classic color combination that never goes out of style. For a chic and elegant look, paint your nails with a glossy black polish and add a single gold star on each nail. This design is perfect for a night out or a special occasion. For a more playful and colorful approach, try a galaxy-inspired northern star nail art design. Start with a dark blue base and add swirls of purple, pink, and silver to represent the stars and galaxies. Then, use a nail art brush to create a gold starburst on each nail. Don't be afraid to get creative and make the design your own. Experiment with different colors and shapes to find the perfect northern star nail art design for you.2. Northern Star Nail Art Designs
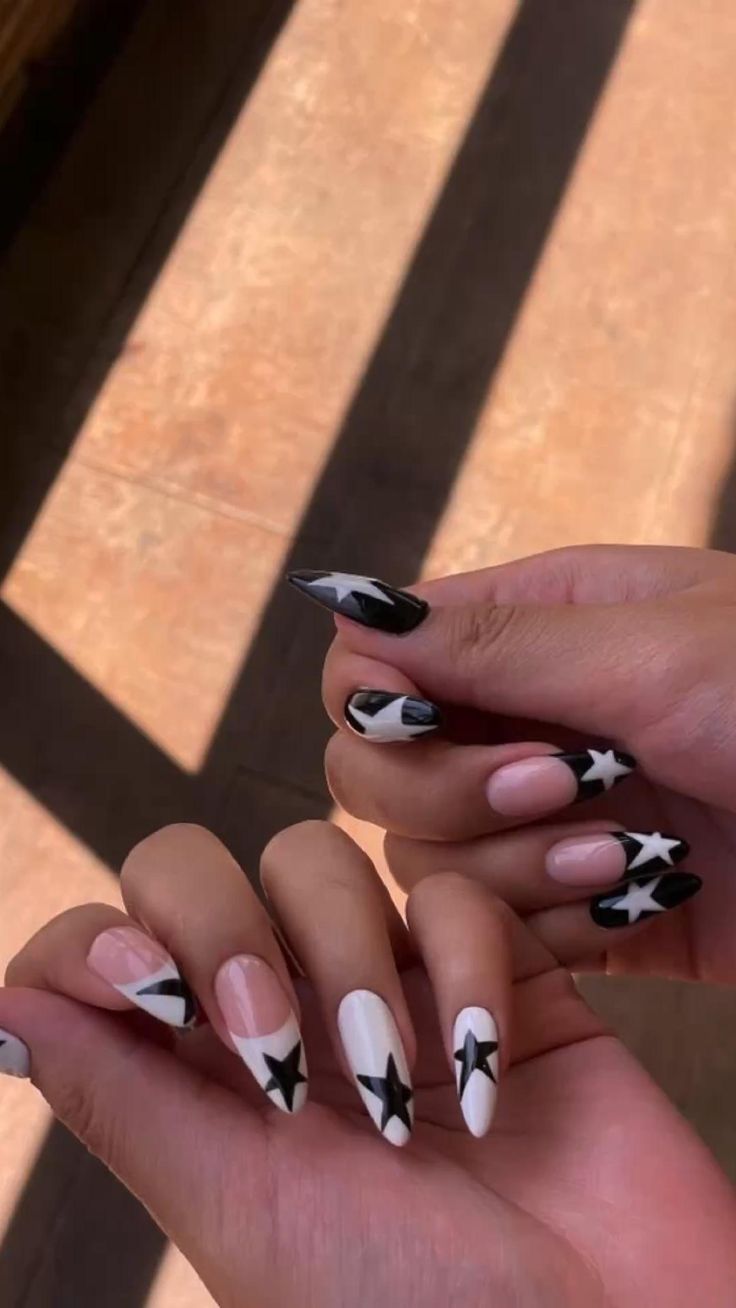

2. Northern Star Nail Art Designs
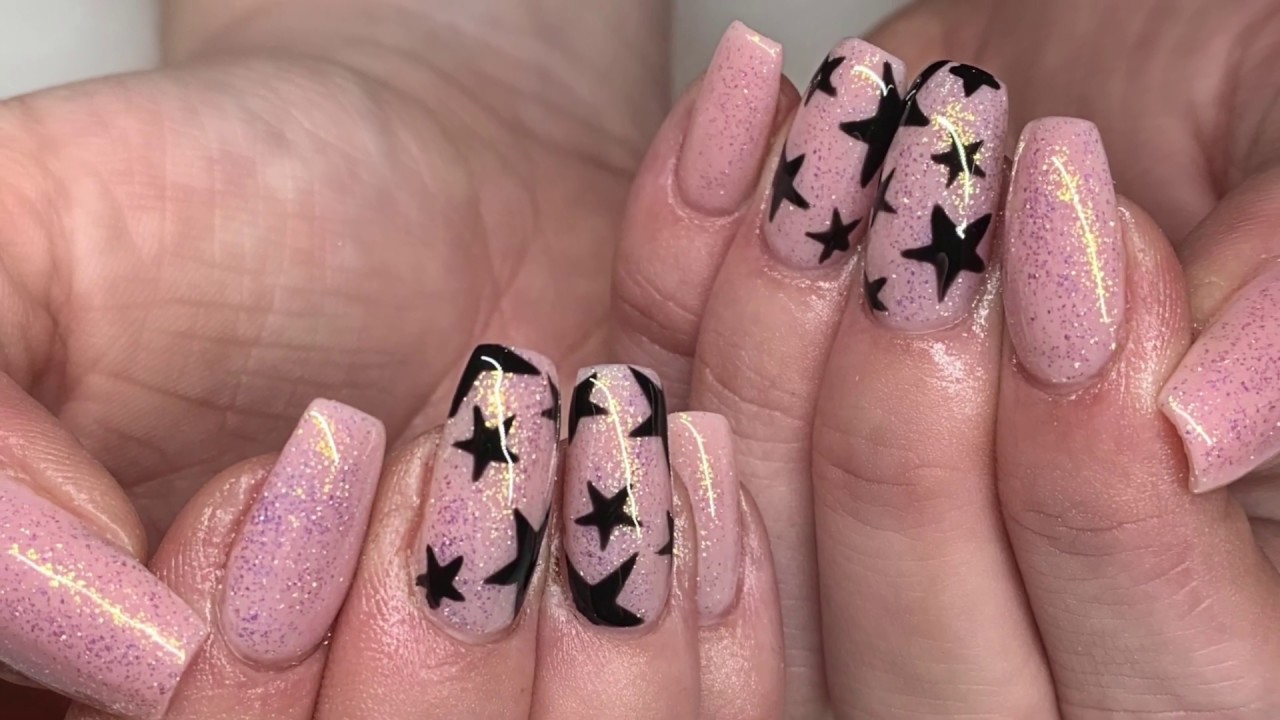
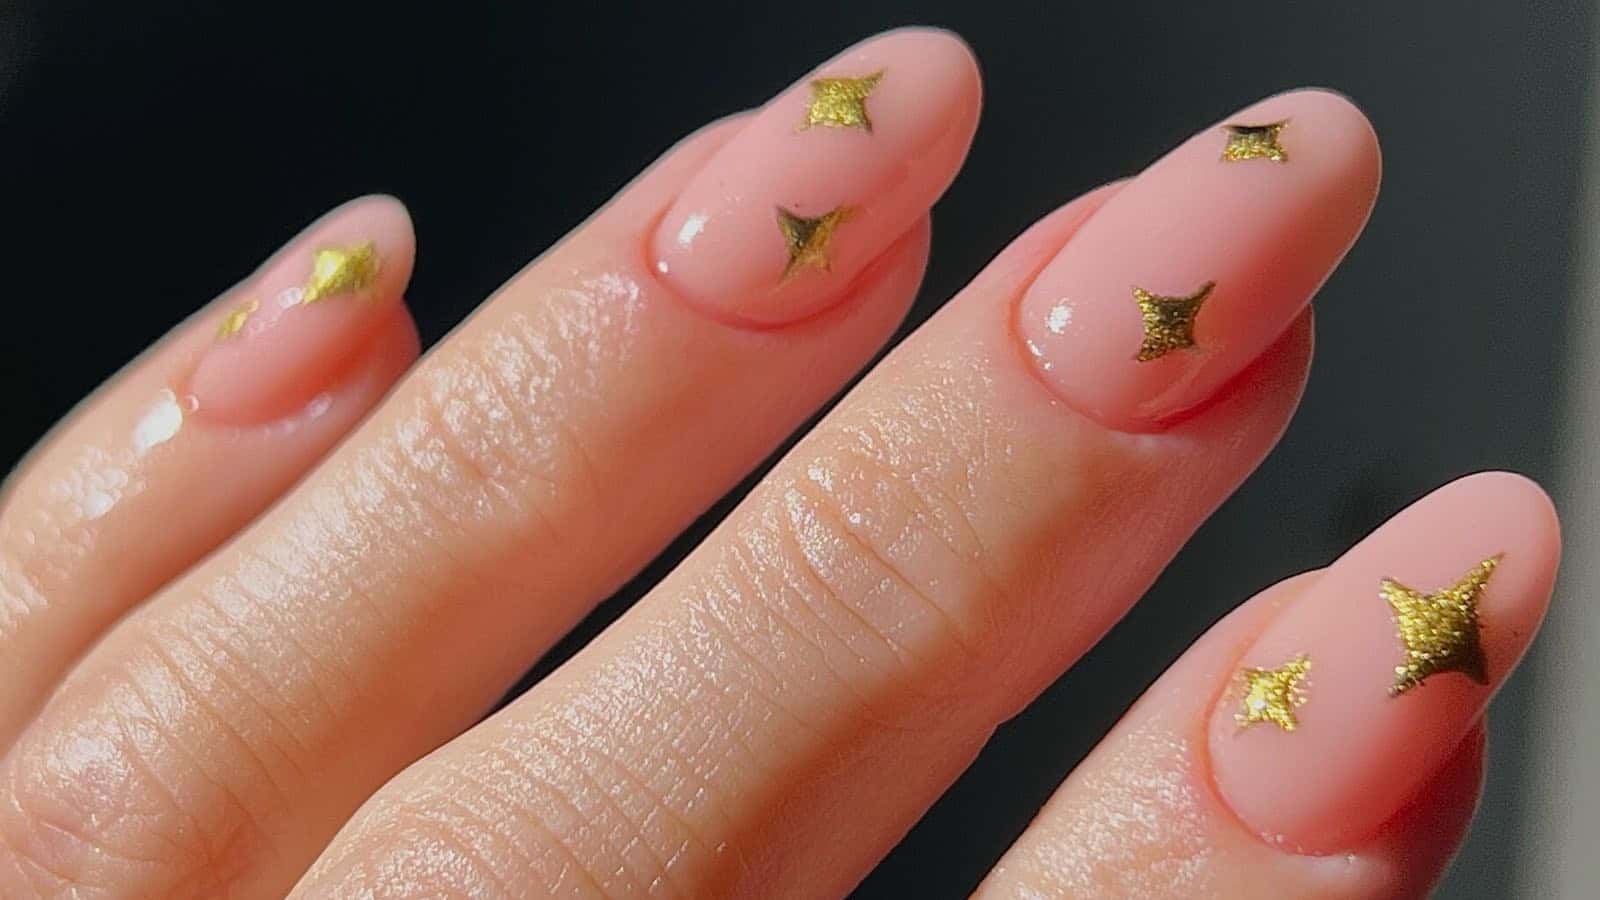
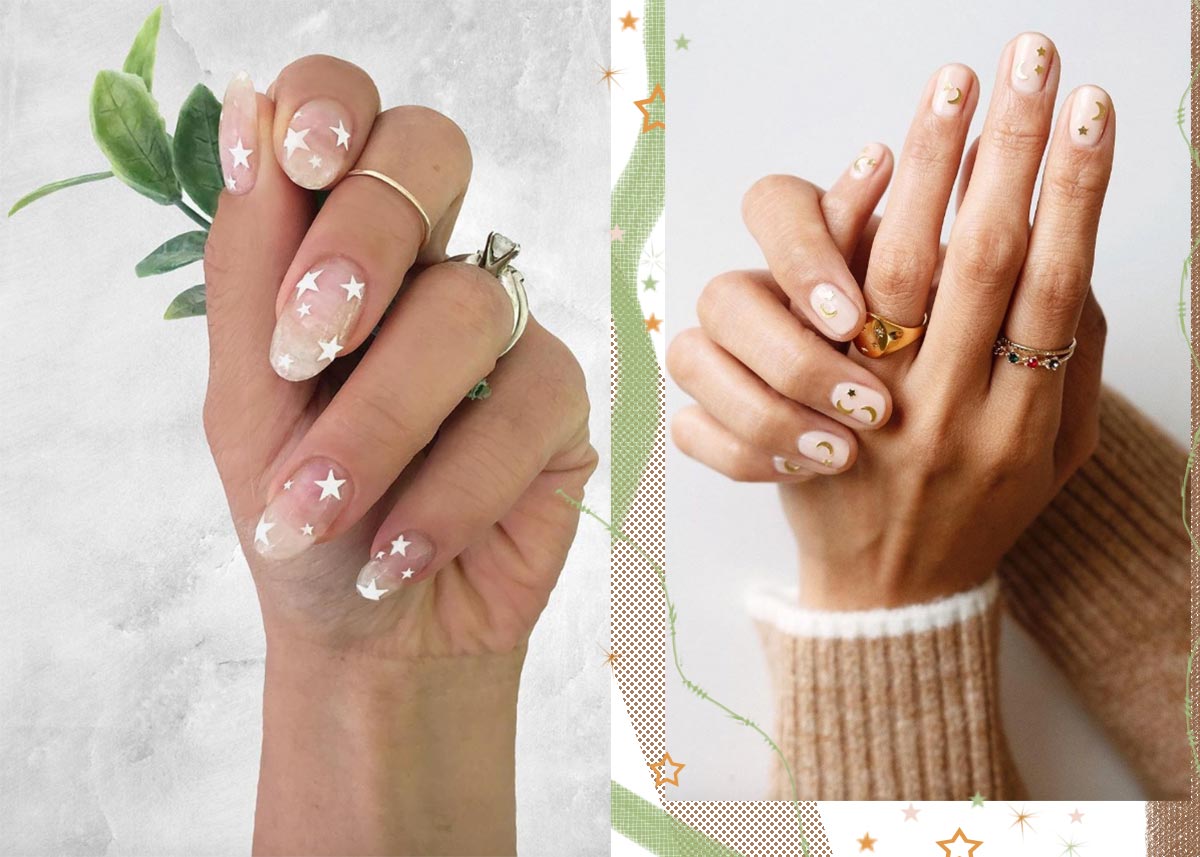
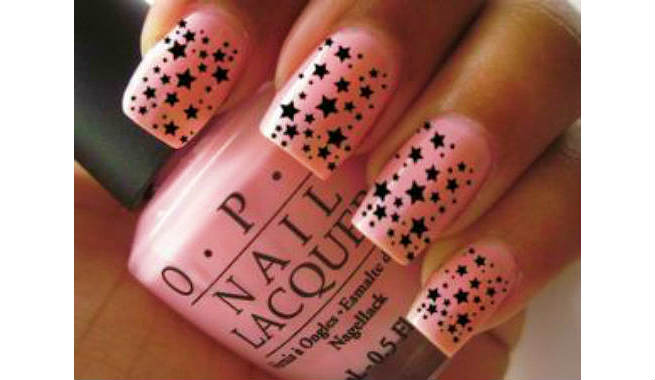
Need some fresh ideas for your next nail art look? We've got you covered with these northern star nail art ideas that are sure to impress. If you're feeling bold and want to make a statement, try a negative space northern star design. Start with a clear base and use a nail art brush to create a constellation of stars on each nail, leaving empty spaces in between. This design is modern and unique, perfect for those who want something different. For a more subtle approach, try a minimalist northern star nail art design. Paint your nails with a light, neutral shade and add a single gold star on each nail. This design is simple yet elegant and can be worn for any occasion. Remember, the possibilities are endless when it comes to nail art ideas. Let your creativity shine and have fun with it.3. Northern Star Nail Art Ideas


3. Northern Star Nail Art Ideas

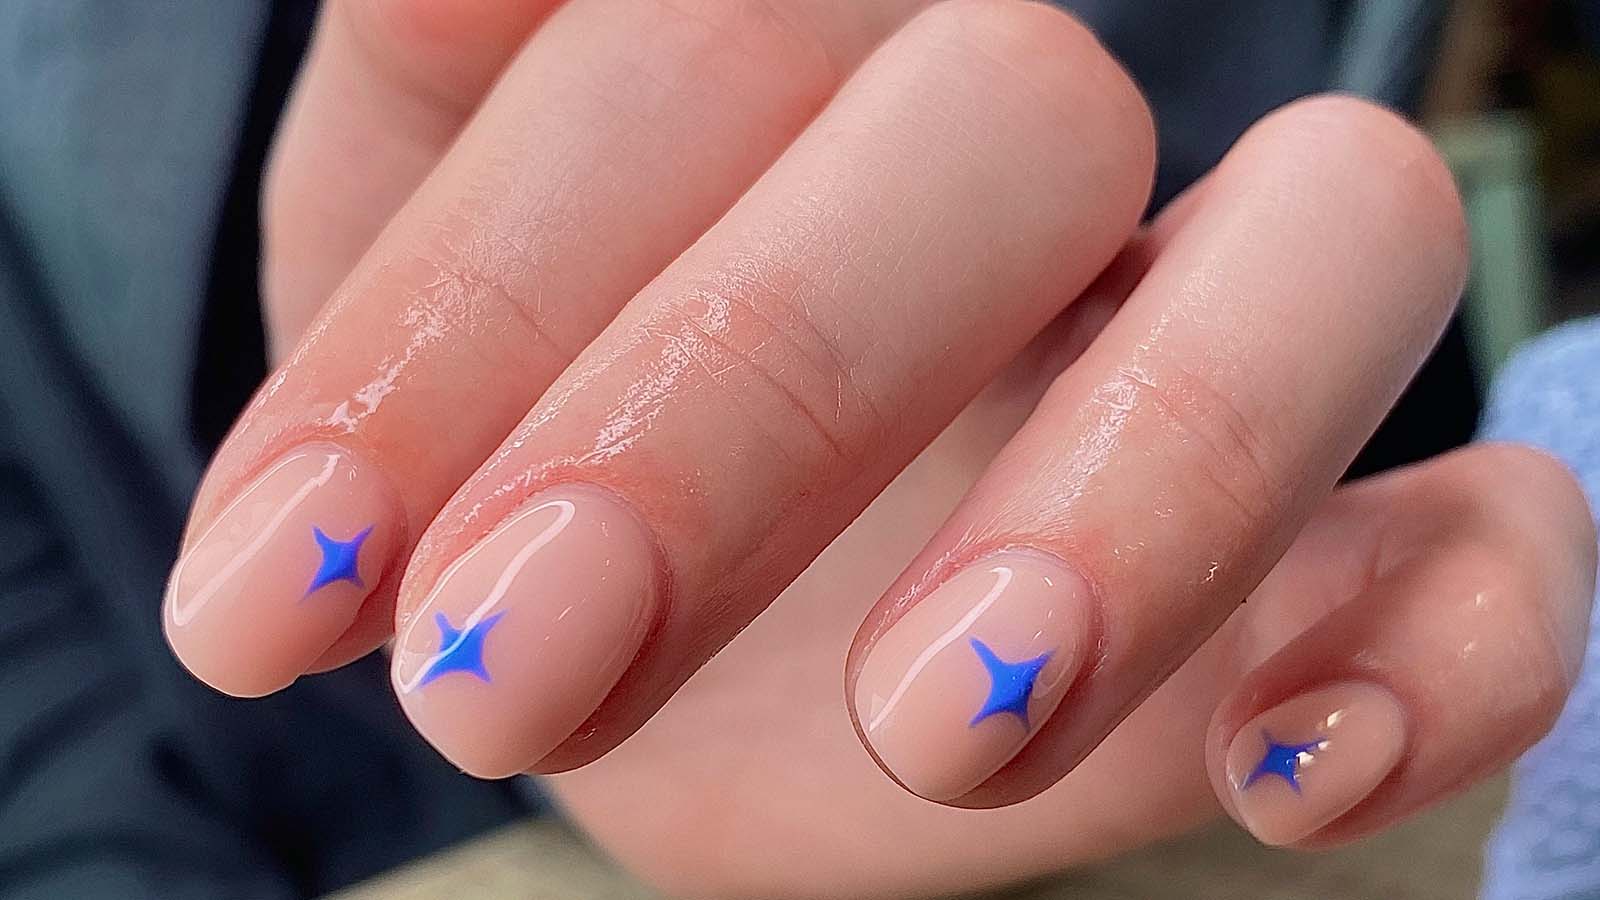
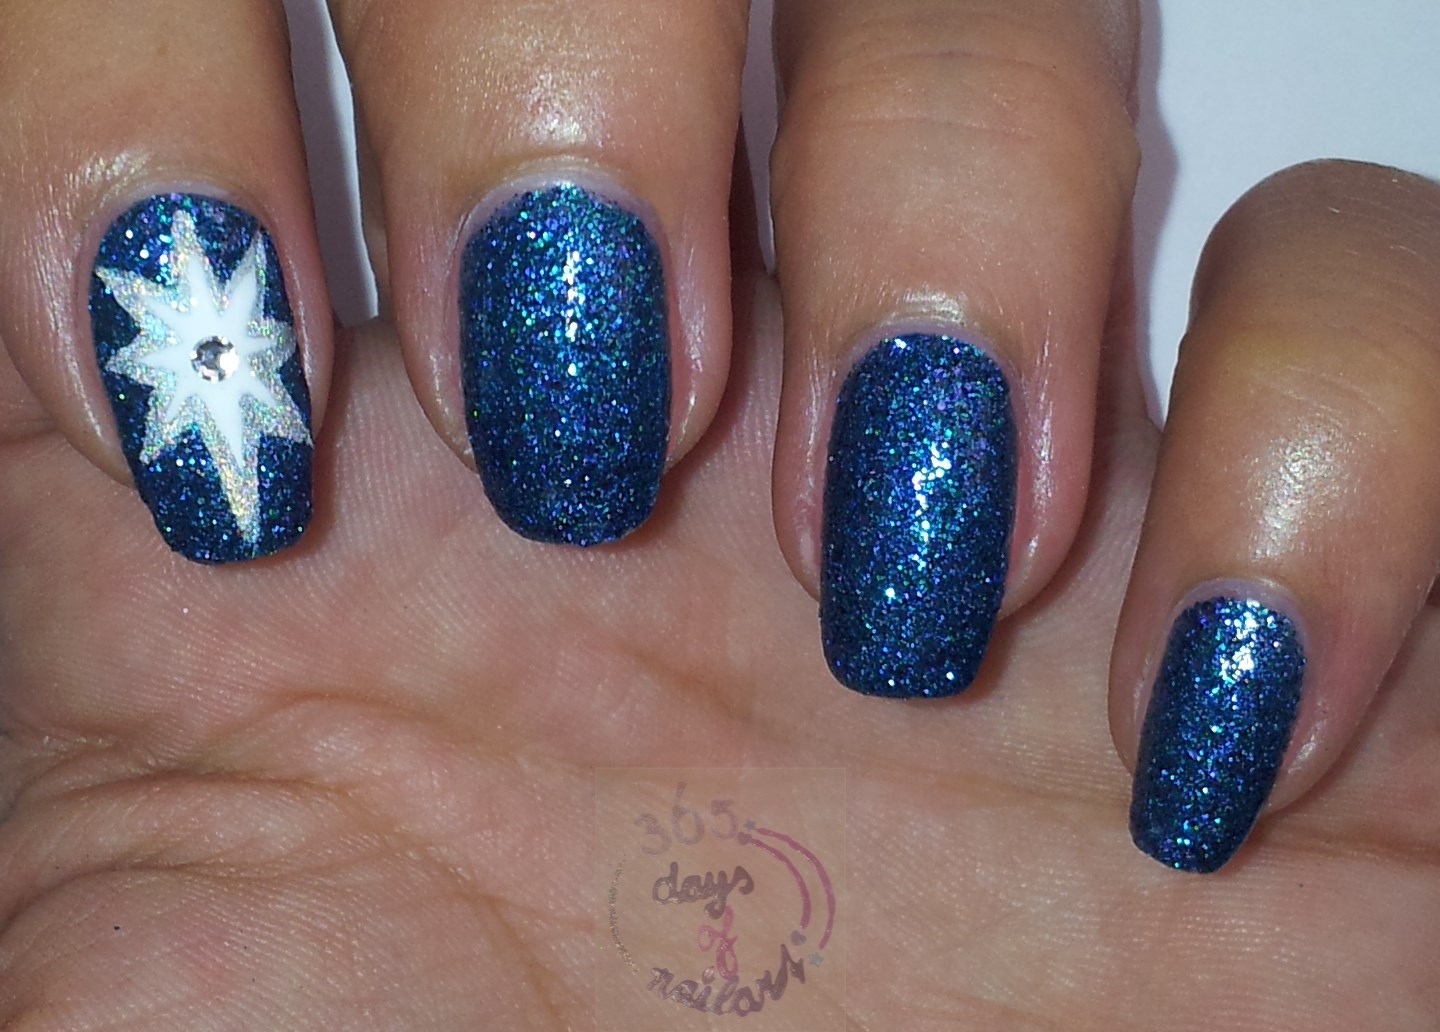
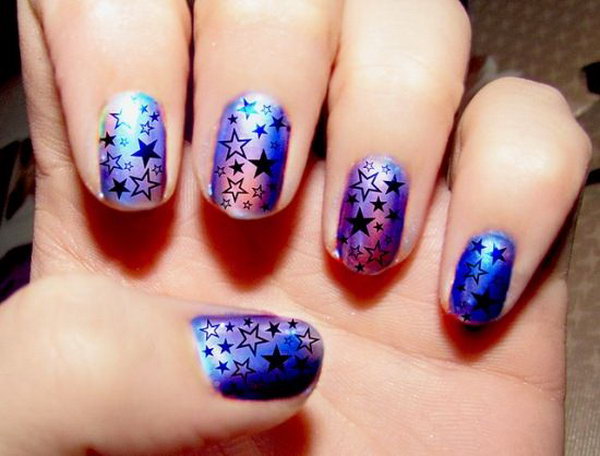
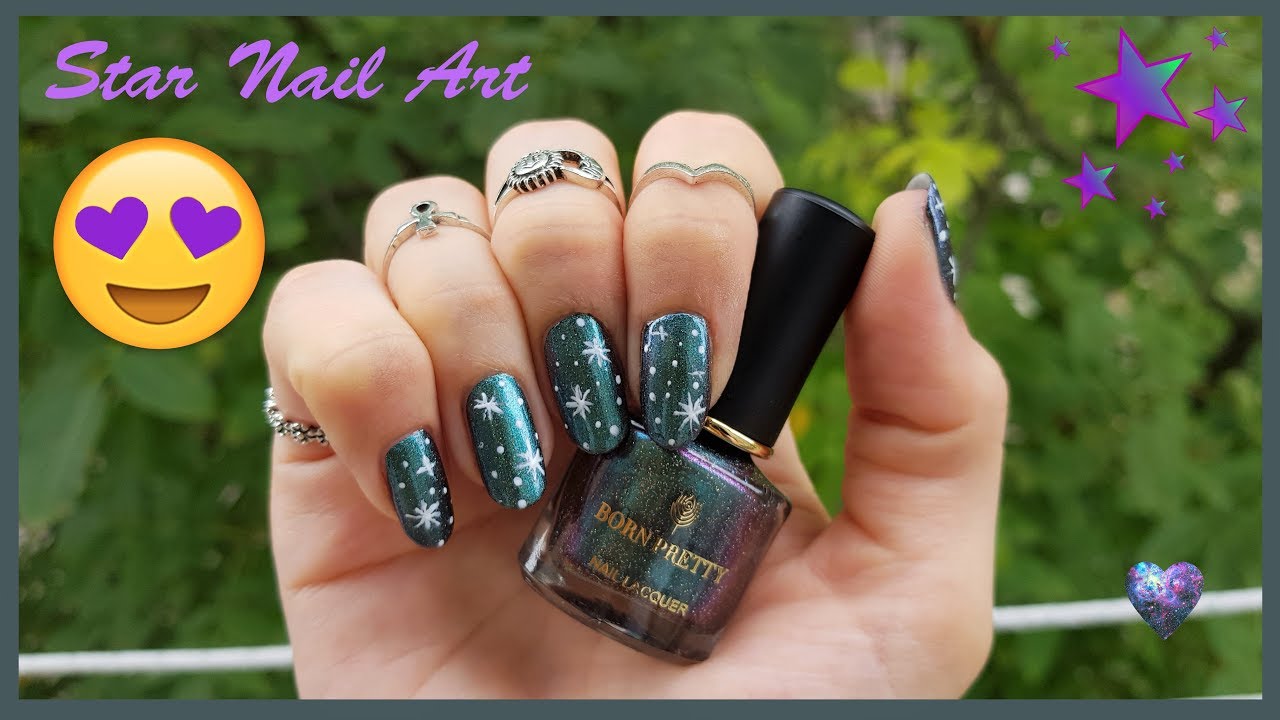
Looking for some inspiration to get started on your northern star nail art journey? Look no further than these stunning designs that will surely spark your imagination. Celestial skies are a popular source of inspiration for northern star nail art. Use shades of blue, purple, and pink to represent the night sky and add silver glitter to create a shimmering effect. Then, add a gold star on each nail to complete the look. For a more unique and whimsical design, try a starry night inspired look. Start with a black base and use a thin nail art brush to create a galaxy pattern using shades of blue, purple, and silver. Then, add a big gold star on one or two nails to represent the northern star. Let these designs inspire you to create your own stunning northern star nail art look that will make you feel out of this world.4. Northern Star Nail Art Inspiration


4. Northern Star Nail Art Inspiration


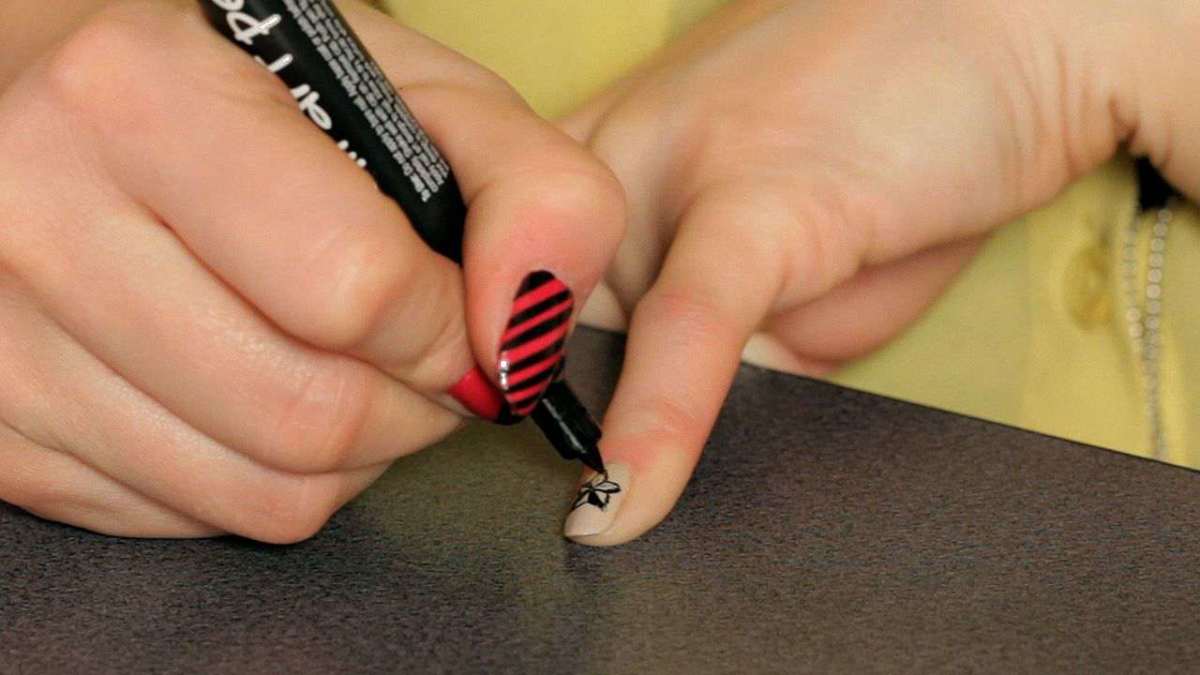
Creating a beautiful northern star nail art design requires some skill and technique. Here are some tips to help you achieve the perfect look. First, make sure you have the right nail art tools such as a thin nail art brush, dotting tools, and a clean-up brush. These tools will help you create precise lines and shapes. When drawing the stars, start with the center point and then draw the lines outward. This will help you create a symmetrical and even star shape. You can also use a dotting tool to create small dots instead of lines for a different look. Lastly, practice makes perfect. Don't be discouraged if your first attempt doesn't turn out as expected. Keep trying and experimenting with different techniques to find what works best for you.5. Northern Star Nail Art Techniques

5. Northern Star Nail Art Techniques

To achieve the perfect northern star nail art, here are some tips to keep in mind. When using glitter polish, make sure to use a peel-off base coat to make the removal process easier. Glitter polish can be stubborn to remove, and a peel-off base coat will save you time and effort. For a more dramatic look, add a black or dark blue base color to your design. This will make the stars stand out and create a more intense look. If you're short on time, try using nail stickers to create the stars. This will save you time and effort, and you can still achieve a stunning northern star nail art design.6. Northern Star Nail Art Tips

6. Northern Star Nail Art Tips


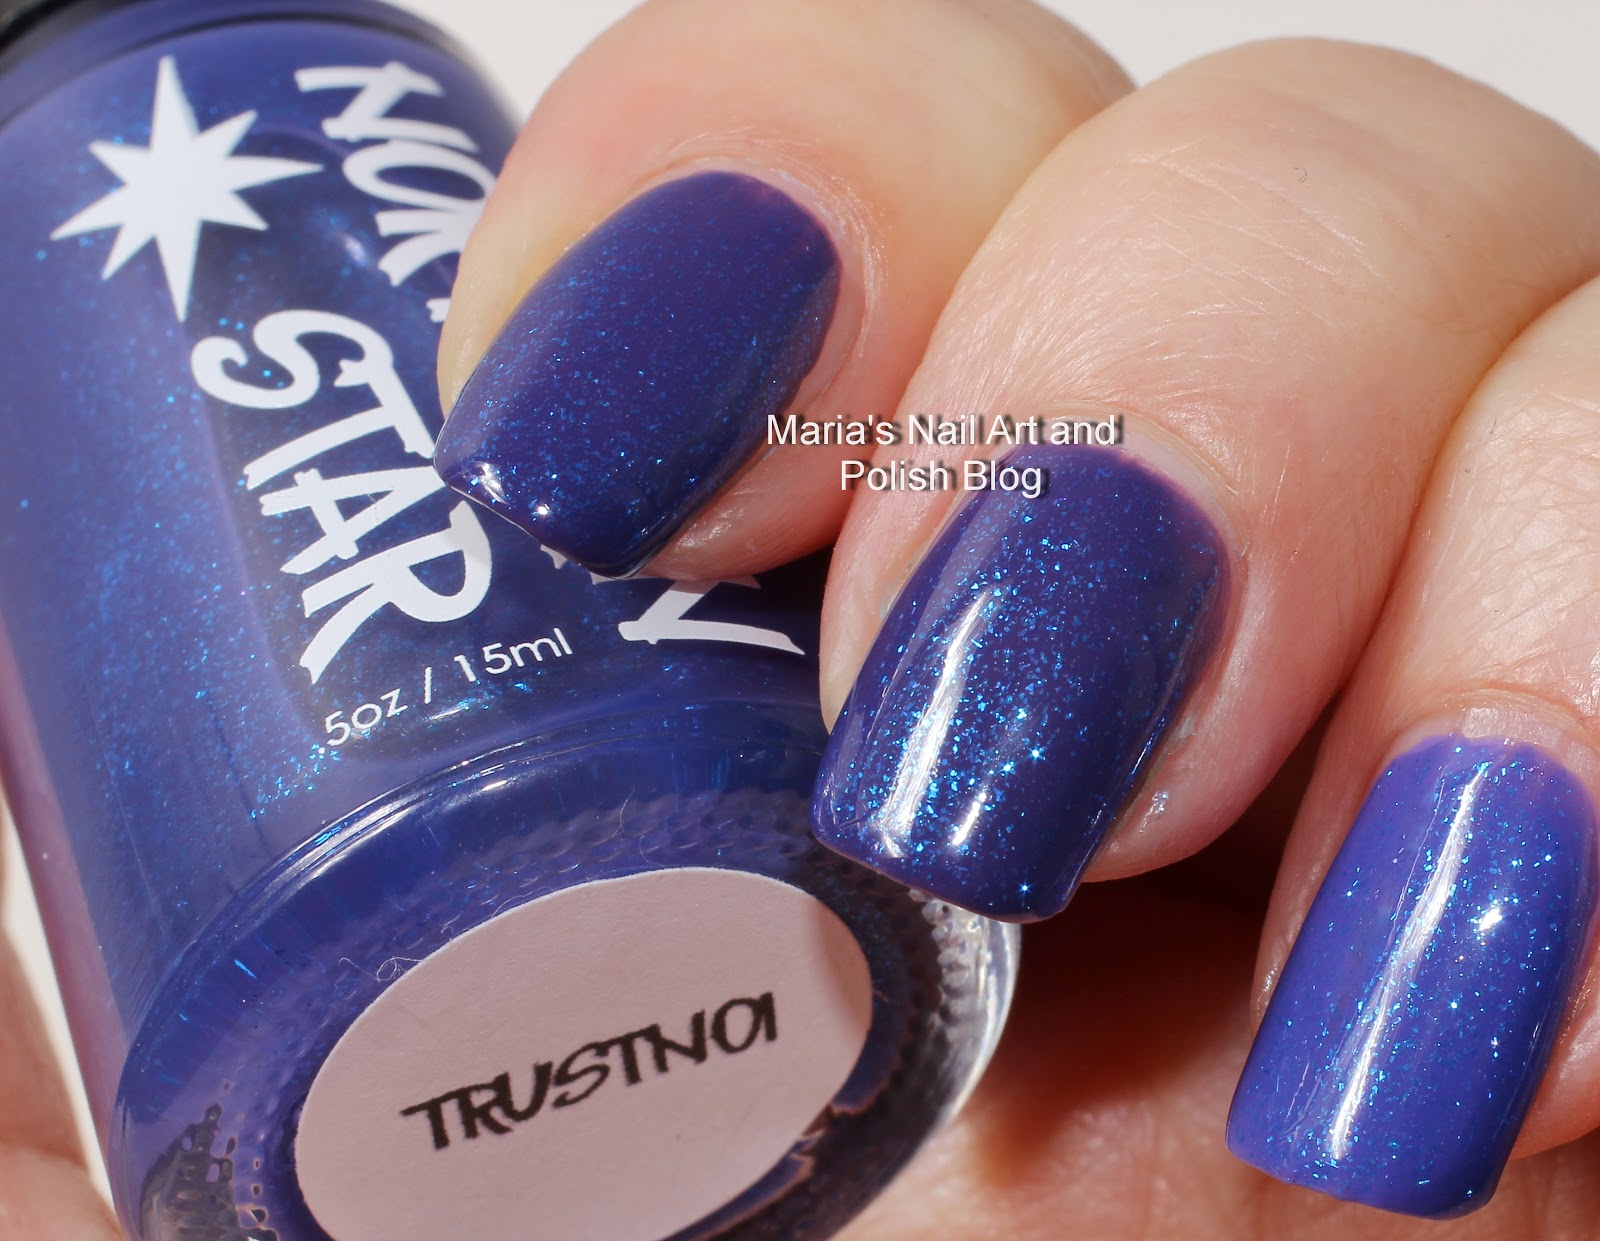
Having the right products is essential to achieving a beautiful northern star nail art design. Here are some must-have products for your nail art kit. A good nail polish in a dark color such as black, dark blue, or purple is essential for the base of your design. Make sure to choose a high-quality polish that will last and give you a smooth finish. A gold glitter polish is a must for creating the stars. Look for a polish with fine glitter particles for a more precise and clean look. To seal in your design and give it a glossy finish, a clear top coat is a must. This will also help your design last longer and prevent chipping.7. Northern Star Nail Art Products

7. Northern Star Nail Art Products

Aside from the products, there are also some essential supplies you will need to create your northern star nail art. A nail art brush is necessary for creating the stars and other intricate designs. Look for a thin brush with a pointed tip for more precision. Dotting tools are also useful for creating small dots or shapes. You can also use the back of a bobby pin or a toothpick as an alternative. A clean-up brush is essential for fixing any mistakes or cleaning up the edges of your design. Simply dip the brush in some nail polish remover and use it to clean up any excess polish.8. Northern Star Nail Art Supplies

8. Northern Star Nail Art Supplies
If you're new to nail art, here's a step-by-step guide to help you achieve a beautiful northern star nail art design. Step 1: Start by applying a base coat to your nails to protect them and ensure the color lasts. Step 2: Choose a dark base color such as black or dark blue and paint your nails with it. Let it dry completely. Step 3: Take a small nail art brush and dip it into a gold glitter polish. Begin at the center of your nail and create a star shape by drawing five lines, meeting at the center point. Fill in the star with the glitter polish. Step 4: Use a clear top coat to seal in your design and add a glossy finish. Step 5: Repeat the process on all of your nails and let them dry completely. And voila! You now have a stunning northern star nail art design.9. Northern Star Nail Art Step-by-Step
9. Northern Star Nail Art Step-by-Step
Don't worry if you're new to nail art, you can still achieve a beautiful northern star design. Here are some tips for beginners. Start with a simple design using just one gold star on each nail. This will help you get the hang of drawing stars and build your confidence. Invest in some nail art stickers or stencils to make the process easier. These tools will help you create perfect stars without much effort. Remember to be patient and have fun. Nail art takes practice, but with time and patience, you'll be able to create more intricate and beautiful designs.10. Northern Star Nail Art for Beginners
10. Northern Star Nail Art for Beginners


How to Incorporate Northern Star Nail Art Into Your Home Design
Unleash Your Creativity
 When it comes to home design, there are endless possibilities to explore. From colors and textures to furniture and decor, there are no limits to what you can create. One unique way to add a touch of elegance and creativity to your home is by incorporating
northern star nail art
. This simple yet stunning design can add a subtle pop of color and visual interest to any room in your house.
When it comes to home design, there are endless possibilities to explore. From colors and textures to furniture and decor, there are no limits to what you can create. One unique way to add a touch of elegance and creativity to your home is by incorporating
northern star nail art
. This simple yet stunning design can add a subtle pop of color and visual interest to any room in your house.
Where to Use Northern Star Nail Art
 There are various ways to incorporate
northern star nail art
into your home design. One popular way is by using it as an accent wall in your living room or bedroom. Choose a neutral color for the surrounding walls and add a bold, oversized northern star design in a contrasting color. This will create a striking focal point in the room and add a touch of personality.
Another way to use this nail art design is by creating a feature piece of furniture. You can paint a wooden table or dresser with a northern star pattern to add a unique touch to your home decor. This works particularly well in rooms with a rustic or farmhouse theme.
There are various ways to incorporate
northern star nail art
into your home design. One popular way is by using it as an accent wall in your living room or bedroom. Choose a neutral color for the surrounding walls and add a bold, oversized northern star design in a contrasting color. This will create a striking focal point in the room and add a touch of personality.
Another way to use this nail art design is by creating a feature piece of furniture. You can paint a wooden table or dresser with a northern star pattern to add a unique touch to your home decor. This works particularly well in rooms with a rustic or farmhouse theme.
Color Schemes to Consider
 When incorporating
northern star nail art
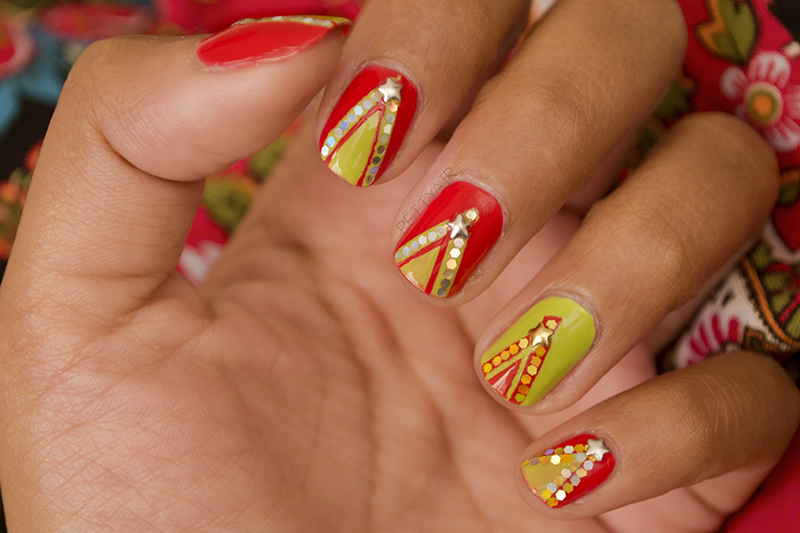
into your home design, it's essential to consider the color scheme of the room. This design works best with a muted or neutral color palette, as it allows the northern star to stand out and make a statement. Consider using shades of blue, gray, or white for the background, and choose a bold color such as red, yellow, or green for the northern star design.
When incorporating
northern star nail art
into your home design, it's essential to consider the color scheme of the room. This design works best with a muted or neutral color palette, as it allows the northern star to stand out and make a statement. Consider using shades of blue, gray, or white for the background, and choose a bold color such as red, yellow, or green for the northern star design.
Creating Balance
 As with any design element, it's crucial to create balance in your space. If you choose to have a bold northern star design, balance it out with subtle and minimalistic decor and furniture. This will ensure that the design is not overwhelming and remains the focal point of the room.
In conclusion, incorporating
northern star nail art
into your home design allows you to unleash your creativity and add a unique touch to your space. Consider using it as an accent wall or feature piece of furniture, and choose a color scheme that complements your overall design. With the right balance, this nail art design can add a touch of elegance and charm to any room in your home.
As with any design element, it's crucial to create balance in your space. If you choose to have a bold northern star design, balance it out with subtle and minimalistic decor and furniture. This will ensure that the design is not overwhelming and remains the focal point of the room.
In conclusion, incorporating
northern star nail art
into your home design allows you to unleash your creativity and add a unique touch to your space. Consider using it as an accent wall or feature piece of furniture, and choose a color scheme that complements your overall design. With the right balance, this nail art design can add a touch of elegance and charm to any room in your home.


