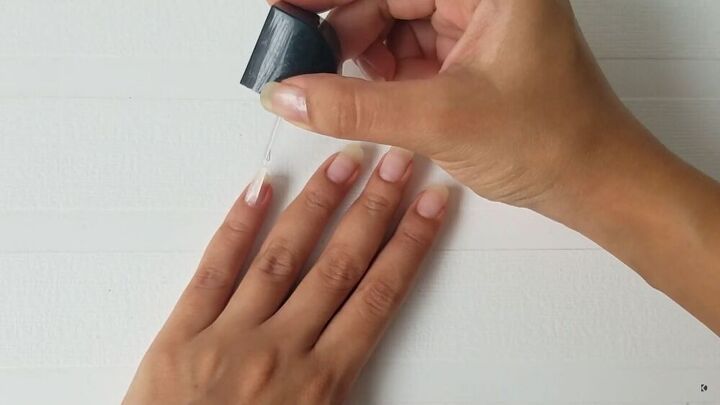
If you're tired of the same old solid color nails, why not try something more creative and eye-catching? "Oil spill" nail art is a trend that has been taking the beauty world by storm, and for good reason. Not only is it unique and fun, but it's also surprisingly easy to recreate at home. In this tutorial, we'll show you how to achieve the perfect "oil spill" effect on your nails. First, you'll need to gather your materials. You'll need a base coat, top coat, black nail polish, and 3-4 other holographic or iridescent polishes of your choice. You can also use a sponge or makeup brush for blending. Start by applying a clear base coat to your nails to protect them from staining and help the polish last longer. Then, paint your nails with a black polish and allow them to dry completely. Next, take your first holographic or iridescent polish and apply it to the corner of your nail, leaving some of the black polish showing. Use a sponge or makeup brush to gently blend the polish into the black, creating a gradient effect. Repeat this step with your other chosen polishes, blending them into each other and the black polish. Once your nails are dry, finish off with a shiny top coat to seal in the design and add some extra shine. And there you have it, your very own "oil spill" nail art!1. "Oil Spill" Nail Art Tutorial


1. "Oil Spill" Nail Art Tutorial


If you're new to the world of nail art, creating an "oil spill" effect on your nails may seem daunting. But fear not, it's actually quite simple and can be achieved with just a few easy steps. Start by painting your nails with a base color of your choice. Black is a popular choice for this look, but you can also use dark blue, purple, or even a deep green. Allow the polish to dry completely before moving on to the next step. Next, take your holographic or iridescent polish and apply it to one side of your nail, leaving some of the base color showing. Use a sponge or makeup brush to gently blend the polish into the base color, creating a gradient effect. Repeat this step with your other chosen polishes, blending them into each other and the base color. Once your nails are dry, finish off with a top coat to seal in the design and add some extra shine. And just like that, you have a stunning "oil spill" effect on your nails!2. How to Create an "Oil Spill" Effect on Your Nails

2. How to Create an "Oil Spill" Effect on Your Nails

:max_bytes(150000):strip_icc()/Oil-spill-58f0f7473df78cd3fc17bd42.jpg)
:max_bytes(150000):strip_icc()/GettyImages-dv118021-5c3f8c54c9e77c00017d2ca2.jpg)
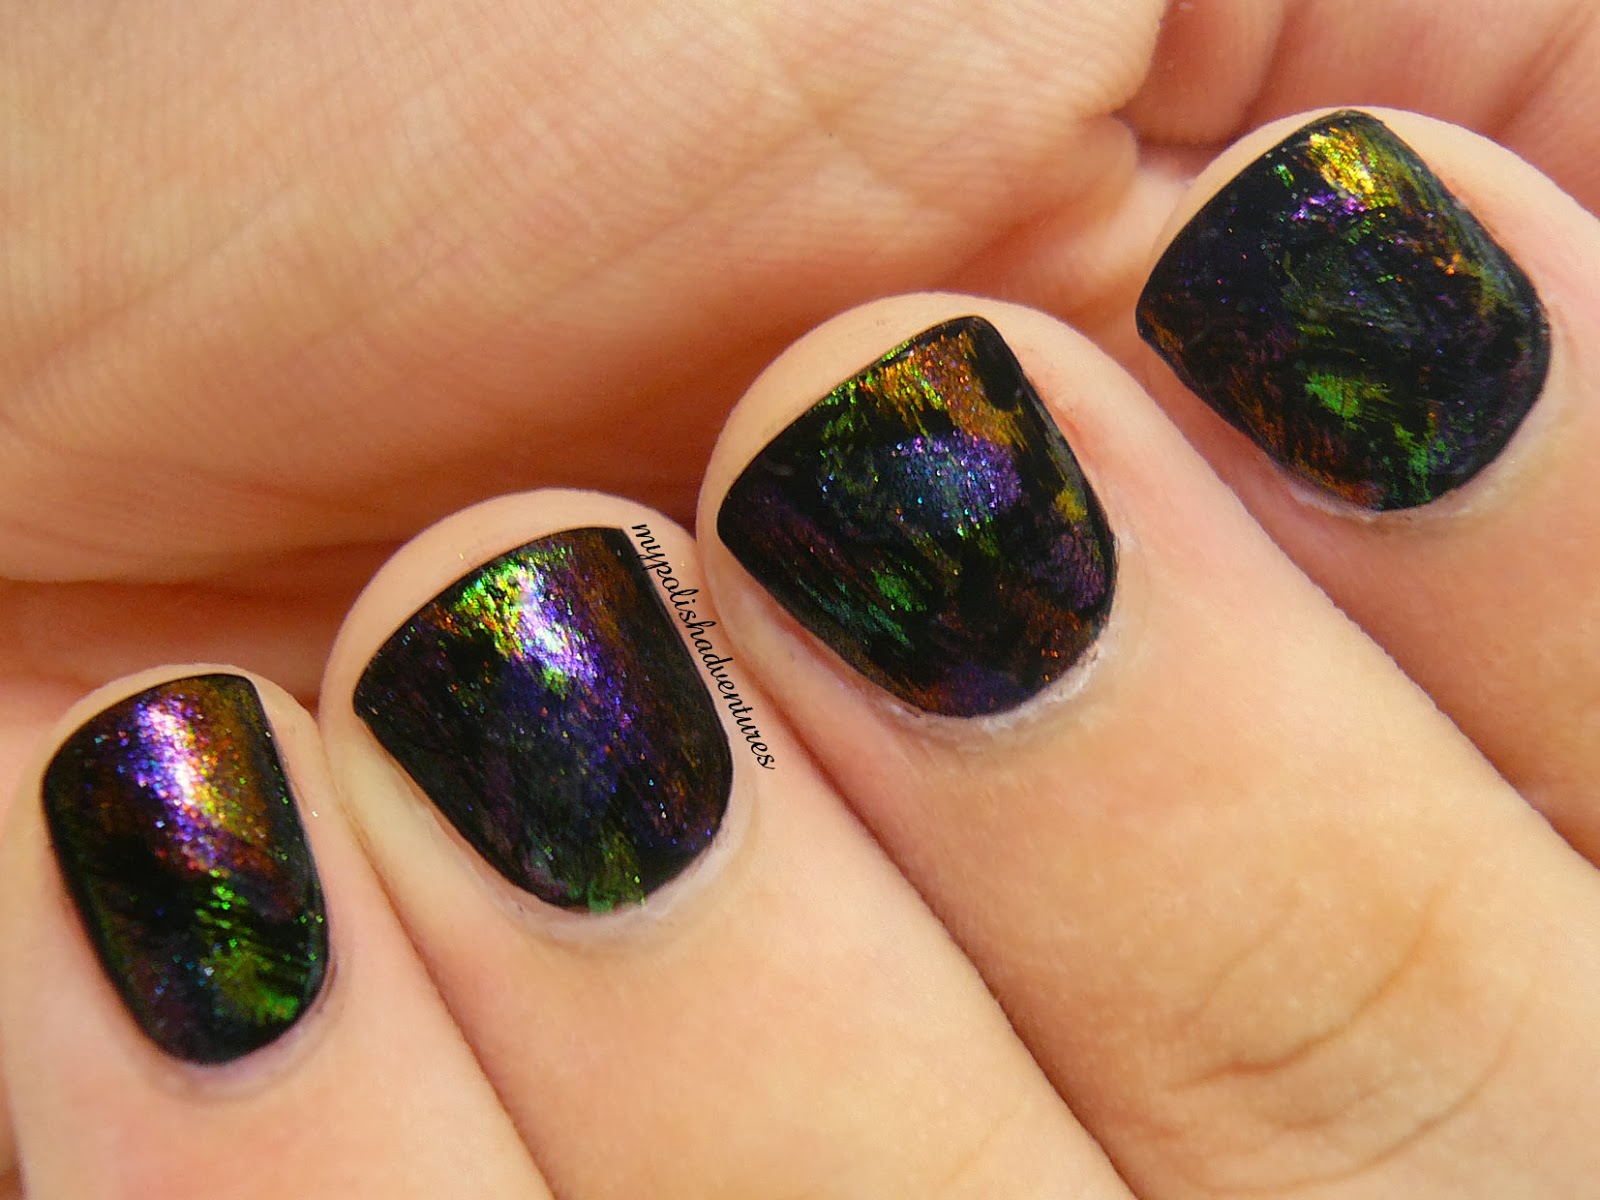
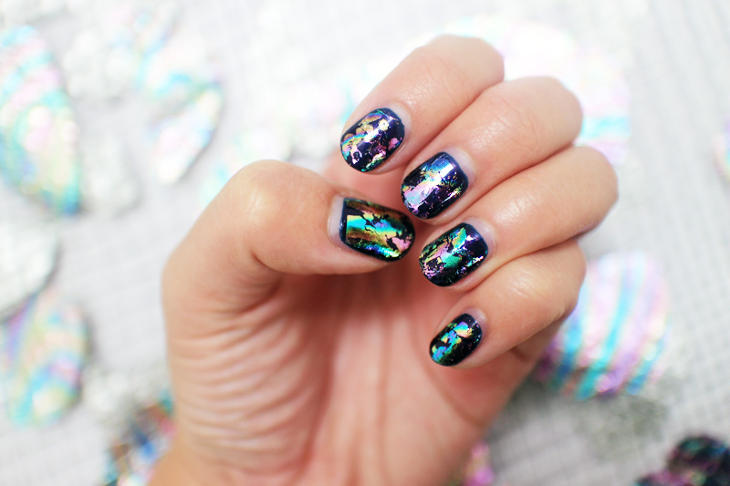
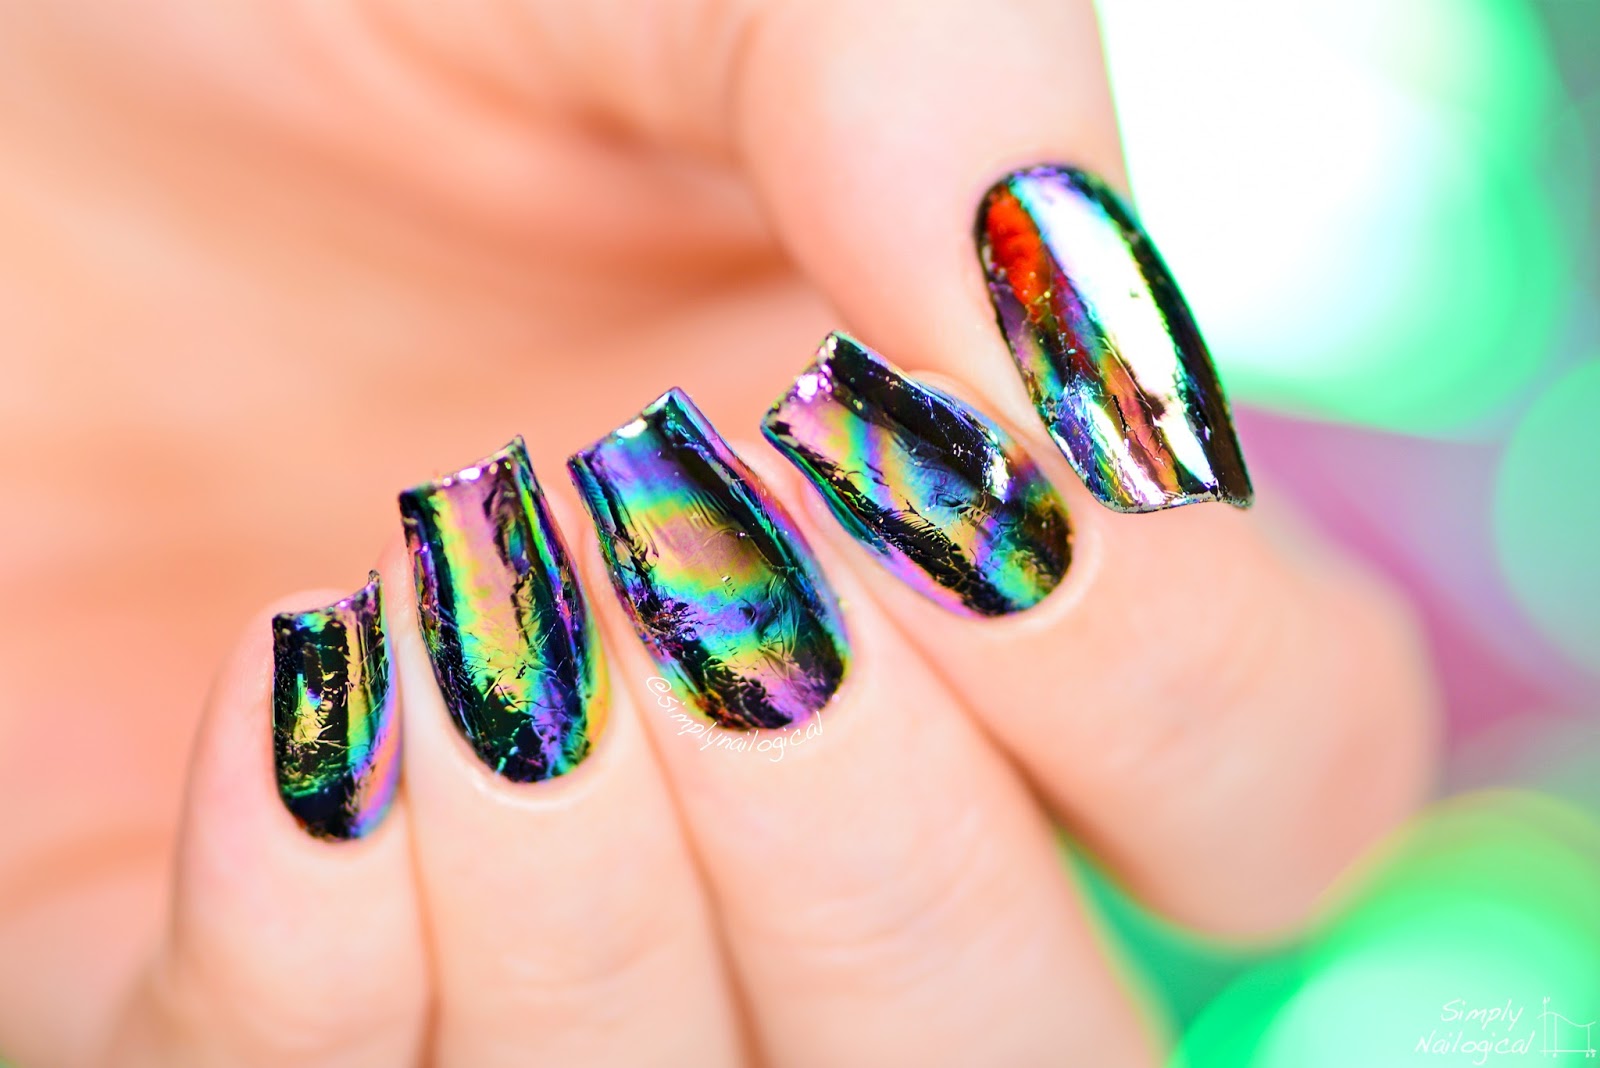
If you're looking for some inspiration for your next manicure, look no further than these stunning "oil spill" nail designs. From bold and dramatic to subtle and chic, there's a design for everyone. 1. Black and Gold "Oil Spill" Nails: This design features a black base with gold and holographic polishes blended in for a luxurious and eye-catching look. 2. Galaxy "Oil Spill" Nails: For a more out-of-this-world design, try blending shades of blue, purple, and silver for a galaxy-inspired "oil spill" effect. 3. Rainbow "Oil Spill" Nails: Why settle for one color when you can have them all? This design features a rainbow of holographic polishes blended together for a fun and playful look. 4. Pastel "Oil Spill" Nails: For a softer and more subtle take on the trend, try using pastel holographic polishes for a dreamy and ethereal look. 5. Iridescent "Oil Spill" Nails: If you can't choose just one color, why not use them all? This design features multiple iridescent polishes blended together for a stunning and unique effect. 6. Purple and Pink "Oil Spill" Nails: For a feminine and romantic look, try blending shades of purple and pink for a soft and pretty "oil spill" design. 7. Nude and Gold "Oil Spill" Nails: This design is perfect for those who prefer a more subtle look. Simply use a nude base color and add touches of gold and holographic polish for a chic and elegant look. 8. Red and Silver "Oil Spill" Nails: For a bold and striking design, try blending red and silver polishes for a fierce and eye-catching "oil spill" effect. 9. Blue and Green "Oil Spill" Nails: This design is perfect for those who love cool-toned colors. Simply blend shades of blue and green for a stunning and unique "oil spill" effect. 10. Black and Silver "Oil Spill" Nails: For a classic and edgy look, try blending black and silver polishes for a sleek and sophisticated "oil spill" design.3. 10 Stunning "Oil Spill" Nail Designs


3. 10 Stunning "Oil Spill" Nail Designs

If you're still not sure which "oil spill" design to try, take a scroll through Instagram for some inspiration. There are thousands of beautiful and creative nail designs to choose from, and you're sure to find one that catches your eye. Some popular nail artists to follow for "oil spill" inspiration include @nailartbyfrida, @nailsbycambria, and @nailstorming.4. "Oil Spill" Nail Art Inspiration on Instagram

.jpg)
4. "Oil Spill" Nail Art Inspiration on Instagram


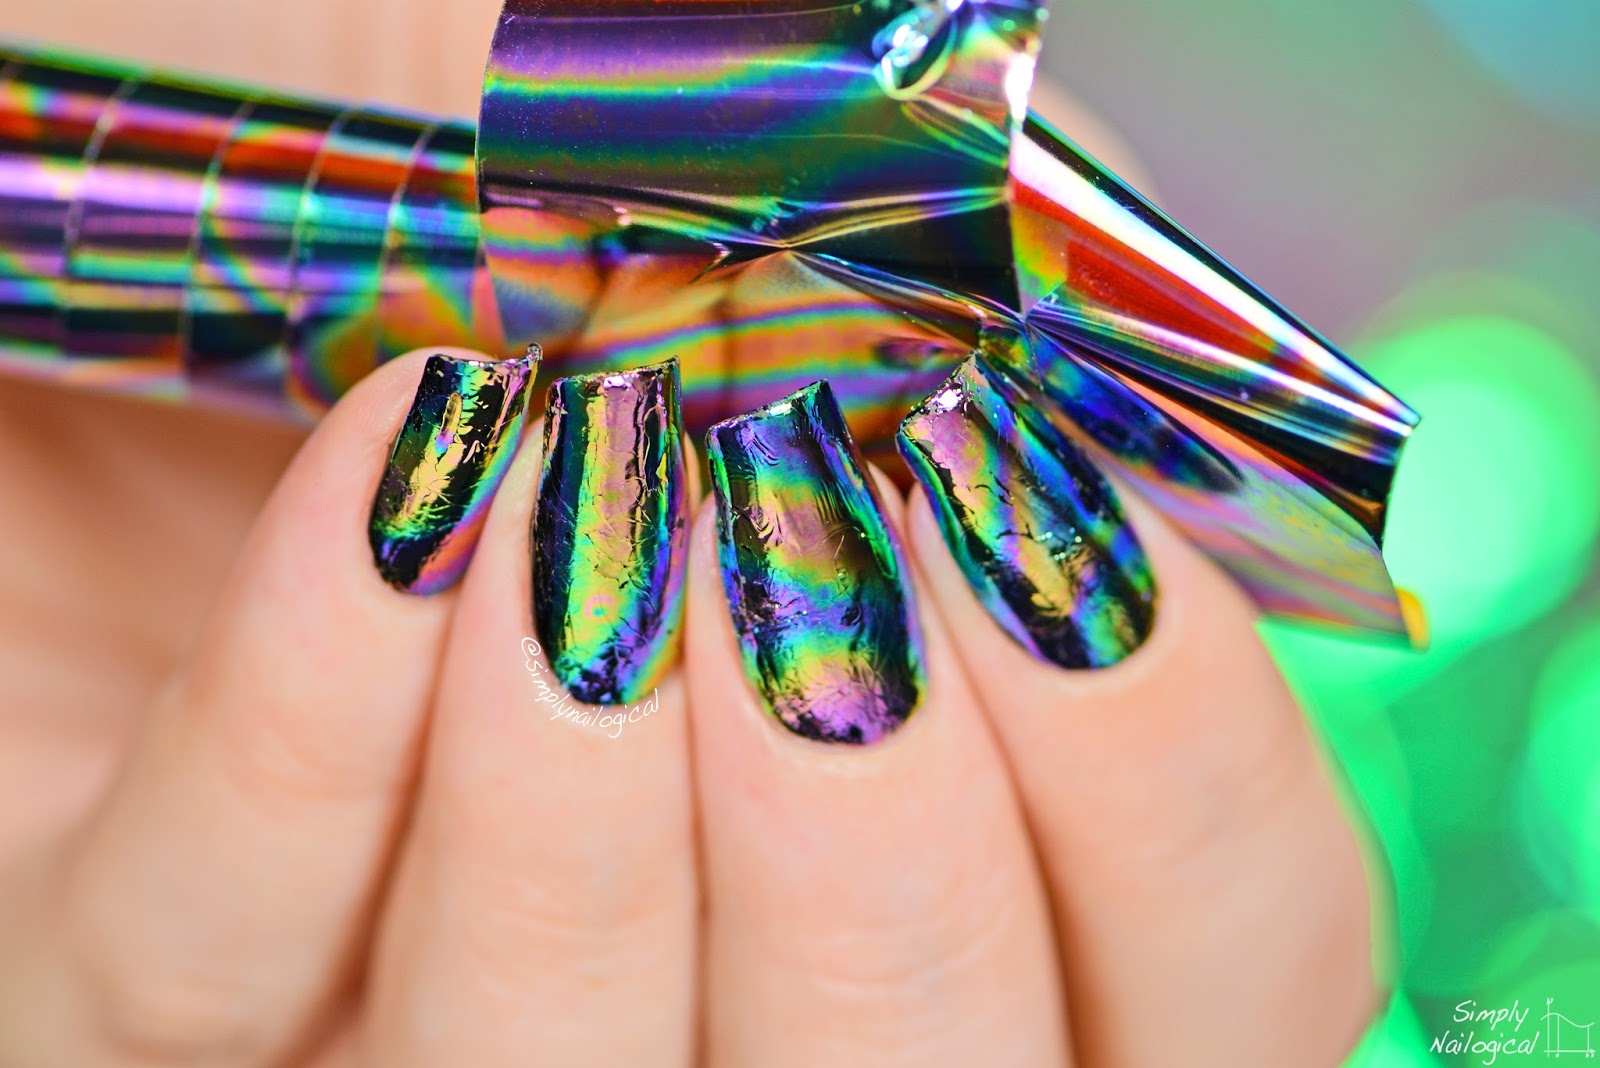
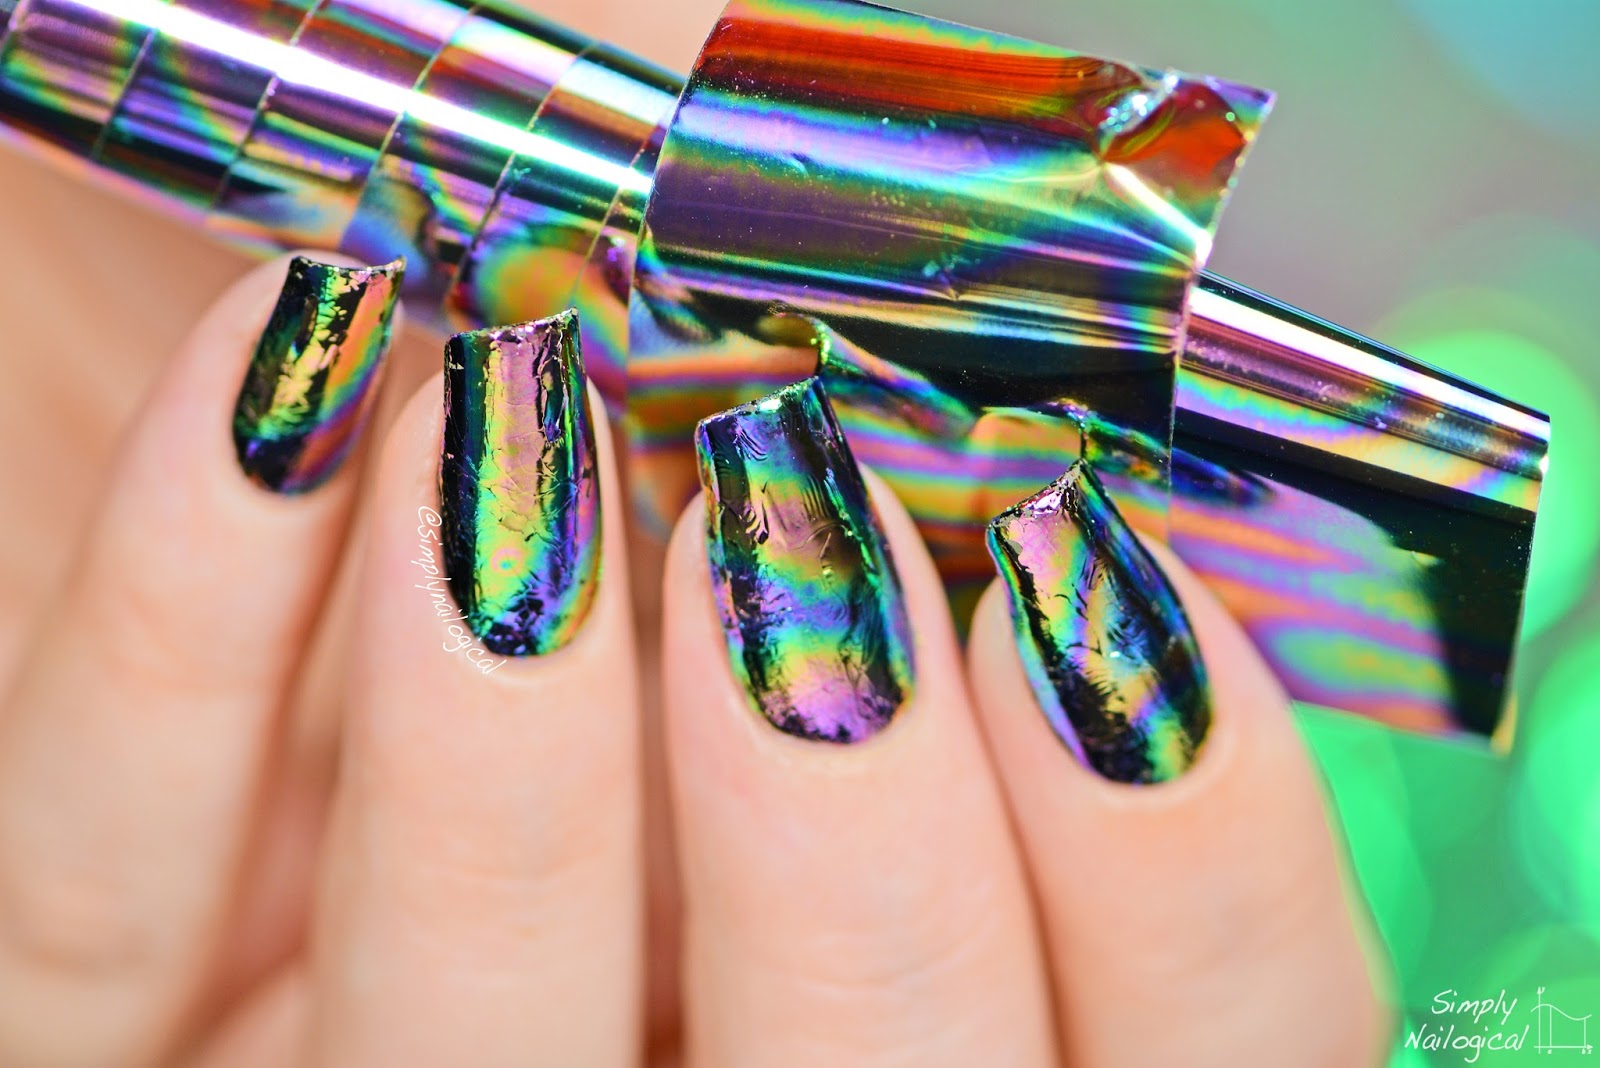
Don't have any holographic or iridescent polishes on hand? No problem! You can still achieve a "oil spill" effect using household items. Try using aluminum foil to create a metallic effect, or mix a small amount of glitter into your chosen polishes for some added shimmer. You can also try using a makeup sponge or even a small piece of plastic wrap to blend the polishes together for a gradient effect.5. DIY "Oil Spill" Nail Art Using Household Items

5. DIY "Oil Spill" Nail Art Using Household Items

To ensure your "oil spill" nail art turns out perfectly every time, here are some tips and tricks to keep in mind: - Use a good quality base coat to protect your nails from staining and help the polish last longer. - Allow each layer of polish to dry completely before adding the next one to avoid smudging. - Don't be afraid to experiment with different color combinations and blending techniques. - Clean up any excess polish around your nails using a small brush dipped in nail polish remover. - Finish off with a top coat to seal in the design and add some extra shine.6. "Oil Spill" Nail Art: Tips and Tricks for a Perfect Manicure


6. "Oil Spill" Nail Art: Tips and Tricks for a Perfect Manicure

The origins of "oil spill" nail art can be traced back to Japan in the 1990s. It gained popularity in the Western world in recent years and has become a popular trend in the beauty industry. The term "oil spill" refers to the iridescent and holographic look of the design, resembling the colors seen in an oil spill on water.7. The History of "Oil Spill" Nail Art

7. The History of "Oil Spill" Nail Art

With its unique and eye-catching look, it's no surprise that "oil spill" nail art has become a popular trend that is here to stay. As more and more people discover and experiment with this trend, we can expect to see even more creative and stunning designs in the future. So why not jump on the bandwagon and give "oil spill" nail art a try? You never know, it may just become your new favorite manicure.8. "Oil Spill" Nail Art: A Trend That's Here to Stay

8. "Oil Spill" Nail Art: A Trend That's Here to Stay

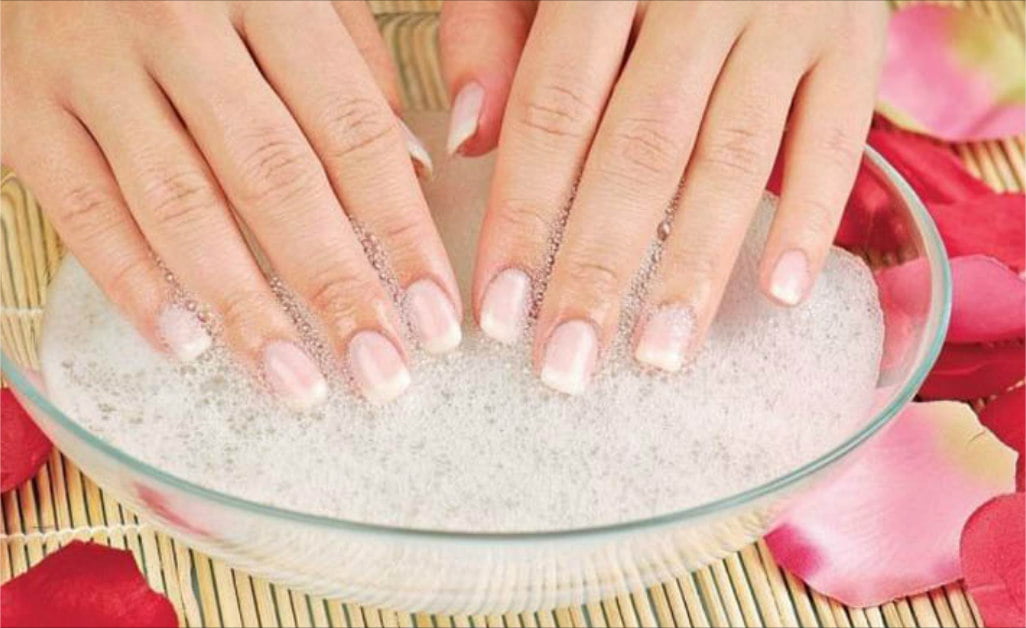
When it's time to remove your "oil spill" nail art, it's important to do it properly to avoid damaging your nails. Start by soaking a cotton pad in nail polish remover and placing it on your nail. Wrap a small piece of aluminum foil around the pad to hold it in place. Repeat this step for each nail and let it sit for a few minutes. After a few minutes, gently remove the foil and cotton pad, and the polish should easily come off. If there is any remaining polish, use a cotton swab dipped in nail polish remover to clean it up. Be sure to moisturize your nails and cuticles after removing the polish to keep them healthy and nourished.9. How to Remove "Oil Spill" Nail Art Without Damaging Your Nails

9. How to Remove "Oil Spill" Nail Art Without Damaging Your Nails

Whether you're heading to a special event or just want to spice up your everyday look, "oil spill" nail art is the perfect choice. With endless color combinations and design options, you can customize this trend to suit any occasion or mood.10. "Oil Spill" Nail Art: The Perfect Look for Any Occasion


10. "Oil Spill" Nail Art: The Perfect Look for Any Occasion


The Rising Trend of Oil Spill Nail Art

Introduction
 Nail art has become a popular way for people to express their creativity and style. From simple designs to intricate patterns, there are endless possibilities for creating unique and eye-catching looks. However, a new trend has emerged that not only showcases beautiful designs but also raises awareness for a pressing environmental issue - oil spills.
The Inspiration Behind Oil Spill Nail Art
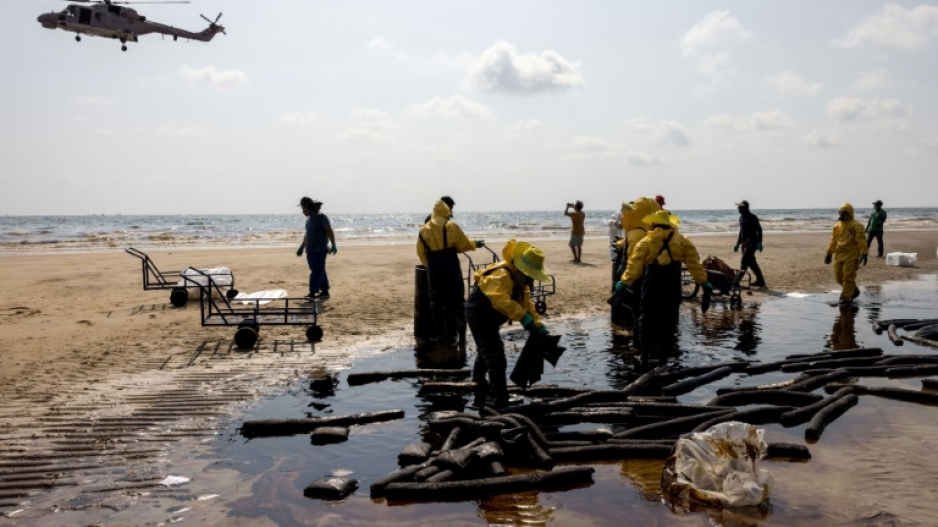
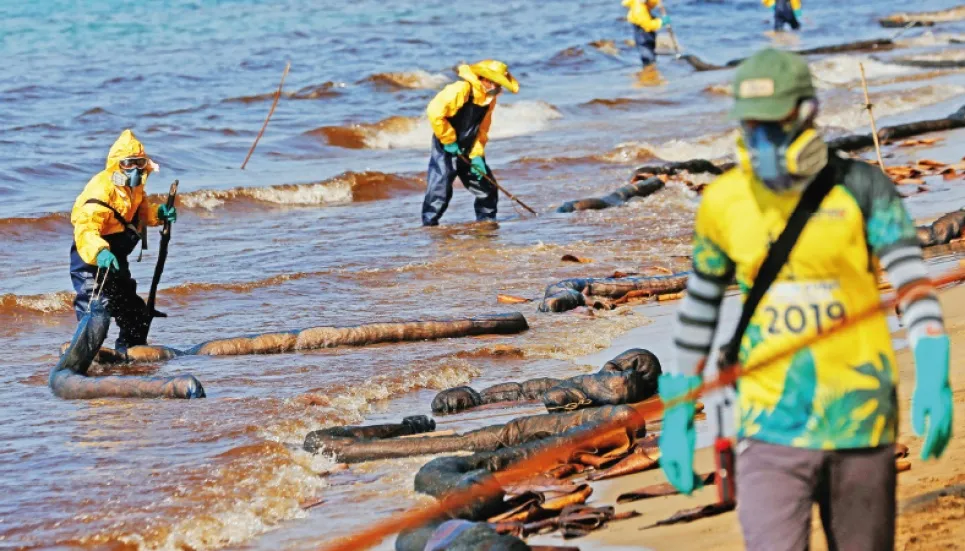
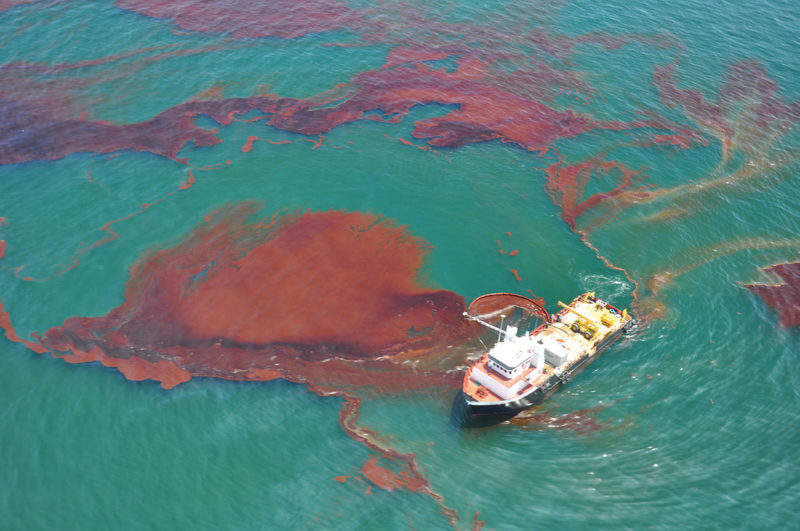
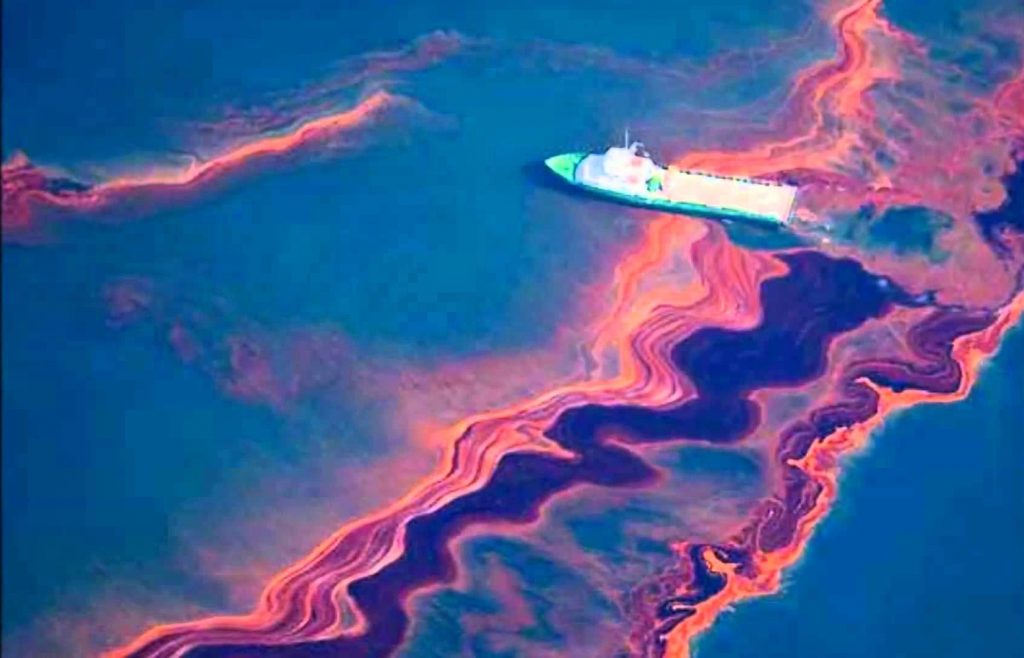
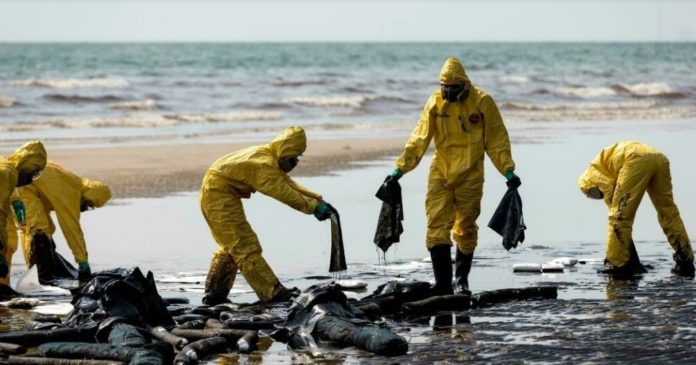
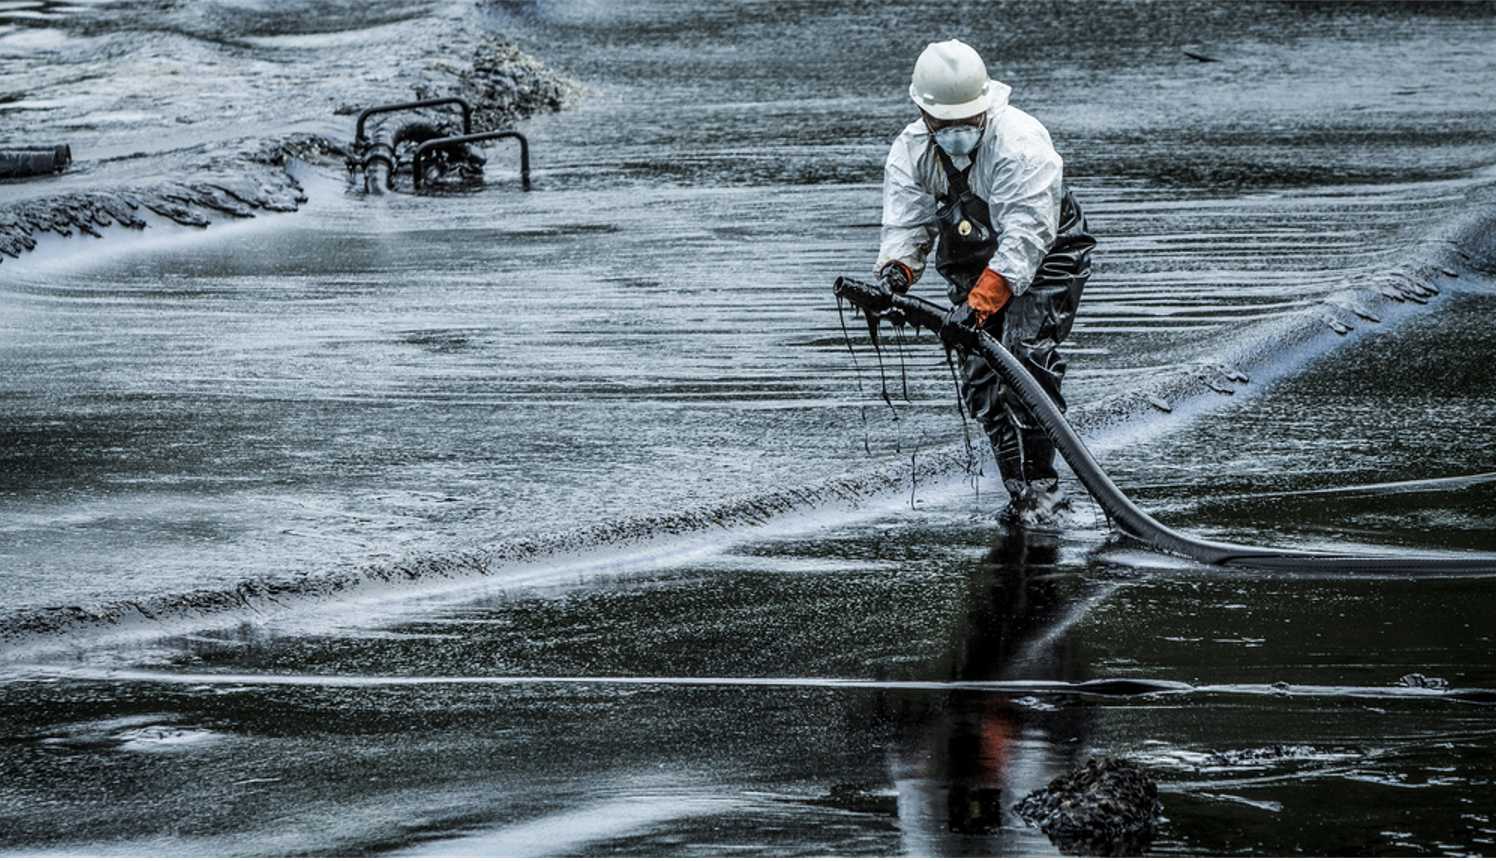
 Oil spills have been a major concern for the environment, causing devastating effects on marine life and ecosystems. This has led to many individuals and organizations raising awareness and advocating for better solutions to prevent these disasters. One of the ways this issue has been brought to light is through the art world, particularly in the form of nail art.
How Oil Spill Nail Art is Created
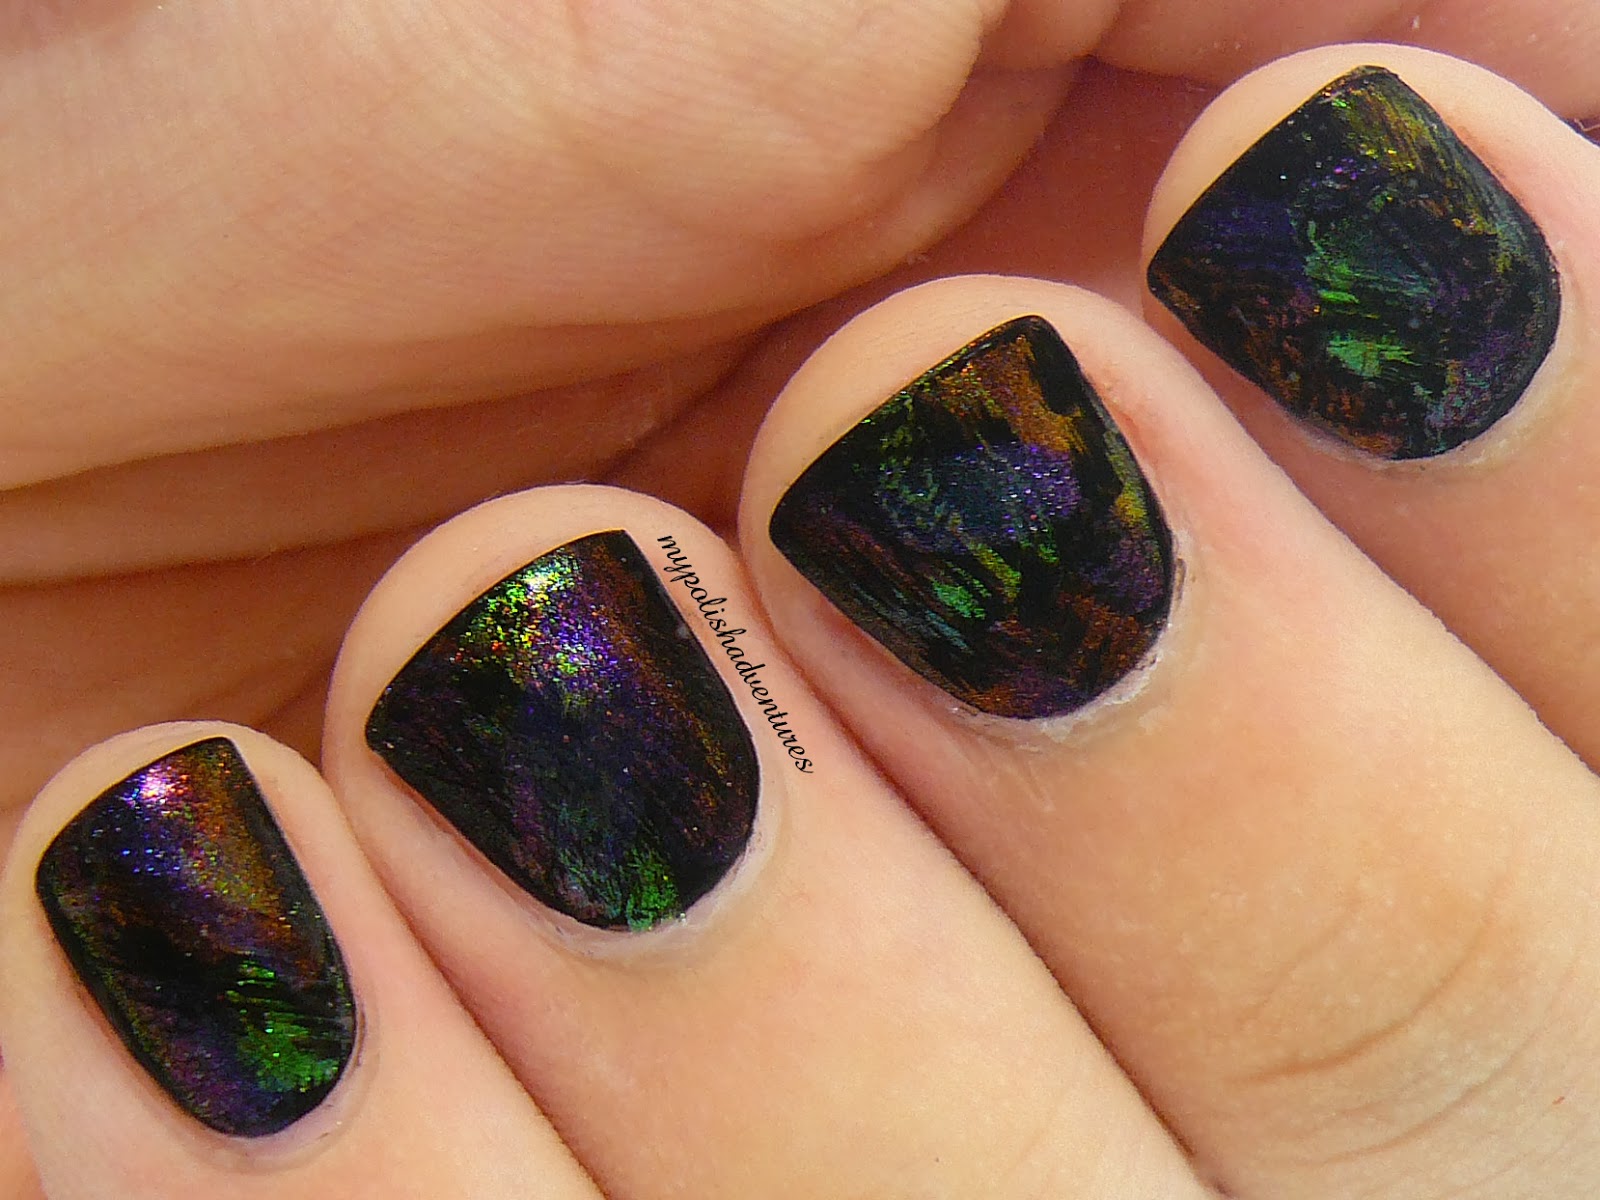
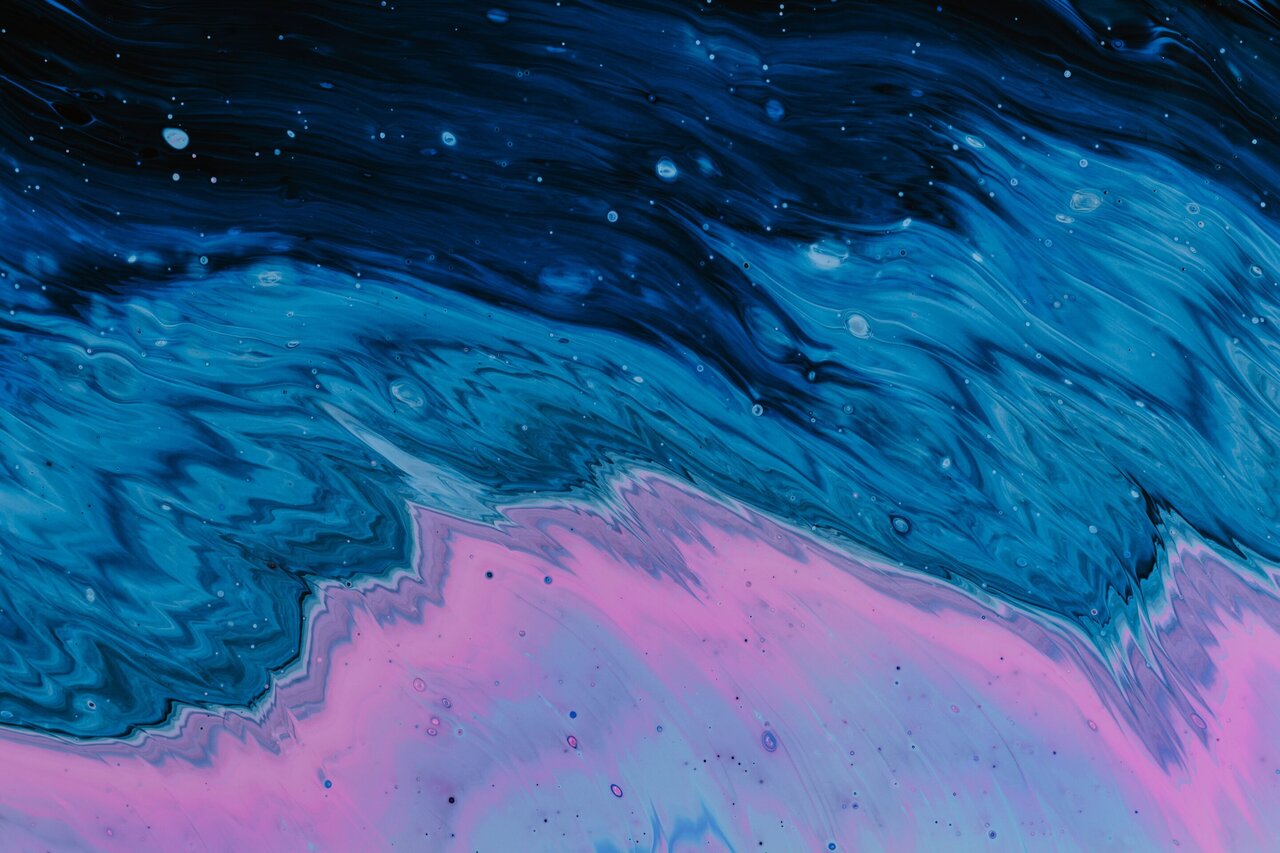
 Oil spill nail art involves recreating the mesmerizing patterns and colors of an oil spill on nails. This is achieved by using a combination of dark metallic shades, such as black, silver, and blue, along with a glossy topcoat to mimic the shine of oil. The result is a stunning and unique design that not only looks visually appealing but also serves as a reminder of the harm caused by oil spills.
The Impact of Oil Spill Nail Art
 The rising trend of oil spill nail art has not only gained attention for its striking appearance but also for its message. By wearing these designs, individuals are showing their support for environmental causes and spreading awareness about the effects of oil spills. It has also sparked conversations and discussions about the issue, leading to a greater understanding and potential solutions.
Conclusion
 In conclusion, oil spill nail art is not just a fashion statement, but also a powerful form of art with a meaningful message. It beautifully combines creativity and activism, making it a trend that is here to stay. So why not give this unique and impactful nail art a try and join the movement towards a cleaner and safer environment.


