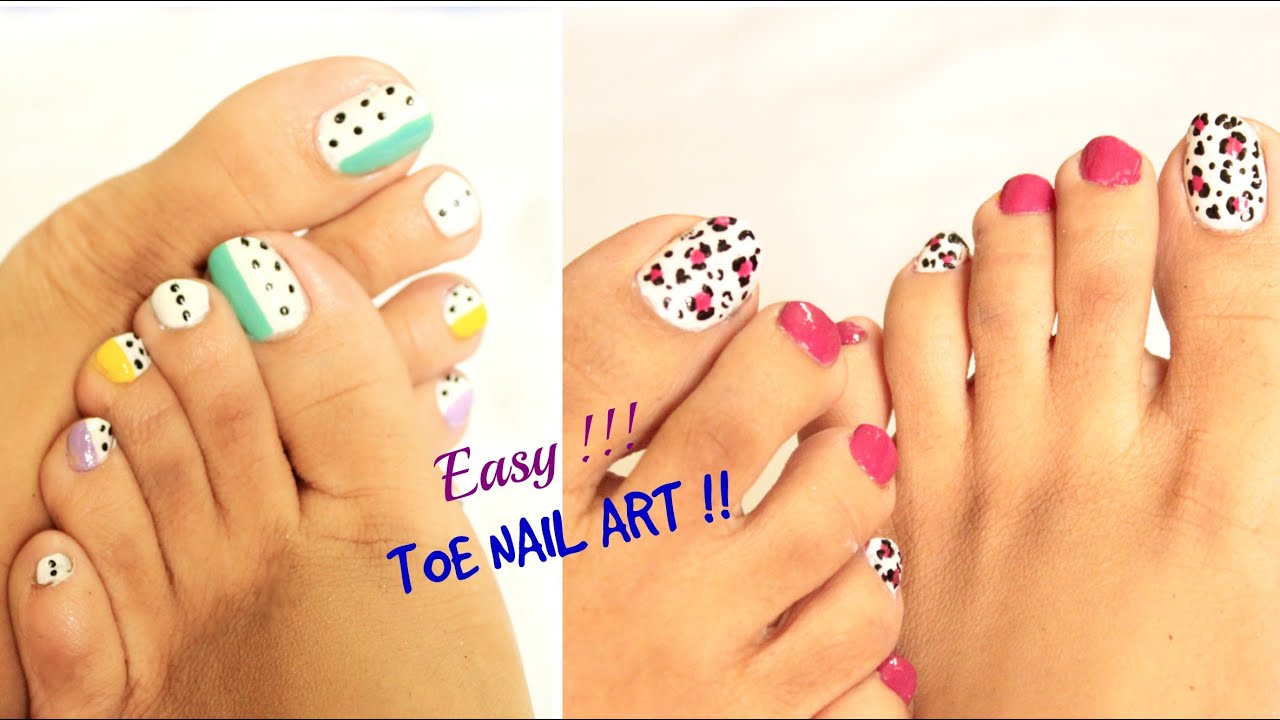
Ombre toe nail art has become a popular trend in the nail world, and for good reason. It's a fun and unique way to add some color and dimension to your toes. There are endless possibilities when it comes to ombre toe nail designs, from subtle gradients to bold and vibrant combinations. Let's explore some of the top ombre toe nail art designs that will elevate your pedicure game.1. Ombre Toe Nail Art Designs


1. Ombre Toe Nail Art Designs


To create ombre toe nail art, you will need some basic supplies such as nail polish, a makeup sponge, and a top coat. Start by choosing two or more colors that complement each other. Paint your nails with the lightest color as the base and let it dry completely. Then, apply a generous amount of the second color on the makeup sponge and dab it onto the tips of your nails. Repeat the process until you achieve the desired gradient effect. Finish off with a top coat to seal in the colors and add shine.2. How to Create Ombre Toe Nail Art

2. How to Create Ombre Toe Nail Art


If you're new to ombre toe nail art, don't worry, it's easier than it looks. You can find many helpful tutorials online that will guide you through the process step by step. One tip is to use a white base color to make the ombre effect more vibrant, especially if you're using pastel shades. Another tip is to clean up any excess polish around your nails with a small brush dipped in nail polish remover for a clean and professional finish.3. Ombre Toe Nail Art Tutorial


3. Ombre Toe Nail Art Tutorial


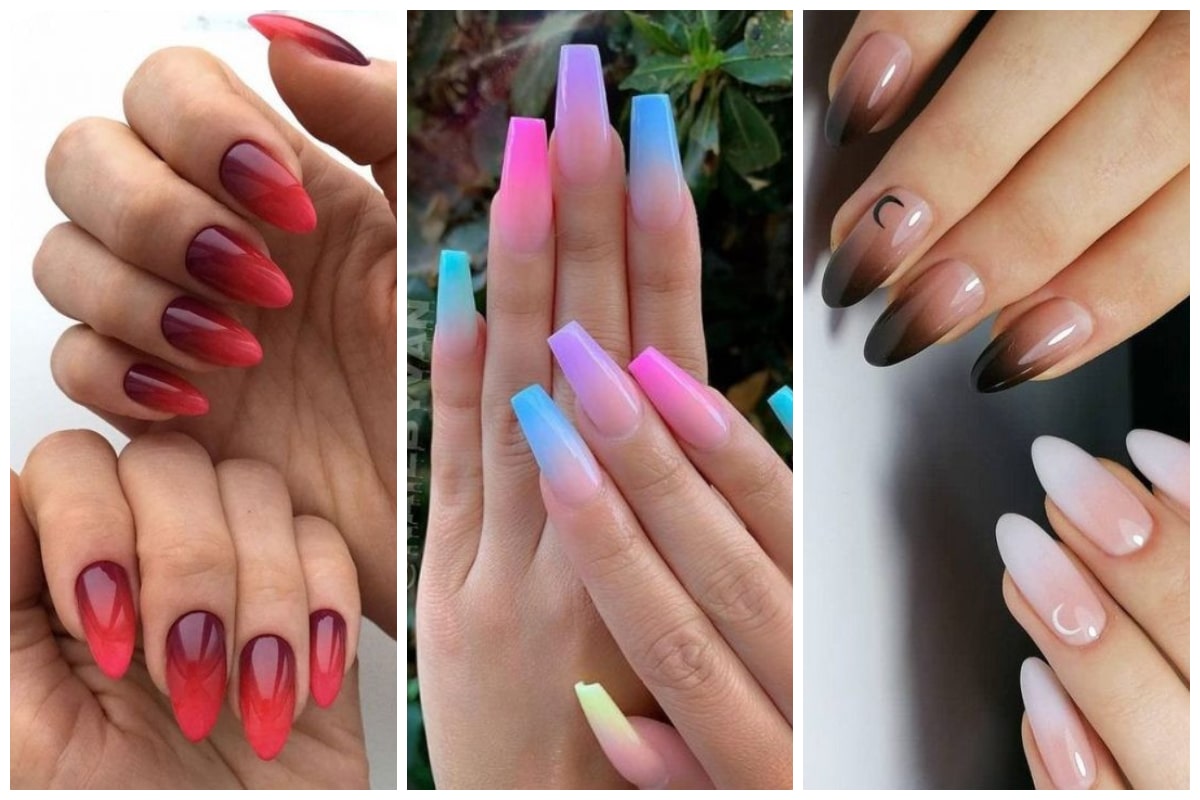
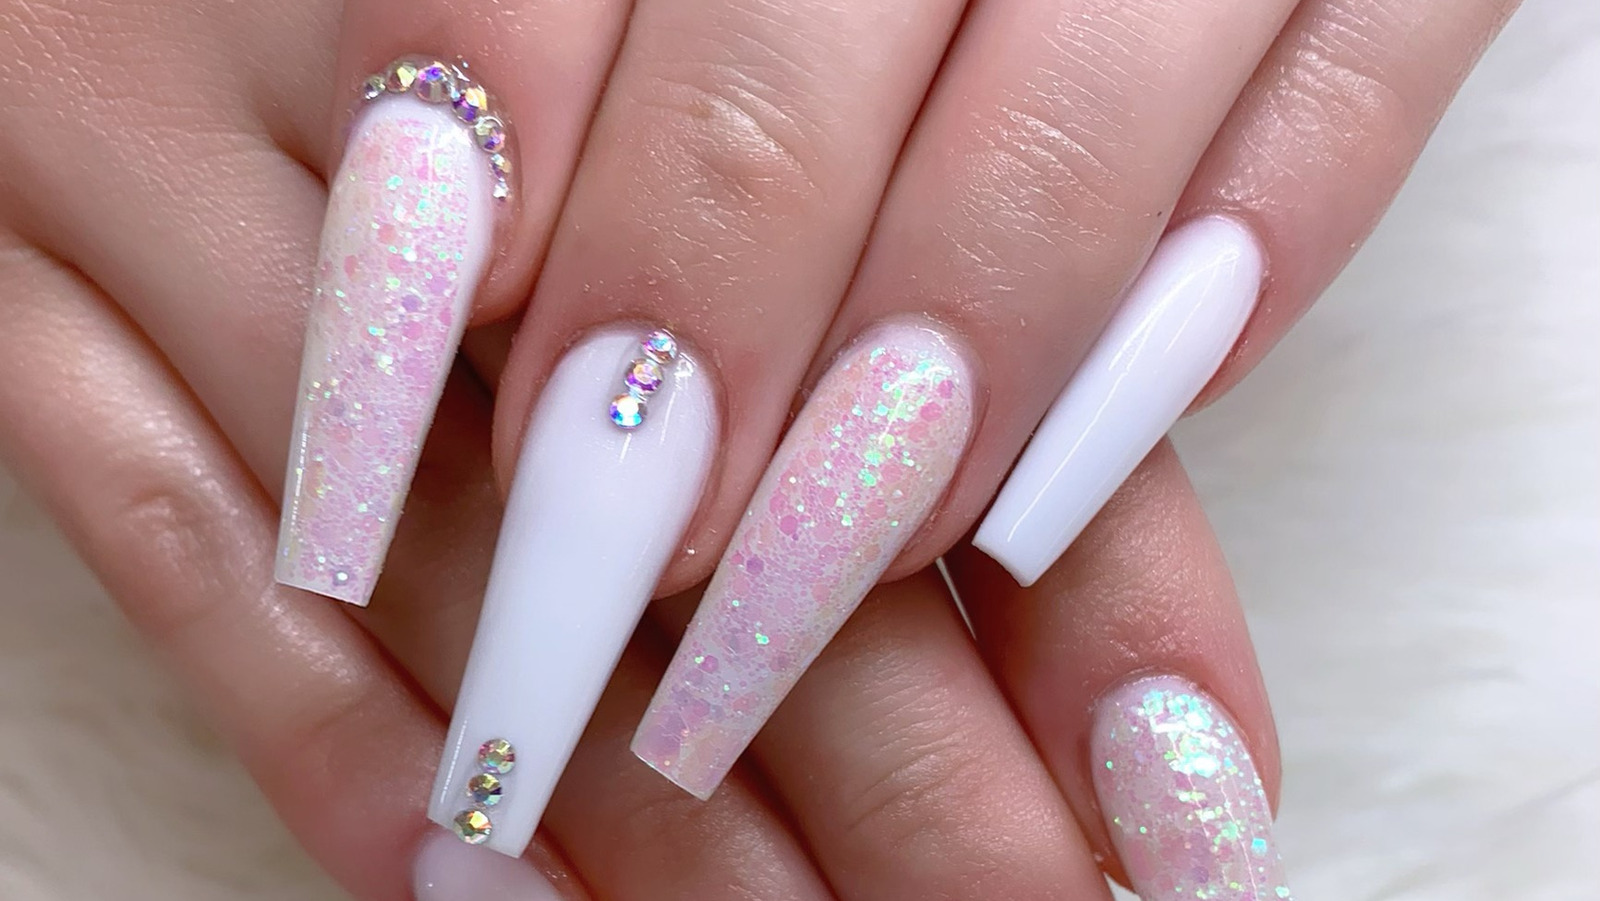
The possibilities for ombre toe nail art are endless, and there are many creative ideas out there to inspire you. You can experiment with different color combinations, such as a sunset ombre with shades of orange, pink, and purple. Or, you can try a glitter ombre with a touch of sparkle on the tips of your nails. You can also mix and match different textures, like matte and glossy polish, for a unique look.4. Ombre Toe Nail Art Ideas


4. Ombre Toe Nail Art Ideas


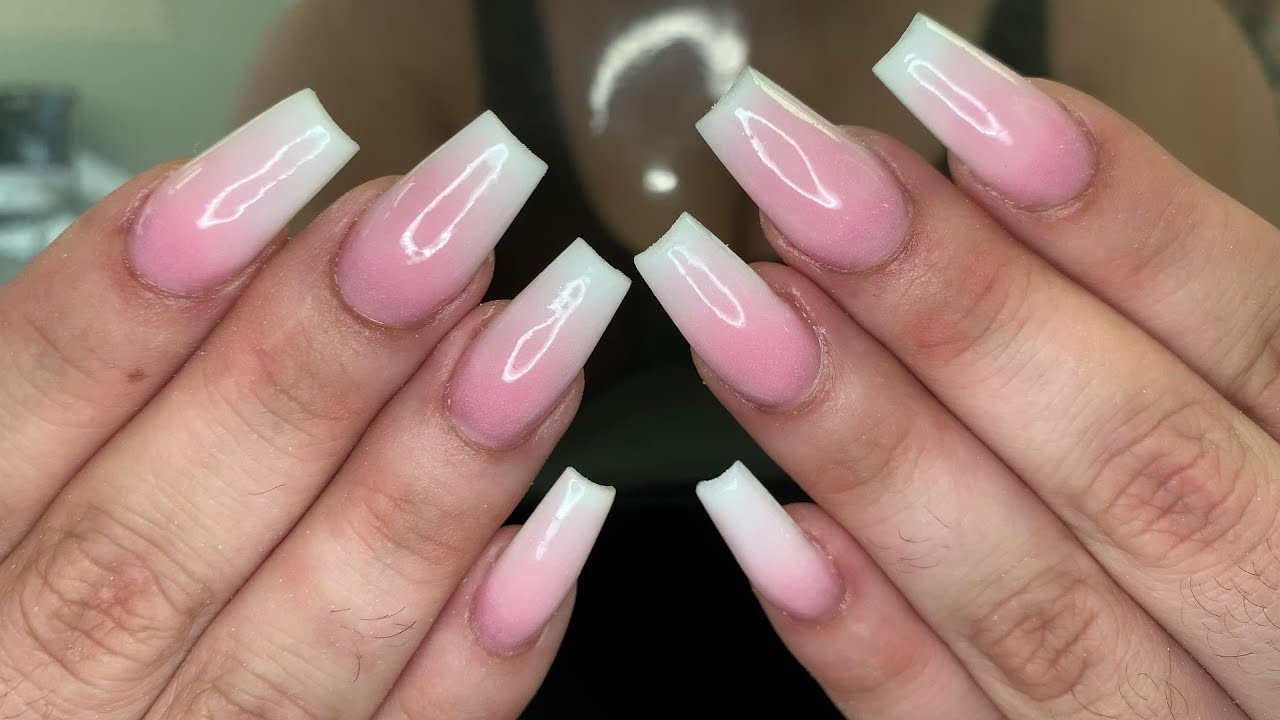
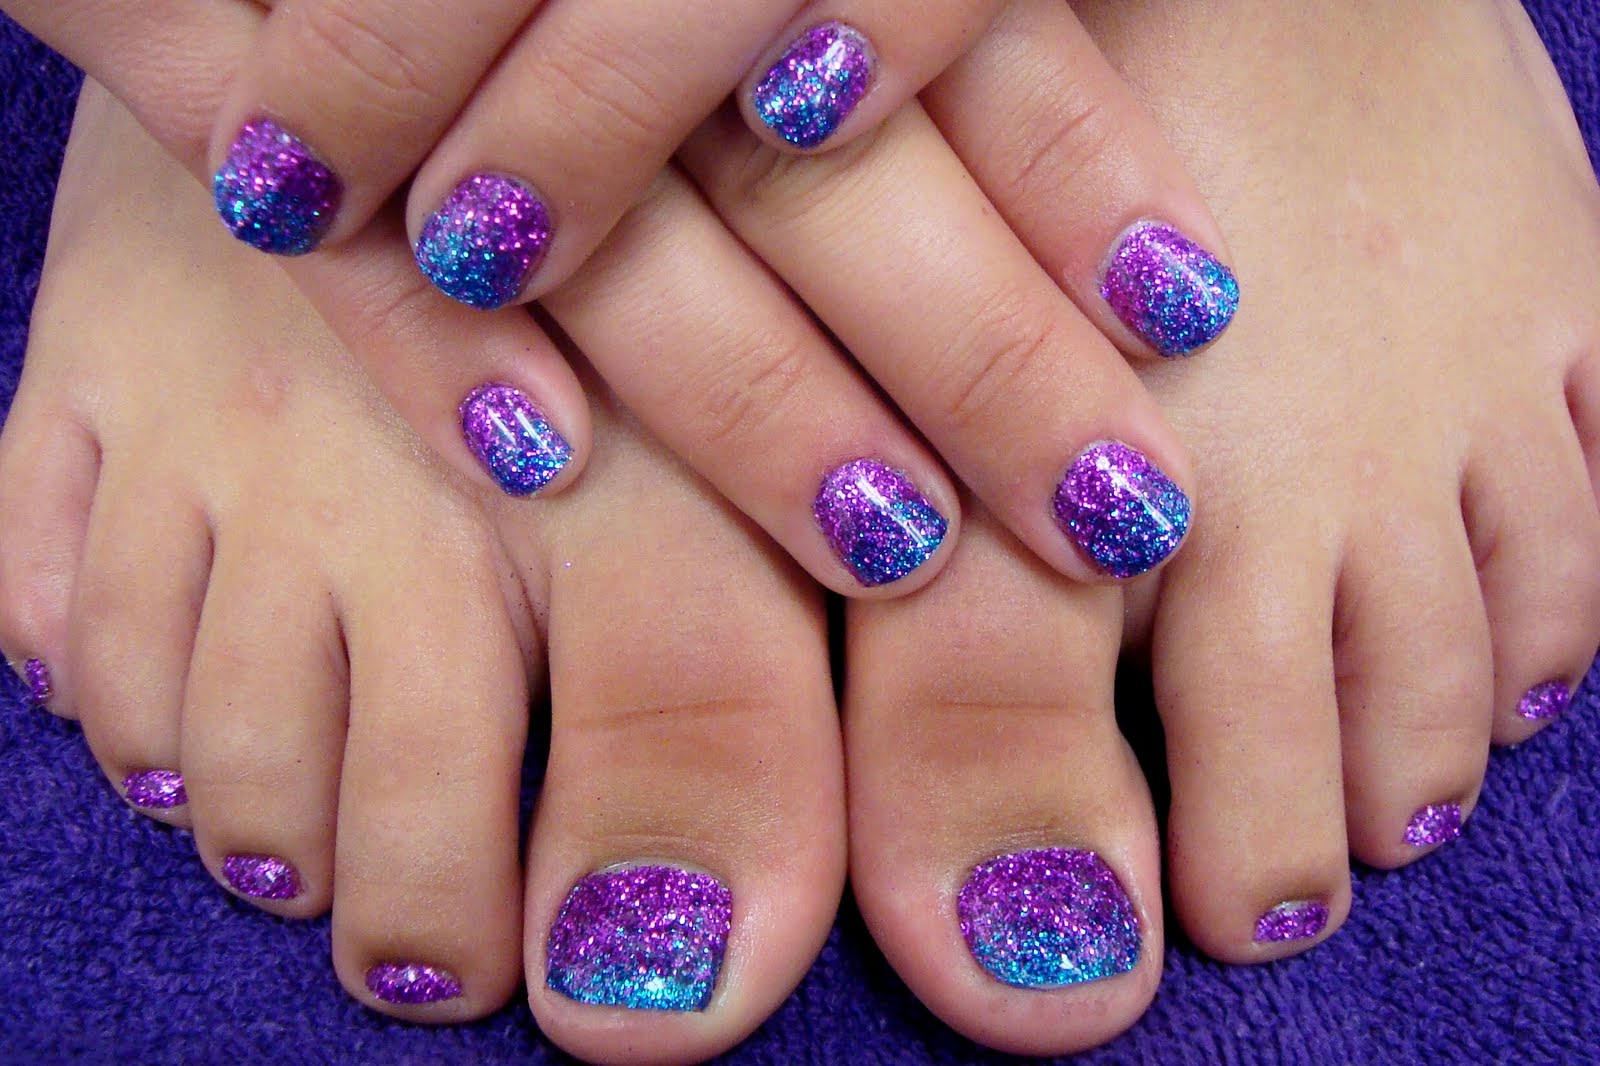
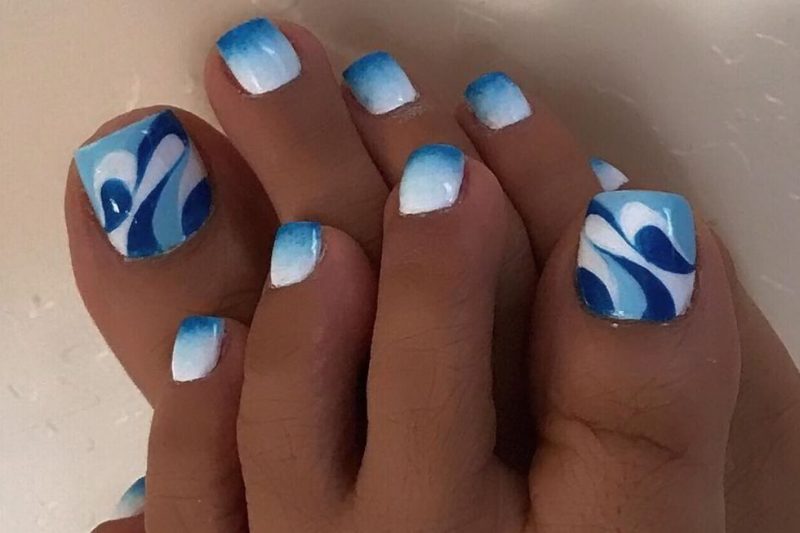
If you're new to ombre toe nail art, it's best to start with a simple design. Choose two colors that are similar in tone, such as two shades of blue or pink, for a subtle gradient. You can also use a makeup sponge to apply the polish, as it's easier to control and blend the colors. As you gain more experience, you can try more complex designs and color combinations.5. Ombre Toe Nail Art for Beginners


5. Ombre Toe Nail Art for Beginners


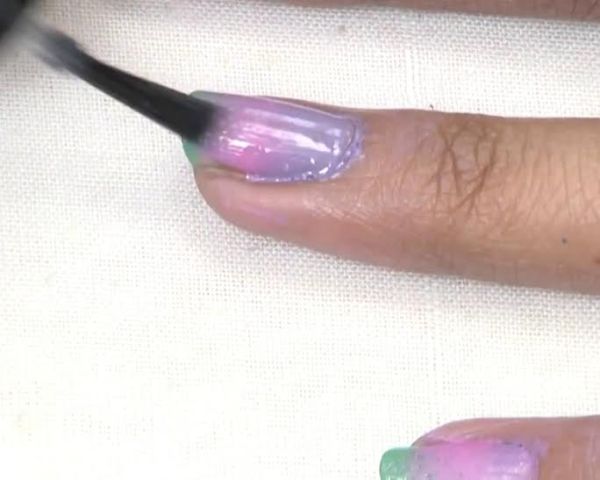
Creating ombre toe nail art may seem daunting at first, but with some practice and patience, you can achieve a beautiful gradient effect. Start by painting your nails with the lightest color as the base and let it dry. Then, dip the makeup sponge in the second color and dab it onto the tips of your nails. Repeat the process until you achieve the desired gradient. You can also add a third color for a more intricate design.6. Ombre Toe Nail Art Step by Step

6. Ombre Toe Nail Art Step by Step

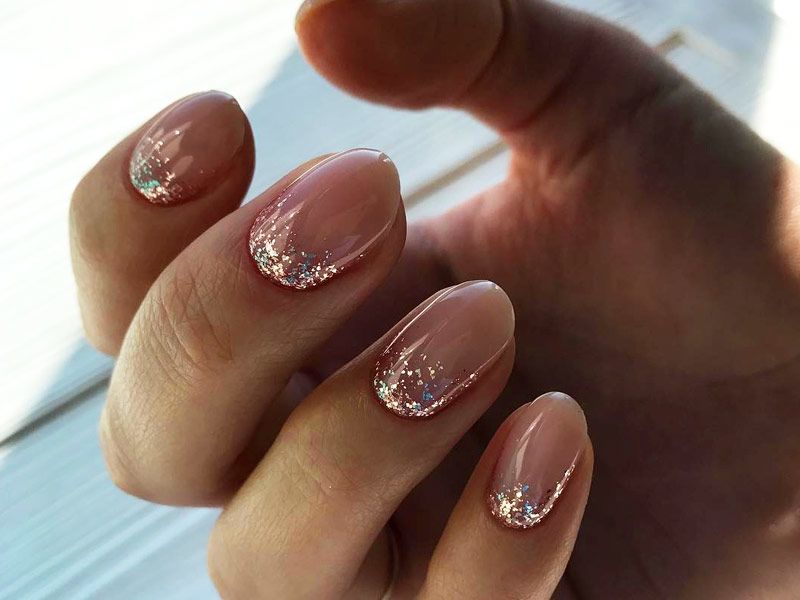
For a touch of glamour, add some glitter to your ombre toe nail art. You can either mix the glitter with the polish before applying it to your nails, or you can use a glitter polish for the tips. You can also create a gradient effect with glitter by using different sizes and colors of glitter on each nail. The possibilities are endless, and you can get as creative as you want with this sparkly trend.7. Ombre Toe Nail Art with Glitter


7. Ombre Toe Nail Art with Glitter
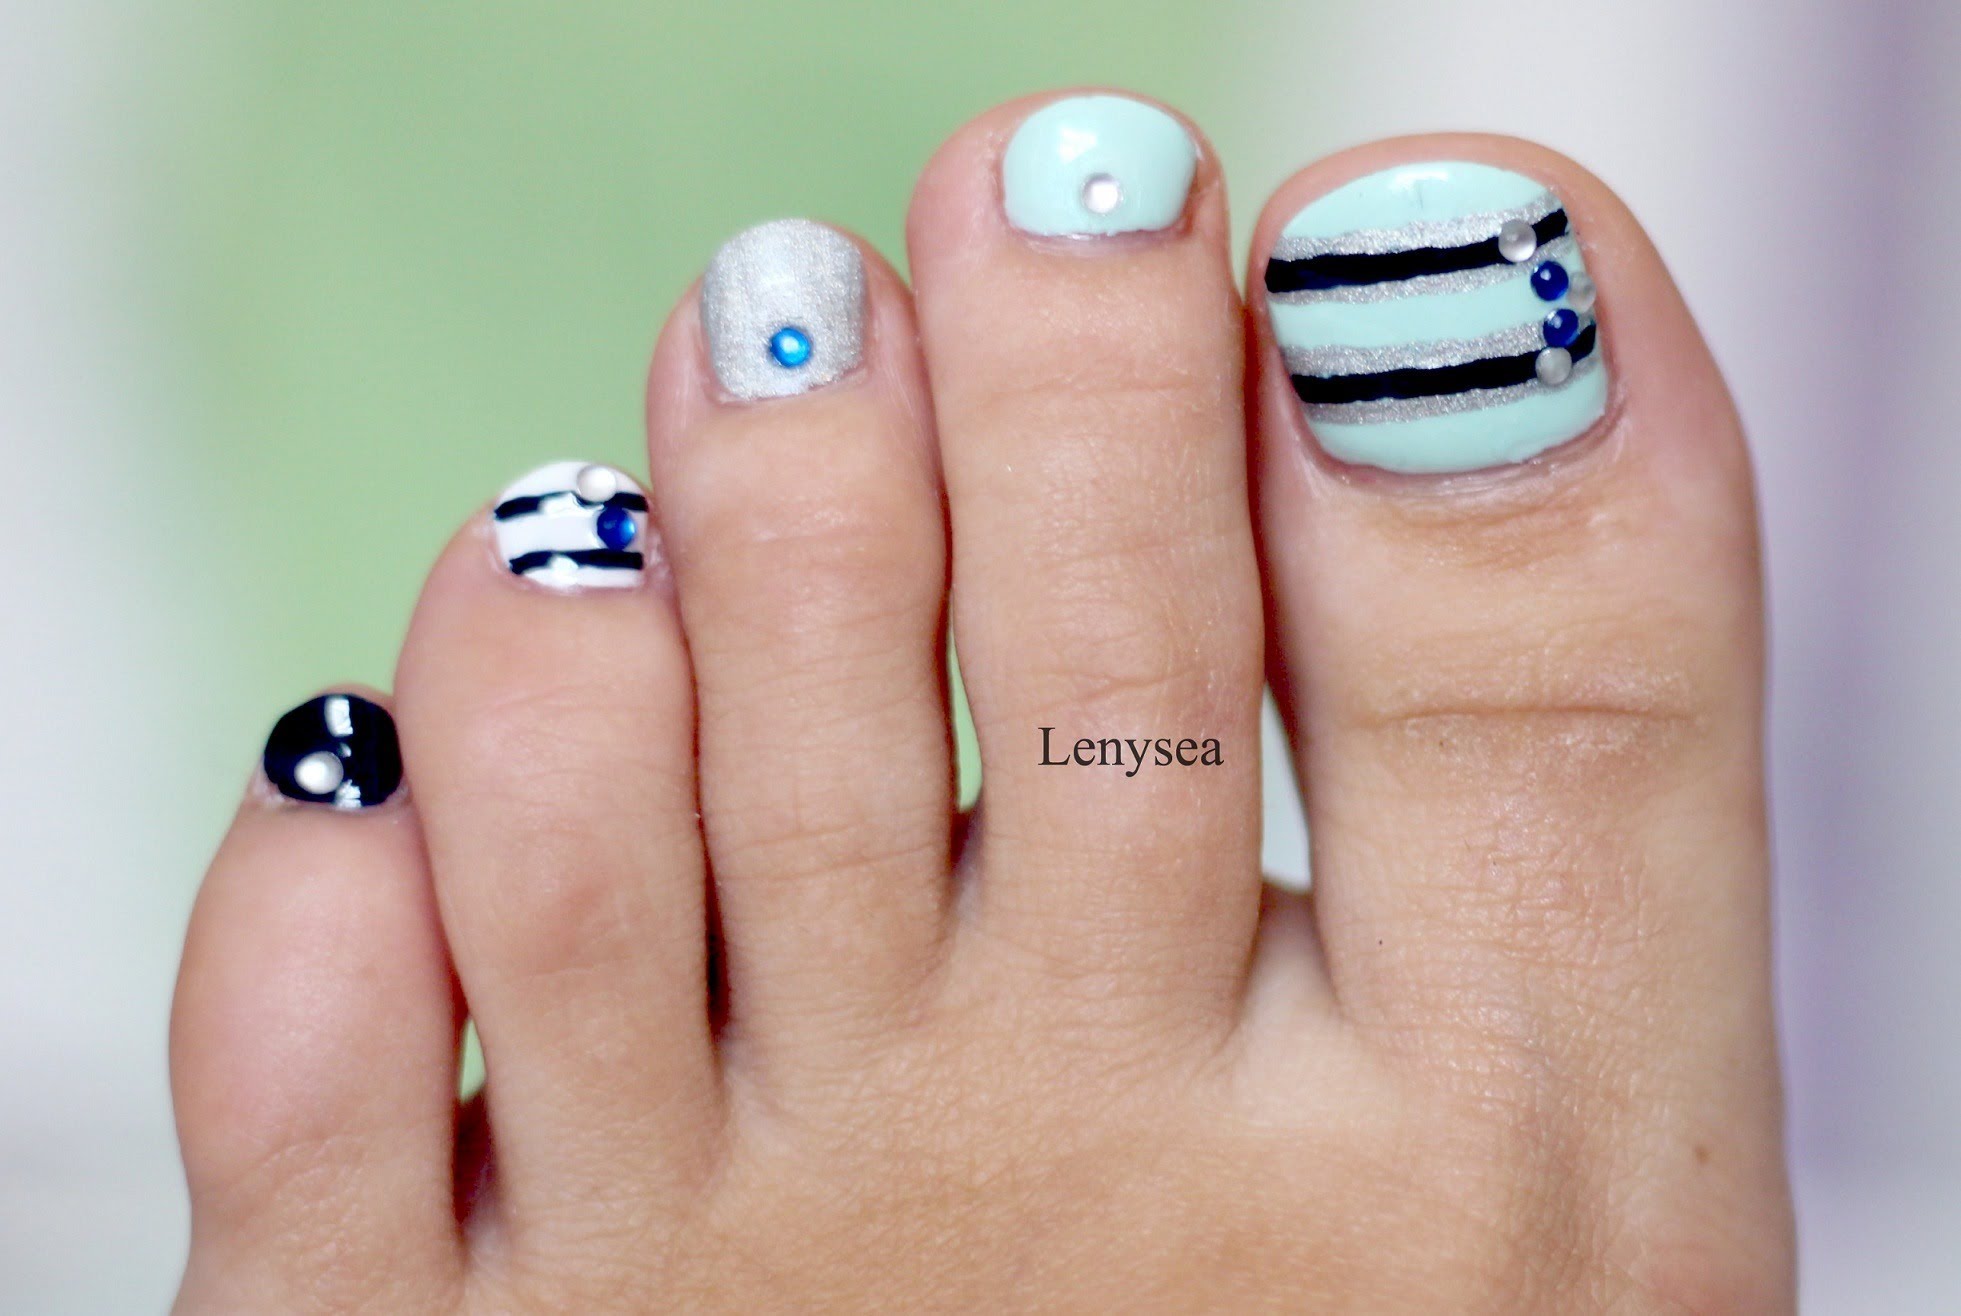
If you want to take your ombre toe nail art to the next level, add some rhinestones for a touch of bling. You can use a clear top coat to secure the rhinestones onto your nails, or you can use nail glue for a more secure hold. You can also mix and match different colors and sizes of rhinestones for a fun and eye-catching design.8. Ombre Toe Nail Art with Rhinestones

8. Ombre Toe Nail Art with Rhinestones

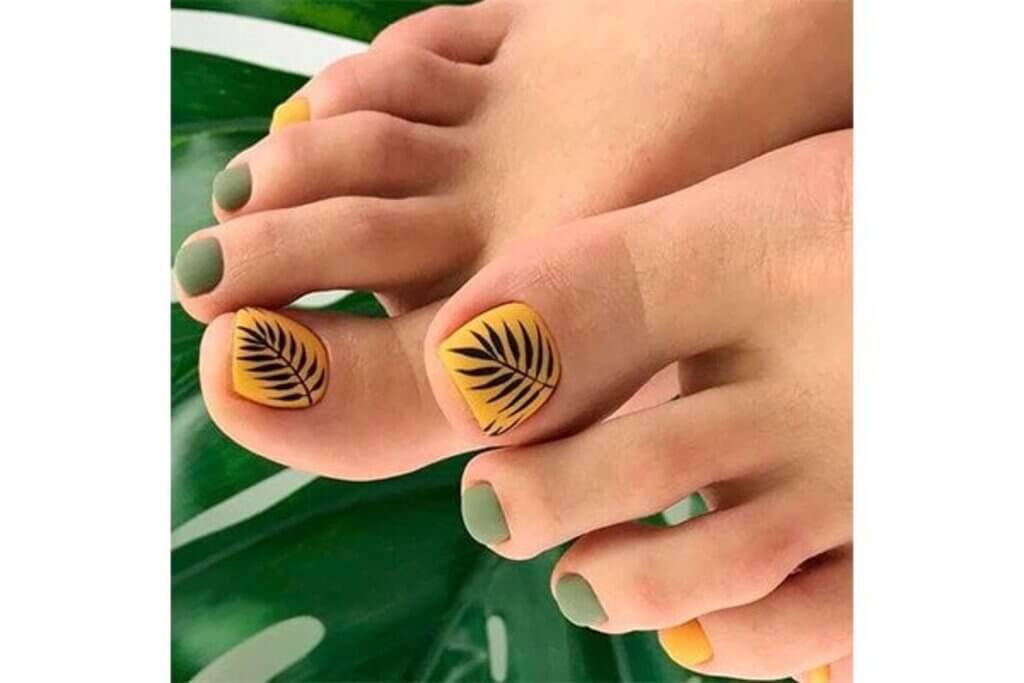
Ombre toe nail art is the perfect way to add some summer vibes to your pedicure. You can use bright and vibrant colors such as yellow, orange, and pink for a playful and tropical look. You can also experiment with different patterns, like a palm tree ombre or a beachy sunset ombre. Don't be afraid to get creative and have fun with your summer-inspired ombre toe nail art.9. Ombre Toe Nail Art for Summer


9. Ombre Toe Nail Art for Summer


Even if you have short nails, you can still rock the ombre toe nail art trend. In fact, shorter nails can make the gradient effect look more pronounced and eye-catching. You can also play around with different color combinations and designs to find what works best for your short nails. Ombre toe nail art is a versatile trend that can be enjoyed by anyone, regardless of nail length.10. Ombre Toe Nail Art for Short Nails

10. Ombre Toe Nail Art for Short Nails


The Latest Trend in Nail Art: Ombre Toe Nails

What is Ombre Toe Nail Art?
 If you're a fan of nail art, you've probably heard of ombre nails. This popular trend involves blending two or more colors on the nails to create a gradient effect. But have you heard of ombre toe nail art? It's the latest craze in the world of nails and it's taking the fashion world by storm.
Ombre toe nail art is a technique where the nails are painted in a gradient effect, starting from the cuticle and fading out towards the tip. This creates a stunning and unique look that is perfect for any occasion. The best part? It's not just limited to your fingernails, you can also rock this trend on your toes.
If you're a fan of nail art, you've probably heard of ombre nails. This popular trend involves blending two or more colors on the nails to create a gradient effect. But have you heard of ombre toe nail art? It's the latest craze in the world of nails and it's taking the fashion world by storm.
Ombre toe nail art is a technique where the nails are painted in a gradient effect, starting from the cuticle and fading out towards the tip. This creates a stunning and unique look that is perfect for any occasion. The best part? It's not just limited to your fingernails, you can also rock this trend on your toes.
Why Ombre Toe Nail Art?
 So, why is ombre toe nail art gaining popularity? For starters, it's a fun and creative way to express yourself through your nails. With endless color combinations and designs, you can create a look that is unique to you. Plus, ombre toe nail art is perfect for any season and can add a pop of color to your outfit.
But that's not all, ombre toe nail art is also great for those who struggle with nail growth. By starting the gradient effect at the cuticle, it can create the illusion of longer nails. It's a great way to give your toes a stylish and elongated look.
So, why is ombre toe nail art gaining popularity? For starters, it's a fun and creative way to express yourself through your nails. With endless color combinations and designs, you can create a look that is unique to you. Plus, ombre toe nail art is perfect for any season and can add a pop of color to your outfit.
But that's not all, ombre toe nail art is also great for those who struggle with nail growth. By starting the gradient effect at the cuticle, it can create the illusion of longer nails. It's a great way to give your toes a stylish and elongated look.
How to Achieve Ombre Toe Nail Art
 Achieving ombre toe nail art is easier than you think. All you need is a few nail polish colors of your choice, a makeup sponge, and some patience. Start by painting your nails with a base color and let it dry completely. Then, apply a small amount of each color in a line onto the makeup sponge. Gently dab the sponge onto your nails, starting at the cuticle and working your way to the tip. Repeat this step until you achieve your desired gradient effect.
To add some extra flair, you can also add glitter or rhinestones to your ombre toe nail art. And don't forget to seal in your design with a top coat for a long-lasting finish.
Ombre toe nail art
is a fun and unique way to elevate your nail game. Whether you're heading to the beach or a fancy event, this trend is perfect for any occasion. So why not give it a try and show off your
nail art
skills? Your toes will thank you.
HTML Code:
Achieving ombre toe nail art is easier than you think. All you need is a few nail polish colors of your choice, a makeup sponge, and some patience. Start by painting your nails with a base color and let it dry completely. Then, apply a small amount of each color in a line onto the makeup sponge. Gently dab the sponge onto your nails, starting at the cuticle and working your way to the tip. Repeat this step until you achieve your desired gradient effect.
To add some extra flair, you can also add glitter or rhinestones to your ombre toe nail art. And don't forget to seal in your design with a top coat for a long-lasting finish.
Ombre toe nail art
is a fun and unique way to elevate your nail game. Whether you're heading to the beach or a fancy event, this trend is perfect for any occasion. So why not give it a try and show off your
nail art
skills? Your toes will thank you.
HTML Code:
The Latest Trend in Nail Art: Ombre Toe Nails

What is Ombre Toe Nail Art?

If you're a fan of nail art, you've probably heard of ombre nails. This popular trend involves blending two or more colors on the nails to create a gradient effect. But have you heard of ombre toe nail art? It's the latest craze in the world of nails and it's taking the fashion world by storm.
Ombre toe nail art is a technique where the nails are painted in a gradient effect, starting from the cuticle and fading out towards the tip. This creates a stunning and unique look that is perfect for any occasion. The best part? It's not just limited to your fingernails, you can also rock this trend on your toes.
Why Ombre Toe Nail Art?

So, why is ombre toe nail art gaining popularity? For starters, it's a fun and creative way to express yourself through your nails. With endless color combinations and designs, you can create a look that is unique to you. Plus, ombre toe nail art is perfect for any season and can add a pop of color to your outfit.
But that's not all, ombre toe nail art is also great for those who struggle with nail growth. By starting the gradient effect at the cuticle, it can create the illusion of longer nails. It's a great way to give your toes a stylish and elongated look.
How to Achieve Ombre Toe Nail Art

Achieving ombre toe nail art is easier than you think. All you need is a few nail polish colors of your choice, a makeup sponge, and some patience. Start by painting your nails with a base color and let it dry completely. Then, apply a small amount of each color in a line onto the makeup sponge. Gently dab the sponge onto your nails, starting at the cuticle and working your way to the tip. Repeat this step until


