Are you tired of the same old plain nail designs? Want to add some color and creativity to your nails? Look no further than one stroke flower nail art! This beautiful and intricate technique will have your nails looking like a work of art in no time. And the best part? You don't have to be a professional nail artist to achieve this look. In this tutorial, we will guide you through the steps of creating stunning one stroke flower nail art.One Stroke Flower Nail Art Tutorial


One Stroke Flower Nail Art Tutorial


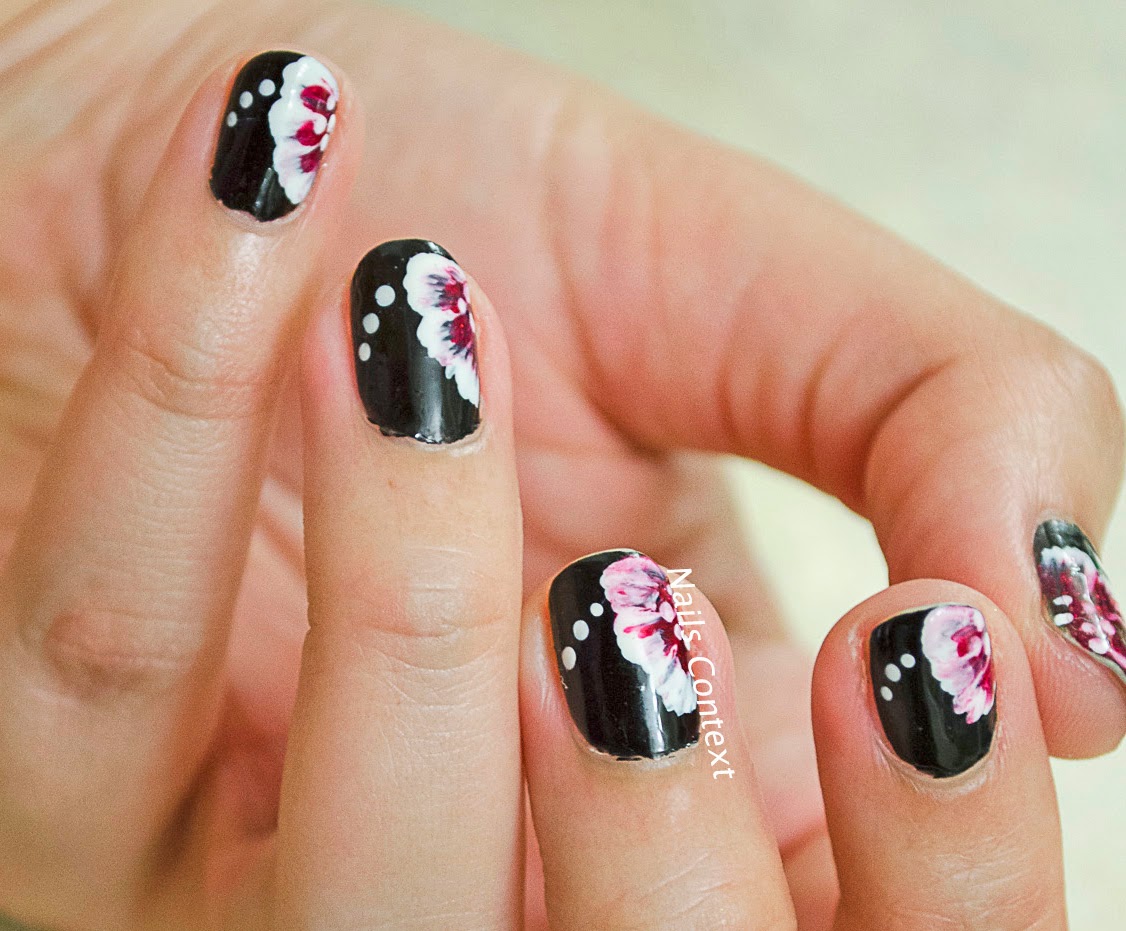
The first step to creating one stroke flower nail art is to gather all the necessary materials. You will need a base coat, a top coat, a white and black nail polish, and a few colors of your choice for the flowers. You will also need a thin brush or a nail art brush for the one stroke technique. Start by applying a base coat to protect your nails and allow it to dry completely. Next, paint your nails with a white base color and let it dry. This will help the colors of the flowers to stand out better. Once your base is dry, it's time to start the one stroke technique. Dip your thin brush into one color and then into another color, creating a gradient effect. You can use any colors you like, but for a more natural look, stick to shades of the same color. Step by Step One Stroke Flower Nail Art

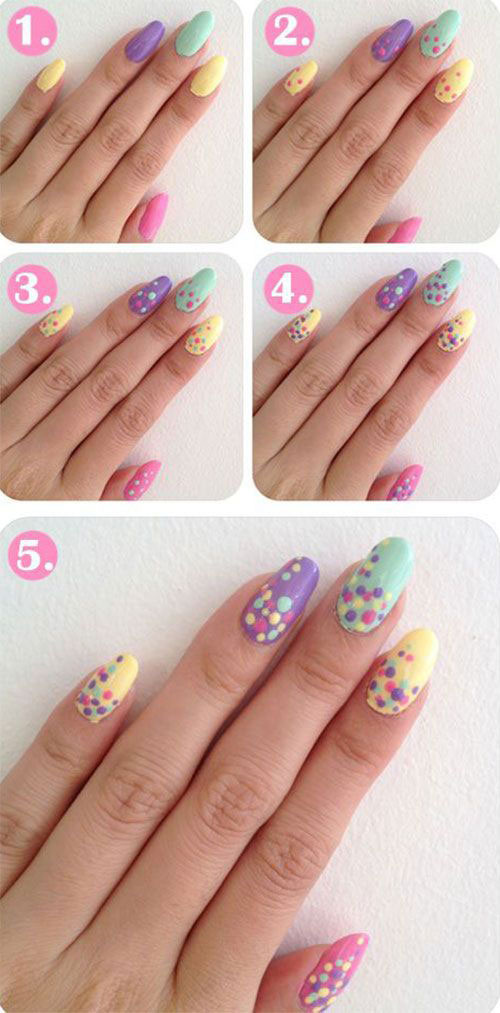
Step by Step One Stroke Flower Nail Art
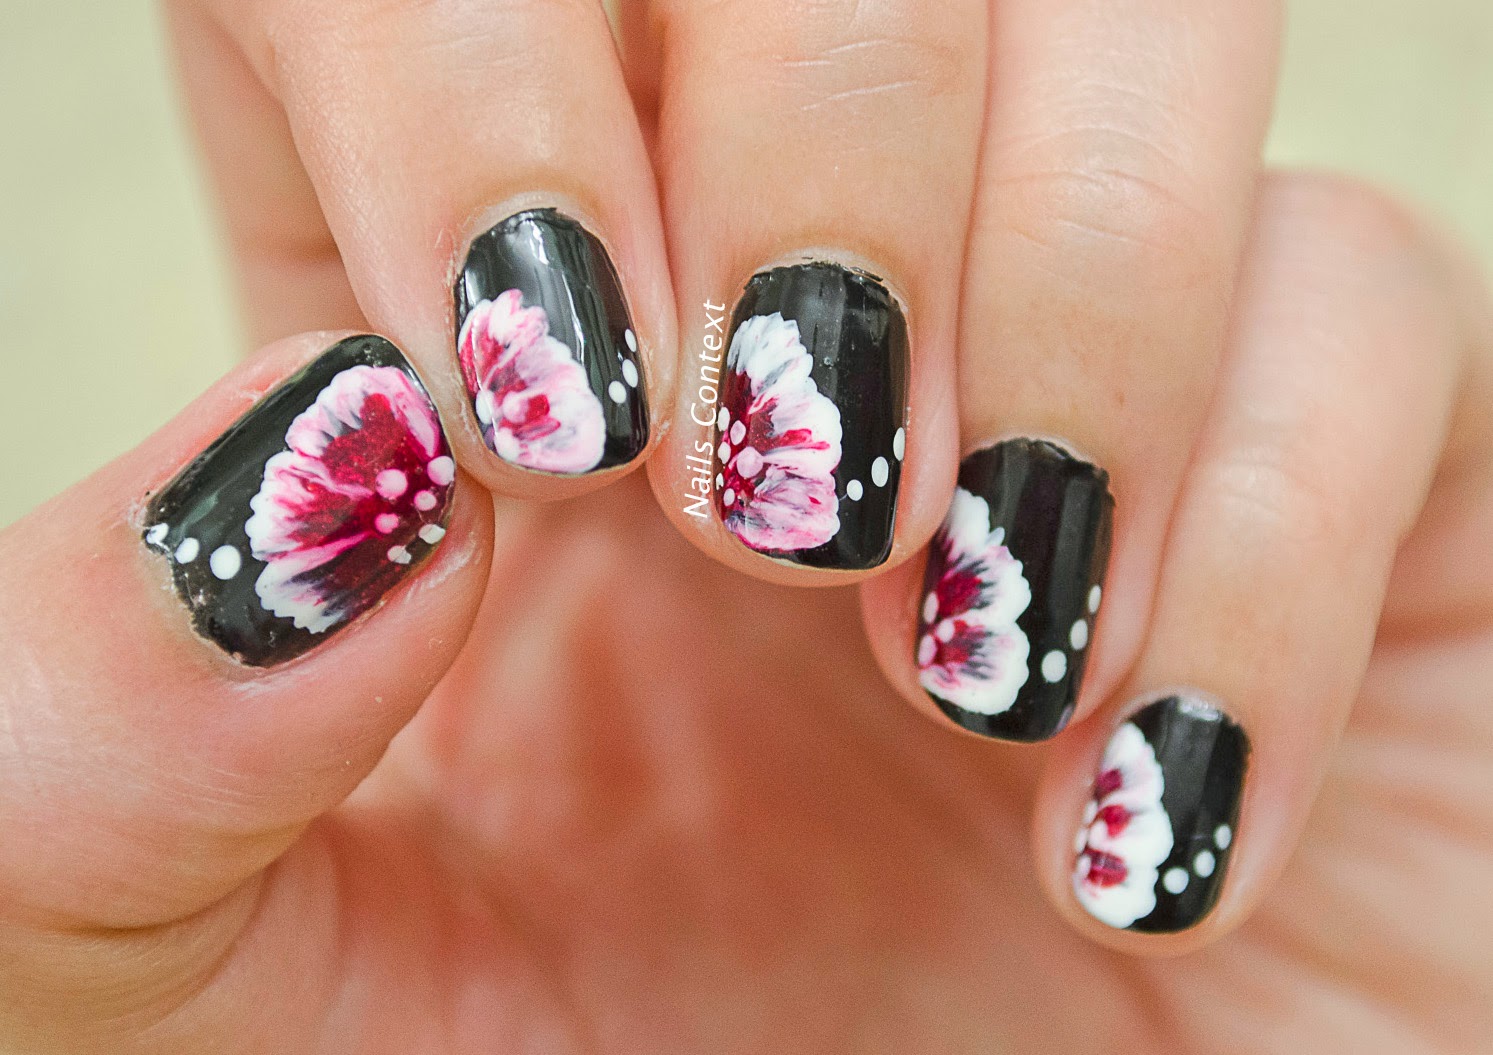
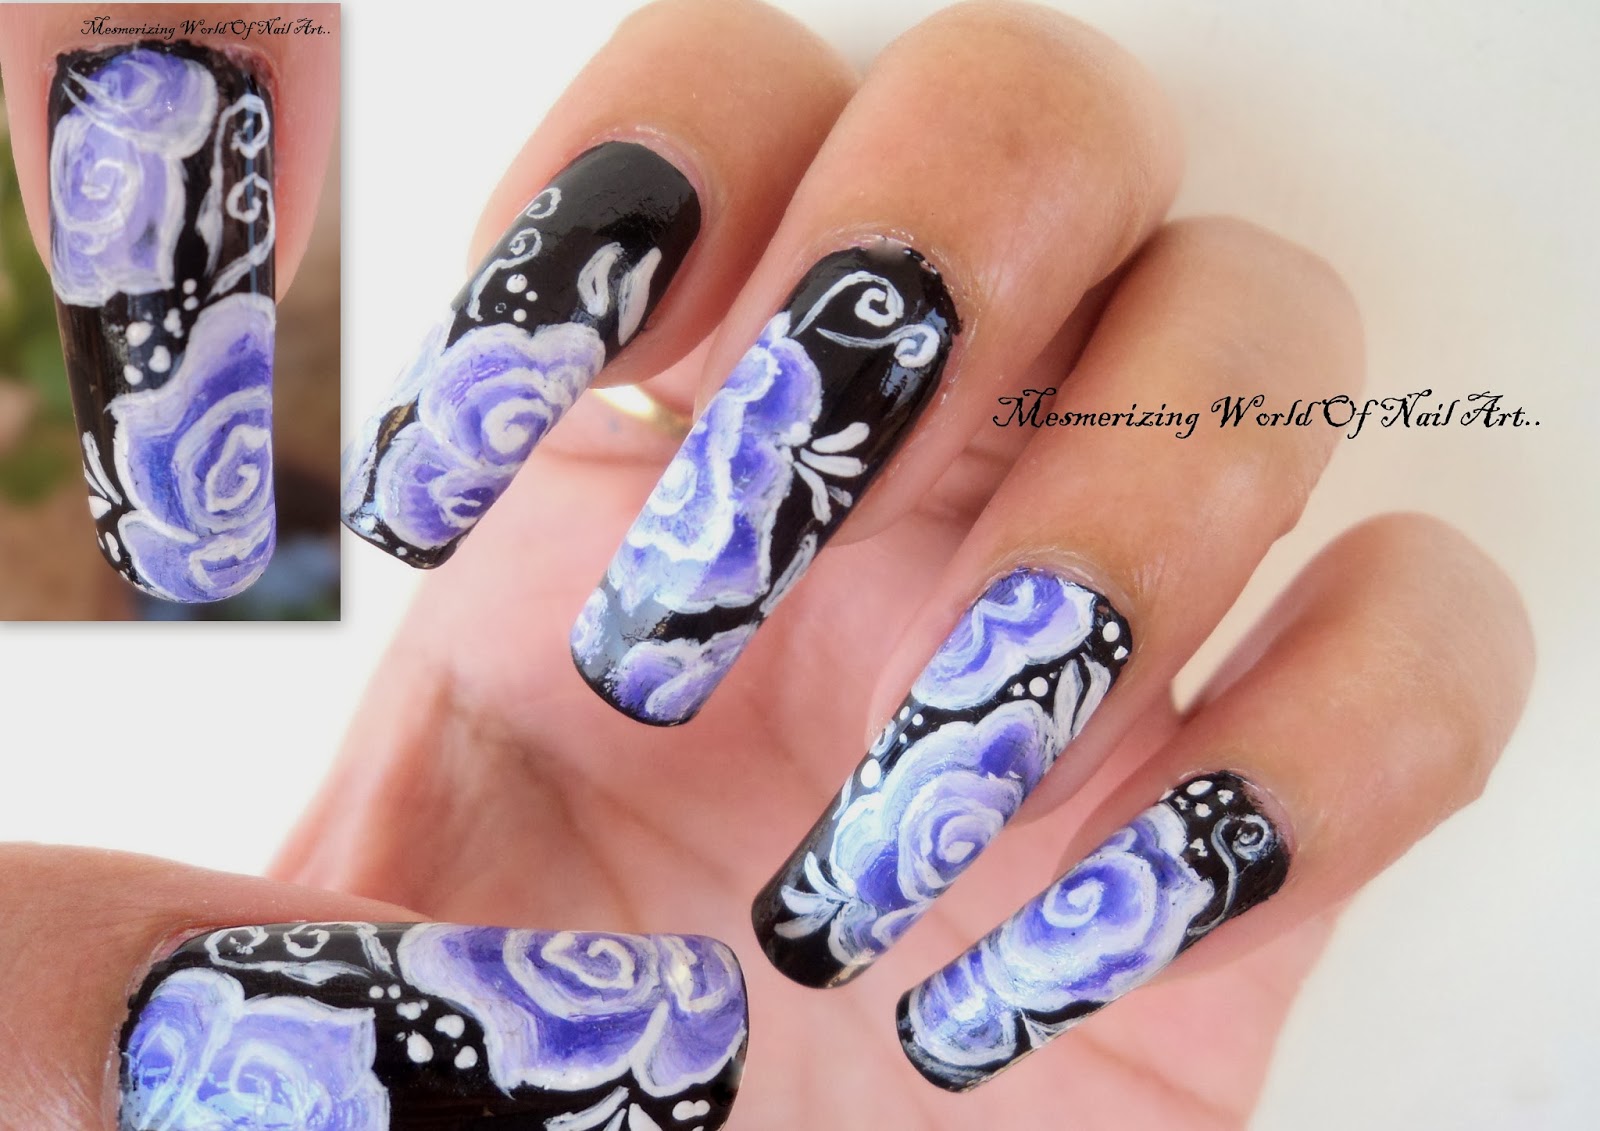
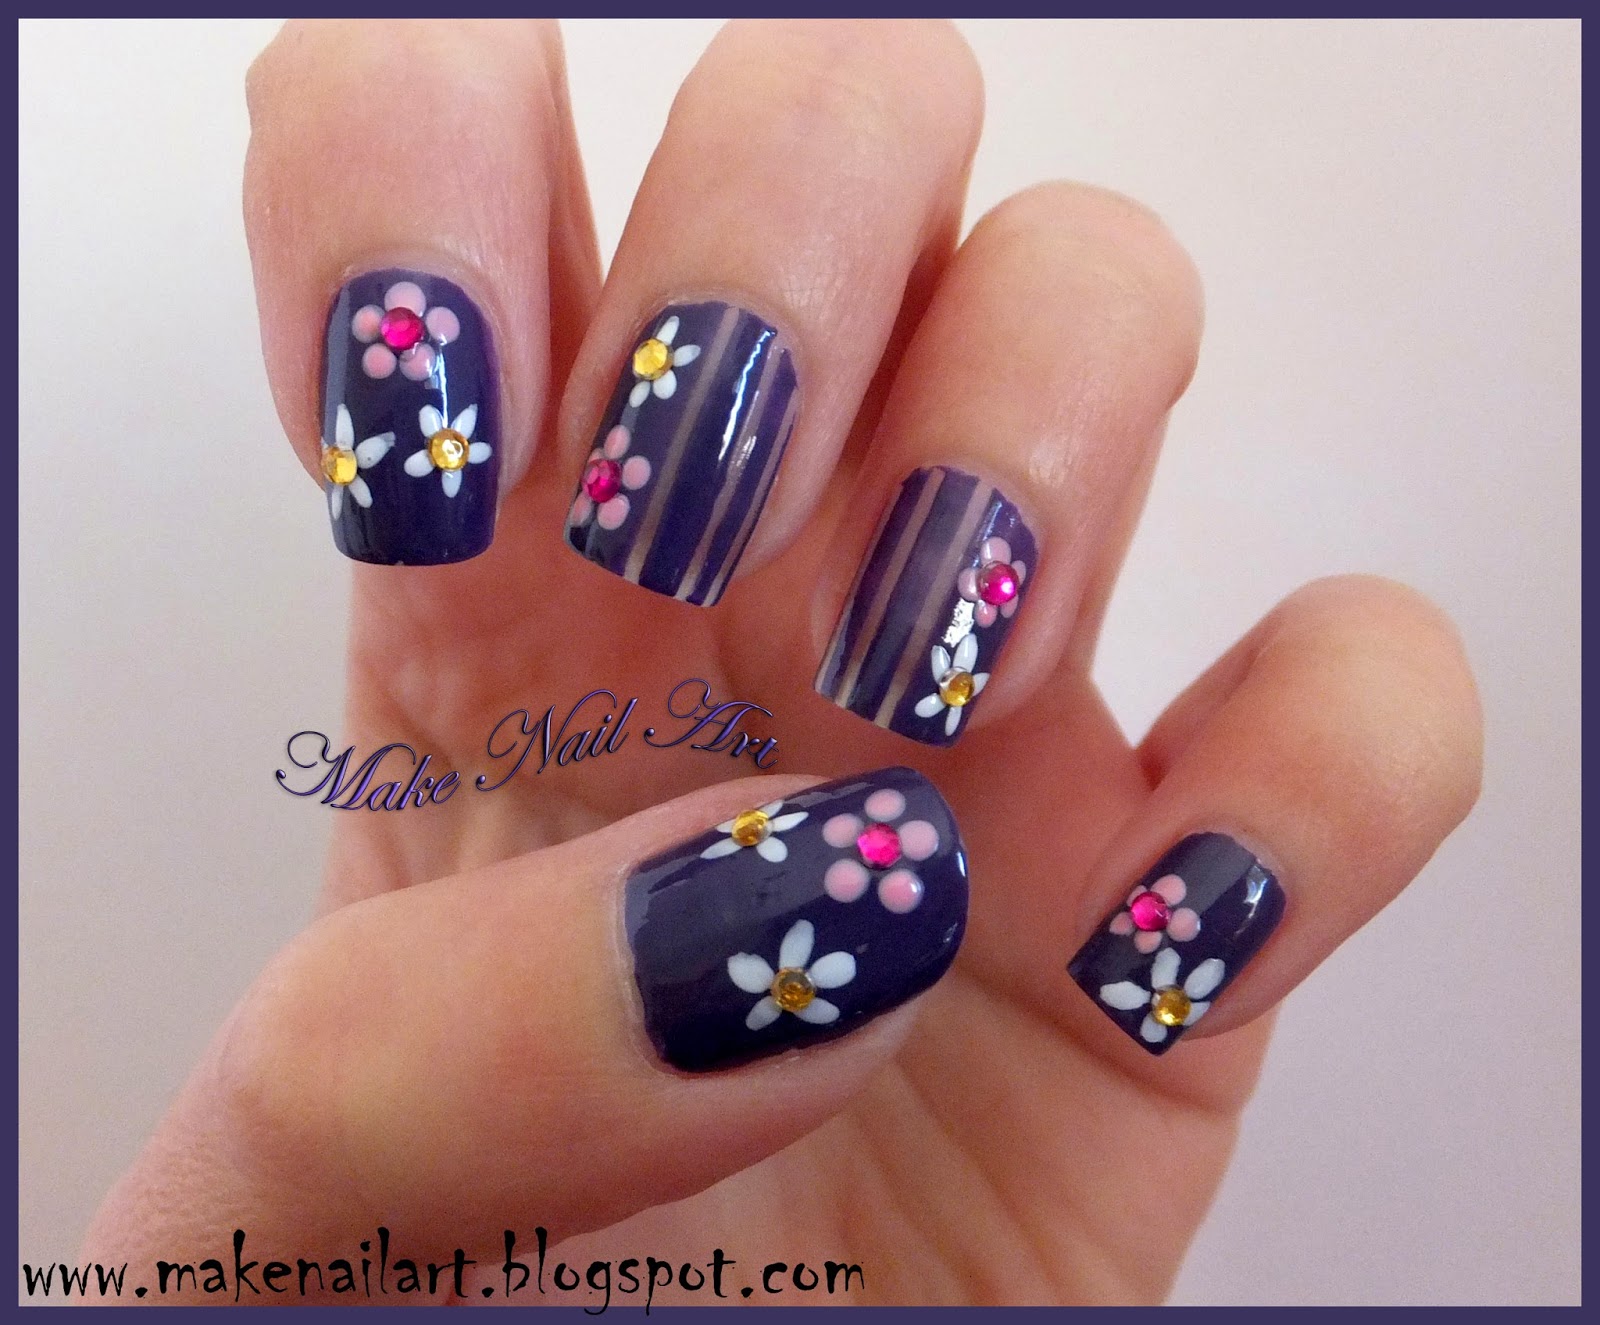
Now it's time to create the flowers! Using your brush, create a curved line on your nail, starting from the bottom and moving upwards. This will serve as the stem of your flower. Next, using the same technique, create petals around the stem. You can create different sized petals to add dimension to your flower. You can also add some leaves using the same technique. For a more intricate look, you can add multiple flowers on one nail. Just make sure to leave enough space between the flowers so they don't blend together. You can also experiment with different brush sizes to create different flower sizes.Easy One Stroke Flower Nail Art Tutorial
Easy One Stroke Flower Nail Art Tutorial


If you are new to the one stroke technique, don't worry! It may take some practice to get the hang of it, but it's not as difficult as it seems. Start by practicing on a piece of paper first to get comfortable with the technique. Once you feel confident, move on to your nails. Remember to start with lighter colors and then move on to darker shades. This will help avoid any mistakes and make the colors stand out better. Also, don't worry if your flowers don't look perfect. The beauty of one stroke flower nail art is in its imperfections.One Stroke Flower Nail Art for Beginners


One Stroke Flower Nail Art for Beginners


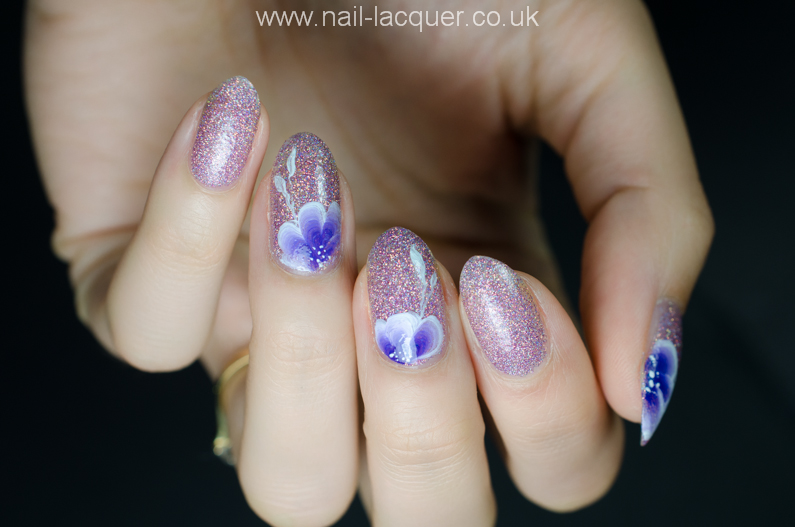
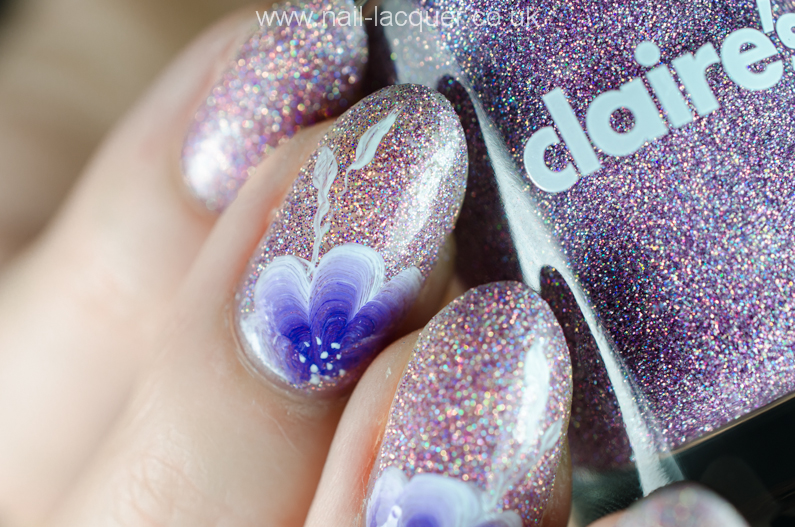
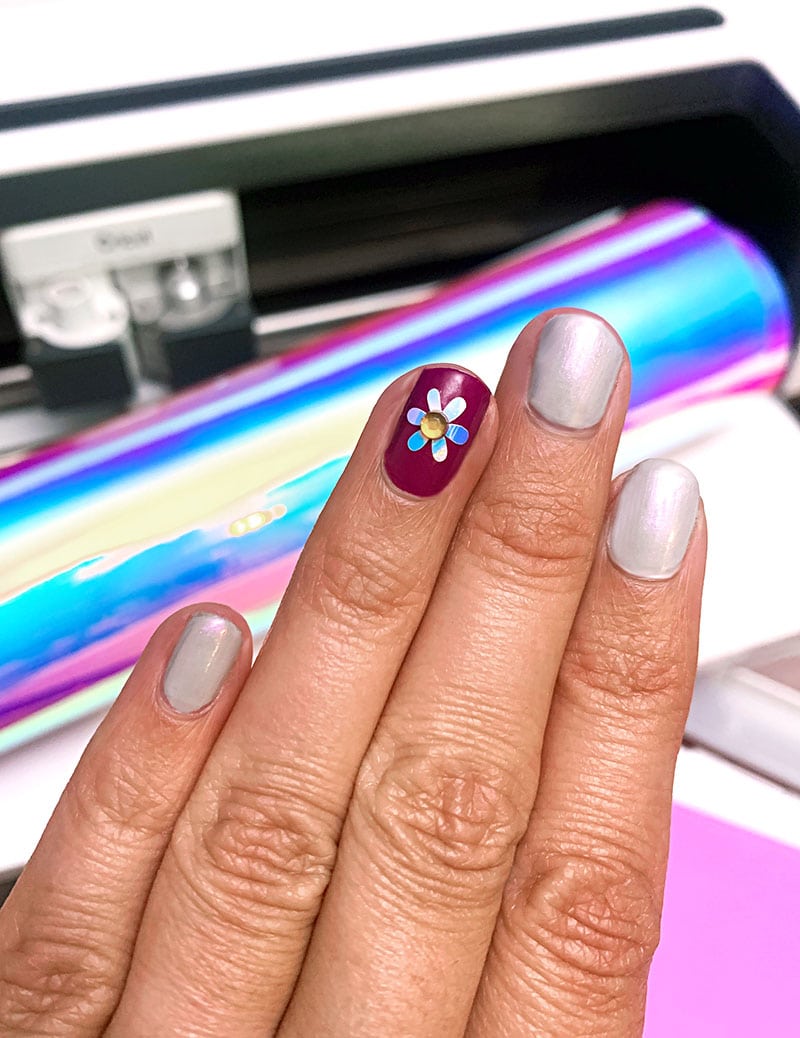
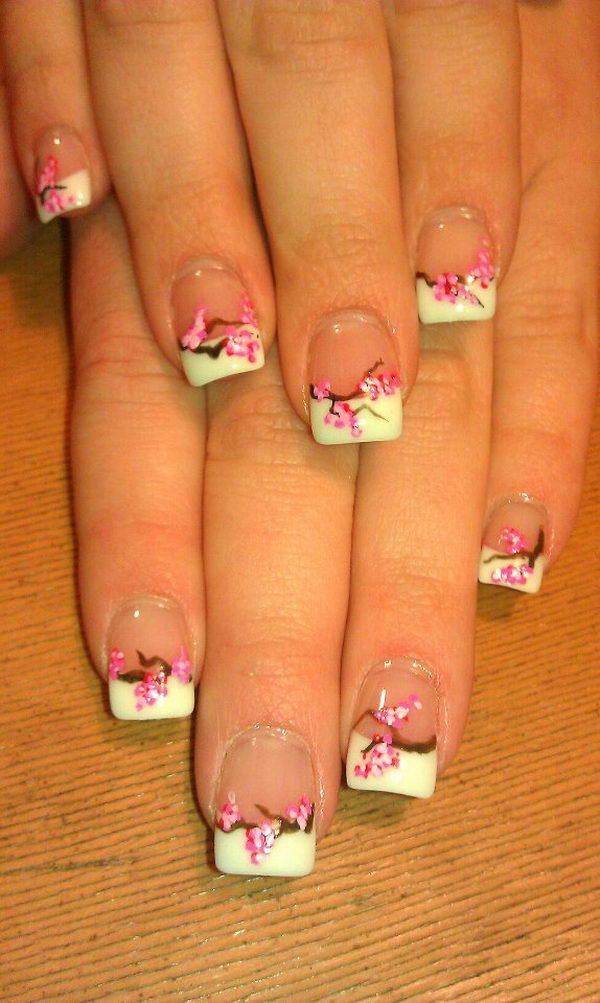
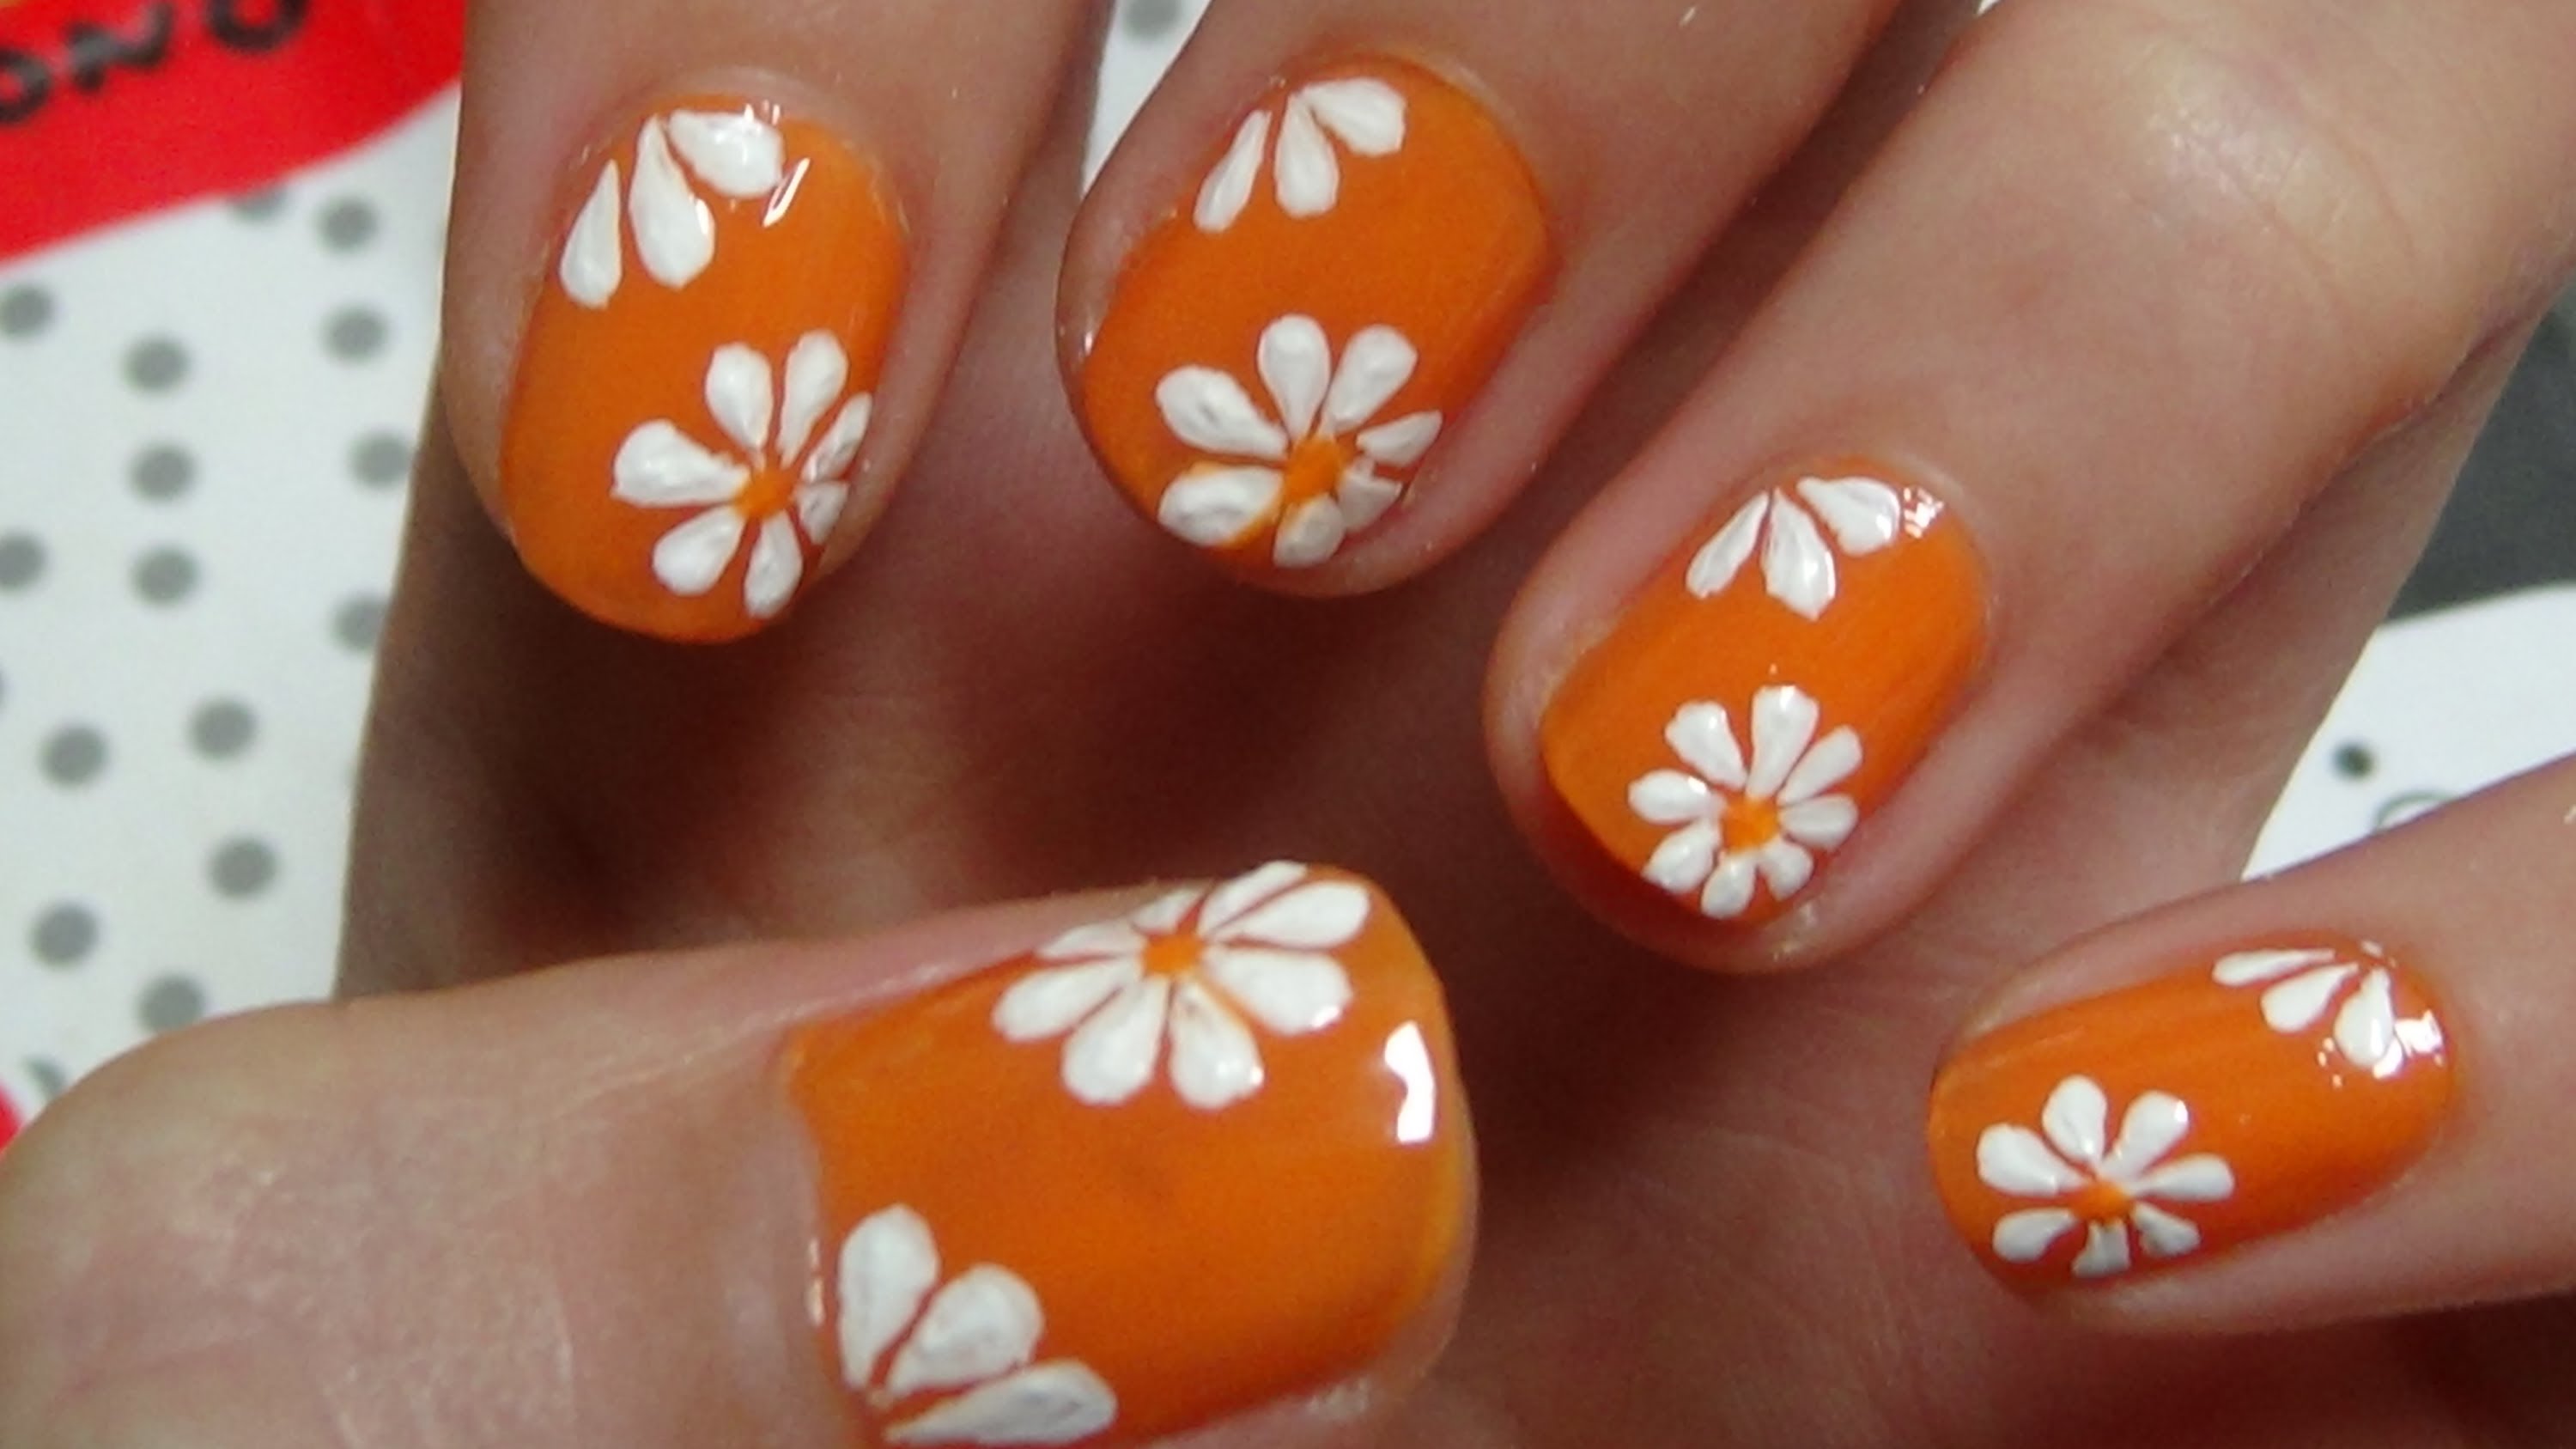
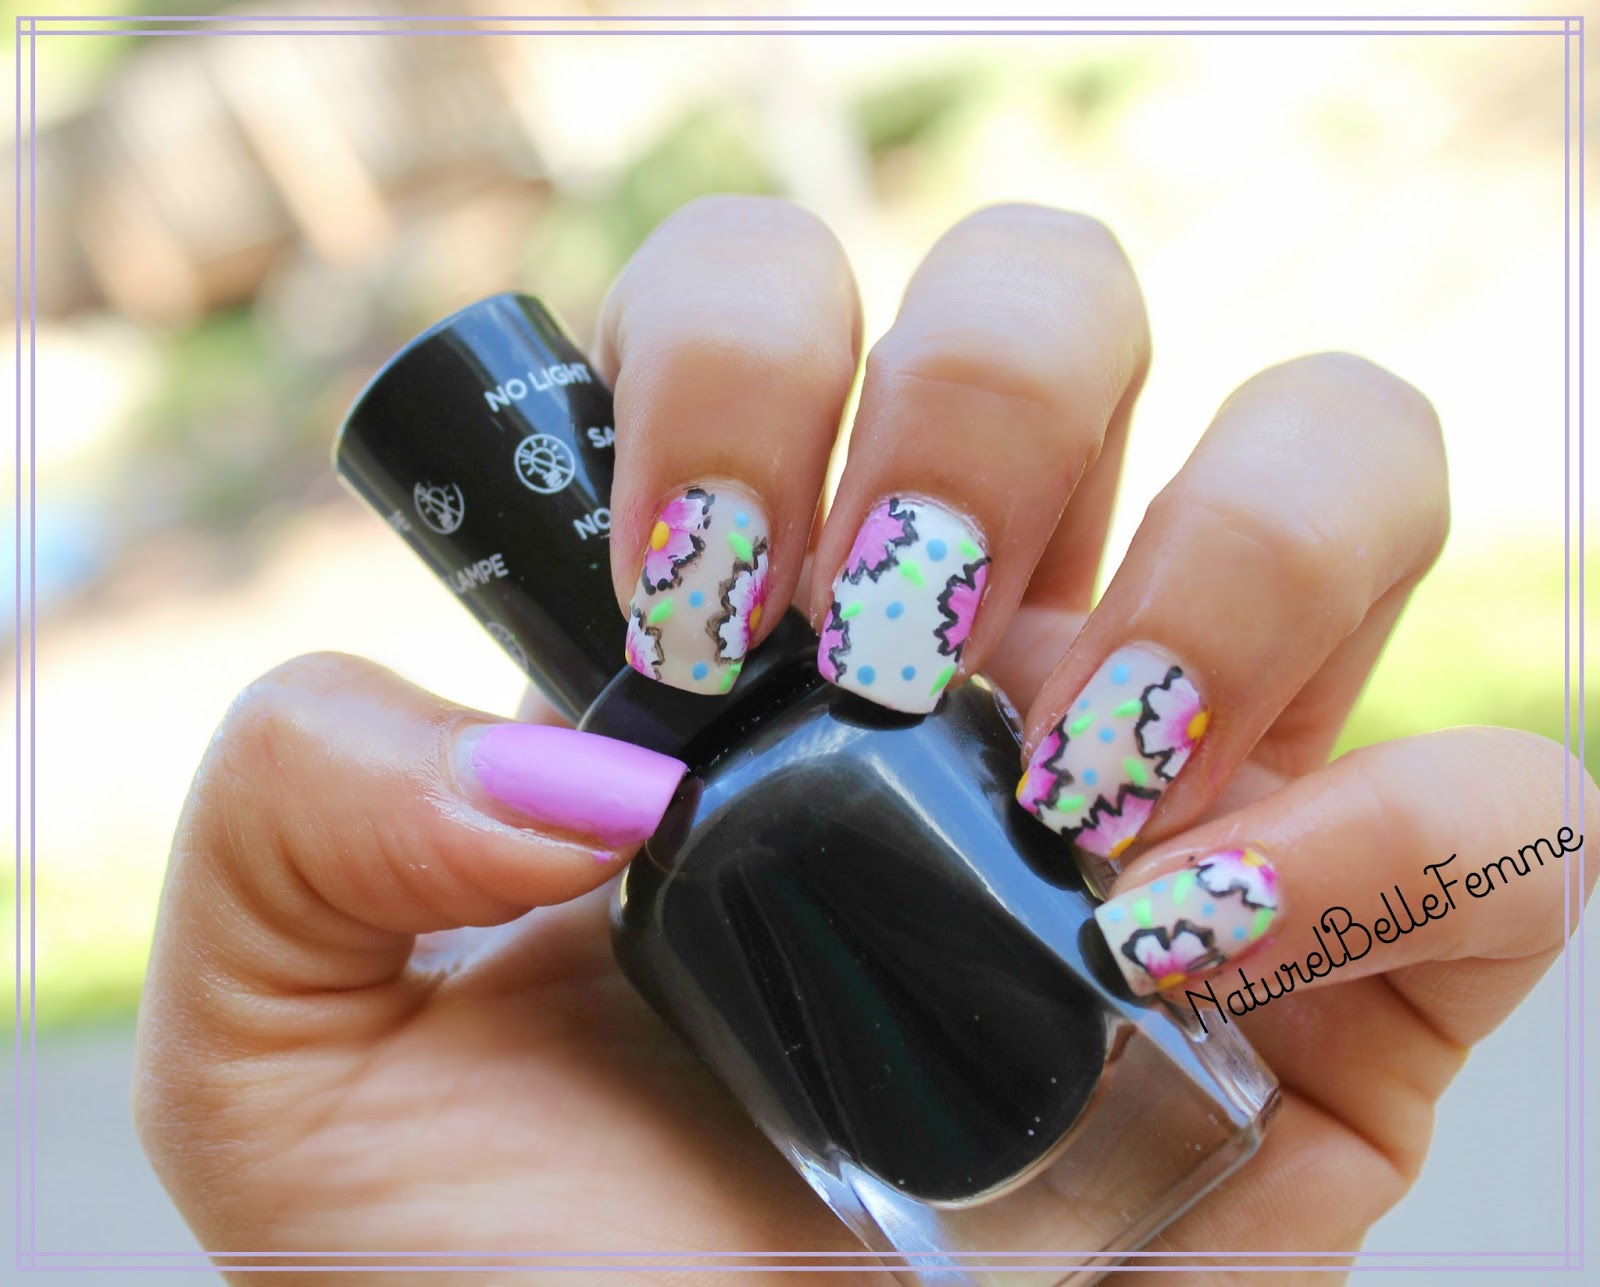
There are endless designs and variations you can create with one stroke flower nail art. You can create simple and elegant designs with just one flower on each nail, or you can go all out and cover your nails with a garden of flowers. You can also add other elements like butterflies, ladybugs, or glitter to make your nail art even more unique. Another fun idea is to create a different flower on each nail, creating a bouquet on your nails. You can also use different color combinations to match your outfit or the season.One Stroke Flower Nail Art Designs


One Stroke Flower Nail Art Designs


There are a few different techniques you can use to create one stroke flower nail art. The most common one is the "one stroke" technique, where you dip your brush into two colors and create a gradient effect. Another technique is the "dry brush" technique, where you use a dry brush to create a textured look. You can also use a "dotting" tool to create the center of the flower or add details.One Stroke Flower Nail Art Techniques


One Stroke Flower Nail Art Techniques
To make your one stroke flower nail art last longer, make sure to seal it with a top coat. This will also help smooth out any bumps or imperfections in the design. You can also use a toothpick or a small brush to clean up any excess polish around your nails. For a more professional look, you can also use acrylic paint instead of nail polish. This will make it easier to blend colors and create more intricate designs. And don't be afraid to experiment and have fun with different color combinations and techniques!One Stroke Flower Nail Art Tips and Tricks


One Stroke Flower Nail Art Tips and Tricks
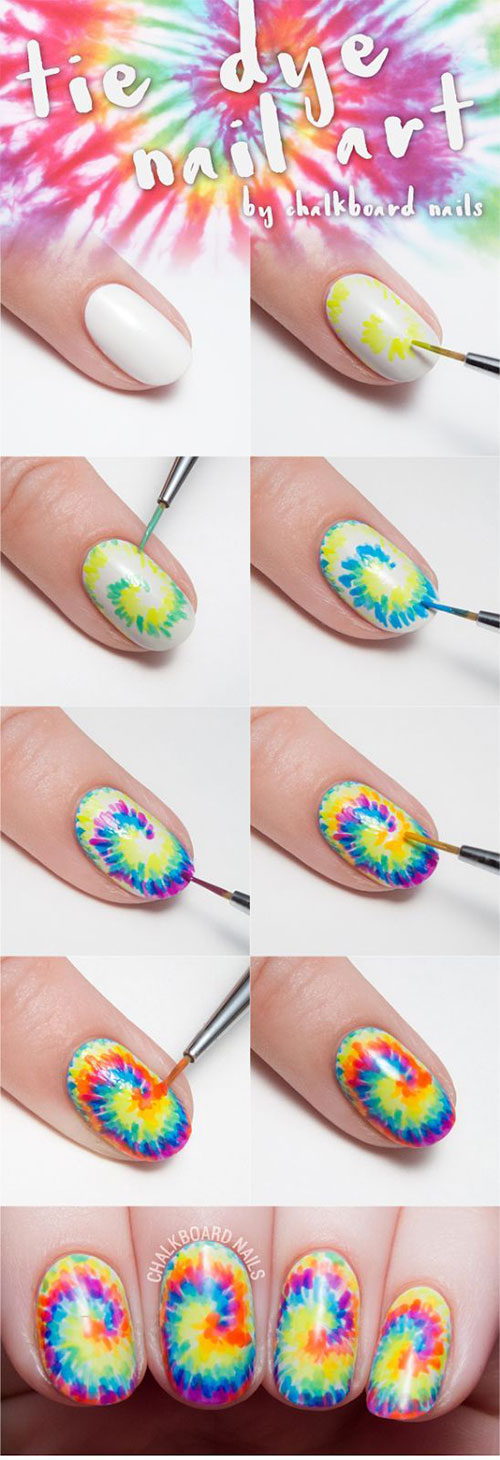
If you prefer a more visual guide, you can find many step by step tutorials on YouTube or Instagram. These tutorials will show you exactly how to create different designs and techniques for one stroke flower nail art. You can also find inspiration and ideas for new designs to try out.One Stroke Flower Nail Art Step by Step Guide


One Stroke Flower Nail Art Step by Step Guide

One stroke flower nail art can also be done on short nails! You may have to adjust the size of the flowers and leaves, but the technique is the same. You can also use smaller brushes to make it easier to work with smaller nail beds. Just remember to leave enough space between the flowers to avoid overcrowding.One Stroke Flower Nail Art Tutorial for Short Nails


One Stroke Flower Nail Art Tutorial for Short Nails

If you have long nails, you have even more space to get creative with your one stroke flower nail art! You can create larger and more detailed flowers, or even add multiple layers and colors to your design. Just make sure to adjust the size of the brush and the amount of polish you use to avoid any messiness or smudging. In conclusion, one stroke flower nail art is a beautiful and fun technique to add some color and creativity to your nails. With a little bit of practice and some patience, you can create stunning designs that will have everyone asking where you got your nails done. So grab your brushes and get ready to unleash your inner nail artist!One Stroke Flower Nail Art Tutorial for Long Nails


One Stroke Flower Nail Art Tutorial for Long Nails

Floral Nail Art: A Trendy and Elegant Design for Your Nails
 When it comes to nail art, there are endless possibilities to express your creativity and style. One of the most popular and timeless designs is the one stroke flower nail art. This technique involves using a single stroke of a brush to create delicate and intricate floral designs on your nails. It may seem intimidating at first, but with some practice and patience, you can easily achieve this stunning look.
What is One Stroke Flower Nail Art?
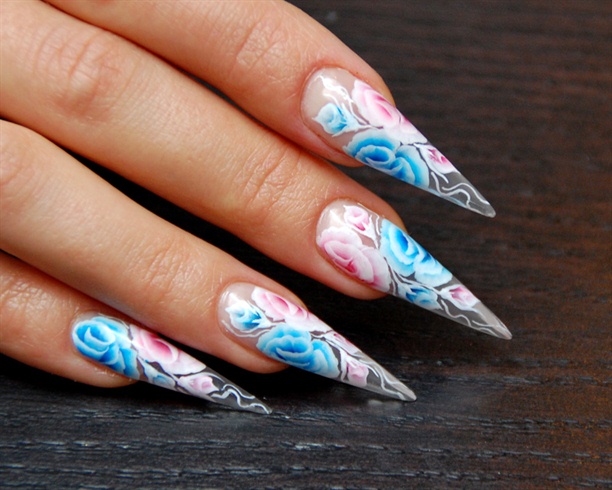
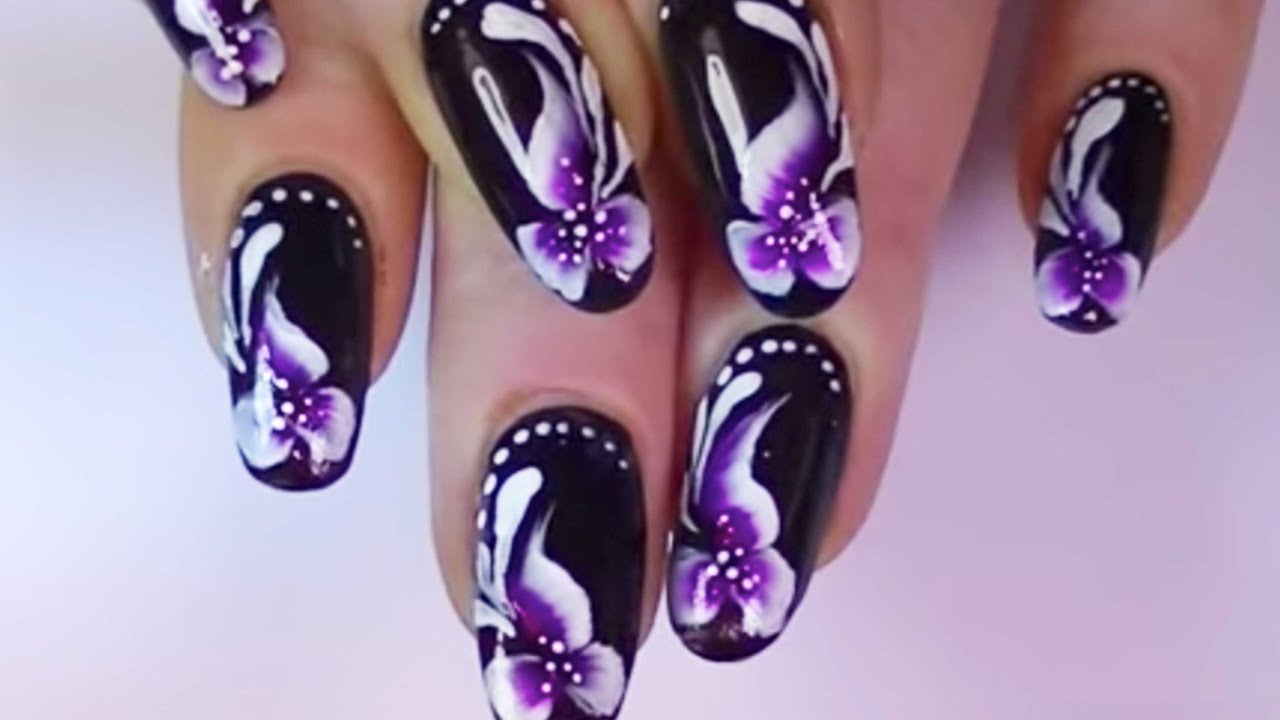
 One stroke flower nail art is a technique that originated in Japan and has gained popularity all over the world. It involves using a flat brush with two different colors of nail polish to create multi-dimensional flower designs on your nails. The brush is loaded with two colors, usually a lighter and a darker shade of the same color, and then swiped onto the nails in a single stroke to create the petals of the flower. This technique allows for beautiful and realistic-looking flowers to be painted on your nails in just a few simple steps.
Step by Step Guide
 Now, let's dive into the step by step process of creating one stroke flower nail art.
Step 1: Prepare Your Nails
Start by preparing your nails. Remove any old nail polish and trim and shape your nails to your desired length and shape. Then, apply a base coat to protect your nails and create a smooth surface for the nail polish to adhere to.
Step 2: Choose Your Colors
One stroke flower nail art looks best with two colors that complement each other. You can choose any color combination you like, but for a more realistic look, opt for lighter and darker shades of the same color.
Step 3: Load Your Brush
Take your flat brush and dip one side into the lighter color and the other side into the darker color. Make sure to wipe off any excess polish on a paper towel before moving on to the next step.
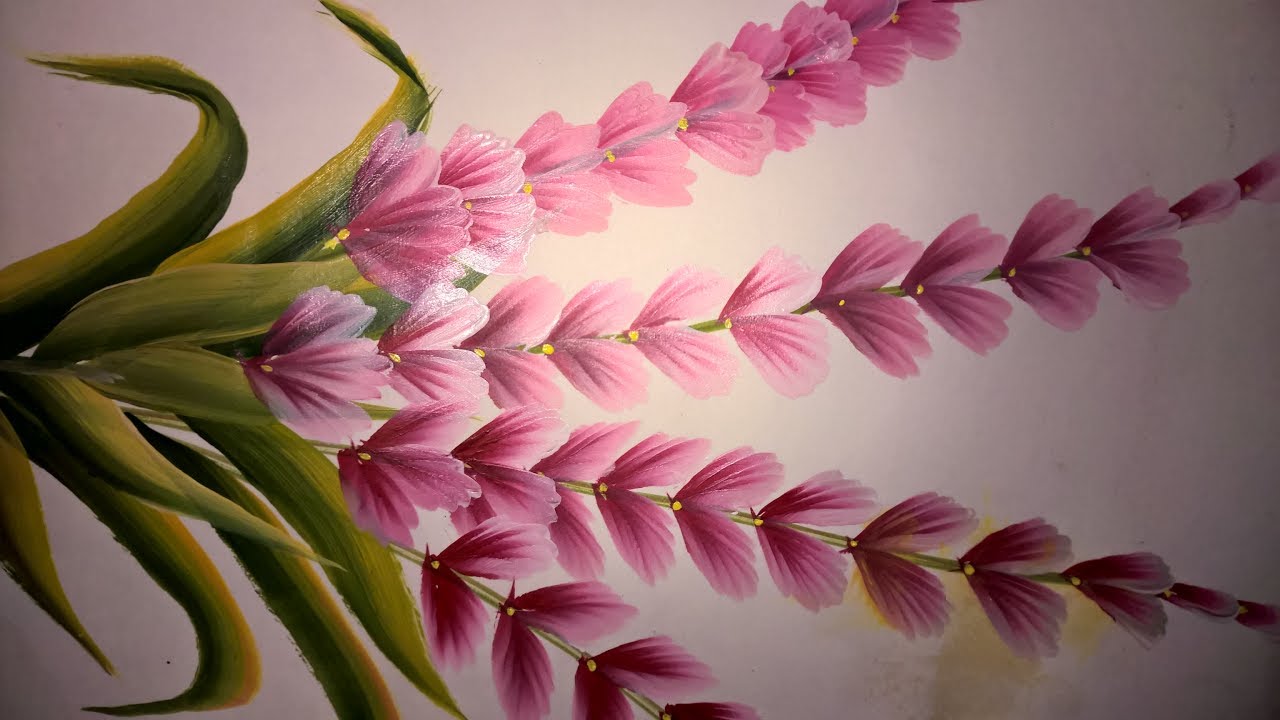
Step 4: Create the Petals
With your loaded brush, gently swipe it onto your nail in a curved motion to create the petals of the flower. Start from the center and work your way outwards, creating as many petals as you like. For larger flowers, you can use a larger brush, and for smaller flowers, use a smaller brush.
Step 5: Add Details
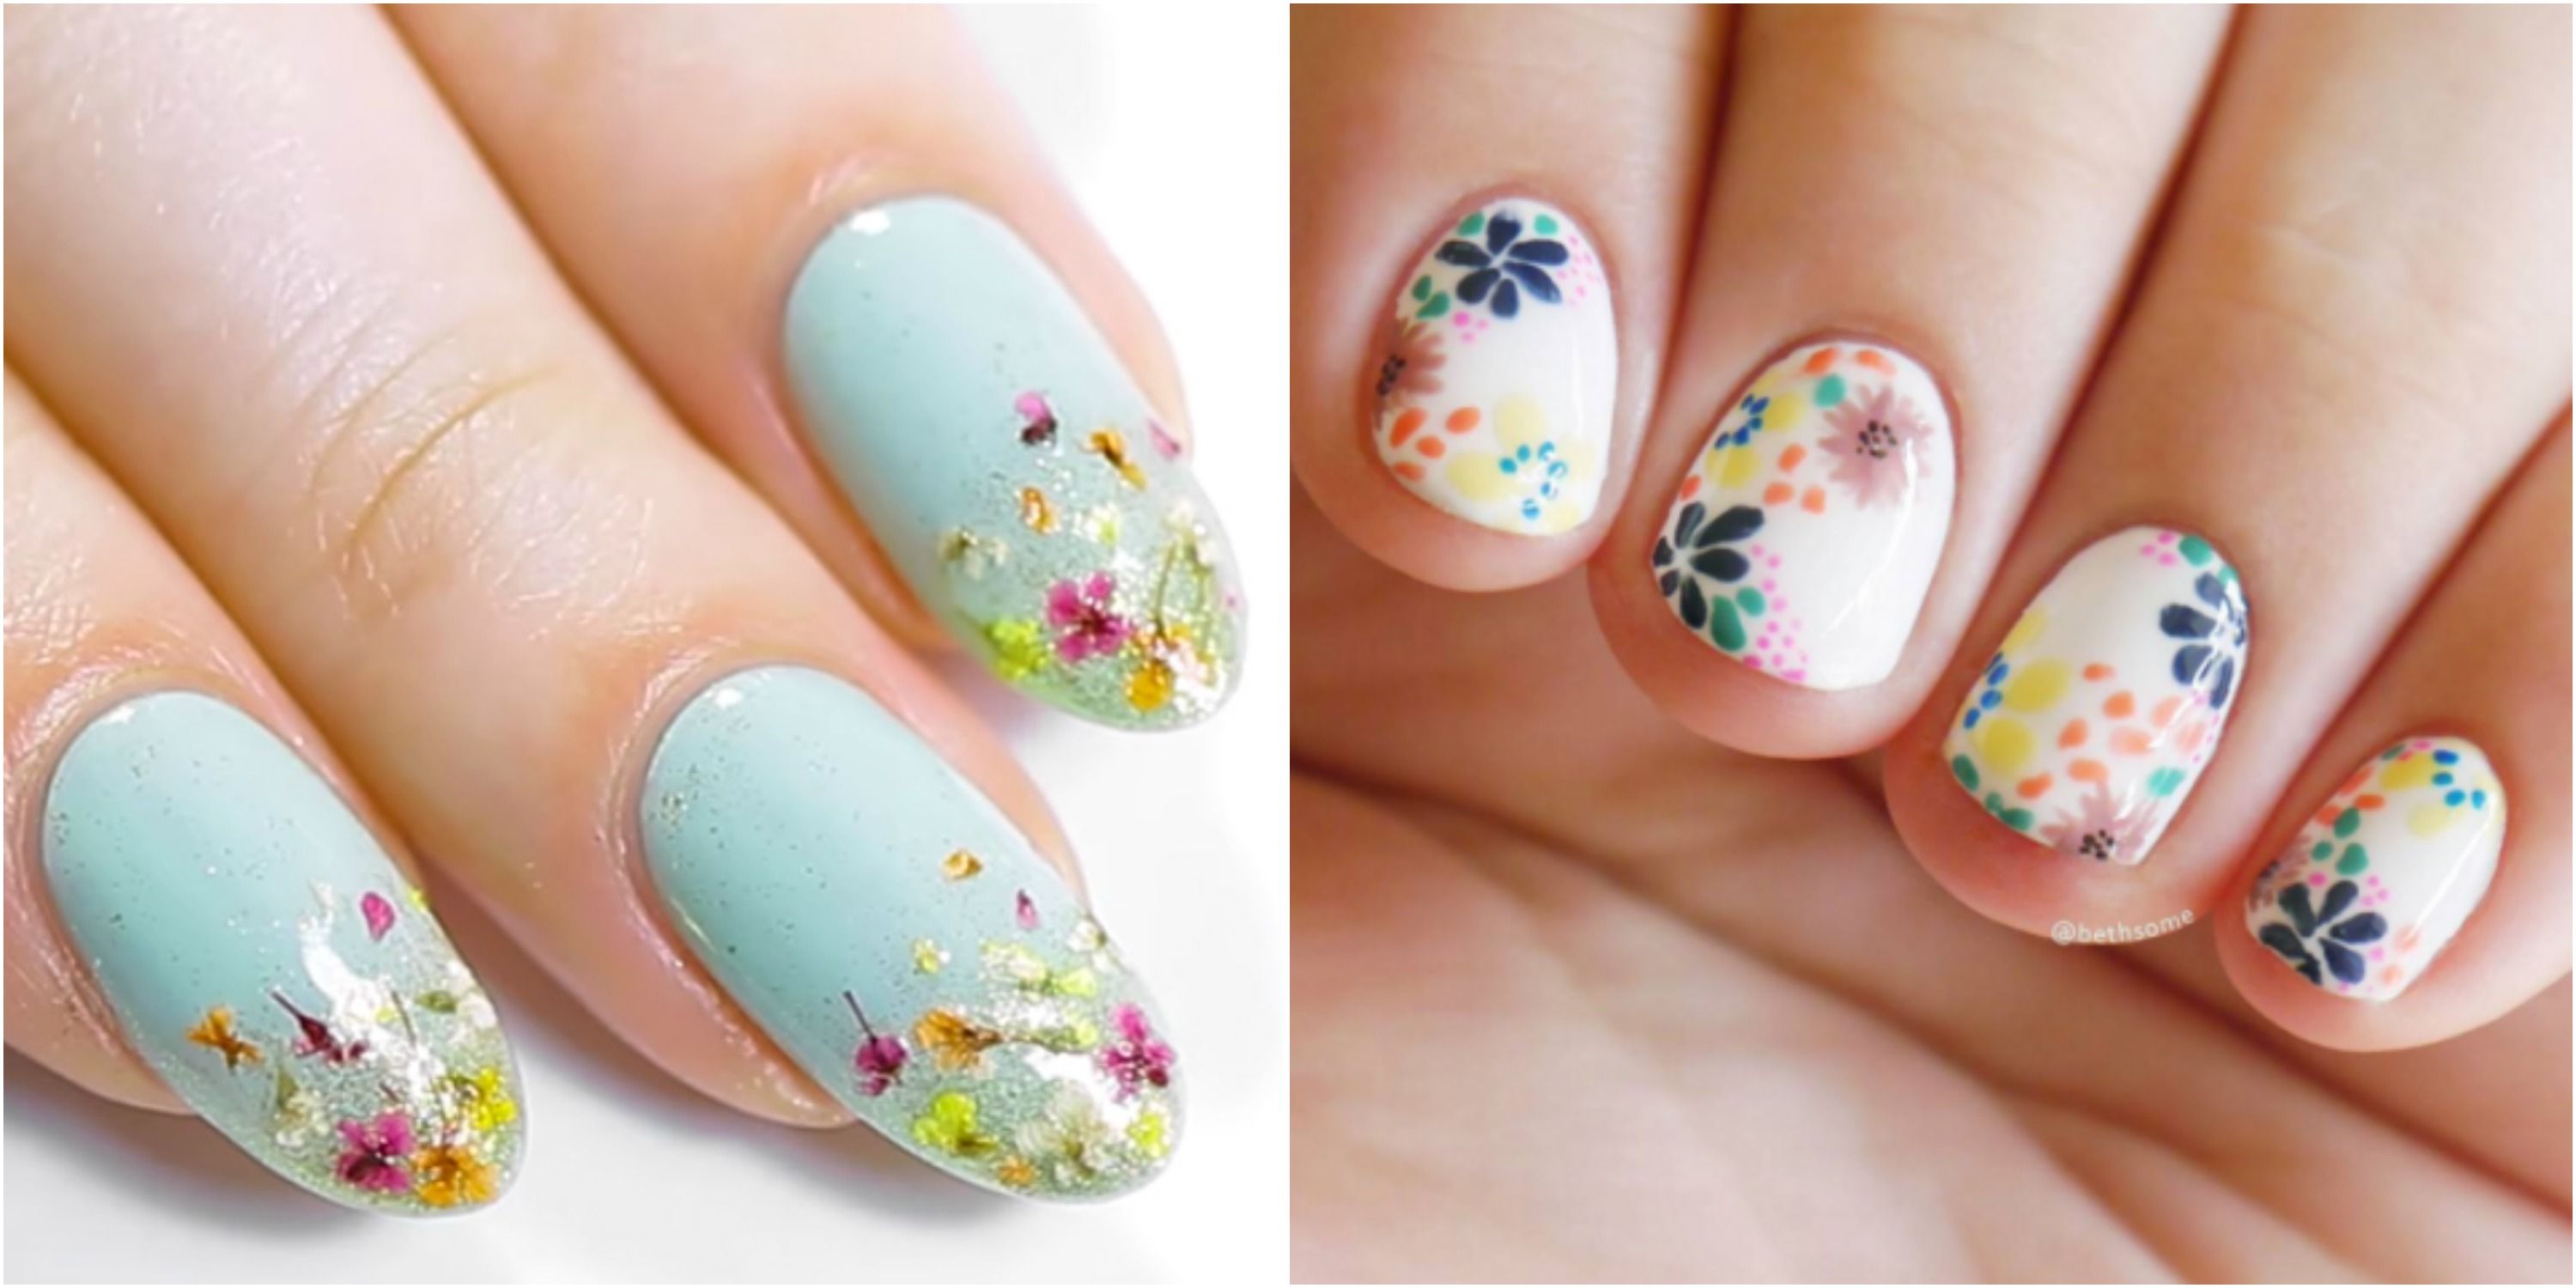
Once your petals are in place, you can add some details to make your flowers look even more realistic. Use a smaller brush and a different color to create the center of the flower, add some leaves, or even some tiny dots to represent the pollen.
Step 6: Seal it with a Top Coat
Once you're happy with your design, wait for it to dry completely before sealing it with a top coat. This will protect your design and make it last longer.
Now, let's dive into the step by step process of creating one stroke flower nail art.
Step 1: Prepare Your Nails
Start by preparing your nails. Remove any old nail polish and trim and shape your nails to your desired length and shape. Then, apply a base coat to protect your nails and create a smooth surface for the nail polish to adhere to.
Step 2: Choose Your Colors
One stroke flower nail art looks best with two colors that complement each other. You can choose any color combination you like, but for a more realistic look, opt for lighter and darker shades of the same color.
Step 3: Load Your Brush
Take your flat brush and dip one side into the lighter color and the other side into the darker color. Make sure to wipe off any excess polish on a paper towel before moving on to the next step.
Step 4: Create the Petals
With your loaded brush, gently swipe it onto your nail in a curved motion to create the petals of the flower. Start from the center and work your way outwards, creating as many petals as you like. For larger flowers, you can use a larger brush, and for smaller flowers, use a smaller brush.
Step 5: Add Details
Once your petals are in place, you can add some details to make your flowers look even more realistic. Use a smaller brush and a different color to create the center of the flower, add some leaves, or even some tiny dots to represent the pollen.
Step 6: Seal it with a Top Coat
Once you're happy with your design, wait for it to dry completely before sealing it with a top coat. This will protect your design and make it last longer.
Final Thoughts
 One stroke flower nail art is a stunning and elegant design that will surely impress everyone. The best part is, it's not as difficult as it looks. With some practice and patience, you can master this technique and create beautiful floral designs on your nails. So go ahead, give it a try, and add a touch of nature to your nails with one stroke flower nail art.


