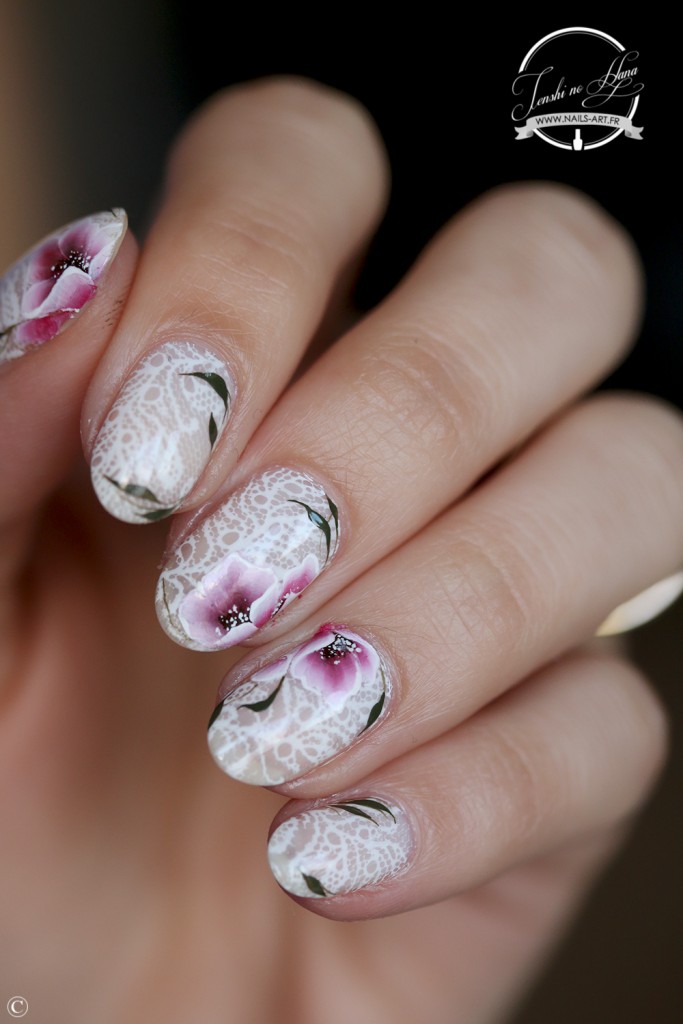
If you're new to the world of nail art, the thought of creating intricate designs on your nails may seem daunting. But fear not, because one stroke nail art is the perfect technique for beginners to try. This style involves using a single brush stroke to create beautiful and unique designs on your nails. It may sound simple, but with a little practice and the right tools, you can achieve stunning results. Follow this one stroke nail art tutorial for beginners to get started.One Stroke Nail Art Tutorial for Beginners


One Stroke Nail Art Tutorial for Beginners


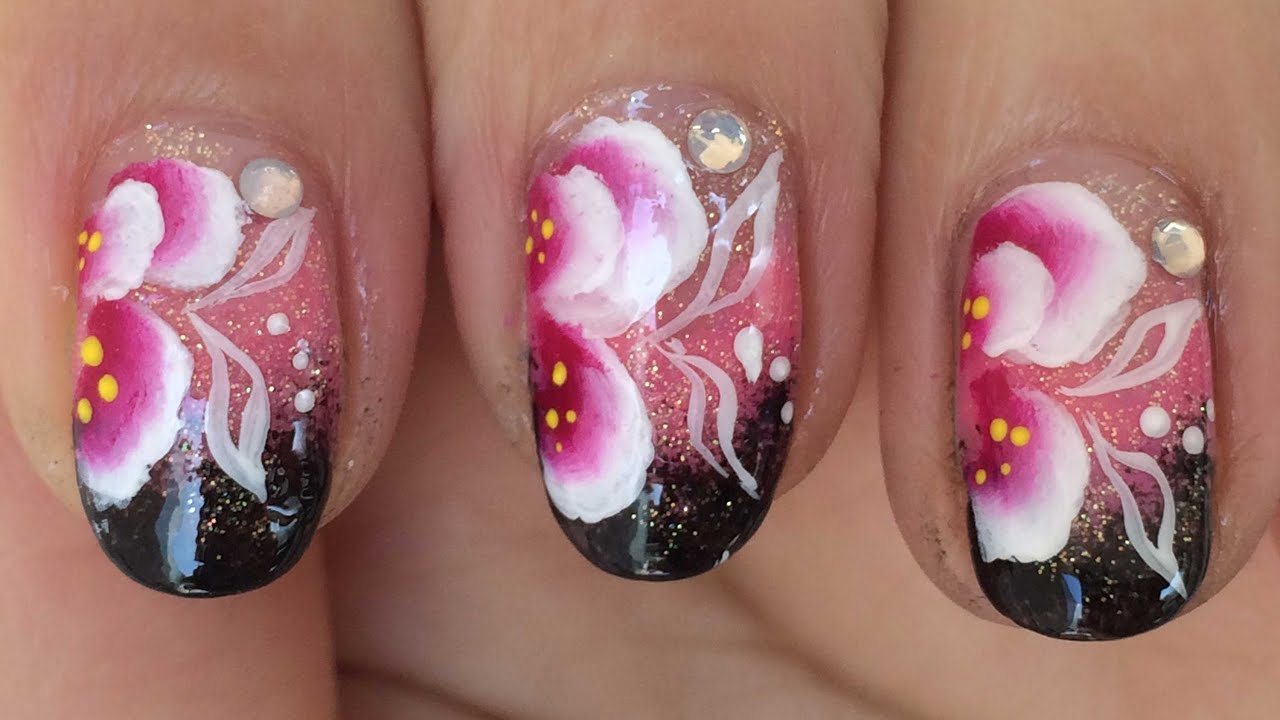
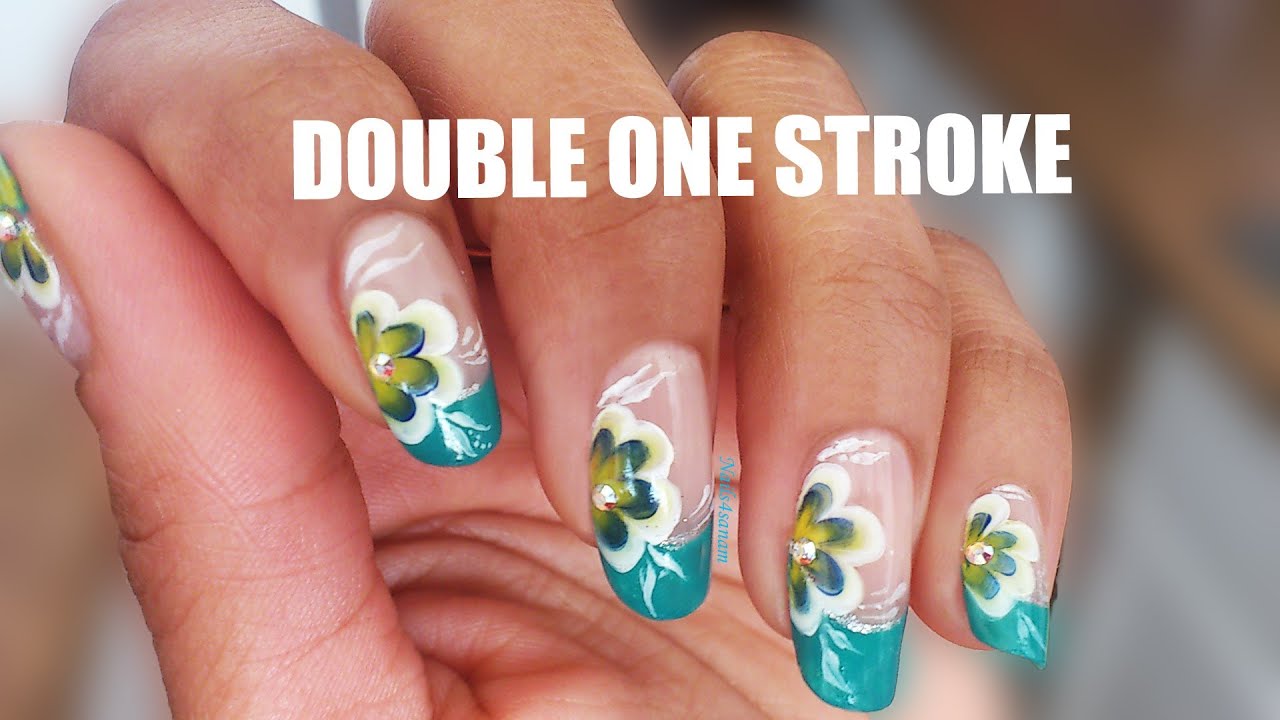
To create one stroke nail art, you'll need a few essential tools: a flat brush, acrylic paint or gel polish, a palette, and some water. Start by loading your brush with two contrasting colors of paint or polish. Next, dip the brush into water and remove any excess. This will help the colors blend together smoothly. Then, with one swift motion, create a single brush stroke on your nail. You can experiment with different angles and pressure to create different designs. Follow this step by step tutorial for more guidance.One Stroke Nail Art Tutorial Step by Step
One Stroke Nail Art Tutorial Step by Step
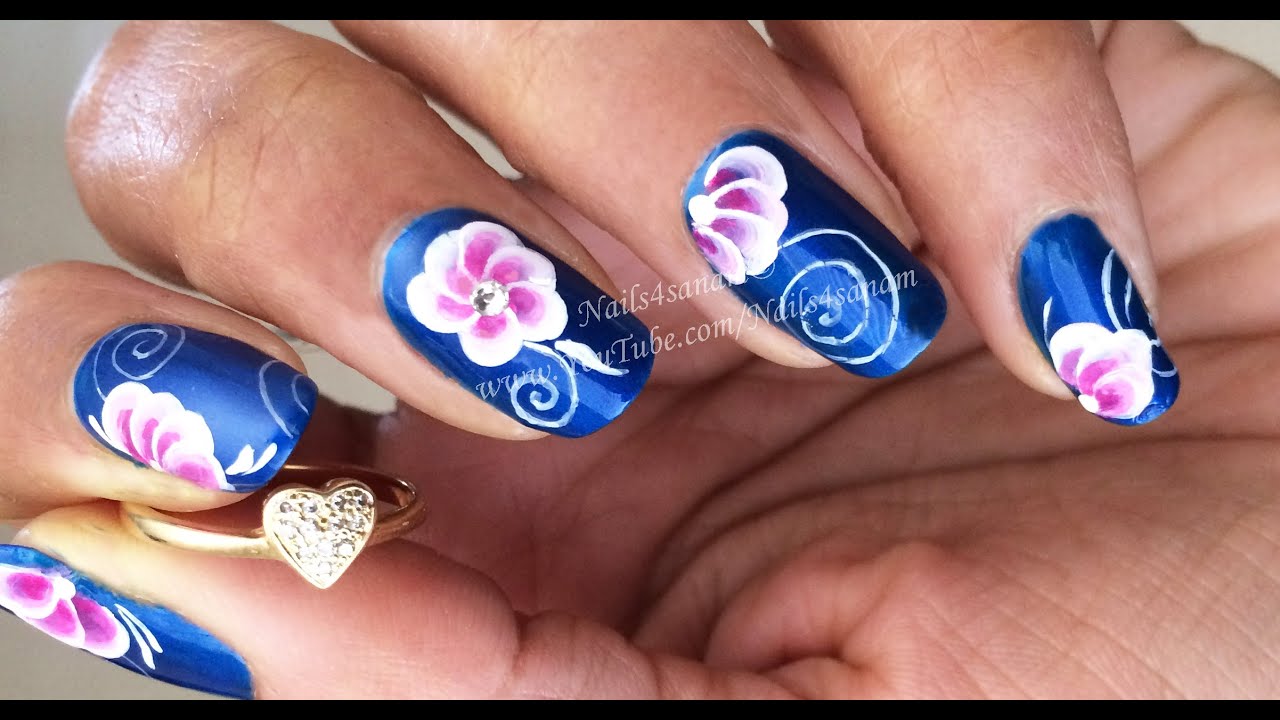
If you're looking for a quick and easy way to add some flair to your nails, one stroke nail art is the way to go. With this technique, you can create beautiful designs in just a few simple steps. Start by practicing on a piece of paper to get the hang of it. Then, once you're confident, try it out on your nails. Remember to keep your brush loaded with paint or polish and dip it in water between strokes to keep the colors blending smoothly. Check out this easy tutorial for some inspiration.Easy One Stroke Nail Art Tutorial


Easy One Stroke Nail Art Tutorial


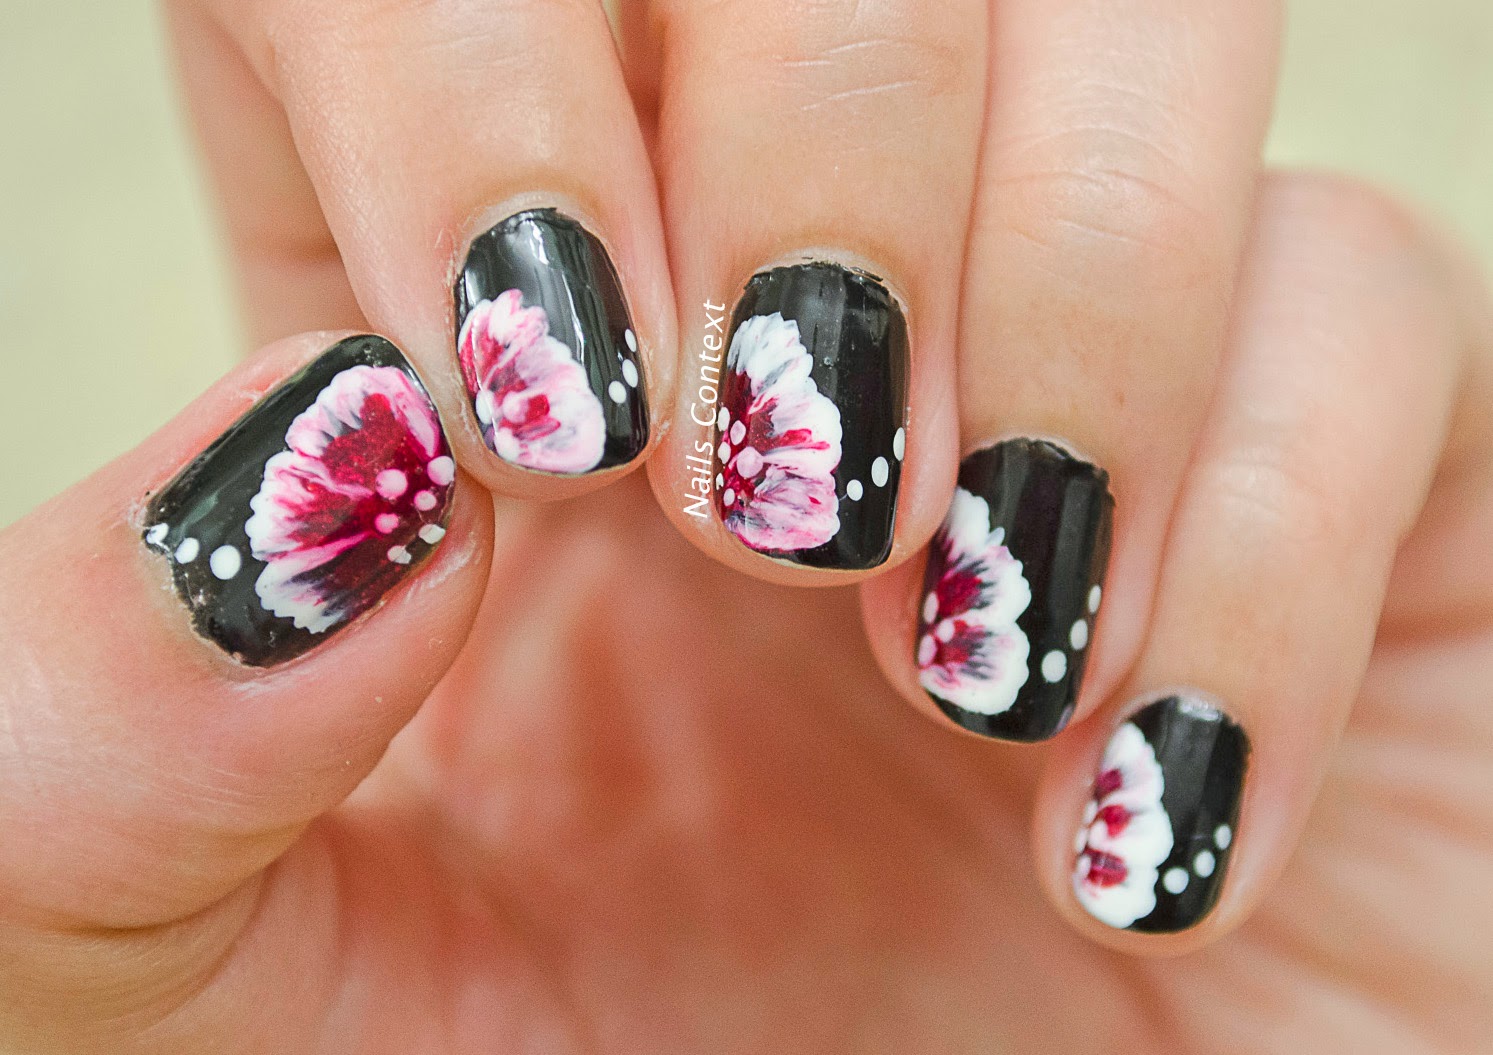
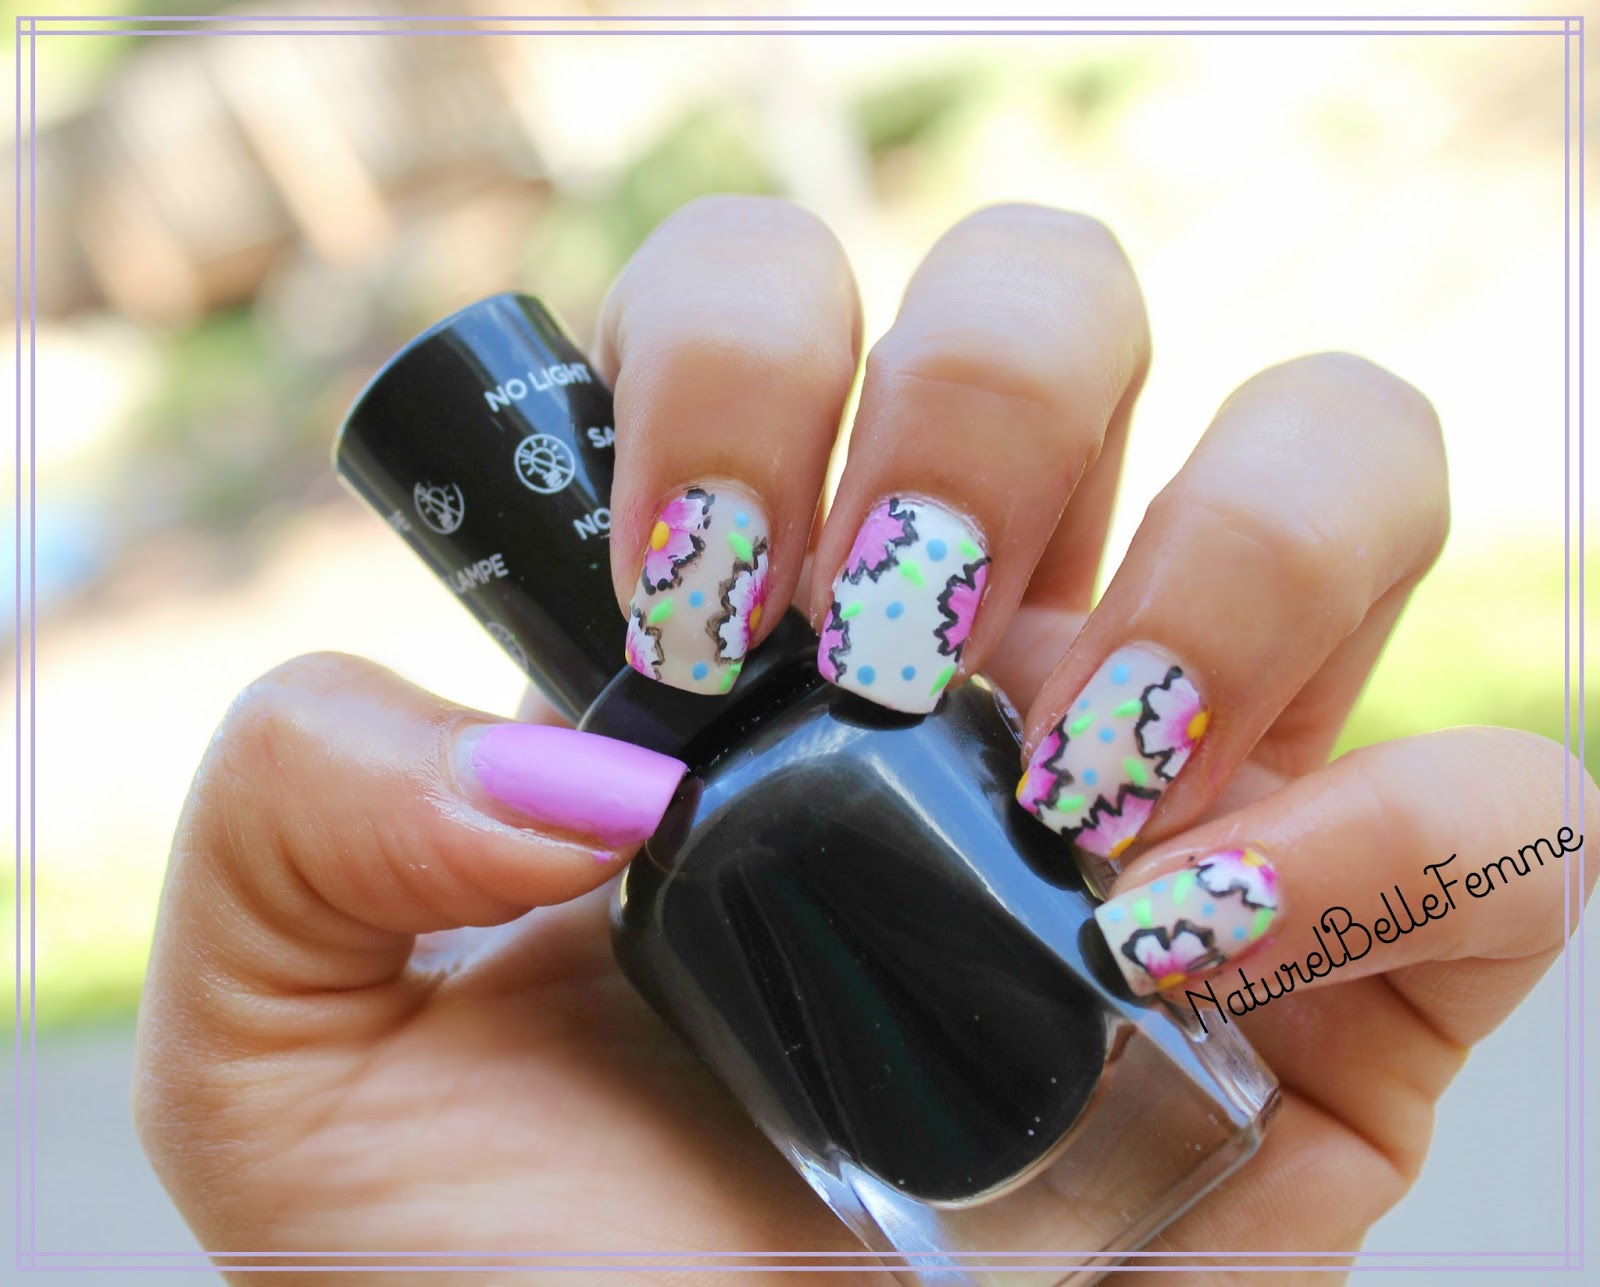
One of the great things about one stroke nail art is that it can be done on nails of any length. If you have short nails, you may think that intricate designs are out of reach, but that's not the case. With this technique, you can create beautiful and detailed designs on even the shortest of nails. The key is to use a small brush and keep your strokes precise and controlled. This tutorial will show you how to create stunning one stroke nail art on short nails.One Stroke Nail Art Tutorial for Short Nails


One Stroke Nail Art Tutorial for Short Nails
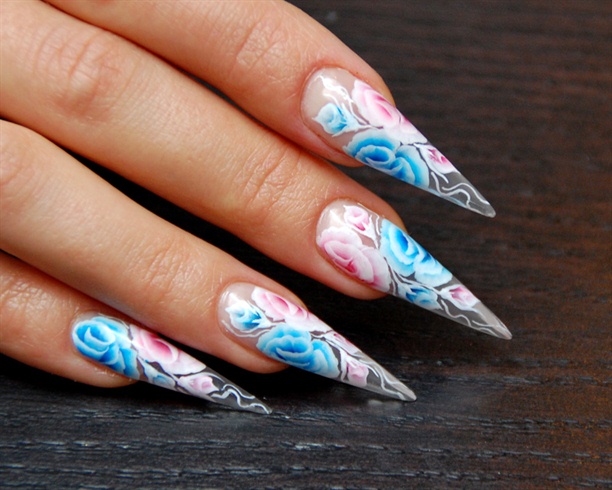


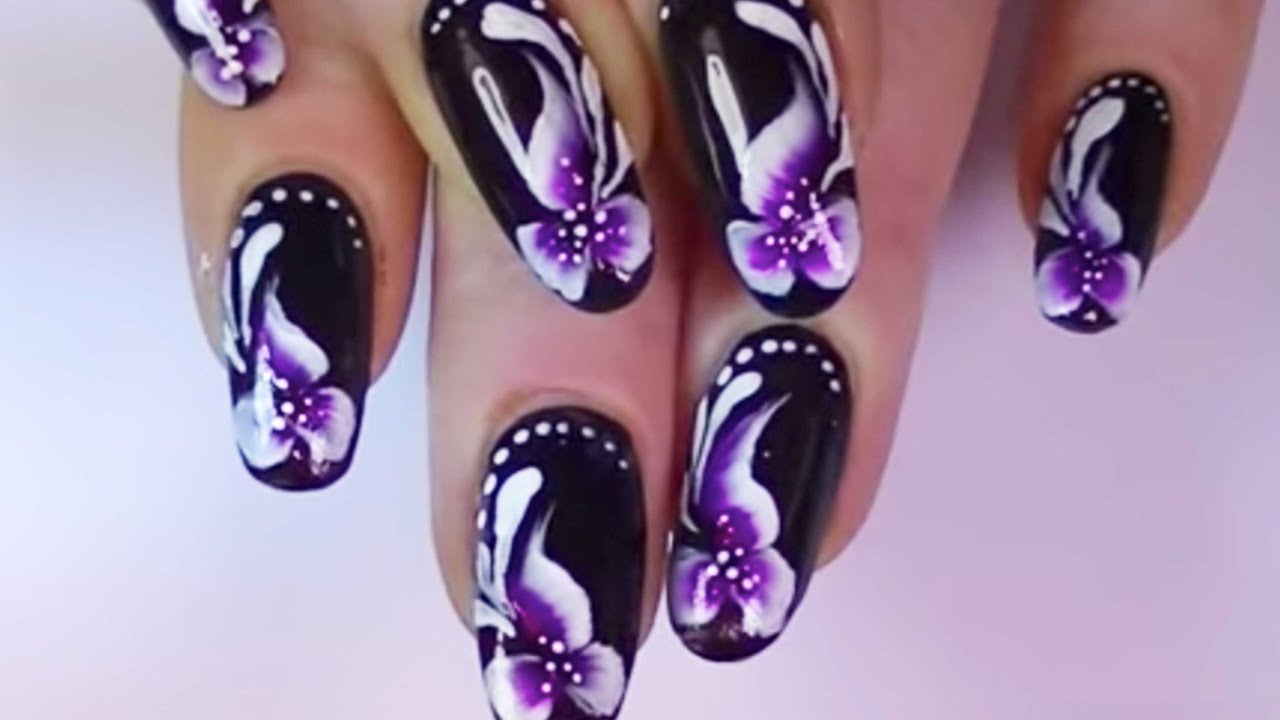
On the other hand, if you have long nails, you may think that one stroke nail art won't work for you. But that's not true either. In fact, long nails can provide more space to create intricate and detailed designs. You can experiment with different shapes and sizes, and even create multiple brush strokes to add complexity to your designs. This tutorial will show you how to create one stroke nail art on long nails.One Stroke Nail Art Tutorial for Long Nails

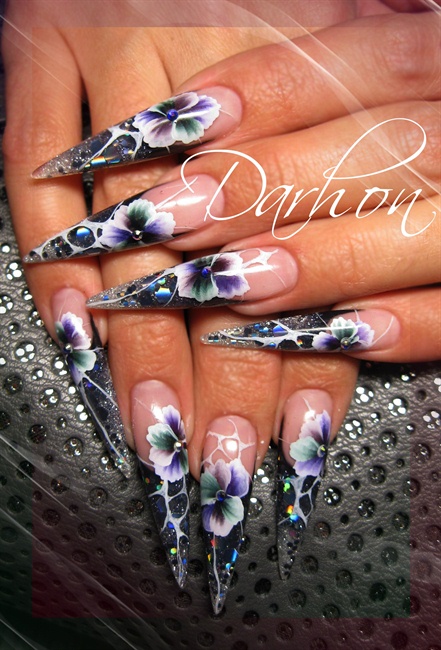
One Stroke Nail Art Tutorial for Long Nails
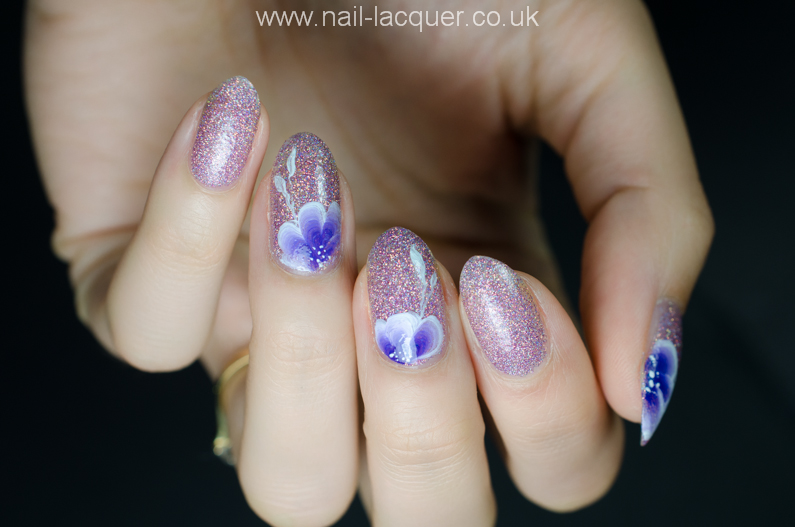
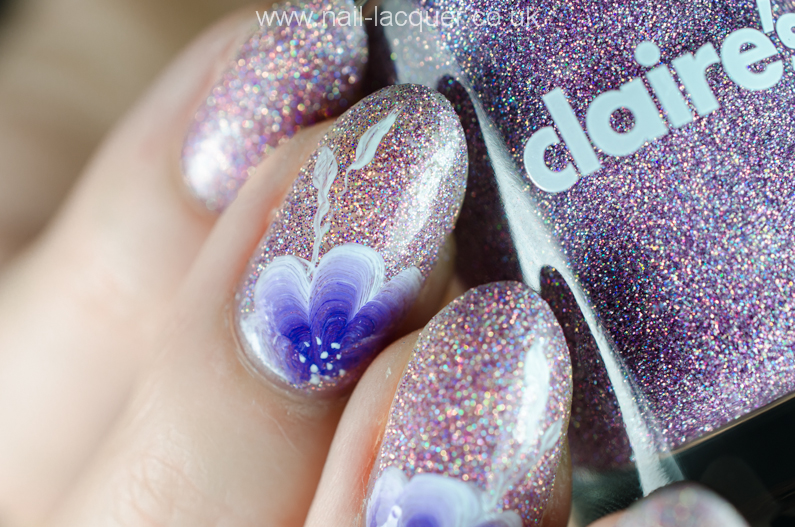
If you prefer the long-lasting and shiny finish of gel polish, you'll be happy to know that you can still achieve one stroke nail art with this type of polish. The key is to use a gel polish that is thick and pigmented. You may need to mix in a few drops of gel polish thinner to achieve the right consistency for one stroke nail art. This tutorial will guide you through the process of creating beautiful designs with gel polish.One Stroke Nail Art Tutorial with Gel Polish


One Stroke Nail Art Tutorial with Gel Polish
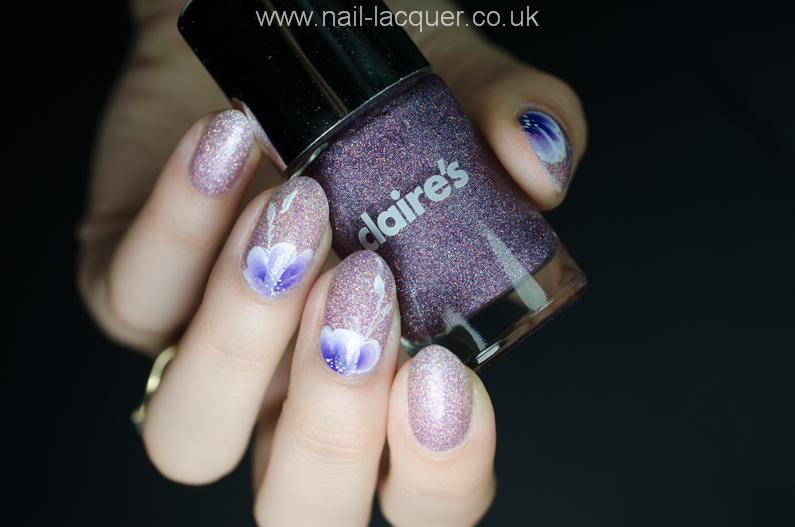
Another option for creating one stroke nail art is to use acrylic paint. This type of paint is more affordable than gel polish and can provide more variety in color options. It's also easier to clean up and fix any mistakes. However, it may not last as long as gel polish. To use acrylic paint for one stroke nail art, make sure to choose high-quality paint that is water-based and non-toxic. This tutorial will show you how to create stunning designs with acrylic paint.One Stroke Nail Art Tutorial with Acrylic Paint


One Stroke Nail Art Tutorial with Acrylic Paint


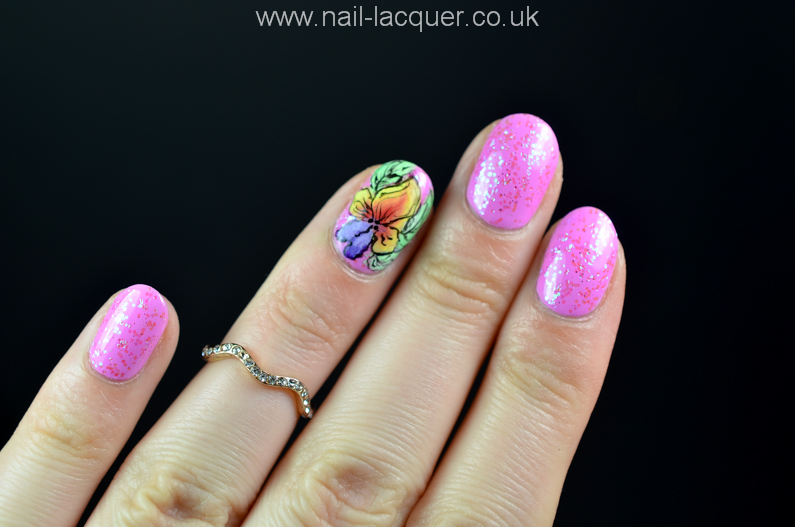
Now that you've mastered the technique of one stroke nail art, it's time to get creative with seasonal designs. For the summer, you can create bright and fun designs using vibrant colors like yellow, orange, and pink. You can also incorporate beachy elements like palm trees, waves, and seashells. This tutorial will show you how to create the perfect summer-inspired one stroke nail art.One Stroke Nail Art Tutorial for Summer

One Stroke Nail Art Tutorial for Summer
As the weather gets cooler, it's time to switch up your nail art to match the season. For fall, you can create warm and cozy designs using colors like burgundy, burnt orange, and olive green. You can also incorporate autumnal elements like leaves, pumpkins, and plaid patterns. This tutorial will guide you through creating beautiful one stroke nail art for the fall season.One Stroke Nail Art Tutorial for Fall
One Stroke Nail Art Tutorial for Fall
When winter rolls around, it's time to embrace the holiday spirit with festive nail art. For this season, you can create elegant and sparkly designs using colors like silver, gold, and deep red. You can also incorporate holiday elements like snowflakes, Christmas trees, and glitter. This tutorial will show you how to create stunning one stroke nail art for the winter season.One Stroke Nail Art Tutorial for Winter


One Stroke Nail Art Tutorial for Winter

Creating Unique and Stunning Nail Designs with One Stroke Technique
The Importance of Nail Art in House Design
 In recent years, nail art has become an essential aspect of house design. It is a way to express one's creativity and add a personal touch to the overall aesthetic of a home. Just like how we carefully choose the furniture, colors, and decor for our houses, our nails also deserve the same attention. One stroke nail art is a popular technique that can elevate the look of your nails and complement your home's interior design.
What is One Stroke Nail Art?
 One stroke nail art is a painting technique that involves using a flat brush to create intricate and colorful designs on the nails. It originated in Japan and gained popularity around the world for its unique and beautiful results. The technique involves loading different colors of paint on one brush and creating various strokes to create a multi-dimensional effect on the nails. It is a versatile technique that can be used to create various floral, geometric, or abstract designs, making it perfect for incorporating into house design.
The Benefits of One Stroke Nail Art in House Design
 One stroke nail art is an excellent way to add a pop of color and personality to your home's overall design. It allows you to incorporate your favorite colors, patterns, and designs onto your nails, which can then complement the decor and color scheme of your house. The intricate brush strokes and blending of colors create a unique and eye-catching design that can be a focal point in any room. It is also a cost-effective way to switch up the look of your home without having to invest in expensive decor pieces.
One stroke nail art
also offers endless possibilities for customization. You can tailor the design to match the theme or style of each room in your house. For example, if you have a beach-themed living room, you can incorporate seashell and wave designs on your nails to tie in with the overall aesthetic. This technique also allows you to experiment with different color combinations and patterns, making it a fun and creative way to add a personal touch to your house design.
One stroke nail art is an excellent way to add a pop of color and personality to your home's overall design. It allows you to incorporate your favorite colors, patterns, and designs onto your nails, which can then complement the decor and color scheme of your house. The intricate brush strokes and blending of colors create a unique and eye-catching design that can be a focal point in any room. It is also a cost-effective way to switch up the look of your home without having to invest in expensive decor pieces.
One stroke nail art
also offers endless possibilities for customization. You can tailor the design to match the theme or style of each room in your house. For example, if you have a beach-themed living room, you can incorporate seashell and wave designs on your nails to tie in with the overall aesthetic. This technique also allows you to experiment with different color combinations and patterns, making it a fun and creative way to add a personal touch to your house design.
In Conclusion
 Incorporating
one stroke nail art
into house design is an excellent way to infuse your personality and creativity into your home. It adds a unique and personal touch to your space and is a budget-friendly way to elevate your home's overall aesthetic. So why not try out this technique and see how it can enhance the look of your nails and home?
Incorporating
one stroke nail art
into house design is an excellent way to infuse your personality and creativity into your home. It adds a unique and personal touch to your space and is a budget-friendly way to elevate your home's overall aesthetic. So why not try out this technique and see how it can enhance the look of your nails and home?


