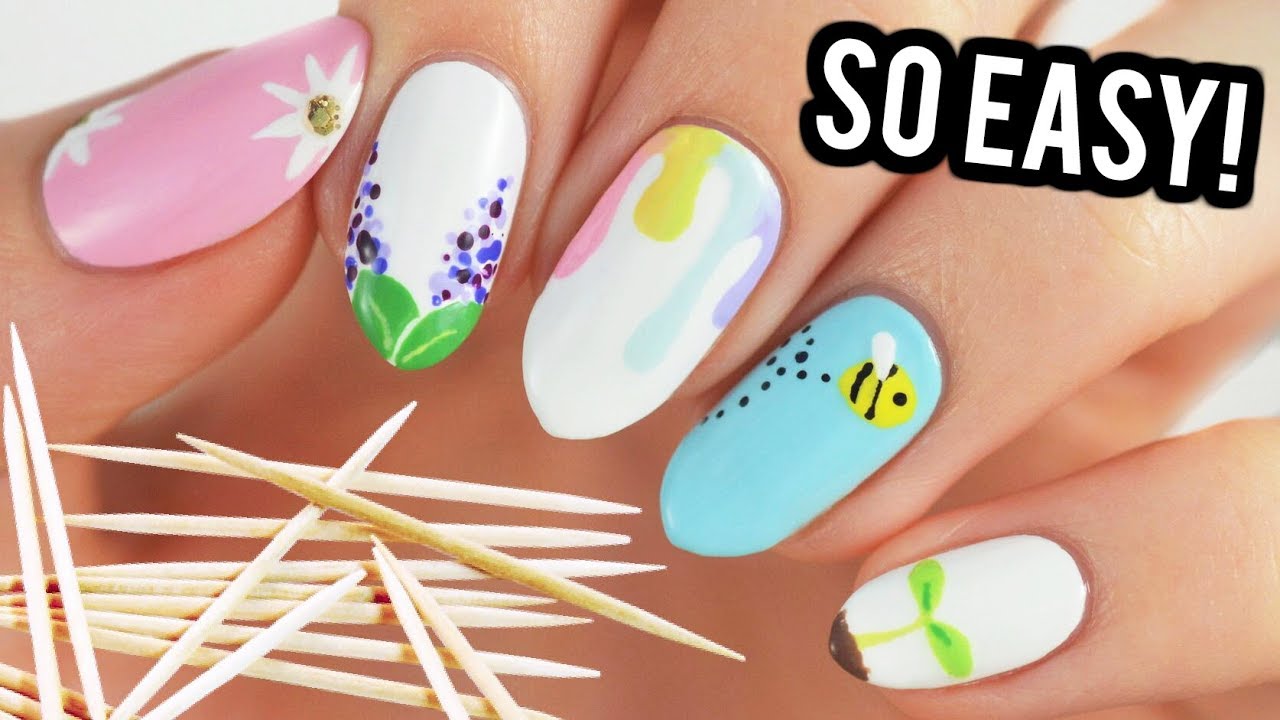
If you're a fan of colorful and fun nail designs, then you'll love the Paddle Pop nail art trend. Inspired by the popular ice cream treat, this nail art is all about bright colors and playful patterns. In this tutorial, we'll show you how to create your own Paddle Pop nail art at home. Start by painting your nails with a white base color. This will help the colors pop and make the design stand out. Let the base color dry completely before moving on to the next step. Next, take a toothpick and dip it into different colored nail polishes. Use the toothpick to create small dots or lines on your nails, just like the swirls on a Paddle Pop ice cream. You can use any color combination you like, but make sure to leave some white space on each nail for a more balanced look. Once you've added the swirls to all of your nails, let the design dry completely. Then, seal it with a clear topcoat to give your nails a glossy finish.1. Paddle Pop Inspired Nail Art Tutorial


1. Paddle Pop Inspired Nail Art Tutorial


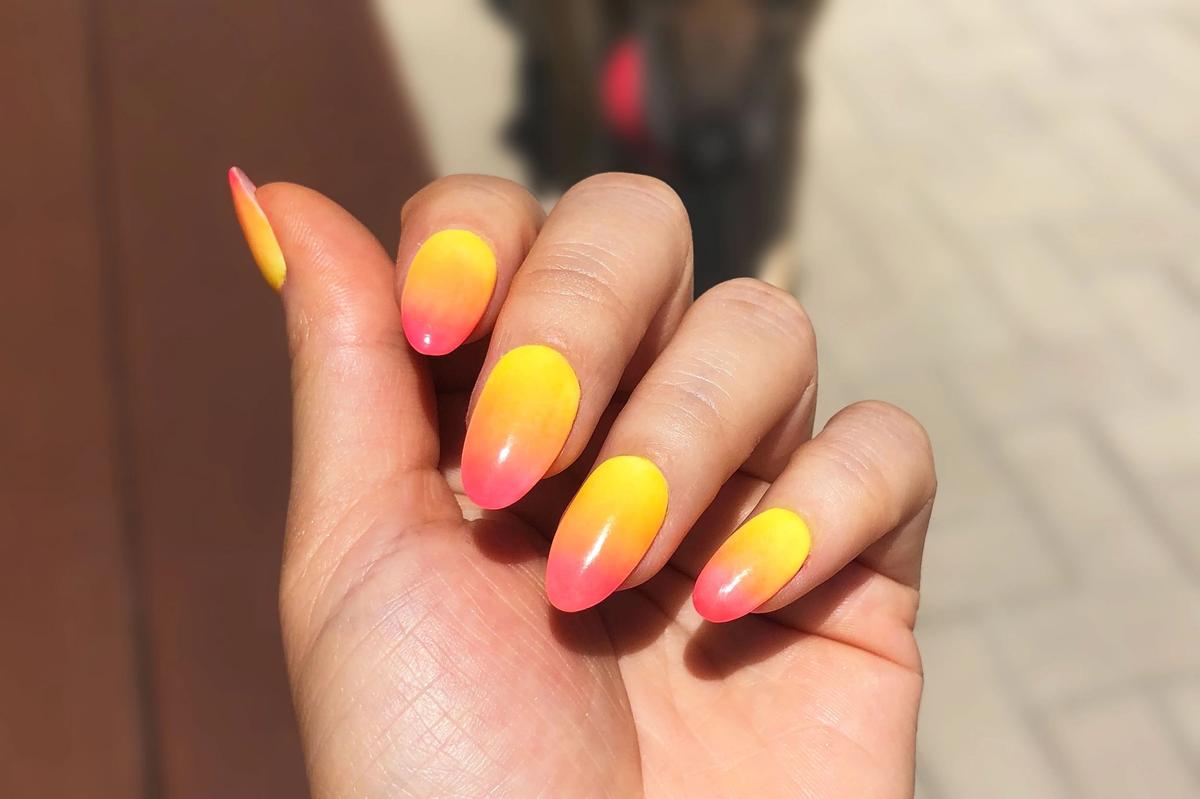
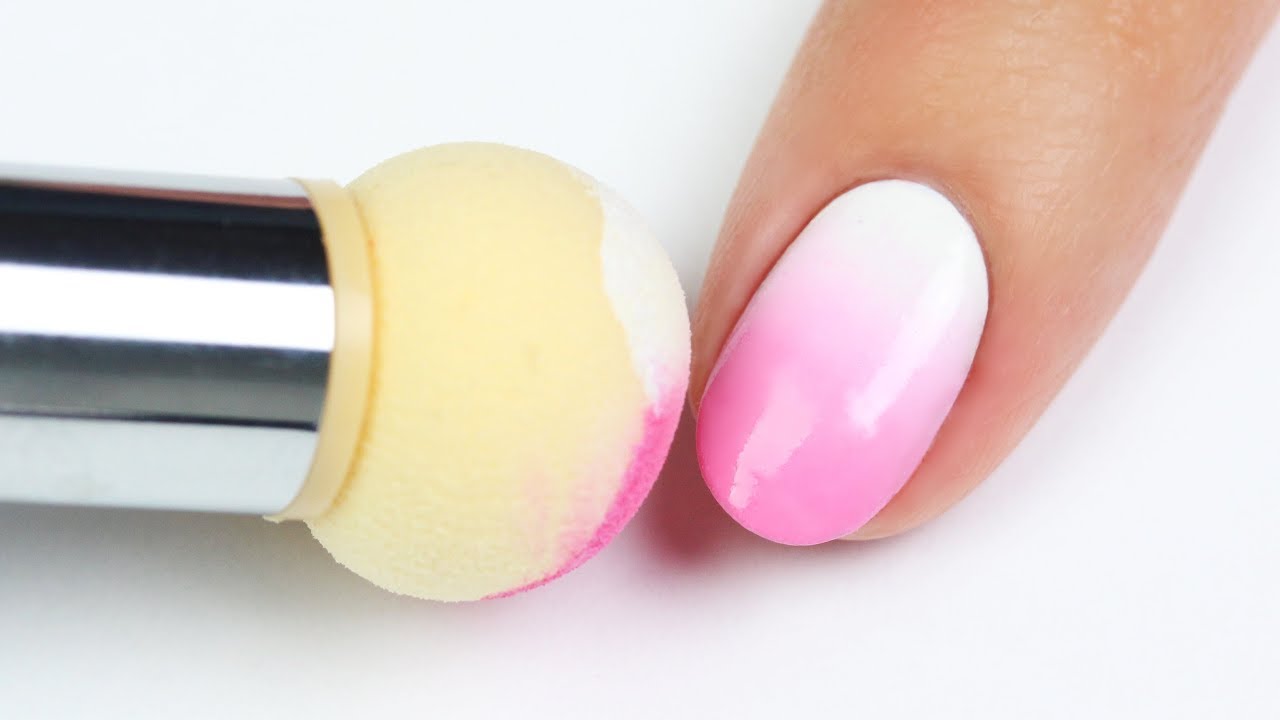
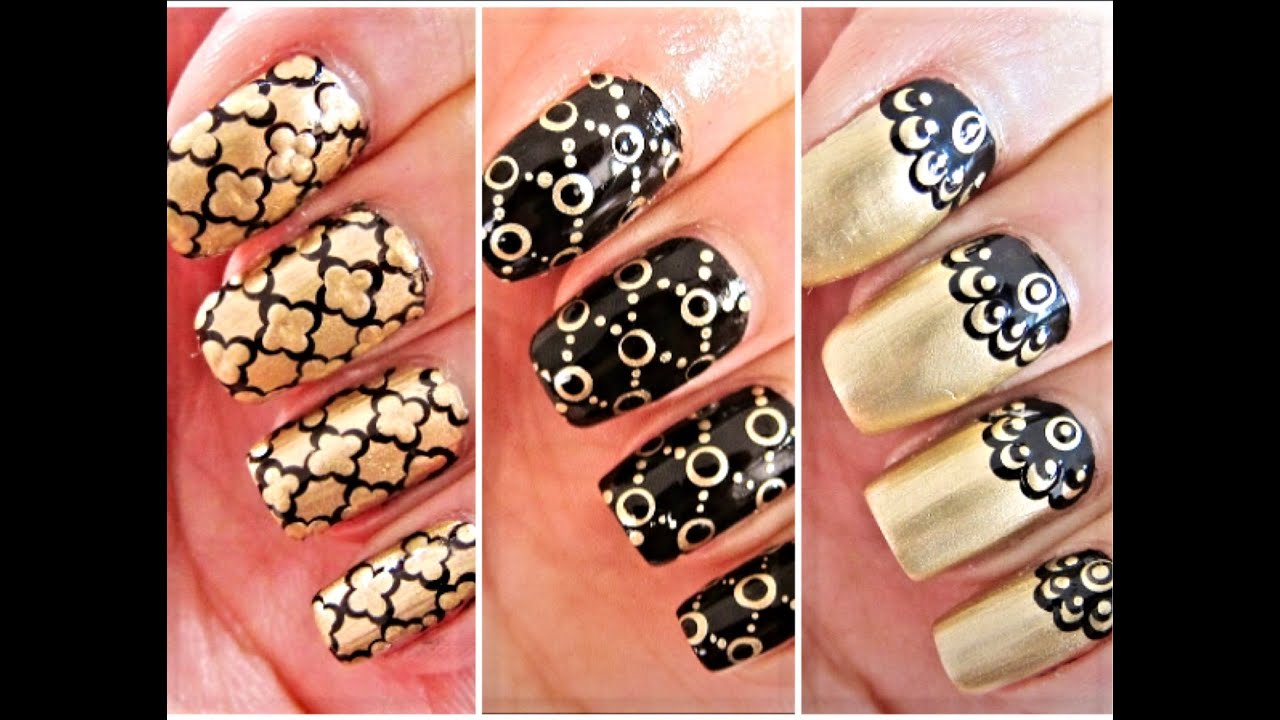
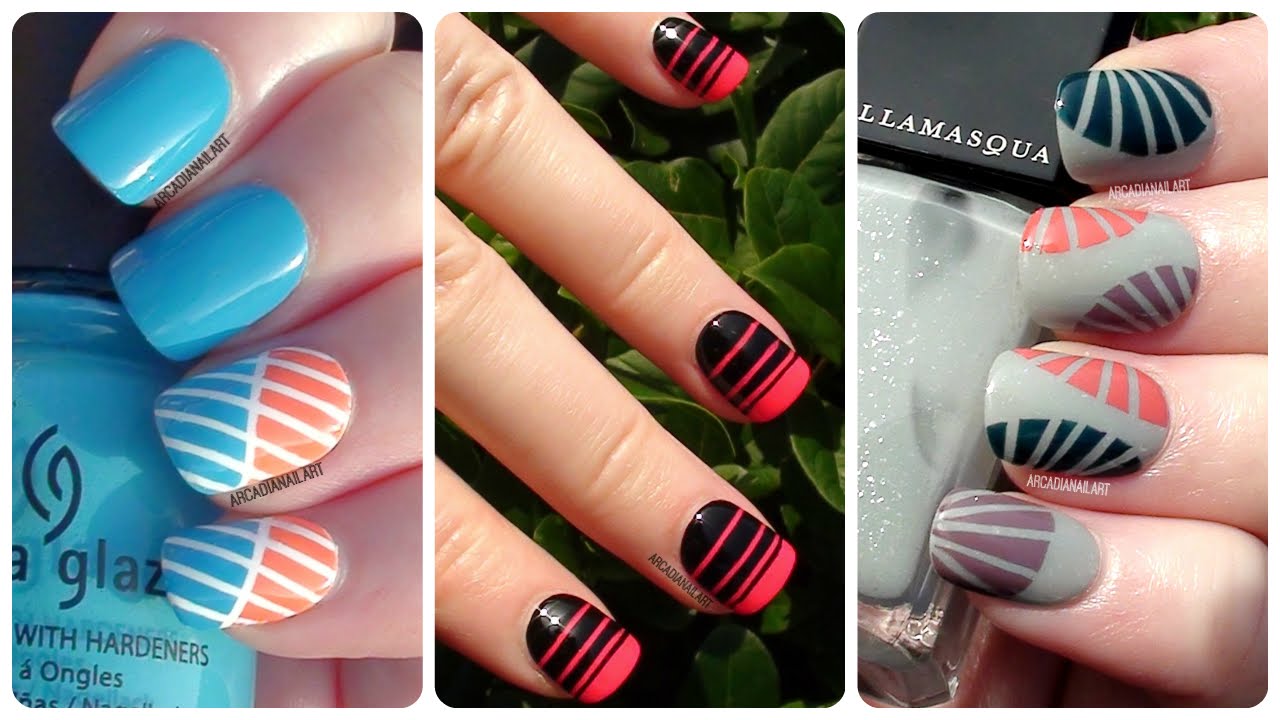
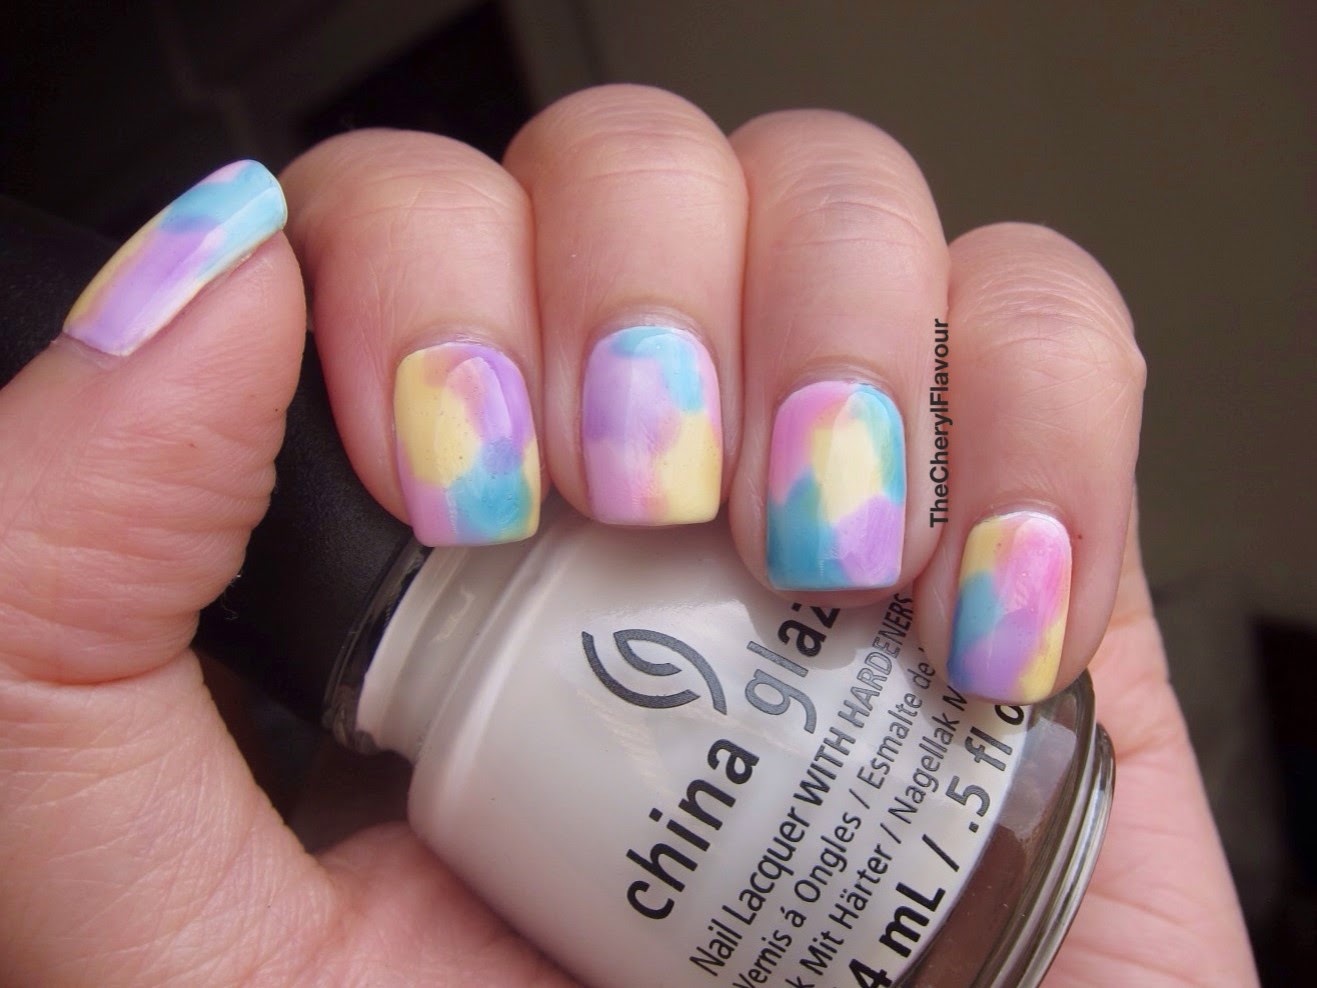
If you're feeling more adventurous, there are many different Paddle Pop nail art designs to try. You can experiment with different color combinations, patterns, and even add glitter for some extra sparkle. One popular design is the gradient Paddle Pop, where the colors blend into each other seamlessly. To achieve this look, paint your nails with a white base color and let it dry completely. Then, use a sponge to apply different colored nail polishes in a gradient effect. Another fun design is the striped Paddle Pop. To create this, use striping tape to create thin stripes on your nails. Then, apply different colored nail polishes on each stripe and remove the tape before the polish dries. Feel free to mix and match different designs and techniques to create your own unique Paddle Pop nail art.2. Paddle Pop Nail Art Designs


2. Paddle Pop Nail Art Designs


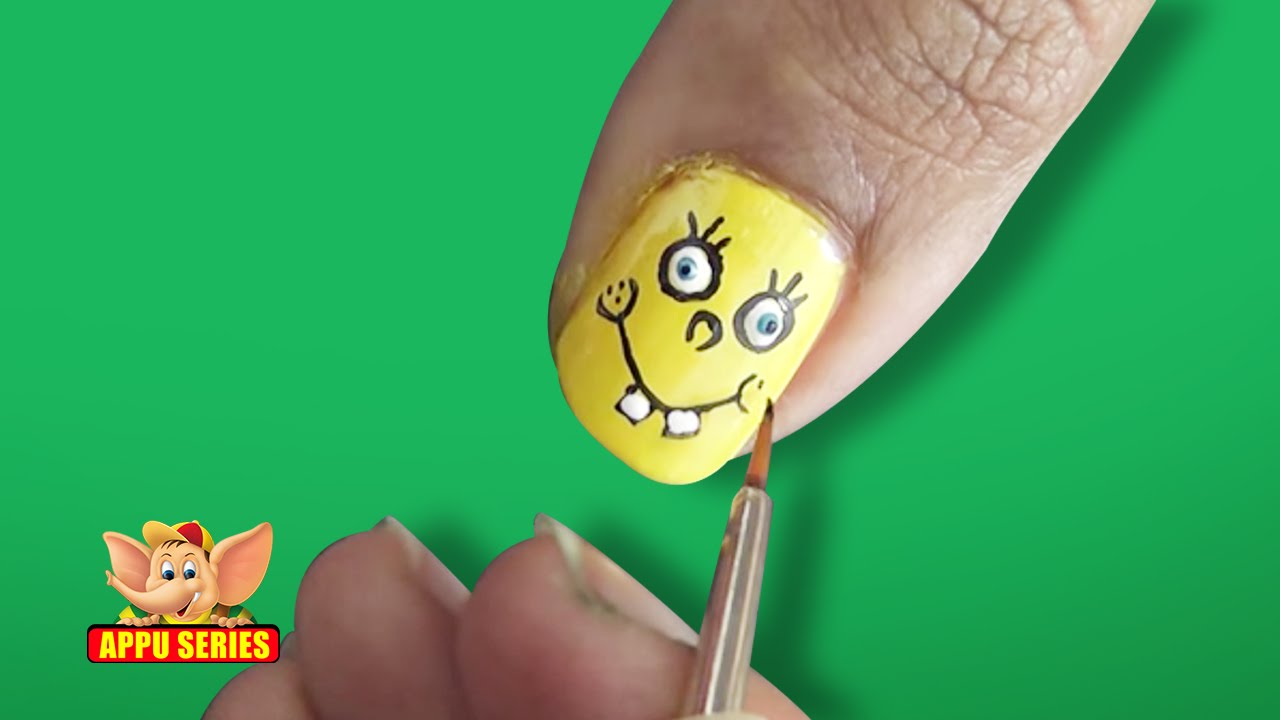
If you're new to nail art, don't worry. Paddle Pop nail art may look complicated, but it's actually quite easy to do. All you need is some white and colored nail polishes and a toothpick. Start by painting your nails with a white base color and let it dry completely. Then, dip the toothpick into different colored nail polishes and create small swirls or dots on your nails. You can also use the toothpick to create lines or hearts for a more intricate design. Don't worry if your lines or dots aren't perfect. The beauty of Paddle Pop nail art is in its imperfections. Just have fun with it and enjoy the process.3. Easy Paddle Pop Nail Art


3. Easy Paddle Pop Nail Art


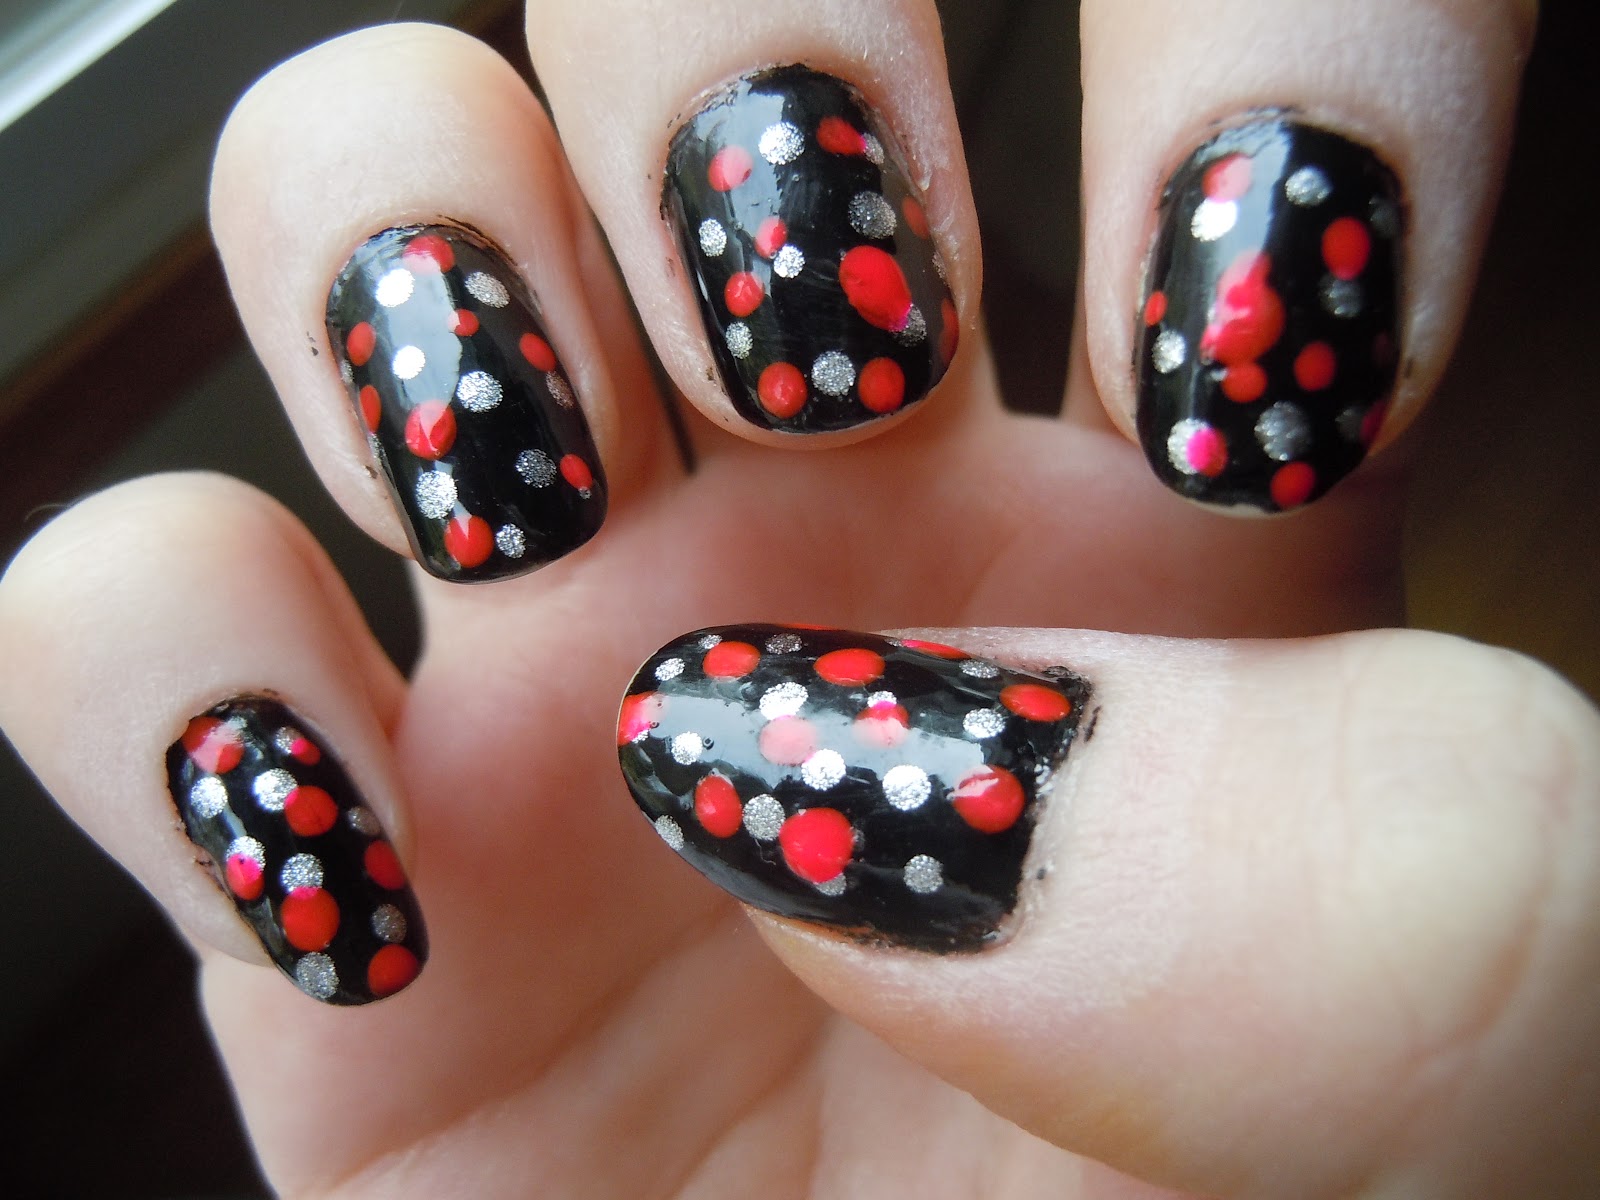
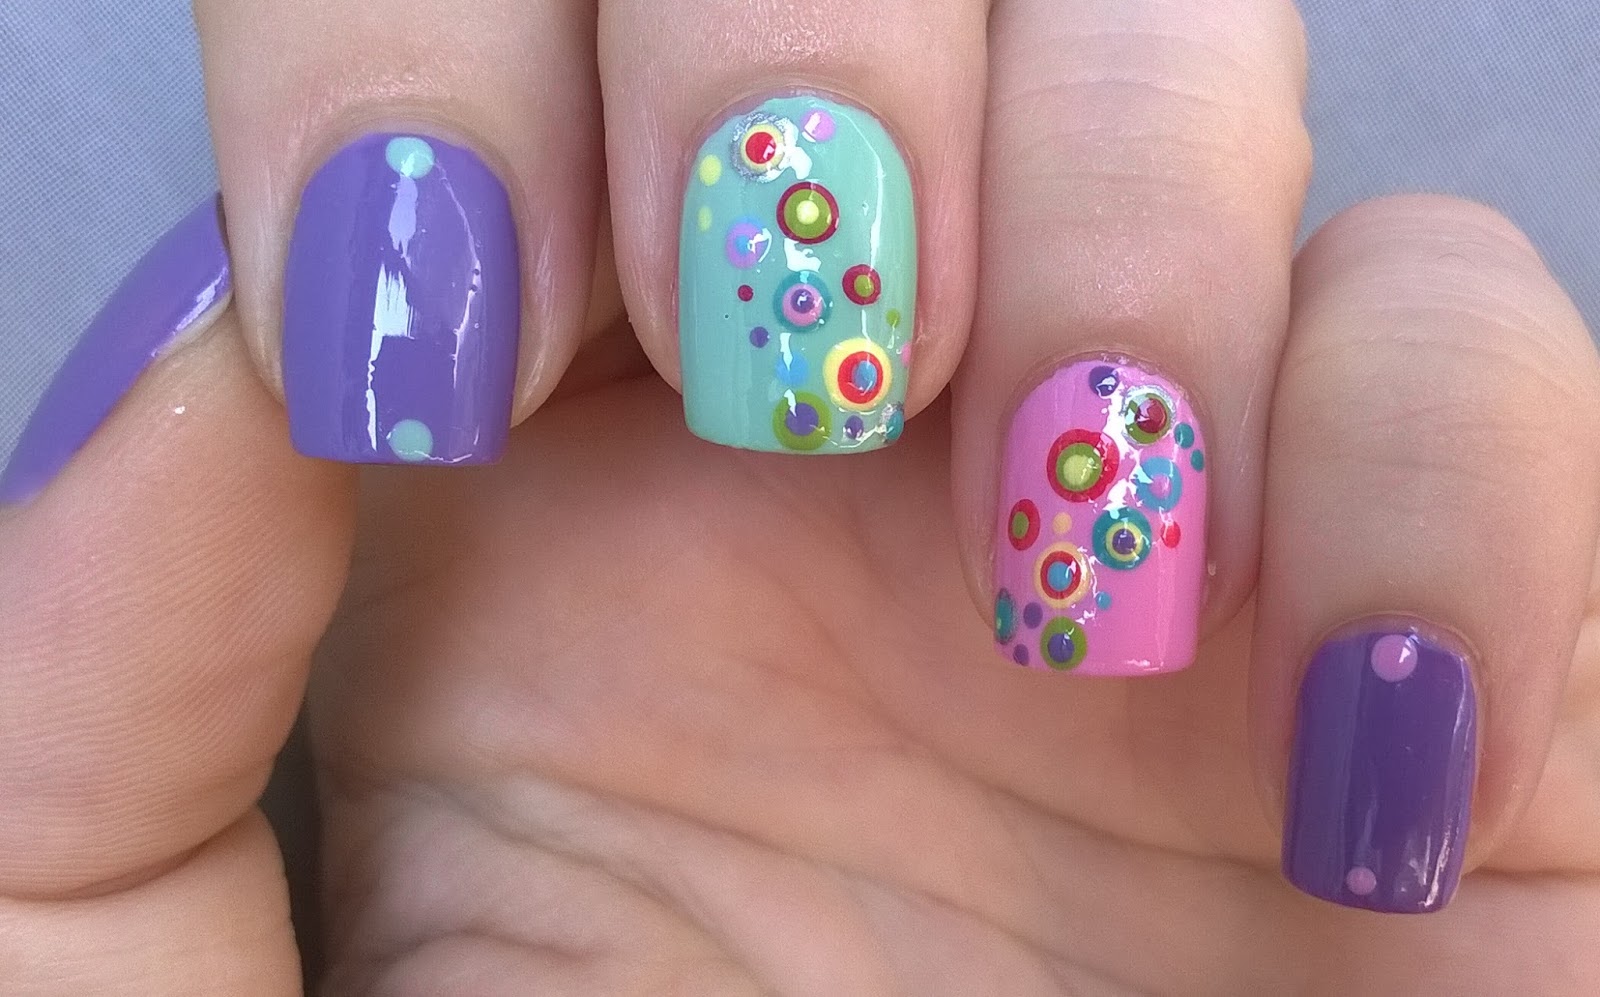
If you're looking for some inspiration, here are a few Paddle Pop nail art ideas to try: Rainbow Paddle Pop: Use all the colors of the rainbow for a bright and cheerful look. Neon Paddle Pop: Go for neon colors for a bold and eye-catching design. Pastel Paddle Pop: Opt for pastel colors for a softer and more delicate look. Glitter Paddle Pop: Add some sparkle to your Paddle Pop nail art with some glitter polish. There are endless possibilities, so don't be afraid to get creative and come up with your own unique Paddle Pop nail art ideas.4. Paddle Pop Nail Art Ideas


4. Paddle Pop Nail Art Ideas


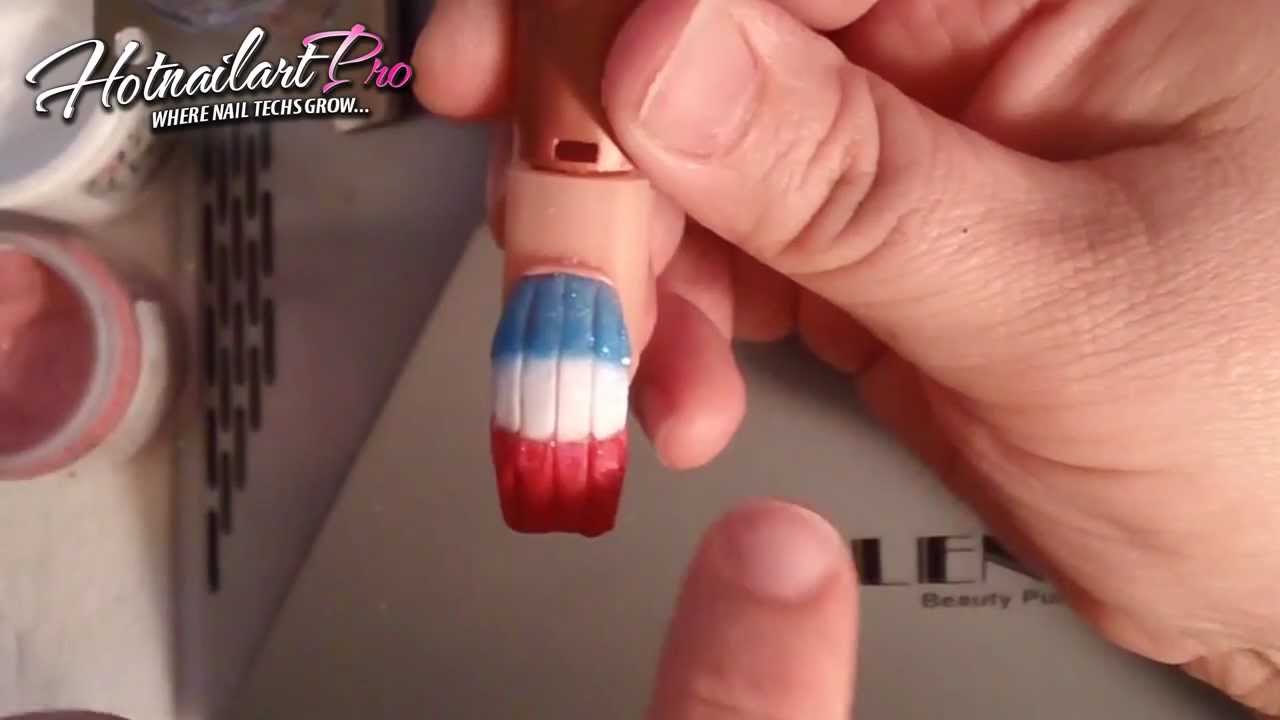
Here's a step-by-step guide to creating Paddle Pop nail art: Step 1: Start by painting your nails with a white base color and let it dry completely. Step 2: Use a toothpick to create swirls, dots, lines, or any other pattern you like using different colored nail polishes. Step 3: Let the design dry completely before adding a clear topcoat to seal it. That's it! You now have your own Paddle Pop nail art.5. Paddle Pop Nail Art Step by Step


5. Paddle Pop Nail Art Step by Step


If you're new to nail art, Paddle Pop nail art is a great place to start. It doesn't require any special tools or skills, and you can easily customize it to your liking. You can also start with simple designs and gradually work your way up to more intricate ones. Remember to have fun and don't worry about making mistakes. Nail art is all about creativity and self-expression, so don't be afraid to try new things.6. Paddle Pop Nail Art for Beginners
6. Paddle Pop Nail Art for Beginners
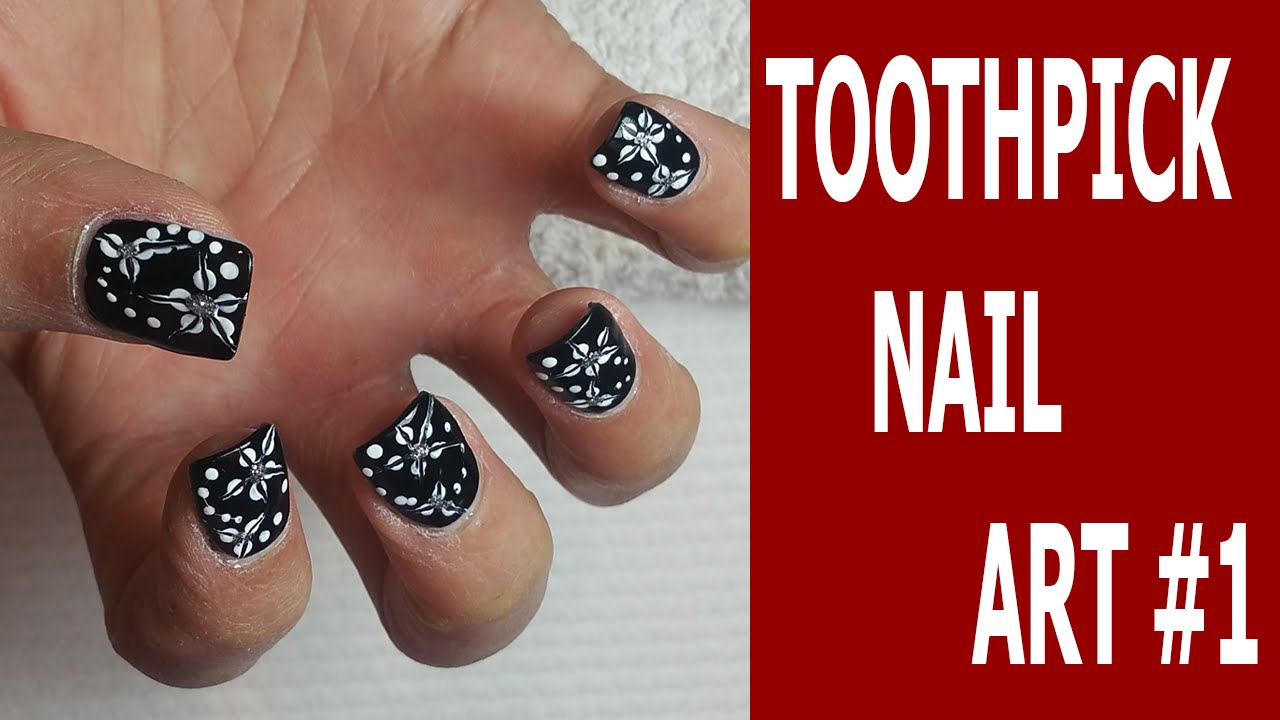
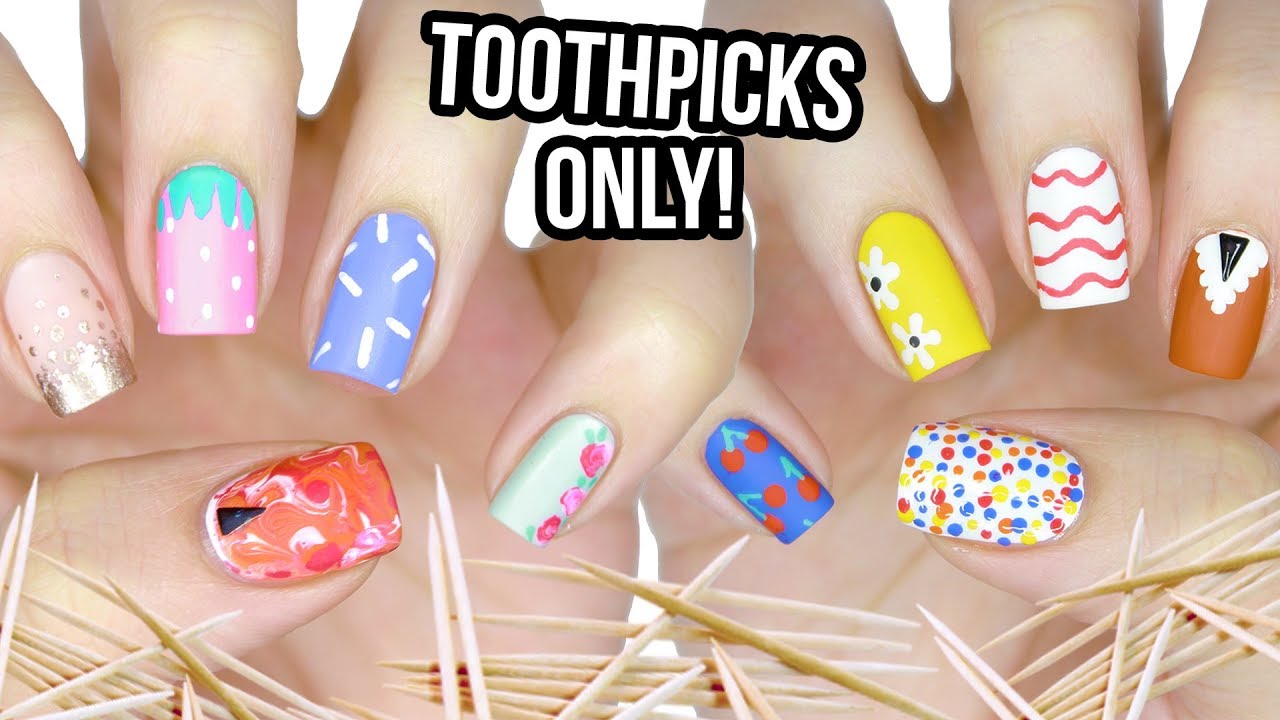
A toothpick is a great tool for creating Paddle Pop nail art. It allows for more precision and control, making it easier to create intricate designs. You can also use the sharp end of the toothpick to create lines or hearts for a more detailed look. Make sure to clean the toothpick between colors to avoid mixing them and ruining the design.7. Paddle Pop Nail Art with Toothpick

7. Paddle Pop Nail Art with Toothpick


A sponge is another useful tool for creating Paddle Pop nail art, especially for gradient designs. Simply paint different colored nail polishes onto a sponge and dab it onto your nails for a smooth and blended effect. You can also use a sponge to create a textured look by dabbing it onto your nails after applying the nail polish.8. Paddle Pop Nail Art with Sponge


8. Paddle Pop Nail Art with Sponge
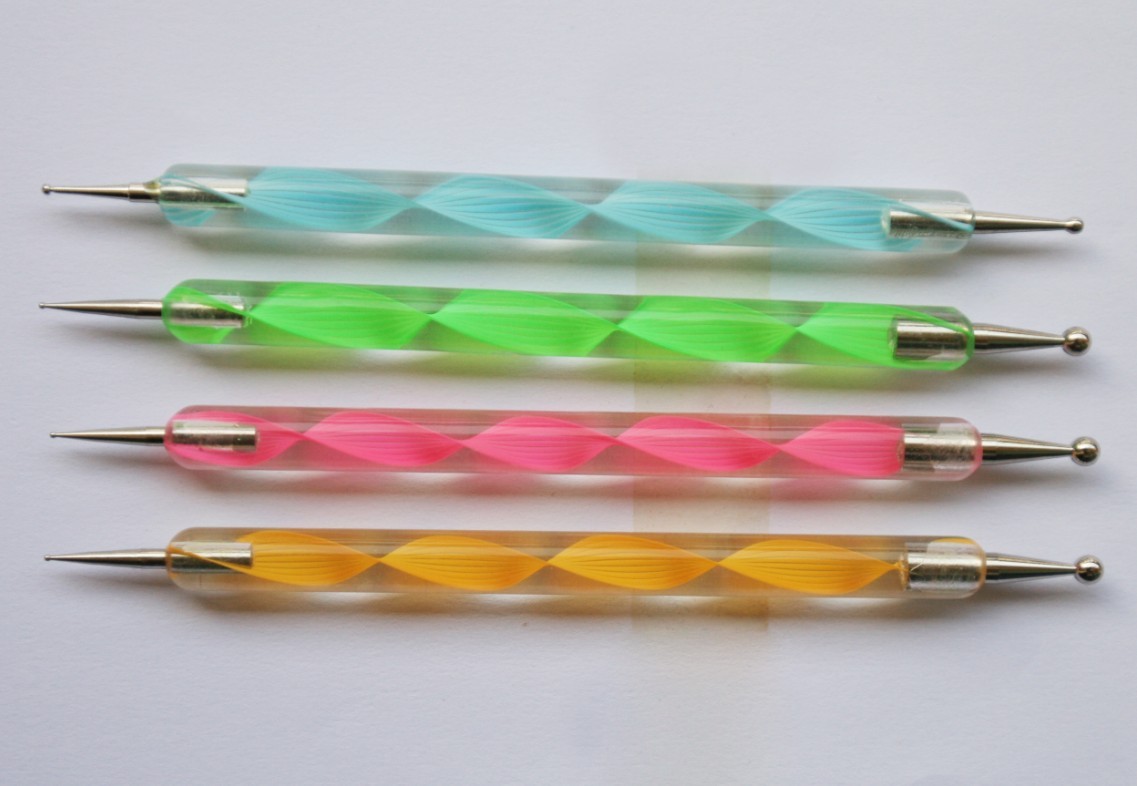
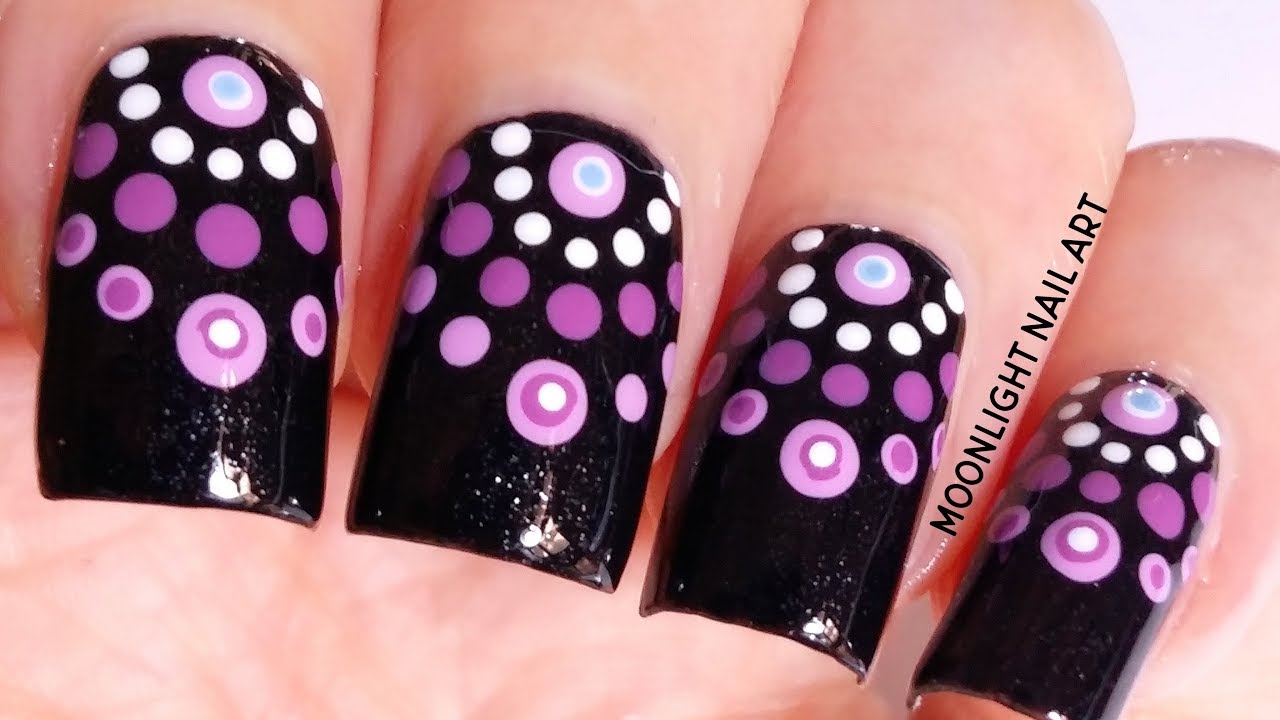
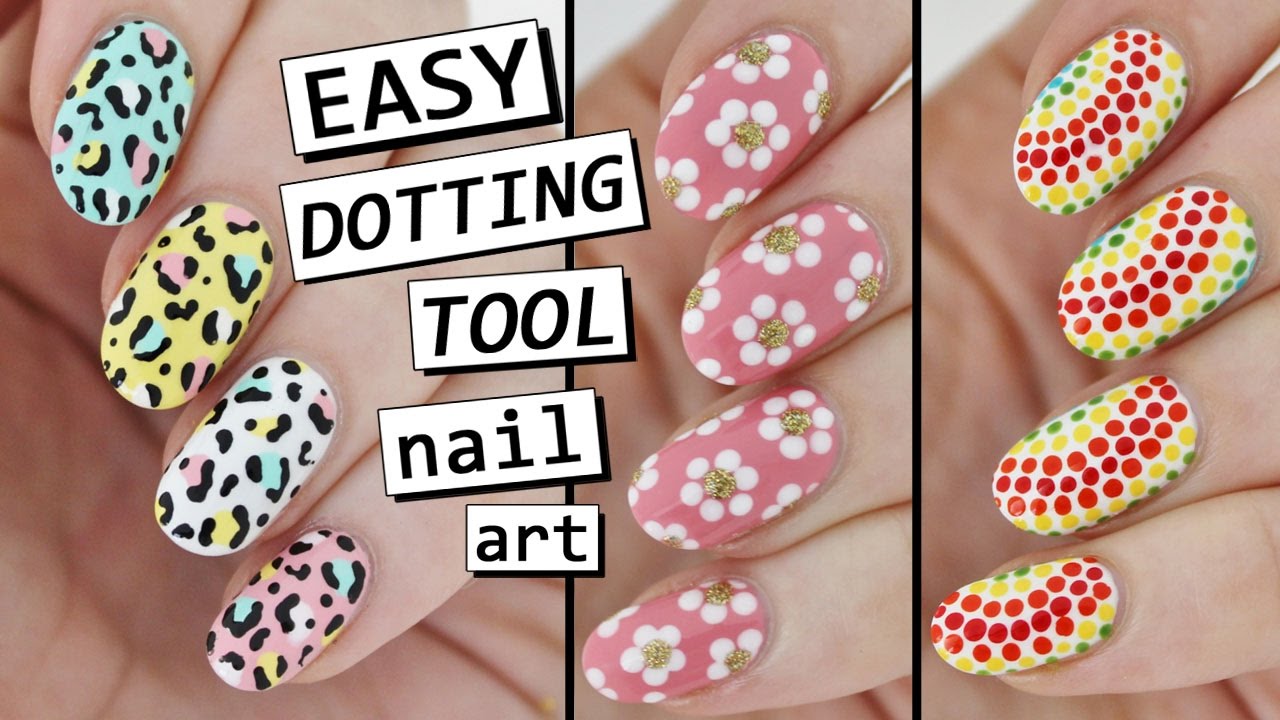
A dotting tool is a great alternative to a toothpick for creating dots in your Paddle Pop nail art. It comes in different sizes, so you can create both small and large dots for a more dynamic design. You can also use the dotting tool to create lines or hearts for more variety.9. Paddle Pop Nail Art with Dotting Tool


9. Paddle Pop Nail Art with Dotting Tool


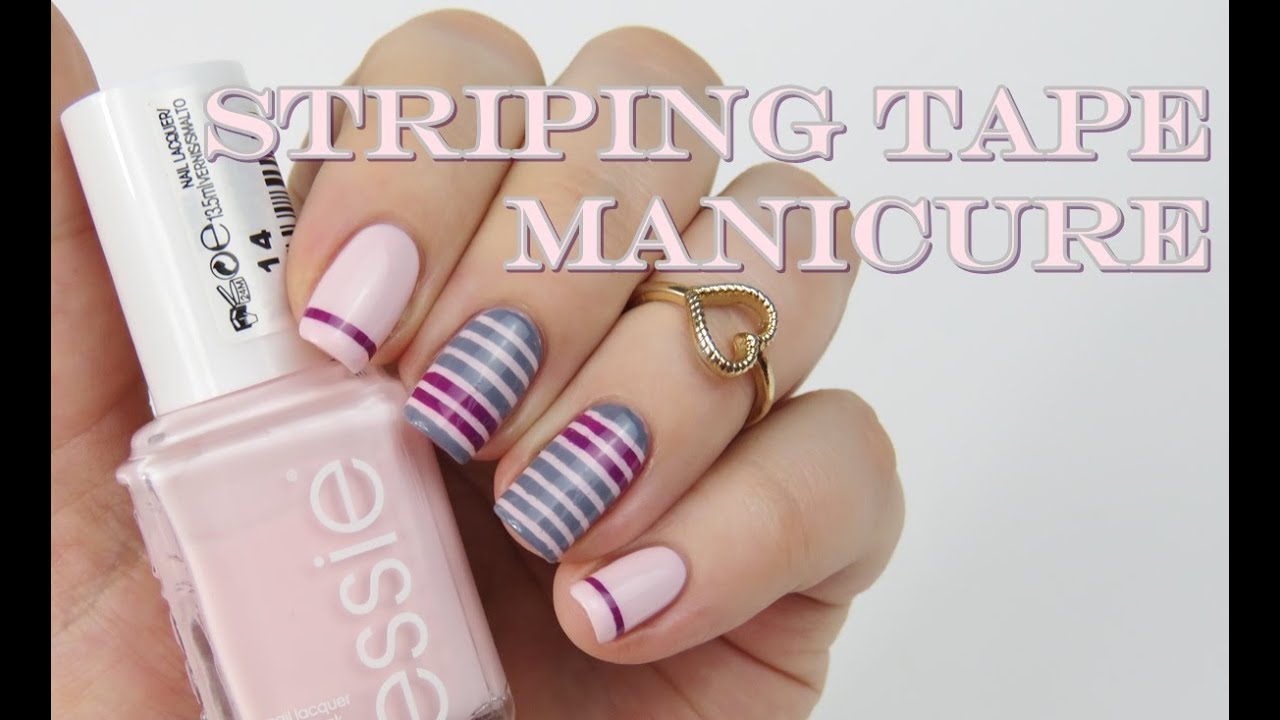
Striping tape is a handy tool for creating clean and precise lines in your Paddle Pop nail art. Simply place the tape on your nails in the desired pattern, paint over it with different colored nail polishes, and remove the tape before it dries. Striping tape is also great for creating geometric designs or adding a pop of color to a plain nail design. Now that you have 10 different Paddle Pop nail art ideas and techniques to try, it's time to unleash your creativity and show off your colorful and fun nails. Have fun experimenting with different designs and remember, the key to a great Paddle Pop nail art is to have fun and let your imagination run wild.10. Paddle Pop Nail Art with Striping Tape
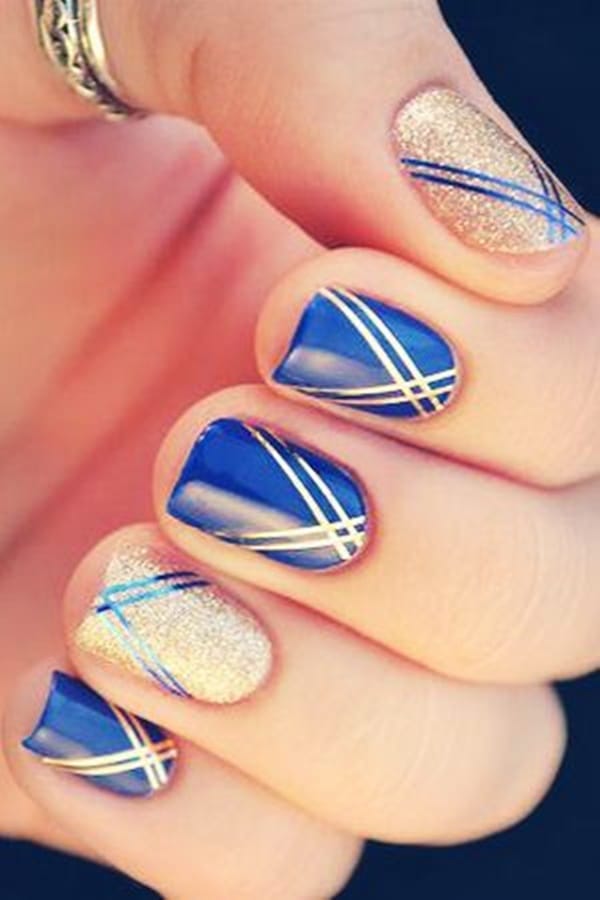

10. Paddle Pop Nail Art with Striping Tape


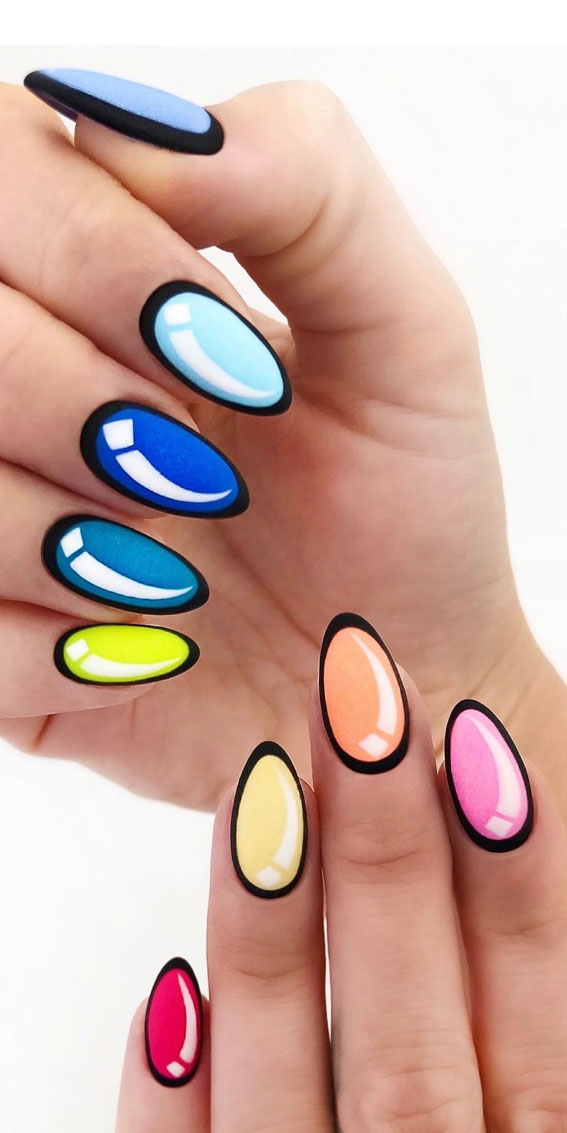
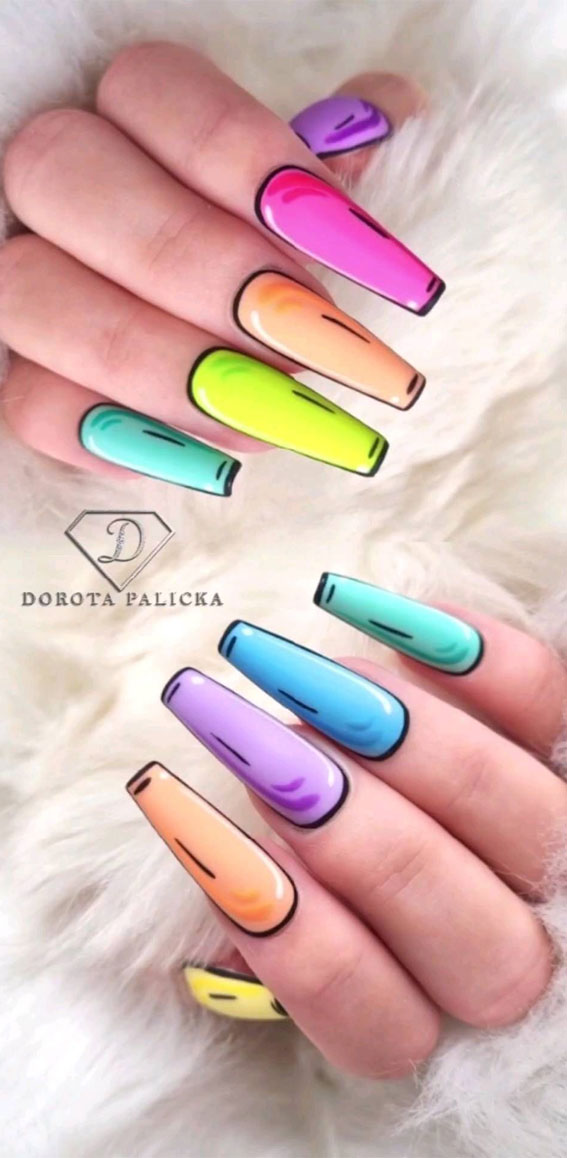
Introducing Paddle Pop Nail Art: The Trending Design for the Bold and Playful

Unleash Your Inner Child with Paddle Pop Nails
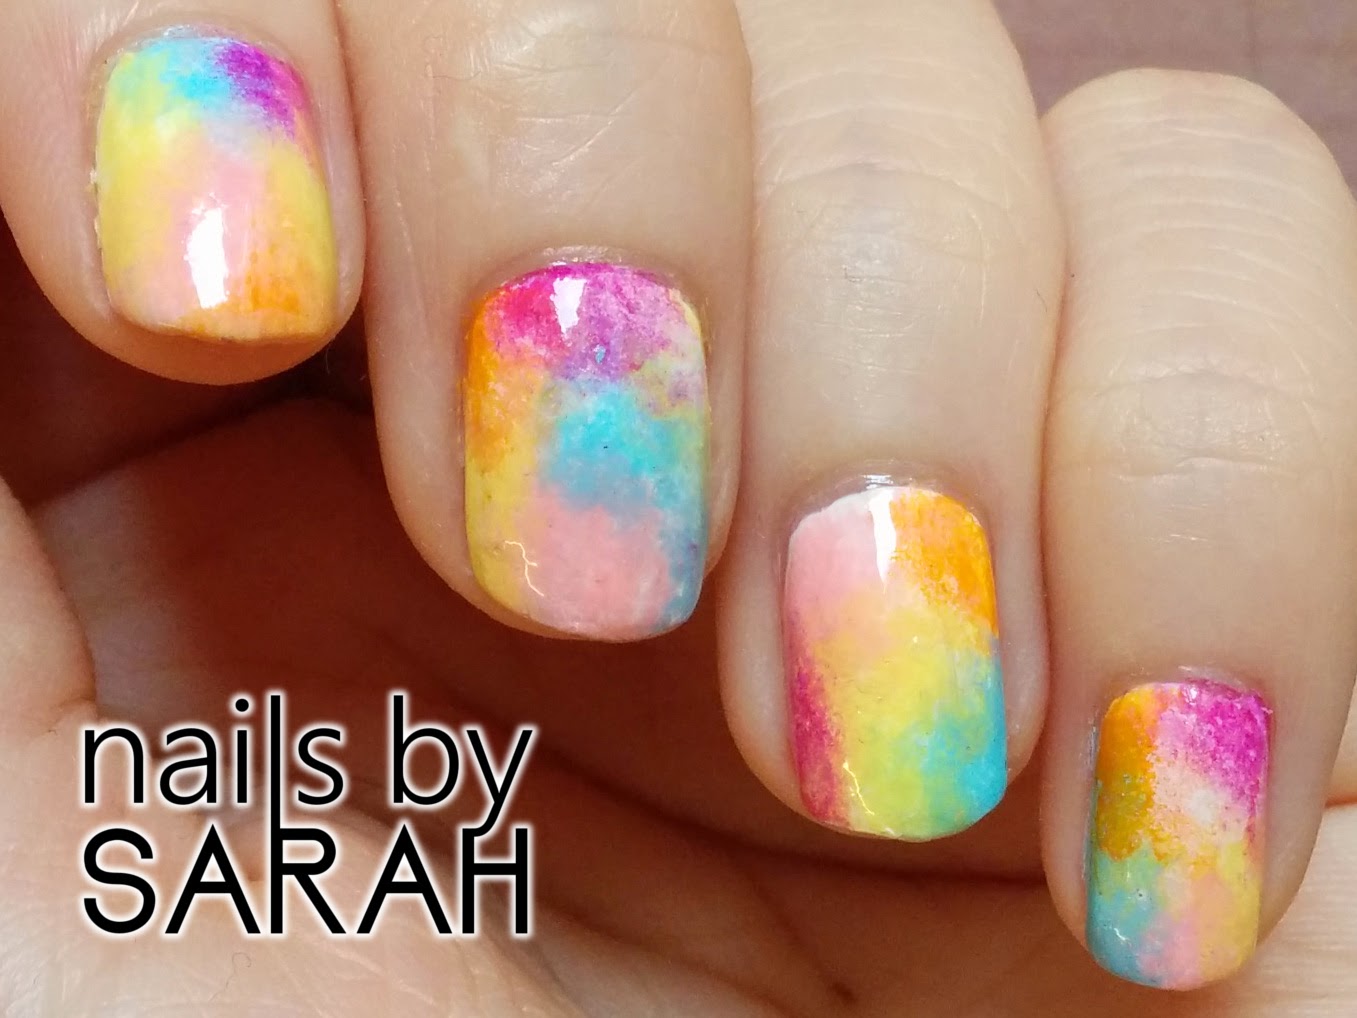
 If you're looking to add a fun and unique touch to your nail game, look no further than paddle pop nail art. This playful design is inspired by the iconic ice cream treat and is perfect for those who love bold and colorful looks. With its vibrant swirls and bright hues, paddle pop nails are a great way to express your creativity and add a touch of nostalgia to your style.
How to Achieve the Perfect Paddle Pop Nails
 To achieve the perfect paddle pop nails, follow these simple steps:
Step 1:
Start with a clean and trimmed nail canvas. Make sure to remove any old polish and trim your nails to your desired length and shape.
Step 2:
Apply a base coat to protect your nails and ensure the colors of your paddle pop design pop.
Step 3:
Choose your desired colors for the paddle pop effect. You can go for a classic rainbow look or mix and match your favorite hues.
Step 4:
Using a thin brush or a toothpick, create swirls on your nails using your chosen colors. Be creative and have fun with it – there's no right or wrong way to do it!
Step 5:
Let your nails dry completely before applying a top coat to seal in the design and add shine.
To achieve the perfect paddle pop nails, follow these simple steps:
Step 1:
Start with a clean and trimmed nail canvas. Make sure to remove any old polish and trim your nails to your desired length and shape.
Step 2:
Apply a base coat to protect your nails and ensure the colors of your paddle pop design pop.
Step 3:
Choose your desired colors for the paddle pop effect. You can go for a classic rainbow look or mix and match your favorite hues.
Step 4:
Using a thin brush or a toothpick, create swirls on your nails using your chosen colors. Be creative and have fun with it – there's no right or wrong way to do it!
Step 5:
Let your nails dry completely before applying a top coat to seal in the design and add shine.
Express Yourself with Paddle Pop Nails
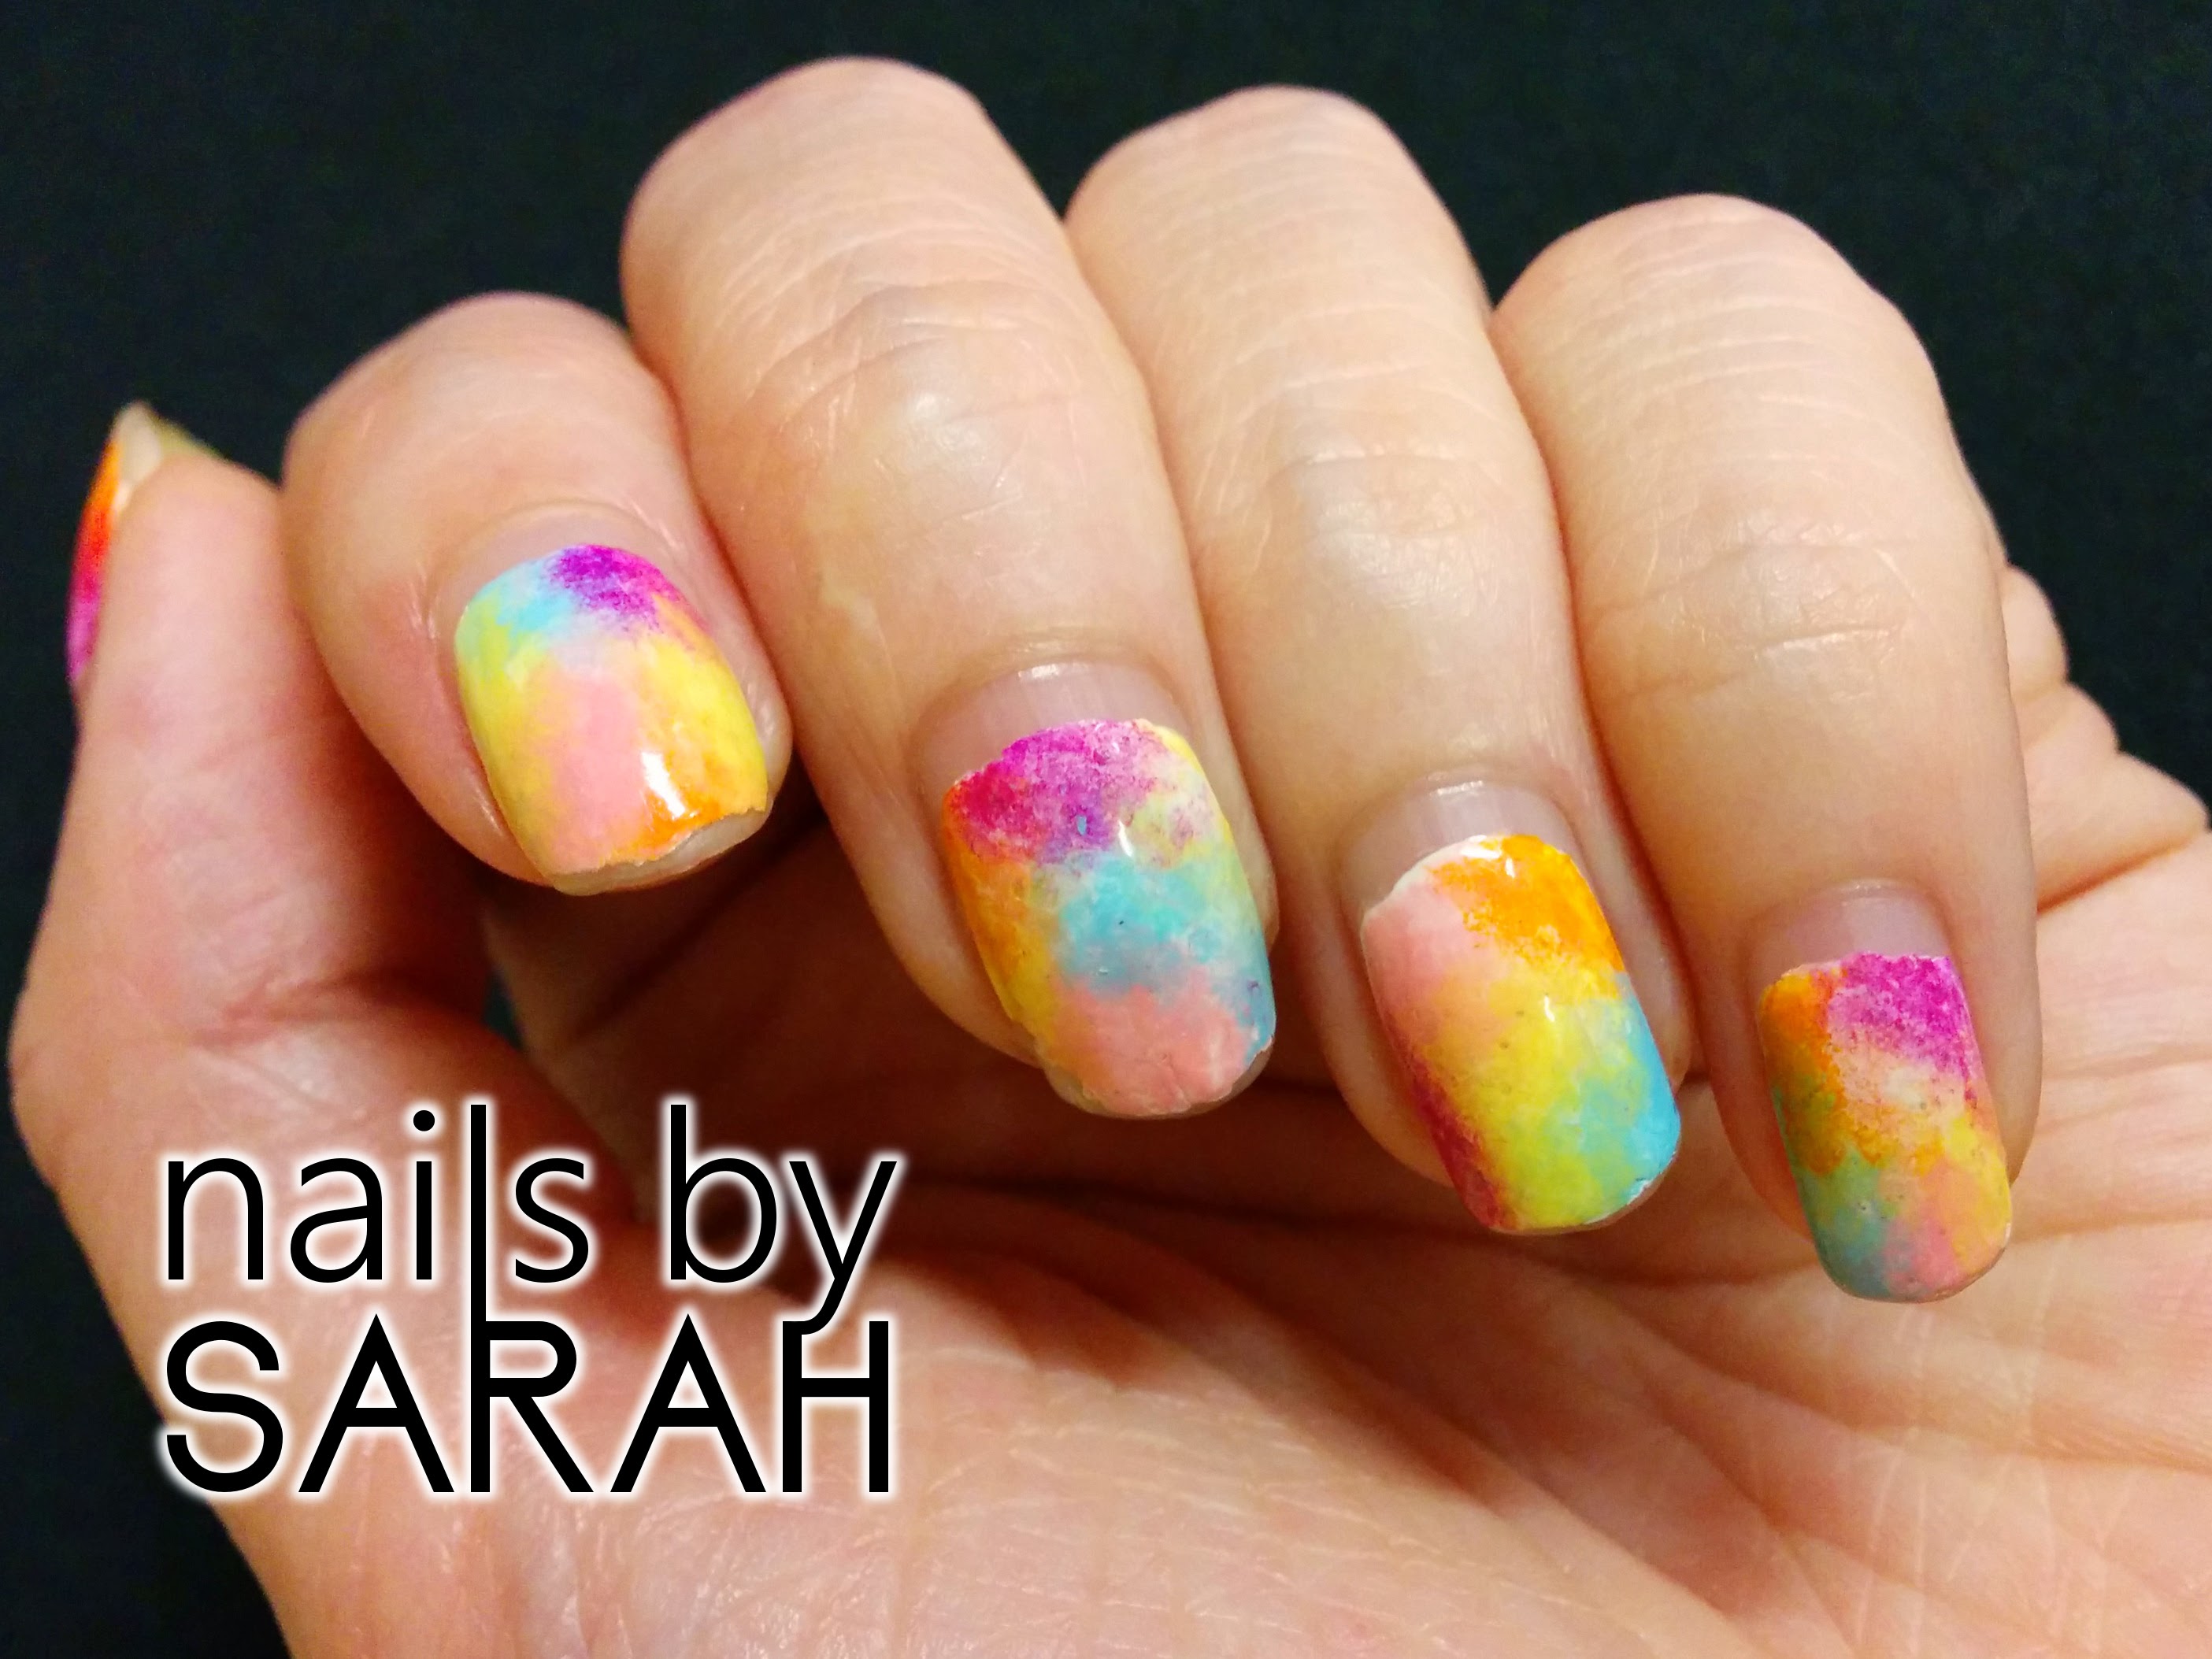
 Paddle pop nails are not just a fun and unique way to add some color to your look, but they also allow you to express your personality and creativity. You can customize the colors and swirls to match your mood or even use them as a form of self-expression. Whether you're feeling bold and adventurous or playful and carefree, paddle pop nails are the perfect way to let your inner child shine through.
Ready to Try Paddle Pop Nails?
 If you're looking for a fun and eye-catching nail design, then give paddle pop nails a try. They're easy to achieve and are sure to turn heads wherever you go. So go ahead and unleash your inner child with this playful and trendy nail art.


