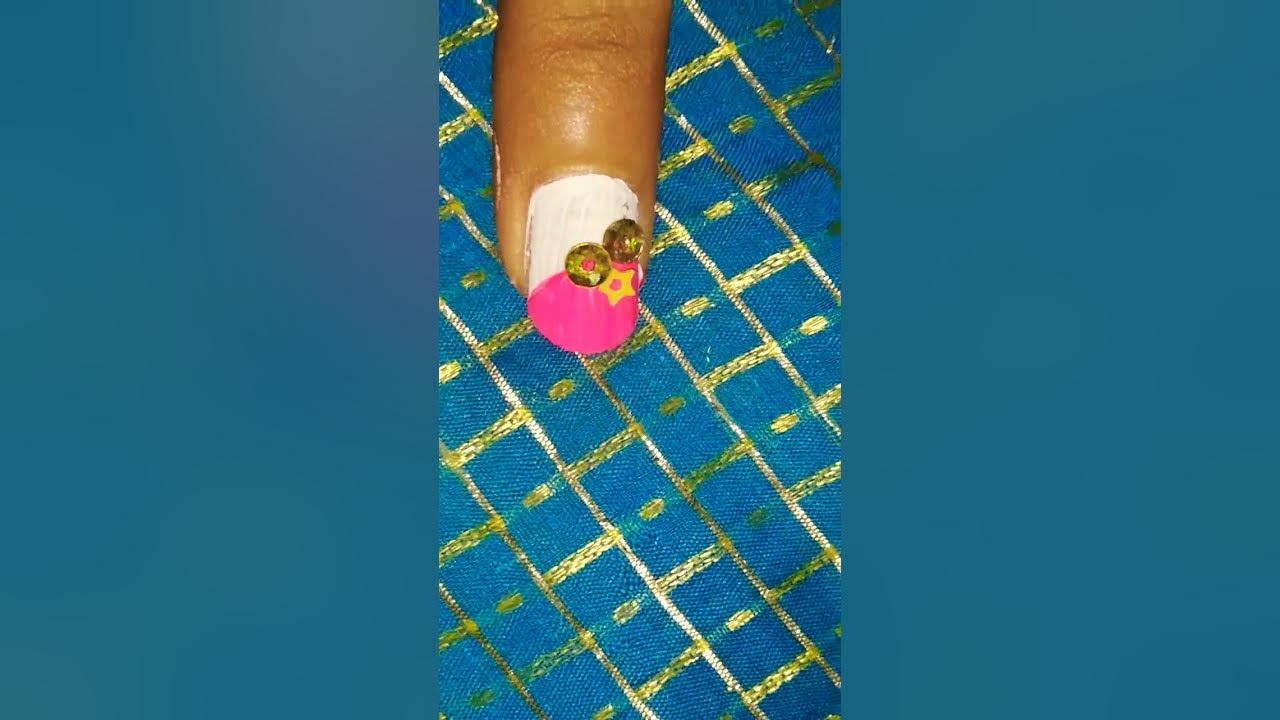
Are you looking for a fun and stylish nail art design that will make your nails stand out? Look no further than pail pink nail art! This trendy design is perfect for any occasion and can be easily recreated at home. Here's a step-by-step tutorial on how to achieve the perfect pink pail nails. To start, gather your supplies. You will need a pale pink nail polish, a pail pink nail polish, a small pail or bucket nail art decoration, a top coat, and a dotting tool or toothpick. Begin by painting all of your nails with the pale pink polish. This will serve as the base color for your pail design. Next, take the pail pink polish and create a diagonal line across your nail, leaving the bottom corner unpainted. This will create the look of a pail on your nail. Using your dotting tool or toothpick, add small dots of the pail pink polish to the bottom corner of your nail, creating the illusion of pail contents. You can also add some dots to the handle of the pail for extra detail. Once the design is dry, add a top coat to seal in your nail art and give it a glossy finish. And voila, you have a beautiful pink pail nail art design!1. Pink Pail Nail Art Tutorial


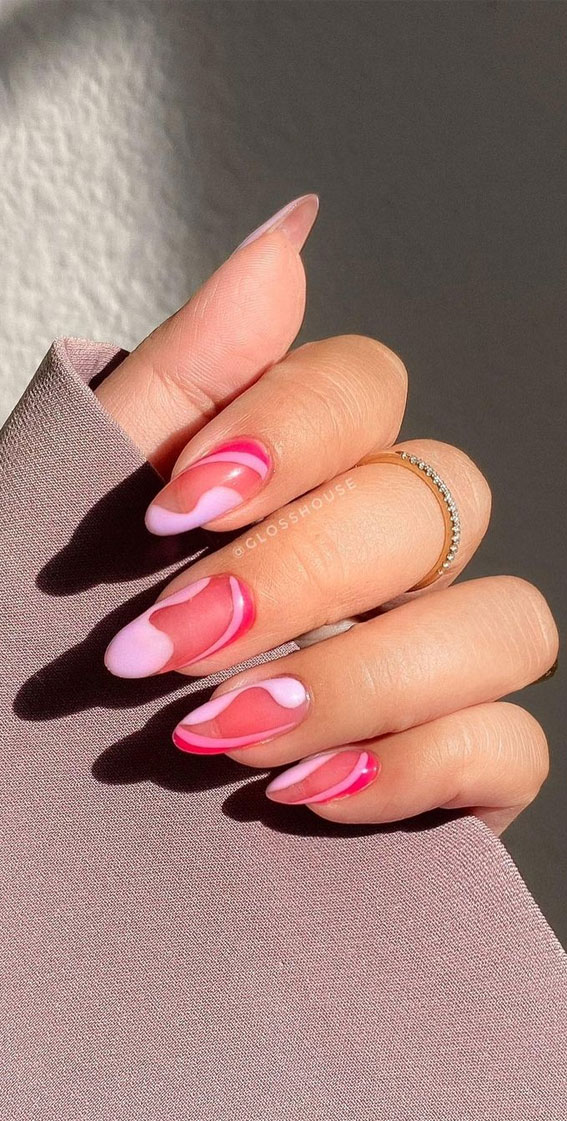
1. Pink Pail Nail Art Tutorial


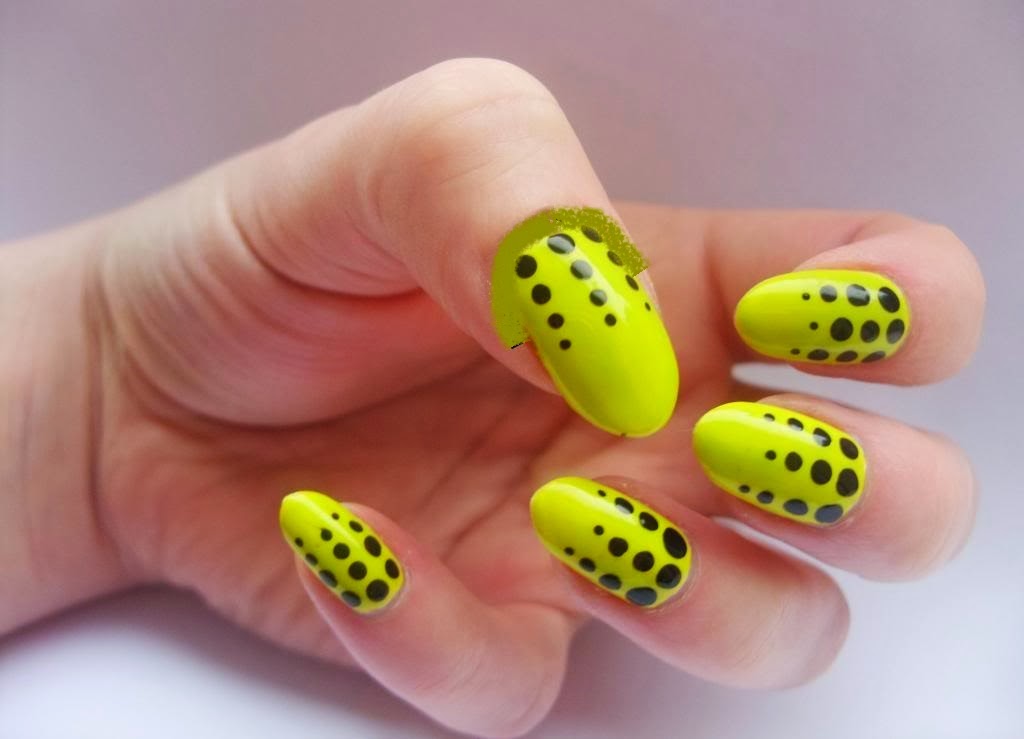


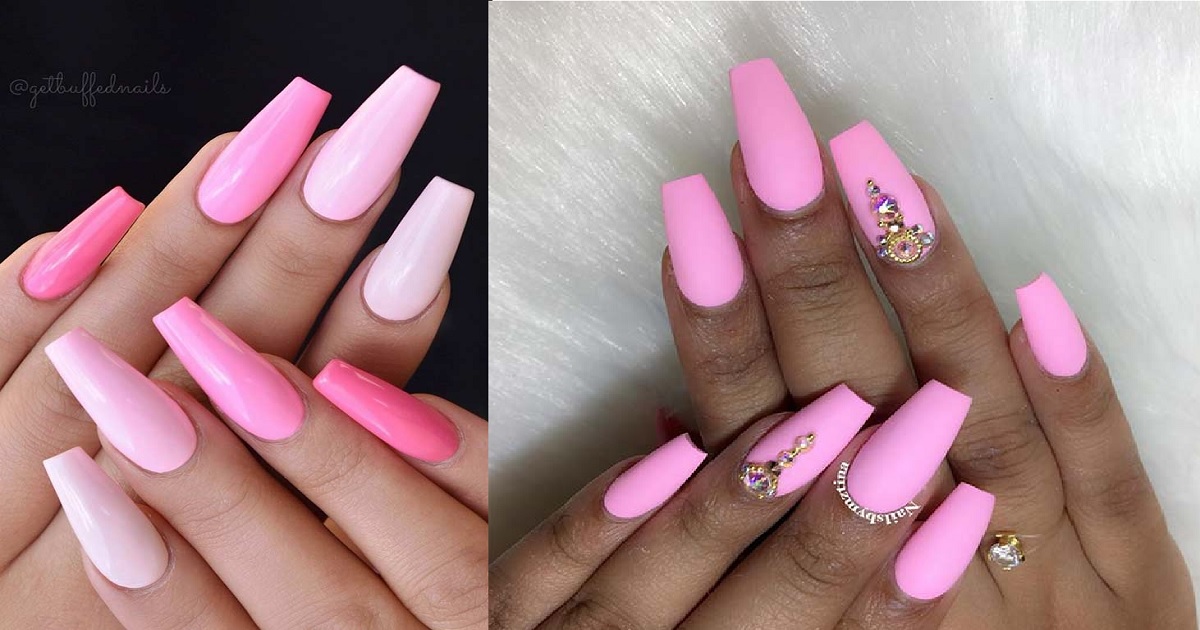
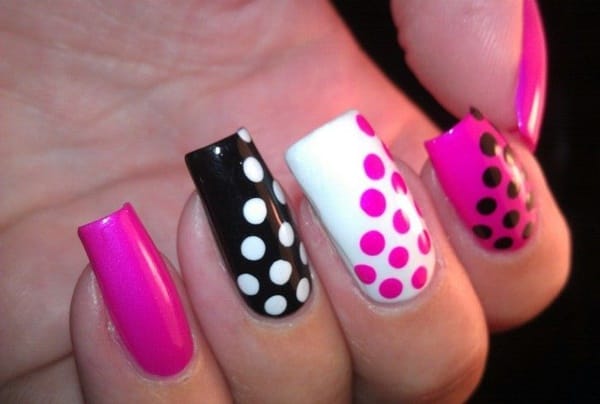
If you love the look of pail pink nail art, but want to switch things up a bit, there are many different designs and variations you can try. For a more elegant look, try a pail pink and gold design. Start by painting your nails with a pail pink base color. Then, using a gold nail polish, create a diagonal line across your nail, leaving the bottom corner unpainted. Add small dots of gold polish to the bottom corner to represent pail contents. Finish off the design with a top coat for a chic and sophisticated look. For a more playful and whimsical design, try a pail pink and white polka dot nail art. Paint your nails with a pail pink base color, then use a white nail polish to create small polka dots all over your nails. You can also add a small pail or bucket decoration to one or two nails for an extra touch of cuteness.2. Pail Pink Nail Art Designs


2. Pail Pink Nail Art Designs


If you're new to nail art or just looking for a simple design, pail pink nail art is a great option. This design is easy to create and doesn't require any special tools. Start by painting your nails with a pail pink base color. Then, using a toothpick or the end of a bobby pin, create small dots of pail pink polish in a diagonal line across your nail. This will create the look of a pail without the need for any nail art decorations. Finish with a top coat for a polished look.3. Easy Pink Pail Nail Art


3. Easy Pink Pail Nail Art


For a glamorous and eye-catching nail art design, try combining pail pink with gold. This color combination is perfect for a special occasion or a night out. Start by painting your nails with a pail pink base color. Then, using a gold nail polish, create a diagonal line across your nail, leaving the bottom corner unpainted. Add small dots of gold polish to the bottom corner to represent pail contents. You can also add some gold detailing to the handle of the pail for extra bling. Finish with a top coat for a dazzling finish.4. Pail Pink and Gold Nail Art


4. Pail Pink and Gold Nail Art


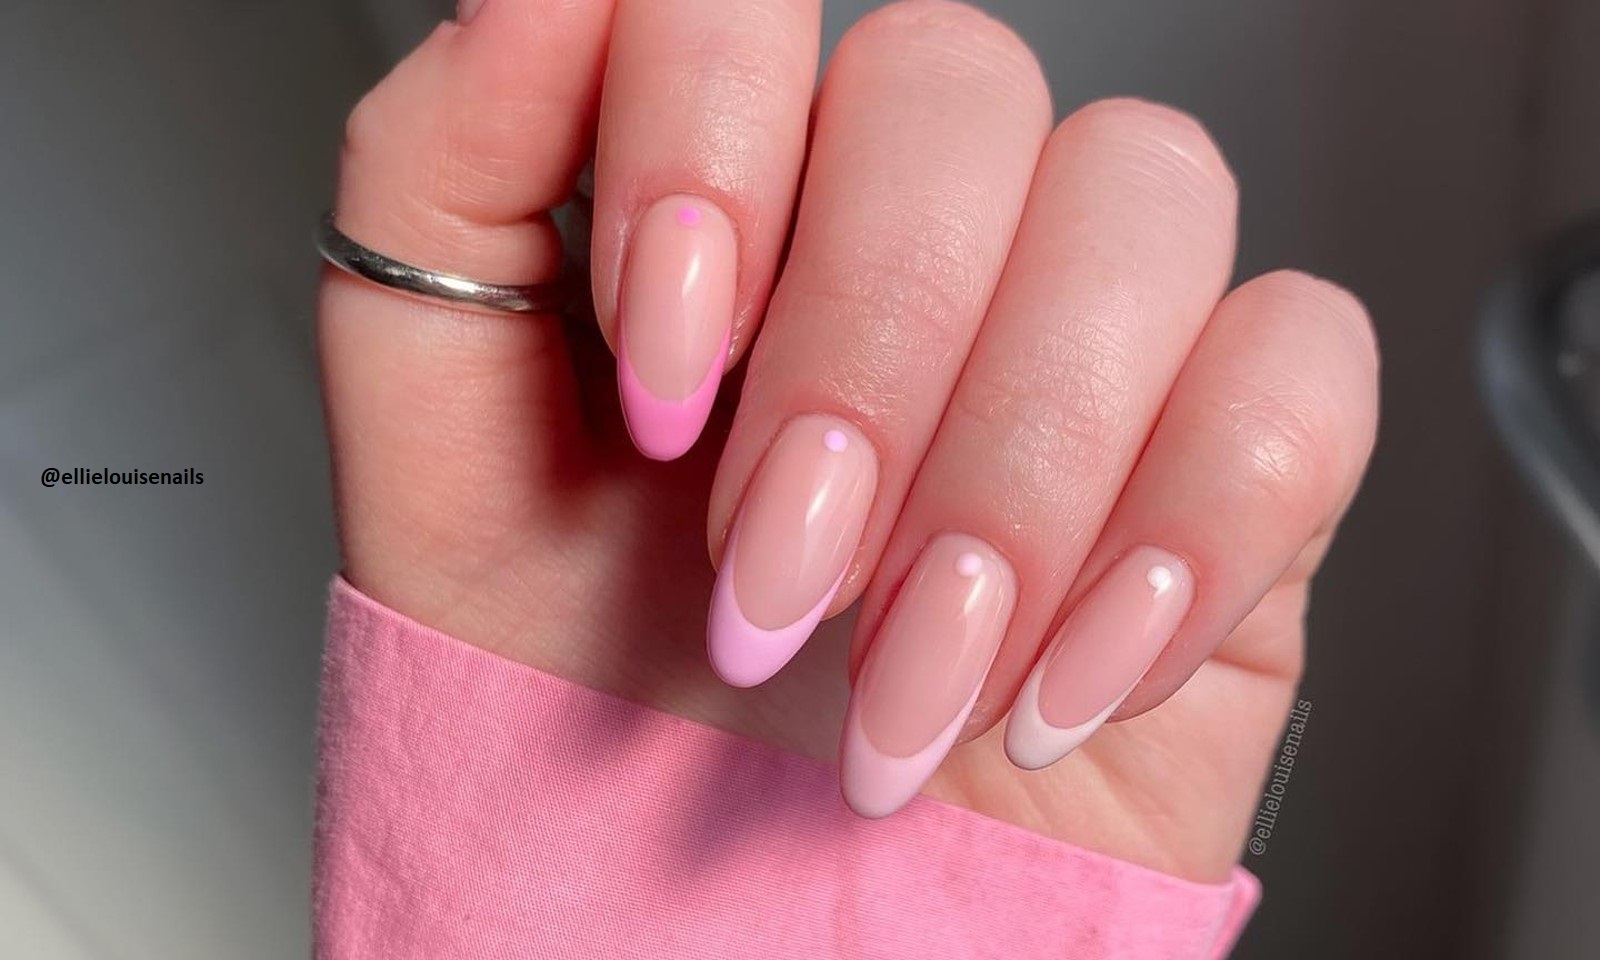
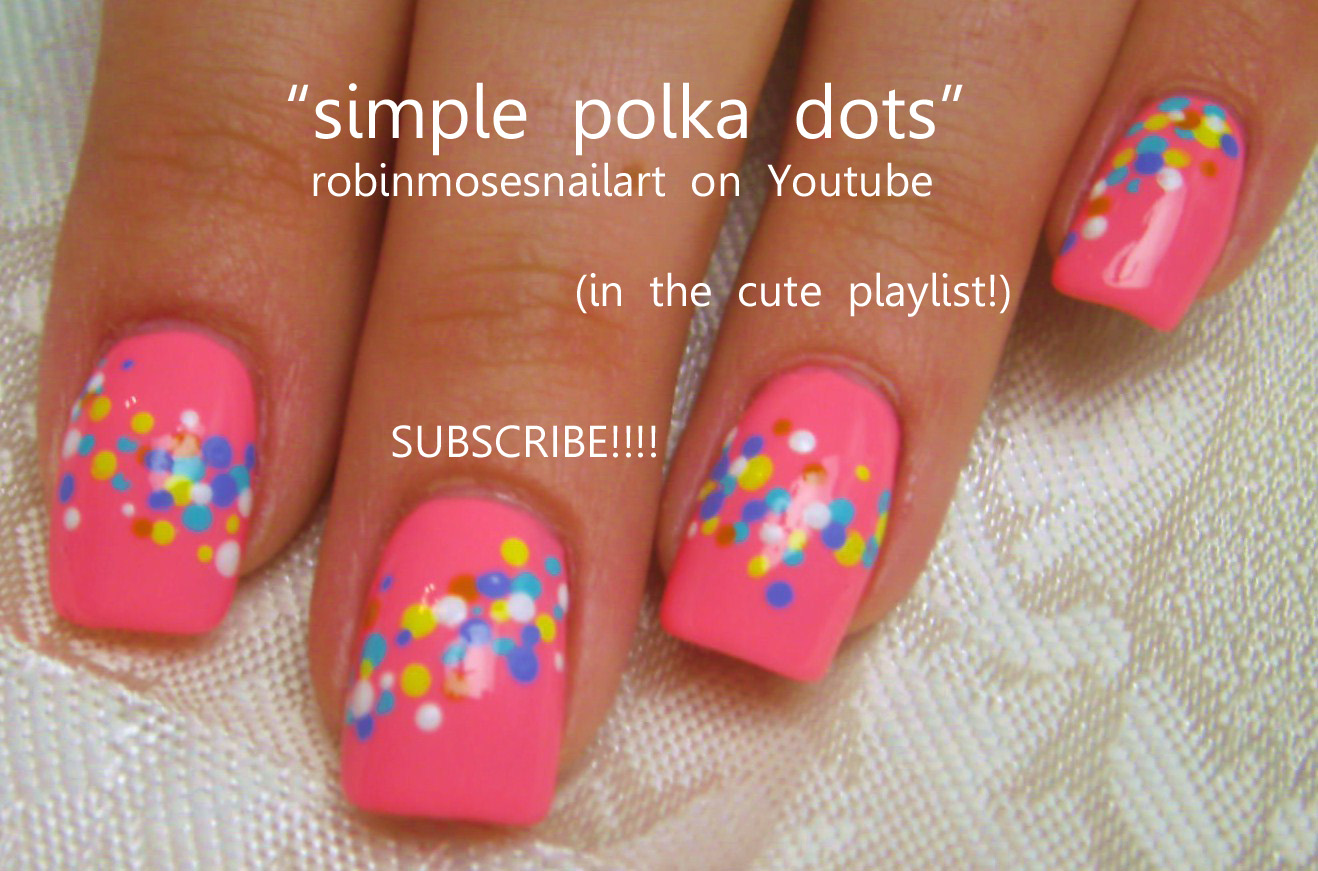
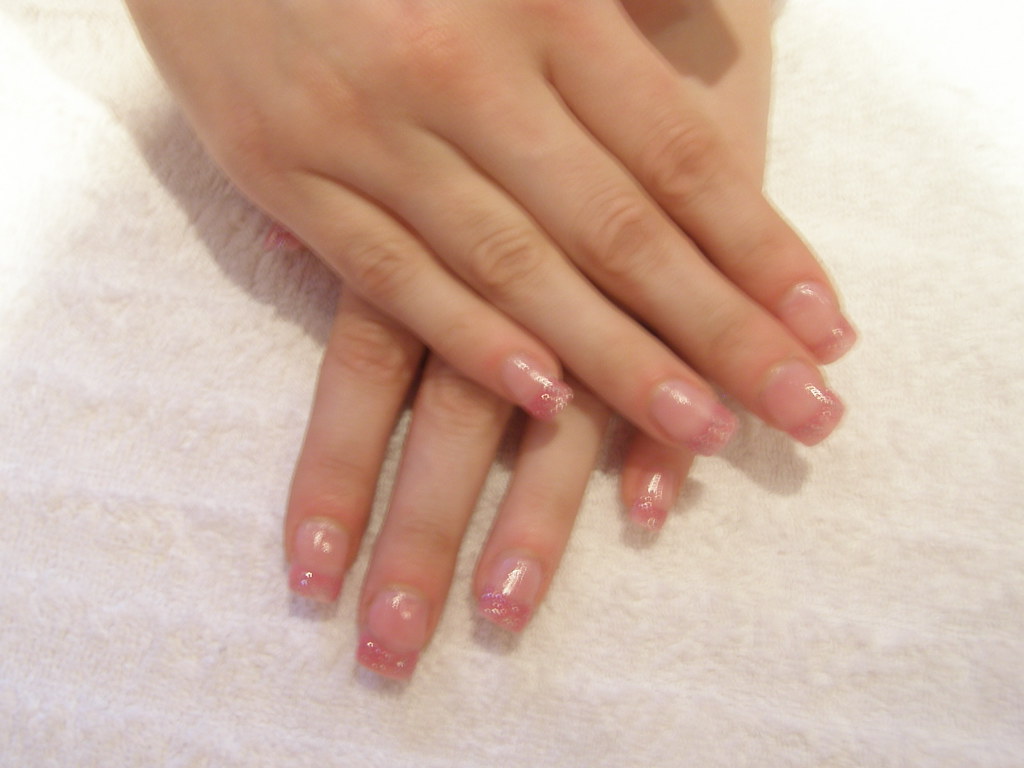
For a classic and timeless look, try combining pail pink with white in your nail art design. This color combination is perfect for any occasion and can be dressed up or down. Start by painting your nails with a pail pink base color. Then, using a white nail polish, create a diagonal line across your nail, leaving the bottom corner unpainted. Add small dots of white polish to the bottom corner to represent pail contents. You can also add some white detailing to the handle of the pail for a more intricate design. Finish with a top coat for a clean and elegant finish.5. Pail Pink and White Nail Art


5. Pail Pink and White Nail Art

:max_bytes(150000):strip_icc()/pinknails3-6db6cd98e1224163afbff763fabdf151.jpg)


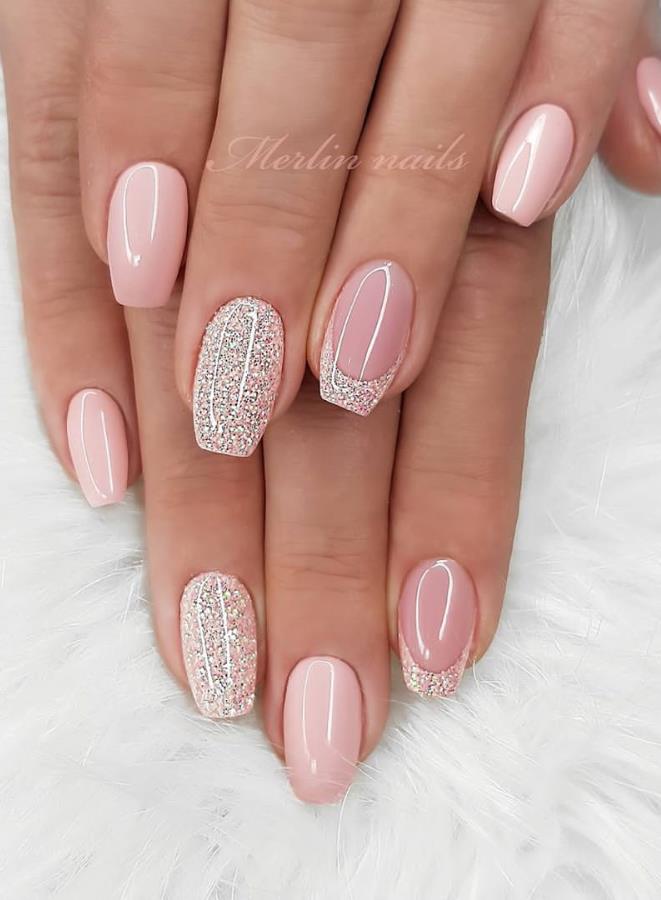
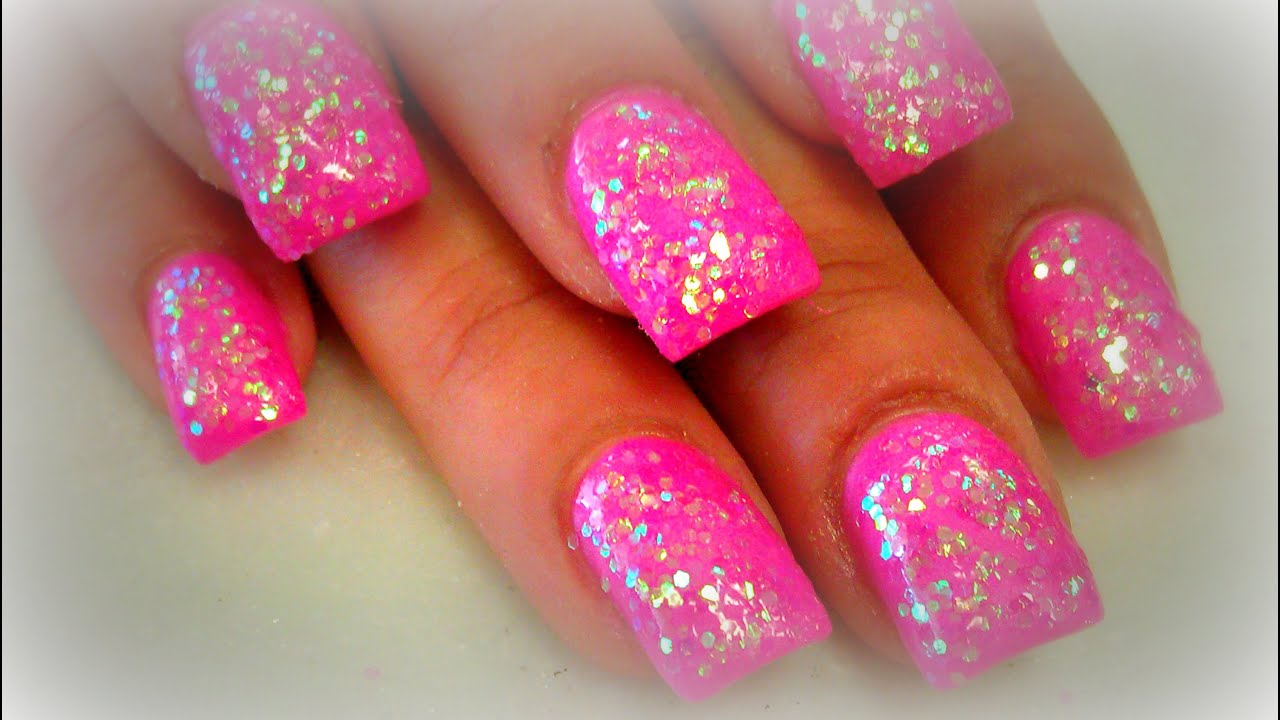
For a fun and sparkly nail art design, try adding some glitter to your pail pink nails. This design is perfect for a special occasion or just to add some extra glam to your everyday look. Start by painting your nails with a pail pink base color. Then, using a glitter nail polish, create a diagonal line across your nail, leaving the bottom corner unpainted. You can also add some glitter to the handle of the pail for a more cohesive look. Finish with a top coat to seal in the glitter and give your nails a dazzling finish.6. Pail Pink and Glitter Nail Art


6. Pail Pink and Glitter Nail Art


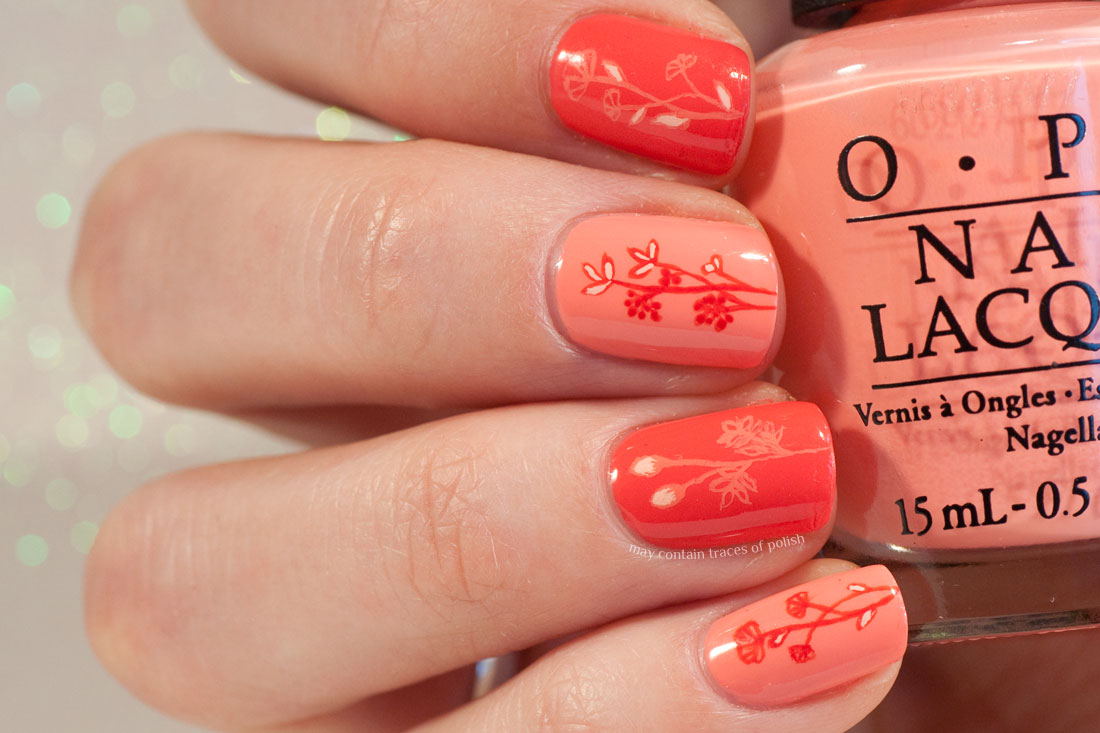
If you love a feminine and floral look, try combining pail pink with some delicate flower nail art. This design is perfect for the spring and summer seasons. Start by painting your nails with a pail pink base color. Then, using a dotting tool or toothpick, create small flowers on your nails using different shades of pink and white nail polish. You can also add some green leaf detailing to complete the floral look. Finish with a top coat for a beautiful and feminine design.7. Pail Pink and Floral Nail Art


7. Pail Pink and Floral Nail Art


Ombre is a popular nail art technique that involves blending two or more colors together to create a gradient effect. For a unique pail pink nail art design, try combining pail pink with a lighter or darker shade of pink in an ombre pattern. Start by painting your nails with a pail pink base color. Then, using a makeup sponge, dab on a lighter or darker shade of pink onto the tips of your nails, gradually blending it into the pail pink. You can also add some glitter to the tips for an extra touch of sparkle. Finish with a top coat for a stunning ombre pail pink design.8. Pail Pink and Ombre Nail Art


8. Pail Pink and Ombre Nail Art


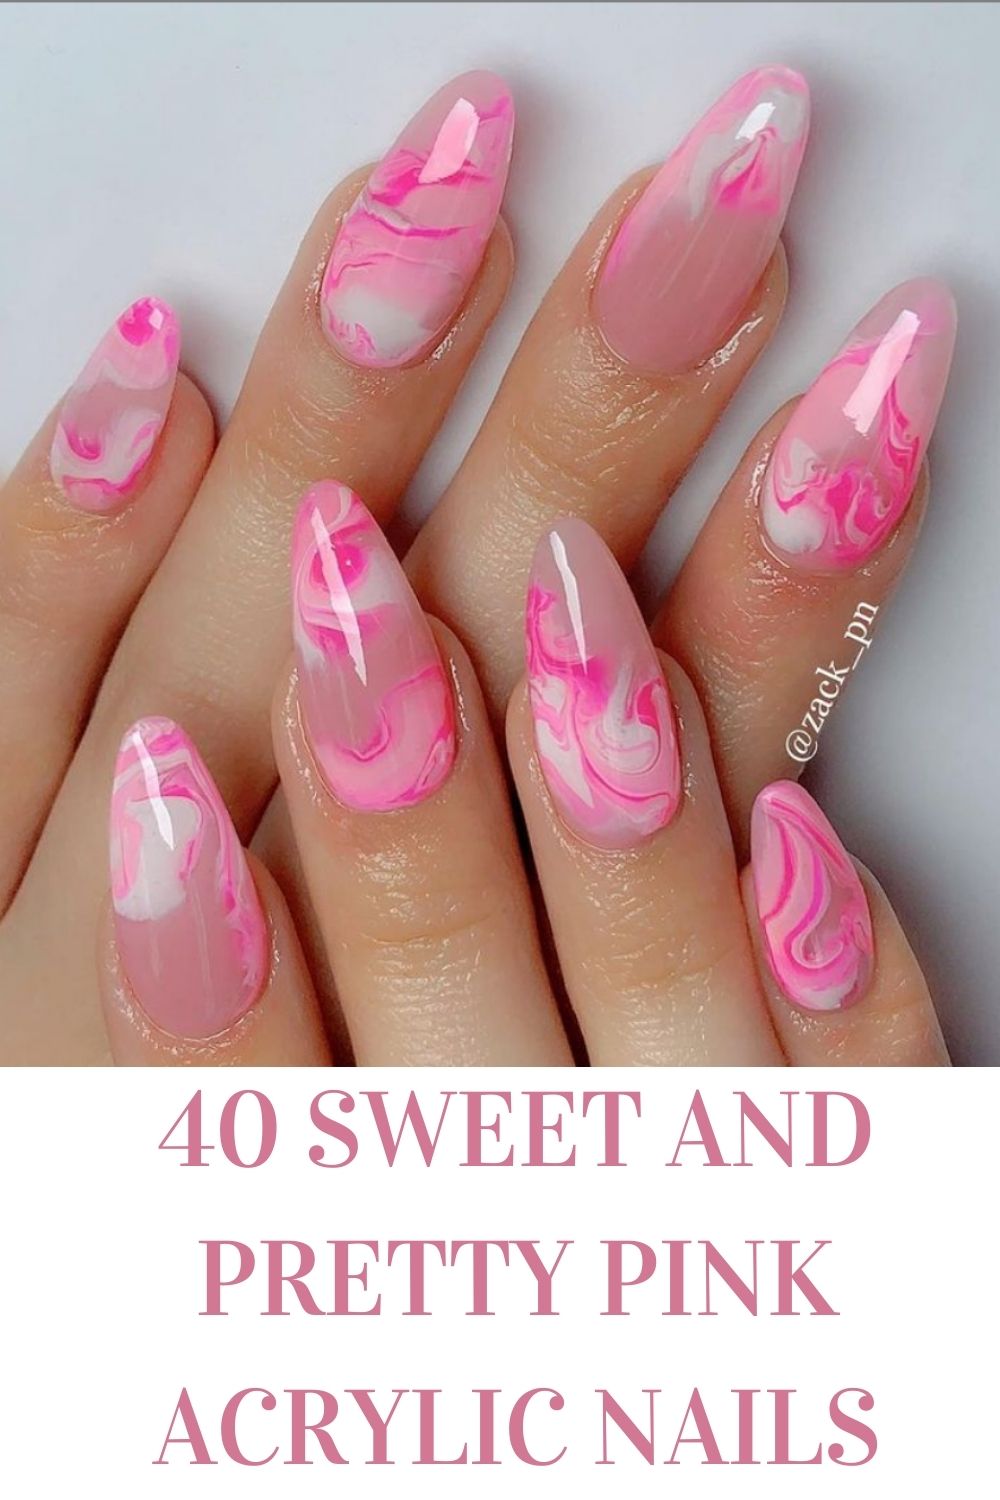
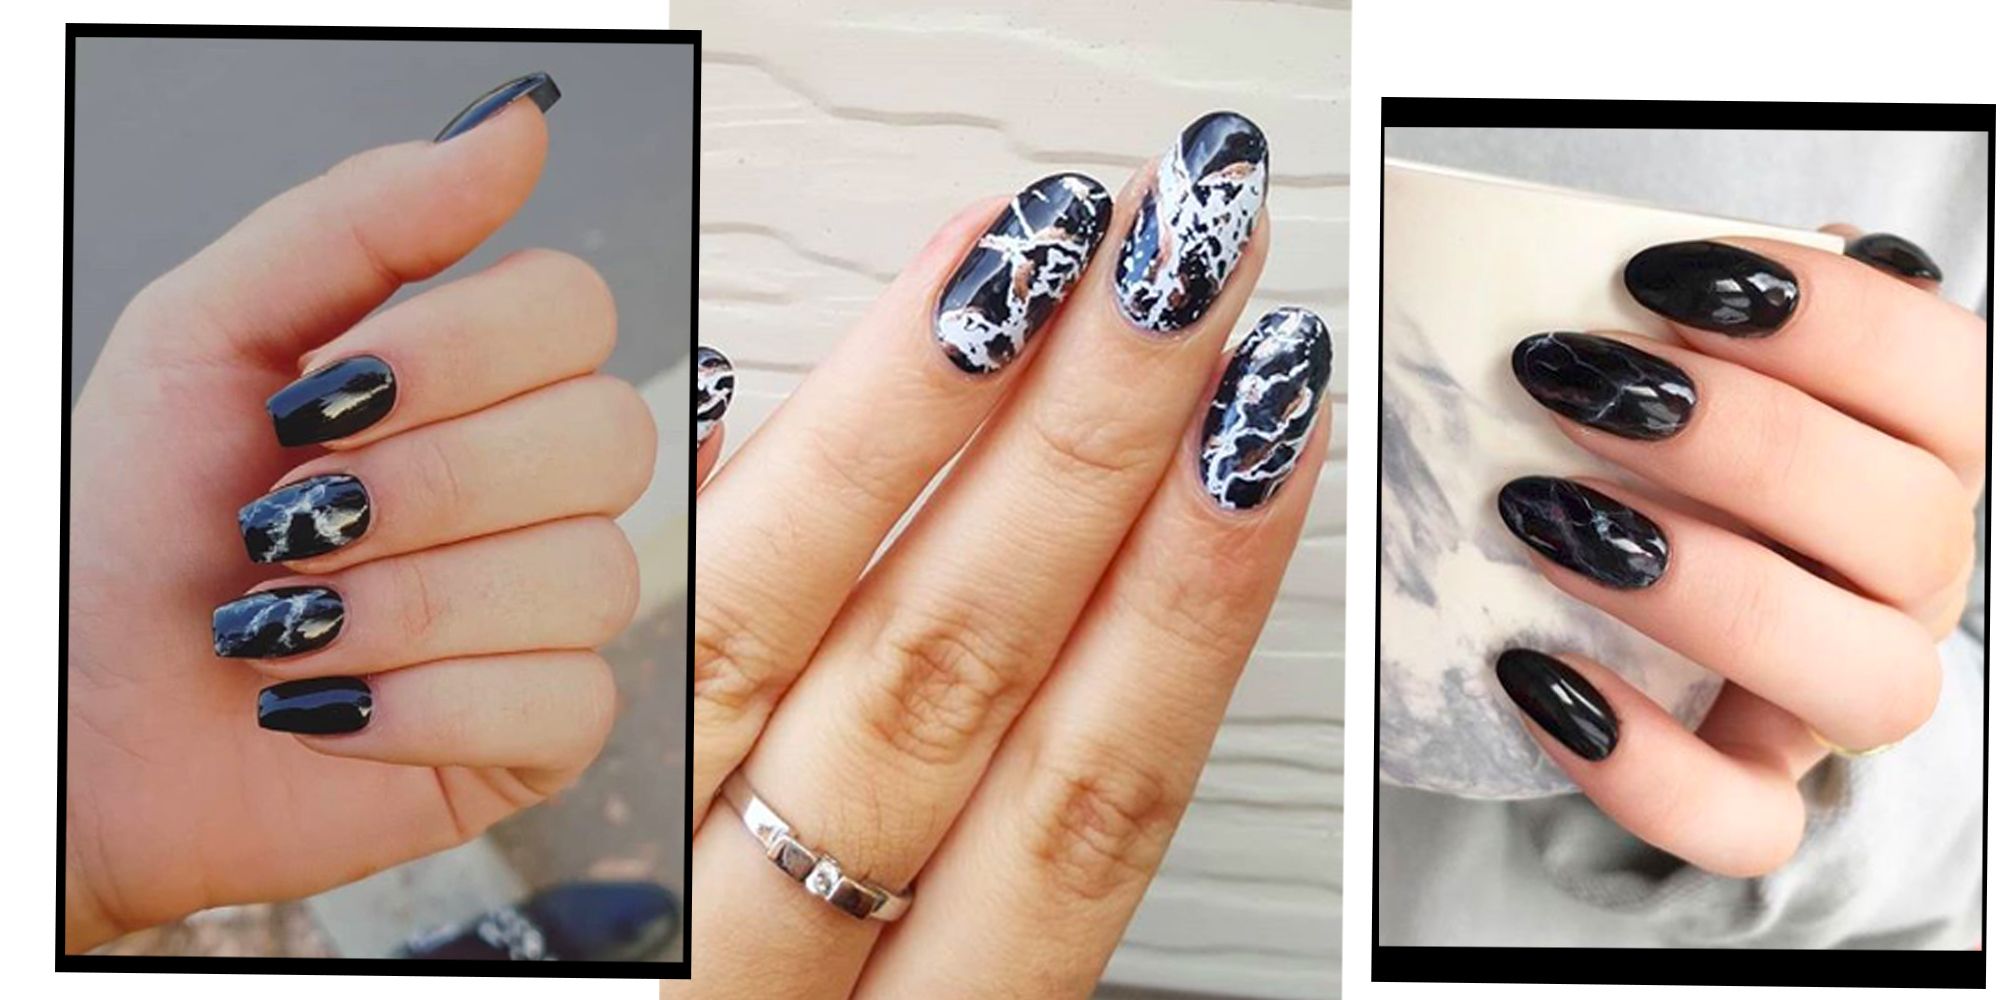
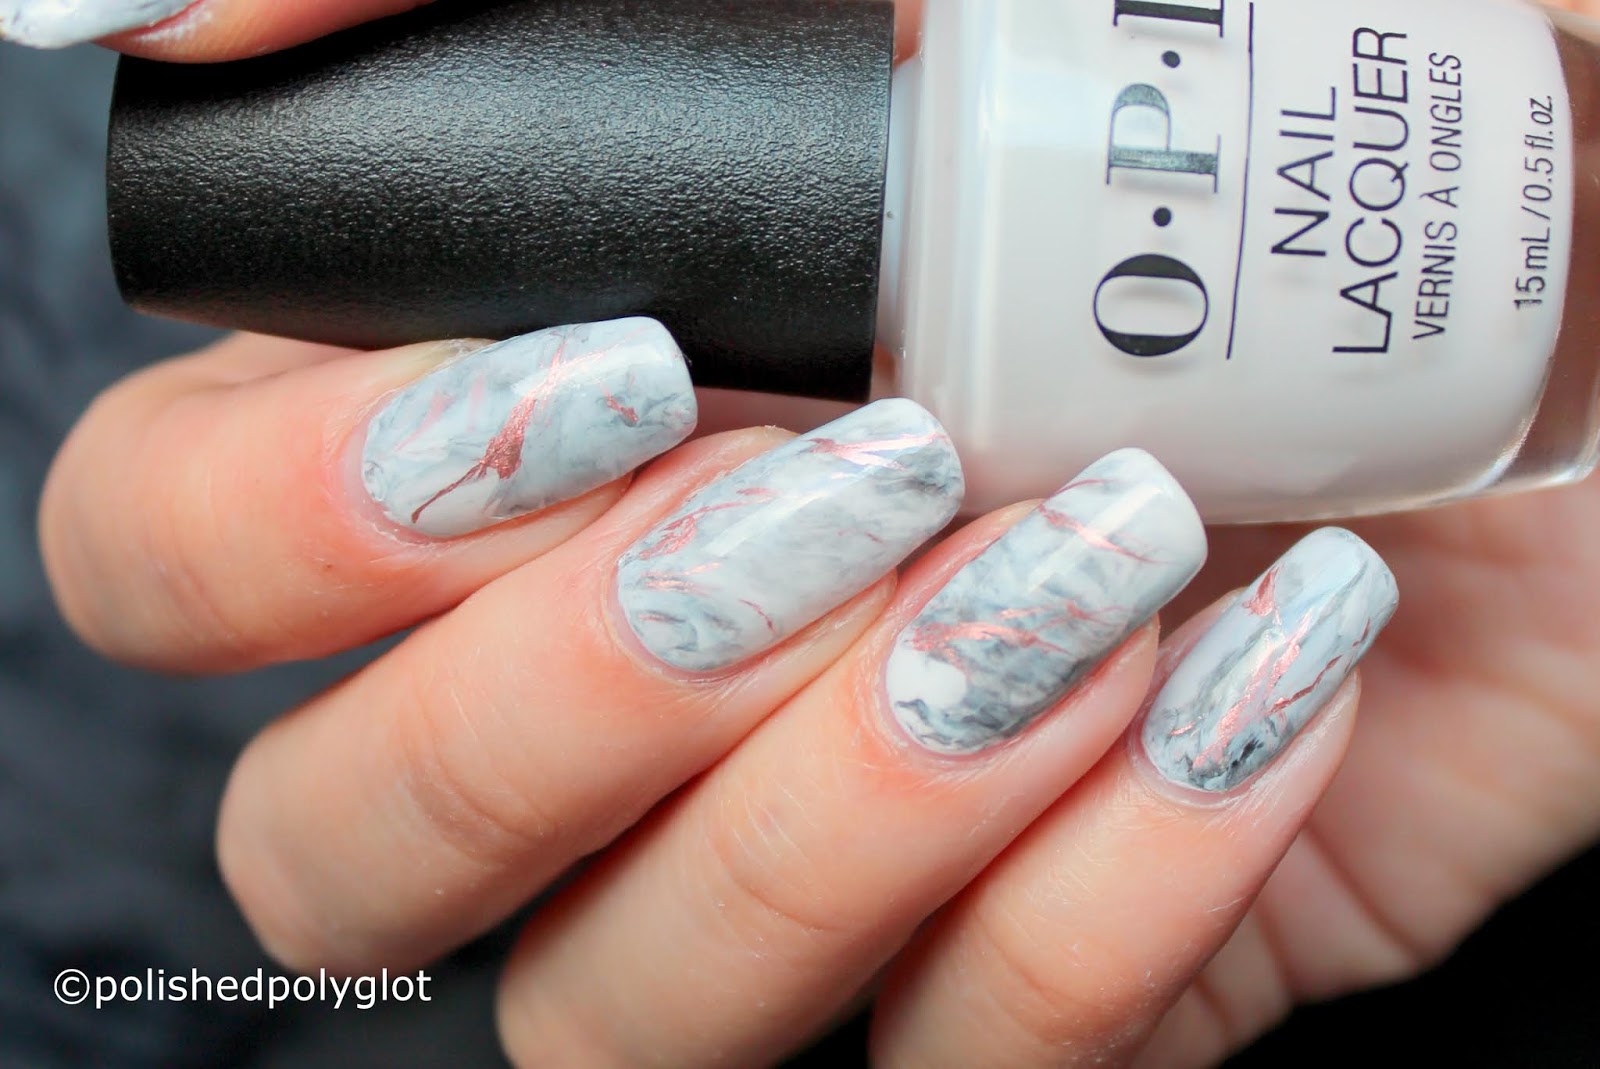
If you want to add some texture and dimension to your pail pink nails, try a marble nail art design. This design is perfect for those who want to make a statement with their nails. Start by painting your nails with a pail pink base color. Then, using a white nail polish, create swirls and lines on your nails to create a marble effect. You can also add some gold detailing or glitter for an extra touch of elegance. Finish with a top coat to seal in the design and give your nails a glossy finish.9. Pail Pink and Marble Nail Art
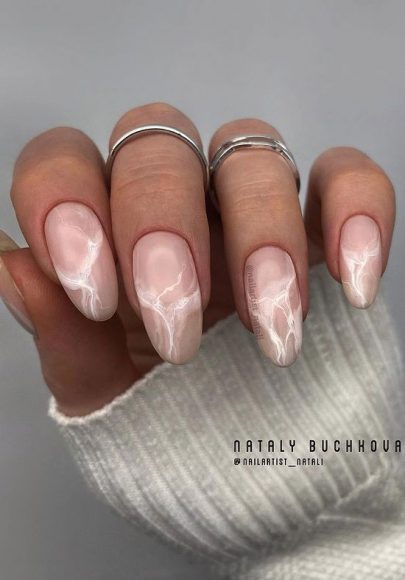


9. Pail Pink and Marble Nail Art


For a bold and trendy nail art design, try combining pail pink with some stripes. This design is perfect for those who love a modern and edgy look. Start by painting your nails with a pail pink base color. Then, using a striping brush or tape, create thin stripes on your nails using a darker shade of pink or a different color. You can also add some glitter or a pail decoration to one or two nails for a unique touch. Finish with a top coat to seal in the stripes and give your nails a sleek finish.10. Pail Pink and Striped Nail Art


10. Pail Pink and Striped Nail Art

The Growing Trend of Pail Pink Nail Art in House Design

A Splash of Color: Pail Pink Nail Art
 In the world of house design, there is a growing trend that is making a statement with its subtle yet impactful touch – pail pink nail art. This unique and creative form of design is bringing a fresh and vibrant energy to homes, creating a modern and stylish look. From walls to furniture, pail pink nail art is becoming a popular choice for homeowners and interior designers alike.
An Elegant Touch: How to Incorporate Pail Pink Nail Art in Your Home
 The beauty of pail pink nail art lies in its versatility. This soft and delicate shade of pink can be incorporated in various ways to elevate the design of your home. For those looking to make a bold statement, using pail pink as the color of choice for walls can instantly transform a room. The subtle hue adds a touch of elegance and sophistication, creating a sense of warmth and coziness.
For those who prefer a more understated look, pail pink nail art can be incorporated through home accessories such as throw pillows, curtains, or even a statement piece of furniture. This allows for a pop of color without overwhelming the overall design of the room.
The beauty of pail pink nail art lies in its versatility. This soft and delicate shade of pink can be incorporated in various ways to elevate the design of your home. For those looking to make a bold statement, using pail pink as the color of choice for walls can instantly transform a room. The subtle hue adds a touch of elegance and sophistication, creating a sense of warmth and coziness.
For those who prefer a more understated look, pail pink nail art can be incorporated through home accessories such as throw pillows, curtains, or even a statement piece of furniture. This allows for a pop of color without overwhelming the overall design of the room.
The Benefits of Pail Pink Nail Art in House Design
 Aside from its aesthetic appeal, pail pink nail art also offers numerous benefits in house design. Its soft and gentle tone can create a calming and soothing atmosphere, making it a perfect choice for bedrooms and relaxation spaces. It can also help to brighten up a room, making it appear more spacious and inviting.
Additionally, pail pink nail art is a great choice for those looking to add a touch of femininity to their home. Its subtle and delicate shade exudes a sense of grace and elegance, adding a unique and personal touch to any space.
In conclusion, pail pink nail art is a rising trend in house design, and for good reason. Its versatility, elegance, and numerous benefits make it an excellent choice for anyone looking to add a splash of color and personality to their home. So why not give it a try and see how this subtle yet impactful touch can transform your living space into a stylish and inviting haven.
Aside from its aesthetic appeal, pail pink nail art also offers numerous benefits in house design. Its soft and gentle tone can create a calming and soothing atmosphere, making it a perfect choice for bedrooms and relaxation spaces. It can also help to brighten up a room, making it appear more spacious and inviting.
Additionally, pail pink nail art is a great choice for those looking to add a touch of femininity to their home. Its subtle and delicate shade exudes a sense of grace and elegance, adding a unique and personal touch to any space.
In conclusion, pail pink nail art is a rising trend in house design, and for good reason. Its versatility, elegance, and numerous benefits make it an excellent choice for anyone looking to add a splash of color and personality to their home. So why not give it a try and see how this subtle yet impactful touch can transform your living space into a stylish and inviting haven.


