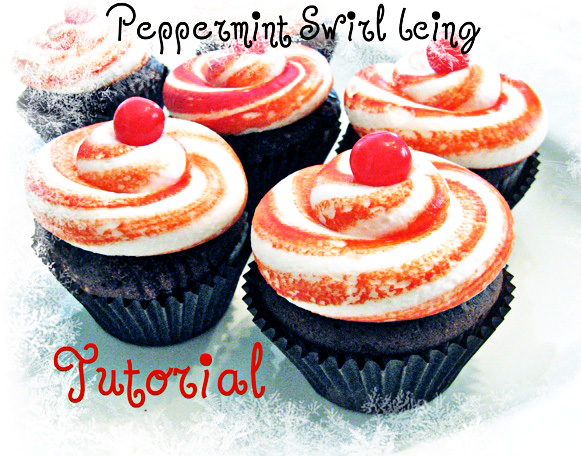
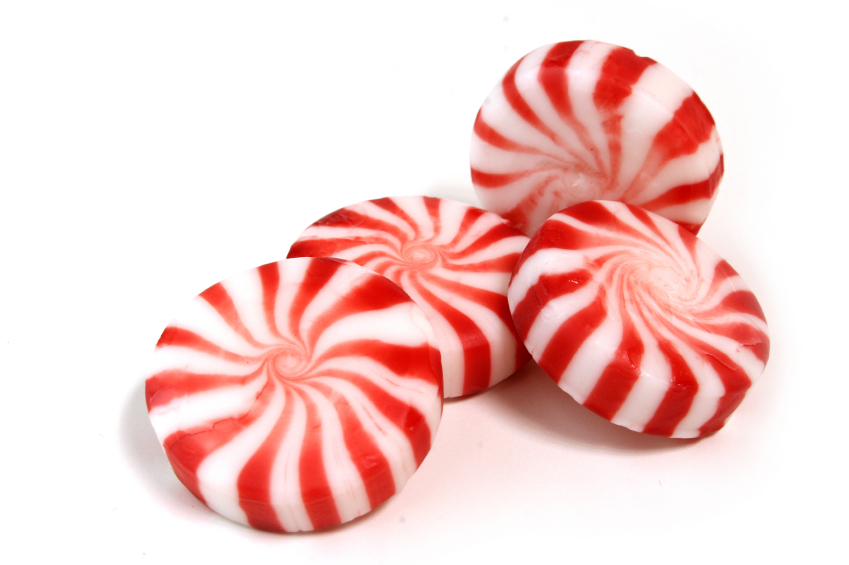
Are you looking for a festive and fun nail art design for the holiday season? Look no further than the peppermint swirl nail art! This design is perfect for Christmas parties, family gatherings, or just adding some holiday cheer to your everyday look. In this tutorial, we will show you how to create the perfect peppermint swirl nail art in 10 easy steps. So grab your nail polish and let's get started!Peppermint Swirl Nail Art Tutorial


Peppermint Swirl Nail Art Tutorial


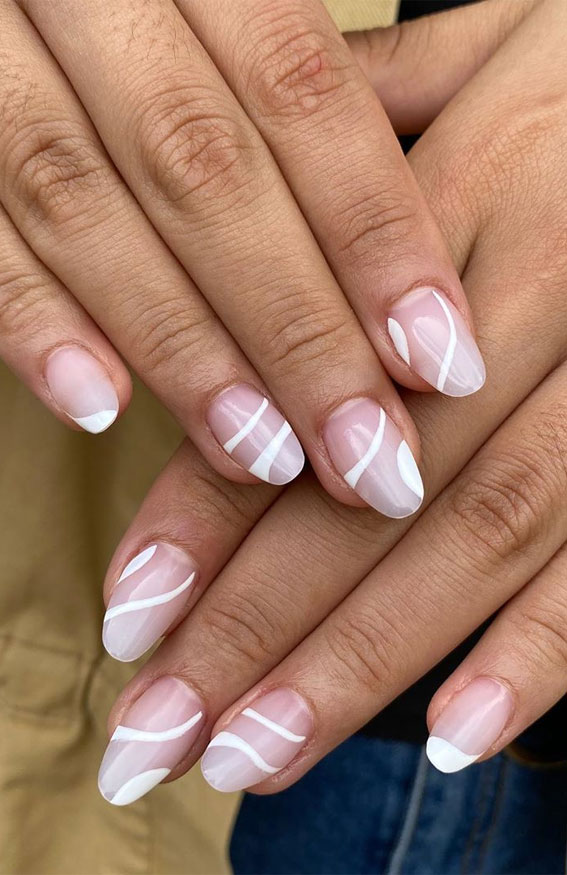
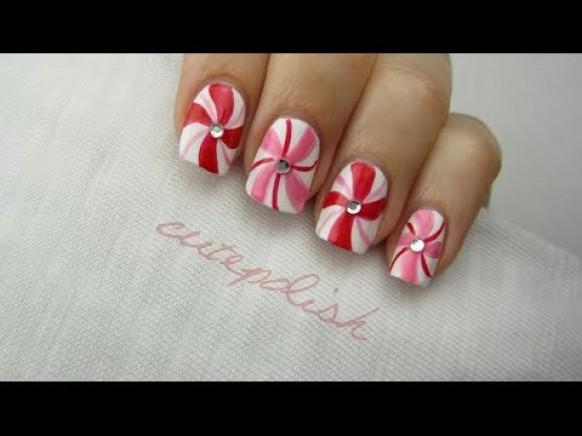
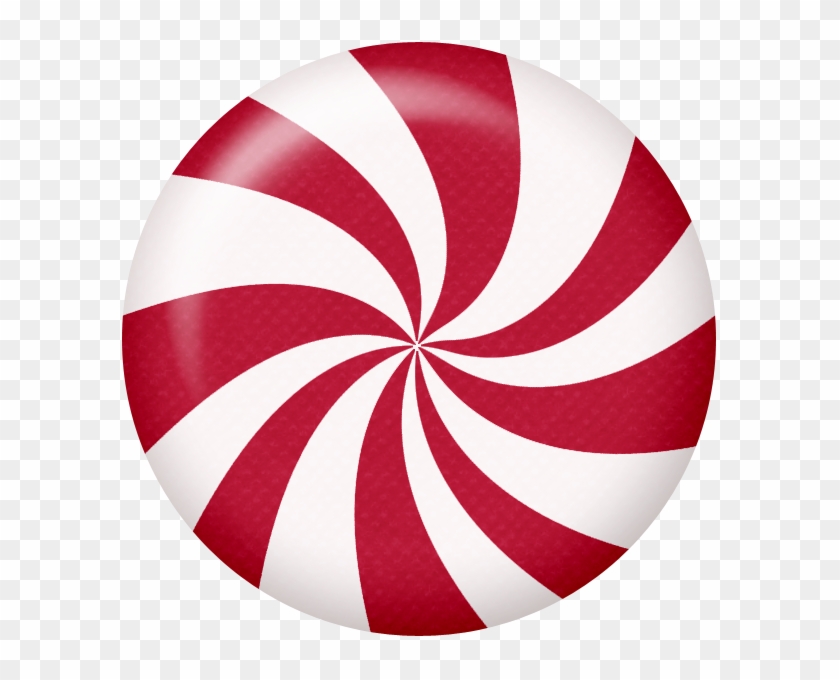
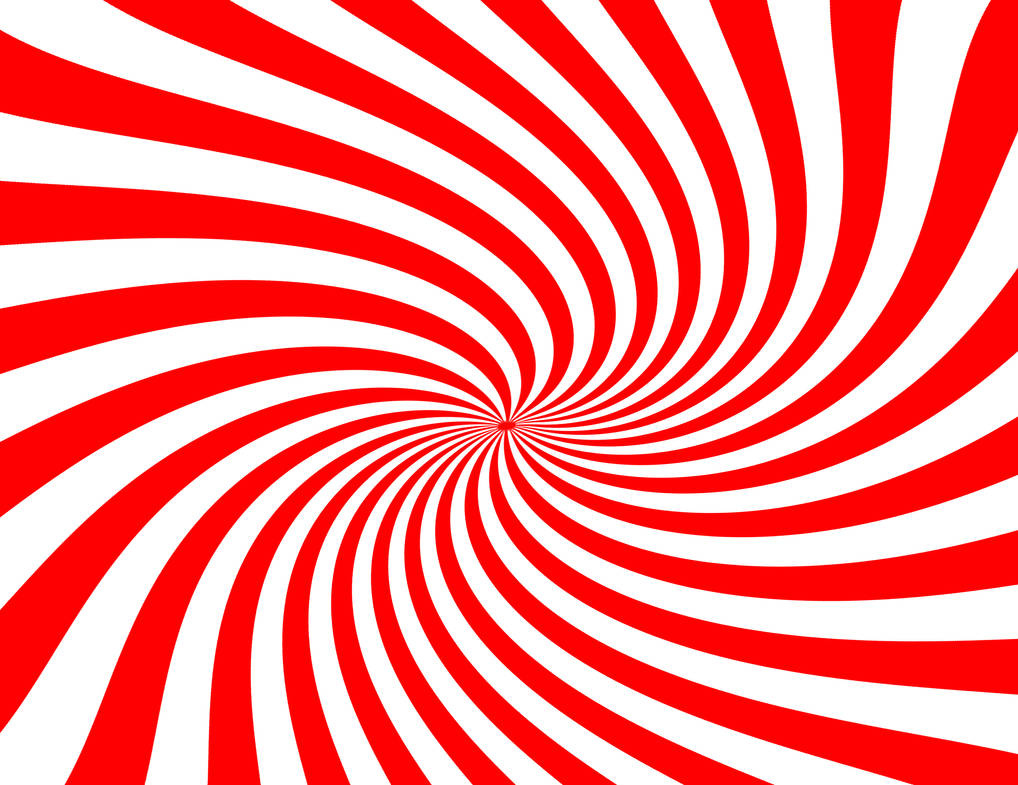
If you're new to nail art or just looking for a simple and easy design, this peppermint swirl nail art tutorial is for you. With just a few basic tools and nail polish colors, you can achieve a beautiful and festive look in no time. To start, you will need a base coat, a white nail polish, a red nail polish, a dotting tool, and a top coat. Before beginning, make sure your nails are clean and free of any old nail polish. Apply a thin layer of base coat to protect your nails.Easy Peppermint Swirl Nail Art Tutorial


Easy Peppermint Swirl Nail Art Tutorial


/image11-eb489b94971c450c9c3e15de8482beb3.jpg)

If you're feeling a little more adventurous, you can try this DIY peppermint swirl nail art tutorial. Instead of using a dotting tool, we will be using a toothpick to create the swirl design. This method may take a little more patience and practice, but the end result is worth it! Start by applying a white base coat to all of your nails. Then, using red and white nail polish, create small dots on your nails in a random pattern. Using a toothpick, gently drag the colors together to create a swirl effect. You can also use a small brush to blend the colors together. Once you're happy with the design, let it dry for a few minutes before applying a top coat.DIY Peppermint Swirl Nail Art Tutorial


DIY Peppermint Swirl Nail Art Tutorial


If you prefer a more detailed step-by-step tutorial, here is how you can achieve the perfect peppermint swirl nail art: Step 1: Start by applying a base coat to protect your nails. Step 2: Apply a white nail polish as your base color. Step 3: Using a dotting tool, create small dots with red nail polish on your nails. Make sure to leave some space between the dots. Step 4: Using the same dotting tool, create white dots in between the red dots. Step 5: Take a toothpick and gently drag it through the red and white dots to create a swirl effect. You can also use a small brush to blend the colors. Step 6: Repeat this process on all of your nails. Step 7: Let the design dry for a few minutes before applying a top coat. Step 8: If you want to add some extra sparkle, you can use a glitter top coat over the swirl design. Step 9: Clean up any excess polish around your nails using a cotton swab dipped in nail polish remover. Step 10: Finish with a final layer of top coat to seal in your design and add shine.Step-by-Step Peppermint Swirl Nail Art Tutorial


Step-by-Step Peppermint Swirl Nail Art Tutorial
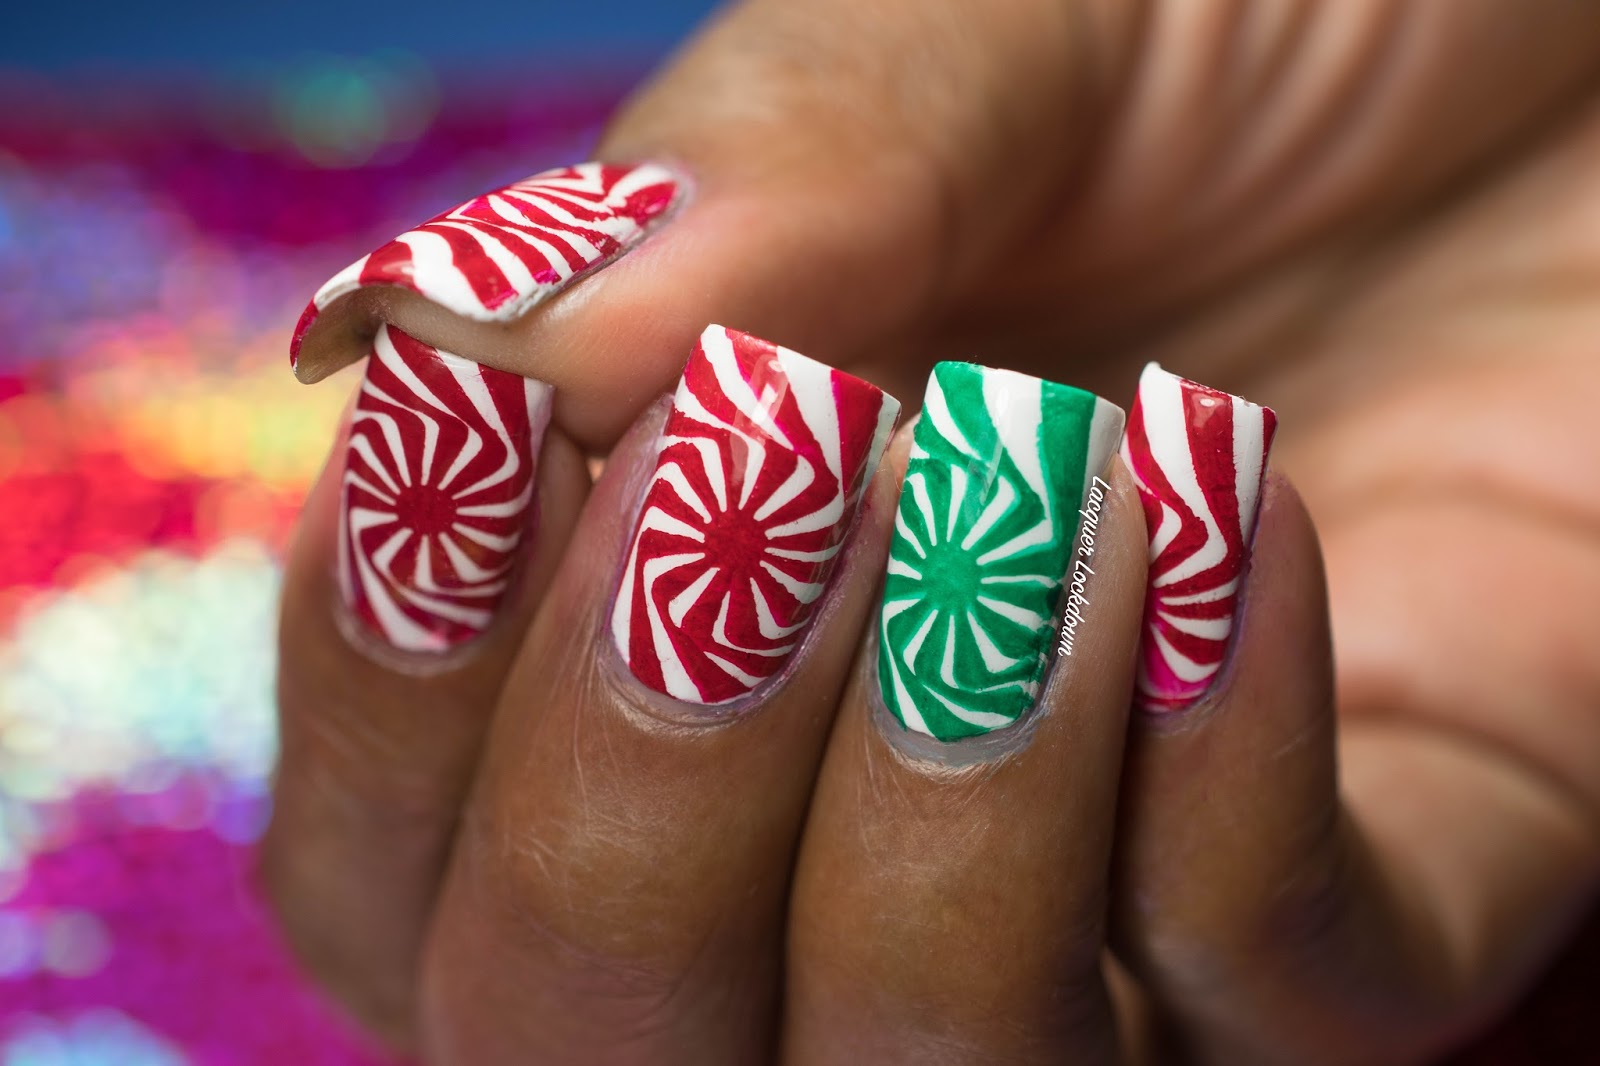
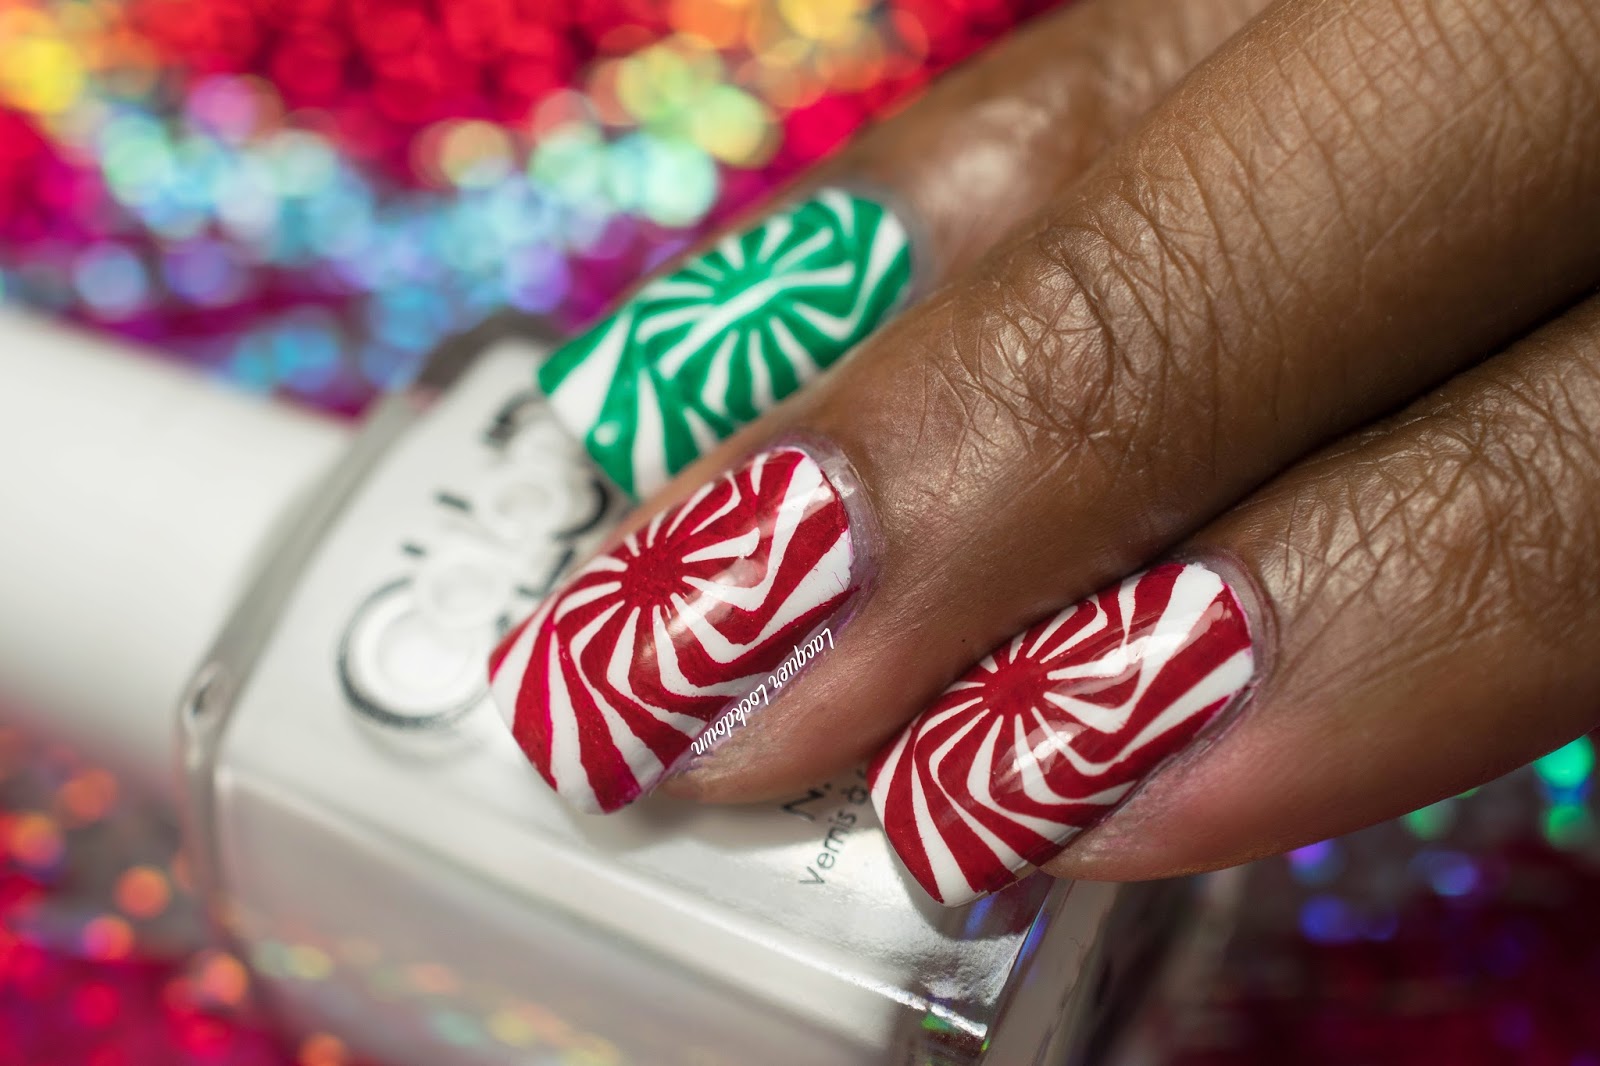
This peppermint swirl nail art tutorial is perfect for the holiday season, but you can also switch up the colors to create different looks for any occasion. For a Christmas-inspired design, try using green instead of red for a festive twist.Christmas Peppermint Swirl Nail Art Tutorial


Christmas Peppermint Swirl Nail Art Tutorial
If you're new to nail art, don't be intimidated by this design. With a little practice, anyone can achieve the perfect peppermint swirl nail art. Start with the easy tutorial and work your way up to the more detailed step-by-step guide. Remember, practice makes perfect!Peppermint Swirl Nail Art Tutorial for Beginners

Peppermint Swirl Nail Art Tutorial for Beginners
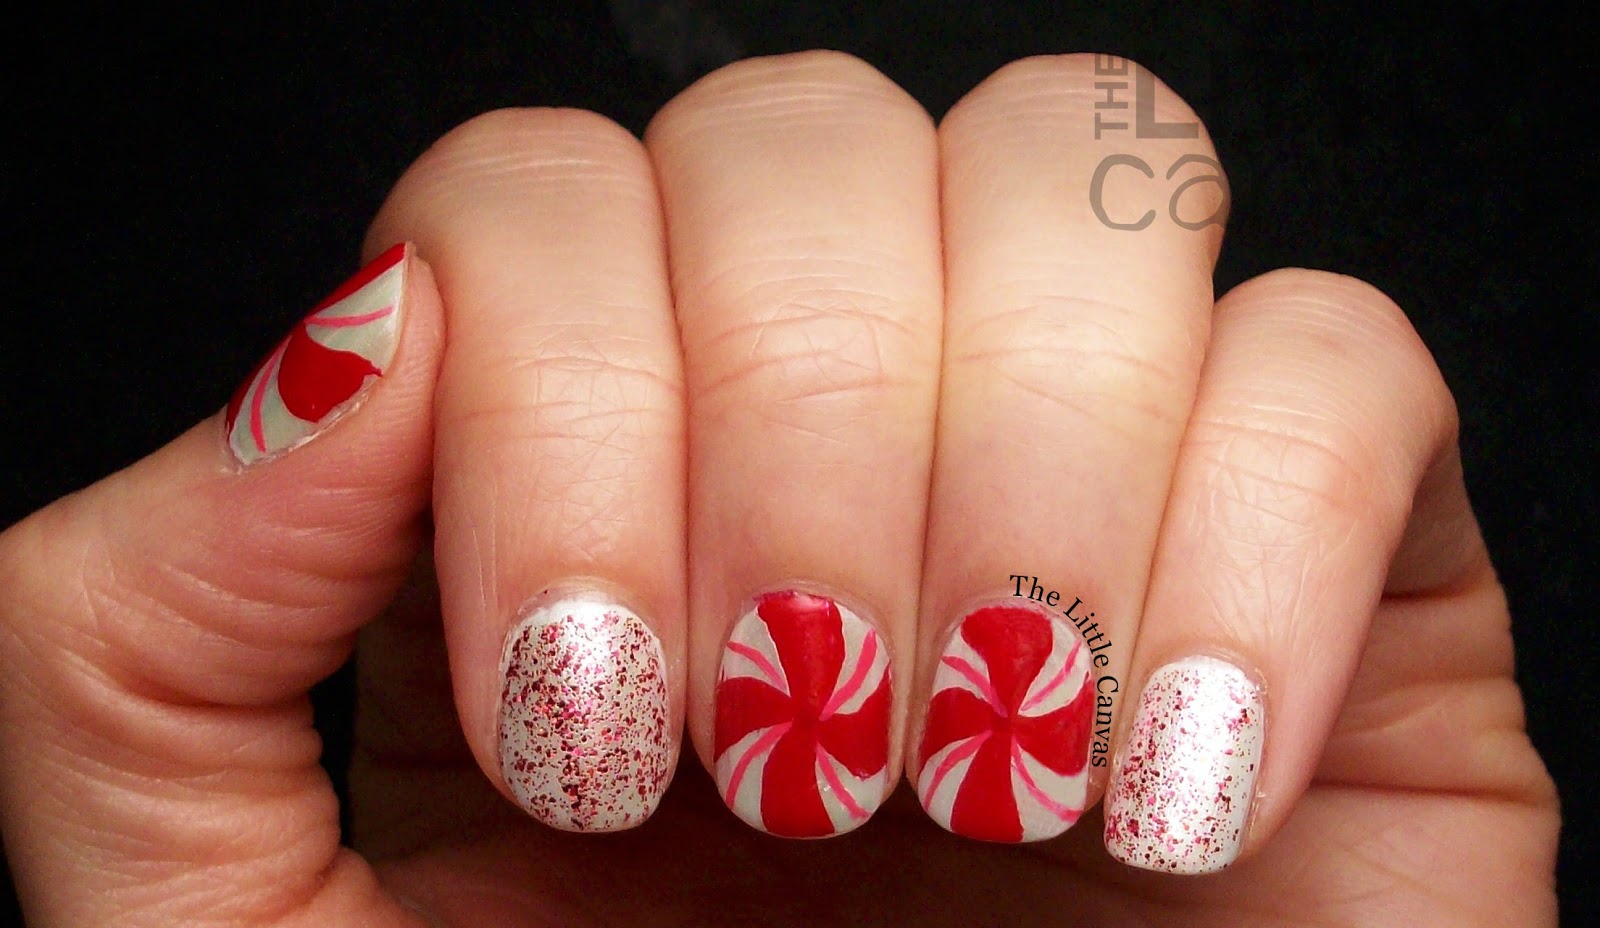
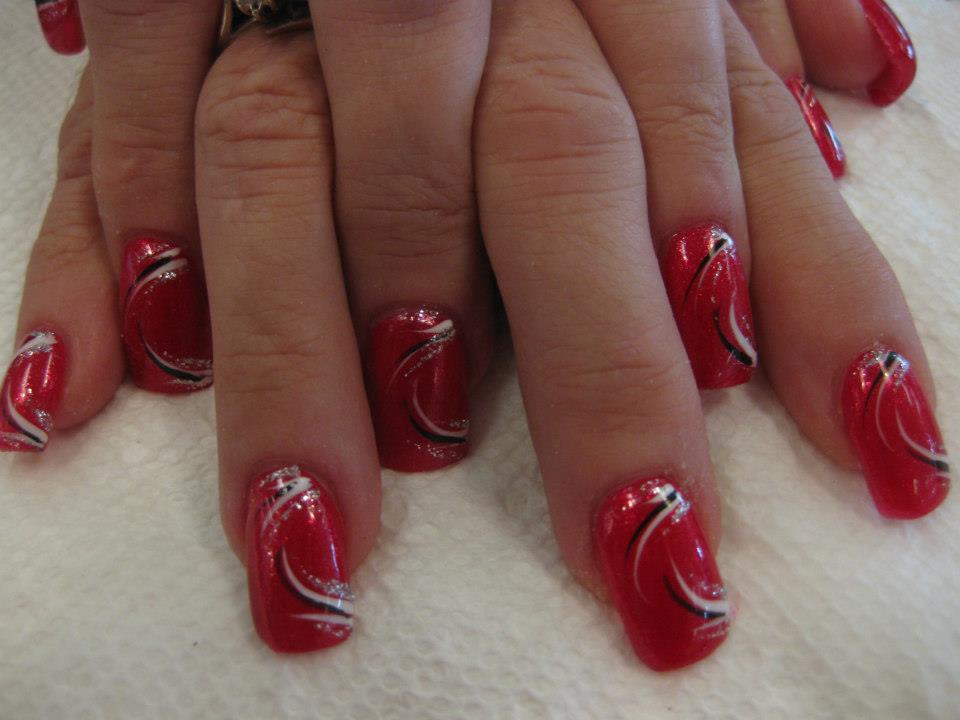
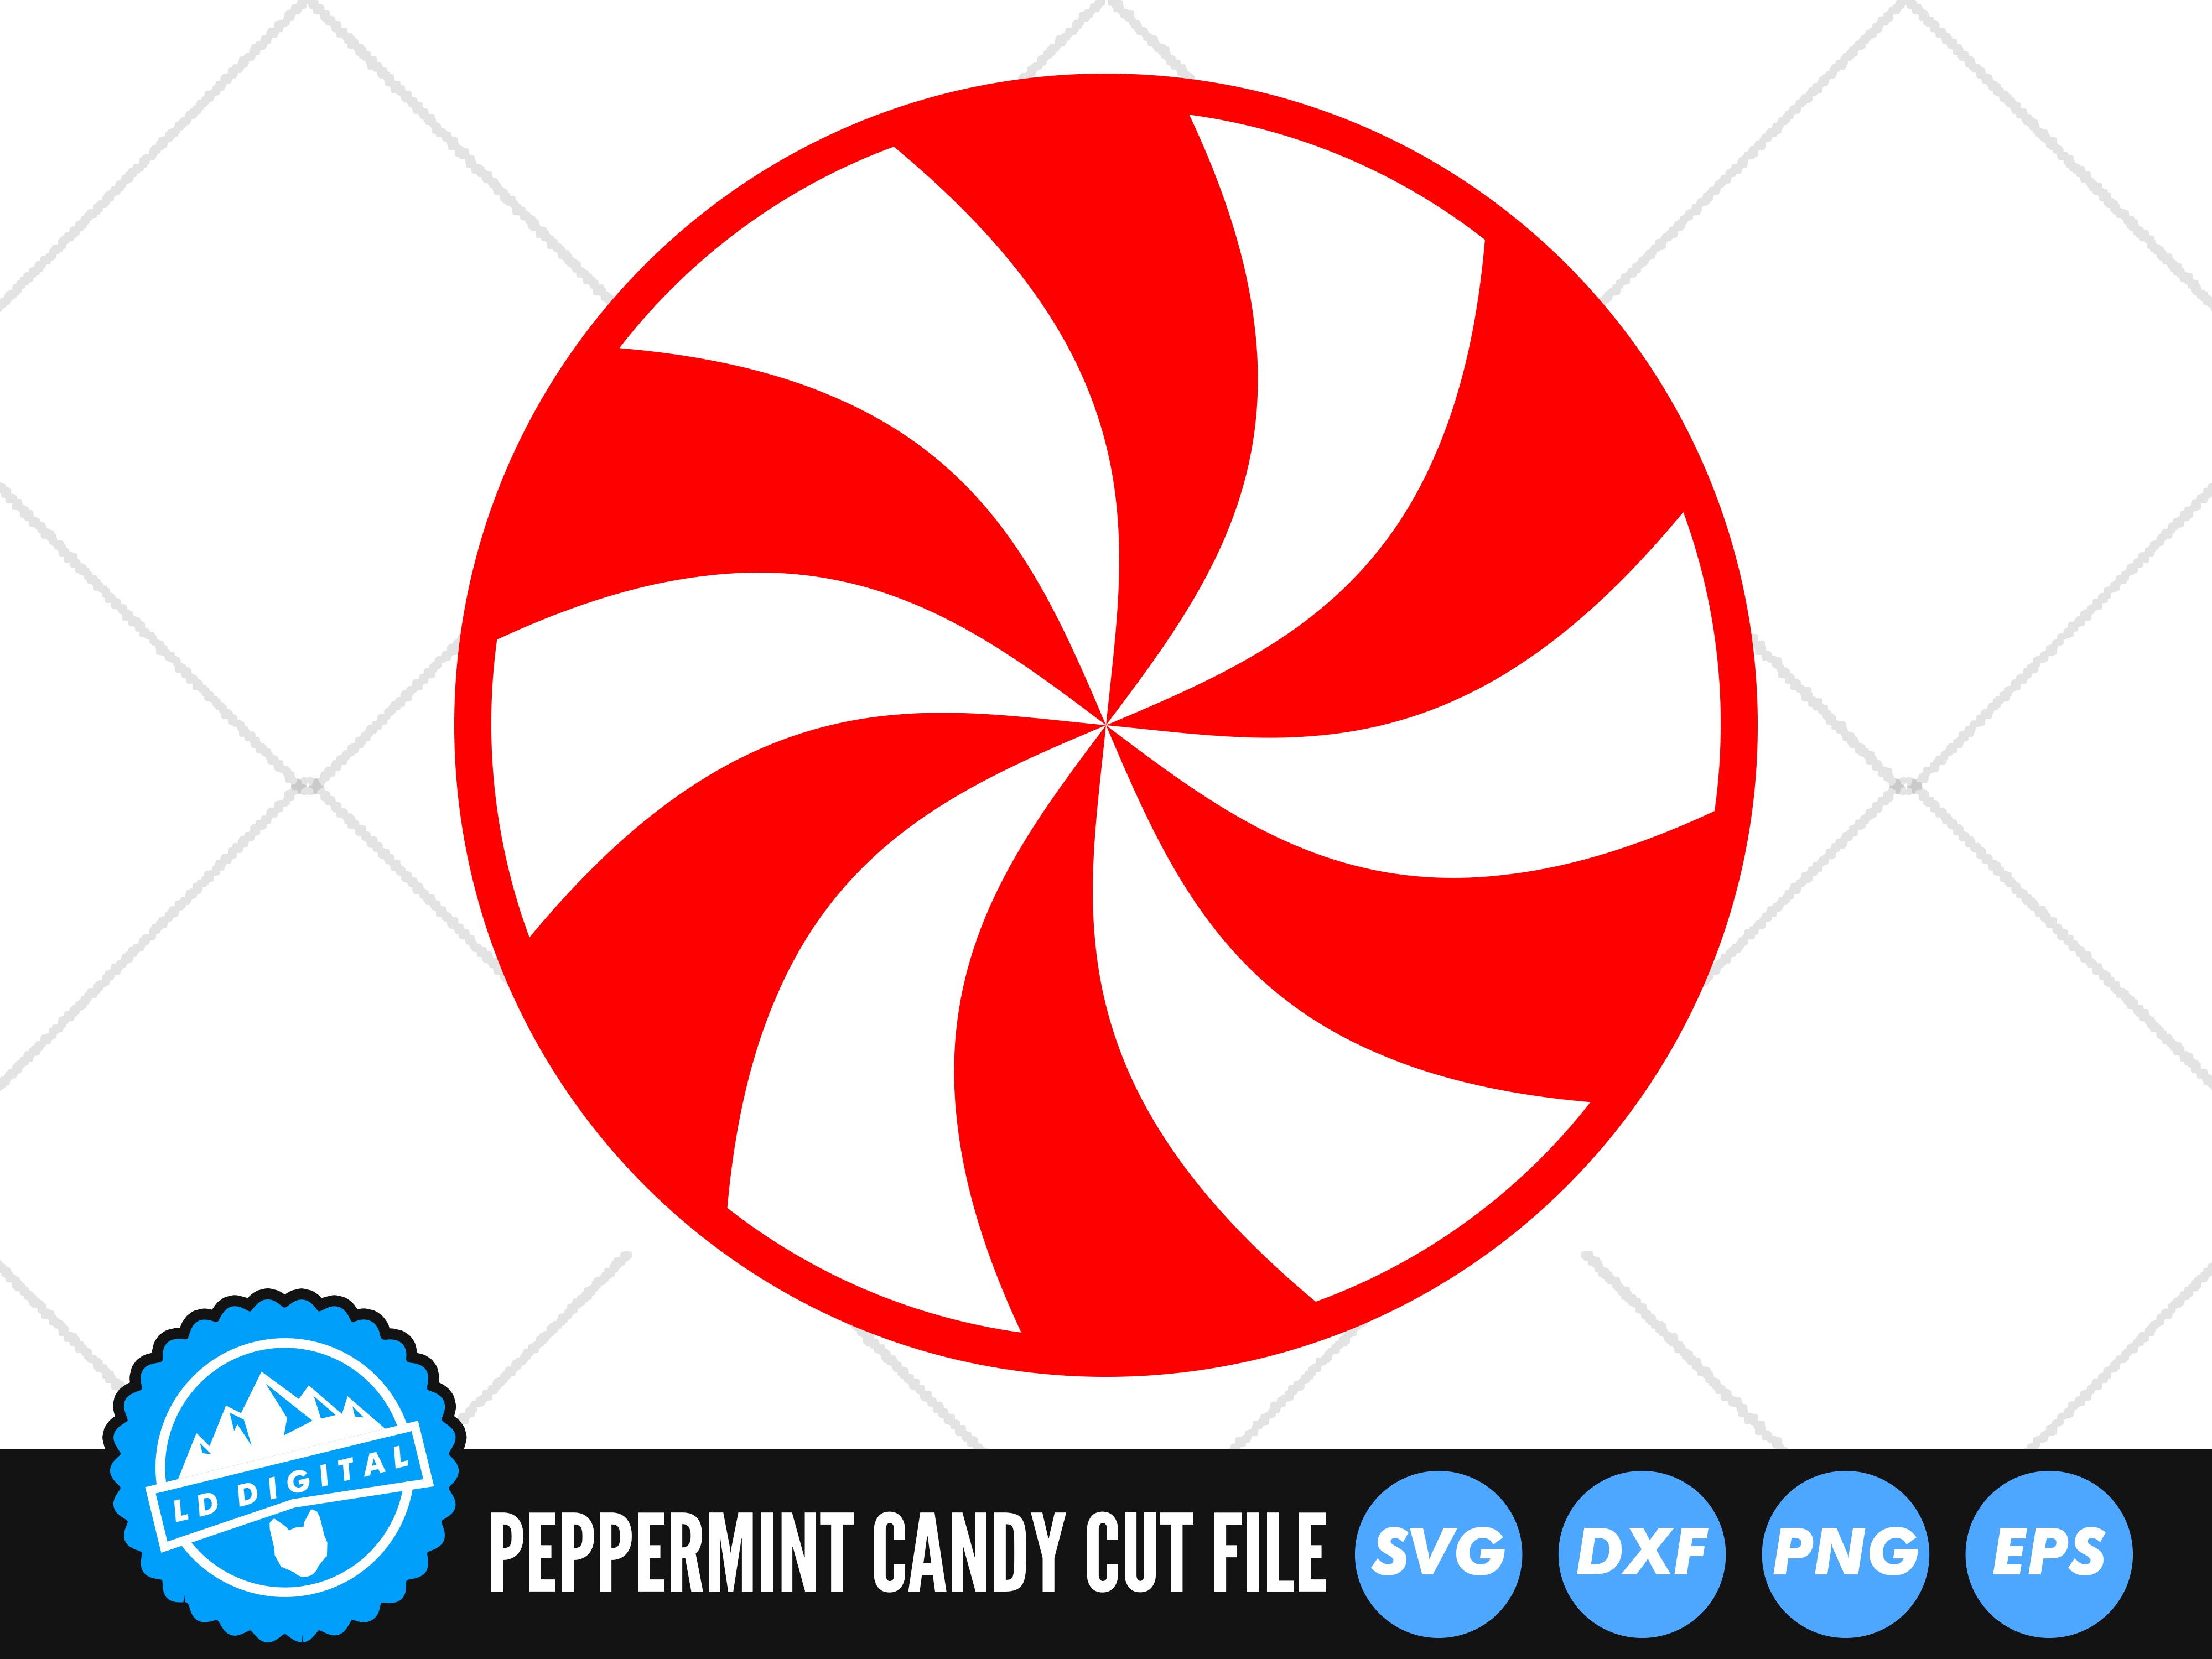
For a classic and traditional look, stick to the classic red and white color scheme for your peppermint swirl nail art. This combination is perfect for the holiday season and will make your nails stand out in any crowd.Red and White Peppermint Swirl Nail Art Tutorial

Red and White Peppermint Swirl Nail Art Tutorial

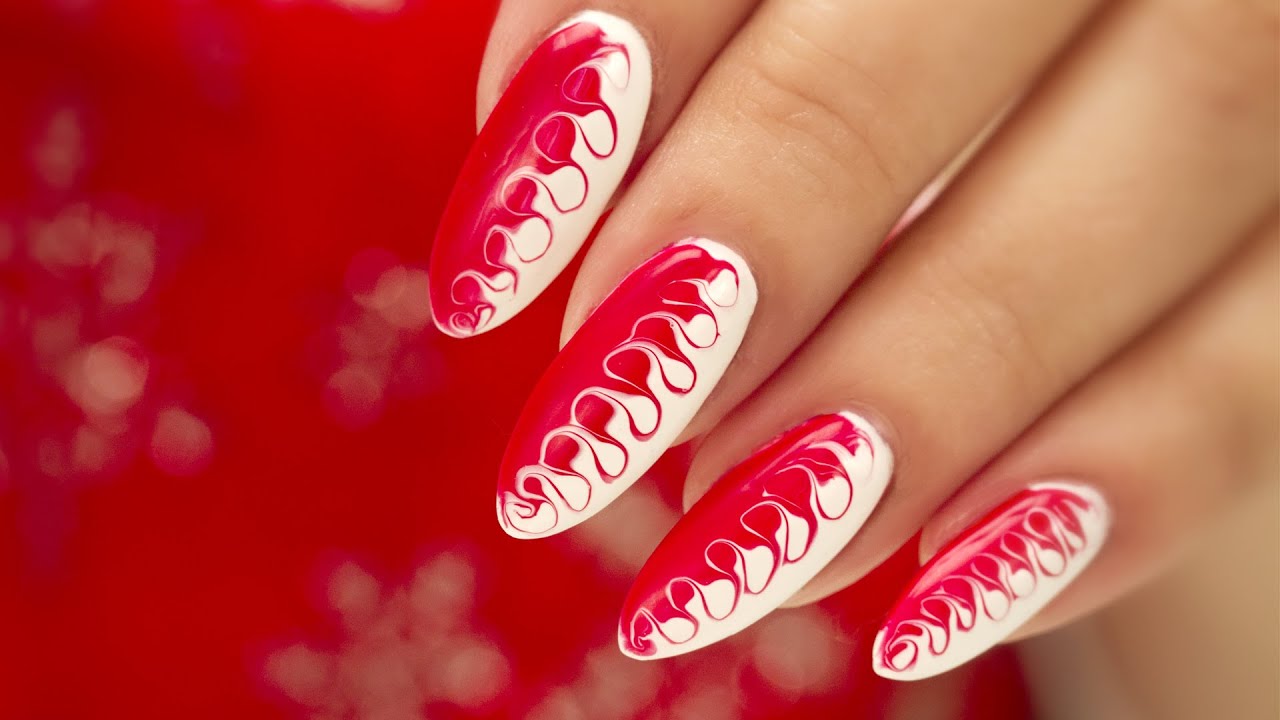
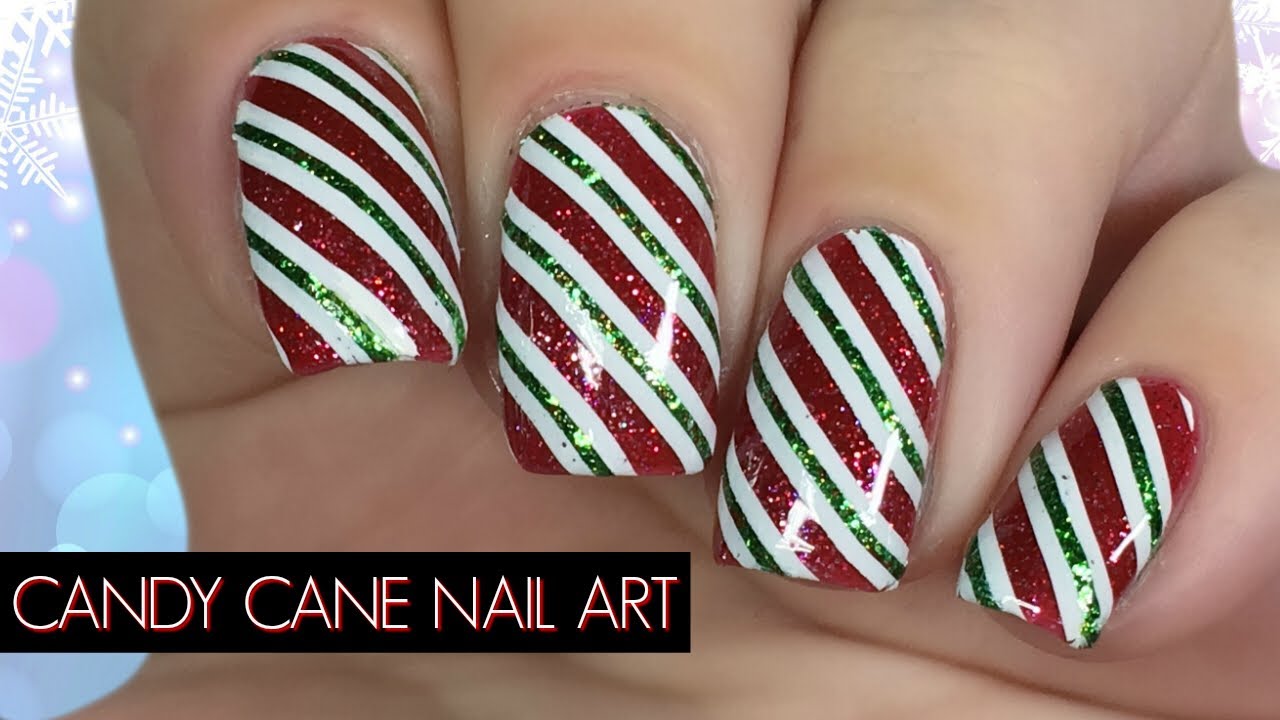
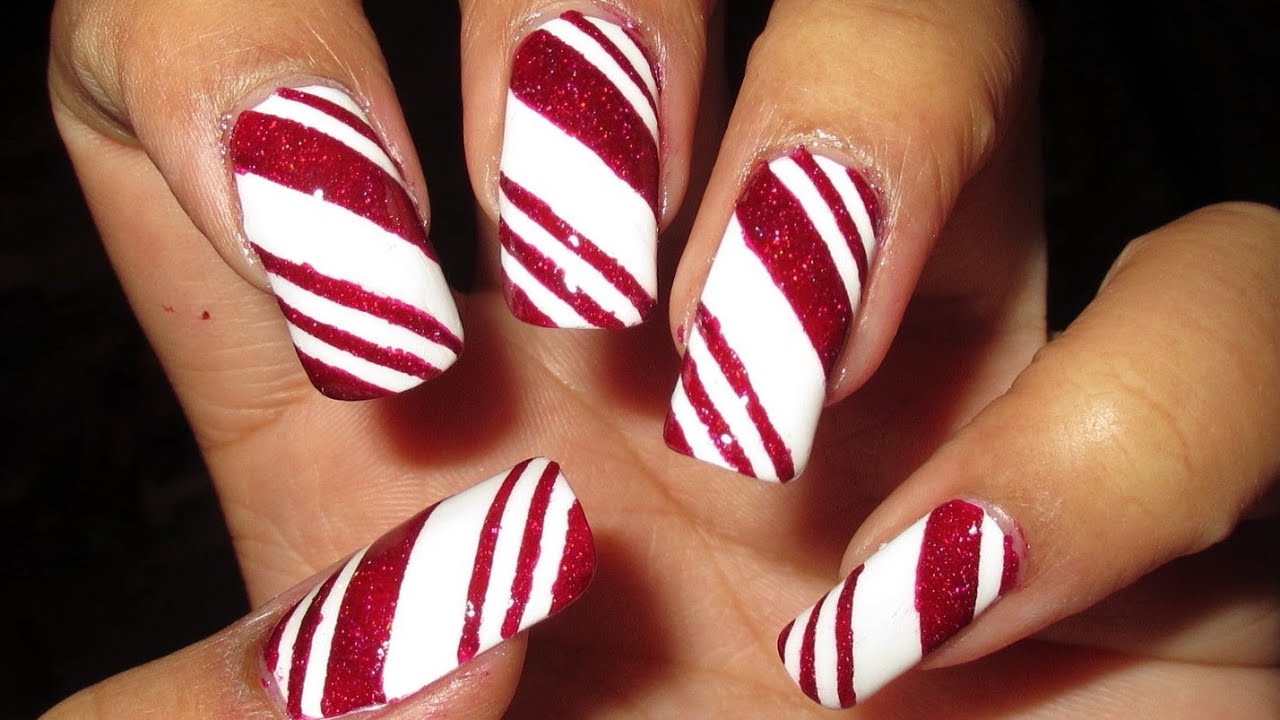
If you want to take your peppermint swirl nail art to the next level, try adding some candy cane stripes. After creating the swirl design, use a thin brush or striper tool to add red and white stripes over the swirls. This will give your nails a fun and playful candy cane effect.Candy Cane Peppermint Swirl Nail Art Tutorial
Candy Cane Peppermint Swirl Nail Art Tutorial
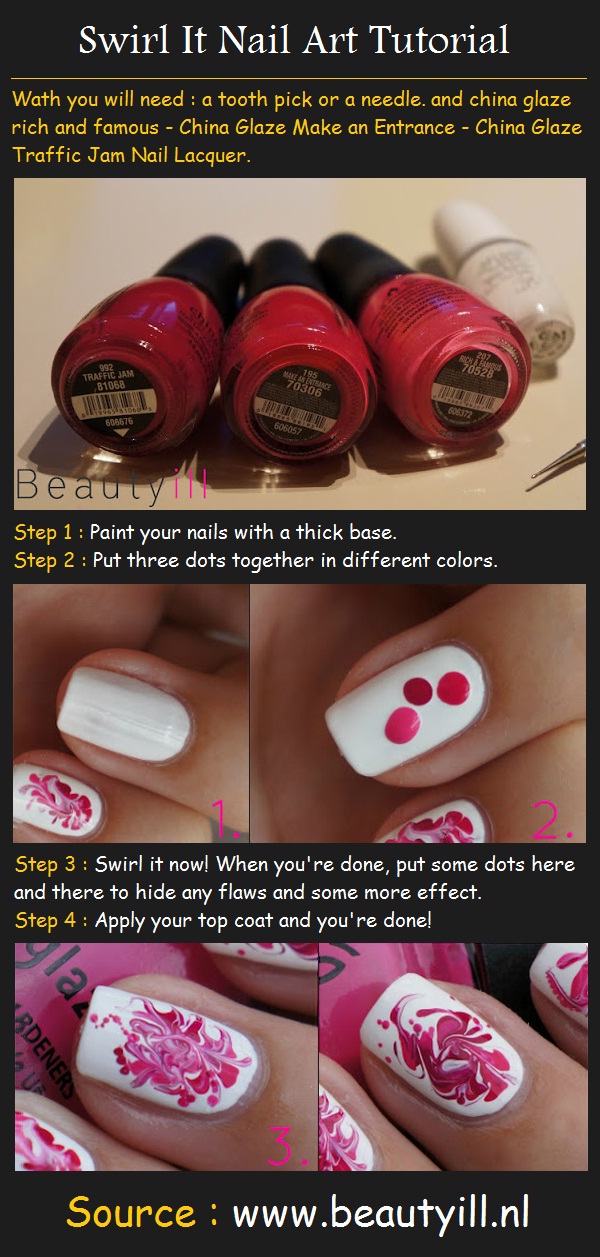
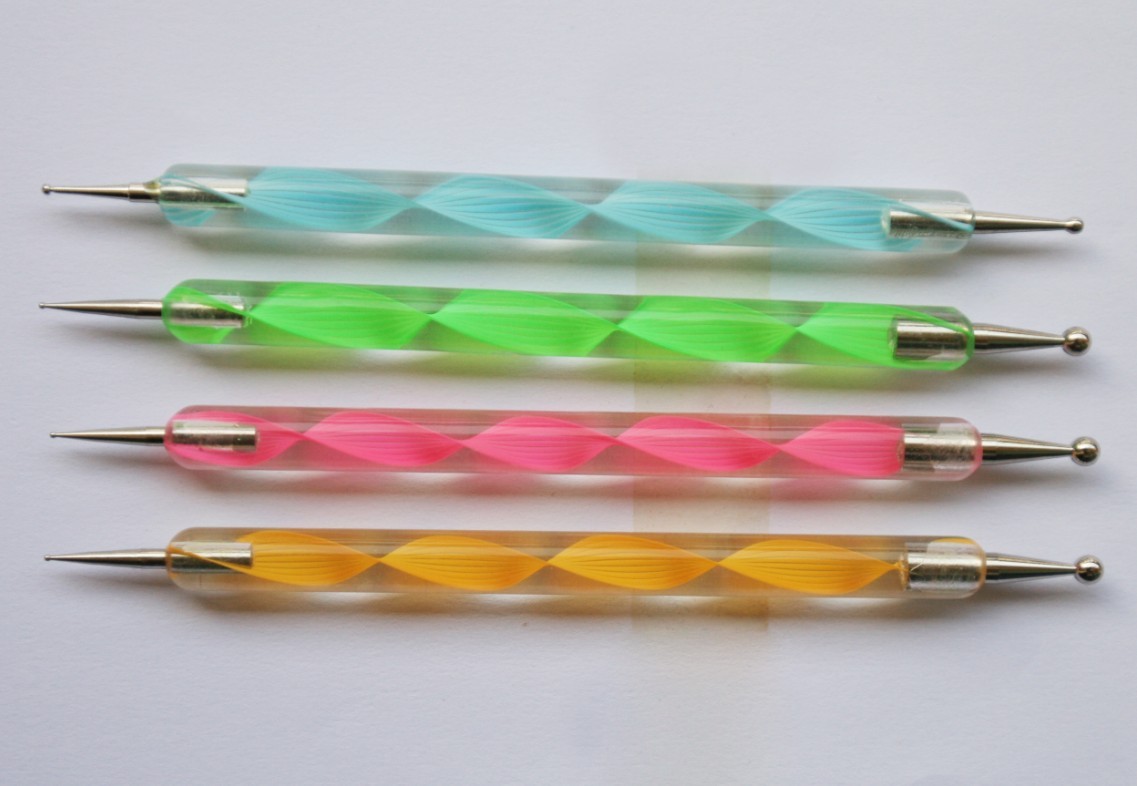
Using a dotting tool is the easiest and most commonly used method for creating the perfect peppermint swirl nail art. If you don't have a dotting tool, you can also use a bobby pin or the back of a makeup brush to achieve similar results.Peppermint Swirl Nail Art Tutorial with Dotting Tool


Peppermint Swirl Nail Art Tutorial with Dotting Tool

If you want to achieve a more precise and clean look, try using striping tape to create your swirl design. Apply the tape in a diagonal pattern on your nails and then follow the same steps as the DIY tutorial, using the tape as a guide for your dots. Once you remove the tape, you will be left with clean and defined lines for your swirls. Now that you have mastered the art of peppermint swirl nail art, you can show off your festive and fun nails all holiday season long. Get creative and experiment with different colors and designs to make this tutorial your own. Happy painting!Peppermint Swirl Nail Art Tutorial with Striping Tape

Peppermint Swirl Nail Art Tutorial with Striping Tape


How to Create a Festive Peppermint Swirl Nail Art Design

The Perfect Addition to Your Holiday Look
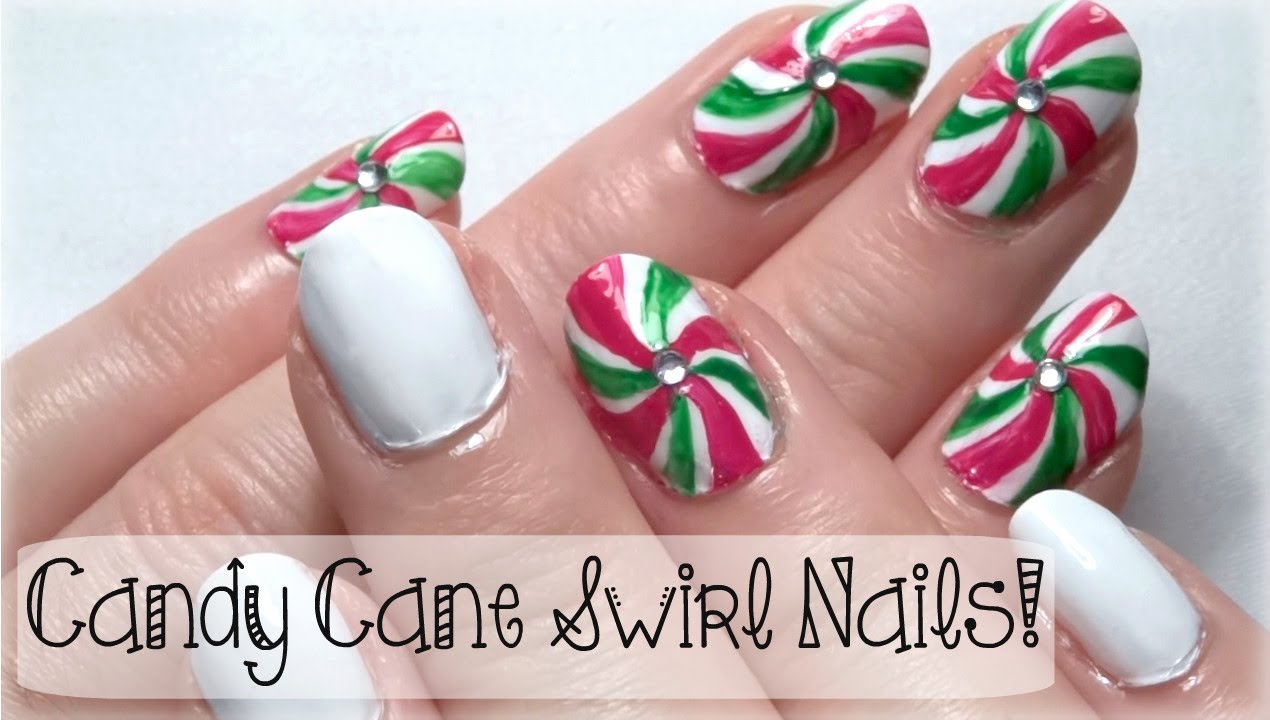
 When it comes to getting into the holiday spirit, there's nothing quite like adding a festive touch to your nails. And what better way to do that than with a peppermint swirl nail art design? This fun and playful pattern is perfect for adding a pop of color and whimsy to your holiday look. So, grab your nail polish and follow this simple tutorial to create your own peppermint swirl nail art.
To start, you'll need a few essential nail polish colors – a bright red, a crisp white, and a sparkly silver or gold. You'll also need a toothpick or a thin nail art brush to create the swirl design. Begin by applying a base coat to your nails to protect them and allow the nail polish to adhere better. Once the base coat is dry, apply two coats of the bright red polish to all of your nails. Make sure to let each coat dry completely before moving on to the next step.
Next, take your toothpick or nail art brush and dip it into the white nail polish. Begin by creating a small dot in the center of your nail, near the cuticle. This will serve as the starting point for your swirl design. Then, using the toothpick or brush, draw a curved line from the center dot towards the tip of your nail. Repeat this step on the other side of the center dot, creating a shape that resembles a "C" or a backwards "C".
Once you have your swirl shape, fill it in with the white nail polish. Then, using the same technique, create a smaller swirl inside the first one using the sparkly silver or gold polish. This will add some dimension and sparkle to your design. You can also add more swirls to your nail if desired, but make sure not to overcrowd the design.
Now, let the nail polish dry completely before moving on to the final step. Once your nails are dry, apply a top coat to seal in the design and add a glossy finish. This will also help your design last longer without chipping.
And there you have it – a festive and fun peppermint swirl nail art design that is sure to turn heads at any holiday gathering. So, next time you're getting ready for a holiday party, don't forget to add this playful and creative design to your look.
When it comes to getting into the holiday spirit, there's nothing quite like adding a festive touch to your nails. And what better way to do that than with a peppermint swirl nail art design? This fun and playful pattern is perfect for adding a pop of color and whimsy to your holiday look. So, grab your nail polish and follow this simple tutorial to create your own peppermint swirl nail art.
To start, you'll need a few essential nail polish colors – a bright red, a crisp white, and a sparkly silver or gold. You'll also need a toothpick or a thin nail art brush to create the swirl design. Begin by applying a base coat to your nails to protect them and allow the nail polish to adhere better. Once the base coat is dry, apply two coats of the bright red polish to all of your nails. Make sure to let each coat dry completely before moving on to the next step.
Next, take your toothpick or nail art brush and dip it into the white nail polish. Begin by creating a small dot in the center of your nail, near the cuticle. This will serve as the starting point for your swirl design. Then, using the toothpick or brush, draw a curved line from the center dot towards the tip of your nail. Repeat this step on the other side of the center dot, creating a shape that resembles a "C" or a backwards "C".
Once you have your swirl shape, fill it in with the white nail polish. Then, using the same technique, create a smaller swirl inside the first one using the sparkly silver or gold polish. This will add some dimension and sparkle to your design. You can also add more swirls to your nail if desired, but make sure not to overcrowd the design.
Now, let the nail polish dry completely before moving on to the final step. Once your nails are dry, apply a top coat to seal in the design and add a glossy finish. This will also help your design last longer without chipping.
And there you have it – a festive and fun peppermint swirl nail art design that is sure to turn heads at any holiday gathering. So, next time you're getting ready for a holiday party, don't forget to add this playful and creative design to your look.


