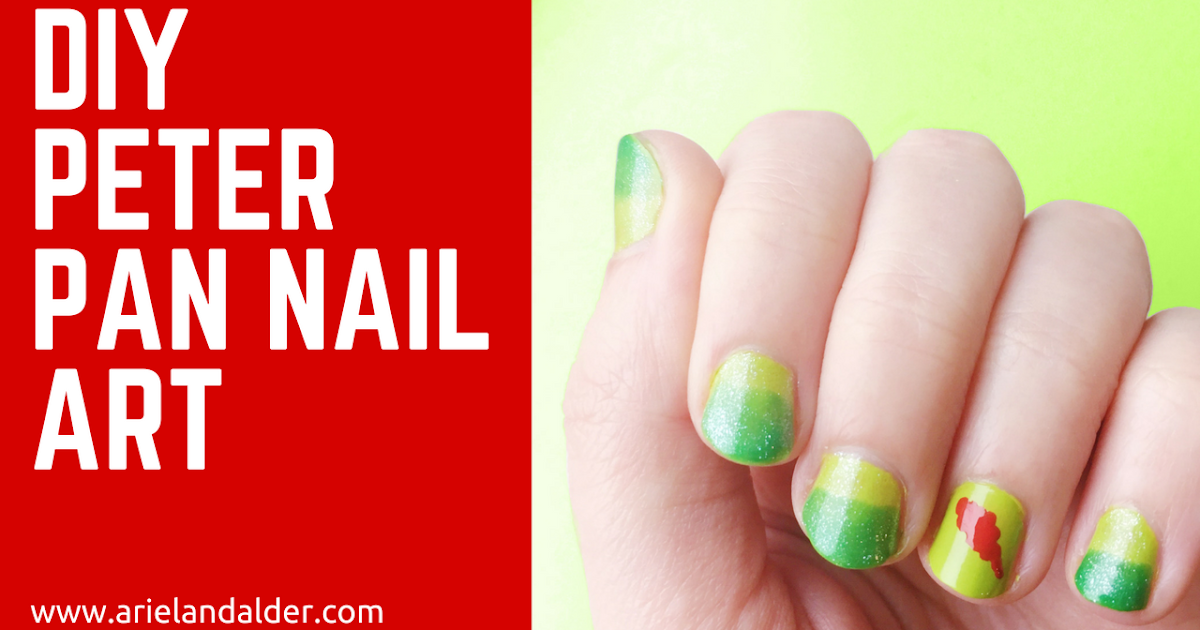
If you're a fan of Disney's classic tale of the boy who never grew up, why not show it with some Peter Pan inspired nail art? Follow this easy tutorial to create a whimsical manicure fit for Neverland. Start by applying a base coat to protect your nails and allow it to dry completely. Then, using a light green nail polish, paint your nails as the base color. This represents the lush green landscape of Neverland. Let it dry before moving on to the next step. Next, take a dark green nail polish and create a gradient effect by painting the tips of your nails and blending it towards the middle. This will create the illusion of depth, just like the beautiful forests in Neverland. Use a toothpick or a small brush to help with the blending. For the iconic Peter Pan silhouette, you can either use a black nail polish and carefully freehand the shape, or use a nail sticker or stamp for a more precise result. Place the silhouette on your ring finger for a focal point or on all nails for a more subtle look. Finally, add some gold glitter to your pointer and pinky finger nails to represent the sparkling fairy dust that Tinkerbell sprinkles on Peter and his friends. Seal everything with a top coat to protect your design and add shine. And there you have it, a Peter Pan inspired nail art that will make you feel like you're soaring through the skies of Neverland.1. Peter Pan Inspired Nail Art Tutorial


1. Peter Pan Inspired Nail Art Tutorial


Take a trip down memory lane with this Disney-inspired nail art design featuring characters from the beloved animated film, Peter Pan. Start by applying a base coat to protect your nails and allow it to dry completely. Then, use a light blue nail polish as the base color to represent the clear blue sky of Neverland. Let it dry before moving on to the next step. Next, use a white nail polish to create the iconic second star to the right on your ring finger nail. You can either freehand it or use a small brush for more precision. For the spirited and adventurous Peter Pan, use a dark green nail polish to create his outfit on your middle finger nail. You can also add a small feather using a toothpick or a small brush to represent his signature hat. On your thumb nail, create the mischievous and cunning Captain Hook using a red nail polish for his coat and a black nail polish for his hat. You can also add a small hook using a toothpick or a small brush. Finally, add a touch of glitter to your pinky finger nail to represent Tinkerbell's fairy dust. Seal everything with a top coat for a long-lasting and shiny finish. This Peter Pan nail art design is perfect for any Disney lover and will surely bring back fond memories of childhood adventures in Neverland.2. Disney's Peter Pan Nail Art Design


2. Disney's Peter Pan Nail Art Design

What's Peter Pan without his trusty sidekick, Tinkerbell? This nail art design showcases the magical and enchanting friendship between the boy who never grew up and the sassy fairy. Start by applying a base coat to protect your nails and allow it to dry completely. Then, use a light blue nail polish for the base color to represent the clear blue sky of Neverland. Let it dry before moving on to the next step. Next, use a light green nail polish to create the lush landscape of Neverland on your ring finger nail. Then, using a small brush or toothpick, create small white clouds on the blue background of your middle finger nail. For Tinkerbell, use a yellow nail polish to create her dress on your thumb nail. Then, using a small brush or toothpick, create her signature wings using a light green nail polish. You can also add a small dot of white nail polish to represent her fairy dust. Finally, on your pinky finger nail, create the iconic Peter Pan silhouette using a black nail polish. You can also add a small feather using a toothpick or a small brush to represent his signature hat. Seal everything with a top coat for a polished finish. This Peter Pan and Tinkerbell nail art is perfect for any Disney or fairy lover and will surely transport you to the magical world of Neverland.3. Peter Pan and Tinkerbell Nail Art


3. Peter Pan and Tinkerbell Nail Art


If you're new to nail art or simply don't have a lot of time, this easy Peter Pan nail art is perfect for you. It only requires a few simple steps and minimal tools, but still captures the essence of the beloved story. Start by applying a base coat to protect your nails and allow it to dry completely. Then, use a light green nail polish for the base color to represent the lush landscape of Neverland. Let it dry before moving on to the next step. Next, use a dark green nail polish to create the gradient effect on your ring finger nail. Then, using a toothpick or a small brush, create small white clouds on the blue background of your middle finger nail. For the iconic Peter Pan silhouette, you can either freehand it using a black nail polish or use a nail sticker or stamp for a more precise result. Place the silhouette on your thumb nail for a focal point or on all nails for a more subtle look. Finally, add a touch of glitter to your pinky finger nail to represent Tinkerbell's fairy dust. Seal everything with a top coat for a long-lasting and shiny finish. This easy Peter Pan nail art is perfect for beginners or anyone looking for a quick and simple way to showcase their love for the story.4. Easy Peter Pan Nail Art


4. Easy Peter Pan Nail Art


For a more understated and elegant take on Peter Pan nail art, try this silhouette design that captures the iconic characters and scenery of the beloved story. Start by applying a base coat to protect your nails and allow it to dry completely. Then, use a light blue nail polish for the base color to represent the clear blue sky of Neverland. Let it dry before moving on to the next step. Next, using a black nail polish, create the silhouette of Peter Pan on your ring finger nail. You can also add a small feather using a toothpick or a small brush to represent his signature hat. On your middle finger nail, create the silhouette of Tinkerbell using a yellow nail polish. You can also add a small dot of white nail polish to represent her fairy dust. For the iconic second star to the right, use a white nail polish and carefully freehand the shape on your thumb nail. You can also use a nail sticker or stamp for a more precise result. Finally, add a touch of glitter to your pinky finger nail to represent sparkling fairy dust. Seal everything with a top coat for a polished finish. This Peter Pan silhouette nail art is perfect for those who prefer a more subtle and sophisticated way of showcasing their love for the story.5. Peter Pan Silhouette Nail Art


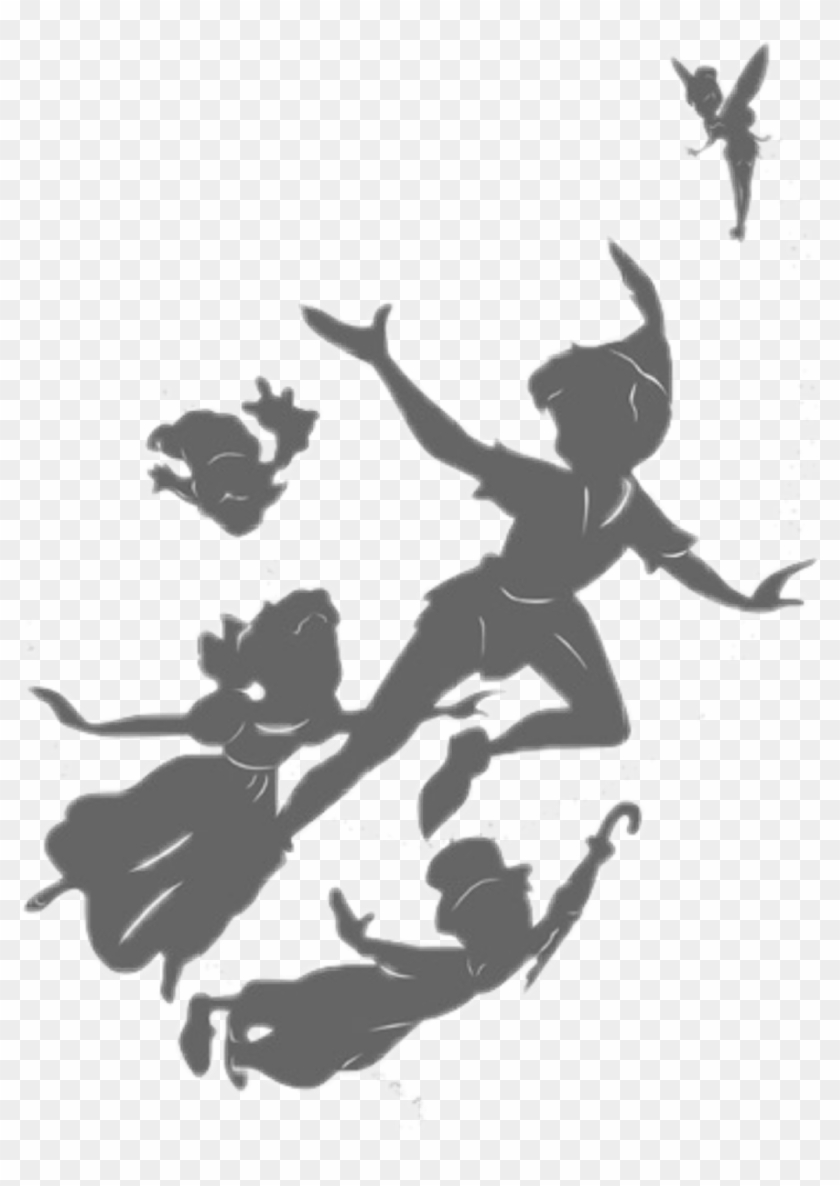
5. Peter Pan Silhouette Nail Art

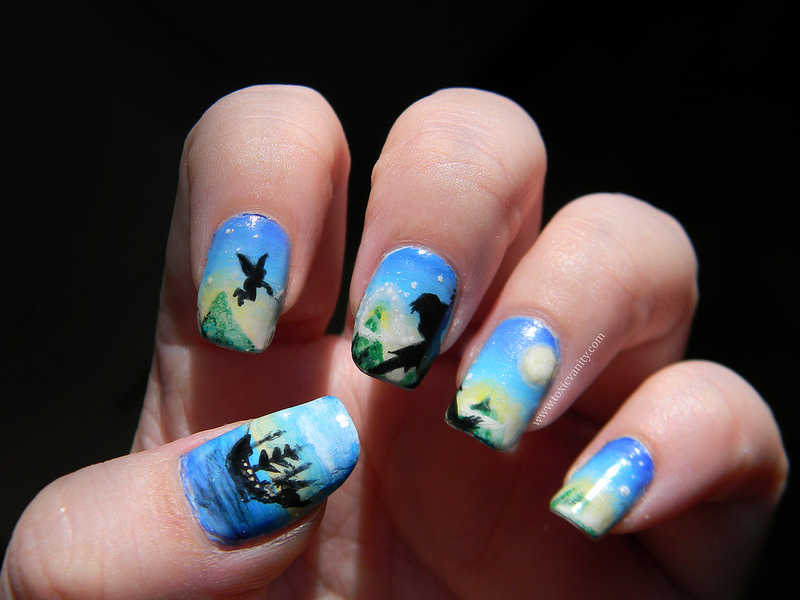


For a romantic and dreamy take on Peter Pan nail art, try this design inspired by the love story between Peter and Wendy. Start by applying a base coat to protect your nails and allow it to dry completely. Then, use a light pink nail polish for the base color to represent the pure and innocent love between Peter and Wendy. Let it dry before moving on to the next step. Next, use a white nail polish to create the clouds in the sky on your ring finger nail. Then, using a small brush or toothpick, create the silhouette of Peter and Wendy using a black nail polish. On your middle finger nail, create the iconic second star to the right using a gold nail polish. You can also use a nail sticker or stamp for a more precise result. Finally, add a touch of glitter to your pinky finger nail to represent sparkling fairy dust. Seal everything with a top coat for a polished and romantic finish. This Peter Pan and Wendy nail art is perfect for those who want to showcase the love story between these two beloved characters.6. Peter Pan and Wendy Nail Art


6. Peter Pan and Wendy Nail Art


Take a trip to the magical world of Neverland with this nail art design that features iconic elements from Peter Pan's adventures. Start by applying a base coat to protect your nails and allow it to dry completely. Then, use a light blue nail polish for the base color to represent the clear blue sky of Neverland. Let it dry before moving on to the next step. Next, use a light green nail polish to create the lush landscape of Neverland on your ring finger nail. Then, using a small brush or toothpick, create small white clouds on the blue background of your middle finger nail. For the iconic second star to the right, use a white nail polish and carefully freehand the shape on your thumb nail. You can also use a nail sticker or stamp for a more precise result. On your pinky finger nail, create the mischievous and cunning Captain Hook using a red nail polish for his coat and a black nail polish for his hat. You can also add a small hook using a toothpick or a small brush. Finally, add a touch of glitter to your pointer finger nail to represent Tinkerbell's fairy dust. Seal everything with a top coat for a polished and whimsical finish. This Peter Pan and Neverland nail art is perfect for those who want to showcase the adventures and characters of the beloved story.7. Peter Pan and Neverland Nail Art

7. Peter Pan and Neverland Nail Art

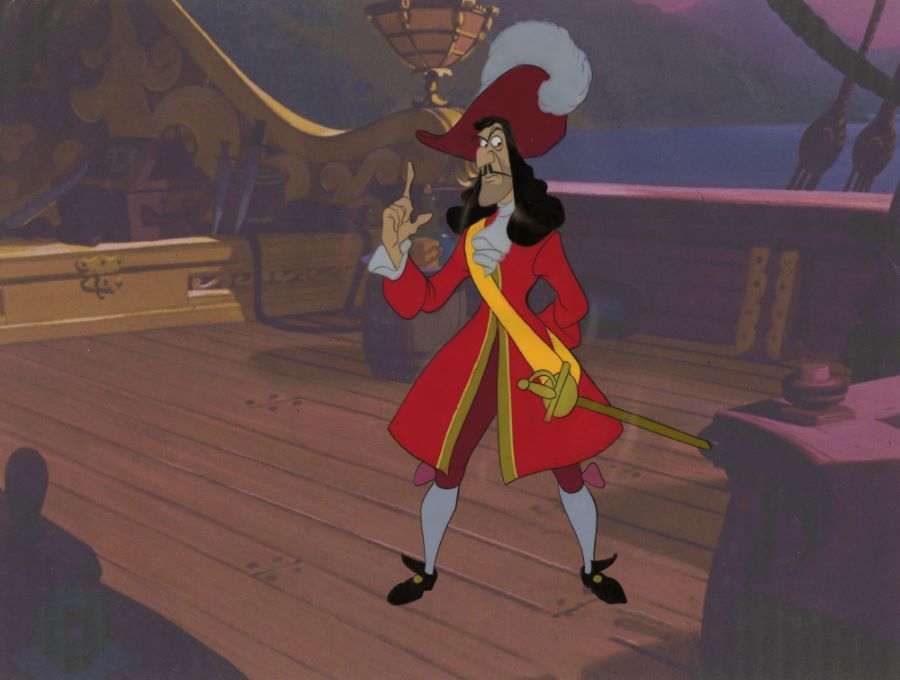
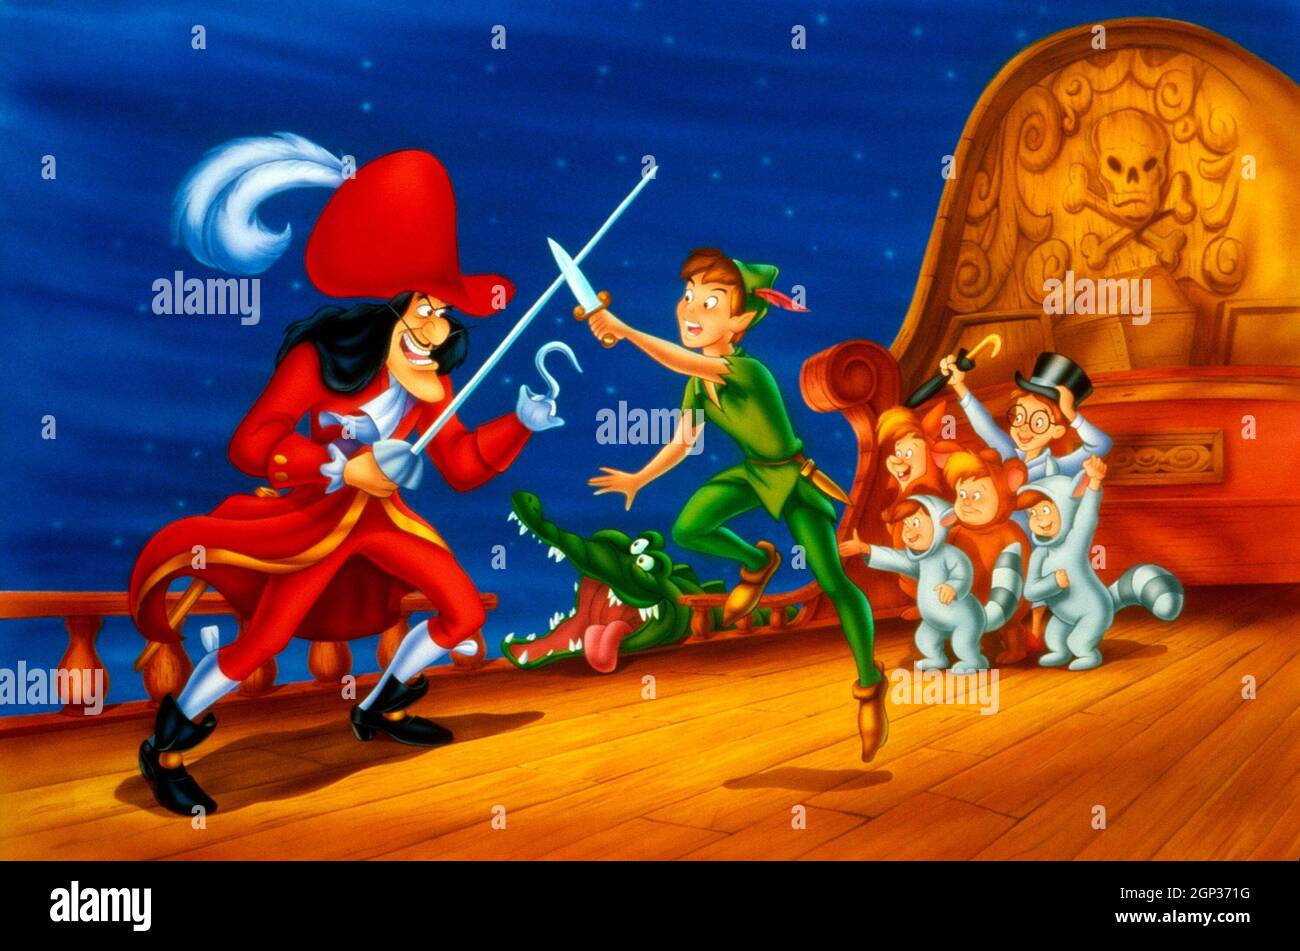
For a more dramatic and edgy take on Peter Pan nail art, try this design featuring the never-ending battle between Peter and his arch-nemesis, Captain Hook. Start by applying a base coat to protect your nails and allow it to dry completely. Then, use a black nail polish for the base color to represent the darkness and danger of Captain Hook. Let it dry before moving on to the next step. Next, use a red nail polish to create Captain Hook's iconic coat on your ring finger nail. Then, using a small brush or toothpick, create his signature hook using a black nail polish. On your middle finger nail, create the mischievous and daring Peter Pan using a green nail polish for his outfit. You can also add a small feather using a toothpick or a small brush to represent his signature hat. Finally, add a touch of glitter to your pinky finger nail to represent sparkling fairy dust. Seal everything with a top coat for a polished and fierce finish. This Peter Pan and Captain Hook nail art is perfect for those who want to showcase the epic battle between good and evil in the beloved story.8. Peter Pan and Captain Hook Nail Art


8. Peter Pan and Captain Hook Nail Art


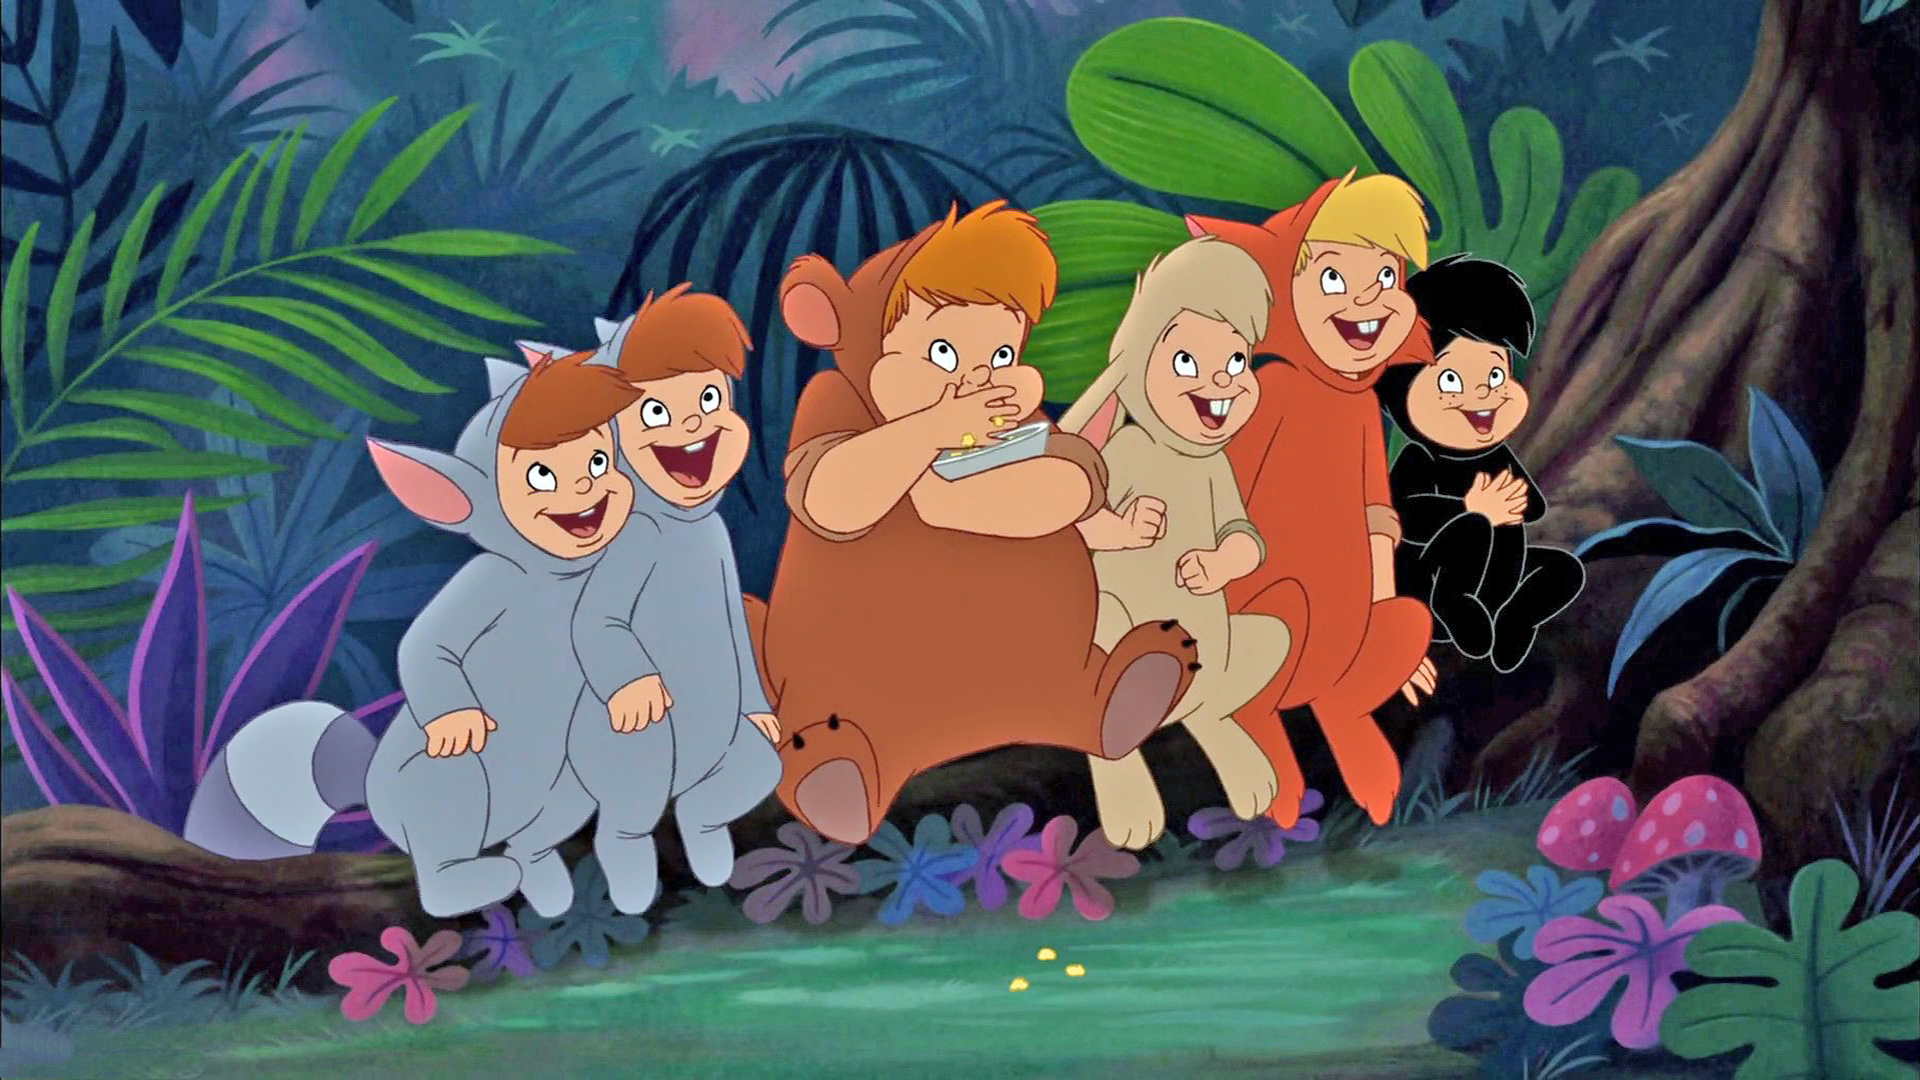
For a fun and playful take on Peter Pan nail art, try this design featuring the mischievous and adventurous Lost Boys. Start by applying a base coat to protect your nails and allow it to dry completely. Then, use a light blue nail polish for the base color to represent the clear blue sky of Neverland. Let it dry before moving on to the next step. Next, use a light green nail polish to create the lush landscape of Neverland on your ring finger nail. Then, using a small brush or toothpick, create small white clouds on the blue background of your middle finger nail. For the mischievous and adventurous Lost Boys, use a variety of colors to create their outfits on your thumb, pointer, and pinky finger nails. You can also add small details like feathers or stripes using a toothpick or a small brush. Finally, add a touch of glitter to your pinky finger nail to represent sparkling fairy dust. Seal everything with a top coat for a playful and vibrant finish. This Peter Pan and the Lost Boys nail art is perfect for those looking for a fun and colorful way to pay homage to the beloved characters in the story.9. Peter Pan and the Lost Boys Nail Art
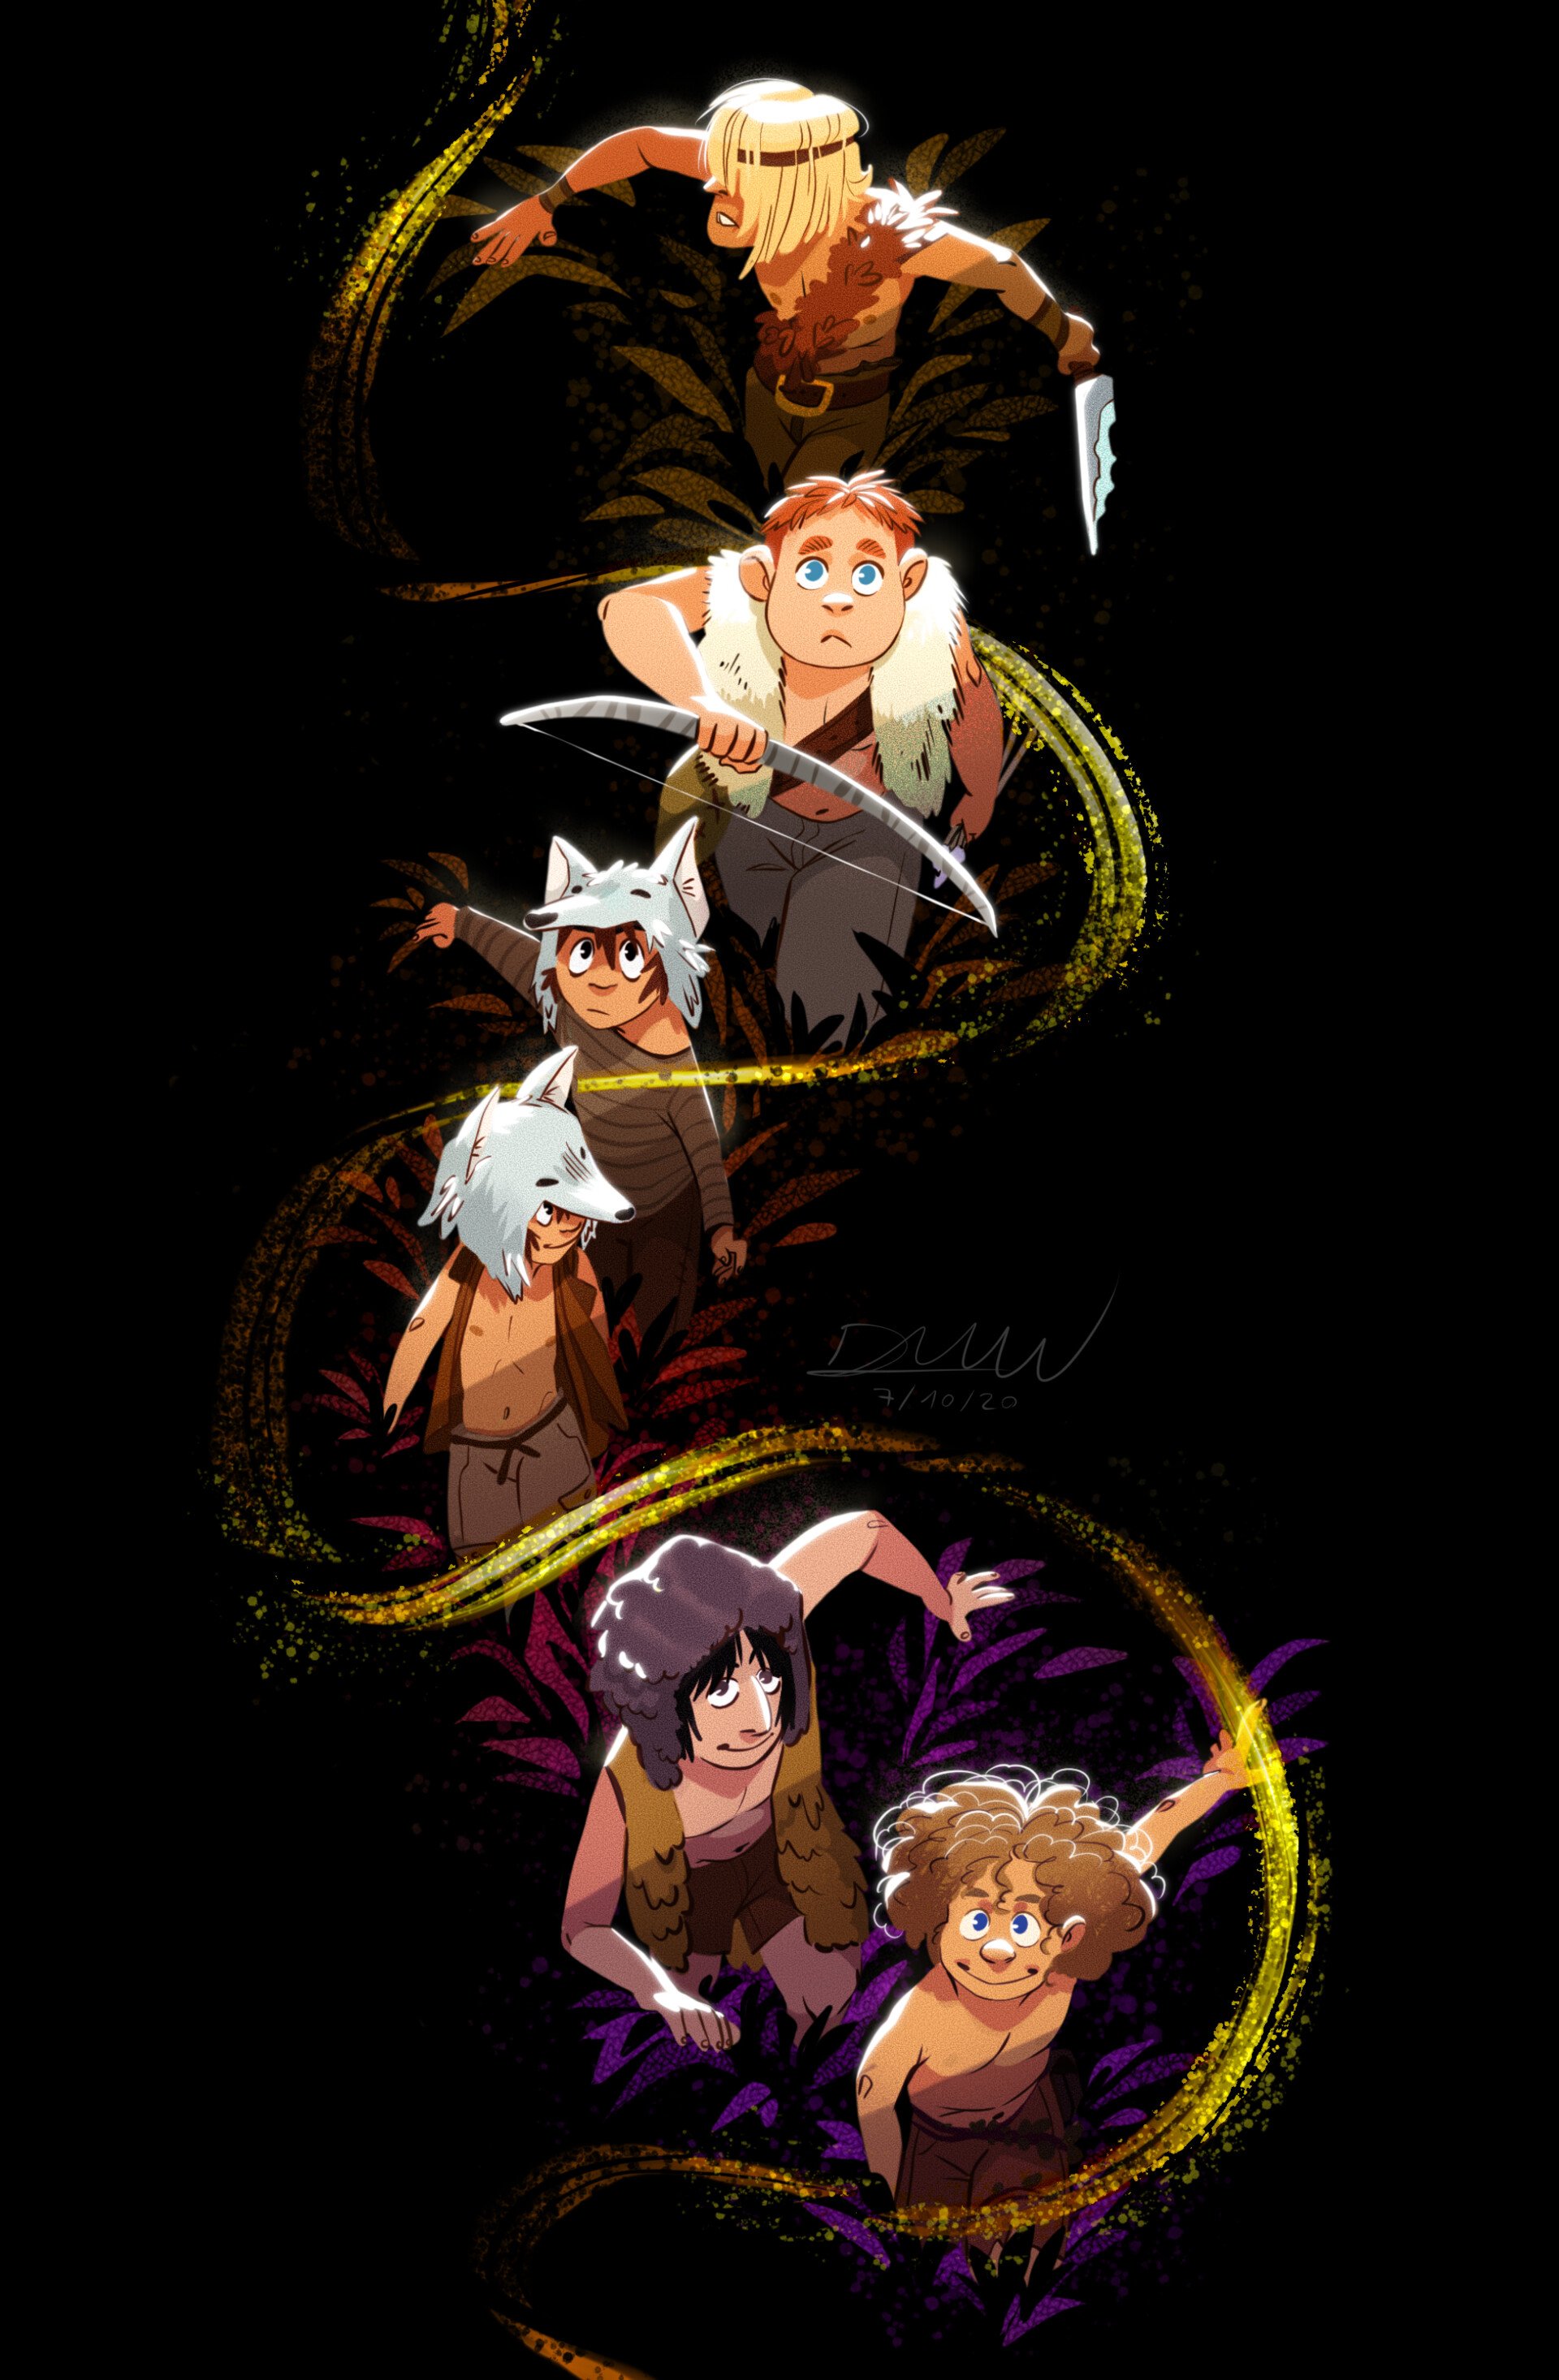


9. Peter Pan and the Lost Boys Nail Art


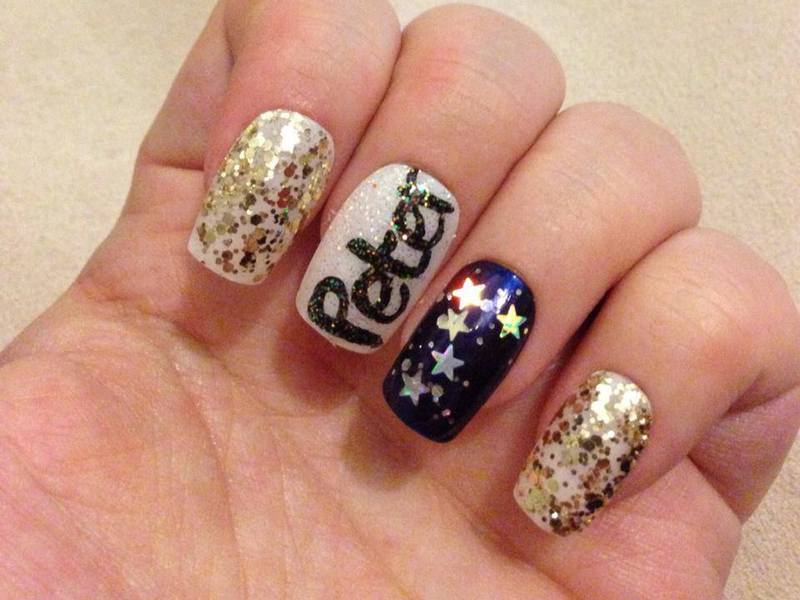
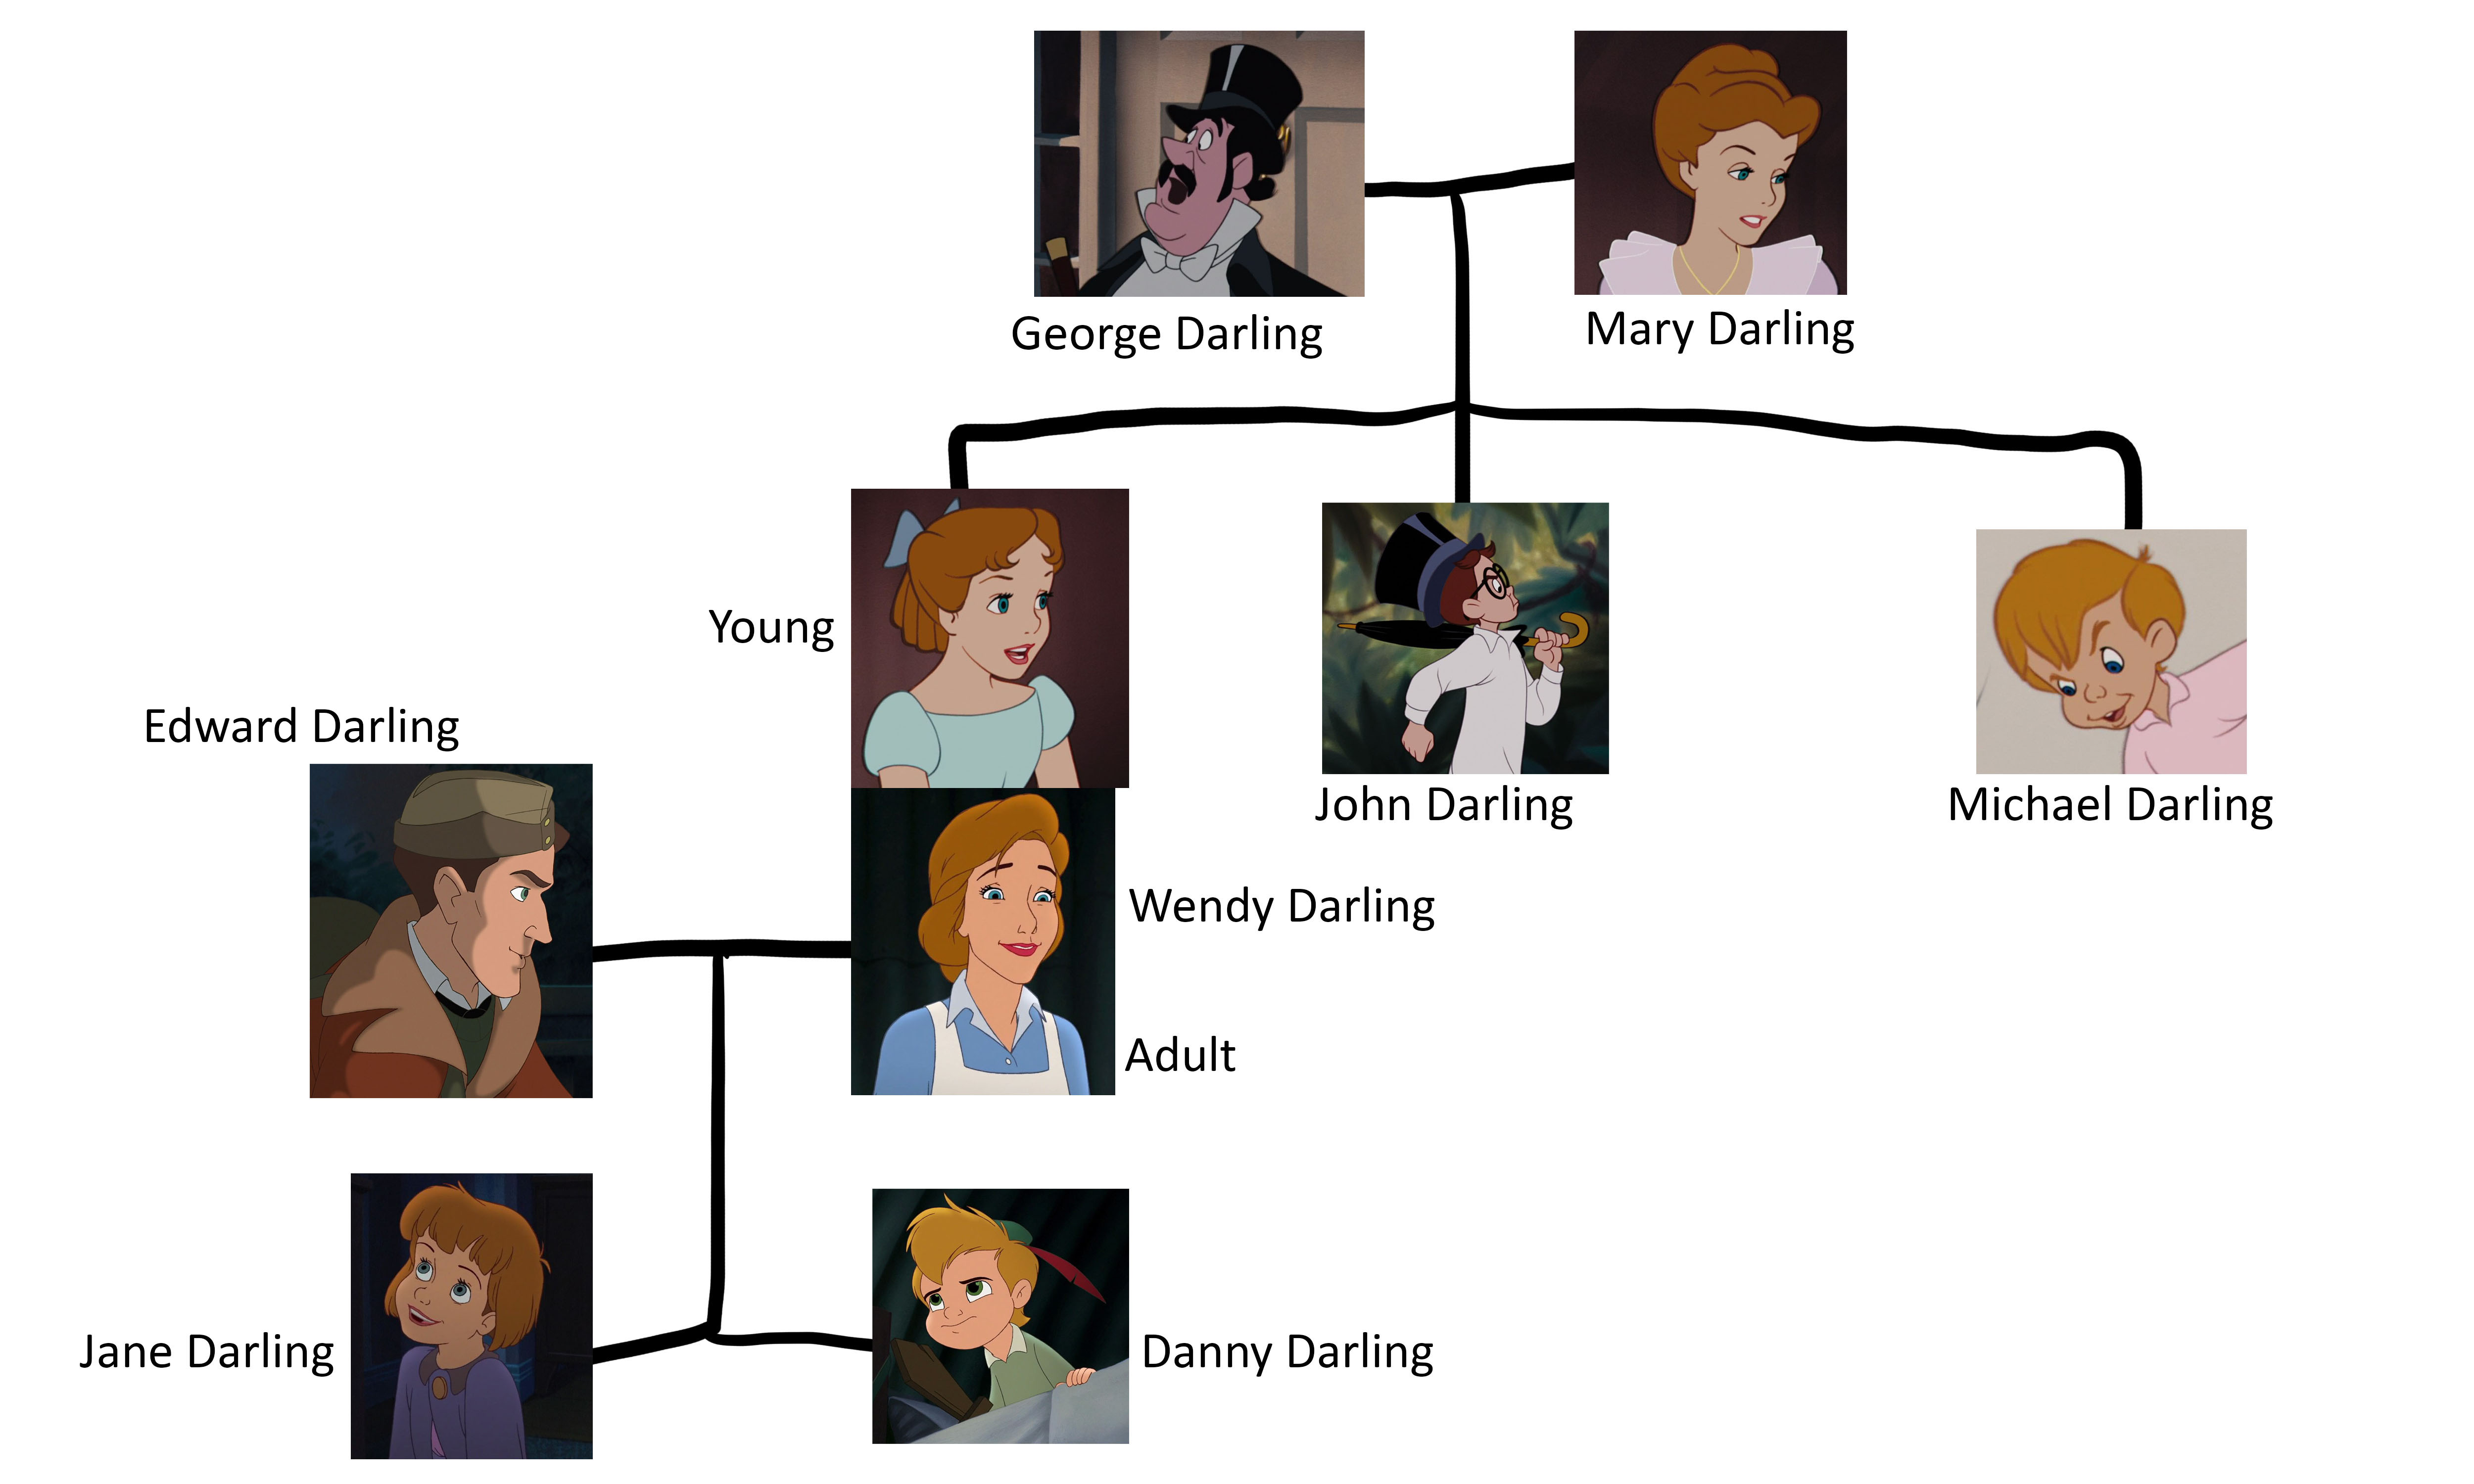
For a nostalgic and heartwarming take on Peter Pan nail art, try this design featuring the beloved Darling children and their adventures with Peter in Neverland.10. Peter Pan and the Darling Children Nail Art


10. Peter Pan and the Darling Children Nail Art

Take Your Nails to Neverland with Peter Pan Nail Art

Unleash Your Inner Child with These Adorable Designs
 If you're a fan of Disney's classic tale of Peter Pan, you'll love the idea of incorporating it into your nail art. These playful and whimsical designs are perfect for anyone who wants to add a touch of magic to their manicure. From iconic characters to iconic scenes, these designs will transport you straight to Neverland.
Peter Pan
himself makes for a great nail design, with his signature green outfit and red feathered hat. You can opt for a simple silhouette of Peter Pan on one nail, or get more detailed with his facial features and hair. Pair it with some
Tinkerbell
nails, featuring her sparkly green dress and delicate wings. These two designs are perfect for any Disney lover.
If you're a fan of Disney's classic tale of Peter Pan, you'll love the idea of incorporating it into your nail art. These playful and whimsical designs are perfect for anyone who wants to add a touch of magic to their manicure. From iconic characters to iconic scenes, these designs will transport you straight to Neverland.
Peter Pan
himself makes for a great nail design, with his signature green outfit and red feathered hat. You can opt for a simple silhouette of Peter Pan on one nail, or get more detailed with his facial features and hair. Pair it with some
Tinkerbell
nails, featuring her sparkly green dress and delicate wings. These two designs are perfect for any Disney lover.
Adventure Awaits with Neverland Landscapes
 For a more scenic route, you can choose to feature some of the iconic landscapes from the movie. Imagine having a tiny
Jolly Roger
sailing across your nails, or a silhouette of
Big Ben
with Peter Pan and the Darling children flying around it. The possibilities are endless and the designs are sure to capture the imagination of anyone who sees them.
For a more scenic route, you can choose to feature some of the iconic landscapes from the movie. Imagine having a tiny
Jolly Roger
sailing across your nails, or a silhouette of
Big Ben
with Peter Pan and the Darling children flying around it. The possibilities are endless and the designs are sure to capture the imagination of anyone who sees them.
Never Grow Up with Some Floral and Feather Details
 To add a feminine touch to your Peter Pan nail art, incorporate some delicate floral designs and feathers. You can add a small flower or feather to each nail, or create a more elaborate design with a floral wreath and feathers on one or two nails. These details will add a whimsical and delicate touch to your manicure, making it perfect for any occasion.
Peter Pan
nail art is not just limited to the movie's characters and scenes. You can also take inspiration from the iconic colors and patterns featured in the movie, such as the iconic green of Peter Pan's outfit or the red and white stripes of
Captain Hook's
hat. Get creative and incorporate these elements into your own unique design.
In conclusion, Peter Pan nail art is a fun and magical way to add some Disney flair to your manicure. Whether you choose to feature the characters, landscapes, or iconic colors and patterns, these designs will surely make you feel like you've been transported to Neverland. So, unleash your inner child and let your imagination run wild with these adorable designs.
To add a feminine touch to your Peter Pan nail art, incorporate some delicate floral designs and feathers. You can add a small flower or feather to each nail, or create a more elaborate design with a floral wreath and feathers on one or two nails. These details will add a whimsical and delicate touch to your manicure, making it perfect for any occasion.
Peter Pan
nail art is not just limited to the movie's characters and scenes. You can also take inspiration from the iconic colors and patterns featured in the movie, such as the iconic green of Peter Pan's outfit or the red and white stripes of
Captain Hook's
hat. Get creative and incorporate these elements into your own unique design.
In conclusion, Peter Pan nail art is a fun and magical way to add some Disney flair to your manicure. Whether you choose to feature the characters, landscapes, or iconic colors and patterns, these designs will surely make you feel like you've been transported to Neverland. So, unleash your inner child and let your imagination run wild with these adorable designs.


