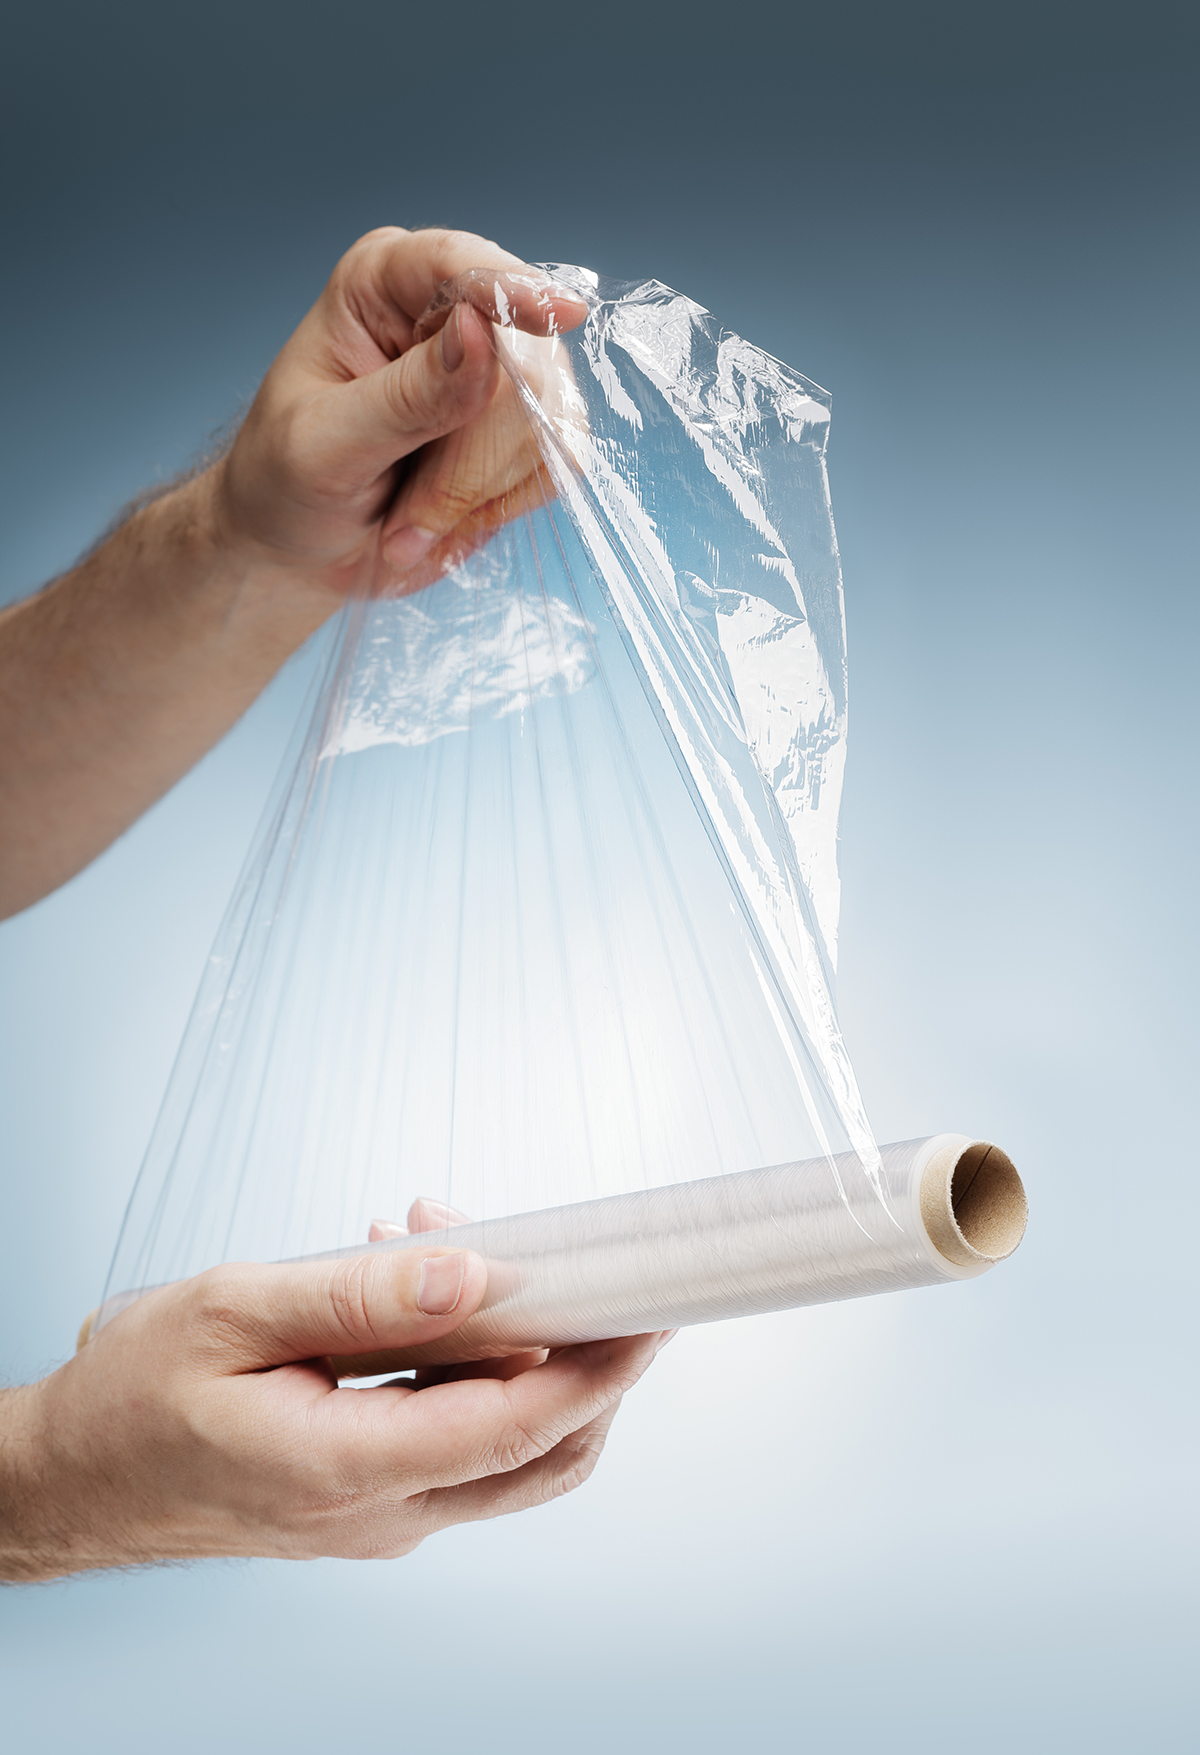
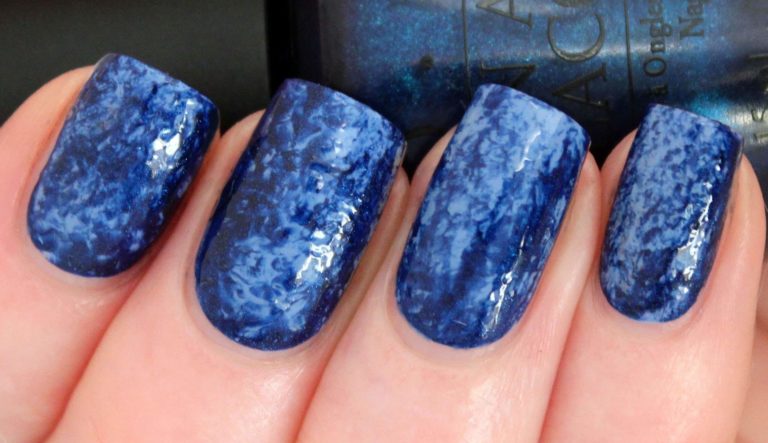
Are you looking for a fun and unique way to spice up your nail game? Look no further than plastic wrap nail art. This trend has been taking the nail world by storm, and for good reason. Not only is it easy to do, but the results are stunning. To achieve this look, you'll need some plastic wrap, nail polish in your desired colors, and a clear top coat. Start by painting your nails with a base color and letting it dry completely. Next, take a small piece of plastic wrap and crumple it up. Dab it onto your nails, creating a marbled effect. You can use multiple colors or just one, depending on the look you're going for. Once you're happy with the design, let it dry for a few minutes before finishing with a clear top coat. This will seal in the design and give your nails a shiny finish. Voila, you now have a unique and eye-catching manicure!1. Plastic Wrap Nail Art Tutorial


1. Plastic Wrap Nail Art Tutorial
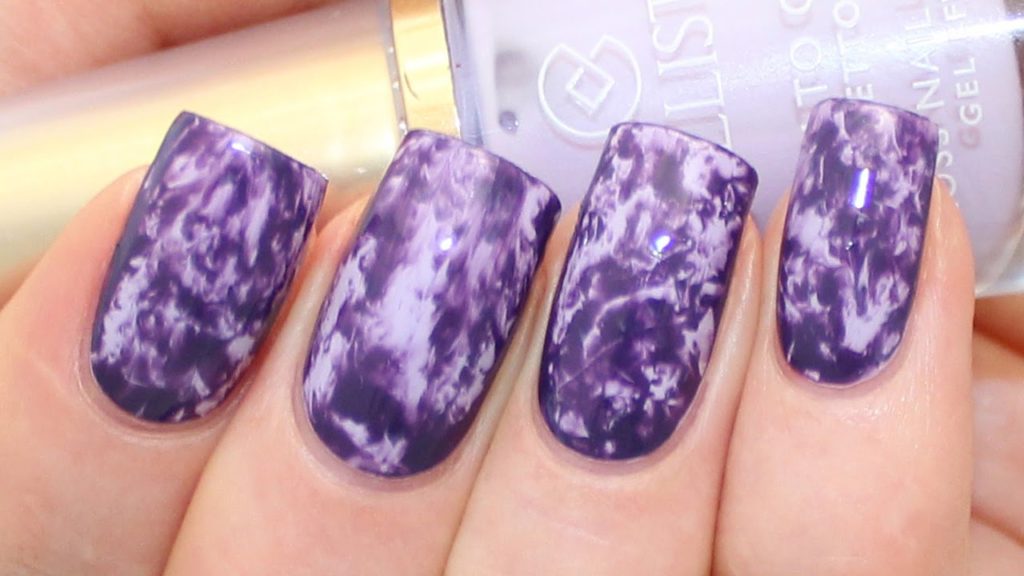


If you're new to the world of nail art, plastic wrap designs are a great place to start. They require minimal tools and skill, yet the end result looks like you spent hours at the salon. Plus, the designs are endless, so you can get creative and experiment with different colors and techniques. One easy design to try is a two-tone ombre effect. Simply paint your nails with a lighter color, let it dry, and then use a darker color on top. Before the second color dries, dab some crumpled plastic wrap onto your nails to create a marbled effect. You can also try using different colors for each nail for a fun and playful look. Another easy design is a splatter effect. Instead of crumpling the plastic wrap, use it to lightly dab on the nail polish, creating a splatter pattern. This is a great option for a bold and edgy look.2. Easy Plastic Wrap Nail Art Designs


2. Easy Plastic Wrap Nail Art Designs


If you're on a budget or just love to get creative, DIY plastic wrap nail art is the perfect option for you. Not only will you save money by not going to the salon, but you'll also have the satisfaction of creating your own unique designs. Start by gathering your materials, including plastic wrap, nail polish, and a clear top coat. Then, get creative with your designs. You can use different colors, create patterns, or even add glitter for some extra sparkle. The possibilities are endless, and the best part is that you can do it all from the comfort of your own home.3. DIY Plastic Wrap Nail Art


3. DIY Plastic Wrap Nail Art


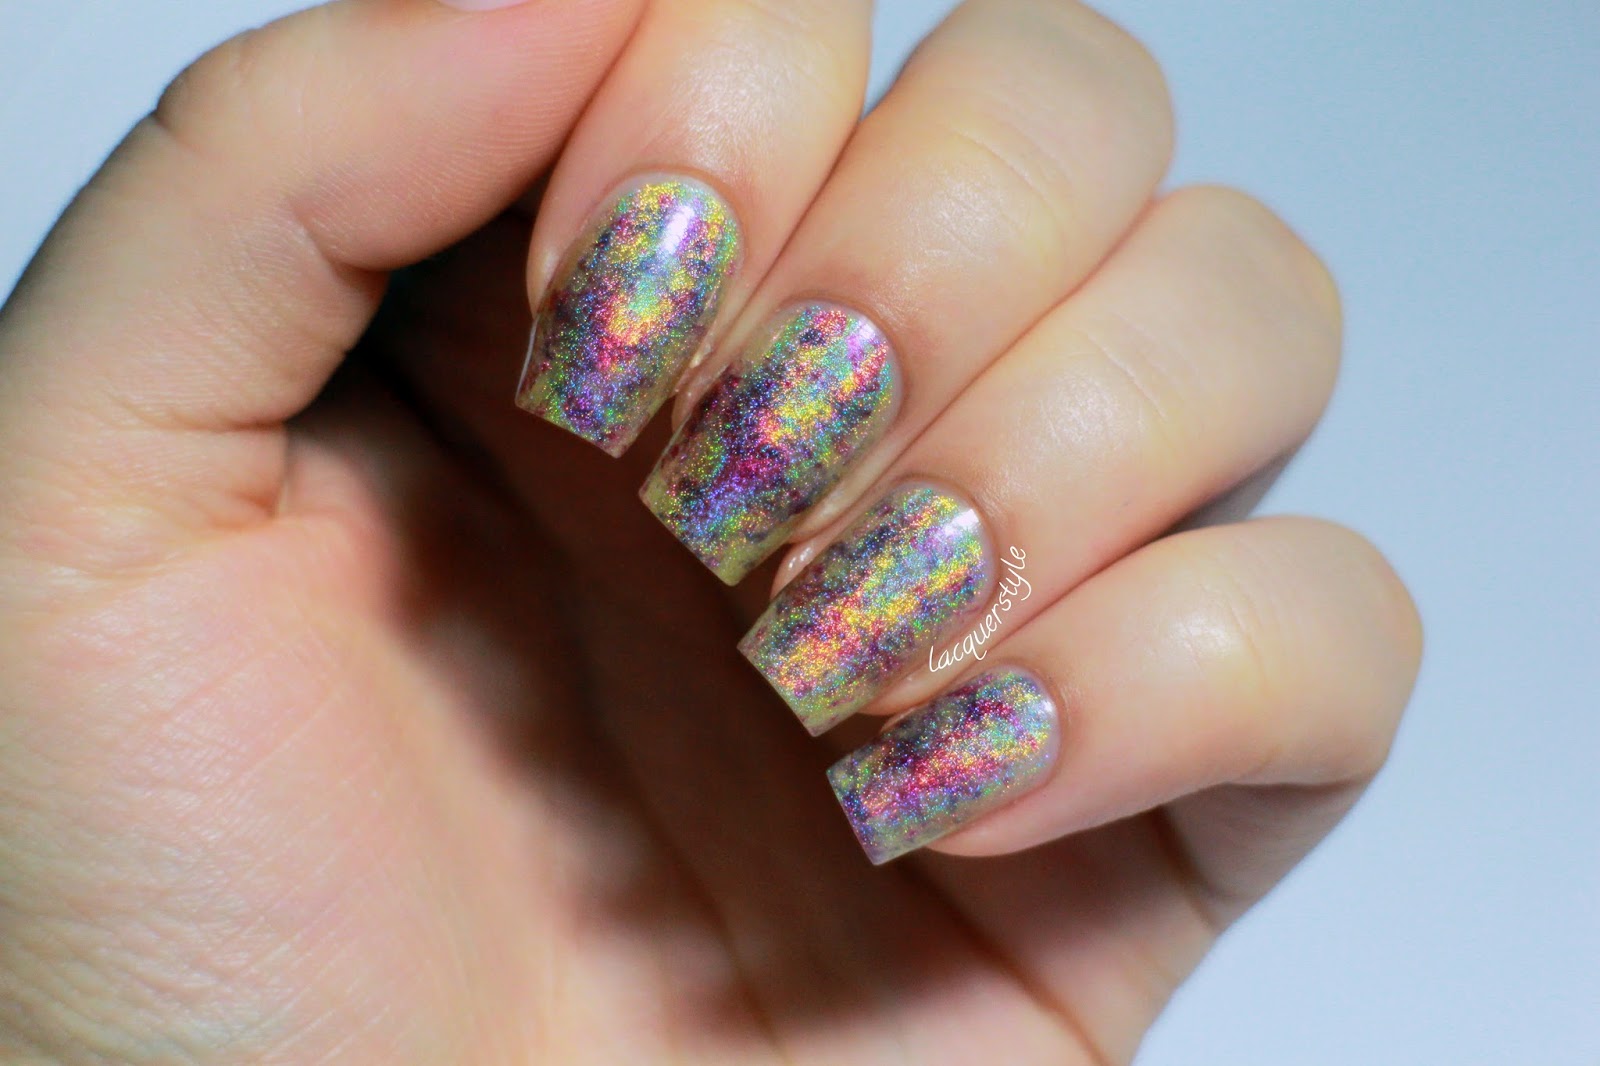
Plastic wrap nail art is a great way to let your creativity shine. There are so many different techniques and designs to try, making it the perfect canvas for your imagination. Here are some creative ideas to get you started: - Use multiple colors and layer them for a bold and colorful look - Create a gradient effect by using a lighter and darker shade of the same color - Add a metallic or holographic nail polish on top for a futuristic twist - Experiment with different shapes and patterns, such as stripes or polka dots - Use a matte top coat for a more subtle and sophisticated look4. Creative Plastic Wrap Nail Art Ideas


4. Creative Plastic Wrap Nail Art Ideas

Still feeling a little unsure about how to achieve the perfect plastic wrap nail art? Don't worry, we've got you covered with this step-by-step guide. 1. Start by painting your nails with a base color and letting it dry completely. 2. Take a small piece of plastic wrap and crumple it up. 3. Dab the plastic wrap onto your nails, creating your desired design. You can use multiple colors or just one. 4. Let the design dry for a few minutes before finishing with a clear top coat. 5. Once the top coat is dry, you're all set with your unique and trendy plastic wrap nail art!5. Step-by-Step Plastic Wrap Nail Art Guide


5. Step-by-Step Plastic Wrap Nail Art Guide

One of the best things about plastic wrap nail art is that there are so many different techniques to try. Here are a few unique techniques to add to your repertoire: - Use a sponge instead of plastic wrap for a more subtle marbled effect - Create a tie-dye effect by blending different colors with the plastic wrap - Use a toothpick or small brush to create intricate designs on top of the plastic wrap - Cut the plastic wrap into small pieces and layer them for a 3D effect6. Unique Plastic Wrap Nail Art Techniques


6. Unique Plastic Wrap Nail Art Techniques
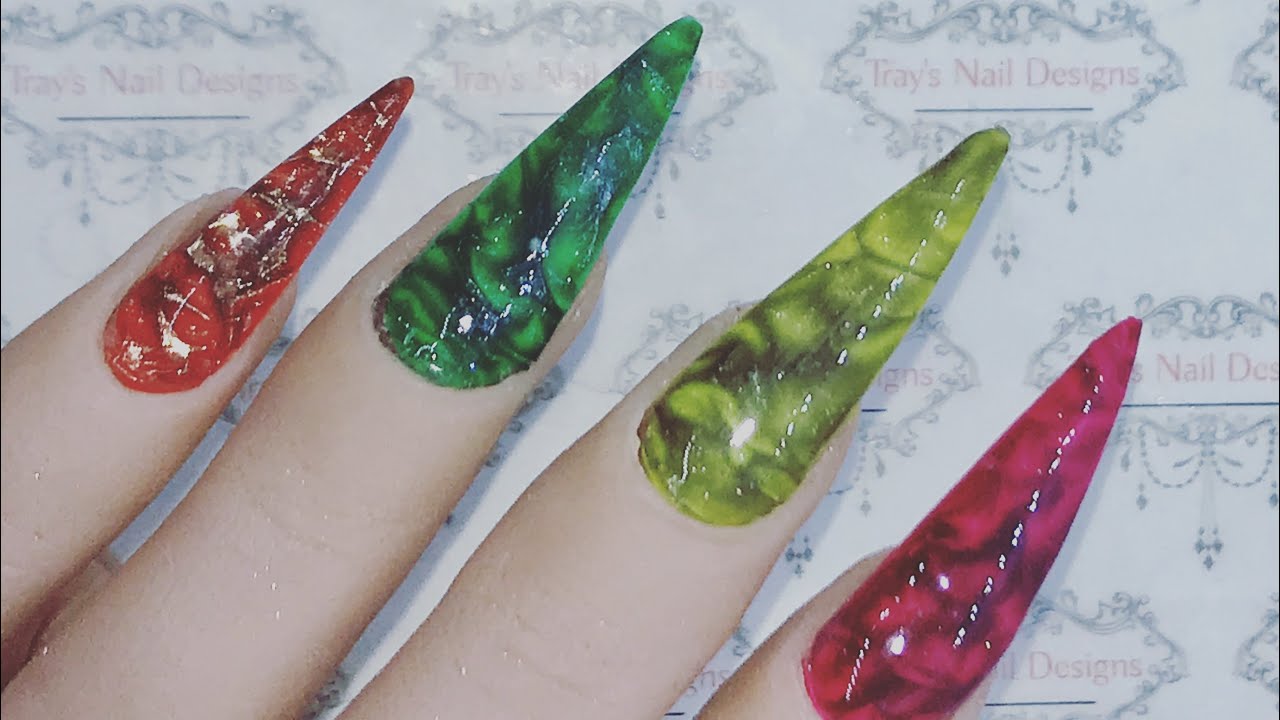
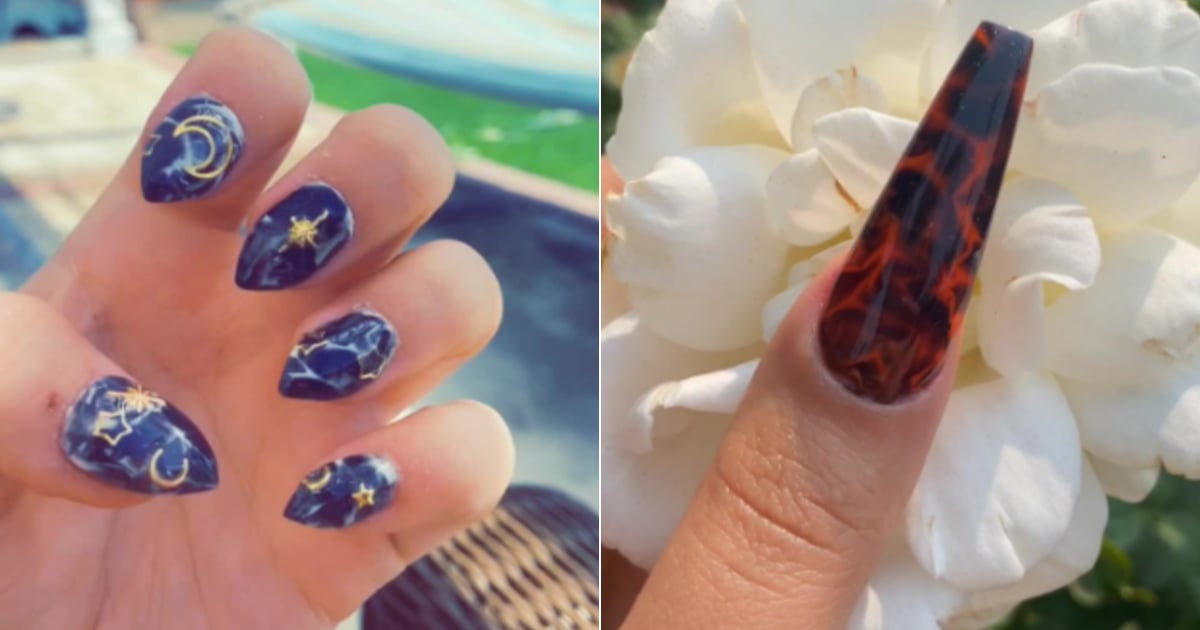
Still not convinced that plastic wrap nail art is for you? Just take a look at some of the stunning designs that have been created using this technique. From simple and elegant to bold and intricate, there's a design for everyone. Scroll through social media platforms like Instagram or Pinterest to find endless inspiration for your next plastic wrap nail art. Don't be afraid to put your own spin on a design and make it unique to you.7. Stunning Plastic Wrap Nail Art Inspiration


7. Stunning Plastic Wrap Nail Art Inspiration

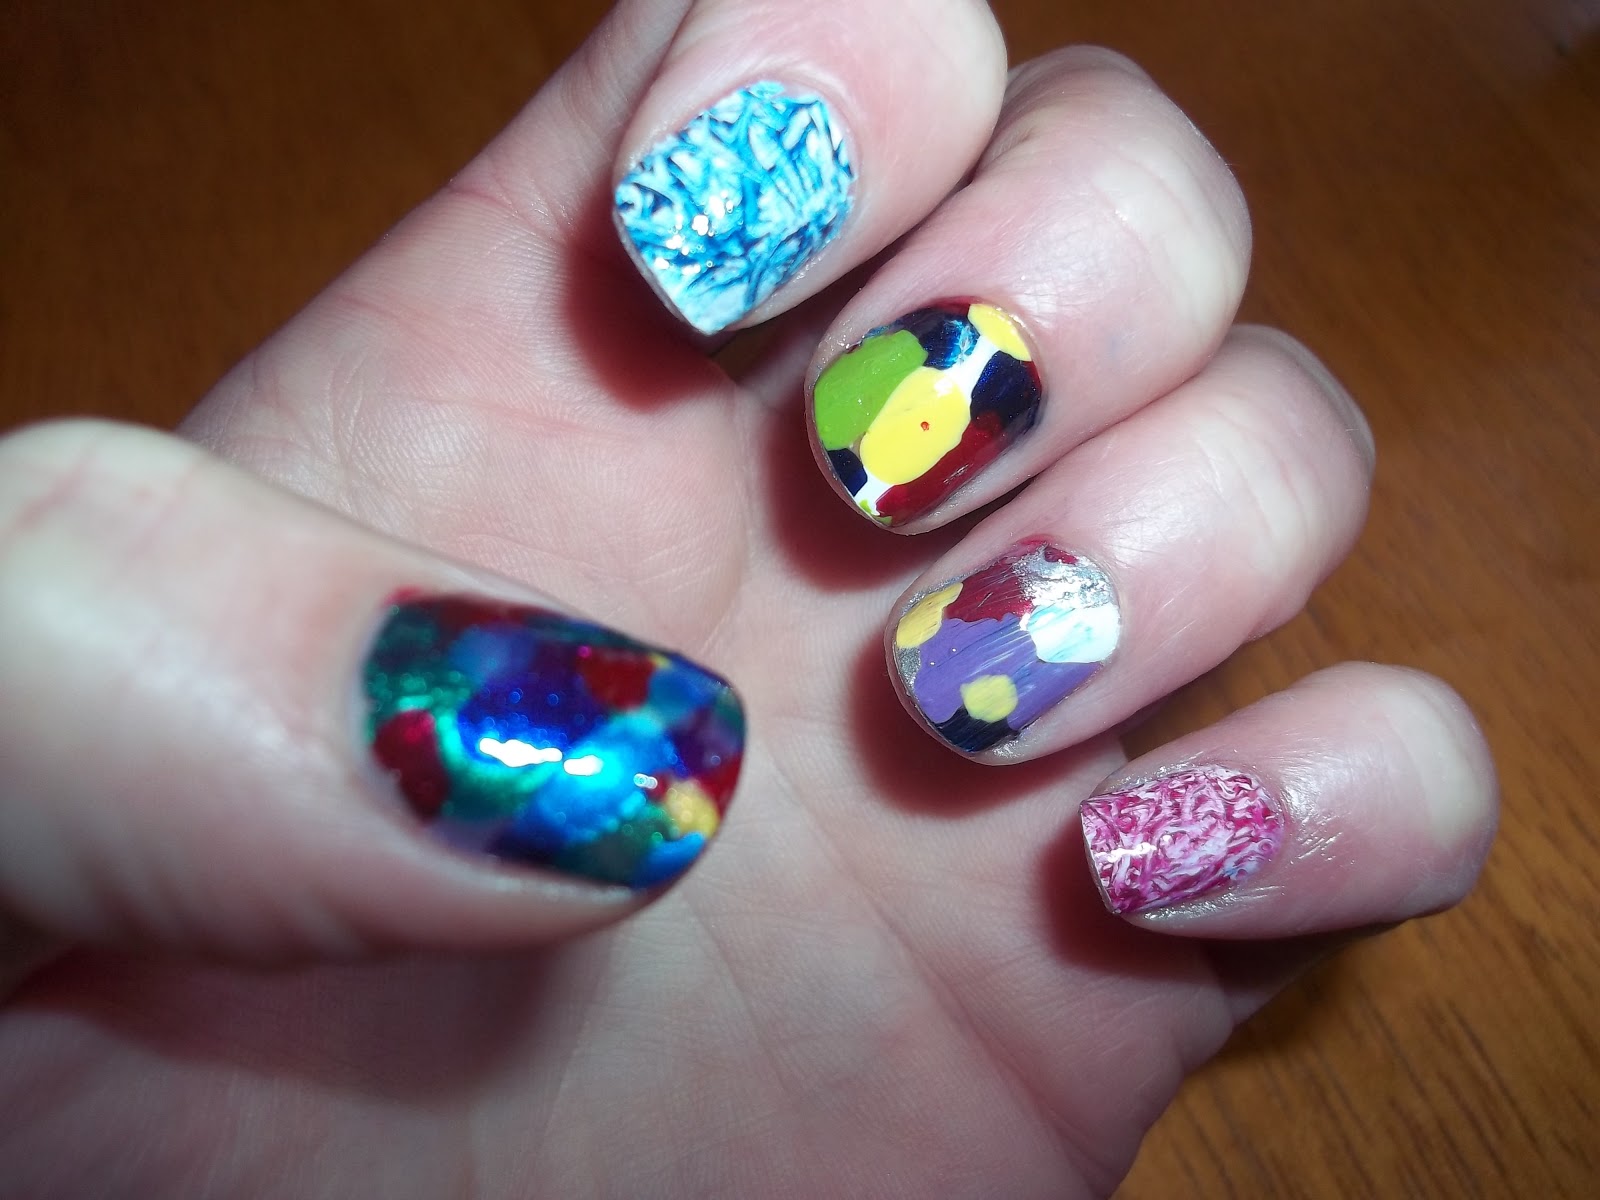
One of the great things about plastic wrap nail art is the ability to use multiple colors and create a vibrant and colorful design. This is a great way to add some fun and personality to your nails, especially during the warmer months. Try using bright and bold colors for a tropical-inspired design, or pastel shades for a softer and more delicate look. You can also mix and match colors for a playful and unique design.8. Colorful Plastic Wrap Nail Art Designs
8. Colorful Plastic Wrap Nail Art Designs
As with any trend, plastic wrap nail art has evolved and adapted to fit current fashion trends. Some of the most popular and trendy looks include: - Neon colors for a bold and vibrant look - Geometric designs for a modern twist - Negative space designs, where some of the nail is left bare for a minimalist look - Floral or botanical patterns for a chic and feminine touch9. Trendy Plastic Wrap Nail Art Looks


9. Trendy Plastic Wrap Nail Art Looks


If you're someone who loves to make a statement with your nails, plastic wrap nail art is the perfect style for you. With its unique and eye-catching designs, you're sure to stand out from the crowd. Try using bold and contrasting colors, like black and white, for a high-impact design. You can also experiment with different shapes and patterns, such as stripes or animal prints, for a bold and daring look. In conclusion, plastic wrap nail art is a fun and creative way to add some excitement to your nails. With its endless possibilities, it's a trend that is here to stay. So why not give it a try and see where your imagination takes you?10. Bold Plastic Wrap Nail Art Styles
10. Bold Plastic Wrap Nail Art Styles

Taking Nail Art to the Next Level with Plastic Wrap

Unleashing Your Creativity
 Are you tired of the same old nail polish and designs? Are you looking for a unique way to express yourself through your nails? Look no further, because plastic wrap nail art is here to take your nail game to the next level. This innovative technique involves using plastic wrap to create mesmerizing patterns and designs on your nails. Not only is it easy and affordable, but it also allows you to unleash your creativity and create one-of-a-kind designs that will make your nails stand out.
Plastic wrap nail art
has been gaining popularity among nail enthusiasts and professionals alike. It offers a fun and creative way to elevate your nail game and add a touch of uniqueness to your overall look. With just a few tools and some nail polish, you can create stunning designs that will have everyone asking where you got your nails done.
Are you tired of the same old nail polish and designs? Are you looking for a unique way to express yourself through your nails? Look no further, because plastic wrap nail art is here to take your nail game to the next level. This innovative technique involves using plastic wrap to create mesmerizing patterns and designs on your nails. Not only is it easy and affordable, but it also allows you to unleash your creativity and create one-of-a-kind designs that will make your nails stand out.
Plastic wrap nail art
has been gaining popularity among nail enthusiasts and professionals alike. It offers a fun and creative way to elevate your nail game and add a touch of uniqueness to your overall look. With just a few tools and some nail polish, you can create stunning designs that will have everyone asking where you got your nails done.
The Process
 The process of creating
plastic wrap nail art
is simple yet effective. Firstly, you will need to apply a base coat to protect your nails and ensure that the polish adheres smoothly. Next, choose your desired nail polish color and apply it as you normally would. Once the polish is dry, it's time to bring out the plastic wrap. Crumple a small piece of plastic wrap and gently dab it onto your nails while the polish is still wet. This will create a marbled effect, giving your nails a unique and eye-catching design.
For those who prefer a more structured design, you can use the plastic wrap to create patterns and shapes on your nails. Simply cut out small pieces of plastic wrap and place them strategically on your nails before applying the polish. Once the polish is dry, carefully remove the plastic wrap to reveal your design.
The process of creating
plastic wrap nail art
is simple yet effective. Firstly, you will need to apply a base coat to protect your nails and ensure that the polish adheres smoothly. Next, choose your desired nail polish color and apply it as you normally would. Once the polish is dry, it's time to bring out the plastic wrap. Crumple a small piece of plastic wrap and gently dab it onto your nails while the polish is still wet. This will create a marbled effect, giving your nails a unique and eye-catching design.
For those who prefer a more structured design, you can use the plastic wrap to create patterns and shapes on your nails. Simply cut out small pieces of plastic wrap and place them strategically on your nails before applying the polish. Once the polish is dry, carefully remove the plastic wrap to reveal your design.
Endless Possibilities
 One of the best things about
plastic wrap nail art
is that the possibilities are endless. You can experiment with different colors, patterns, and techniques to create a design that is uniquely yours. You can also add other elements such as glitter or beads to take your designs to the next level. Let your imagination run wild and see what kind of masterpiece you can create on your nails.
In conclusion,
plastic wrap nail art
is a fun and easy way to elevate your nail game and express your creativity. With just a few tools and some nail polish, you can create stunning designs that will have everyone admiring your nails. So why settle for boring nail designs when you can stand out with this innovative and unique technique? Give it a try and see your nails transform into works of art.
One of the best things about
plastic wrap nail art
is that the possibilities are endless. You can experiment with different colors, patterns, and techniques to create a design that is uniquely yours. You can also add other elements such as glitter or beads to take your designs to the next level. Let your imagination run wild and see what kind of masterpiece you can create on your nails.
In conclusion,
plastic wrap nail art
is a fun and easy way to elevate your nail game and express your creativity. With just a few tools and some nail polish, you can create stunning designs that will have everyone admiring your nails. So why settle for boring nail designs when you can stand out with this innovative and unique technique? Give it a try and see your nails transform into works of art.


