Looking to add a touch of whimsy and nostalgia to your nail game? Look no further than this easy Pokeball nail art tutorial! With just a few simple steps, you can transform your nails into adorable Pokeballs that will have everyone asking, "Where did you get those done?" Pokeball nail art is perfect for any Pokemon fan, whether you're a seasoned trainer or just starting your journey. So grab your nail polish and let's get started!1. "Easy Pokeball Nail Art Tutorial"


1. "Easy Pokeball Nail Art Tutorial"


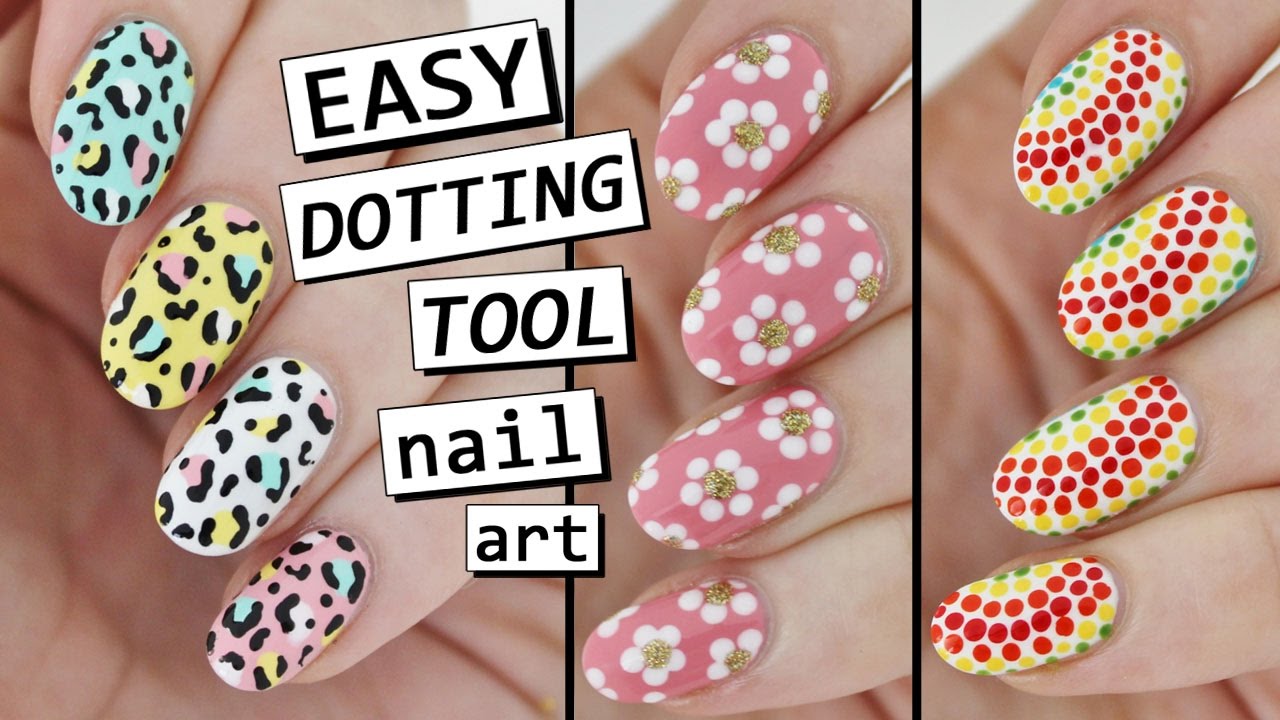
If you're new to the world of nail art, don't worry! This step-by-step tutorial will guide you through each stage of creating your own Pokeball nails. First, gather your supplies: red, white, and black nail polish, a base coat, a top coat, and a dotting tool or toothpick. Start by applying a base coat to protect your nails and help your manicure last longer. Then, using the red nail polish, paint your nails except for the ring finger. This will be your accent nail. Next, take the white nail polish and carefully paint a half-circle on the bottom of each nail. You can use a small brush or a toothpick to help create a clean line. Let this dry completely before moving on to the next step.2. "Step-by-Step Pokeball Nail Art Tutorial"


2. "Step-by-Step Pokeball Nail Art Tutorial"


Why spend money at a salon when you can create your own DIY Pokeball nail art at home? This tutorial is perfect for those who love to get creative and save some cash. Follow the steps in the previous heading, but instead of using a dotting tool or toothpick, use a small piece of tape to create the black line in the middle of the white half-circle. Simply place the tape across the nail, leaving a small gap for the black line, and paint over it with the black nail polish. Once it's dry, carefully remove the tape to reveal a clean and precise line.3. "DIY Pokeball Nail Art Tutorial"


3. "DIY Pokeball Nail Art Tutorial"


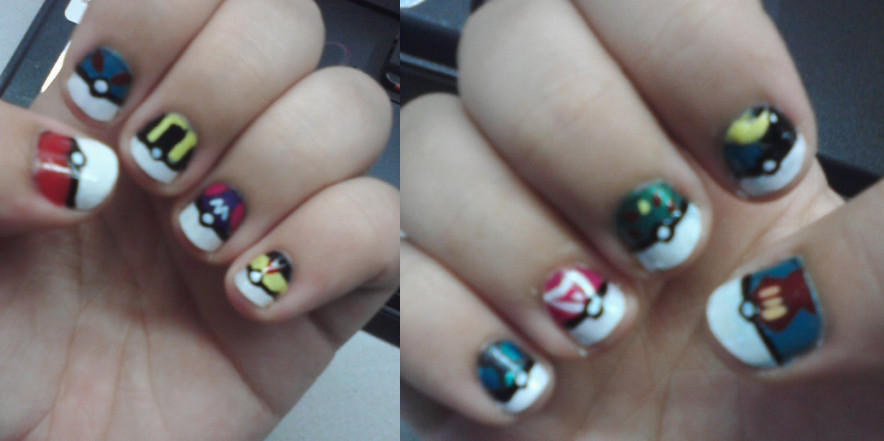
If you want your pokeball nail art to be extra cute, try adding some fun details to your accent nail. For example, you can paint a Pikachu or other Pokemon character on your ring finger, or use a small brush to create a tiny pokeball on top of the white half-circle. Get creative and add your own personal touch to make your nail art stand out and show off your love for all things Pokemon.4. "Cute Pokeball Nail Art Tutorial"


4. "Cute Pokeball Nail Art Tutorial"

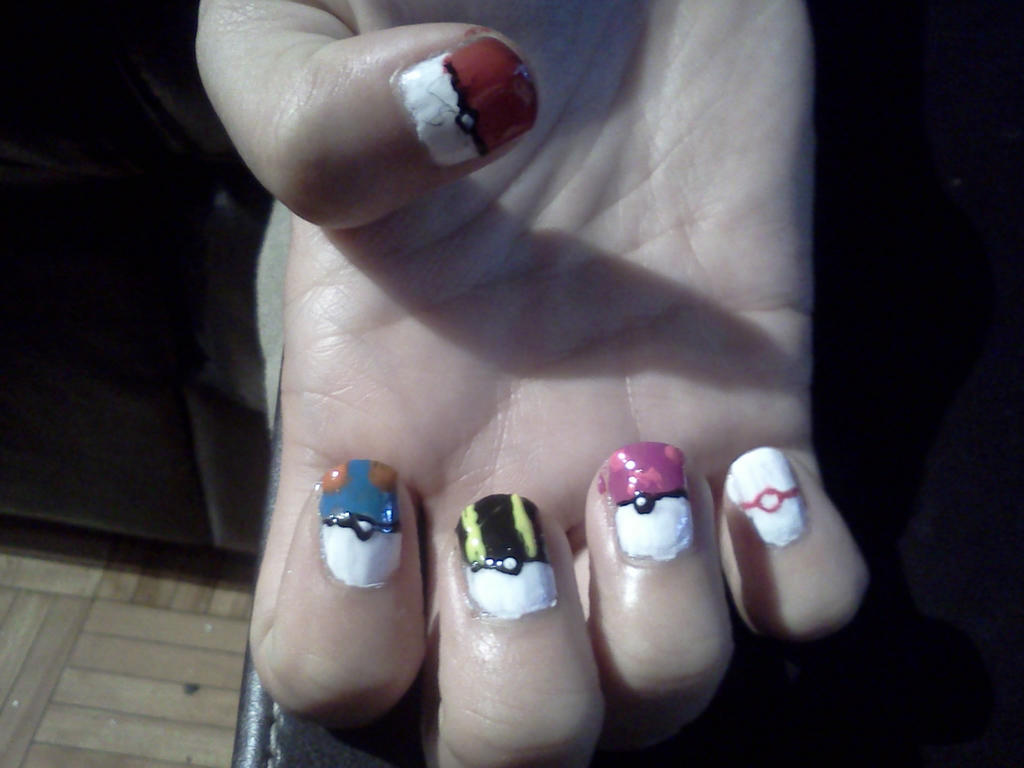
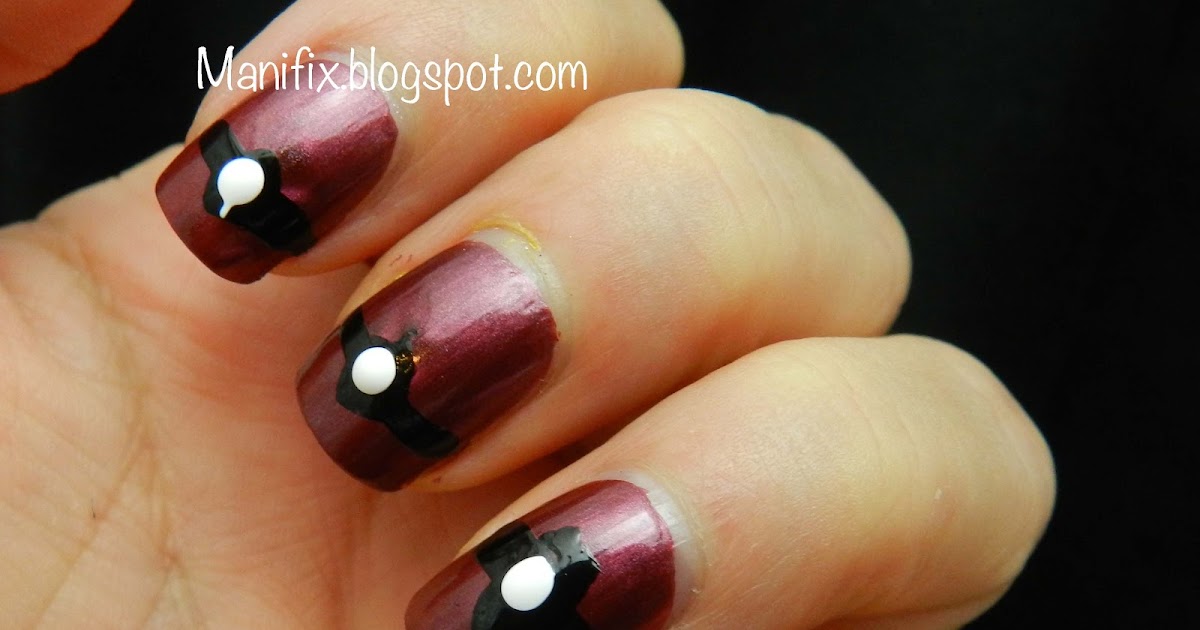
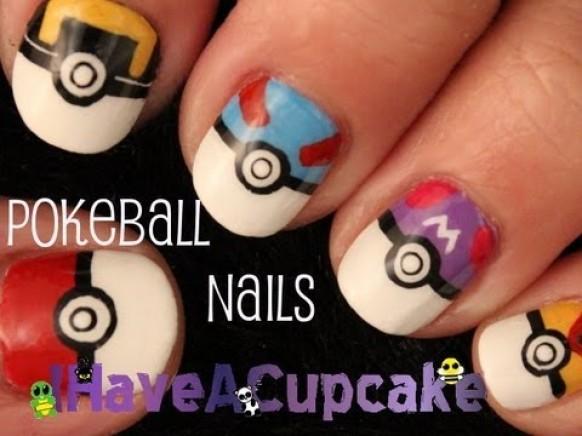
Not a fan of the classic red and white pokeball? No problem! You can use this tutorial as a base and get creative with other Pokemon inspired designs. For example, you can create a Great Ball by using blue and white nail polish instead, or a Premier Ball with blue and yellow. Don't be afraid to experiment and see what other Pokemon inspired designs you can come up with!5. "Pokemon Inspired Nail Art Tutorial"


5. "Pokemon Inspired Nail Art Tutorial"


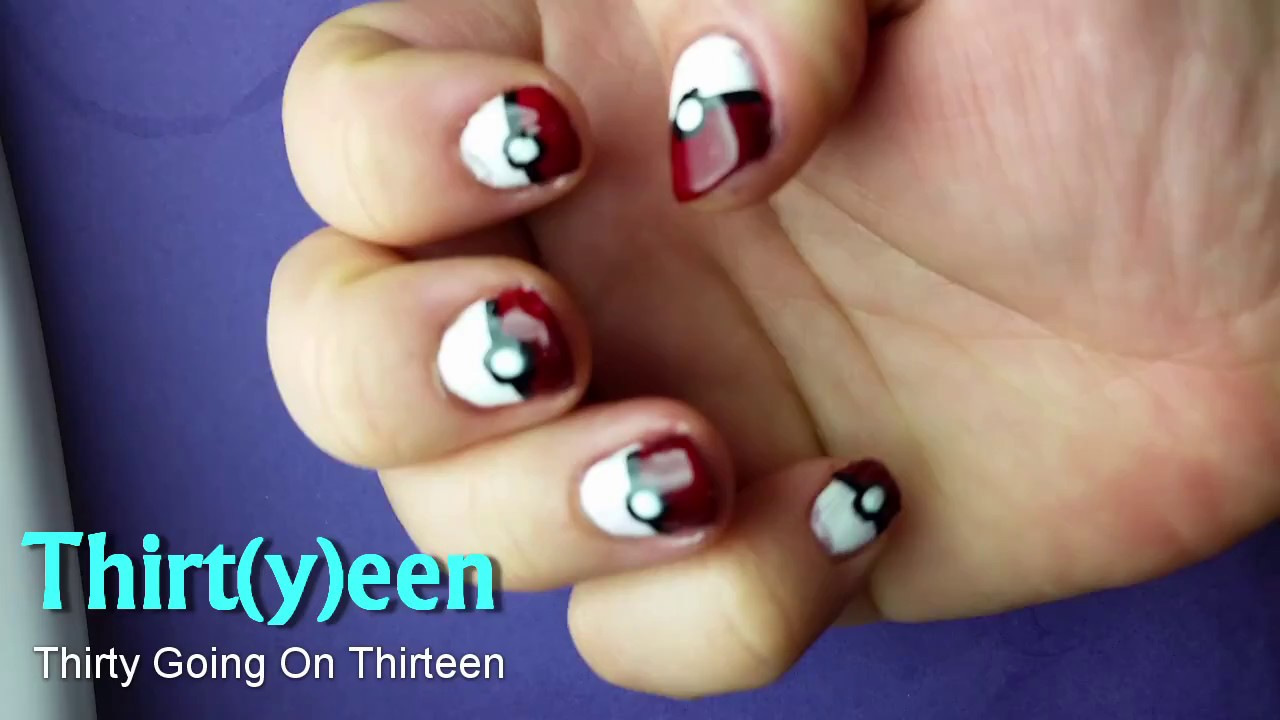


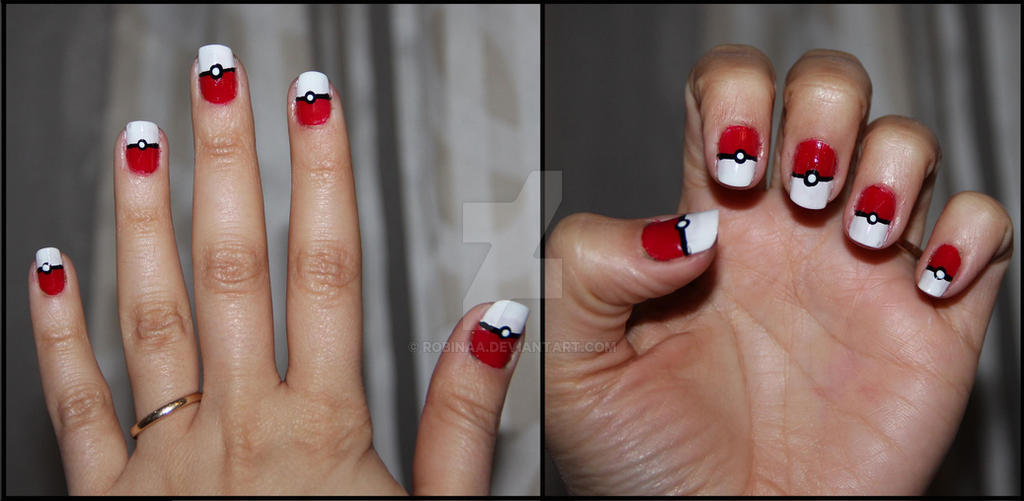
If you prefer a more traditional look, this red and white Pokeball nail art tutorial is perfect for you. Follow the steps in the second heading, but instead of using a dotting tool or toothpick, use a small brush to create the black line in the middle of the white half-circle. This will give your nails a more polished and clean look, perfect for any occasion.6. "Red and White Pokeball Nail Art Tutorial"

6. "Red and White Pokeball Nail Art Tutorial"

Are you new to the world of nail art? Don't worry, this tutorial is beginner-friendly and easy to follow. If you don't have a dotting tool or don't feel confident using a toothpick, you can also use the back of a bobby pin to create the black dot in the center of the white half-circle. Remember to take your time and have fun with it. And don't worry if your first attempt isn't perfect – practice makes perfect!7. "Pokeball Nail Art Tutorial for Beginners"

7. "Pokeball Nail Art Tutorial for Beginners"
Still obsessed with Pokemon Go? Show off your dedication with this Pokemon Go nail art tutorial! Instead of creating a traditional pokeball, use the colors of your favorite team – red for Valor, blue for Mystic, and yellow for Instinct. You can also add some fun details like pokeballs, Pokemon characters, and the Pokemon Go logo to really make your nails pop.8. "Pokemon Go Nail Art Tutorial"


8. "Pokemon Go Nail Art Tutorial"


If you don't have a dotting tool, don't worry! A toothpick can also be a great tool for creating pokeball nail art. Simply dip the toothpick into the black nail polish and carefully create a small dot in the center of the white half-circle. You can also use the toothpick to create the black line by dragging it across the nail. This method may require a bit more patience and precision, but it can still give you great results.9. "Pokeball Nail Art Tutorial with Toothpick"


9. "Pokeball Nail Art Tutorial with Toothpick"
For those who have a dotting tool, this tutorial is for you! A dotting tool is perfect for creating precise and clean dots, making it the ideal tool for creating the black dot in the center of the white half-circle in your pokeball nail art. Use the larger end of the tool for the dot and the smaller end for the black line. This method may take a bit of practice, but the results are well worth it. Now that you have 10 different pokeball nail art tutorials to choose from, it's time to pick your favorite and try it out for yourself! Whether you're a beginner or a seasoned nail artist, these designs are sure to add a touch of fun and playfulness to your manicure. So go ahead and show off your love for Pokemon with these adorable nail designs!10. "Pokeball Nail Art Tutorial with Dotting Tool"


10. "Pokeball Nail Art Tutorial with Dotting Tool"


Pokeball Nail Art: Catching Attention One Fingernail at a Time
Unleash Your Inner Pokemon Trainer with this Fun and Easy Nail Design
 Are you a fan of Pokemon and looking for a unique way to show your love for the franchise? Look no further than this
pokeball nail art tutorial
. With just a few simple steps, you can turn your nails into mini pokeballs that will surely catch the attention of your friends and fellow trainers.
First, gather all the necessary materials for this design. You will need a white nail polish, a red nail polish, a black nail polish, a dotting tool or toothpick, and a top coat. Make sure to have a clean and smooth base for your nails before starting the design.
Step 1:
Start by painting all your nails with the white polish. This will serve as the base color for your pokeball.
Step 2:
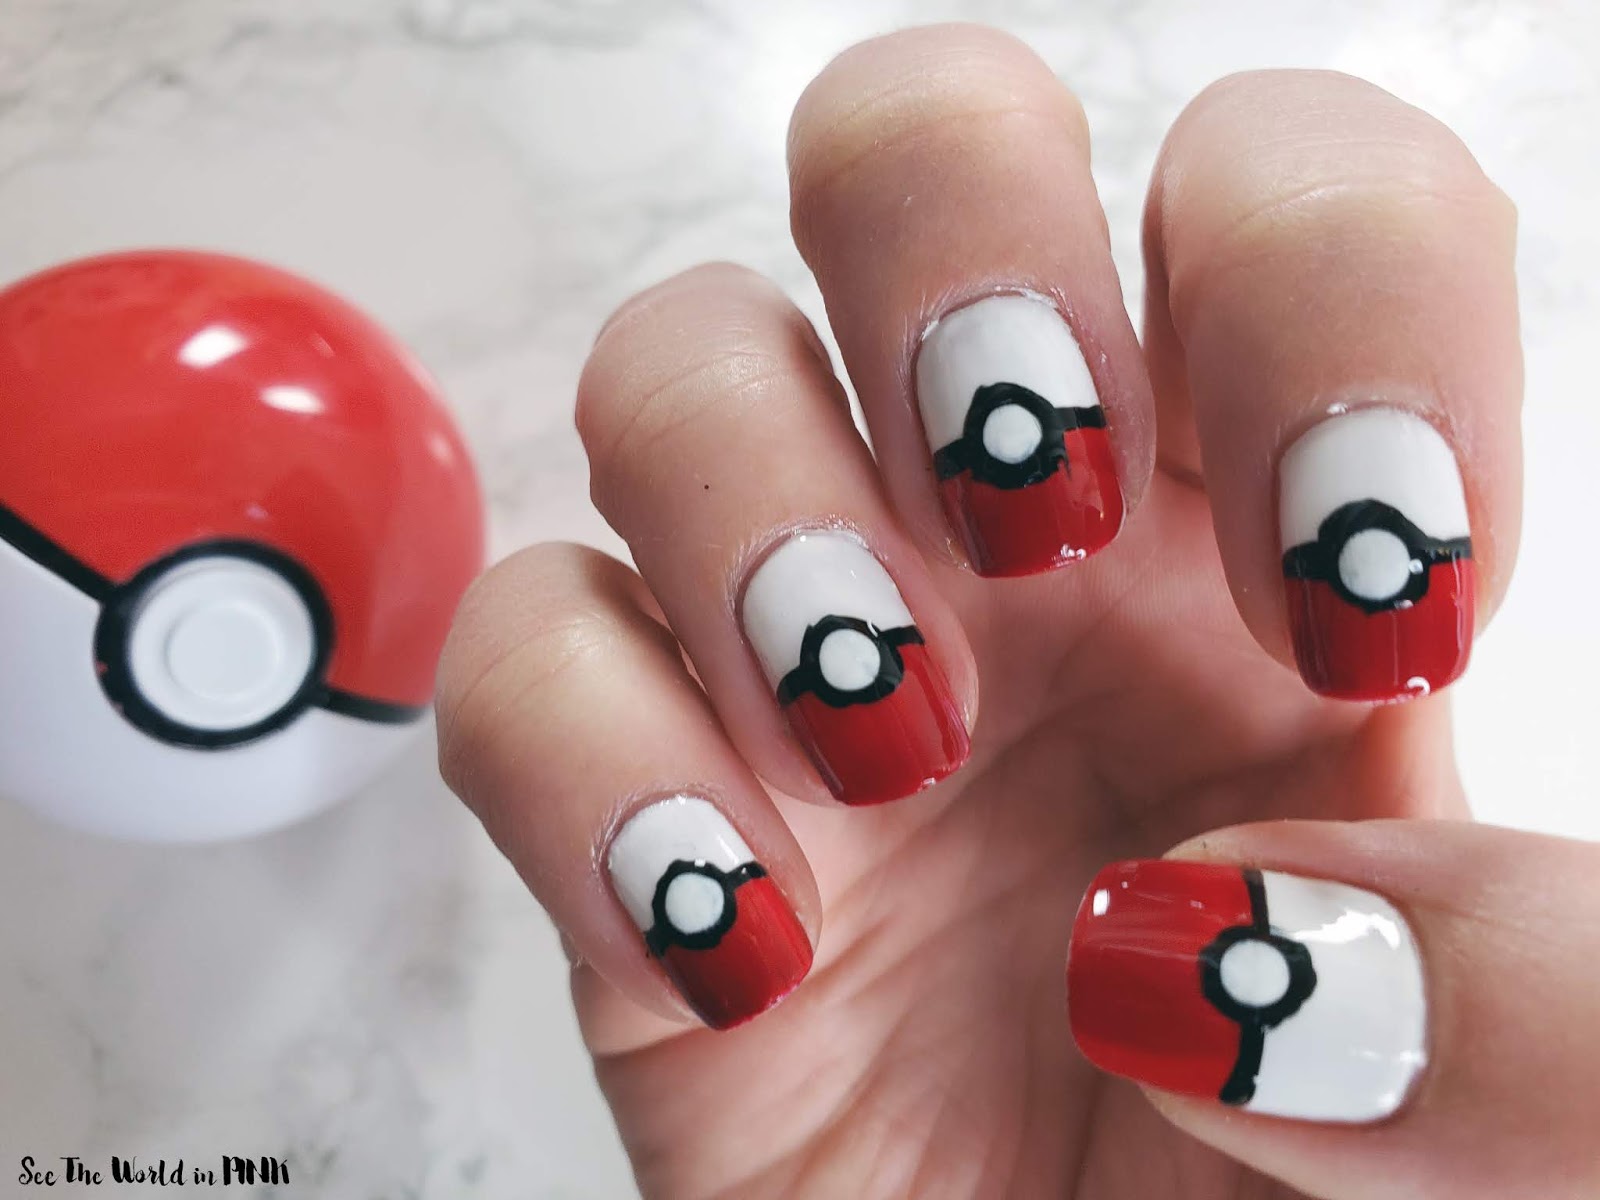
Using the red polish, paint the tips of your nails in a curved half-moon shape, leaving a small white strip in the middle. This will be the top part of the pokeball.
Step 3:
Once the red polish has dried, use the black polish to create a small black circle on the white strip. This will be the button in the center of the pokeball.
Step 4:
With the dotting tool or toothpick, create a smaller white circle inside the black one. This will add more dimension to the button.
Step 5:
To complete the design, apply a top coat to seal in the colors and add shine to your nails.
Voila! You now have
pokeball nails
that are ready to catch everyone's attention. You can even experiment with different colors and designs to create your own unique pokeball nail art.
Not only is this design fun and easy to do, but it also shows off your love for Pokemon in a creative and stylish way. So why not give it a try and unleash your inner Pokemon trainer with this
pokeball nail art tutorial
. Who knows, you might even catch the eye of a fellow Pokemon fan and make a new friend.
Are you a fan of Pokemon and looking for a unique way to show your love for the franchise? Look no further than this
pokeball nail art tutorial
. With just a few simple steps, you can turn your nails into mini pokeballs that will surely catch the attention of your friends and fellow trainers.
First, gather all the necessary materials for this design. You will need a white nail polish, a red nail polish, a black nail polish, a dotting tool or toothpick, and a top coat. Make sure to have a clean and smooth base for your nails before starting the design.
Step 1:
Start by painting all your nails with the white polish. This will serve as the base color for your pokeball.
Step 2:
Using the red polish, paint the tips of your nails in a curved half-moon shape, leaving a small white strip in the middle. This will be the top part of the pokeball.
Step 3:
Once the red polish has dried, use the black polish to create a small black circle on the white strip. This will be the button in the center of the pokeball.
Step 4:
With the dotting tool or toothpick, create a smaller white circle inside the black one. This will add more dimension to the button.
Step 5:
To complete the design, apply a top coat to seal in the colors and add shine to your nails.
Voila! You now have
pokeball nails
that are ready to catch everyone's attention. You can even experiment with different colors and designs to create your own unique pokeball nail art.
Not only is this design fun and easy to do, but it also shows off your love for Pokemon in a creative and stylish way. So why not give it a try and unleash your inner Pokemon trainer with this
pokeball nail art tutorial
. Who knows, you might even catch the eye of a fellow Pokemon fan and make a new friend.


