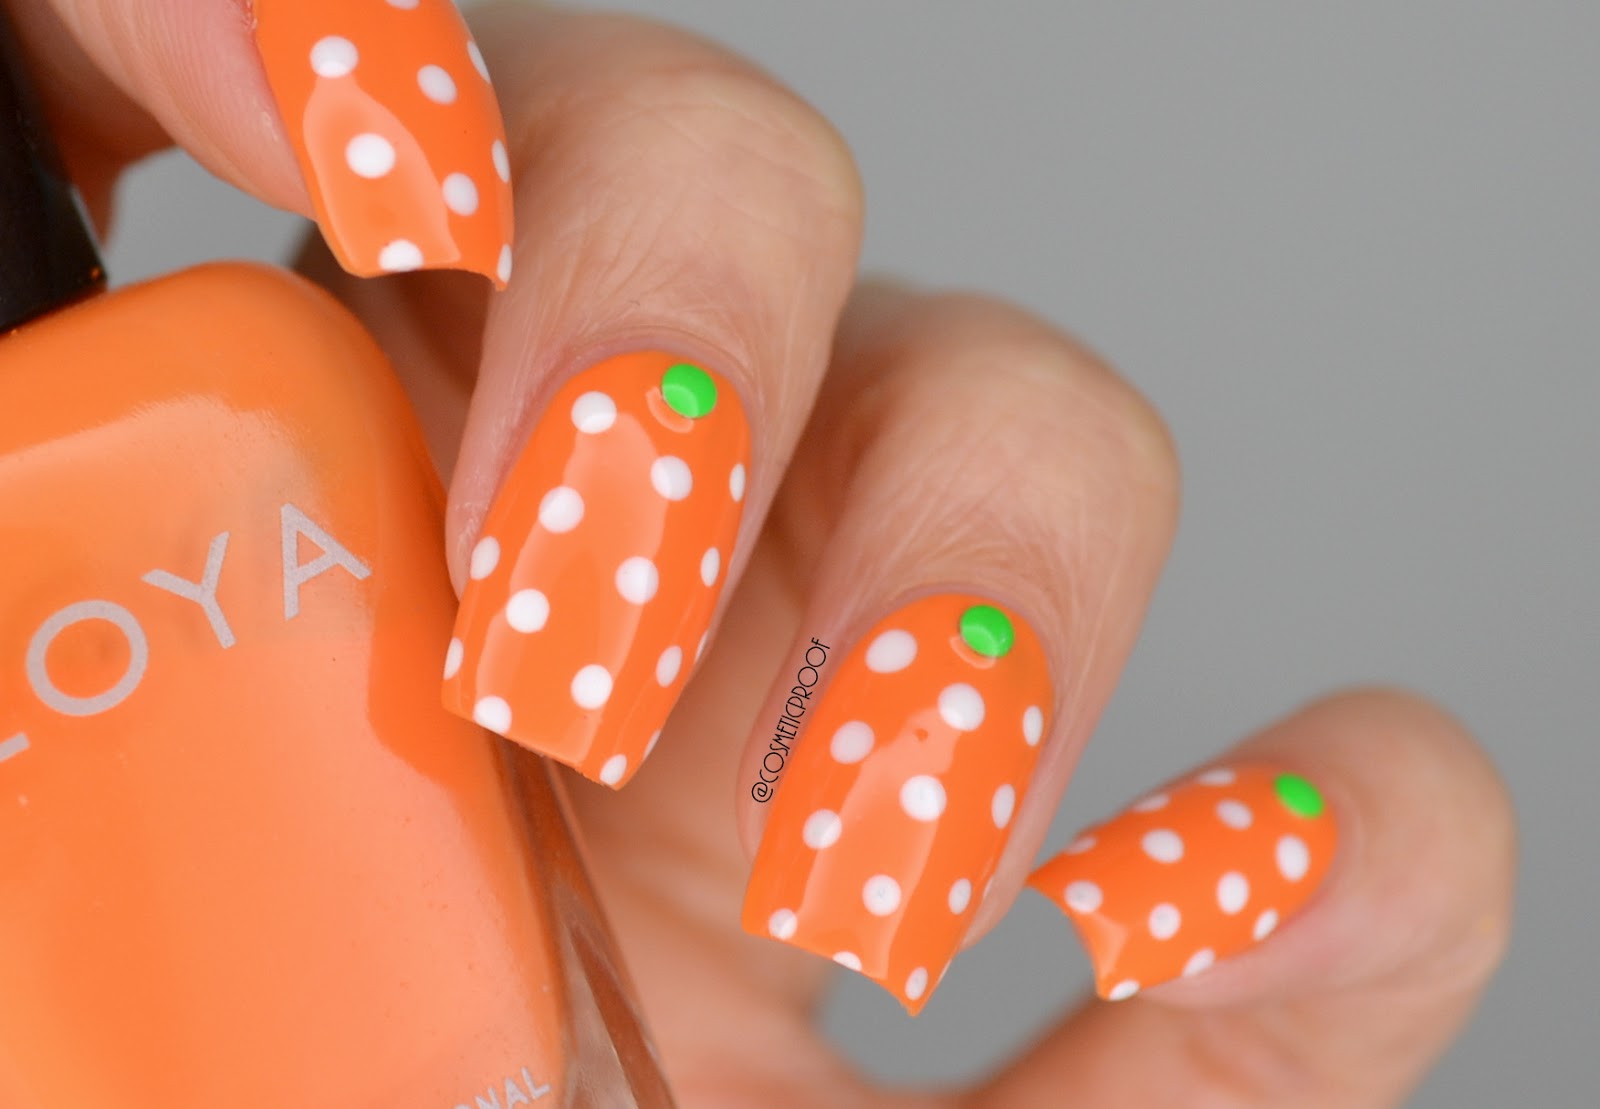
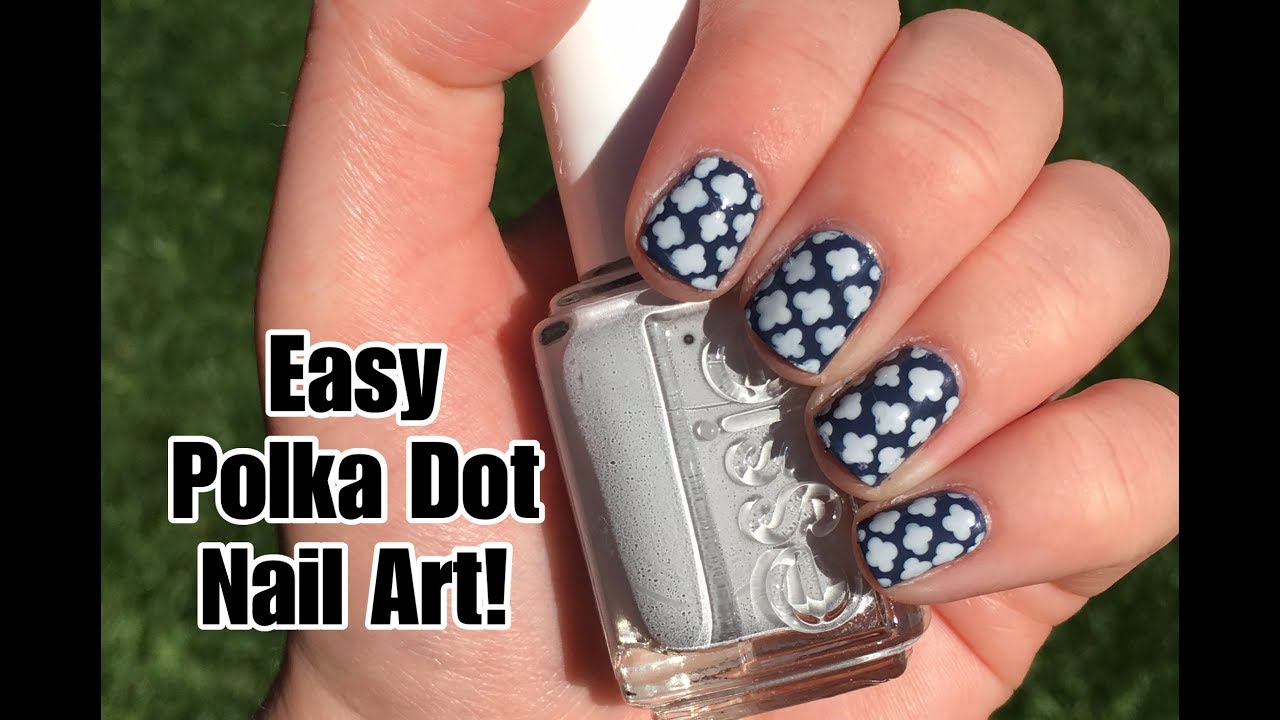
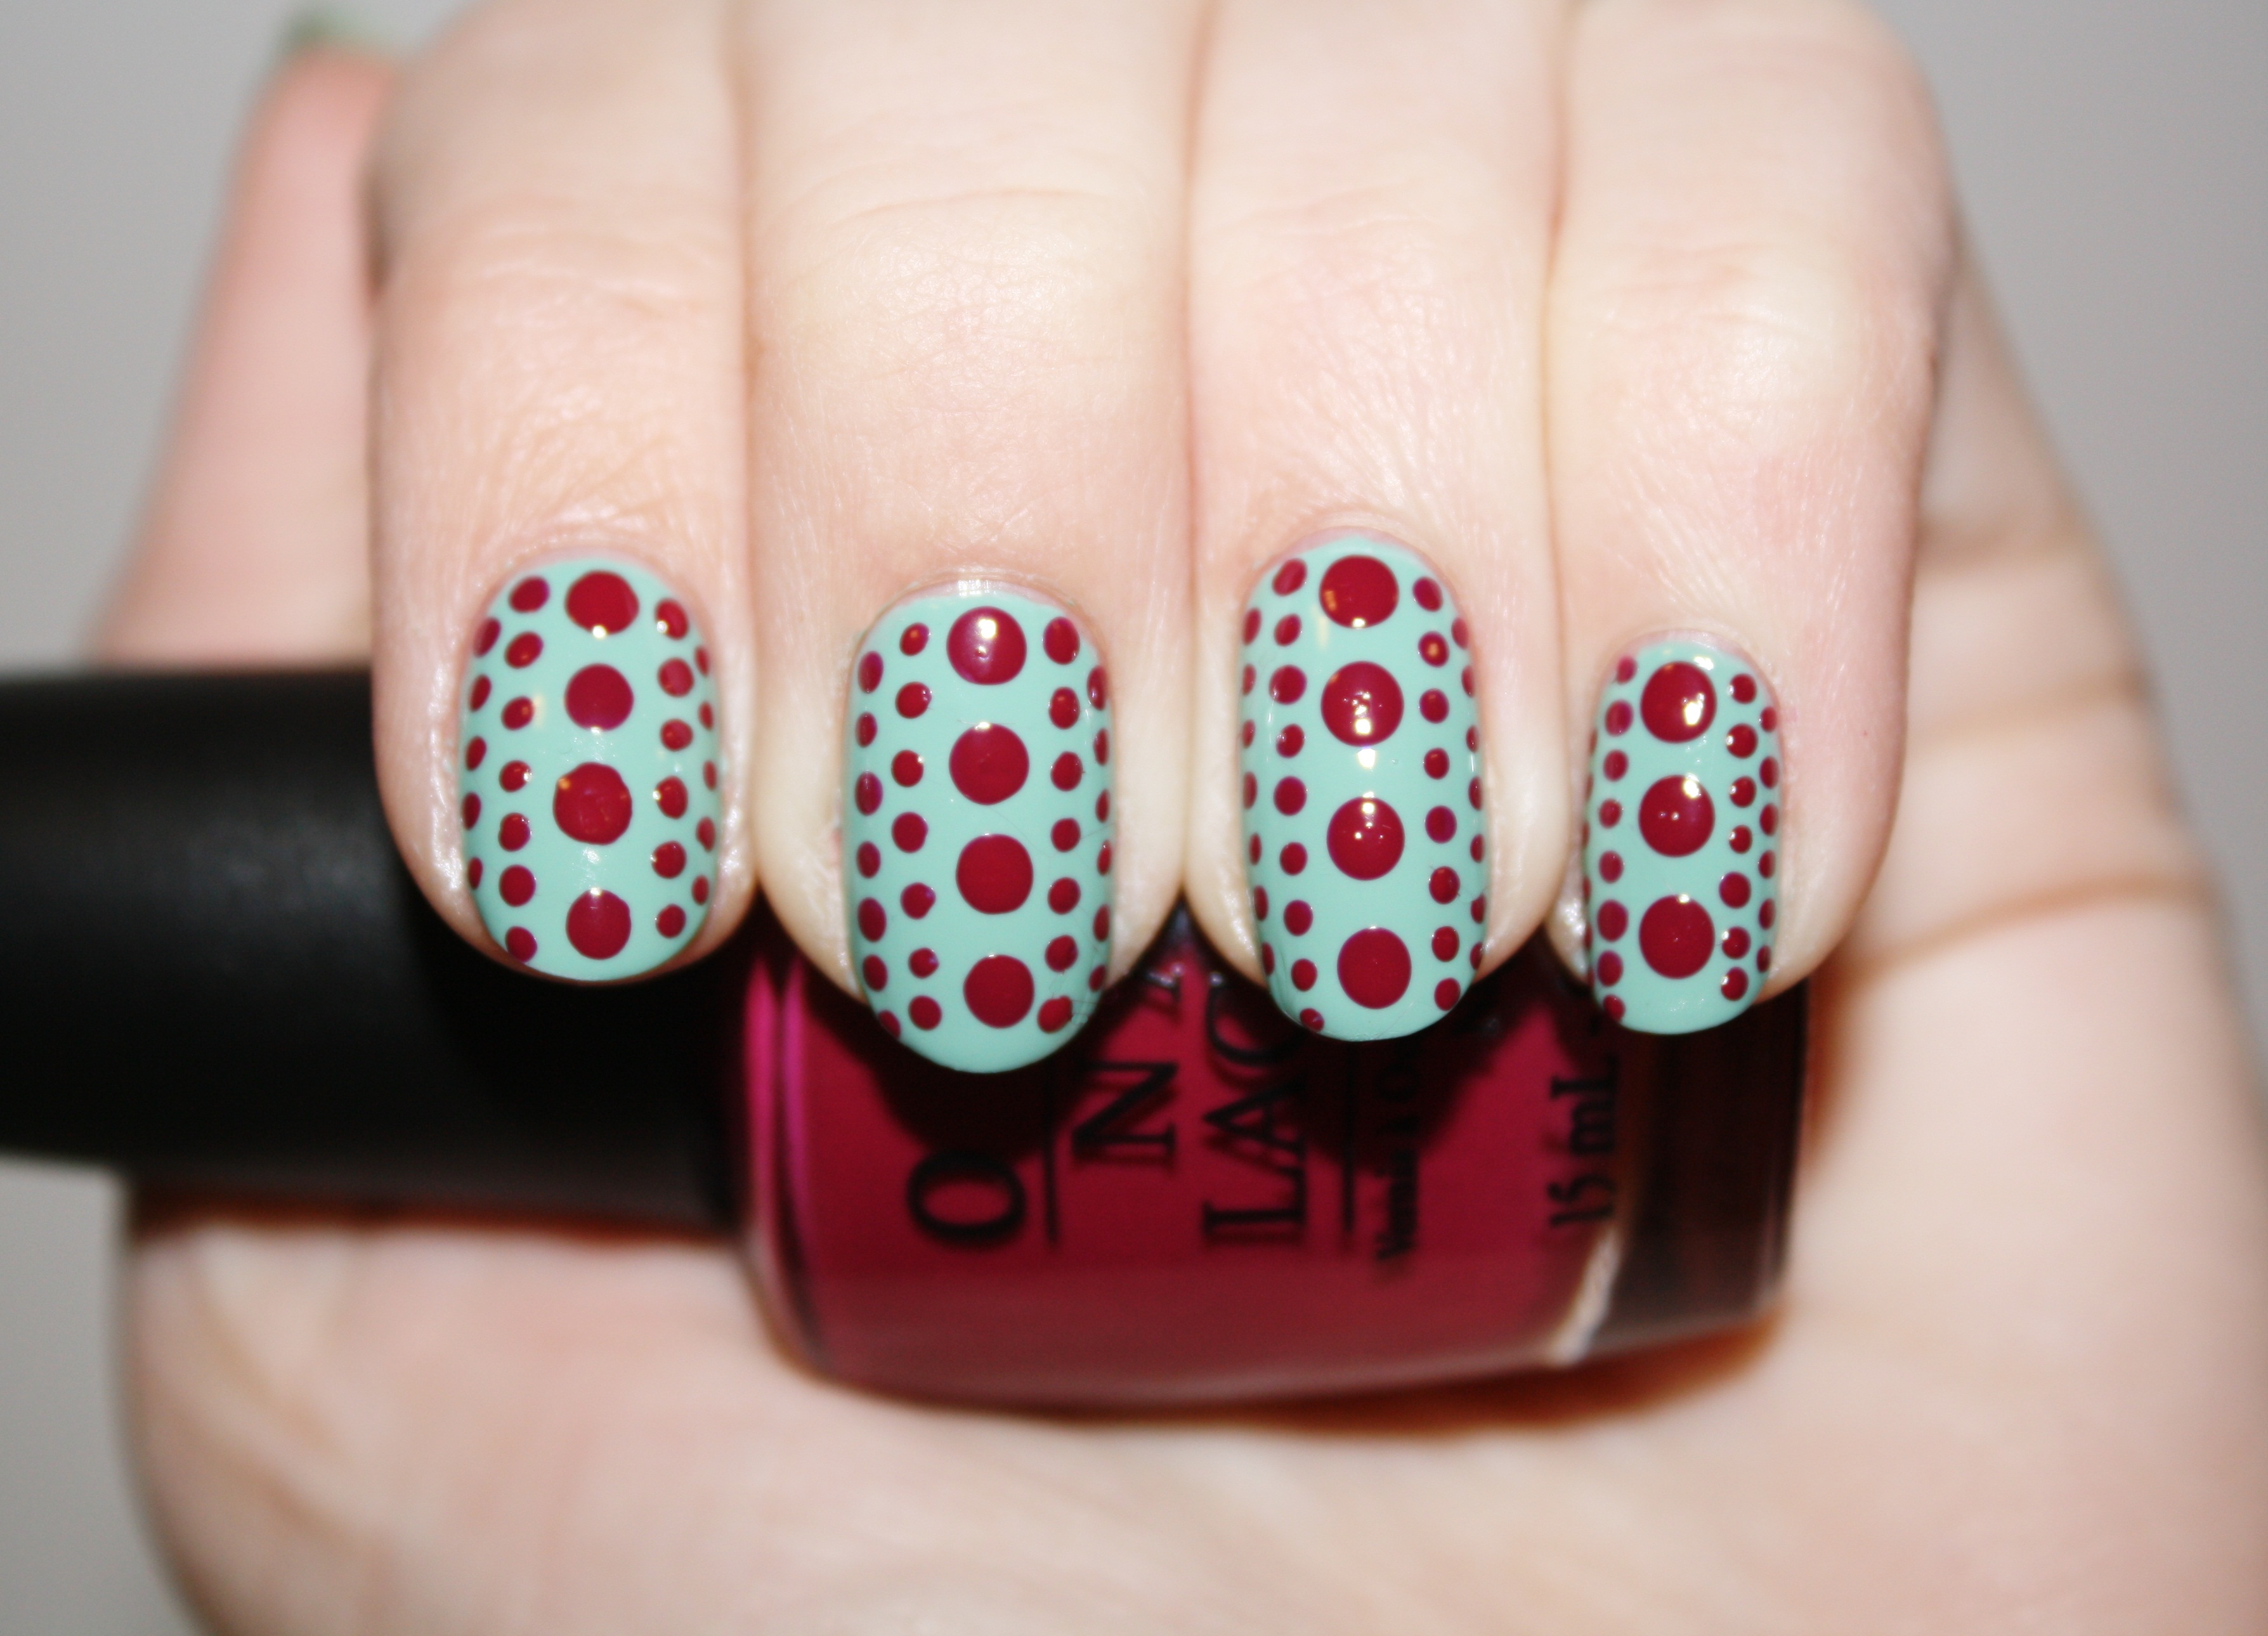
Looking for a fun and playful nail art design? Look no further than polka dots and stripes! This classic pattern combination is perfect for adding a touch of whimsy to your nails. In this tutorial, we'll show you how to create a polka dot and stripes nail art design that will make your nails stand out. To start, you will need a few basic nail art supplies: nail polish, nail art brush, dotting tool, and nail tape. You can choose any color combination you like, but for this tutorial, we'll be using a red and white color scheme to create a classic polka dot and stripes look. Now, let's get started!Polka Dot and Stripes Nail Art Tutorial
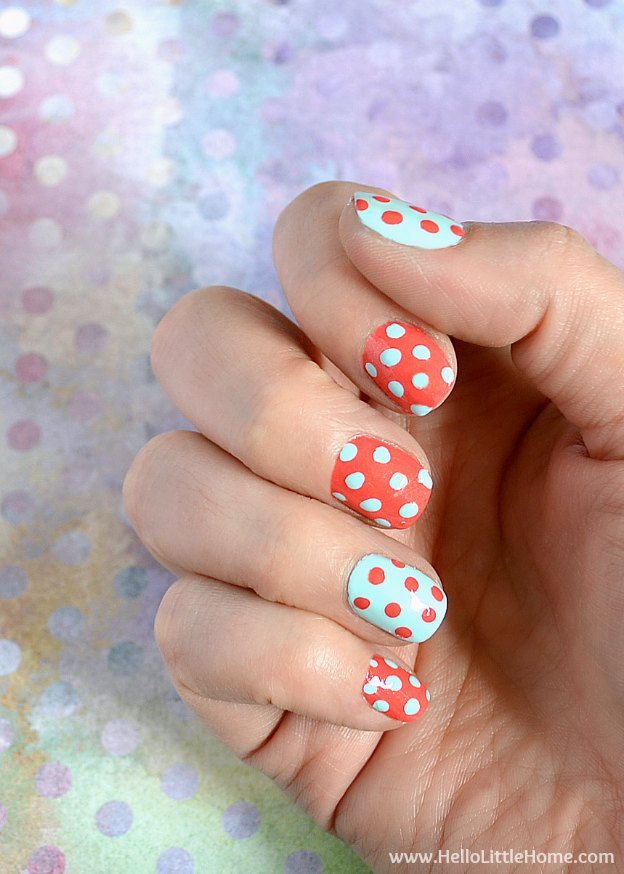

Polka Dot and Stripes Nail Art Tutorial


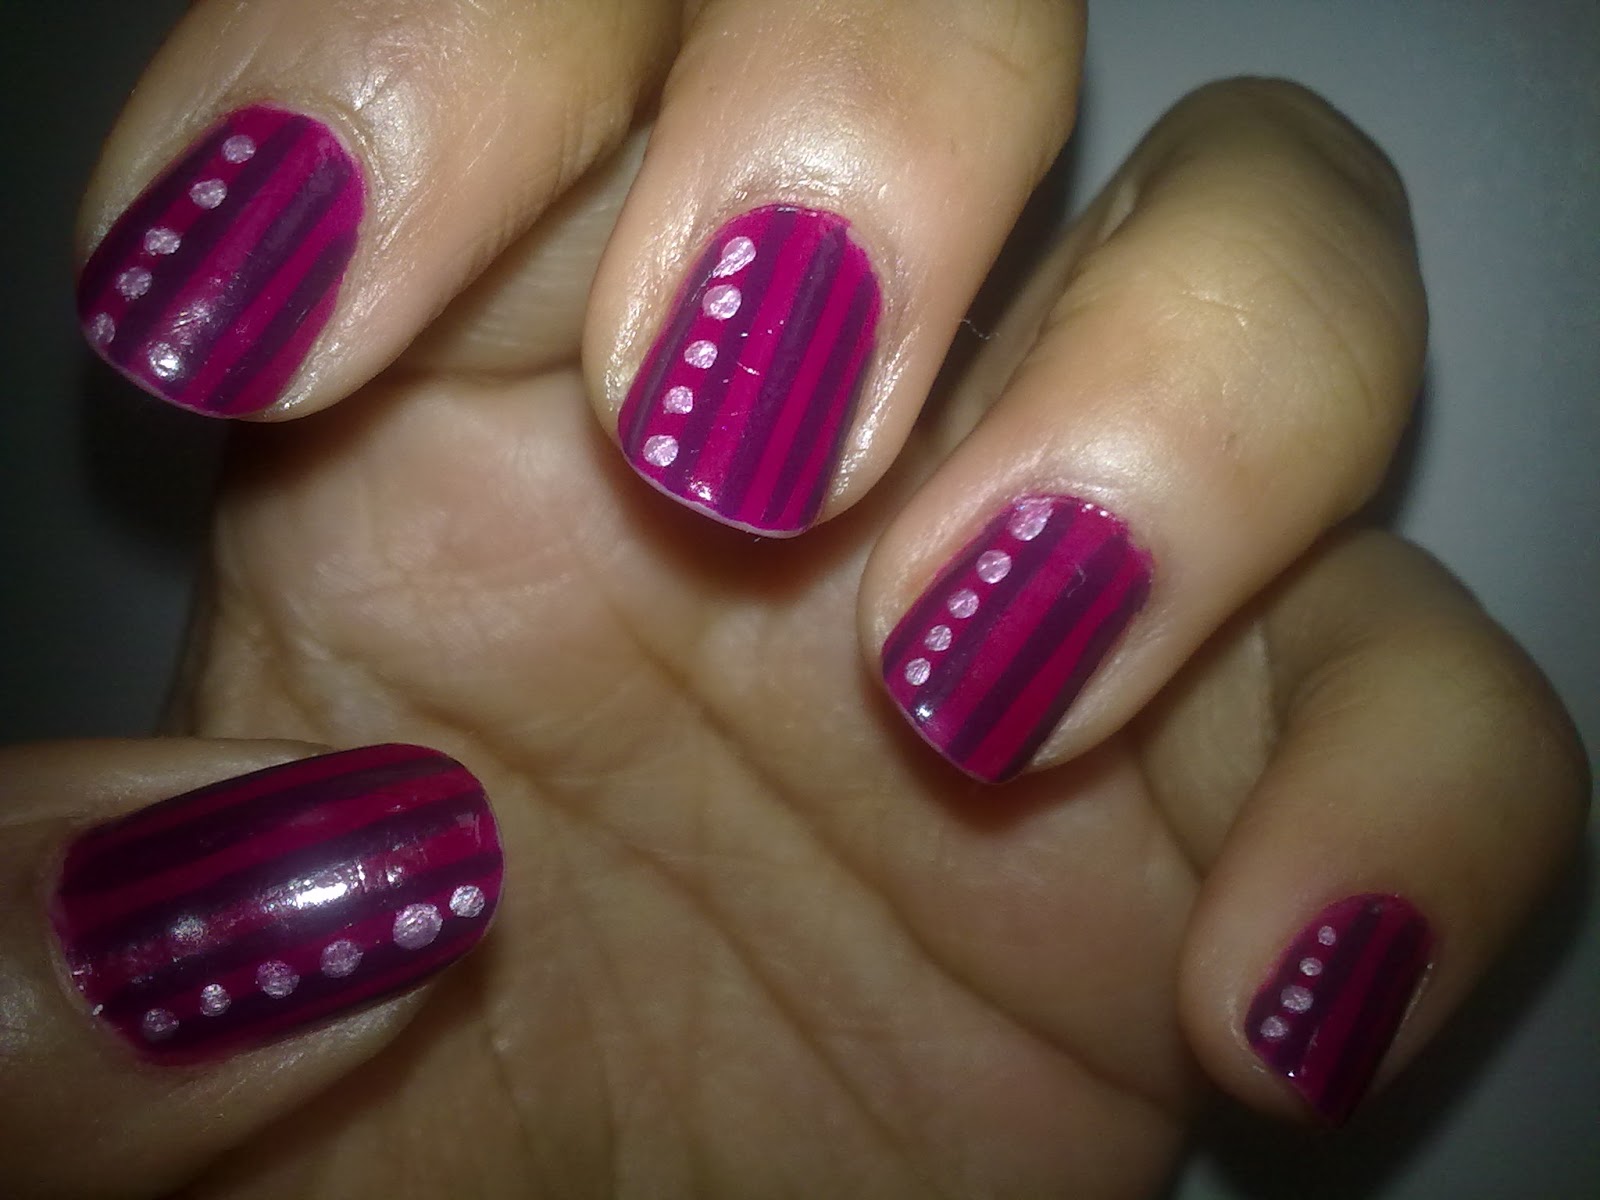
If you're new to nail art or just looking for a quick and easy design, this polka dot and stripes nail art is perfect for you. It requires minimal tools and can be done in just a few simple steps. Start by painting your nails with a red base color and let it dry completely. Then, using a striping brush, create thin white stripes on each nail. If you don't have a striping brush, you can use a regular nail polish brush or a toothpick to create the stripes. Next, take a dotting tool and create white dots on top of the stripes. You can vary the size and placement of the dots to add some interest to your design. Finally, seal in your design with a top coat and you're done!Easy Polka Dot and Stripes Nail Art


Easy Polka Dot and Stripes Nail Art


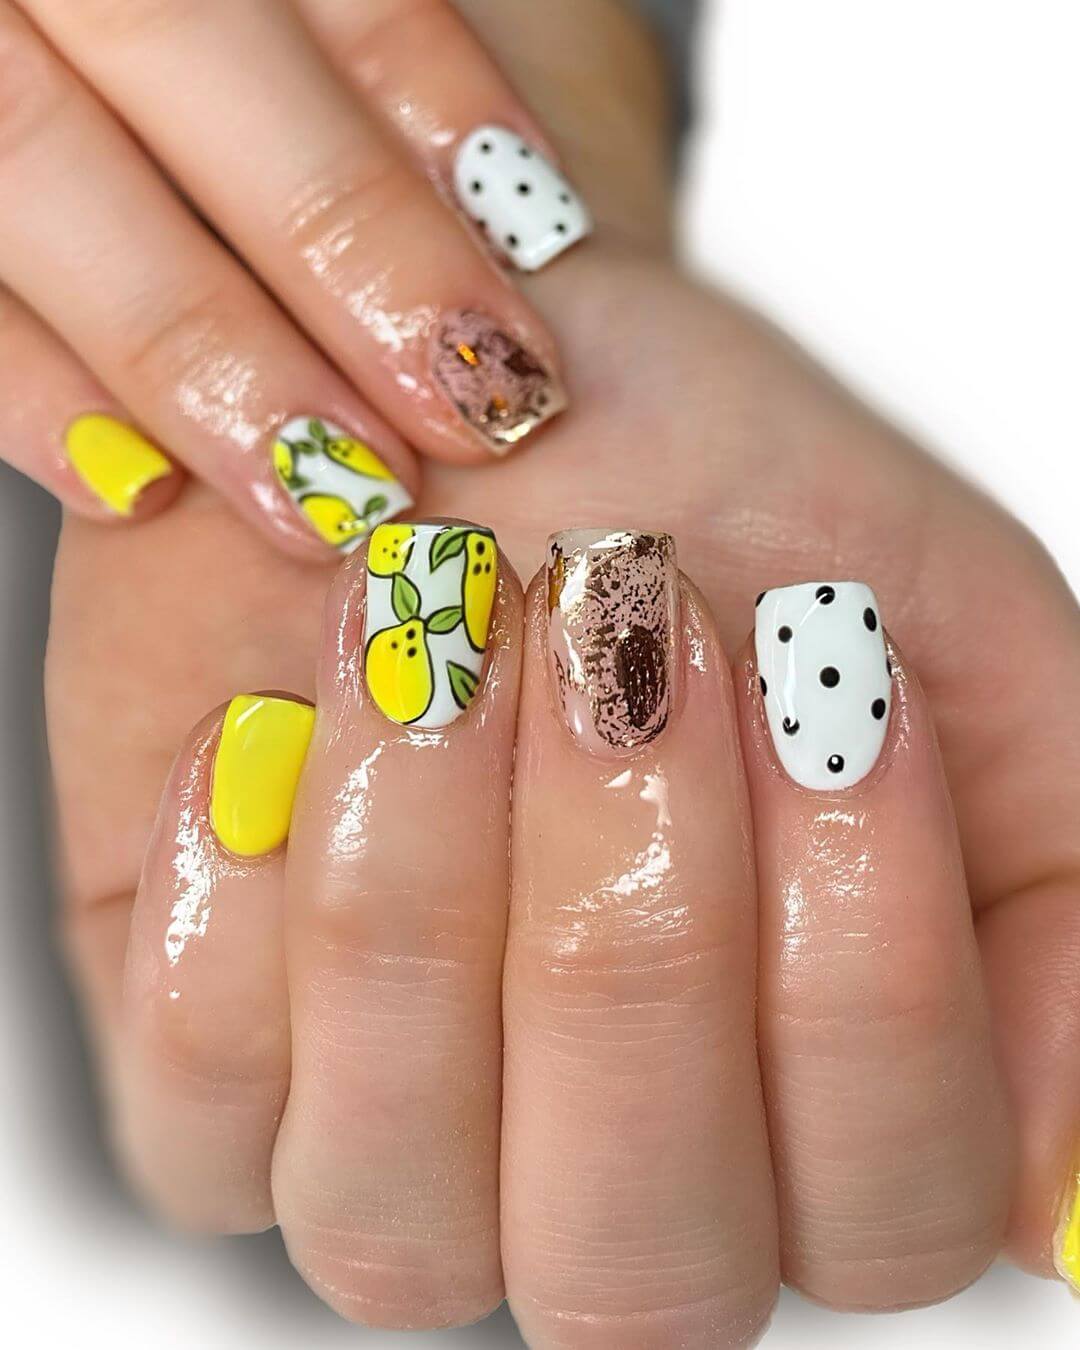
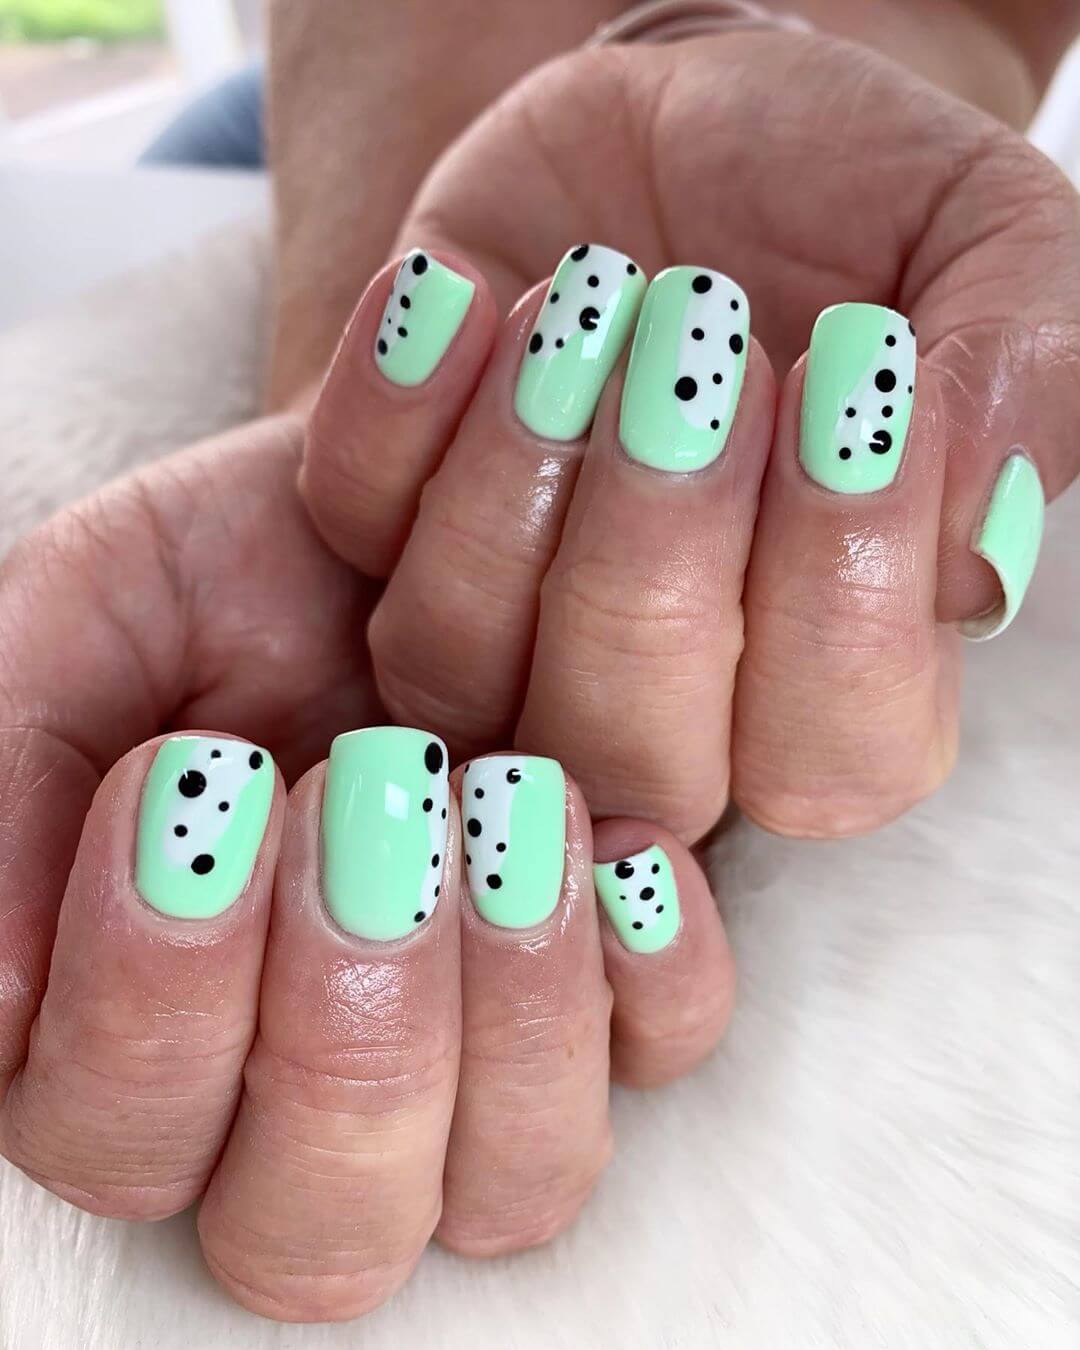
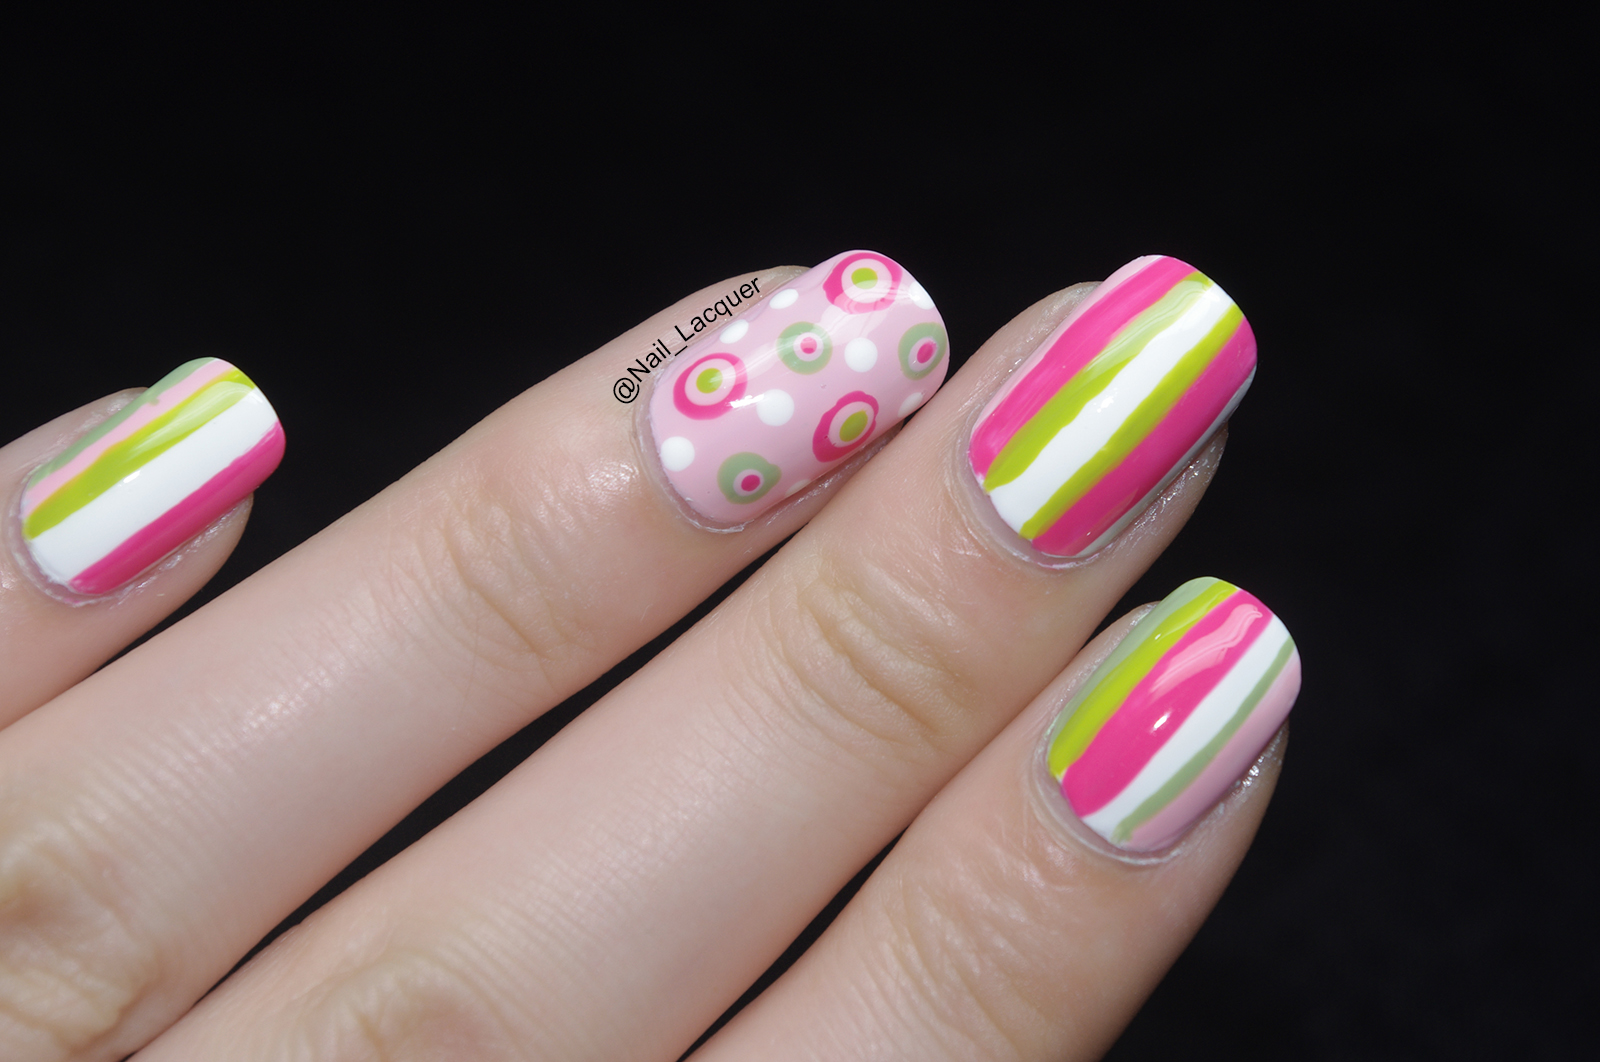
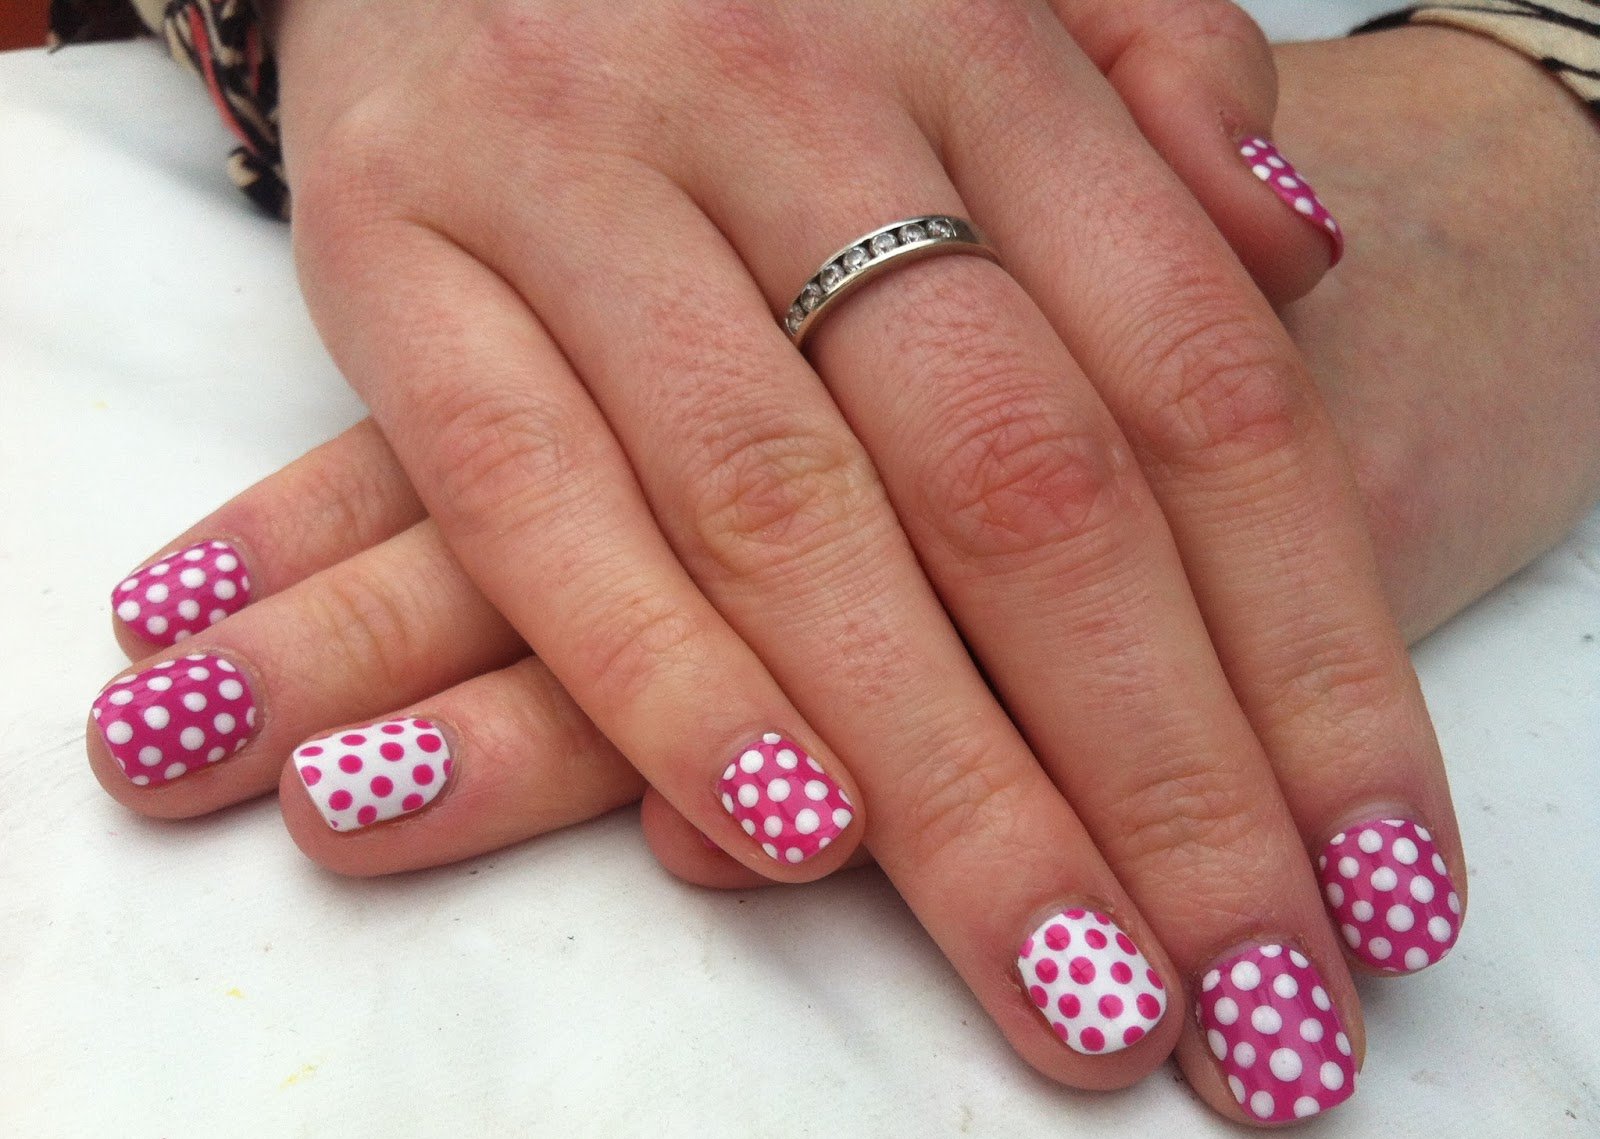
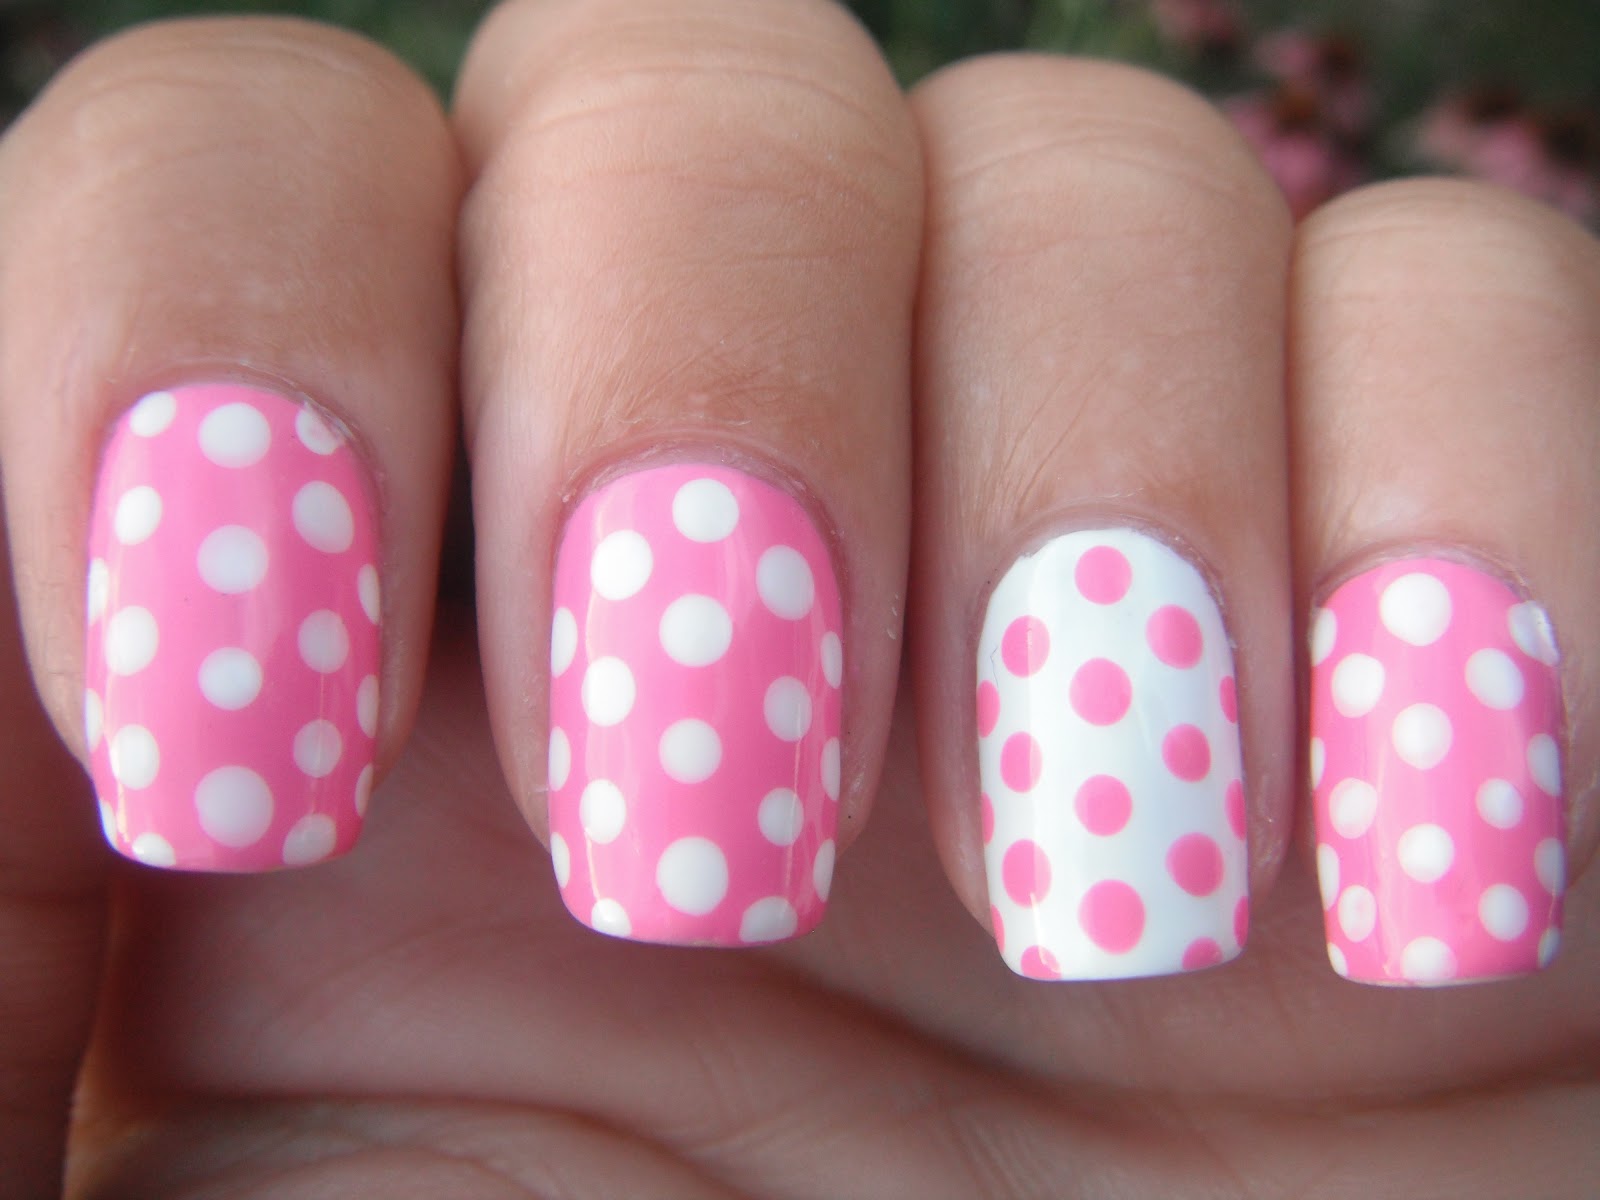
There are endless possibilities when it comes to polka dot and stripes nail art designs. You can mix and match colors, change up the size and placement of the dots and stripes, and even add in other elements like glitter or rhinestones. Here are a few design ideas to inspire you: - Pastel polka dots and stripes: Use soft pastel colors like pink, blue, and purple to create a sweet and feminine look. - Rainbow polka dots and stripes: Embrace your love for color with a rainbow-inspired design. Use a different color for each nail or create a gradient effect with rainbow stripes. - Black and white polka dots and stripes: For a classic and chic look, stick to a black and white color scheme. You can even add in some gold accents for an extra touch of glamour.Polka Dot and Stripes Nail Art Designs

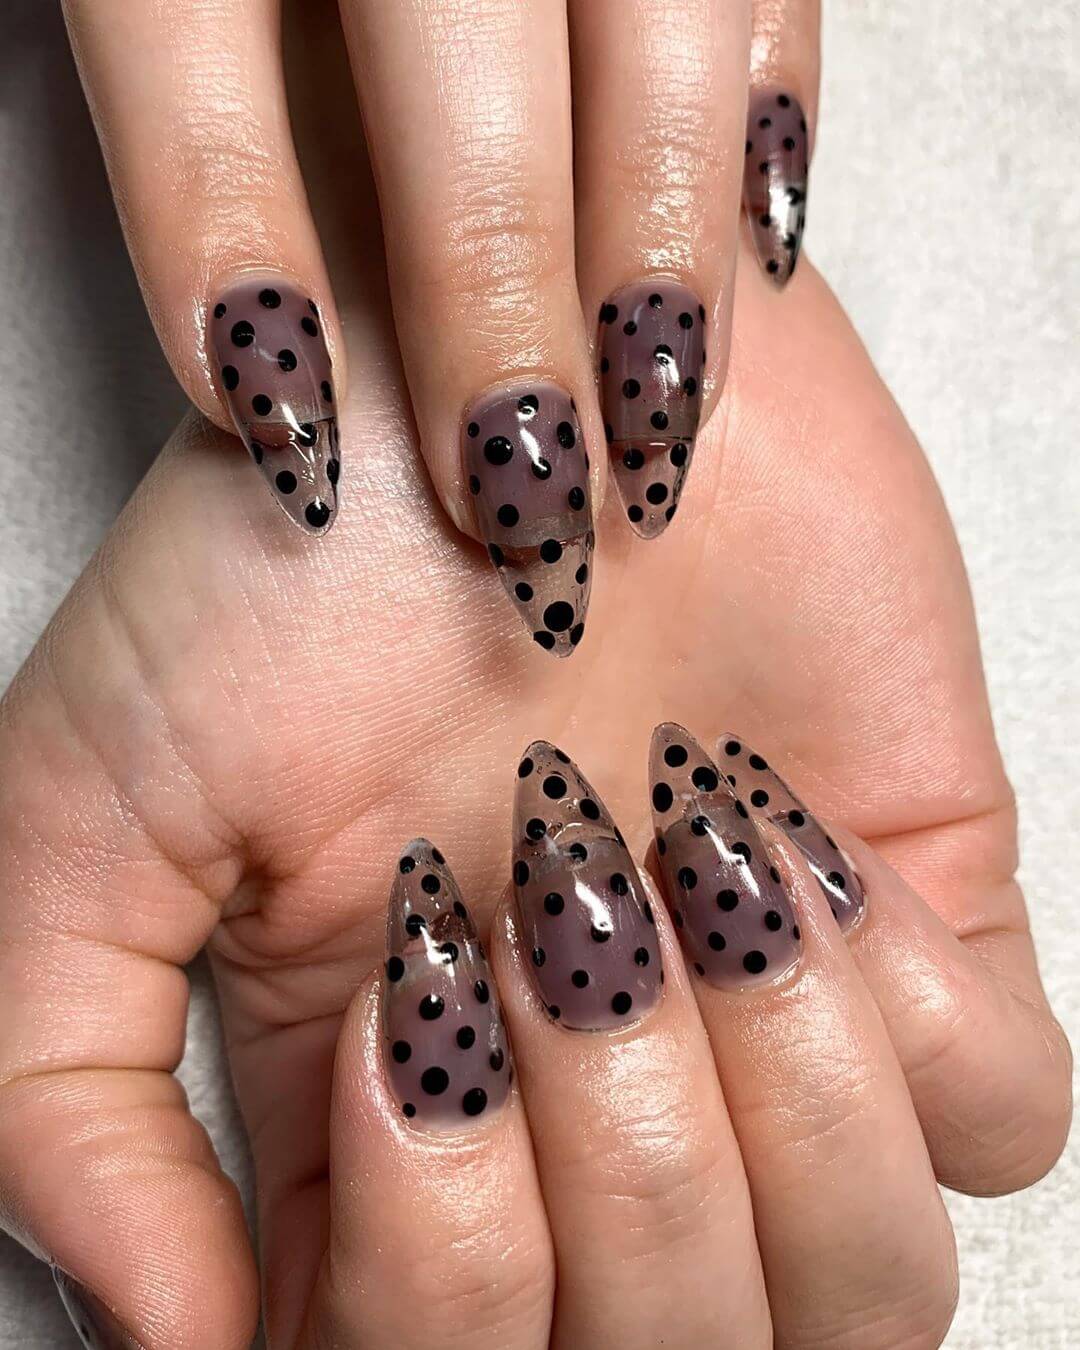

Polka Dot and Stripes Nail Art Designs


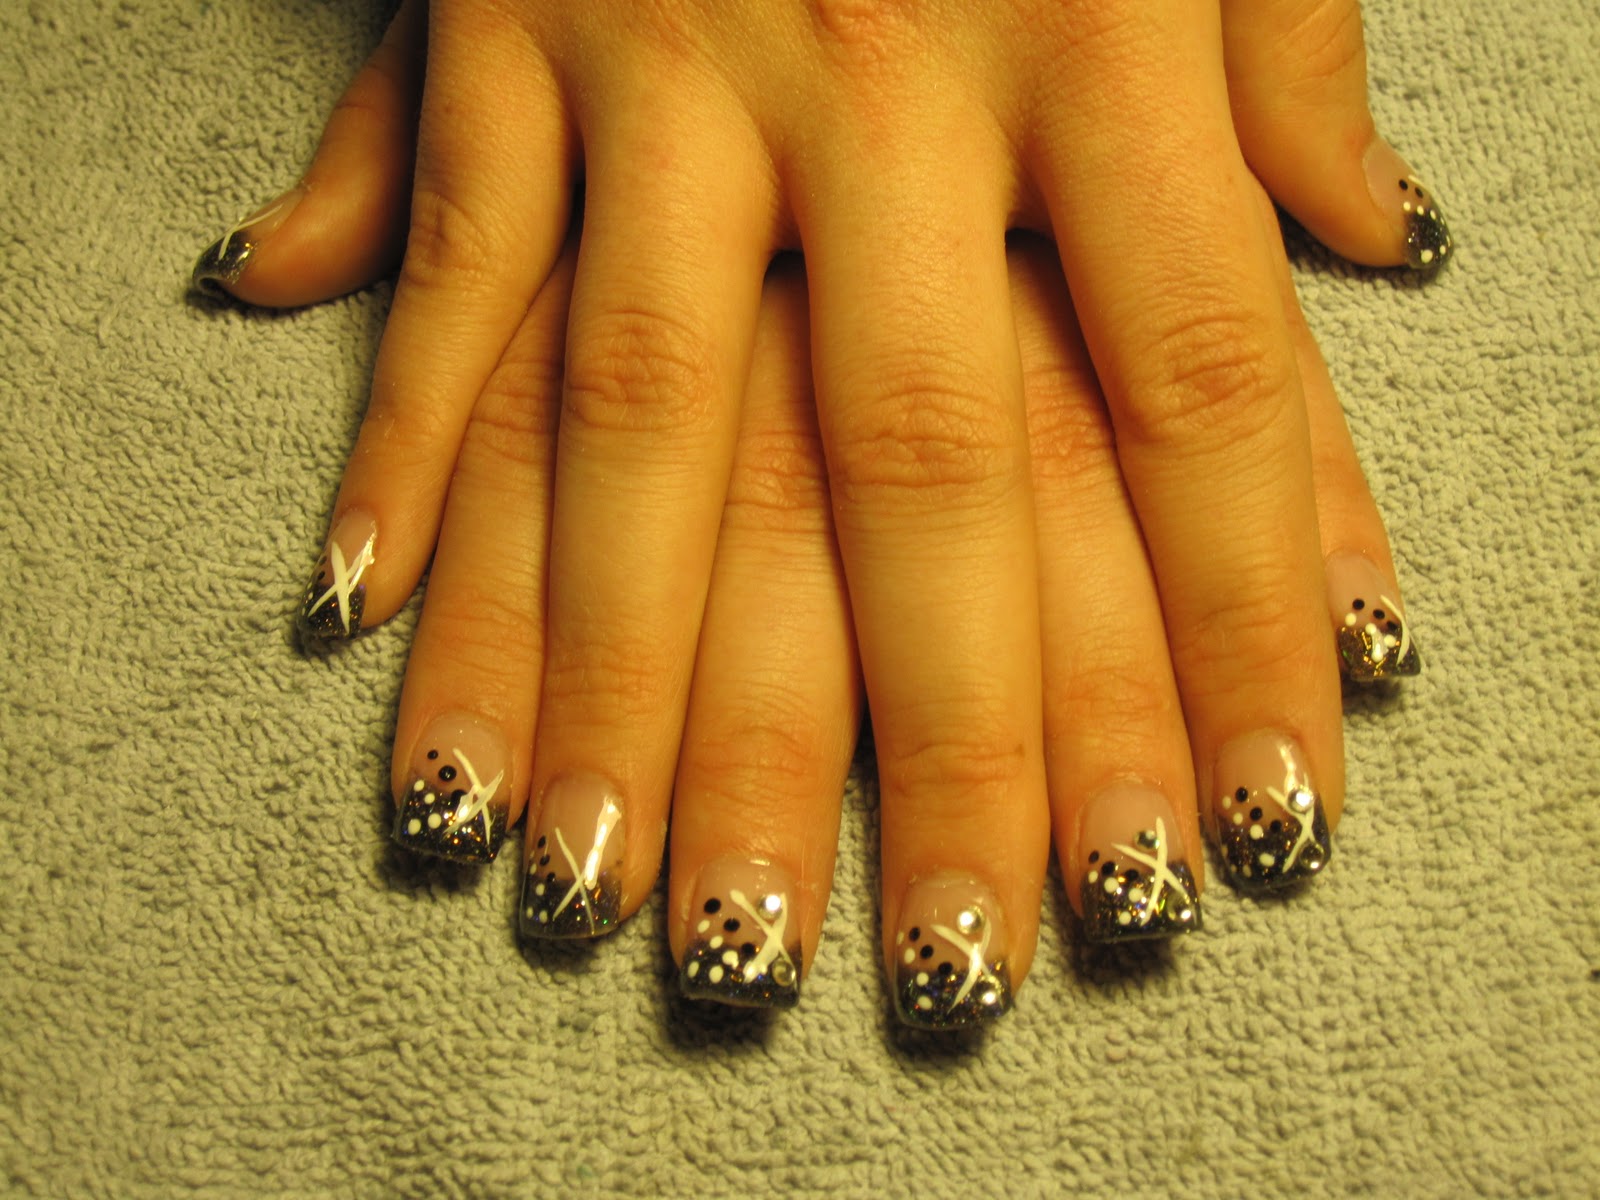
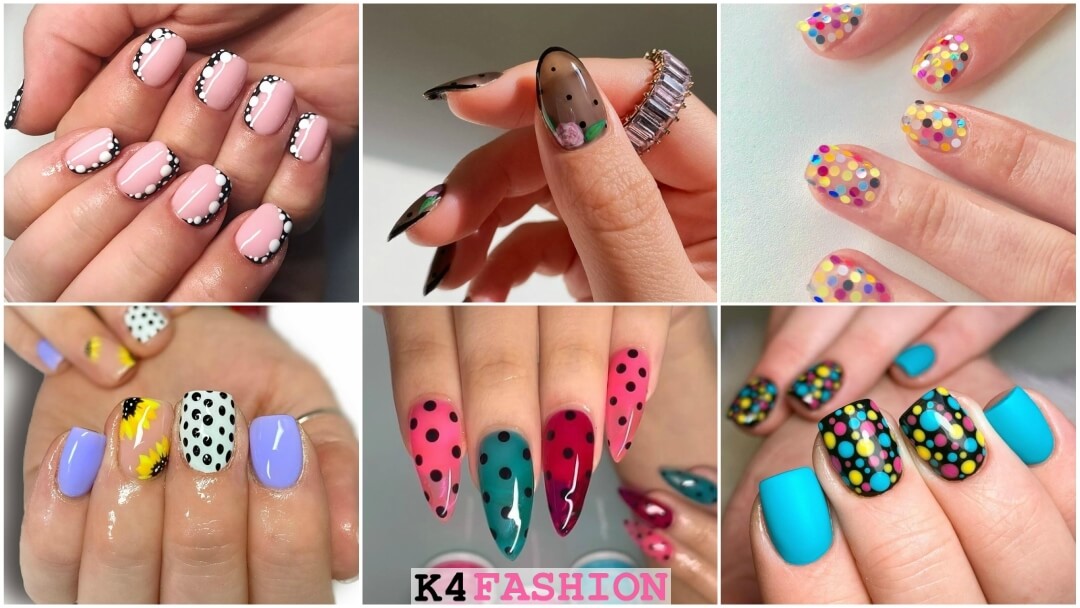
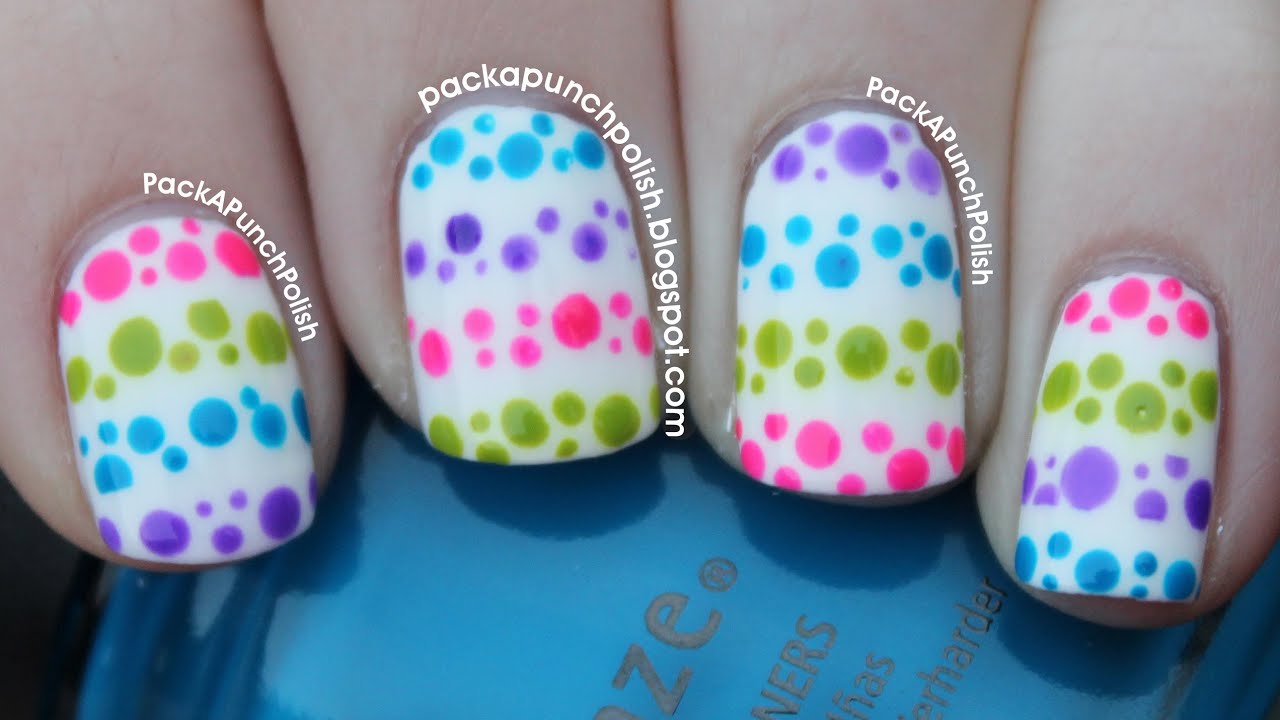
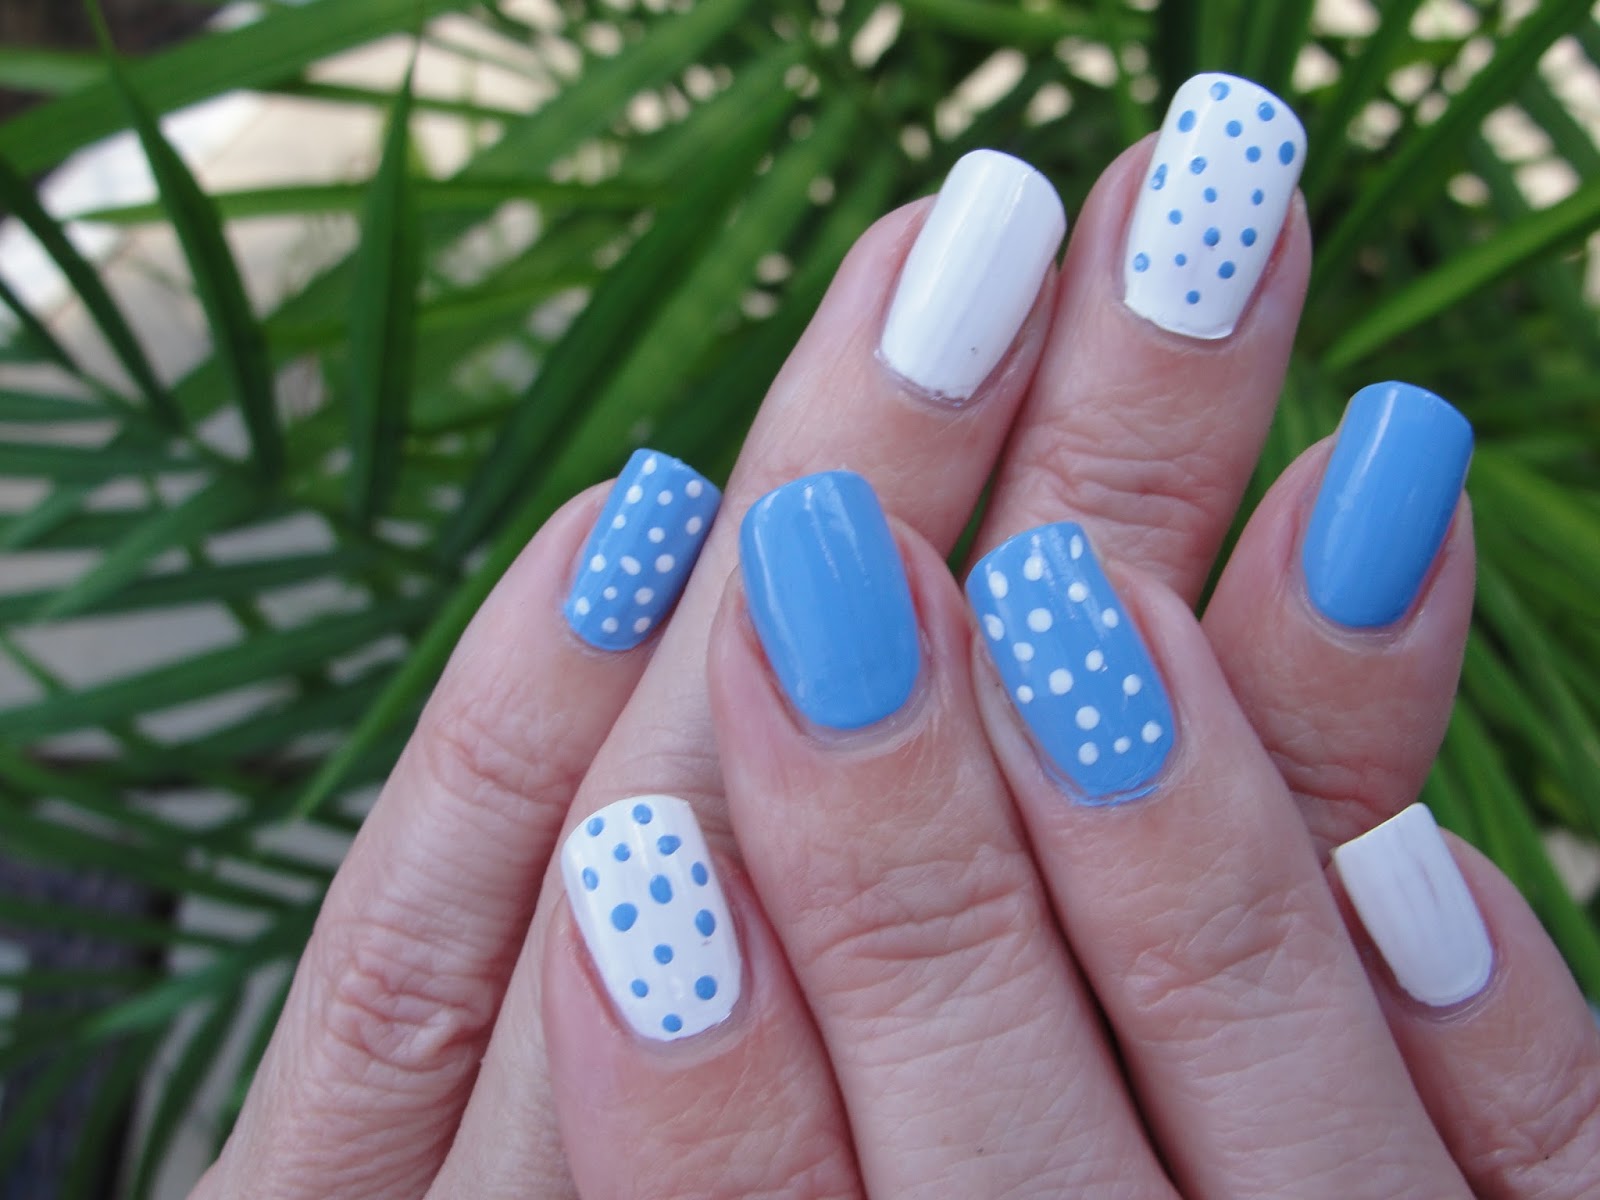
If you're feeling stuck and need some inspiration for your polka dot and stripes nail art, here are a few ideas to get your creative juices flowing: - Nautical theme: Use blue and white colors to create a nautical-inspired design. Add in some anchor or striped patterns for an extra touch of seaside charm. - Floral polka dots and stripes: Combine two popular nail art designs by creating a floral polka dot and stripes design. Use a dotting tool to create flower shapes with your dots and add in some green leaves with your stripes. - Glitter polka dots and stripes: For a touch of sparkle, add some glitter to your polka dot and stripes design. You can either use a glitter nail polish or apply loose glitter with a nail art brush.Polka Dot and Stripes Nail Art Ideas


Polka Dot and Stripes Nail Art Ideas

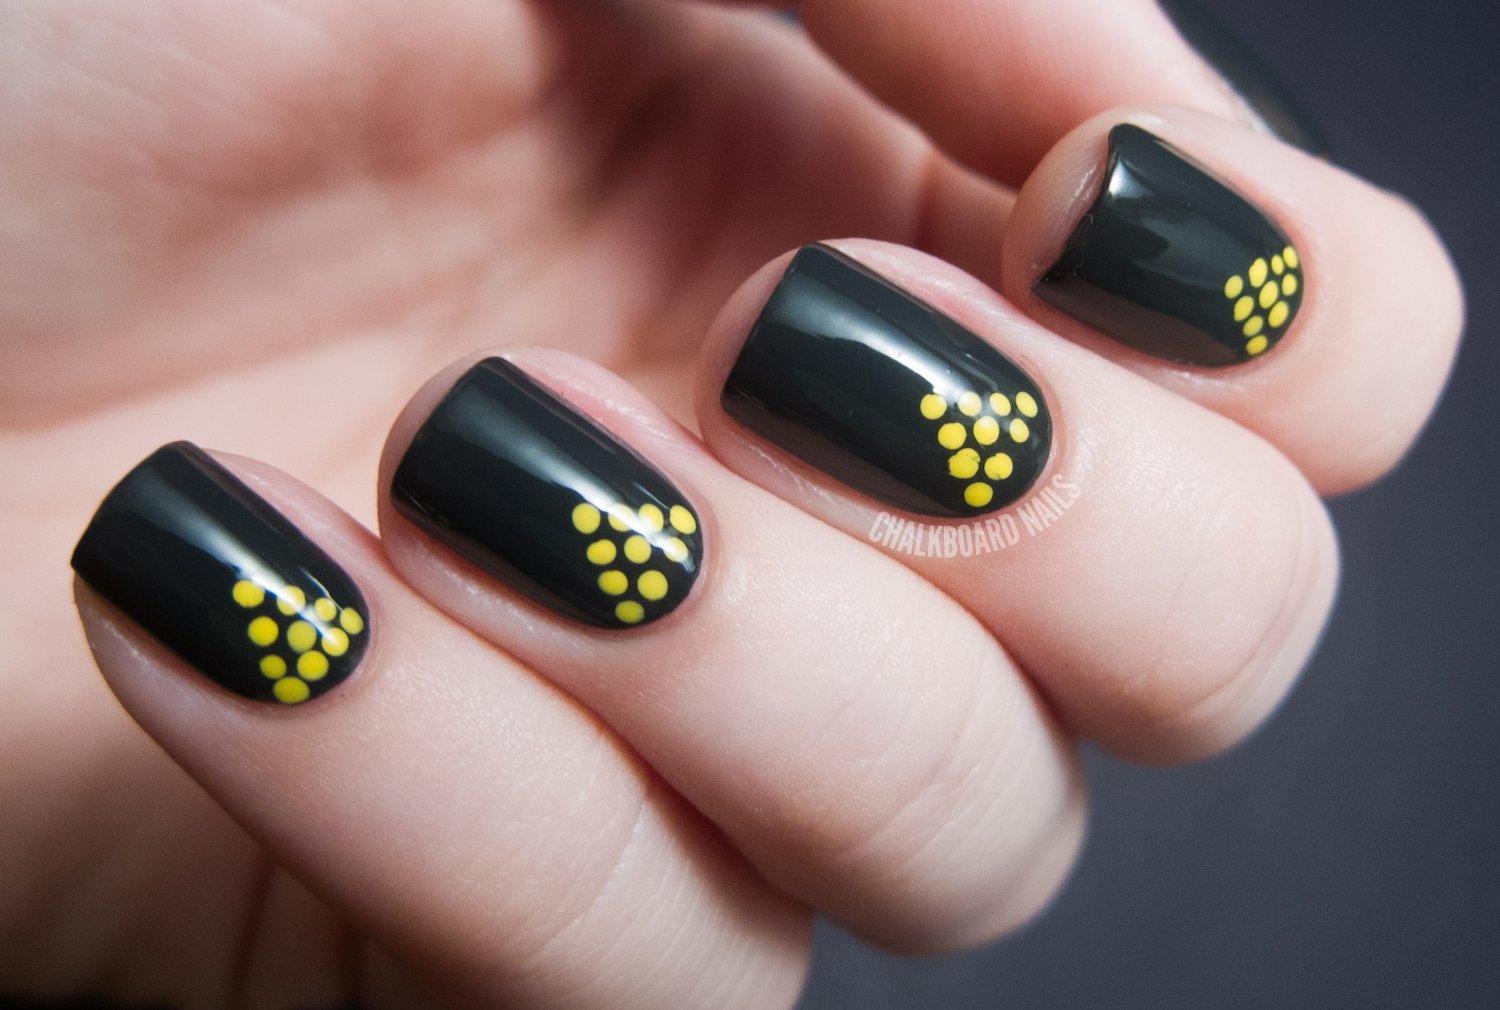
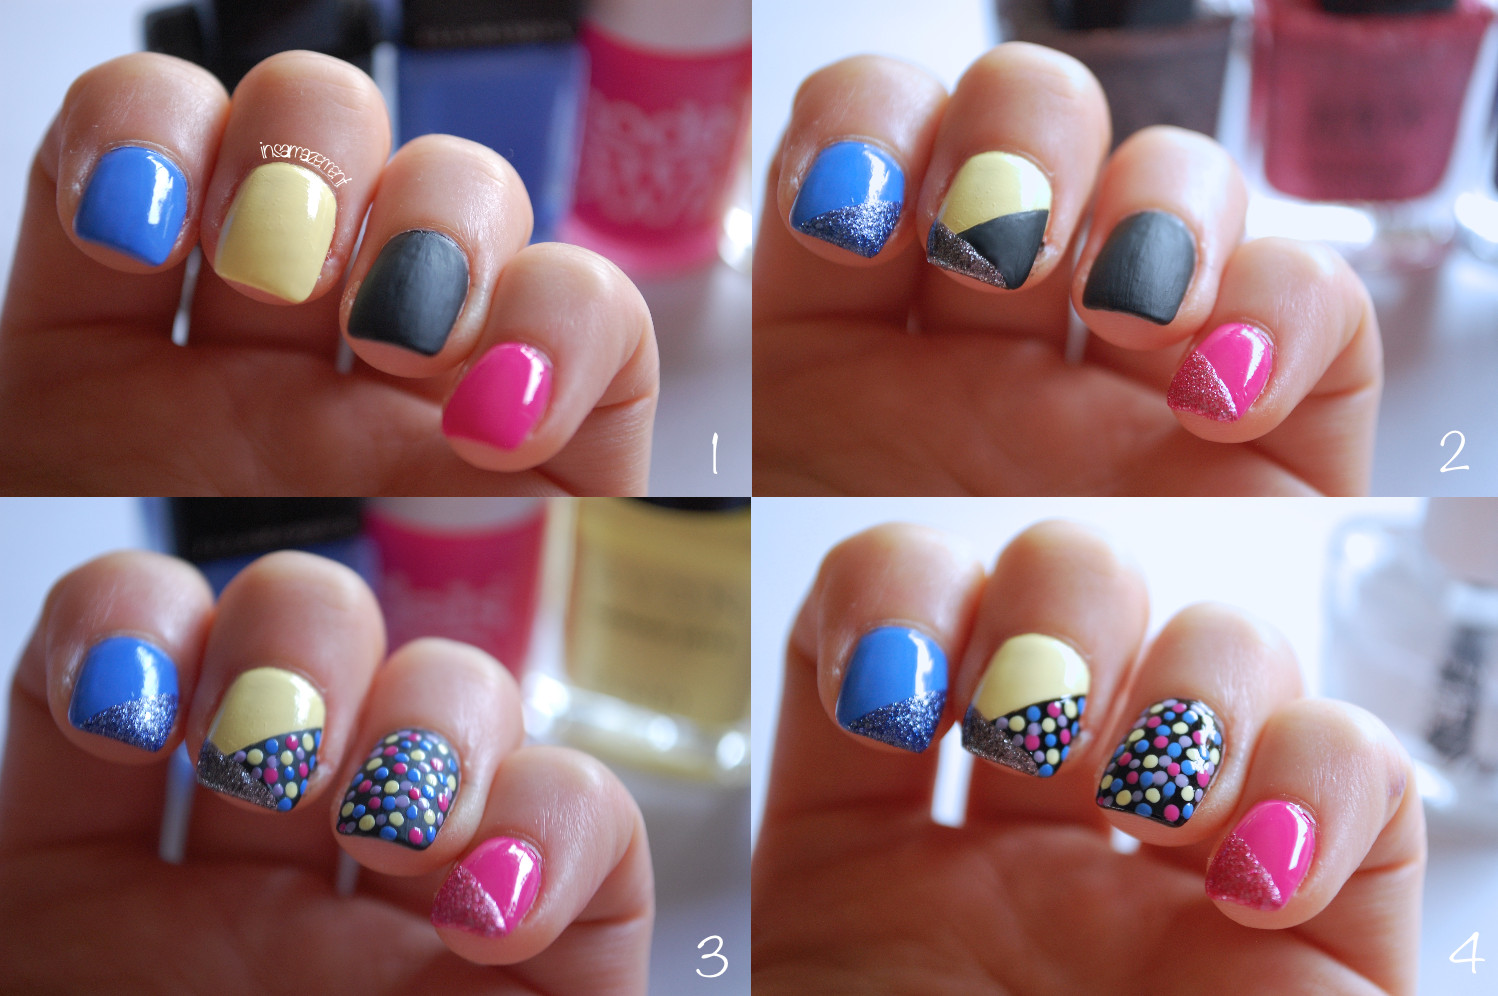
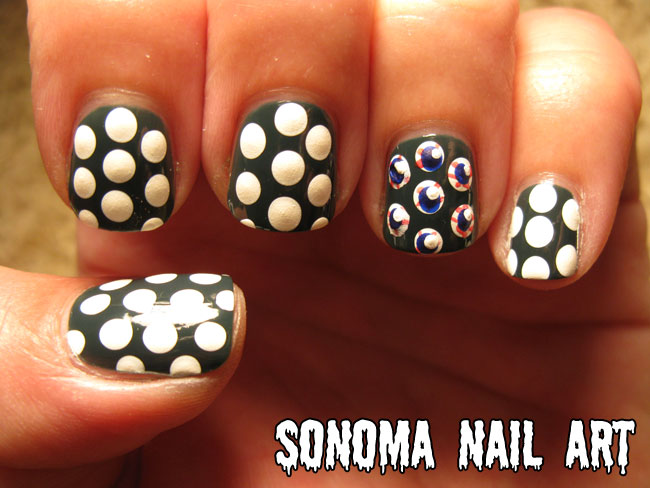
Still not sure how to incorporate polka dots and stripes into your nail art? Take a look at some of these stunning designs for inspiration: - Negative space polka dots and stripes: For a modern and edgy look, leave some negative space on your nails and add in polka dots and stripes in the remaining areas. - Geometric polka dots and stripes: Create a unique and eye-catching design by incorporating geometric shapes into your polka dot and stripes nail art. You can use triangles, chevrons, or circles to add some interest to your design. - Ombre polka dots and stripes: Blend two or more colors together to create an ombre effect on your nails. Then, add in some polka dots and stripes in a contrasting color to make the gradient pop.Polka Dot and Stripes Nail Art Inspiration
Polka Dot and Stripes Nail Art Inspiration
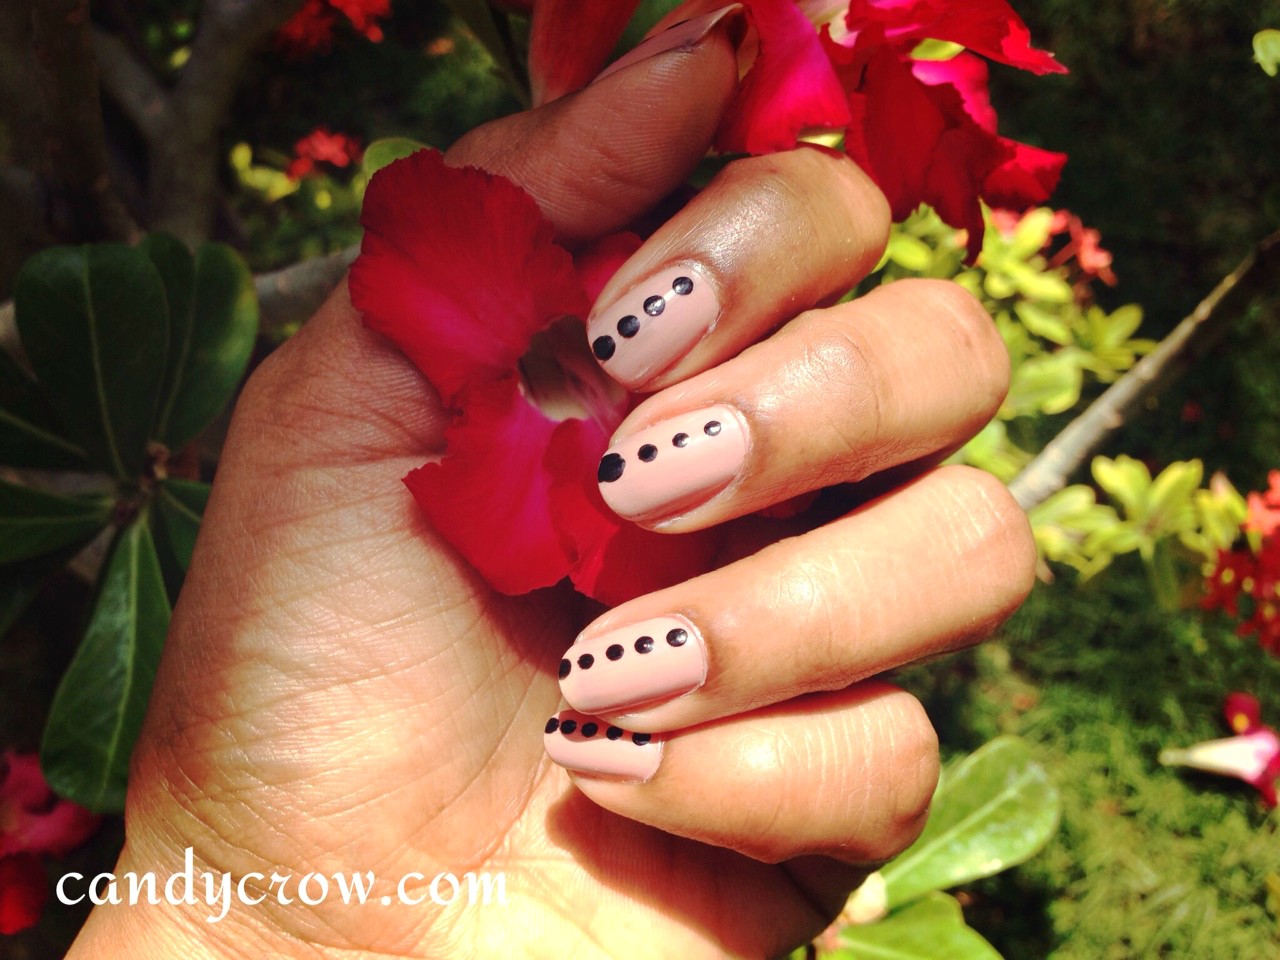
Here are a few tips to keep in mind when creating your polka dot and stripes nail art: - Use tape for clean lines: If you struggle with creating straight lines with a brush, use nail tape to mask off the area you don't want to paint on. - Play with placement: Don't be afraid to experiment with the placement of your dots and stripes. You can create a zig-zag pattern, diagonal lines, or even random placement for a more playful look. - Seal in your design: Always use a top coat to seal in your design and ensure it lasts longer. This will also help smooth out any bumps or imperfections.Polka Dot and Stripes Nail Art Tips

Polka Dot and Stripes Nail Art Tips
.JPG)
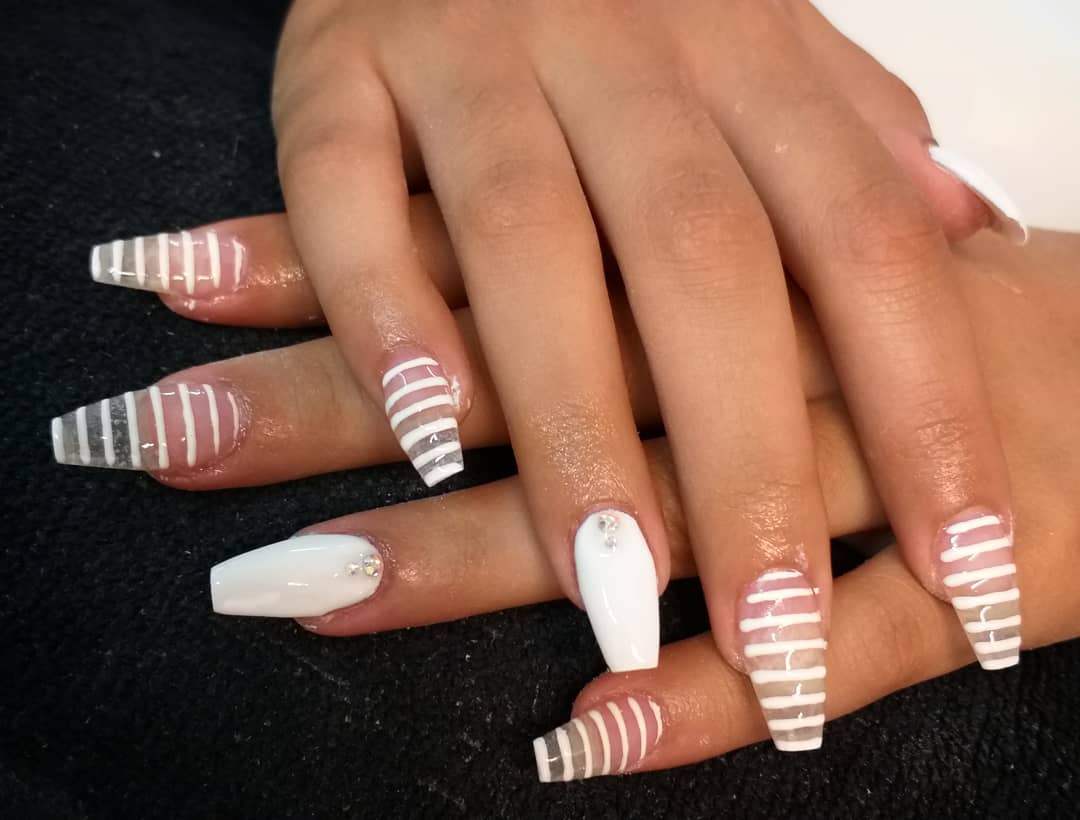
There are a few different techniques you can use to create polka dot and stripes nail art. Here are a few to try out: - Freehand: If you have a steady hand, you can create your dots and stripes freehand with a nail art brush. This allows for more creative control and can result in a more organic-looking design. - Dotting tool: A dotting tool is a must-have for creating perfect polka dots. You can find them at most beauty supply stores or use a bobby pin or toothpick as a makeshift dotting tool. - Nail tape: Nail tape is a great tool for creating clean and precise lines. Simply place it on your nail in the desired pattern, paint over it, and then remove the tape to reveal your design.Polka Dot and Stripes Nail Art Techniques
Polka Dot and Stripes Nail Art Techniques

Ready to create your own polka dot and stripes nail art? Follow these simple steps: Step 1: Start by painting your nails with a base color of your choice. Let it dry completely. Step 2: Using a striping brush, create thin stripes on your nails with a contrasting color. Step 3: Take a dotting tool and create dots on top of the stripes in a different color. Step 4: Repeat on all nails and let it dry completely. Step 5: Seal in your design with a top coat and you're done!Polka Dot and Stripes Nail Art Step by Step


Polka Dot and Stripes Nail Art Step by Step


If you're new to nail art, don't be intimidated by polka dot and stripes designs. They are actually quite easy to create and are a great way to start experimenting with different nail art techniques. Start with a simple design, like a single stripe or polka dot on each nail, and then work your way up to more complex designs as you gain confidence and skill.Polka Dot and Stripes Nail Art for Beginners

Polka Dot and Stripes Nail Art for Beginners

Short nails can also rock polka dot and stripes nail art! Here are a few tips for creating the perfect design on shorter nails: - Use smaller dots: If your nails are on the shorter side, using smaller dots will help your design look more proportional. - Go for thin stripes: Thinner stripes will also help elongate the look of your nails and make them appear longer. - Keep it simple: Stick to a simple design with fewer elements to avoid overcrowding your shorter nails. Now that you have all the tips and techniques for creating the perfect polka dot and stripes nail art, it's time to get creative and have fun with your designs! Whether you prefer a classic and elegant look or a bold and playful one, there's a polka dot and stripes design out there for you. So grab your nail polish and get ready to show off your unique style on your nails.Polka Dot and Stripes Nail Art for Short Nails

Polka Dot and Stripes Nail Art for Short Nails


Add Some Fun to Your Nail Design with Polka Dot Stripe Nail Art

Why settle for plain, single-colored nails when you can add a touch of playfulness and creativity to your nail design with polka dot stripe nail art?
 If you're tired of the same old solid color manicure, it's time to switch things up and try something new. Polka dot stripe nail art is a fun and easy way to add some personality and flair to your nails. This design combines two classic patterns – polka dots and stripes – to create a unique and eye-catching look.
Polka dots
have been a popular fashion trend for decades and have made their way onto nails as well. These cute, round dots can be done in a variety of sizes and colors, making them a versatile pattern for nail art. They add a fun and playful touch to any manicure.
Stripes
, on the other hand, are a timeless pattern that never goes out of style. They can be done in various directions – horizontal, vertical, or diagonal – and can be thick or thin. Stripes add a touch of sophistication and elegance to any nail design.
Now, imagine combining these two patterns into one nail design – polka dot stripe nail art. The result is a chic and fun look that is perfect for any occasion. Whether you're heading to the office or going out with friends, this nail design will surely turn heads and make a statement.
To achieve this look, start by painting your nails with a base color of your choice. Then, using a
nail dotting tool
or a
thin brush
, create polka dots on some of your nails. You can use different colors for the dots or stick to one color for a more cohesive look.
Next, use a
striper brush
or
striping tape
to create stripes on the remaining nails. You can experiment with different colors and directions to create a unique look for each nail.
Once you've completed the polka dots and stripes, finish off with a
top coat
to seal in your design and add shine. Voila! You now have a fun and playful polka dot stripe nail art.
So, why settle for a plain and boring manicure when you can add some fun and creativity with polka dot stripe nail art? Give this design a try and let your nails do the talking.
If you're tired of the same old solid color manicure, it's time to switch things up and try something new. Polka dot stripe nail art is a fun and easy way to add some personality and flair to your nails. This design combines two classic patterns – polka dots and stripes – to create a unique and eye-catching look.
Polka dots
have been a popular fashion trend for decades and have made their way onto nails as well. These cute, round dots can be done in a variety of sizes and colors, making them a versatile pattern for nail art. They add a fun and playful touch to any manicure.
Stripes
, on the other hand, are a timeless pattern that never goes out of style. They can be done in various directions – horizontal, vertical, or diagonal – and can be thick or thin. Stripes add a touch of sophistication and elegance to any nail design.
Now, imagine combining these two patterns into one nail design – polka dot stripe nail art. The result is a chic and fun look that is perfect for any occasion. Whether you're heading to the office or going out with friends, this nail design will surely turn heads and make a statement.
To achieve this look, start by painting your nails with a base color of your choice. Then, using a
nail dotting tool
or a
thin brush
, create polka dots on some of your nails. You can use different colors for the dots or stick to one color for a more cohesive look.
Next, use a
striper brush
or
striping tape
to create stripes on the remaining nails. You can experiment with different colors and directions to create a unique look for each nail.
Once you've completed the polka dots and stripes, finish off with a
top coat
to seal in your design and add shine. Voila! You now have a fun and playful polka dot stripe nail art.
So, why settle for a plain and boring manicure when you can add some fun and creativity with polka dot stripe nail art? Give this design a try and let your nails do the talking.


