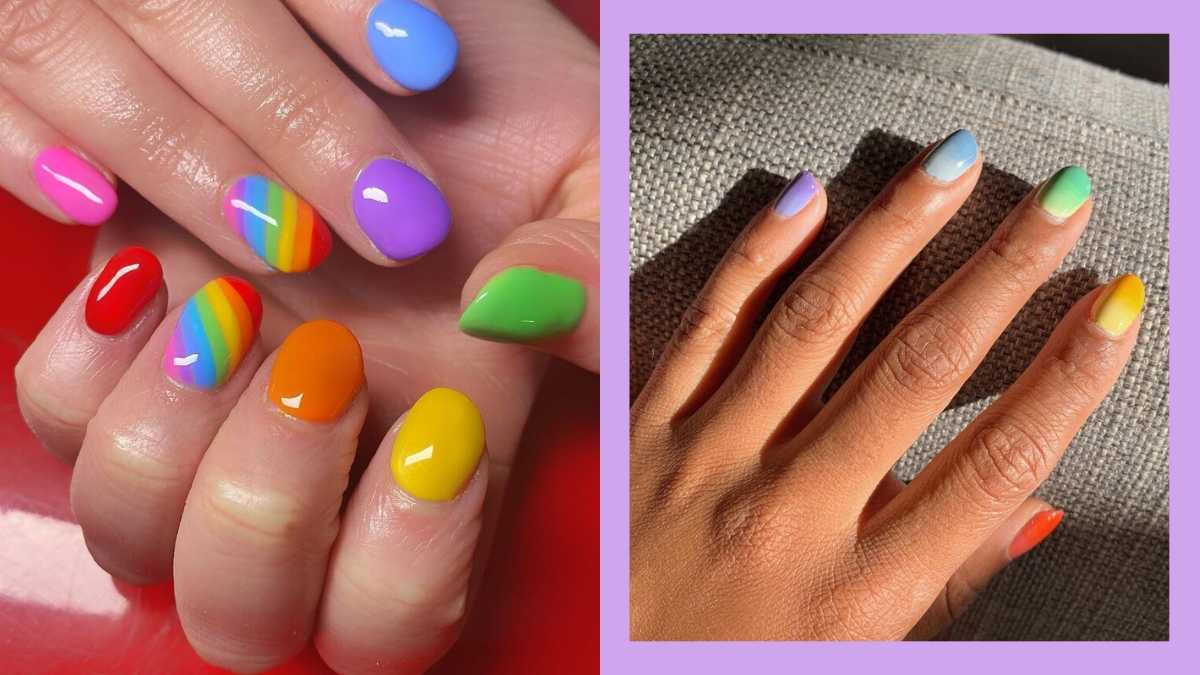
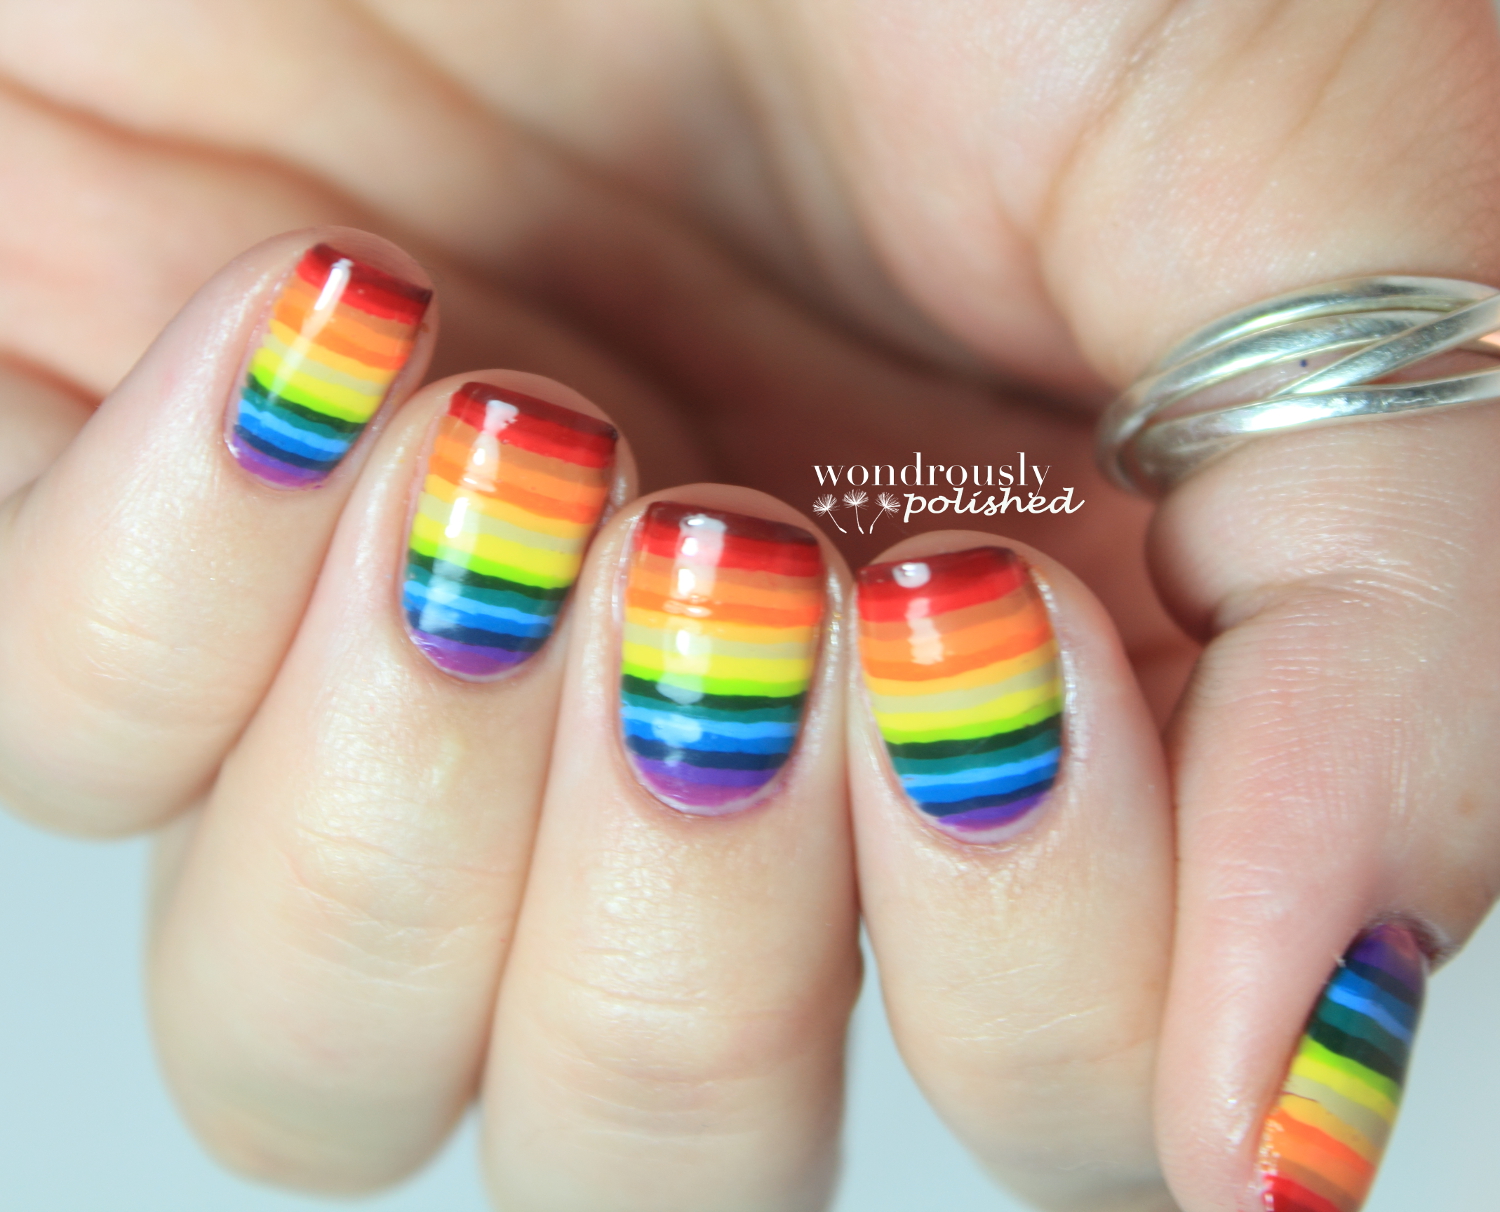
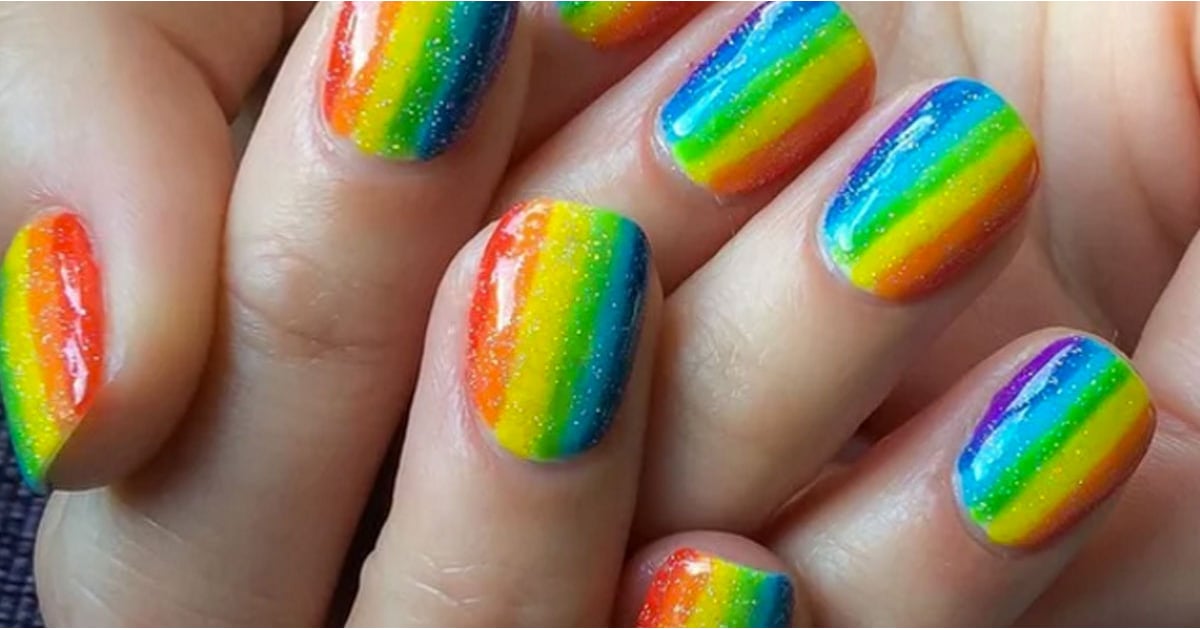
If you want to add a touch of whimsy and playfulness to your nails, why not try a rainbow ombre nail art? This colorful design gradually blends different shades of the rainbow, creating a stunning gradient effect on your nails. To achieve this look, start with a white base coat and apply stripes of different colored polishes on a makeup sponge. Then, gently dab the sponge onto your nails, repeating the process until you achieve the desired ombre effect. Finish off with a top coat for a glossy finish.1. Rainbow Ombre Nail Art


1. Rainbow Ombre Nail Art


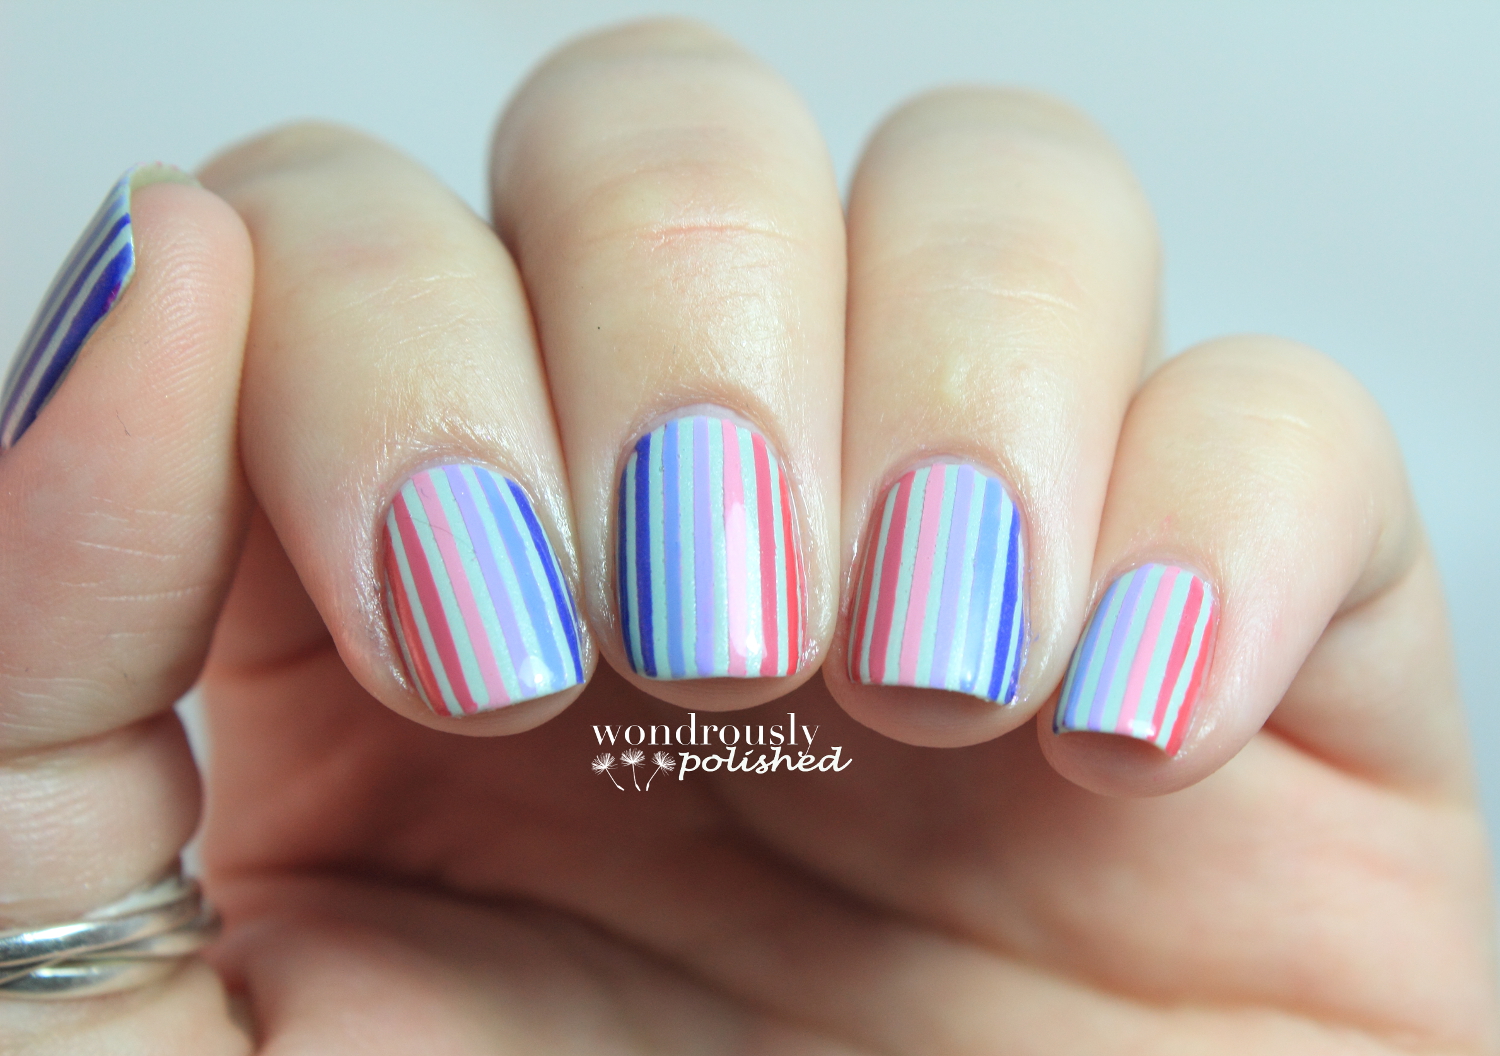
For a bold and eye-catching nail design, try a colorful striped nail art. This design is perfect for those who love vibrant colors and geometric patterns. To create this look, start with a white base coat and use nail striping tape to create even stripes on your nails. Once the tape is in place, paint each stripe with a different color, peeling off the tape while the polish is still wet. Finish off with a top coat to seal in your design.2. Colorful Striped Nail Design


2. Colorful Striped Nail Design


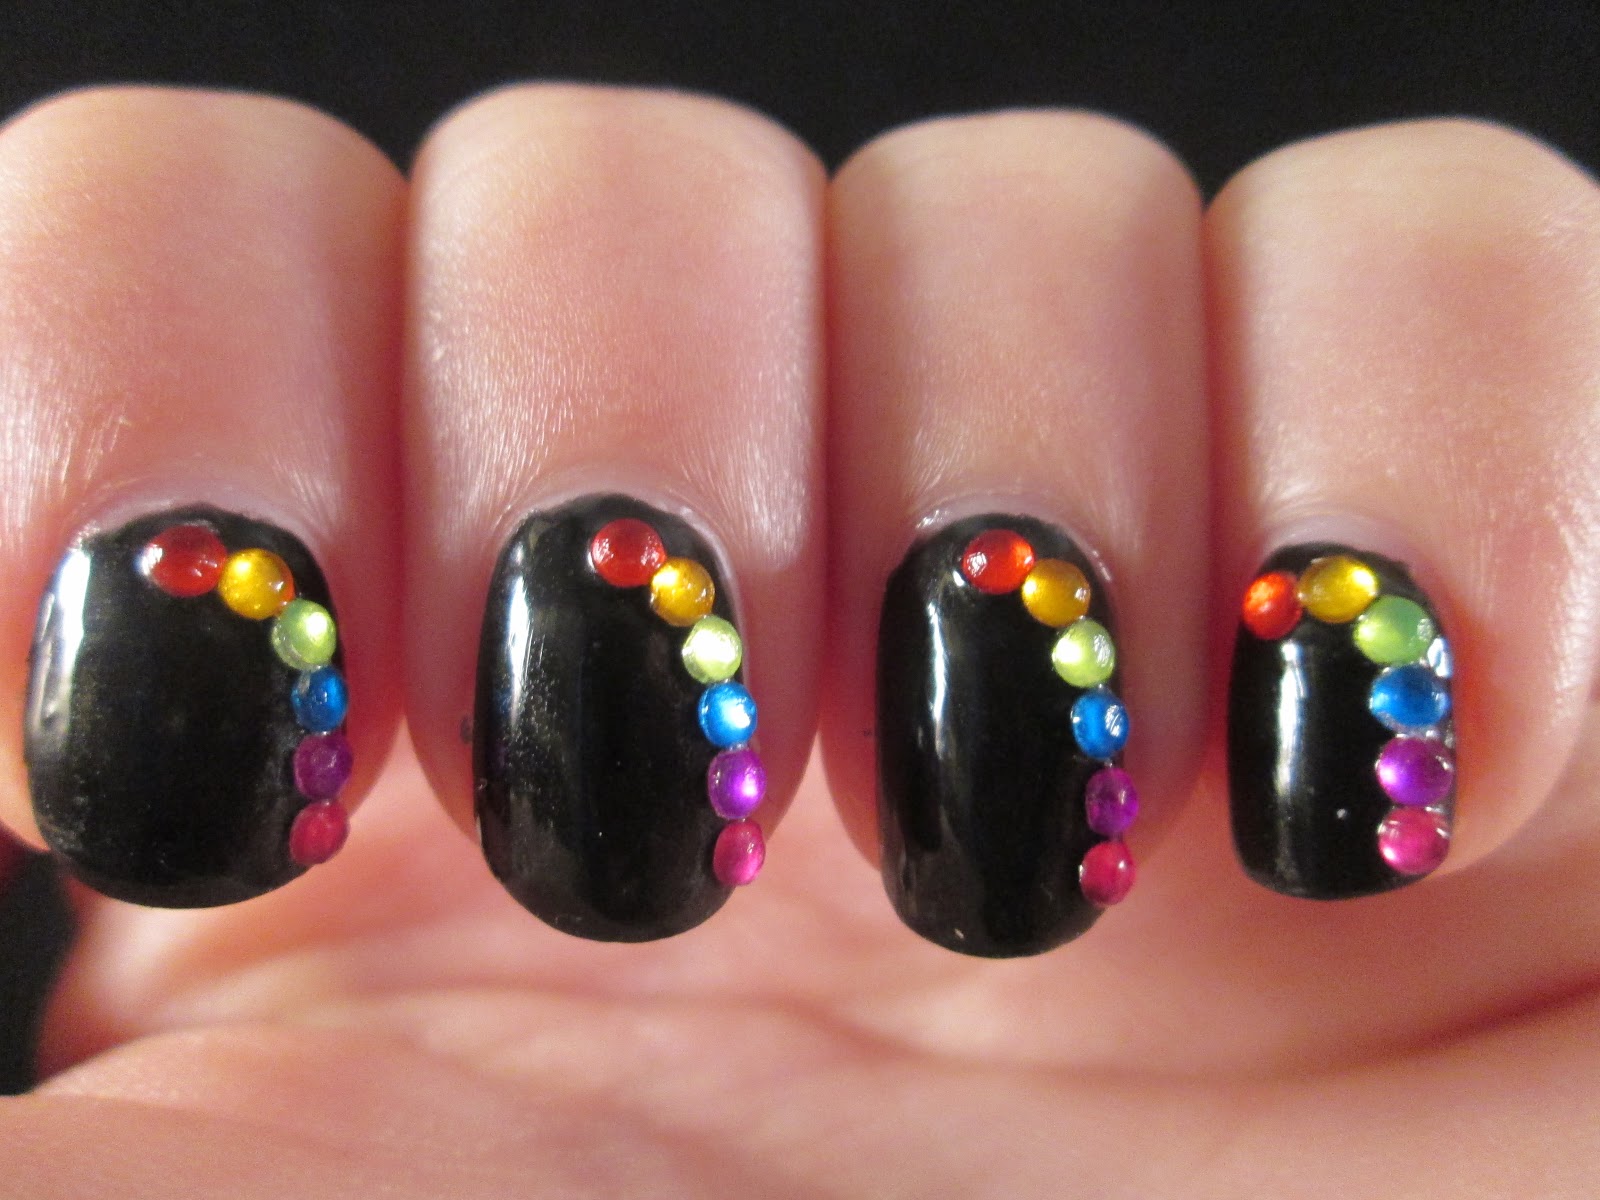
Add some sparkle and shine to your nails with a rainbow glitter accent nail design. This is a fun and easy way to incorporate the colors of the rainbow into your nail art. To create this look, start with a white base coat and apply your choice of rainbow-colored glitter polish on one or two accent nails. You can also use a small brush to create rainbow stripes on your accent nails. Finish off with a top coat to seal in the glitter and give your nails a glossy finish.3. Rainbow Glitter Accent Nails


3. Rainbow Glitter Accent Nails


If you prefer softer and more subtle colors, a pastel rainbow nail art is the perfect design for you. This delicate and feminine look is perfect for any occasion. To create this design, start with a white base coat and use pastel colored polishes to paint rainbow stripes on each nail. You can also add some small dots or stars in between the stripes for an extra touch of cuteness. Finish off with a top coat to give your nails a smooth and shiny finish.4. Pastel Rainbow Nail Art
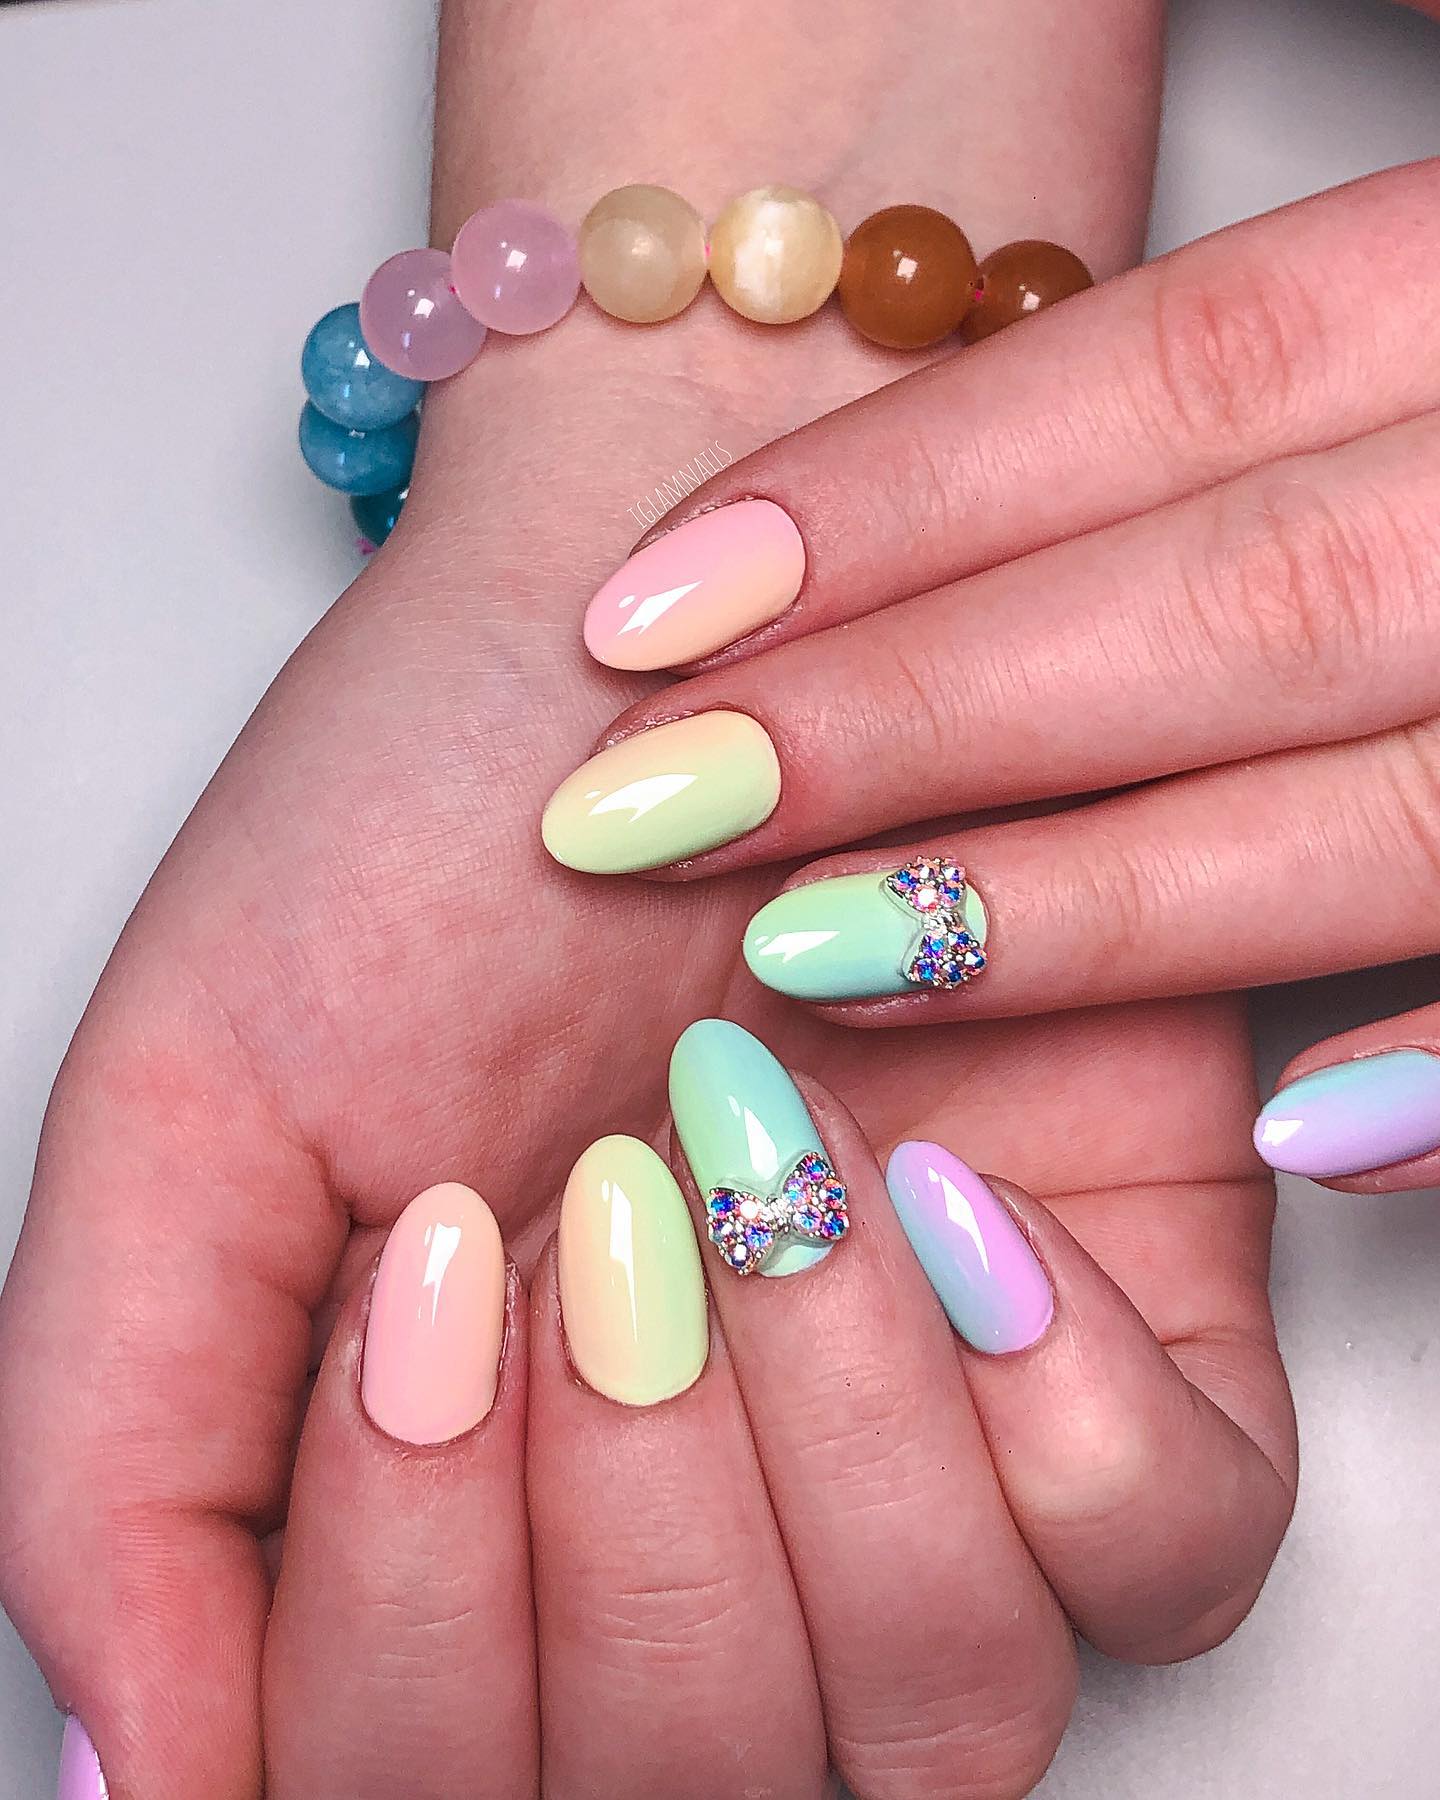


4. Pastel Rainbow Nail Art
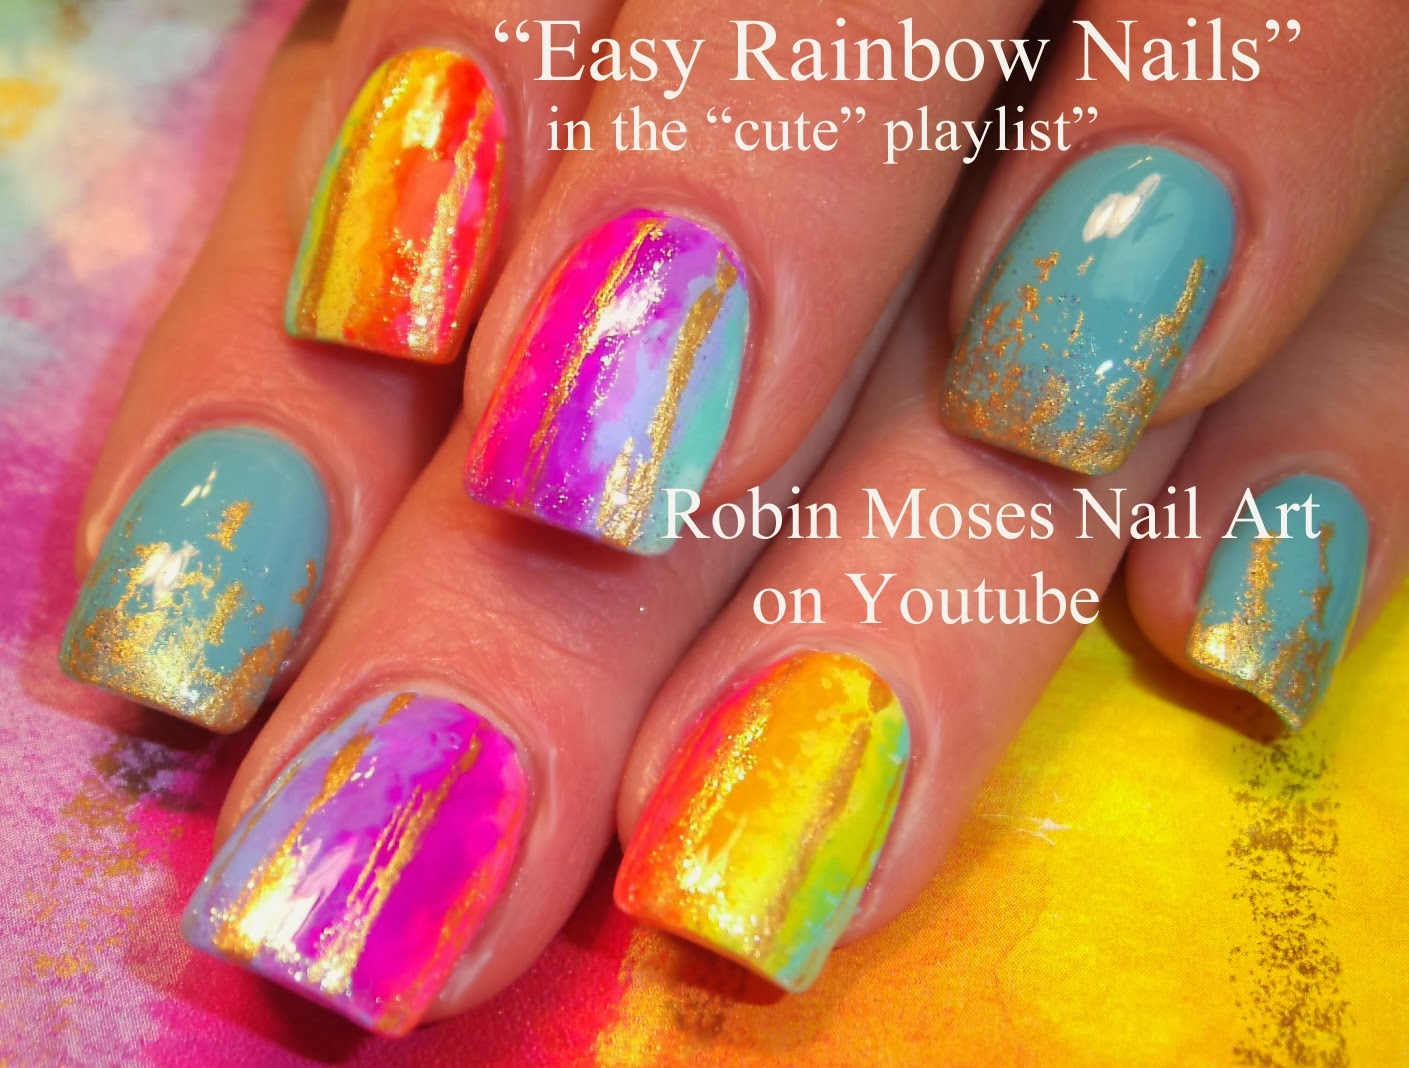
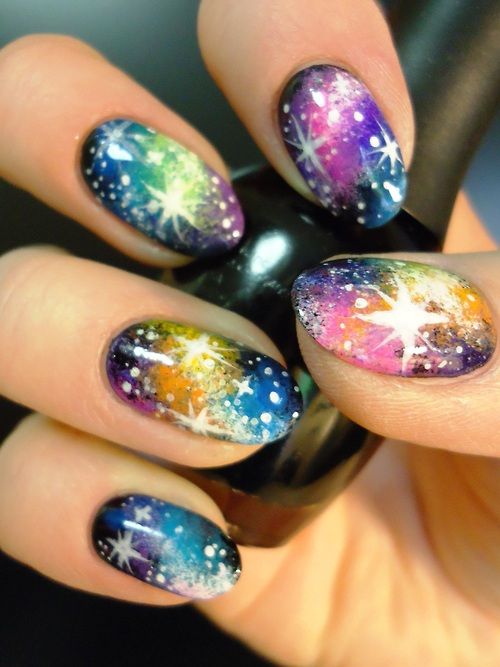
For a unique and artistic nail design, try a rainbow marble nail art. This design mimics the look of marbled paper and adds a fun twist to the traditional rainbow design. To create this look, start with a white base coat and apply small drops of different colored polishes on your nails. Then, use a toothpick or a thin brush to create swirls and marbled patterns. Finish off with a top coat to seal in your design.5. Rainbow Marble Nail Design

5. Rainbow Marble Nail Design
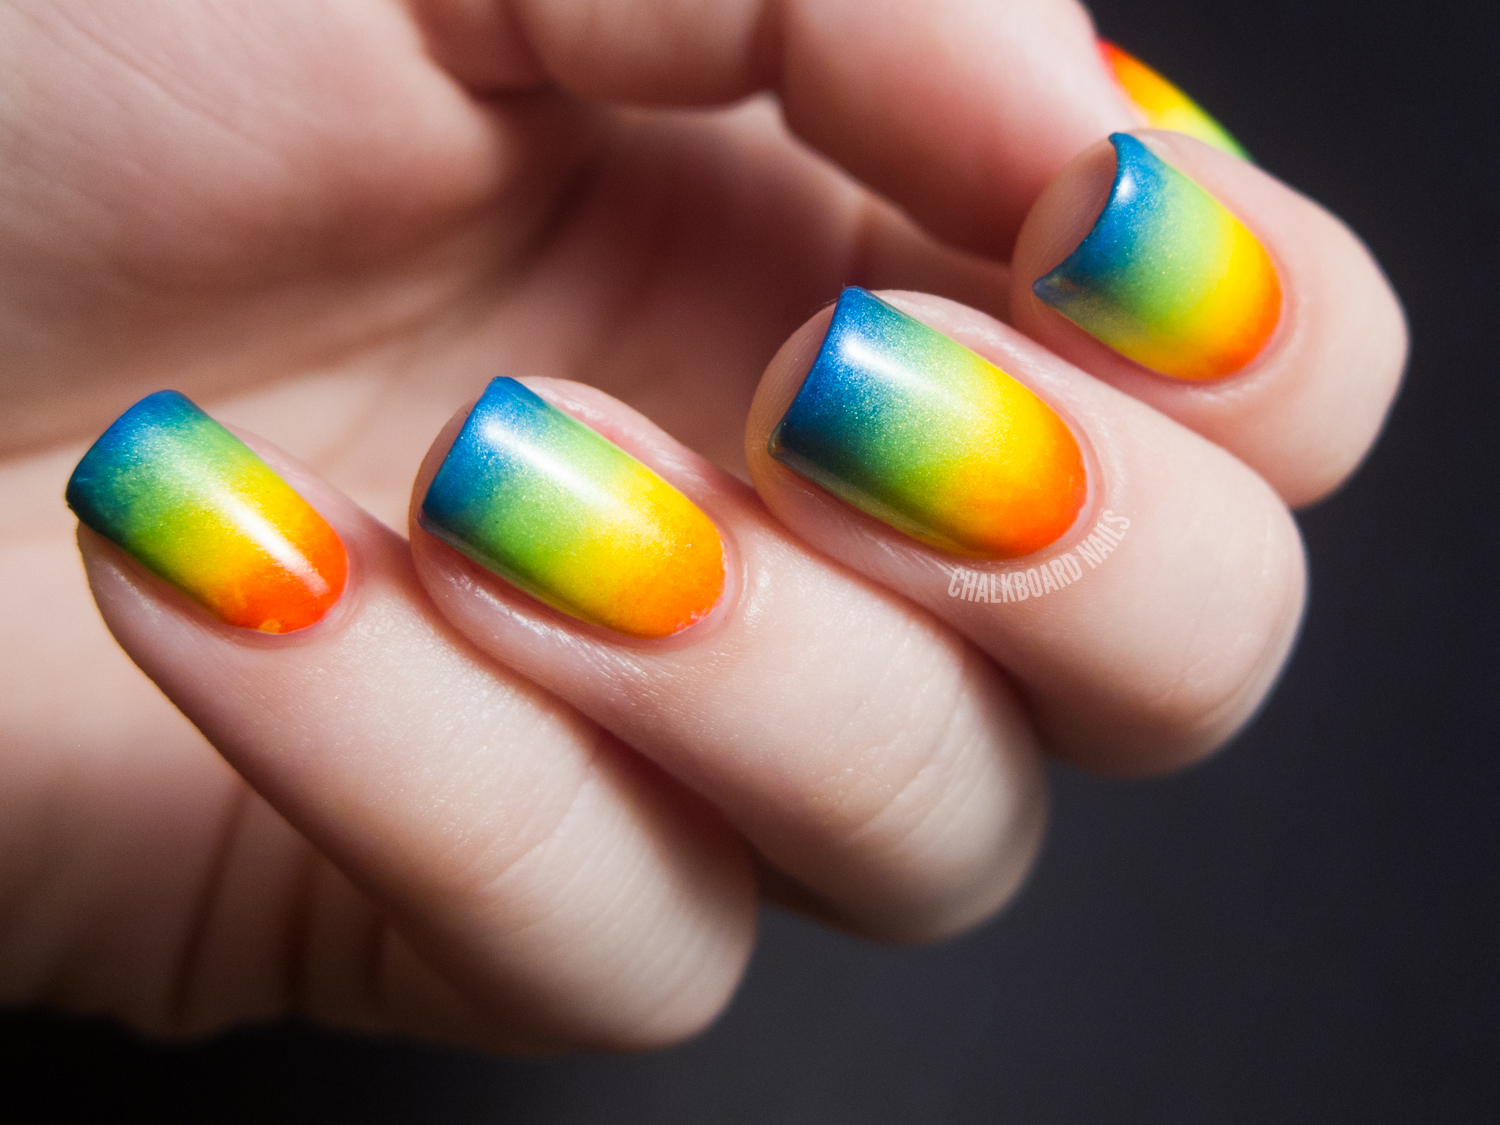
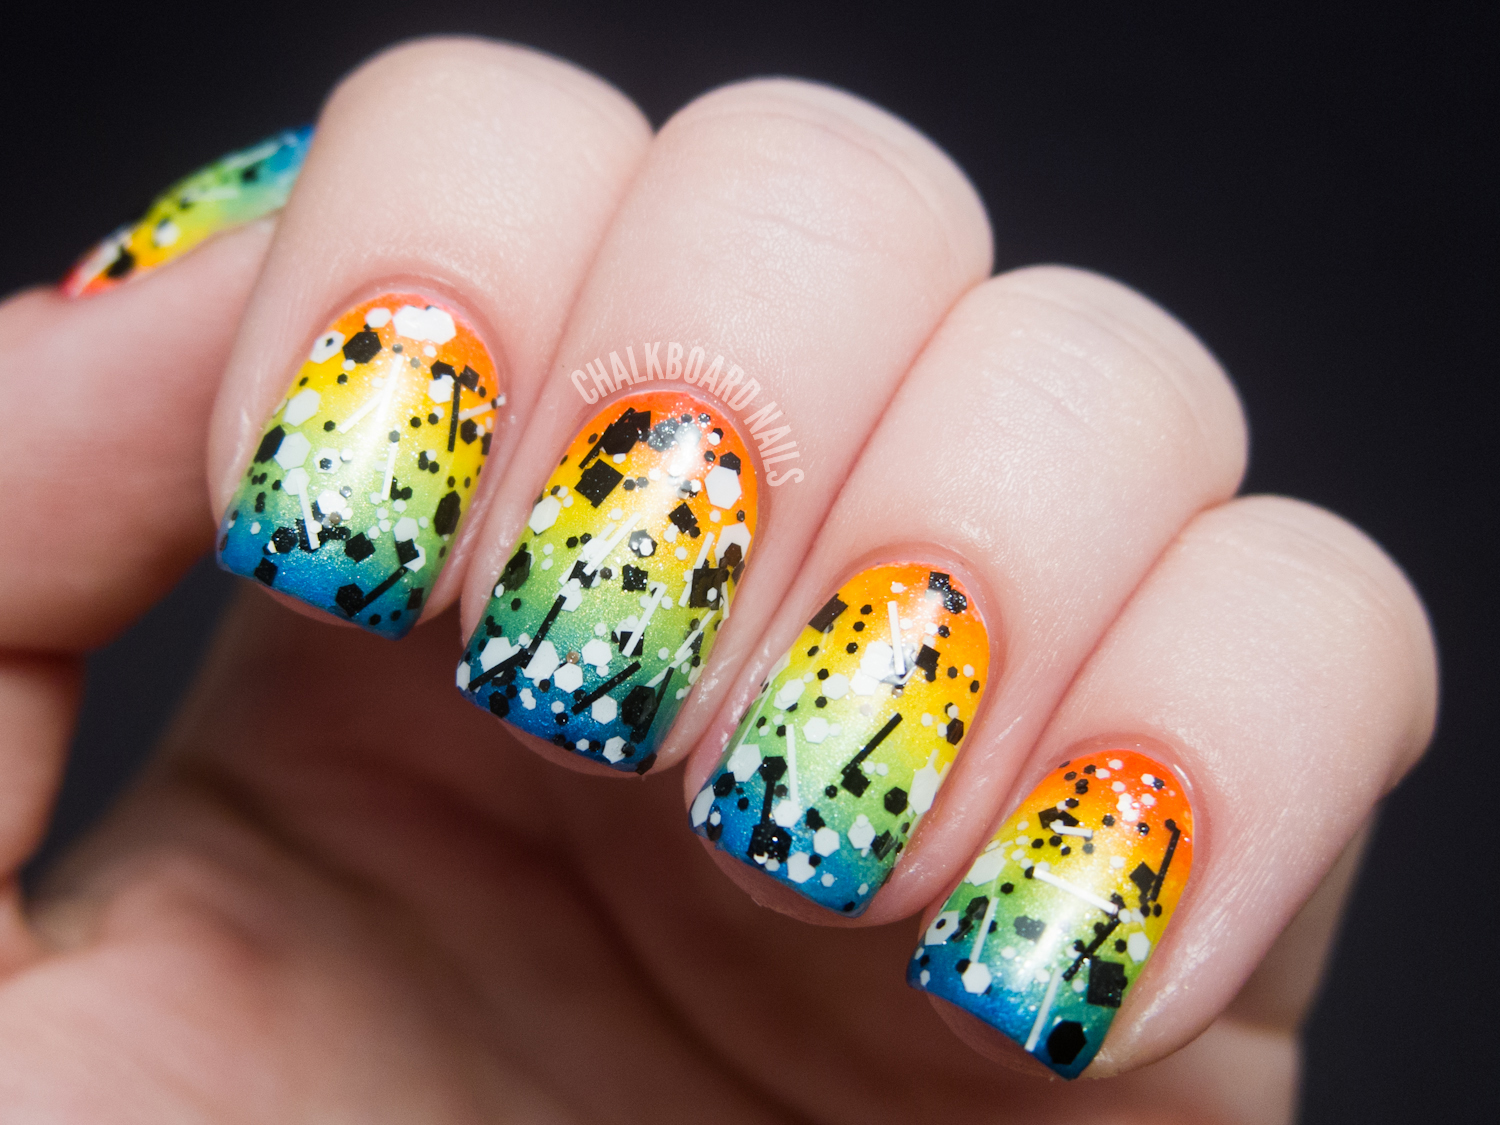
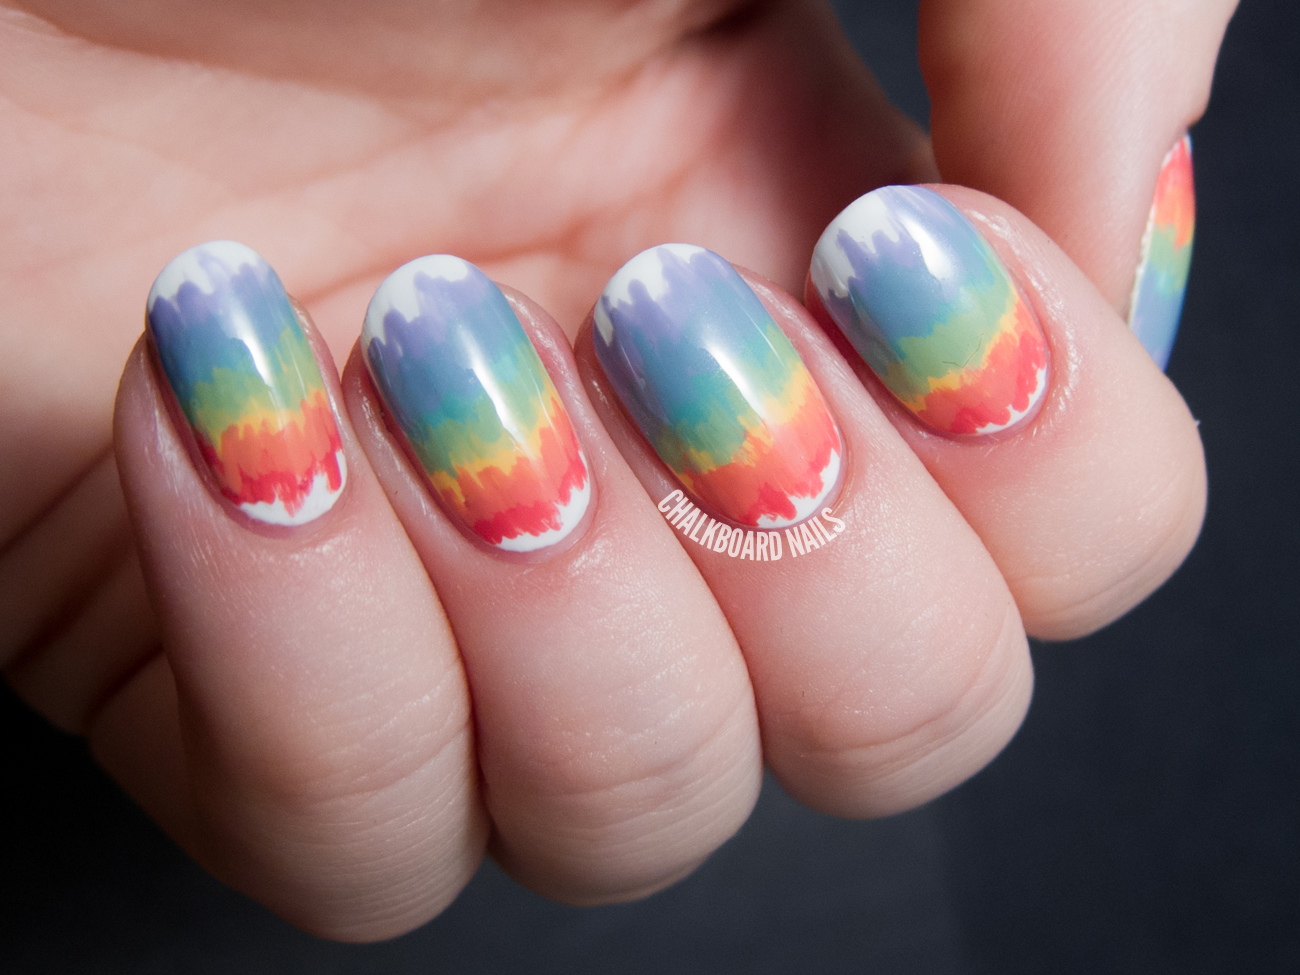
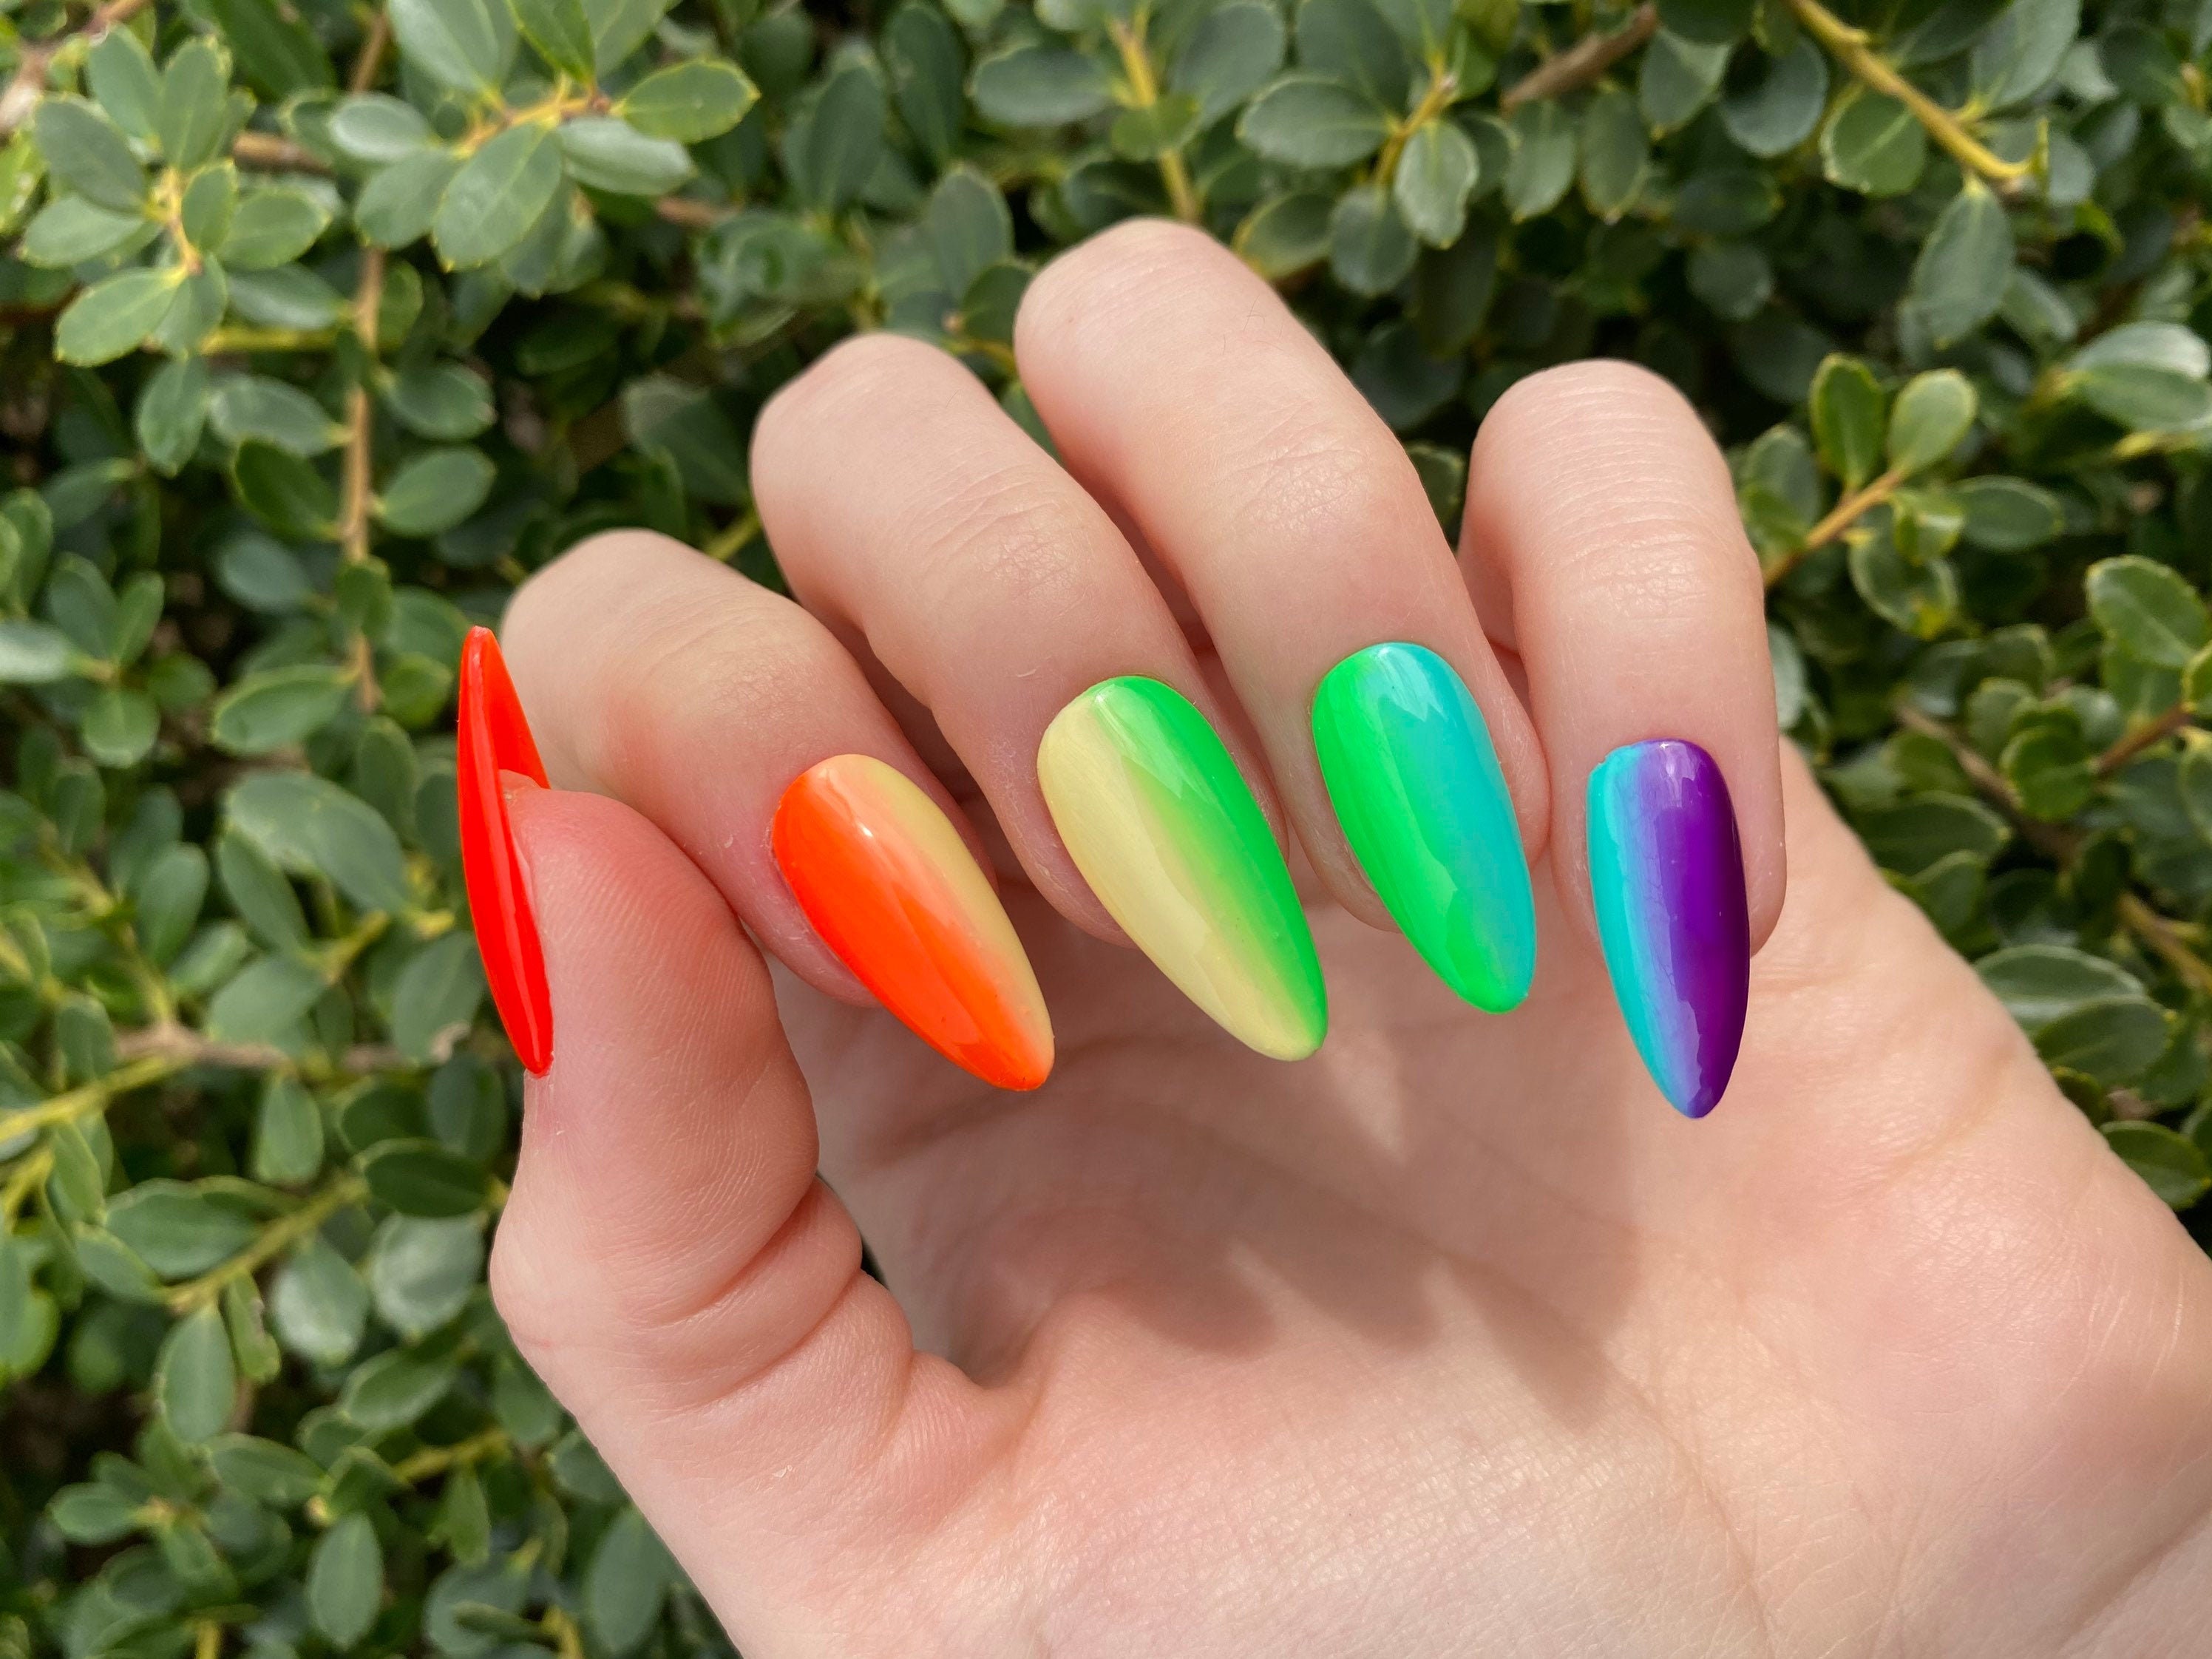
If you want a more subtle and blended rainbow look, try a rainbow gradient nail art. This design uses similar colors to create a gradual transition from one color to the next. To achieve this look, start with a white base coat and apply stripes of different colored polishes on a makeup sponge. Dab the sponge onto your nails, repeating the process until you achieve the desired gradient effect. Finish off with a top coat for a glossy finish.6. Rainbow Gradient Nails

6. Rainbow Gradient Nails
For a fun and playful nail design, try a rainbow drip nail art. This design mimics the look of dripping paint and adds a quirky touch to your nails. To create this look, start with a white base coat and use small brushes to paint drips of different colors on each nail. You can also add some dots or lines in between the drips for a more chaotic and abstract look. Finish off with a top coat to seal in your design.7. Rainbow Drip Nail Art


7. Rainbow Drip Nail Art


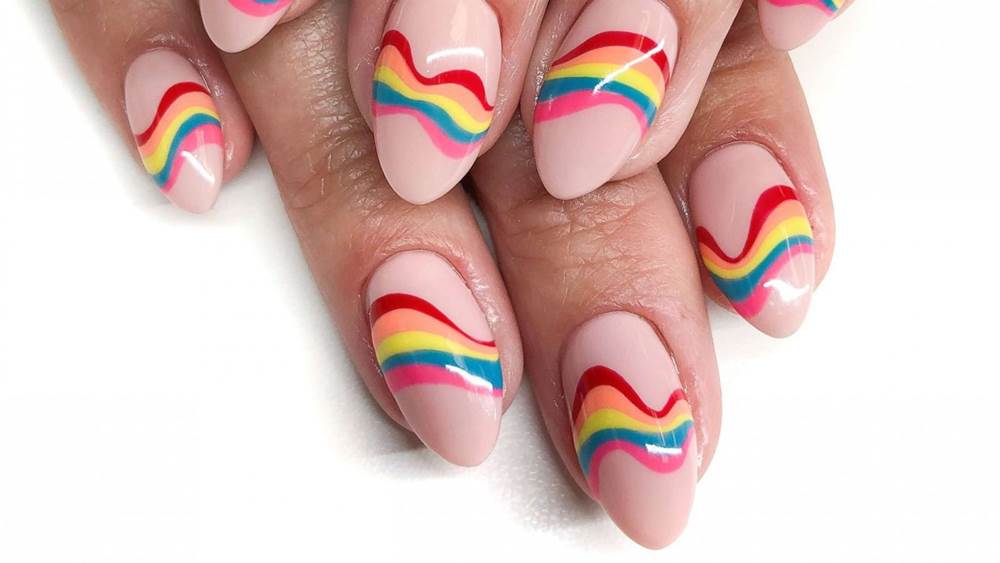
For a mesmerizing and whimsical nail design, try a rainbow swirl nail art. This design uses swirls of different colors to create a rainbow pattern on your nails. To achieve this look, start with a white base coat and apply stripes of different colored polishes on a makeup sponge. Dab the sponge onto your nails, repeating the process until you achieve the desired swirled effect. Finish off with a top coat for a glossy finish.8. Rainbow Swirl Nail Design
8. Rainbow Swirl Nail Design
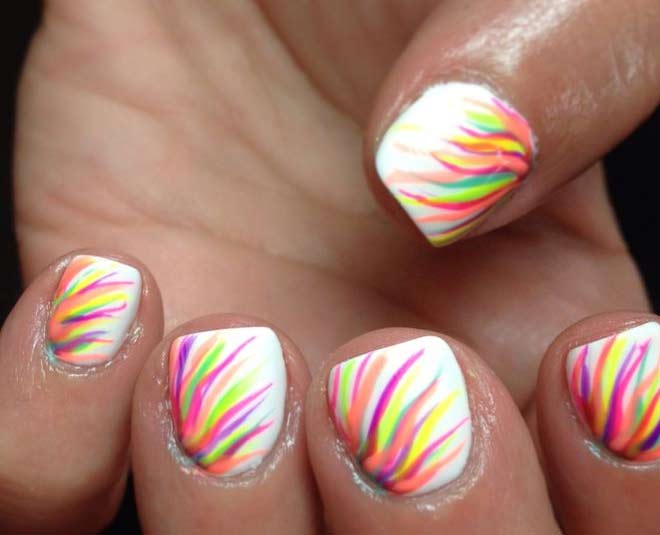
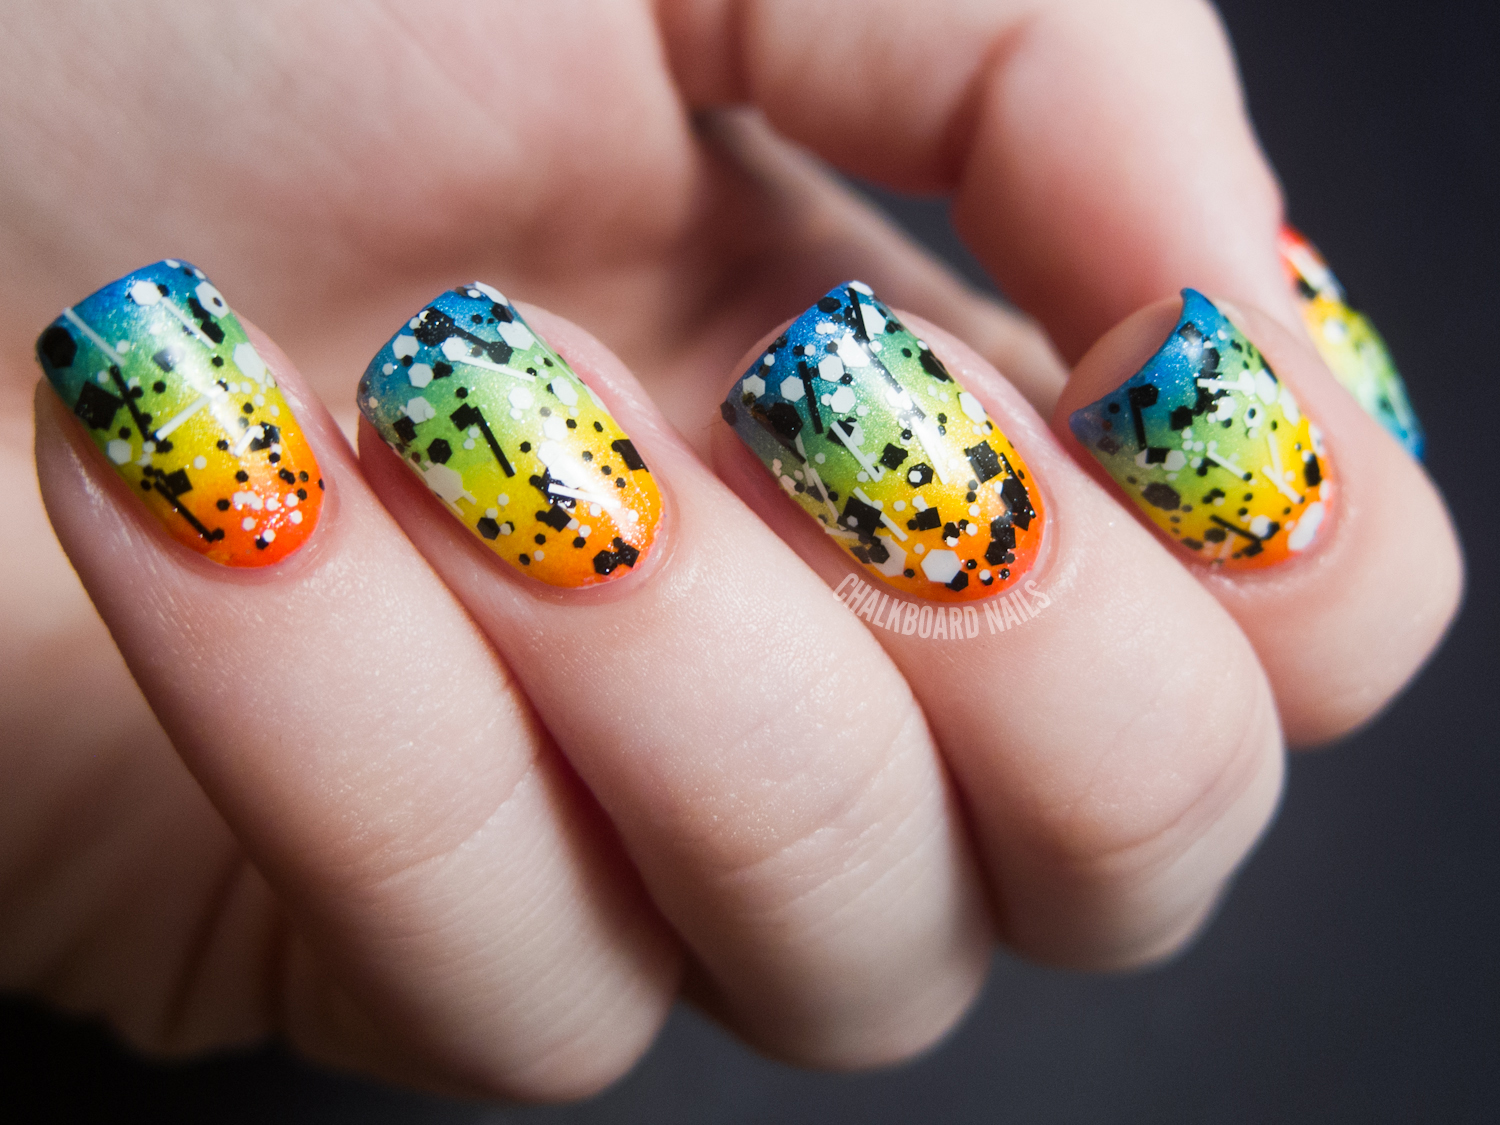
For a fun and messy nail design, try a rainbow splatter nail art. This design mimics the look of splattered paint and adds a playful touch to your nails. To create this look, start with a white base coat and use small brushes or toothpicks to flick dots of different colored polishes onto your nails. You can also dab some polish onto a brush and flick it onto your nails for a more splattered effect. Finish off with a top coat to seal in your design.9. Rainbow Splatter Nail Art

9. Rainbow Splatter Nail Art
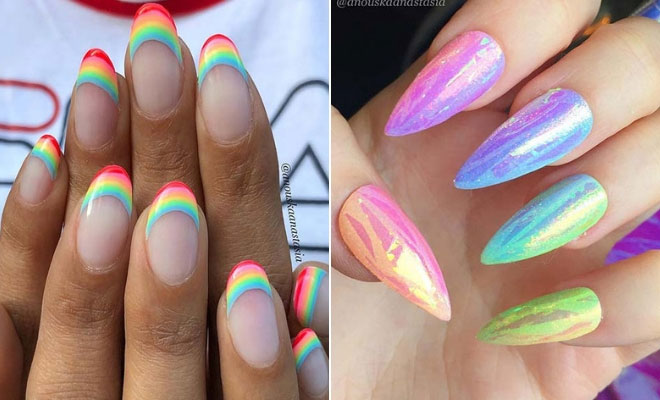
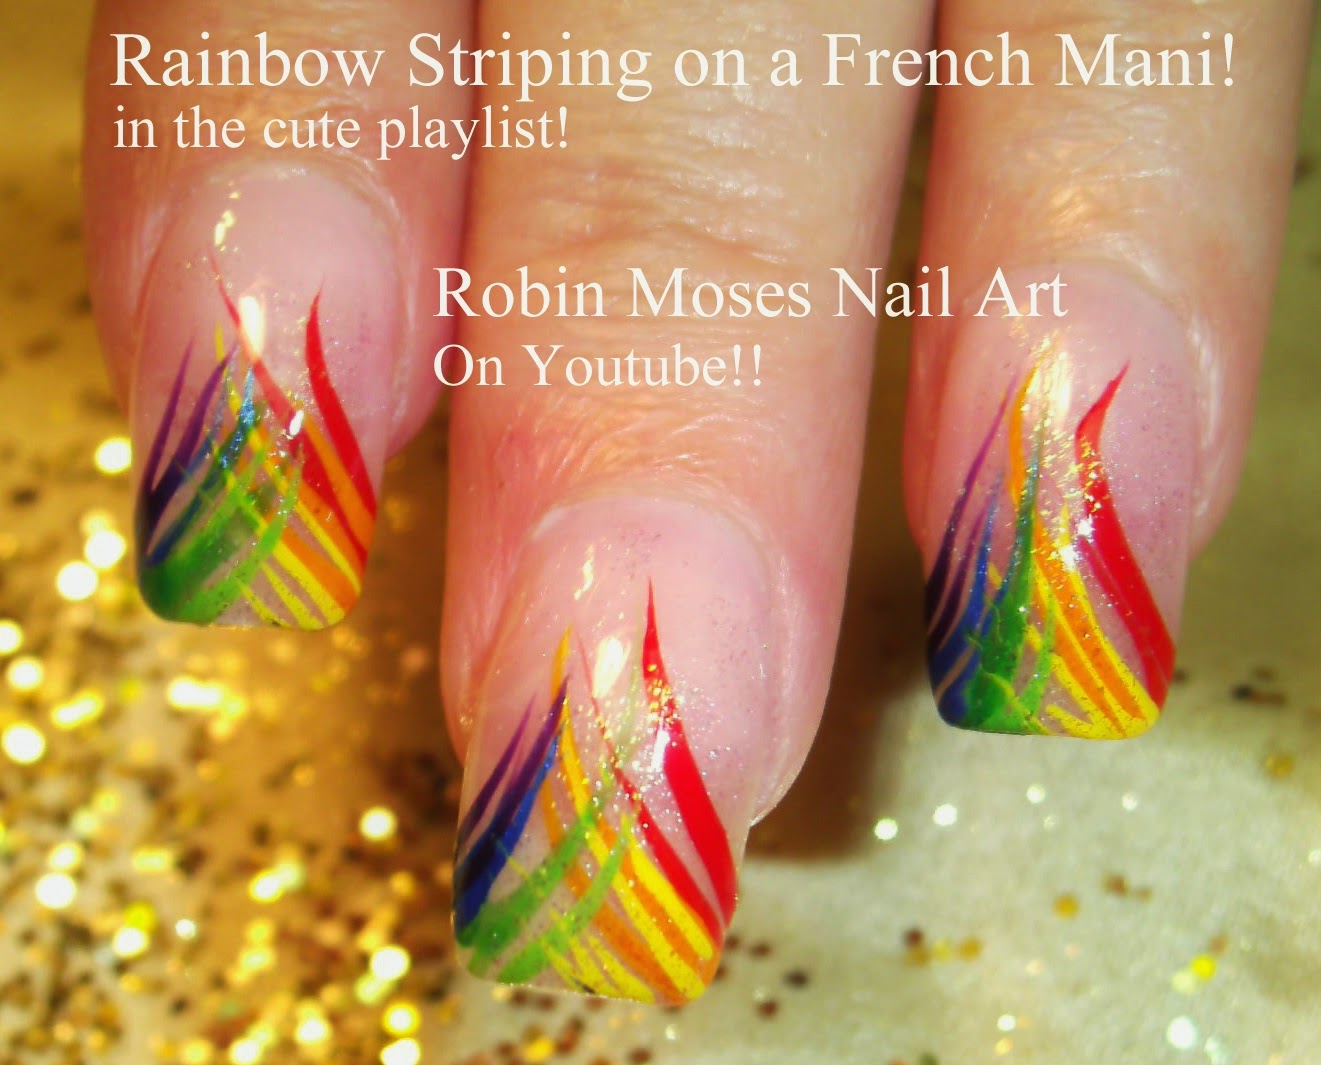
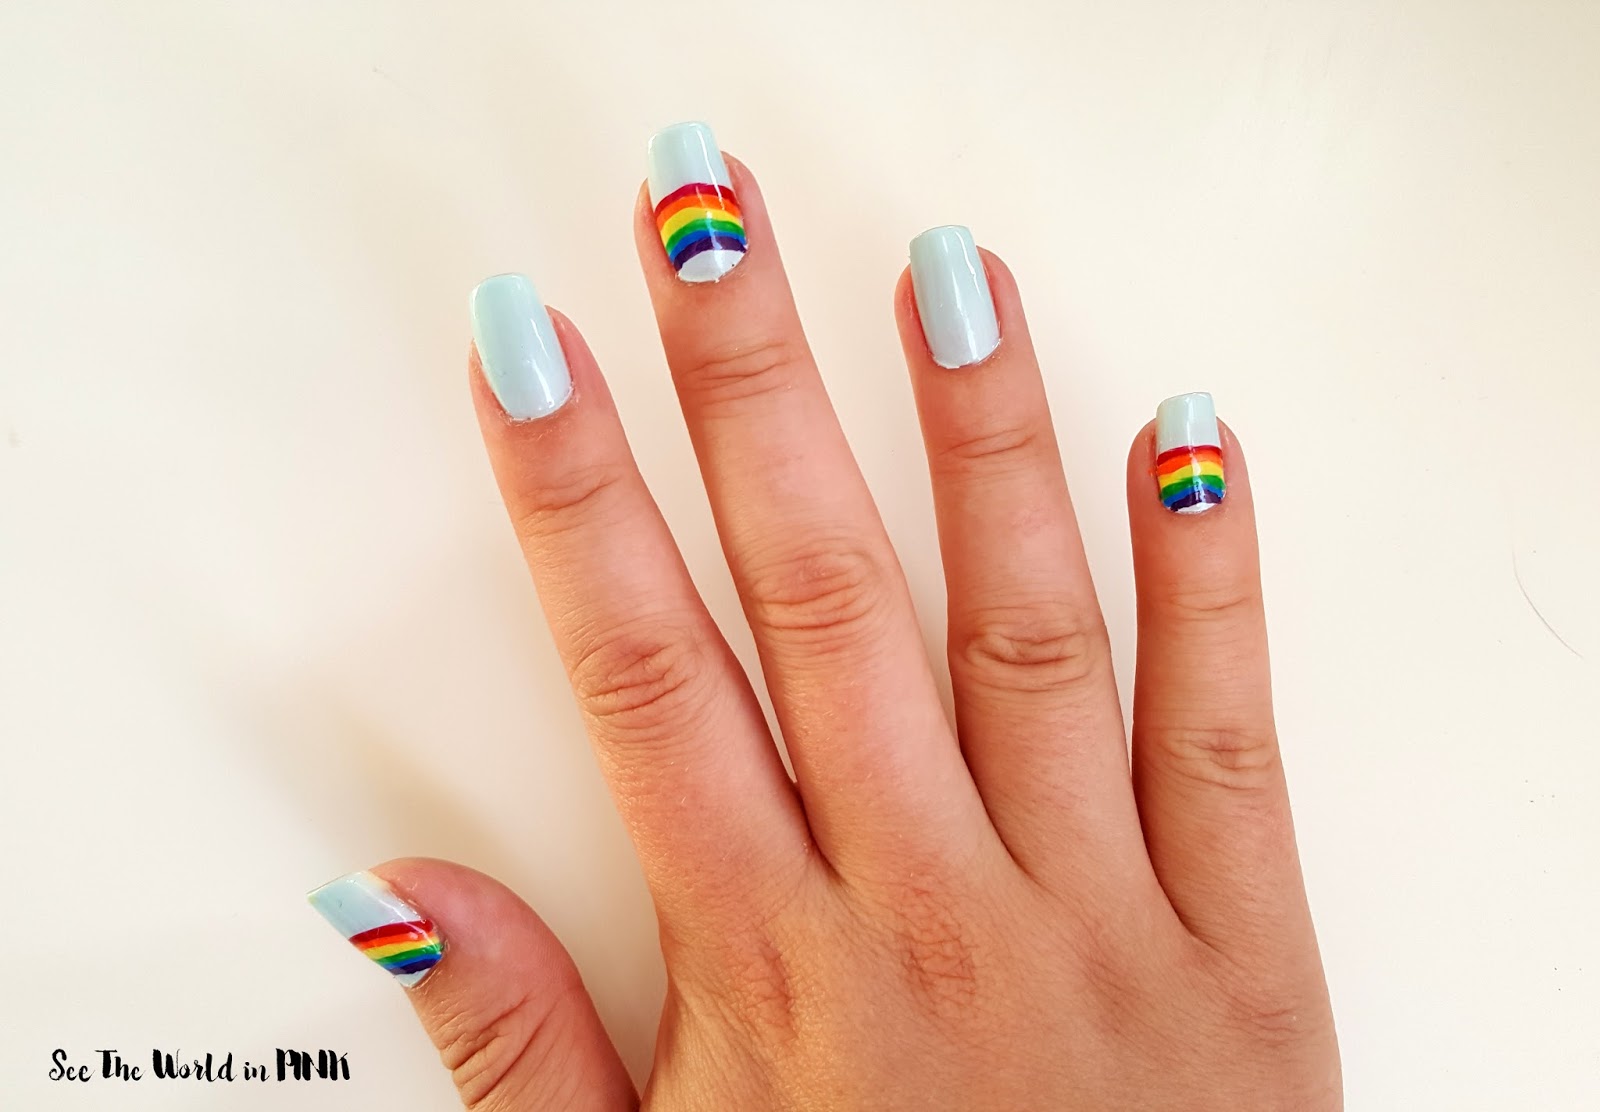
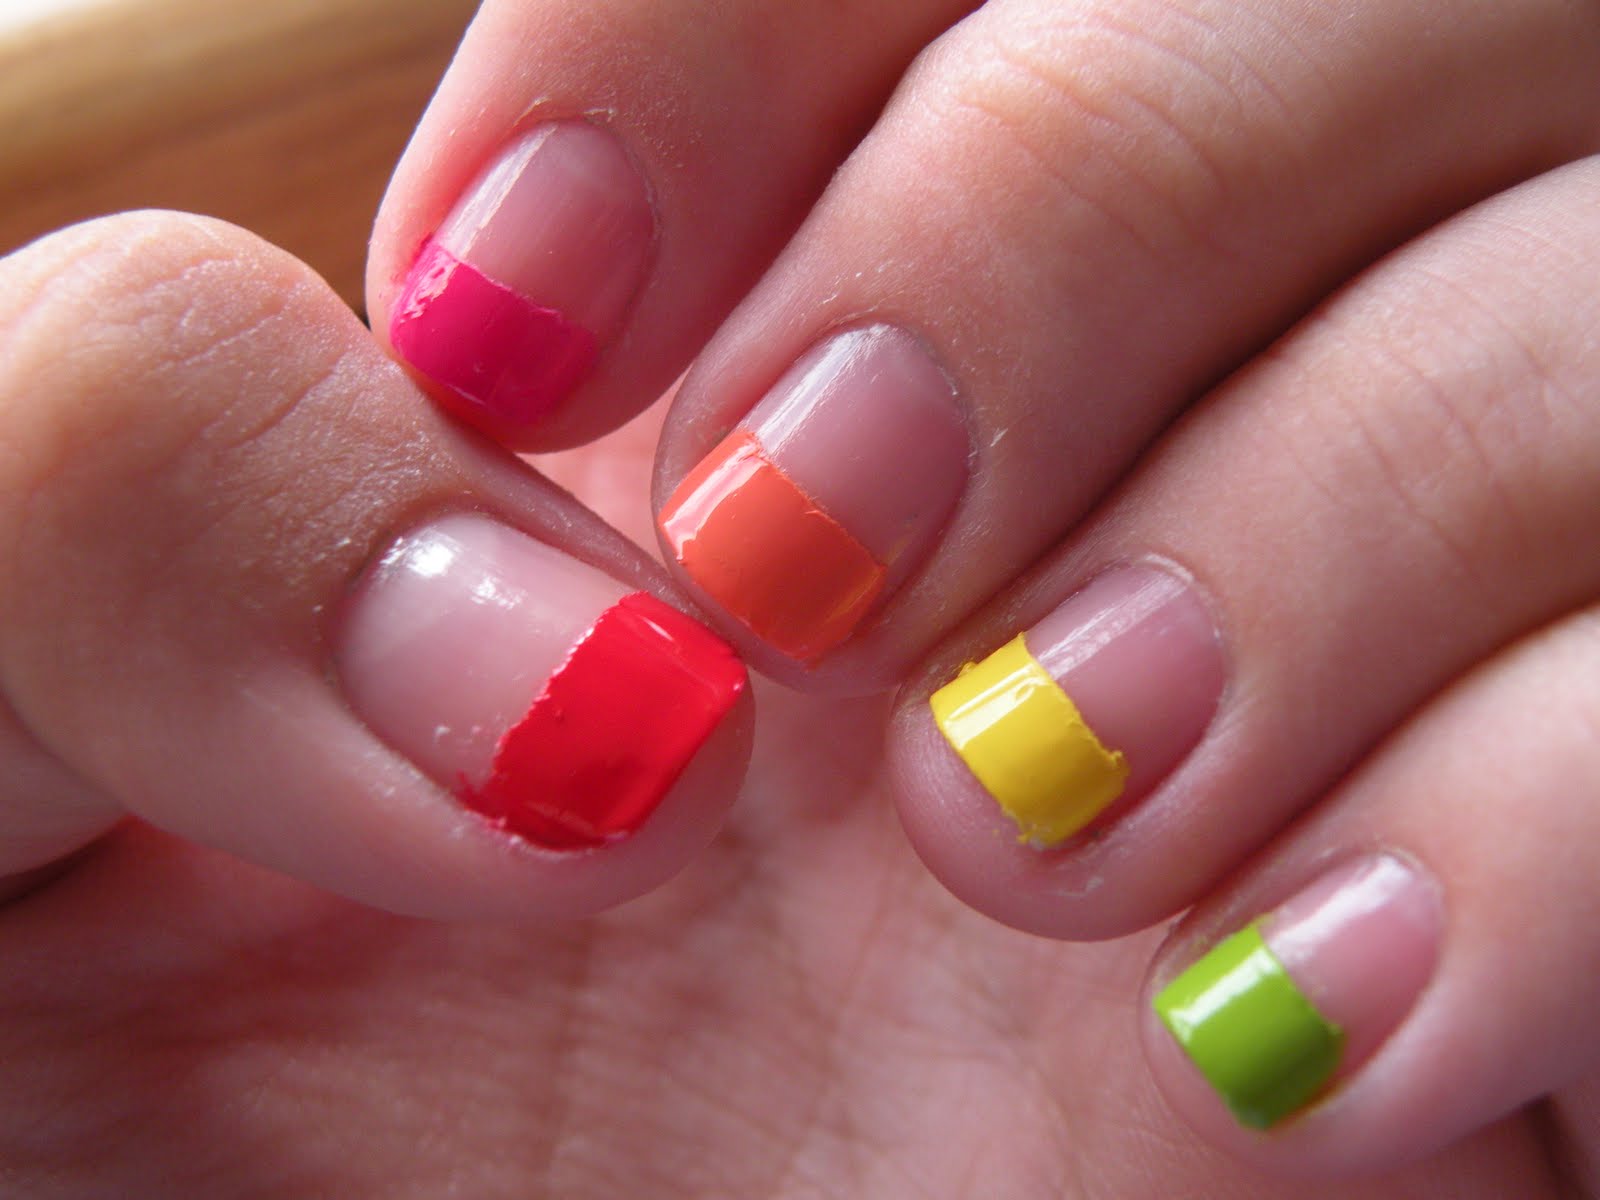
If you're a fan of the classic French tip manicure, why not add a rainbow twist to it? Rainbow French tip nails are a fun and colorful take on the traditional look. To achieve this design, start with a white base coat and use thin brushes to paint rainbow tips on each nail. You can also use nail striping tape to create clean and precise lines. Finish off with a top coat for a glossy finish.10. Rainbow French Tip Nails


10. Rainbow French Tip Nails


The Magic of Rainbow Colors in Nail Art

Unleashing Your Creative Side
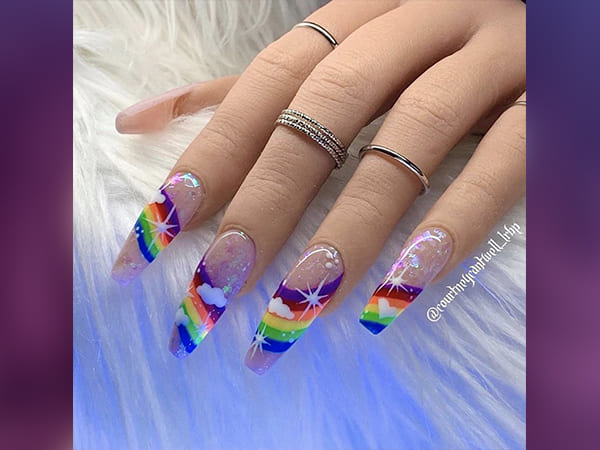
 Looking for a way to express your individuality and add a pop of color to your style? Look no further than rainbow color nail art! This vibrant trend has taken the beauty world by storm, allowing individuals to showcase their personality and creativity through their nails. With a variety of techniques and designs to choose from, rainbow color nail art is the perfect way to elevate your house design and make a statement.
Rainbow color nail art
is not just limited to a single style or design. From
ombre gradients
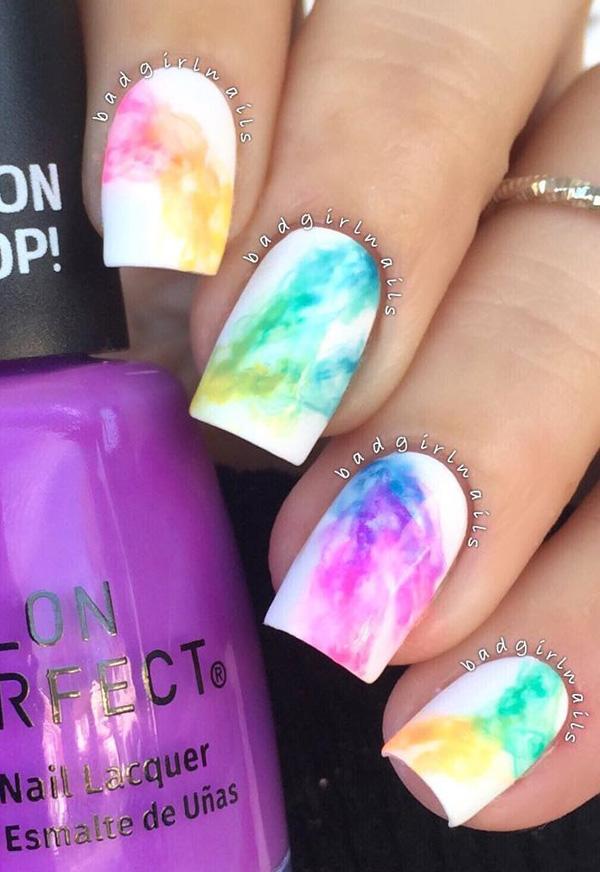
to
watercolor effects
, there are endless possibilities to create a unique look. You can also incorporate
geometric shapes
or
floral patterns
to add more dimension and interest to your nails. The use of
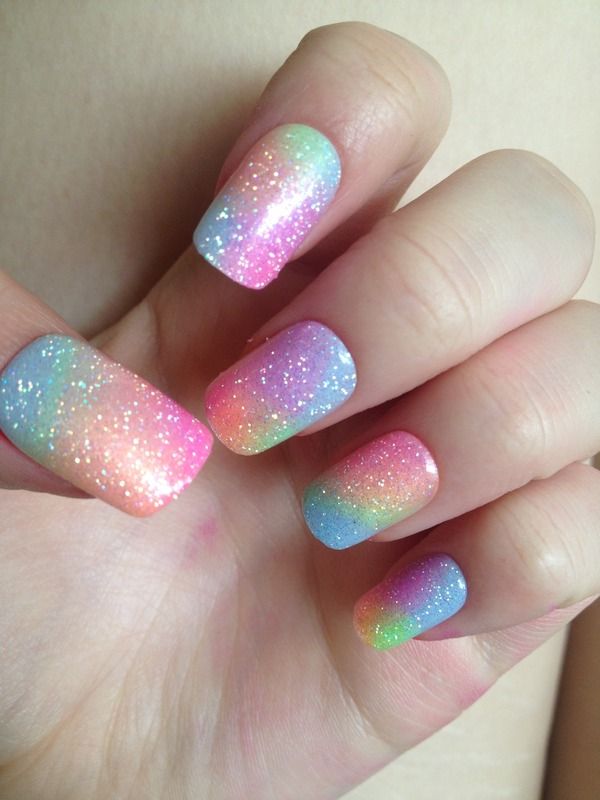
glitter
or
rhinestones
can also add a touch of glamour and make your nails stand out even more.
Looking for a way to express your individuality and add a pop of color to your style? Look no further than rainbow color nail art! This vibrant trend has taken the beauty world by storm, allowing individuals to showcase their personality and creativity through their nails. With a variety of techniques and designs to choose from, rainbow color nail art is the perfect way to elevate your house design and make a statement.
Rainbow color nail art
is not just limited to a single style or design. From
ombre gradients
to
watercolor effects
, there are endless possibilities to create a unique look. You can also incorporate
geometric shapes
or
floral patterns
to add more dimension and interest to your nails. The use of
glitter
or
rhinestones
can also add a touch of glamour and make your nails stand out even more.
Making a Bold Statement
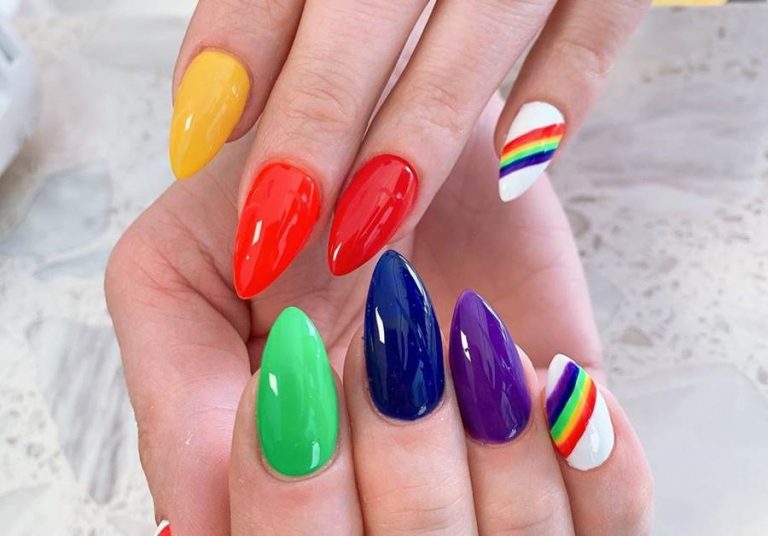
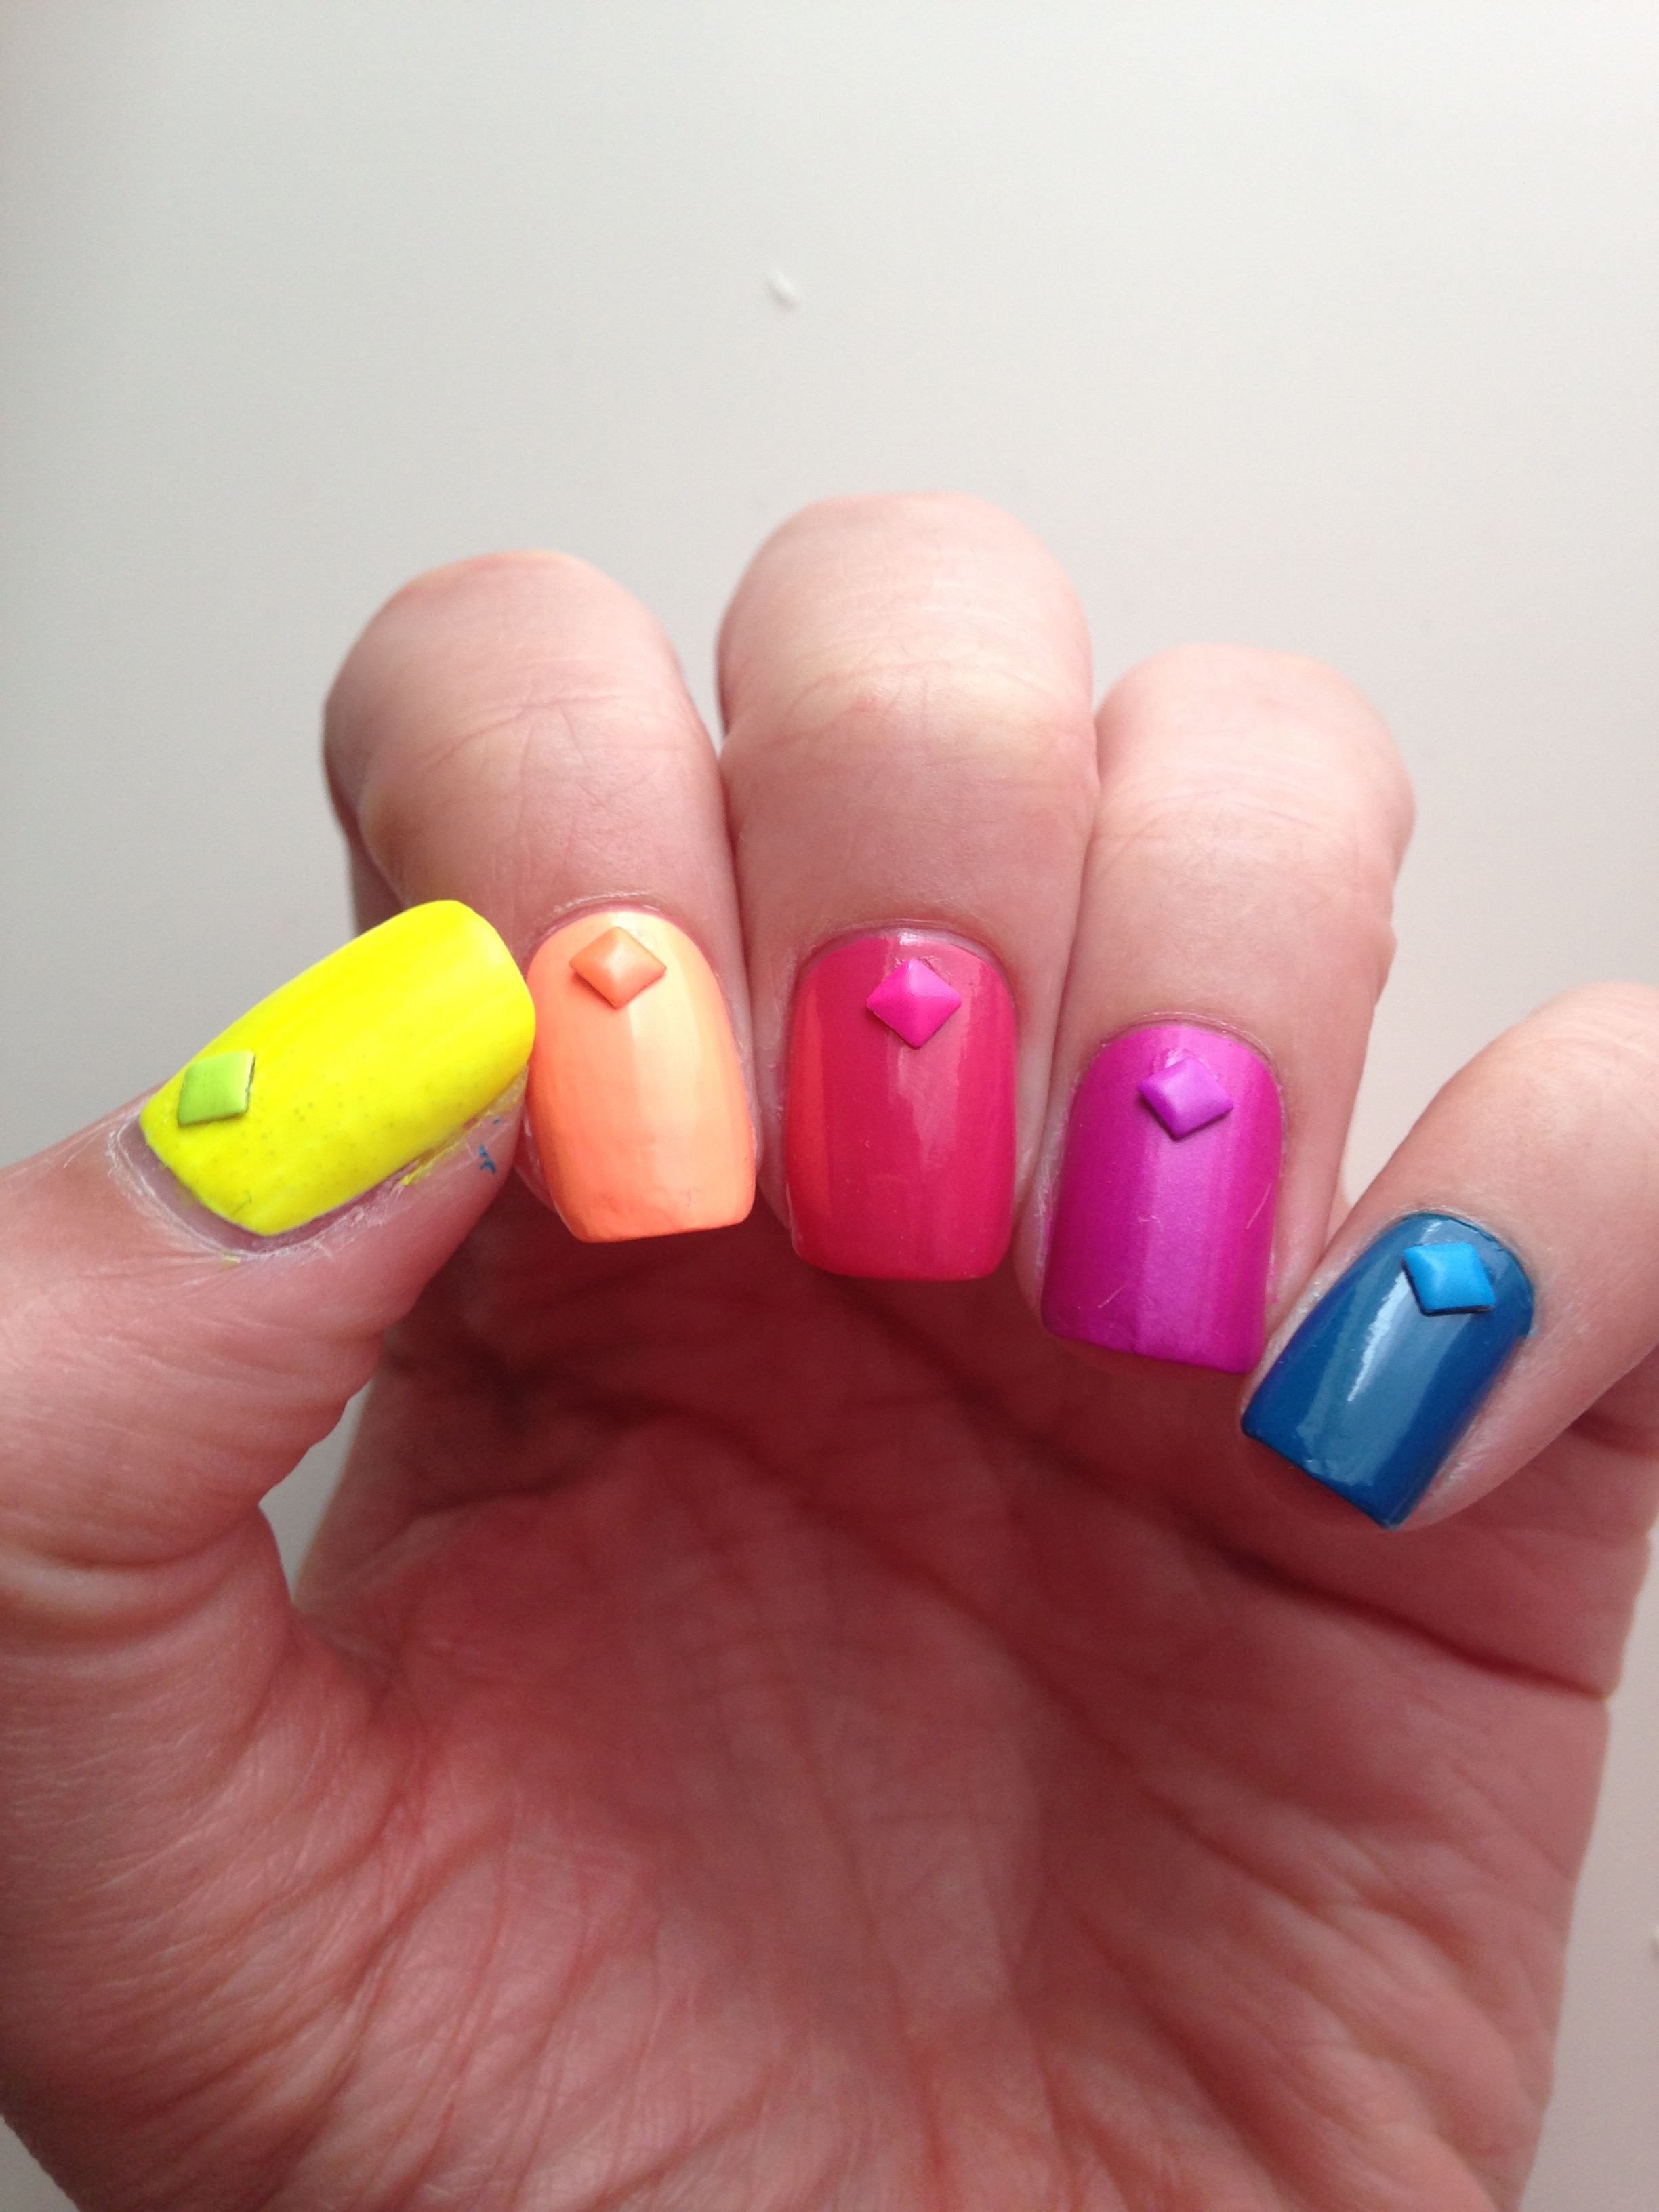
 Rainbow color nail art is a great way to make a bold statement and showcase your personality. The use of bright and vibrant colors can add a playful and fun element to your look, while pastel shades can create a more subtle and delicate look. You can also choose to have a different color on each nail for a unique and eye-catching effect.
The best part about rainbow color nail art is that it can be tailored to suit any occasion. Whether you're going for a night out with friends or a formal event, there is a rainbow color nail art design that will complement your outfit and make you stand out.
Rainbow color nail art is a great way to make a bold statement and showcase your personality. The use of bright and vibrant colors can add a playful and fun element to your look, while pastel shades can create a more subtle and delicate look. You can also choose to have a different color on each nail for a unique and eye-catching effect.
The best part about rainbow color nail art is that it can be tailored to suit any occasion. Whether you're going for a night out with friends or a formal event, there is a rainbow color nail art design that will complement your outfit and make you stand out.
The Importance of Proper Technique
 To achieve the perfect rainbow color nail art, it is essential to have the right technique and tools. This includes using a base coat to protect your nails, using a thin brush to create intricate designs, and applying a top coat to seal and protect your masterpiece. It is also crucial to use high-quality and
long-lasting nail polishes
to ensure your nail art stays intact for longer.
In conclusion,
rainbow color nail art
is a fun and creative way to elevate your house design and express your individuality. With a variety of techniques and designs to choose from, there is no limit to the possibilities of this trend. So go ahead, unleash your inner artist and add a pop of color to your nails!
To achieve the perfect rainbow color nail art, it is essential to have the right technique and tools. This includes using a base coat to protect your nails, using a thin brush to create intricate designs, and applying a top coat to seal and protect your masterpiece. It is also crucial to use high-quality and
long-lasting nail polishes
to ensure your nail art stays intact for longer.
In conclusion,
rainbow color nail art
is a fun and creative way to elevate your house design and express your individuality. With a variety of techniques and designs to choose from, there is no limit to the possibilities of this trend. So go ahead, unleash your inner artist and add a pop of color to your nails!


