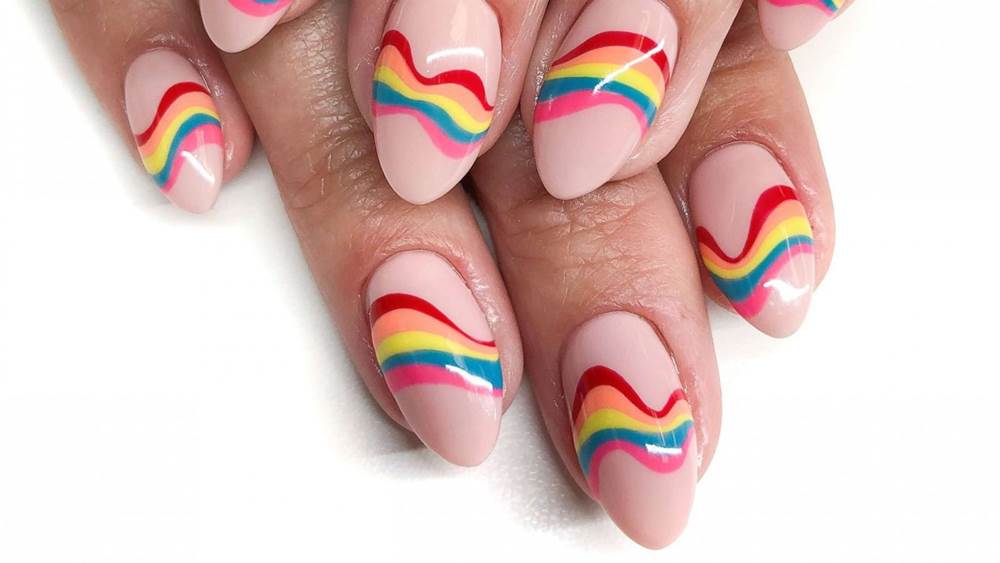
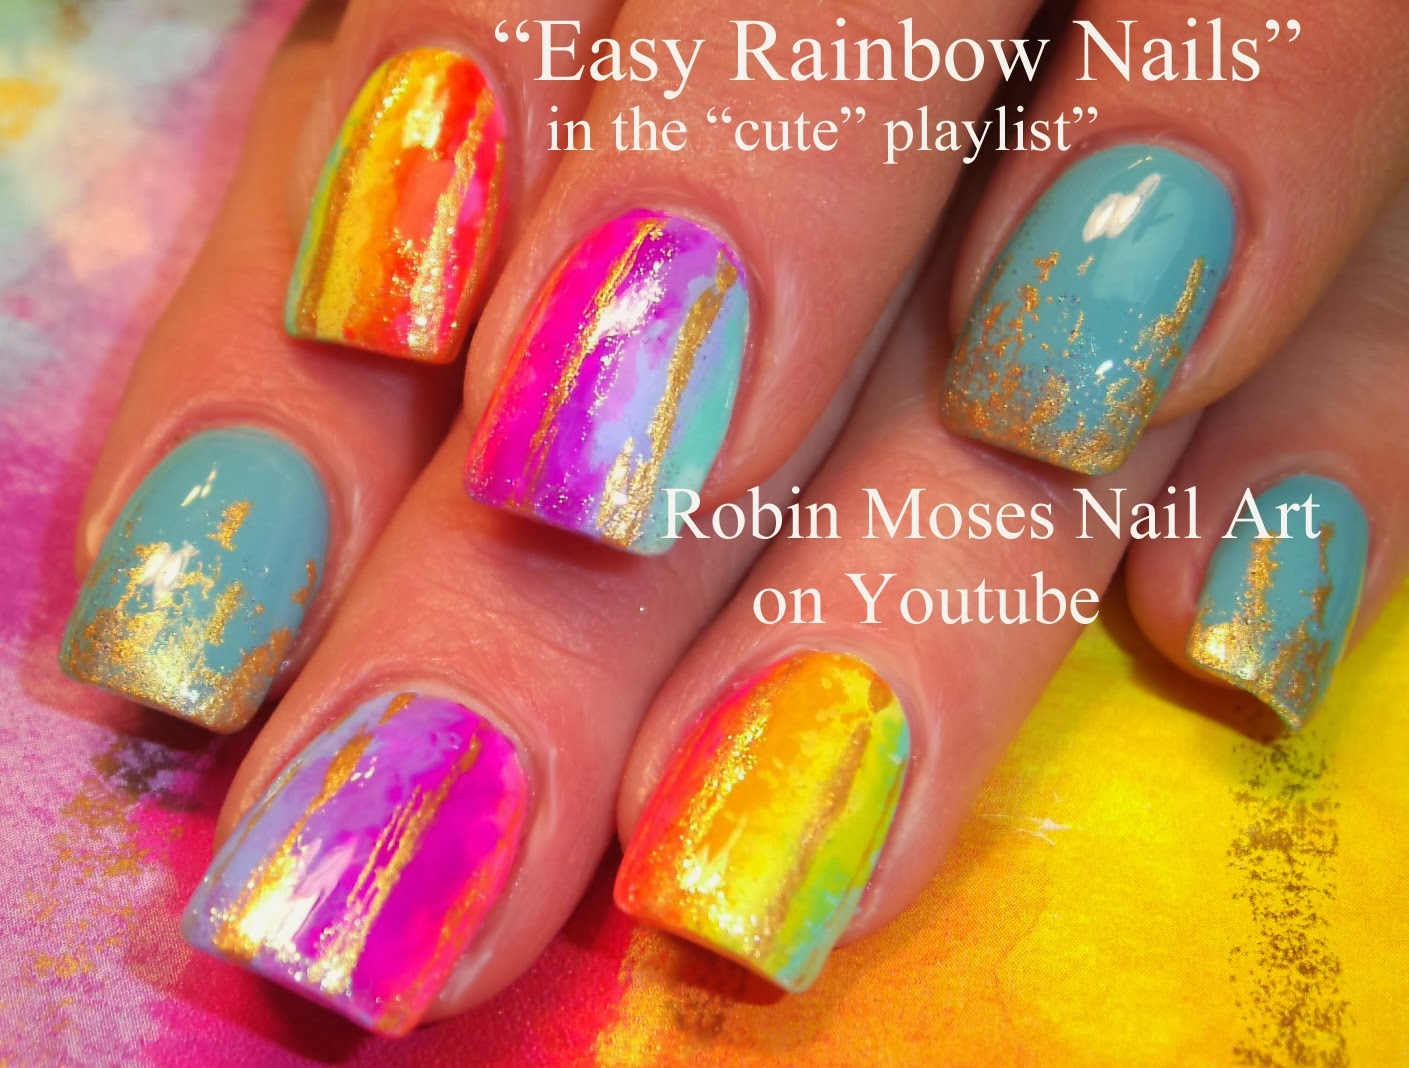
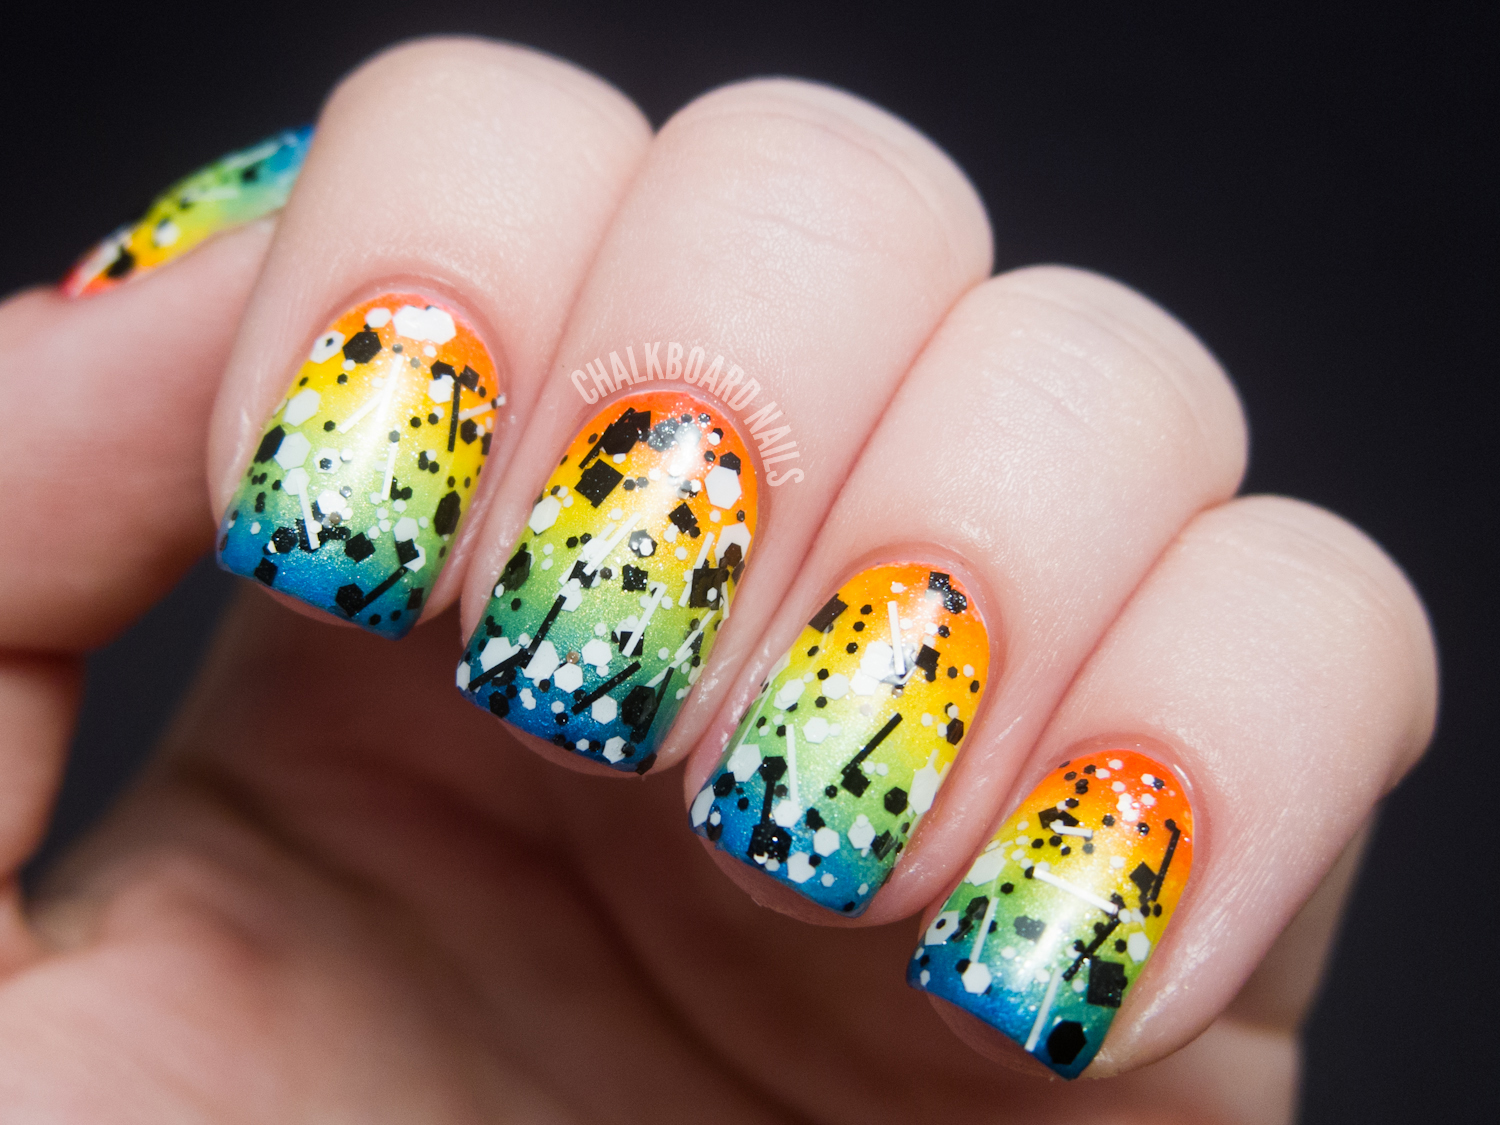
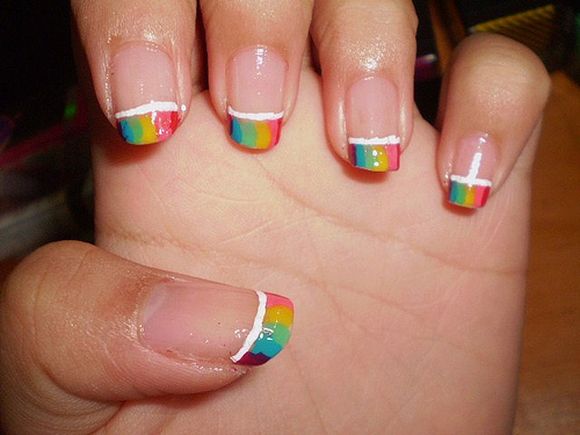
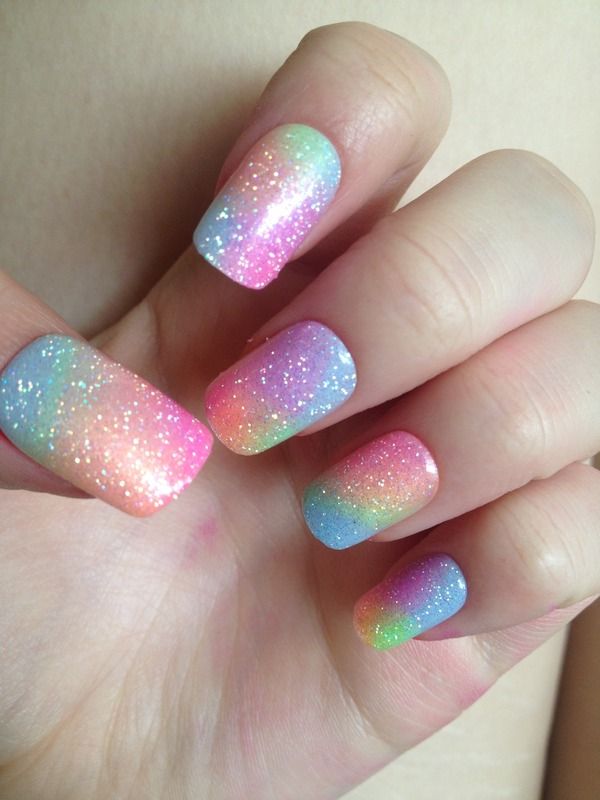
Rainbow ombre nail art is a beautiful and colorful way to add some fun to your nails. By using a sponge, you can create a seamless gradient effect of vibrant colors that will make your nails stand out. If you want to achieve this look, start by painting your nails with a white base coat. Then, take a makeup sponge and dab on small amounts of your chosen rainbow colors starting from the bottom of the sponge. Lightly press the sponge onto your nails, repeating the process until you achieve the desired ombre effect. Finish off with a top coat to seal in the colors and give your nails a glossy finish.1. Rainbow Ombre Nail Art with Sponge

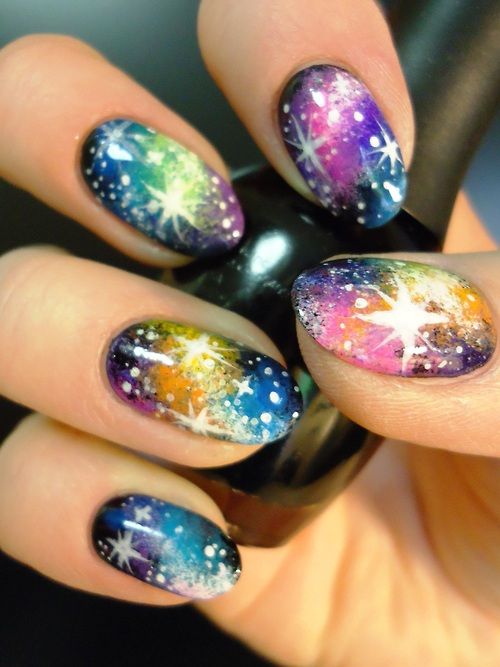

1. Rainbow Ombre Nail Art with Sponge
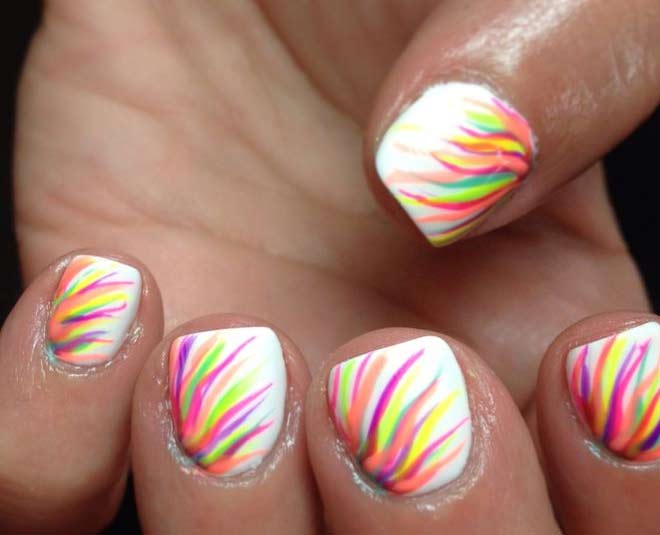


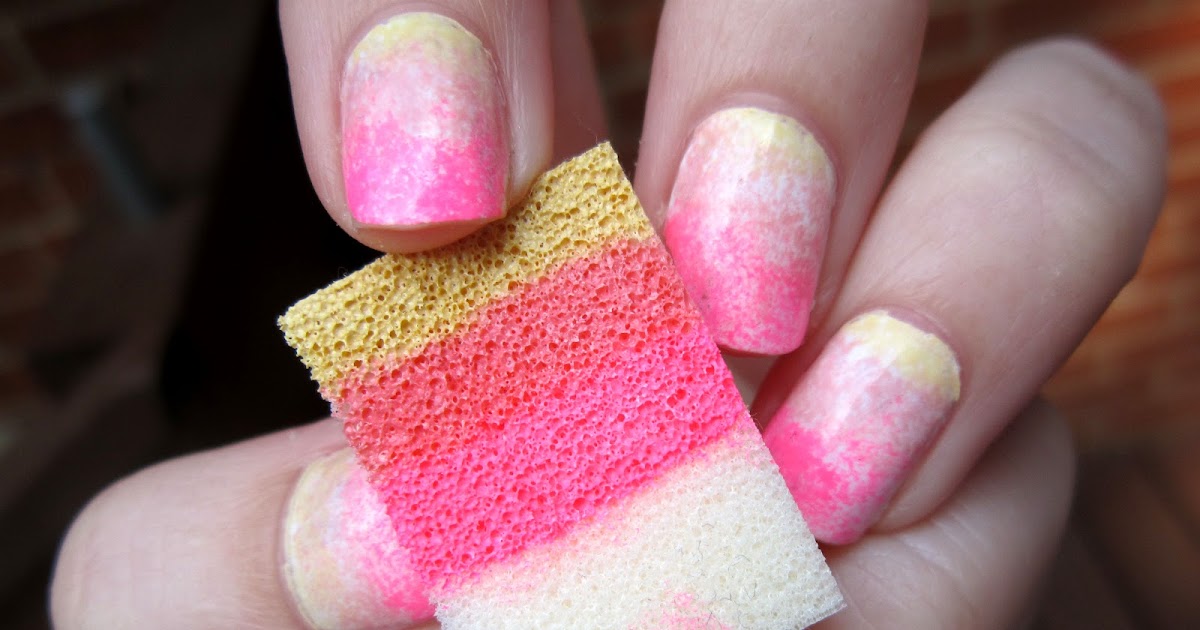
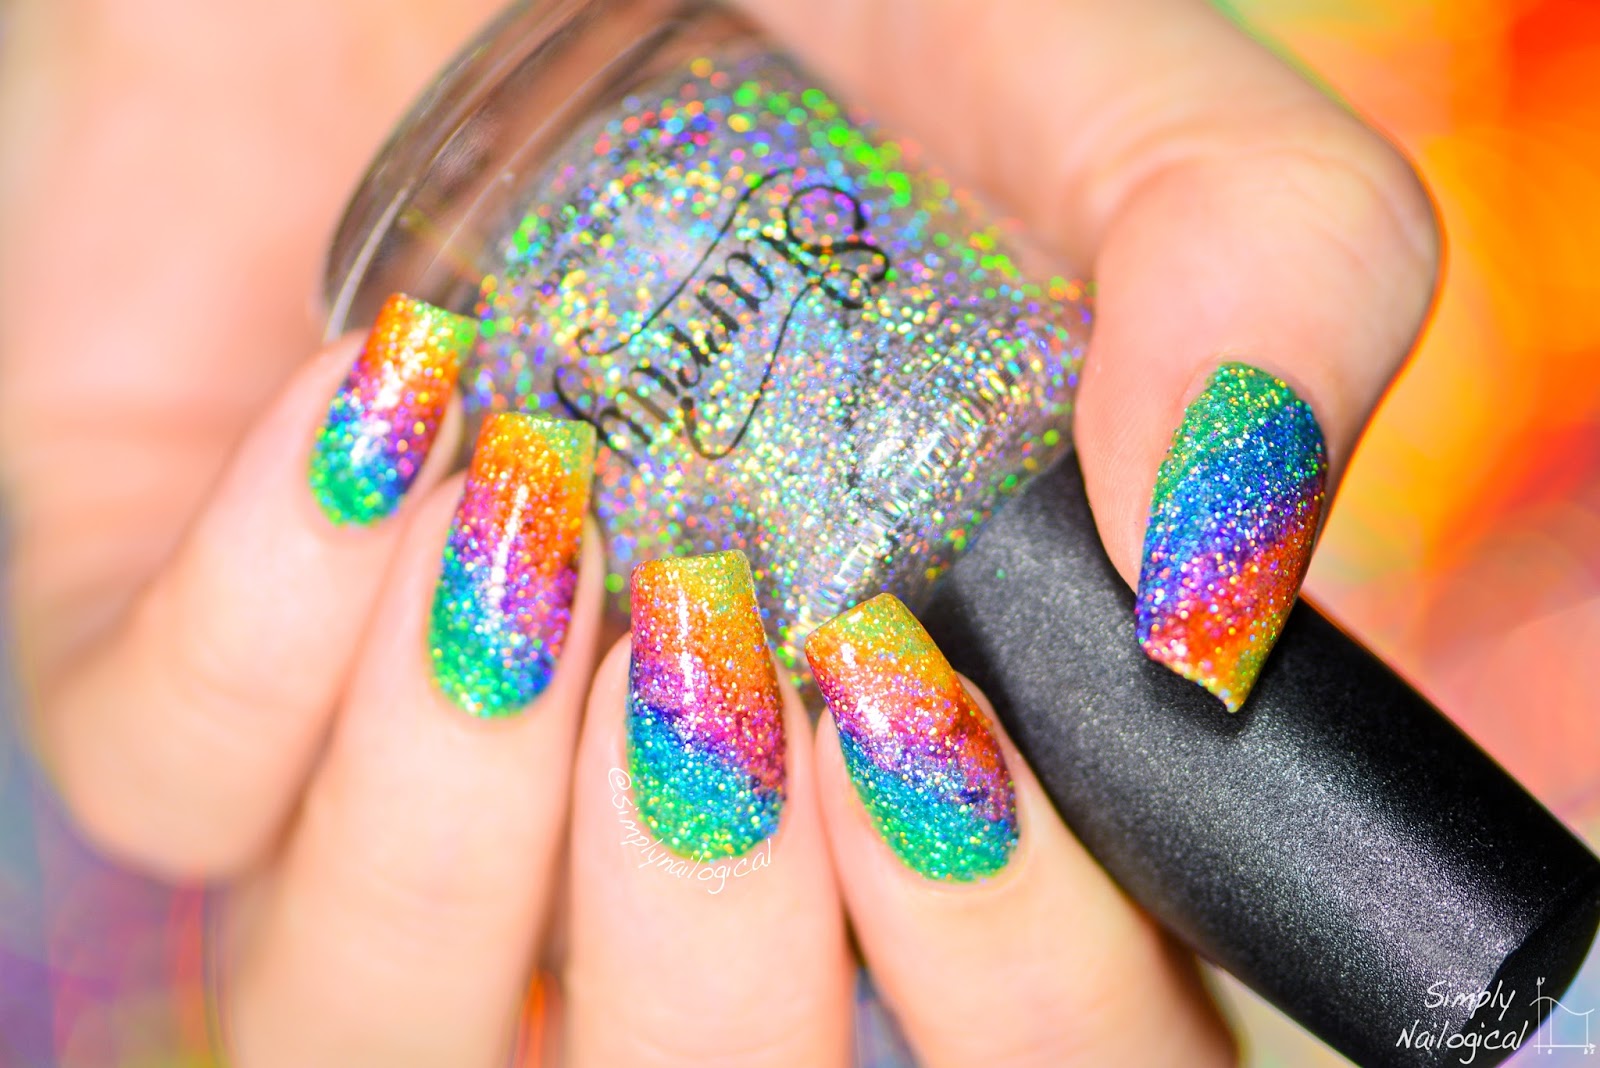
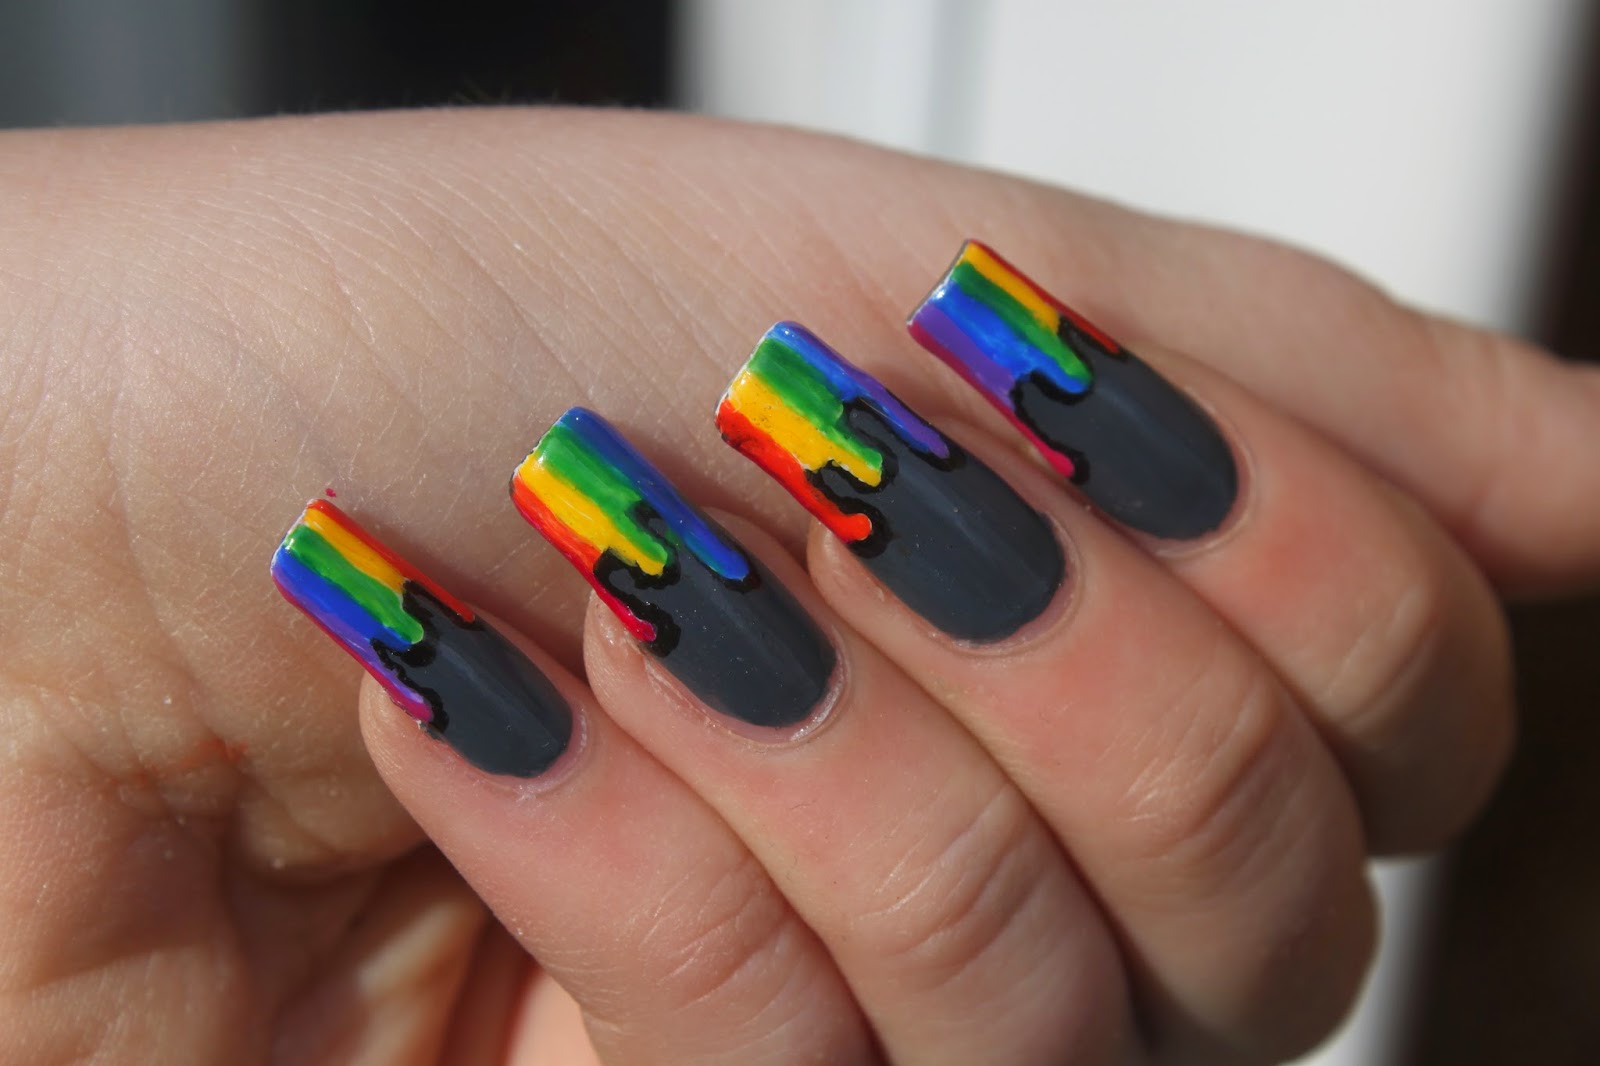
If you're new to nail art or just looking for a quick and easy way to add some color to your nails, this rainbow nail art with sponge is perfect for you. With just a few simple steps, you can create a fun and playful look that will brighten up your day. Start by painting your nails with a white base coat. Then, take a makeup sponge and cut it into smaller pieces. Apply a different rainbow color on each piece of sponge and dab it onto your nails in a random pattern. Repeat this process until you achieve the desired look. You can also add some glitter or top coat for an extra pop of color.2. Easy Rainbow Nail Art with Sponge


2. Easy Rainbow Nail Art with Sponge


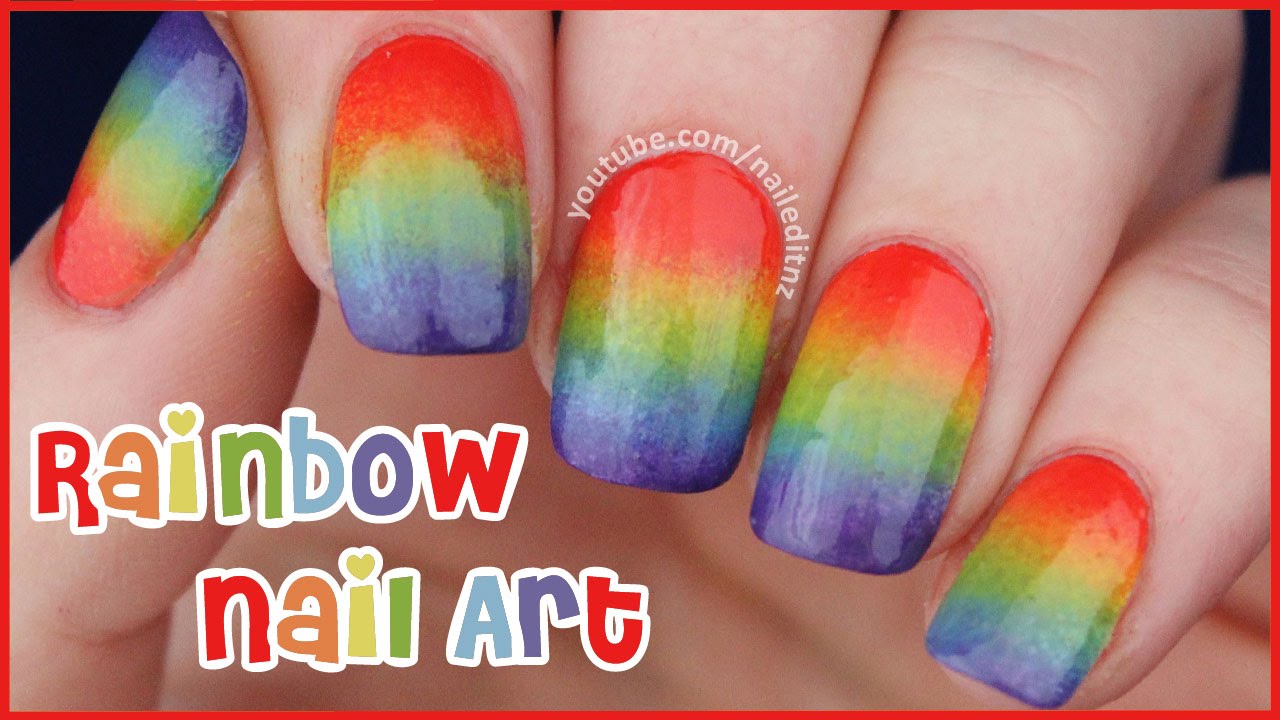
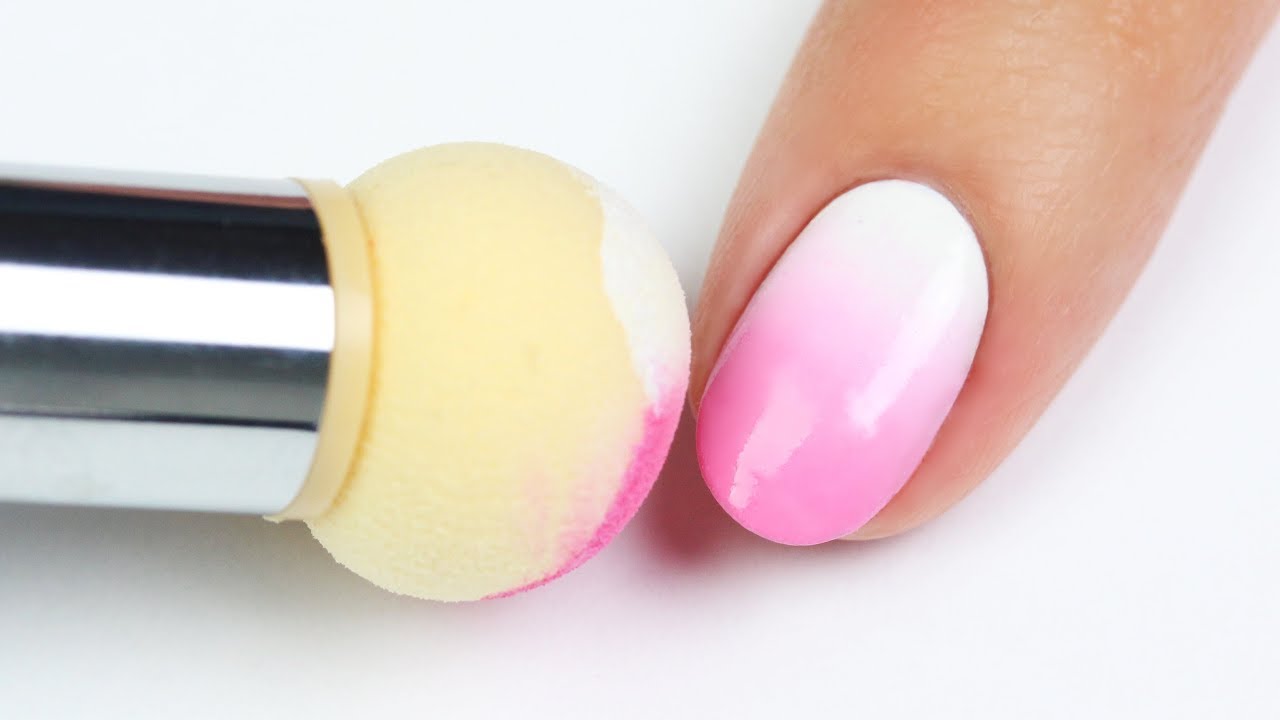
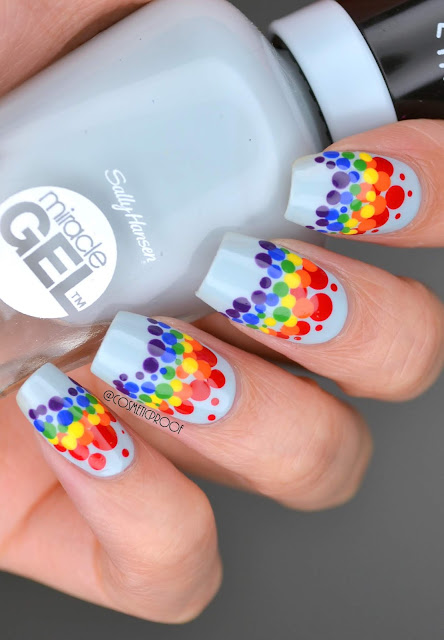
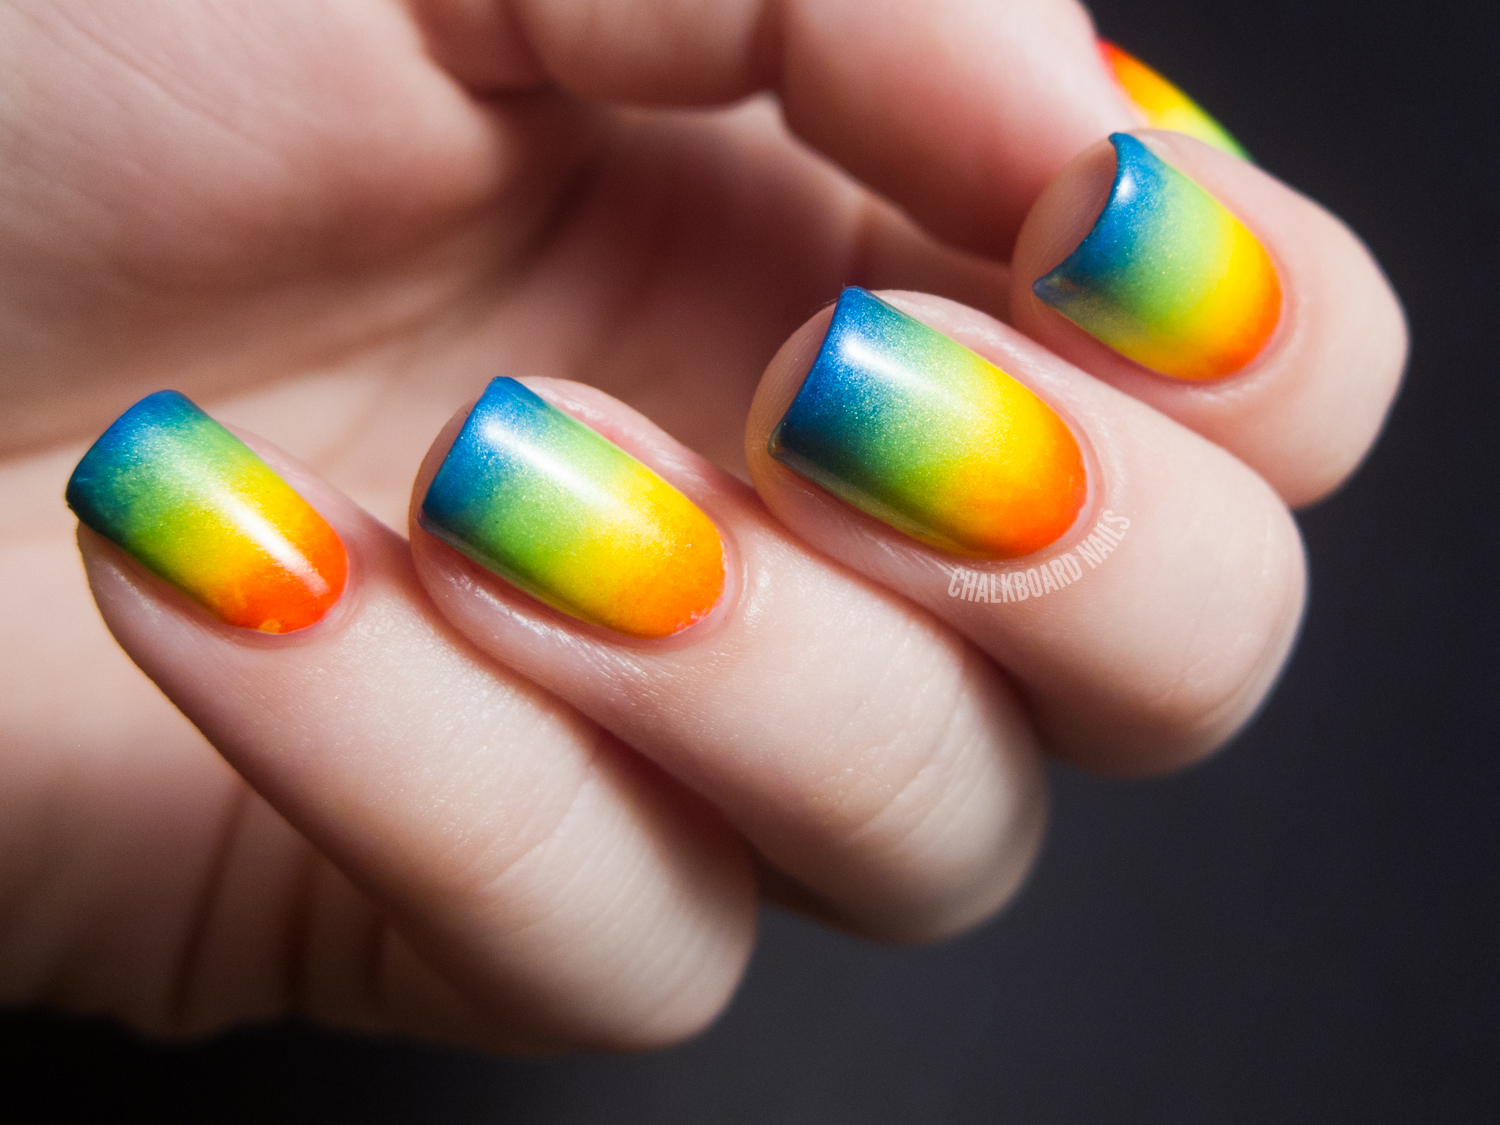
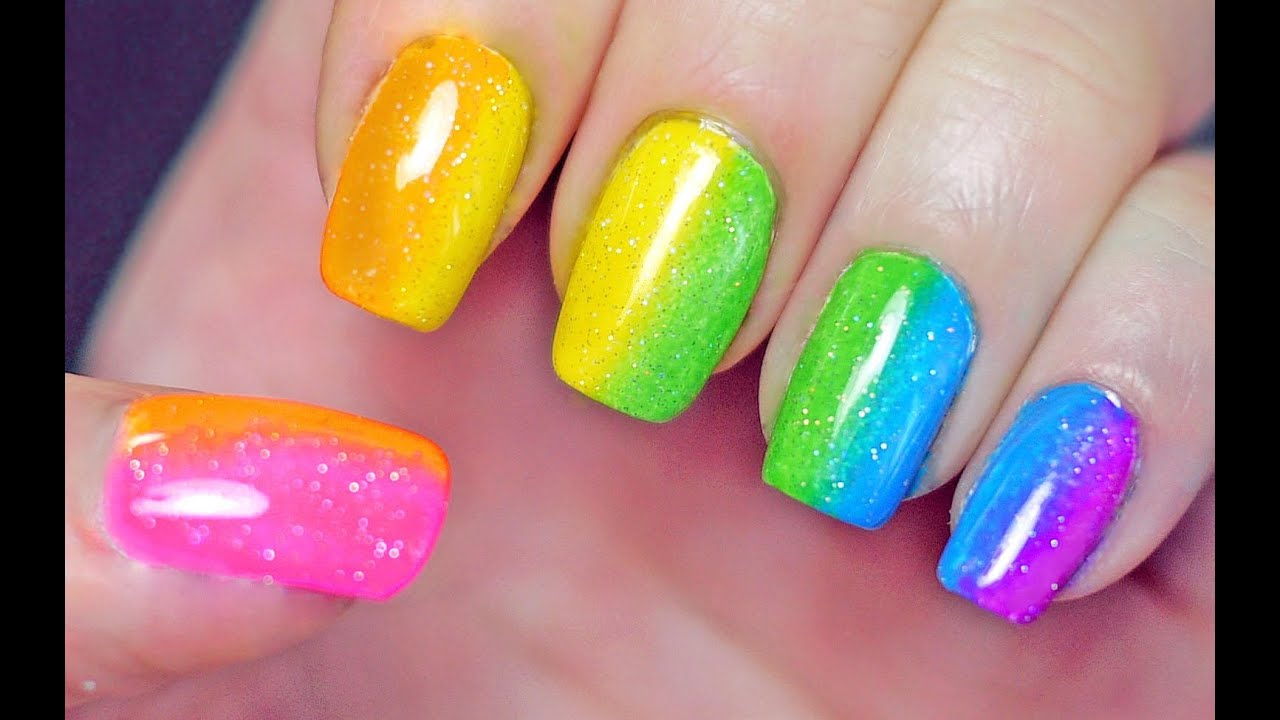
For a more subtle and elegant rainbow nail art, you can try out this gradient design using a sponge. It's a simple yet stunning way to incorporate all the colors of the rainbow onto your nails. Start by painting your nails with a white base coat. Then, take a makeup sponge and apply a small amount of each rainbow color in a line across the sponge. Dab the sponge onto your nails, repeating the process until you achieve a smooth gradient effect. Finish off with a top coat to seal in the colors and give your nails a polished finish.3. Gradient Rainbow Nail Art with Sponge
3. Gradient Rainbow Nail Art with Sponge


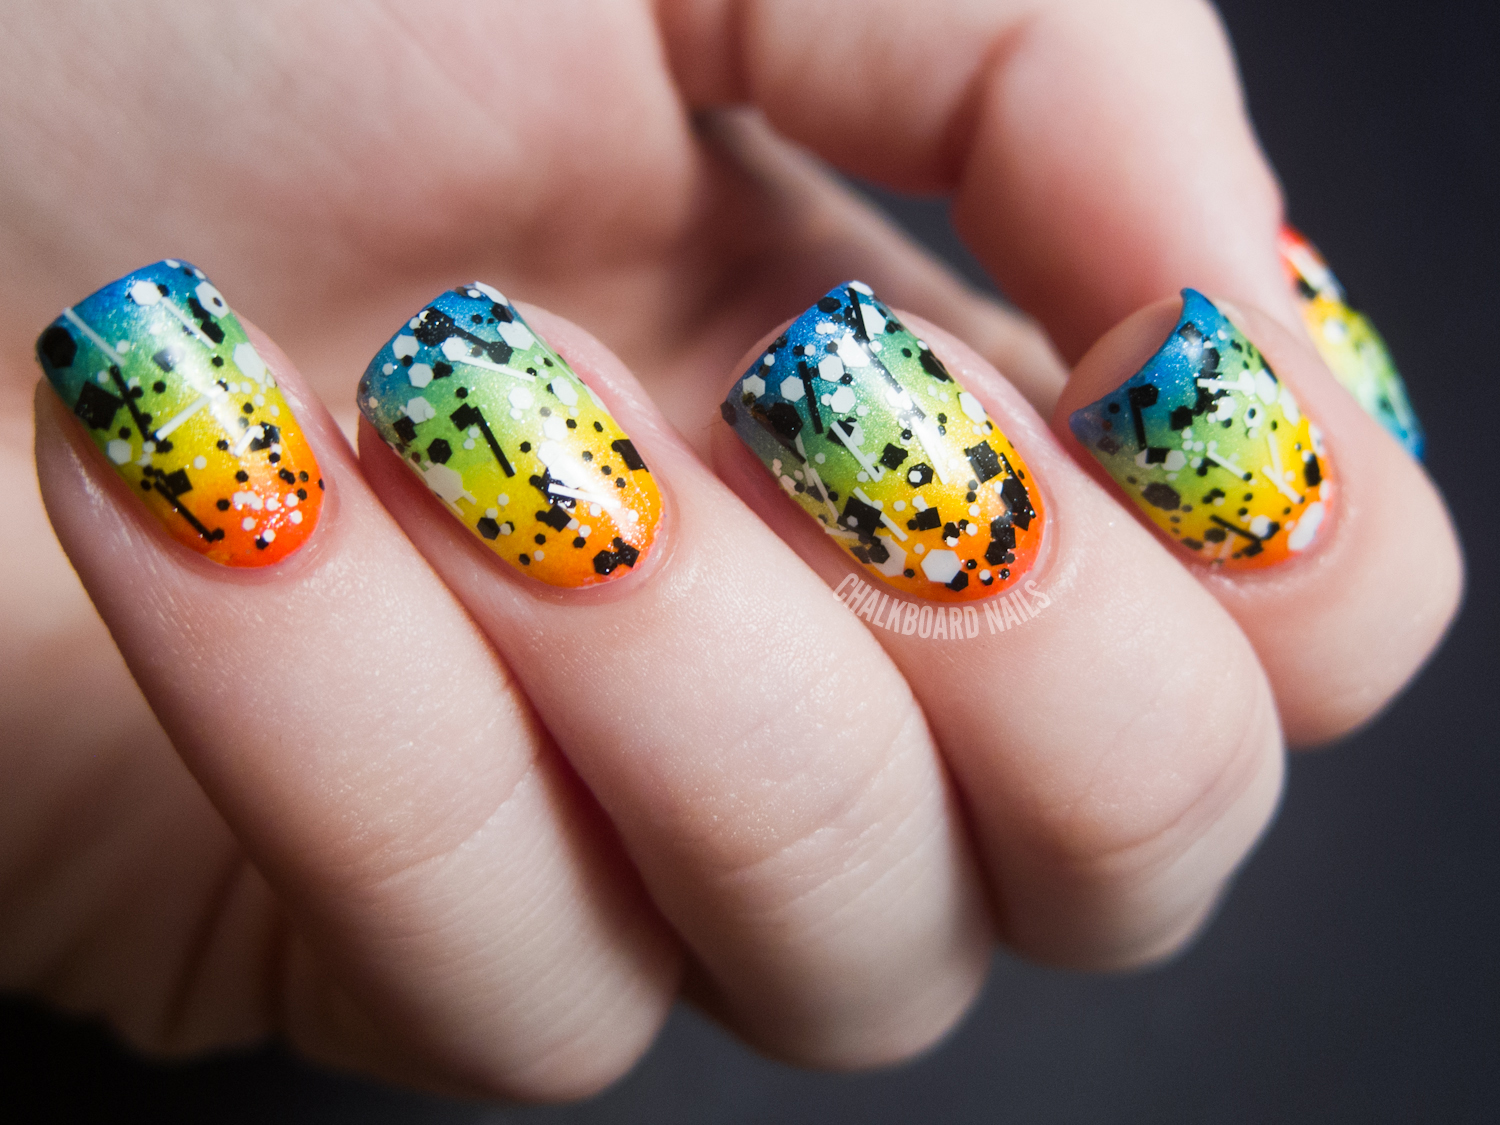
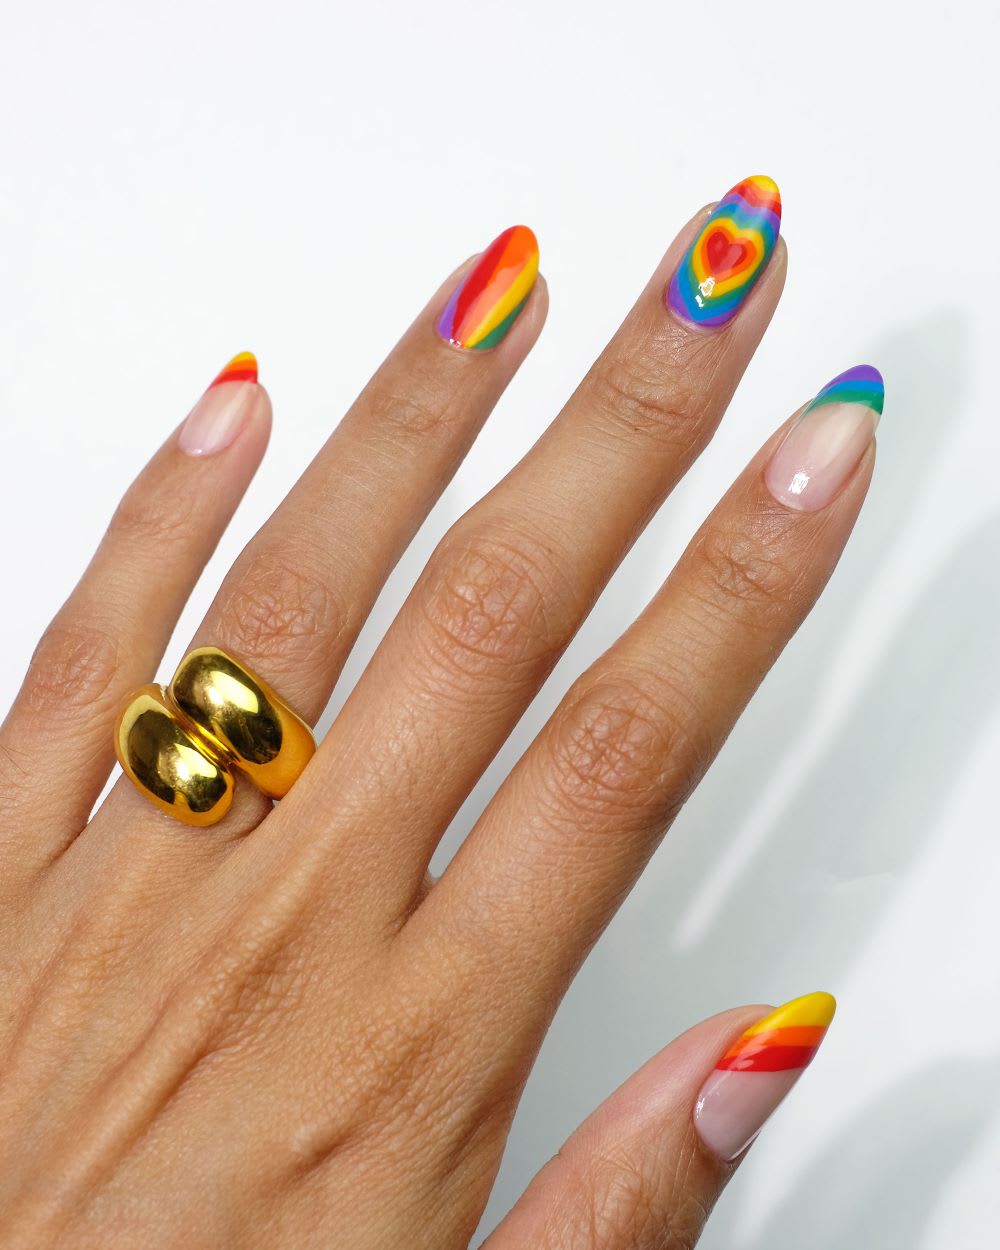
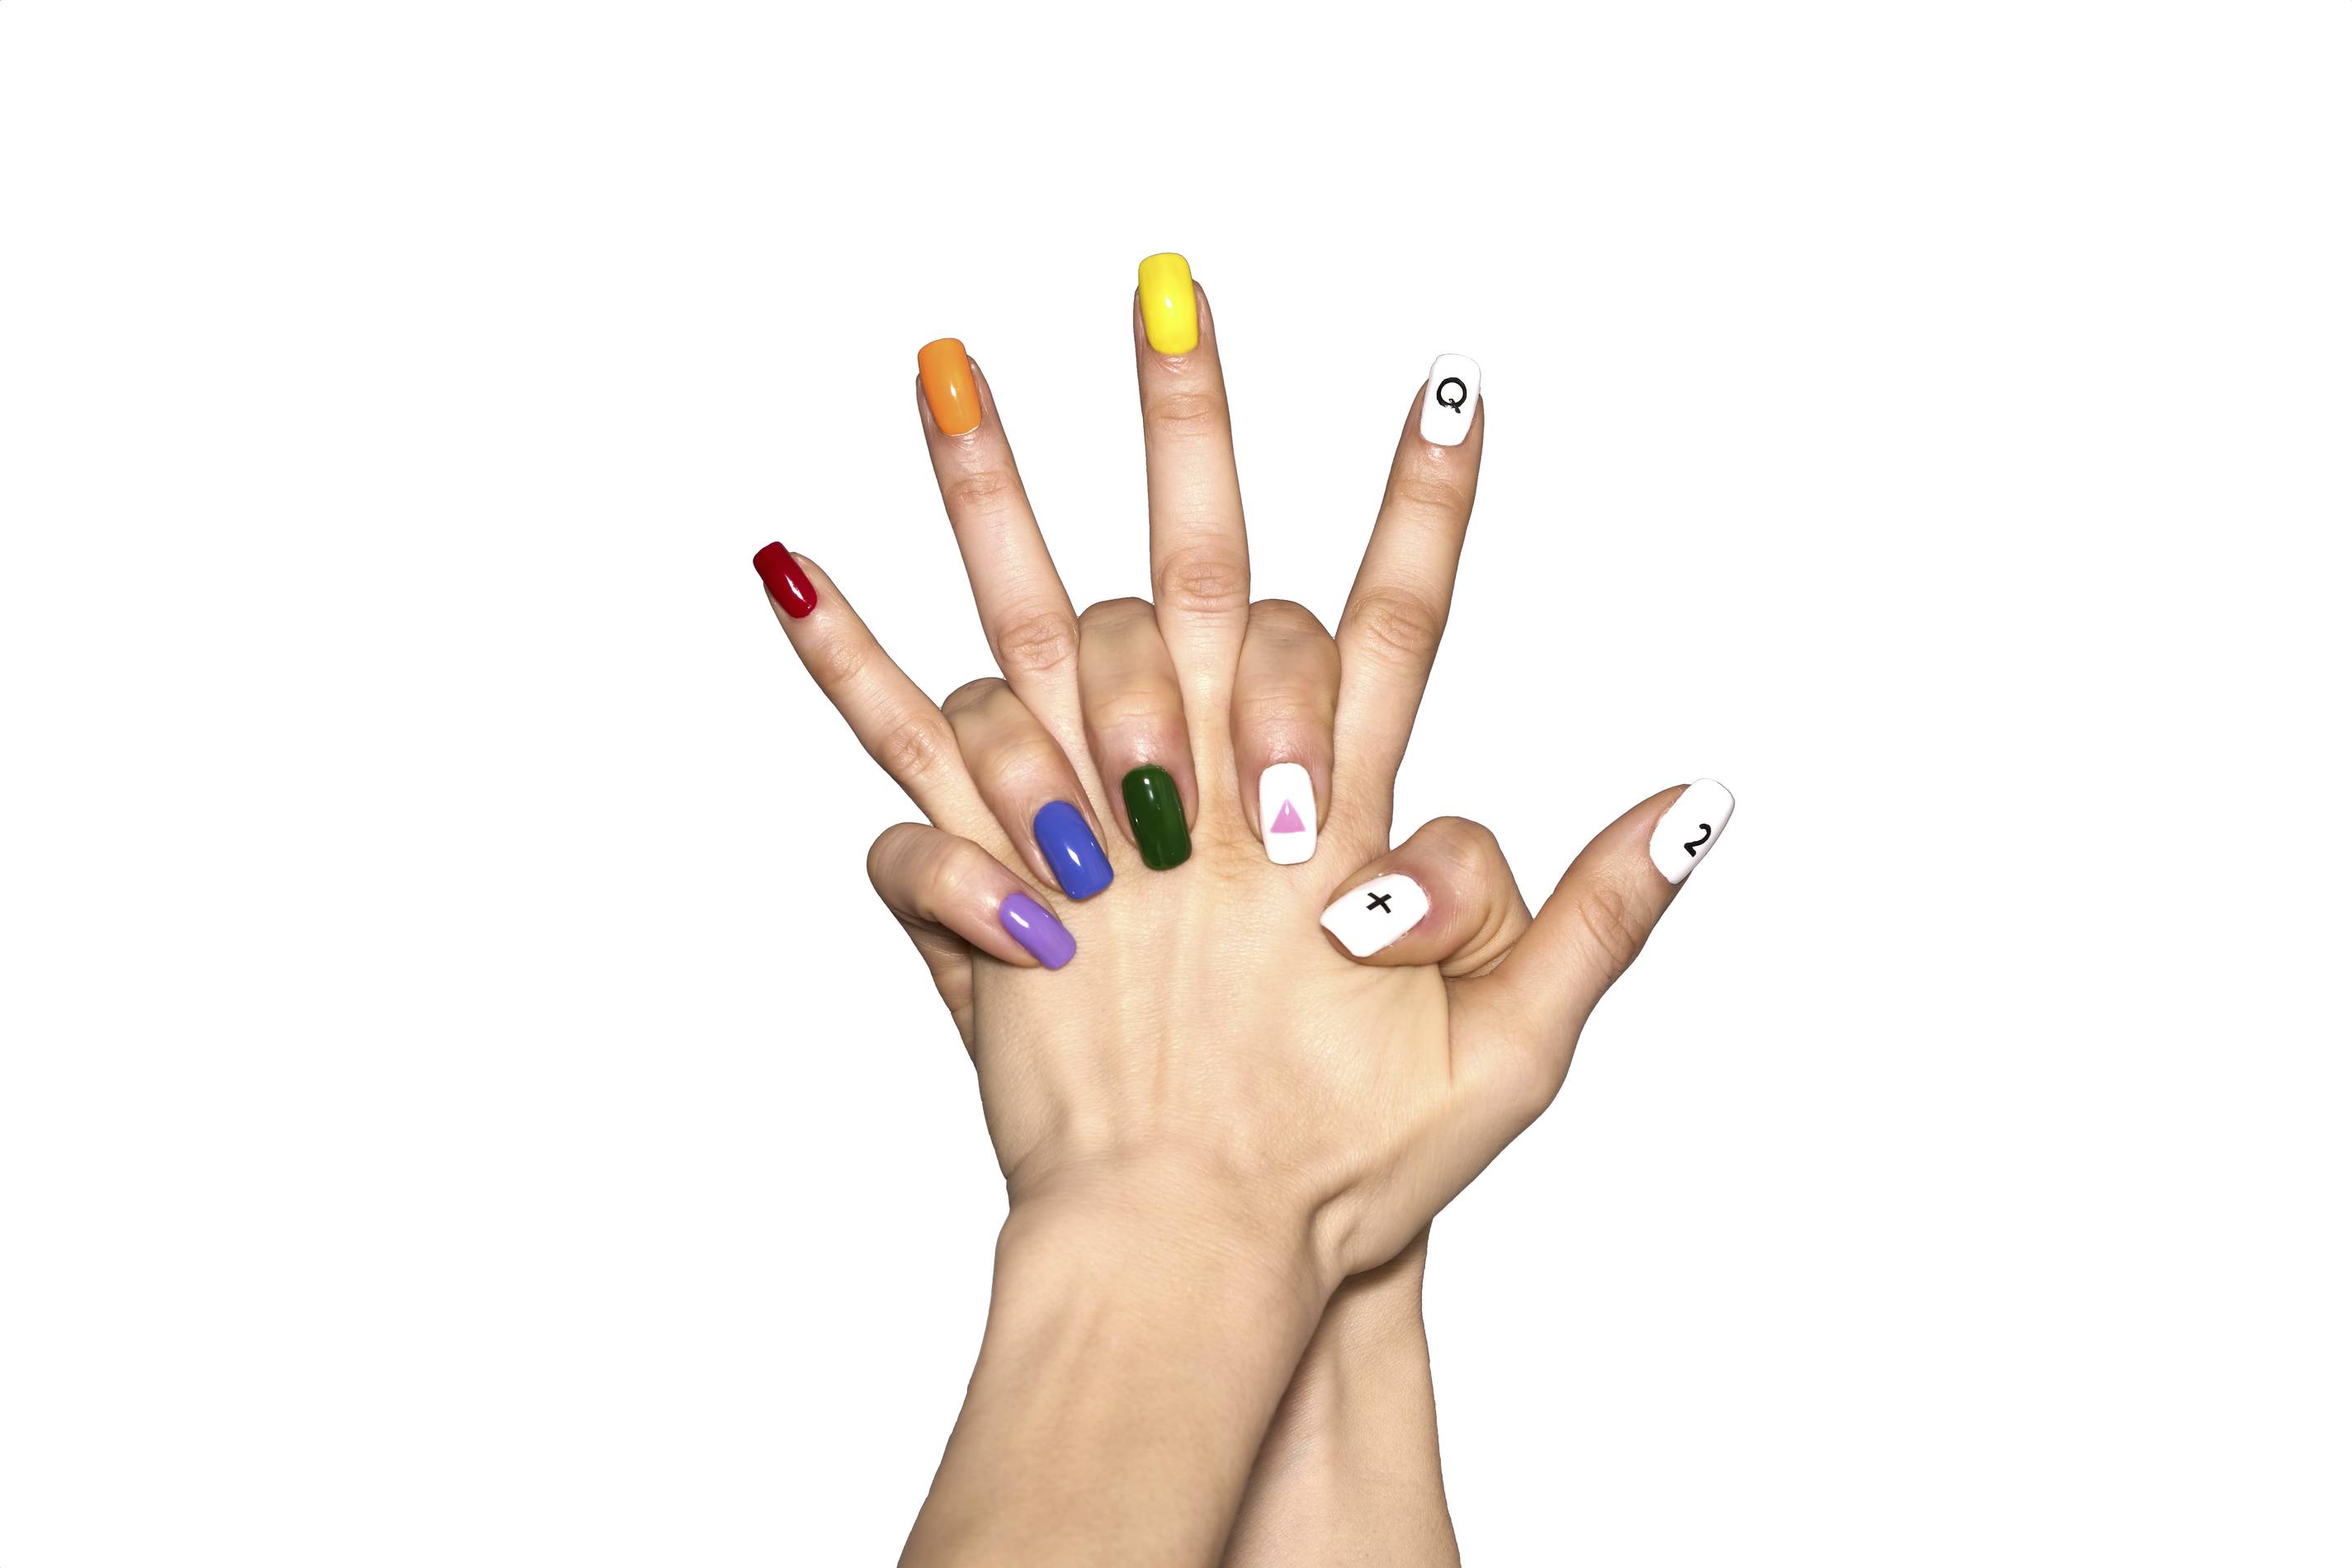
Add some whimsy and swirls to your nails with this rainbow marble nail art using a sponge. It's a fun and unique way to create a swirl of colors that will make your nails look like a mini masterpiece. Start by painting your nails with a white base coat. Then, take a makeup sponge and apply a different rainbow color on each corner of the sponge. Dab the sponge onto your nails, repeating the process until you achieve a marbled effect. You can also use a toothpick to lightly swirl the colors together for a more defined marble look. Finish off with a top coat to seal in the colors and give your nails a glossy finish.4. Rainbow Marble Nail Art with Sponge
4. Rainbow Marble Nail Art with Sponge
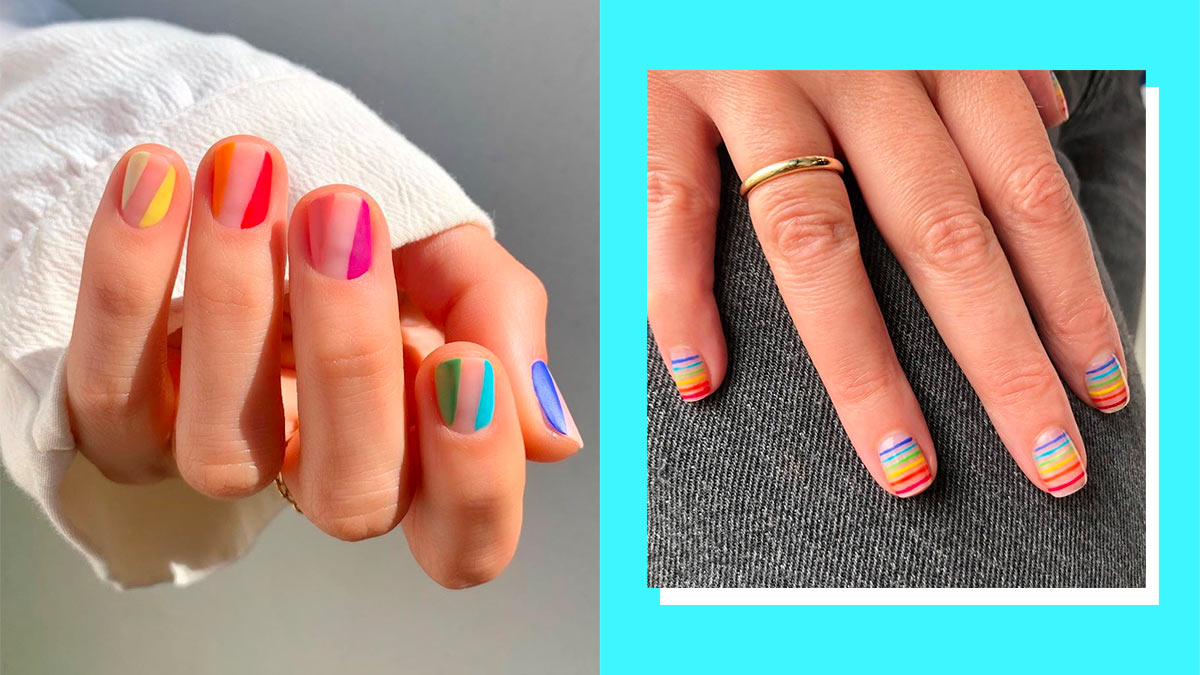
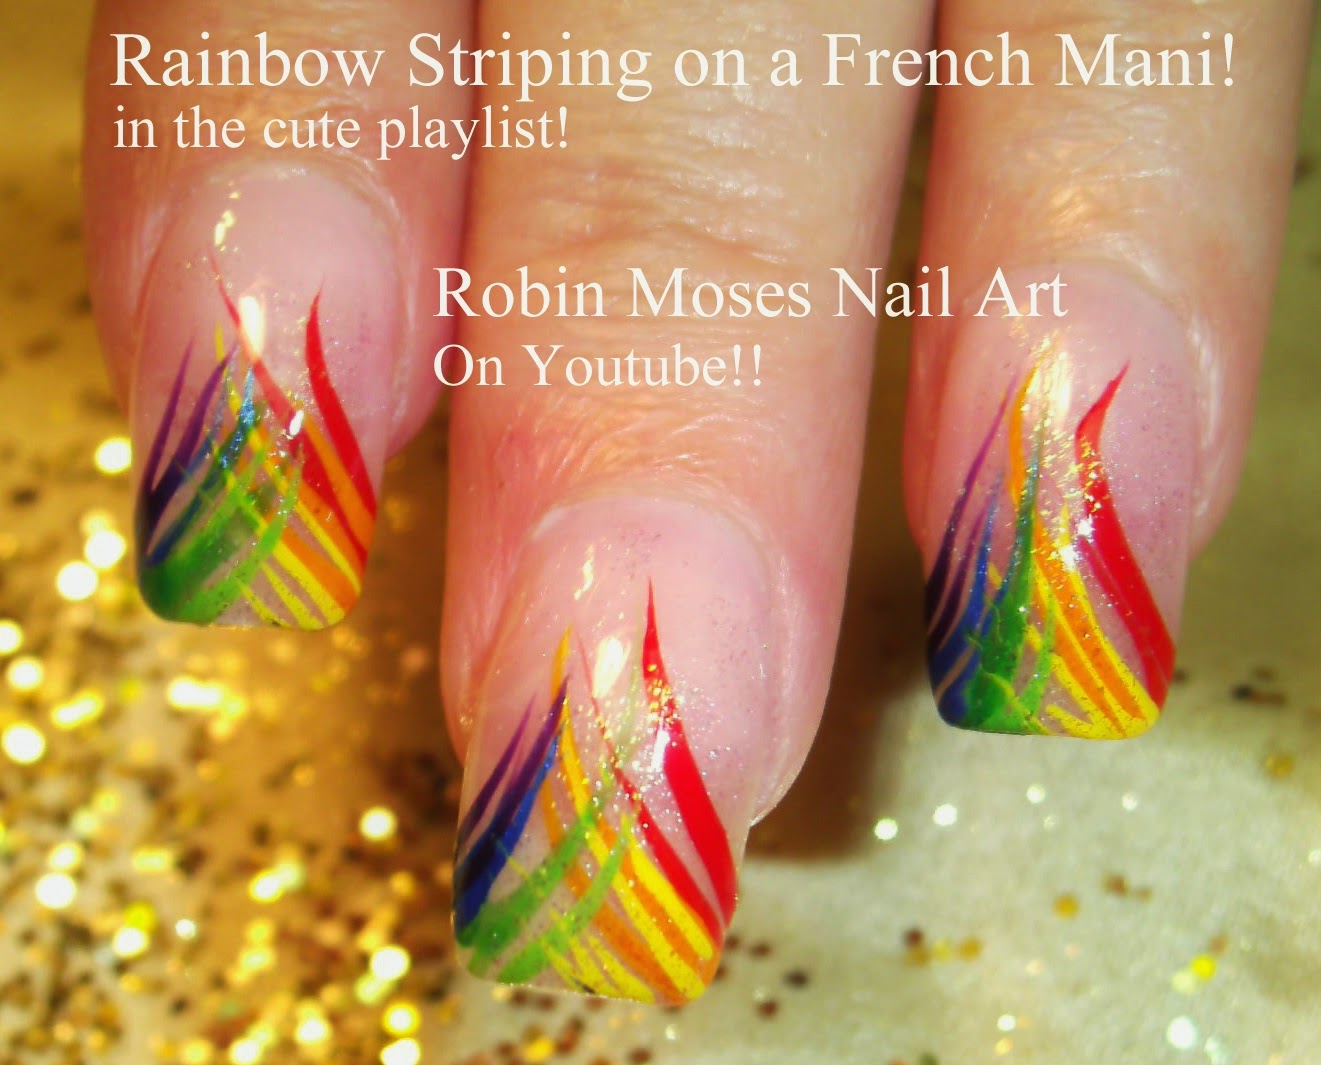
For a bold and statement-making rainbow nail art, try out this striped design using a sponge. It's a fun and eye-catching way to showcase all the colors of the rainbow on your nails. Start by painting your nails with a white base coat. Then, take a makeup sponge and cut it into smaller pieces. Apply a different rainbow color on each piece of sponge and dab it onto your nails in a vertical or horizontal striping pattern. Repeat this process until you achieve the desired look. You can also add some glitter or top coat for an extra pop of color.5. Rainbow Striped Nail Art with Sponge

5. Rainbow Striped Nail Art with Sponge

If you're feeling adventurous and want to add some splatter to your nails, try out this rainbow splatter nail art using a sponge. It's a fun and messy way to create a colorful burst of rainbow on your nails. Start by painting your nails with a white base coat. Then, take a makeup sponge and apply a different rainbow color on each corner of the sponge. Dab the sponge onto your nails, repeating the process until you achieve a splatter effect. You can also use a toothpick to lightly splatter the colors for a more controlled look. Finish off with a top coat to seal in the colors and give your nails a glossy finish.6. Rainbow Splatter Nail Art with Sponge

6. Rainbow Splatter Nail Art with Sponge

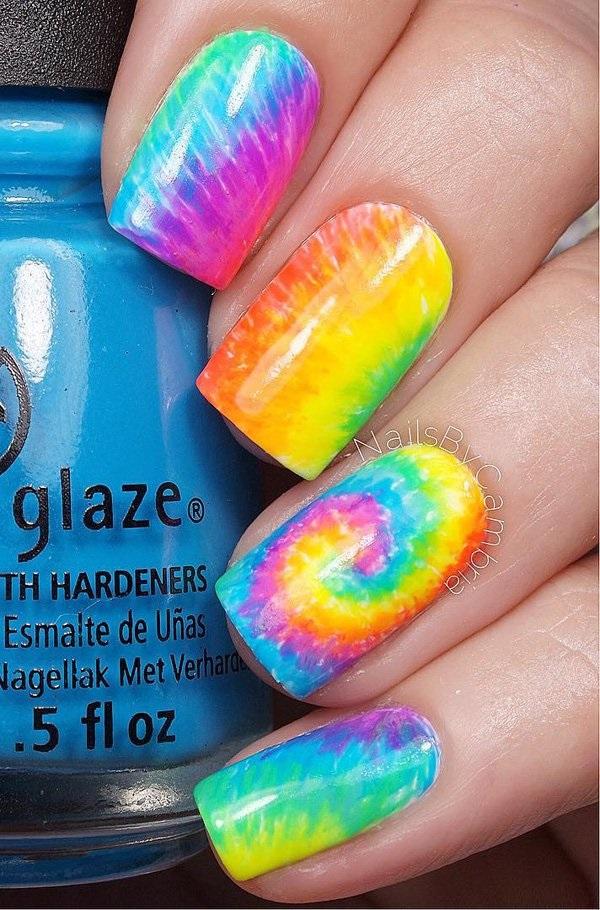
For a psychedelic and groovy look, try out this tie-dye inspired rainbow nail art using a sponge. It's a fun and colorful way to bring out your inner hippie. Start by painting your nails with a white base coat. Then, take a makeup sponge and cut it into smaller pieces. Apply a different rainbow color on each piece of sponge and dab it onto your nails in a random pattern. Repeat this process until you achieve the desired tie-dye effect. Finish off with a top coat to seal in the colors and give your nails a polished finish.7. Rainbow Tie-Dye Nail Art with Sponge

7. Rainbow Tie-Dye Nail Art with Sponge


Take your rainbow nail art to the next level by incorporating some glitter using a sponge. It's a fun and sparkly way to add some extra shine and texture to your nails. Start by painting your nails with a white base coat. Then, take a makeup sponge and apply a different rainbow color on each corner of the sponge. Dab the sponge onto your nails, repeating the process until you achieve a gradient effect. While the polish is still wet, sprinkle some glitter onto your nails using a small brush or toothpick. Finish off with a top coat to seal in the colors and give your nails a glossy finish.8. Rainbow Glitter Nail Art with Sponge

8. Rainbow Glitter Nail Art with Sponge

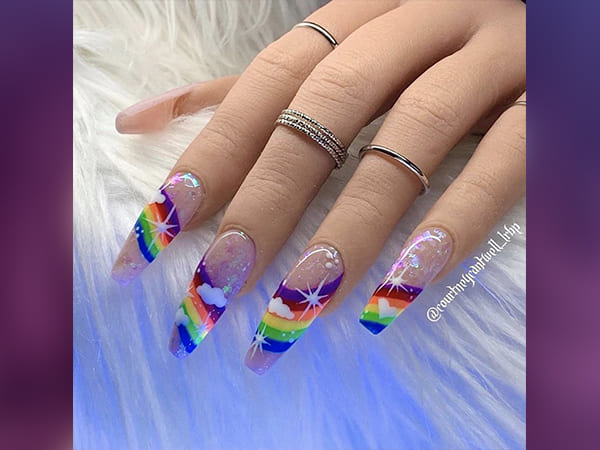
If you're feeling artsy and want to create a unique and abstract look on your nails, this rainbow abstract nail art using a sponge is the perfect choice. It's a fun and creative way to showcase your love for all the colors of the rainbow. Start by painting your nails with a white base coat. Then, take a makeup sponge and apply a different rainbow color on each corner of the sponge. Dab the sponge onto your nails, repeating the process until you achieve a random and abstract pattern. You can also use a toothpick to blend the colors together for a more cohesive look. Finish off with a top coat to seal in the colors and give your nails a polished finish.9. Rainbow Abstract Nail Art with Sponge

9. Rainbow Abstract Nail Art with Sponge
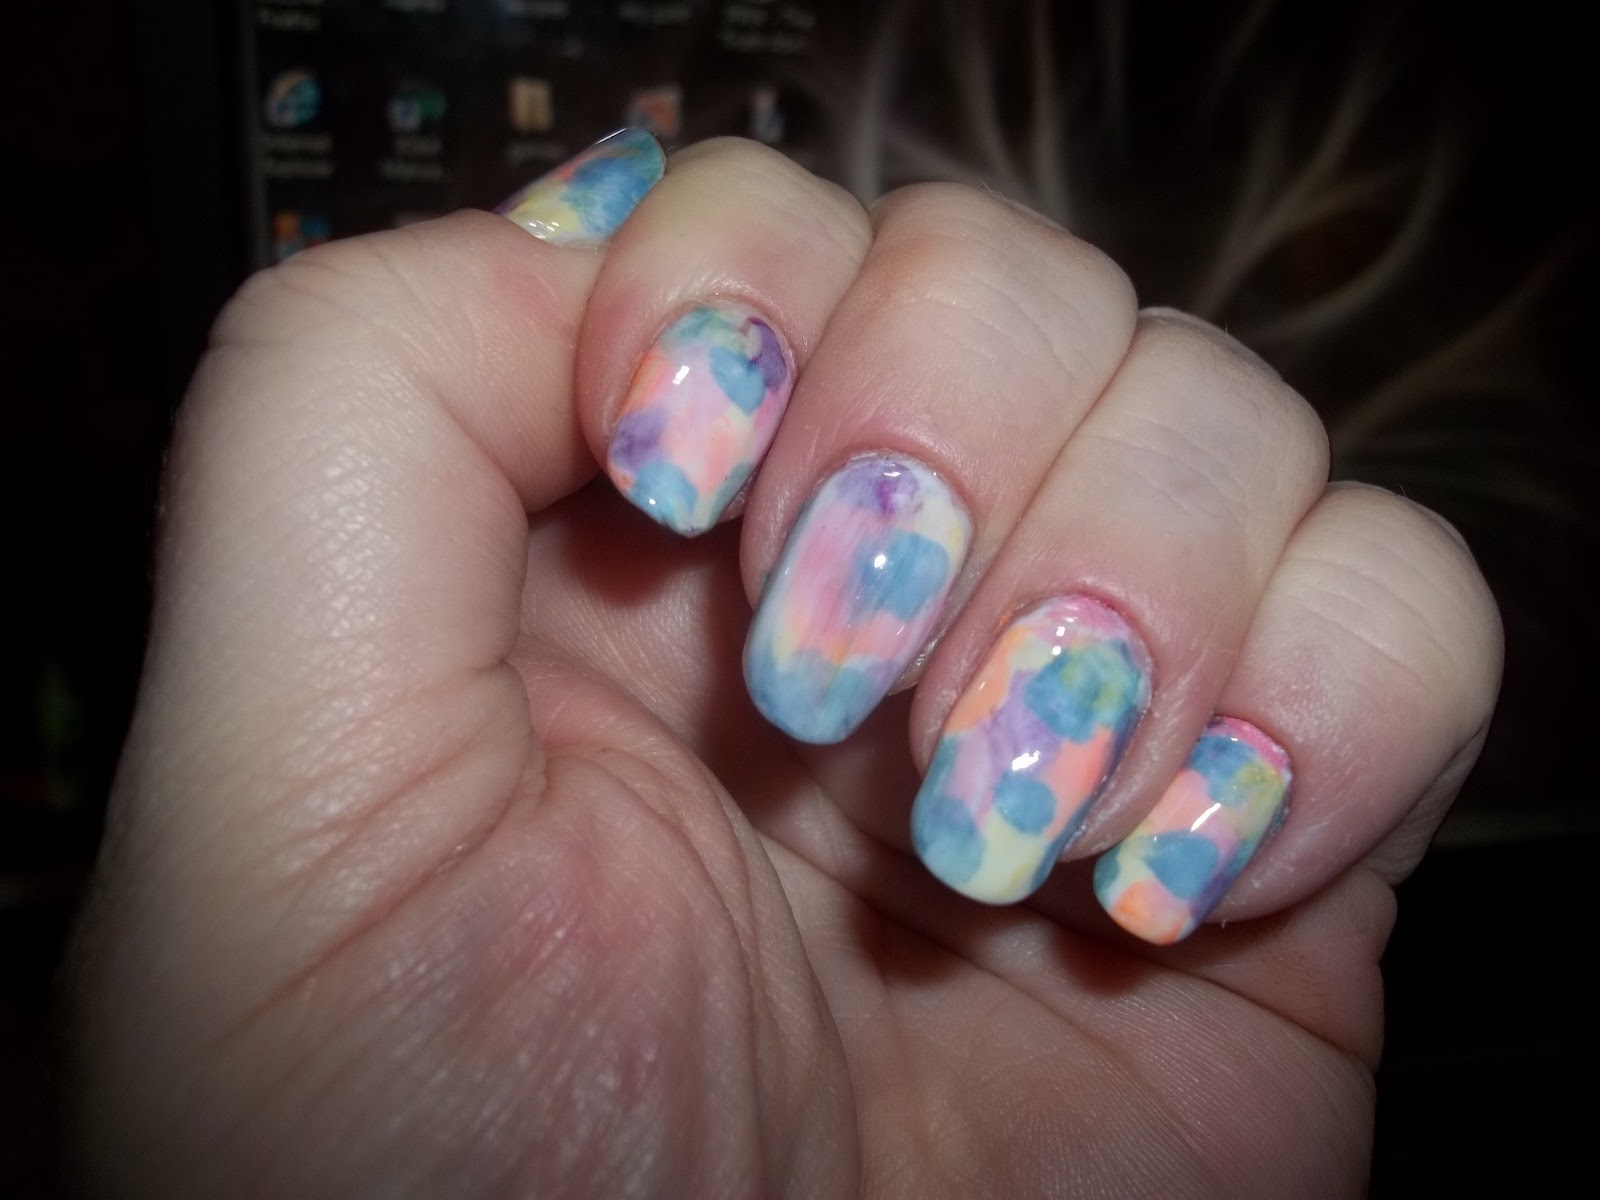
For a dreamy and ethereal look, try out this rainbow watercolor nail art using a sponge. It's a beautiful and delicate way to incorporate all the colors of the rainbow onto your nails. Start by painting your nails with a white base coat. Then, take a makeup sponge and cut it into smaller pieces. Apply a different rainbow color on each piece of sponge and dab it onto your nails in a random pattern. Repeat this process until you achieve a watercolor effect. Finish off with a top coat to seal in the colors and give your nails a glossy finish.10. Rainbow Watercolor Nail Art with Sponge


10. Rainbow Watercolor Nail Art with Sponge
Create Eye-Catching Rainbow Nail Art with Sponge

Take Your Nail Design to the Next Level
 Looking for a fun and unique way to spice up your nail game? Look no further than rainbow nail art with sponge! This technique is taking the beauty world by storm and for good reason. Not only is it easy to do, but it also creates a stunning and eye-catching effect that will have everyone asking where you got your nails done. So, let's dive into how you can achieve this colorful look with just a sponge and some nail polish.
The Magic of Sponge
You may be wondering, how exactly does a simple sponge create such a beautiful design? Well, the answer lies in its ability to blend colors seamlessly. By using a sponge, you can achieve a gradient effect that mimics the colors of a rainbow. Plus, sponges are inexpensive and easy to find, making this technique accessible to anyone looking to up their nail game.
The Right Tools
Before you get started, make sure you have all the necessary tools. You will need a base coat, a top coat, a white nail polish, and at least 6 different colors of your choice. It's important to choose colors that work well together and create a cohesive rainbow effect. You will also need a makeup sponge, which you can find at any drugstore or beauty supply store.
The Step-by-Step Process
1. Start by applying a base coat to your nails and let it dry completely.
2. Next, paint your nails with a white nail polish. This will act as a base for the colors to pop against.
3. Take your makeup sponge and paint a stripe of each color you have chosen, making sure they slightly overlap.
4. Lightly dab the sponge onto your nail, starting at the tip and working your way towards the base. The colors should blend together and create a gradient effect.
5. Continue dabbing the sponge onto each nail, reapplying more polish to the sponge as needed.
6. Once you are happy with the coverage, let the polish dry for a few minutes.
7. Apply a top coat to seal in the colors and give your nails a glossy finish.
Let Your Creativity Shine
The beauty of this technique is that there are no rules. You can use any color combination you like, experiment with different sponges for different effects, or even add some sparkle with glitter polish. The possibilities are endless, so let your creativity run wild and create a unique rainbow nail art that reflects your personal style.
In conclusion, rainbow nail art with sponge is a fun and easy way to add some color and personality to your nails. With the right tools and a little bit of practice, you can create a beautiful and eye-catching design that will have everyone asking for your secret. So, go ahead and try it out for yourself – your nails will thank you.
Looking for a fun and unique way to spice up your nail game? Look no further than rainbow nail art with sponge! This technique is taking the beauty world by storm and for good reason. Not only is it easy to do, but it also creates a stunning and eye-catching effect that will have everyone asking where you got your nails done. So, let's dive into how you can achieve this colorful look with just a sponge and some nail polish.
The Magic of Sponge
You may be wondering, how exactly does a simple sponge create such a beautiful design? Well, the answer lies in its ability to blend colors seamlessly. By using a sponge, you can achieve a gradient effect that mimics the colors of a rainbow. Plus, sponges are inexpensive and easy to find, making this technique accessible to anyone looking to up their nail game.
The Right Tools
Before you get started, make sure you have all the necessary tools. You will need a base coat, a top coat, a white nail polish, and at least 6 different colors of your choice. It's important to choose colors that work well together and create a cohesive rainbow effect. You will also need a makeup sponge, which you can find at any drugstore or beauty supply store.
The Step-by-Step Process
1. Start by applying a base coat to your nails and let it dry completely.
2. Next, paint your nails with a white nail polish. This will act as a base for the colors to pop against.
3. Take your makeup sponge and paint a stripe of each color you have chosen, making sure they slightly overlap.
4. Lightly dab the sponge onto your nail, starting at the tip and working your way towards the base. The colors should blend together and create a gradient effect.
5. Continue dabbing the sponge onto each nail, reapplying more polish to the sponge as needed.
6. Once you are happy with the coverage, let the polish dry for a few minutes.
7. Apply a top coat to seal in the colors and give your nails a glossy finish.
Let Your Creativity Shine
The beauty of this technique is that there are no rules. You can use any color combination you like, experiment with different sponges for different effects, or even add some sparkle with glitter polish. The possibilities are endless, so let your creativity run wild and create a unique rainbow nail art that reflects your personal style.
In conclusion, rainbow nail art with sponge is a fun and easy way to add some color and personality to your nails. With the right tools and a little bit of practice, you can create a beautiful and eye-catching design that will have everyone asking for your secret. So, go ahead and try it out for yourself – your nails will thank you.


