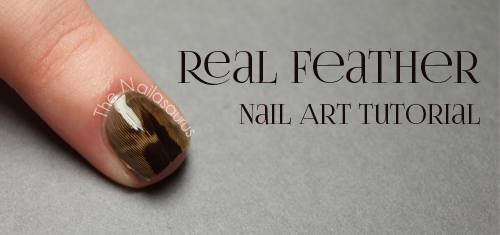
Feather nail art is a trendy and unique way to decorate your nails. Whether you're a beginner or an experienced nail artist, incorporating real feathers into your nail designs can add a touch of elegance and nature to your look. In this tutorial, we will guide you through the steps to create beautiful feather nail art that is easy and fun to do. If you want to learn how to create this stunning nail art, keep reading and follow our step-by-step tutorial on real feather nail art.1. Feather Nail Art Tutorial | Easy Nail Art Tutorial | Real Feather Nail Art


1. Feather Nail Art Tutorial


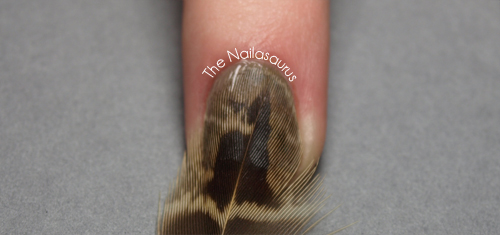
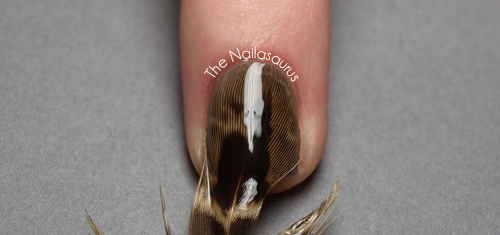
Creating real feather nail art is a simple and affordable DIY project that anyone can do at home. All you need is a few basic nail art supplies and some real feathers. You can buy feathers from a craft store or use feathers from your own collection. To start, choose the feathers you want to use and make sure they are clean and free from any debris. Then, follow these easy steps: Step 1: Begin by painting your nails with a base color of your choice. We recommend using a light or neutral color to make the feather design stand out. Step 2: Once the base color is dry, apply a layer of clear top coat to your nails. Step 3: While the top coat is still wet, gently place the feathers on your nails. You can use tweezers to help position the feathers in place. Step 4: Once the feathers are in place, use a small brush to apply a layer of top coat over the feathers to secure them in place. Step 5: Let the top coat dry completely and then finish off with another layer of clear top coat for added shine and protection.2. DIY Real Feather Nail Art Tutorial | How to Create Feather Nail Art


Easy Nail Art Tutorial
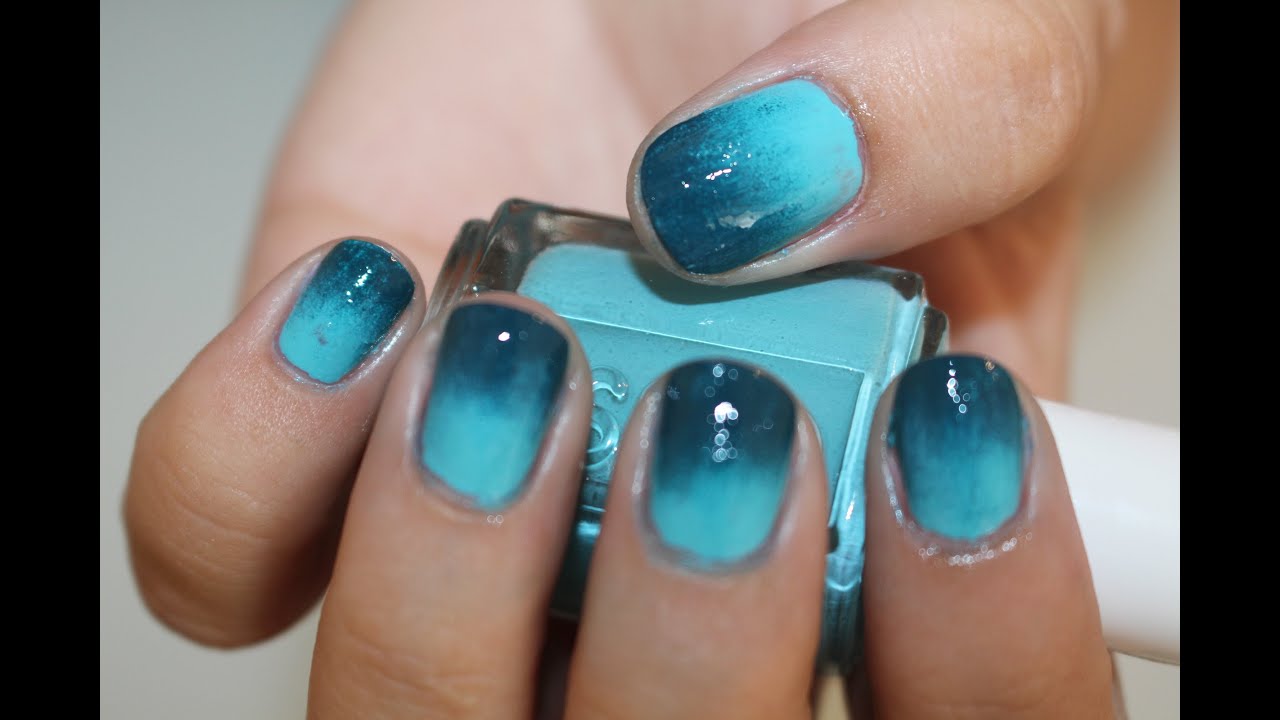
If you want to take your feather nail art to the next level, you can try this step-by-step tutorial for a more intricate and detailed design. Here's how to create a feather ombre nail art: Step 1: Start by painting your nails with a base color. We recommend using a light or neutral color for this design. Step 2: Once the base color is dry, take a makeup sponge and apply a small amount of your chosen feather color to the tip of the sponge. Dab the sponge onto your nails in a downward motion to create an ombre effect. Step 3: While the polish is still wet, gently place small pieces of feathers on top of the ombre design using tweezers. Step 4: Once the feathers are in place, use a small brush to apply a layer of top coat over the feathers to secure them in place. Step 5: Let the top coat dry completely and then finish off with another layer of clear top coat for added shine and protection.3. Step-by-Step Real Feather Nail Art Tutorial | Feather Nail Art Design

Real Feather Nail Art

If you're new to nail art, don't worry, creating real feather nail art is easier than it looks. This simple feather nail art tutorial is perfect for beginners and requires minimal supplies. Here's how to do it: Step 1: Begin by painting your nails with a base color of your choice. You can use a light or neutral color for this design. Step 2: Once the base color is dry, apply a layer of clear top coat to your nails. Step 3: While the top coat is still wet, gently place small pieces of feathers on your nails using tweezers. Step 4: Once the feathers are in place, use a small brush to apply a layer of top coat over the feathers to secure them in place. Step 5: Let the top coat dry completely and then finish off with another layer of clear top coat for added shine and protection.4. Real Feather Nail Art Tutorial for Beginners | Simple Feather Nail Art

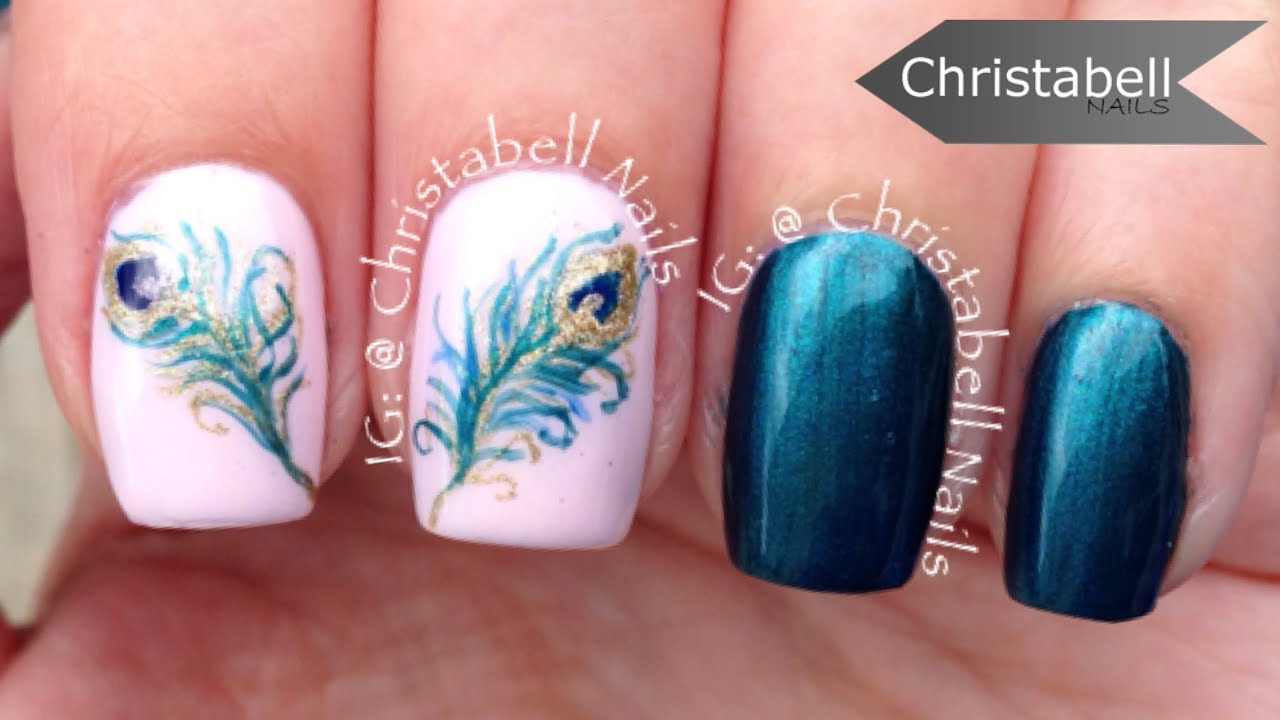
2. DIY Real Feather Nail Art Tutorial


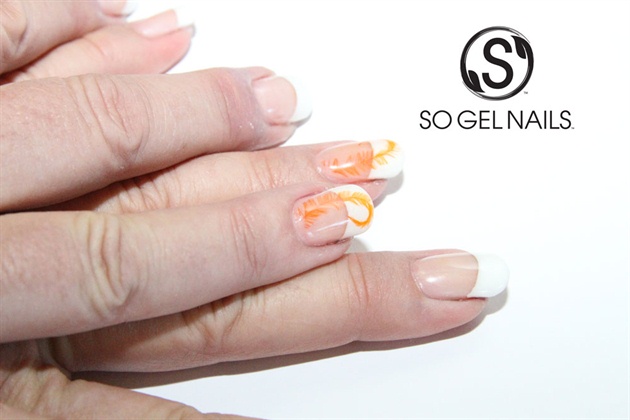
If you prefer using gel polish for your nail art, don't worry, you can still incorporate real feathers into your designs. Here's how to create a stunning feather nail art with gel polish: Step 1: Start by applying a base coat to your nails and cure it under a UV or LED lamp. Step 2: Once the base coat is dry, apply a layer of gel polish in your chosen color and cure it under the lamp. Step 3: While the gel polish is still tacky, gently place small pieces of feathers on your nails using tweezers. Step 4: Once the feathers are in place, apply another layer of gel polish over the feathers and cure it under the lamp. Step 5: Finish off with a layer of top coat and cure it under the lamp for a glossy and long-lasting finish.5. Real Feather Nail Art Tutorial with Gel Polish | Feather Nail Art Ideas
How to Create Feather Nail Art
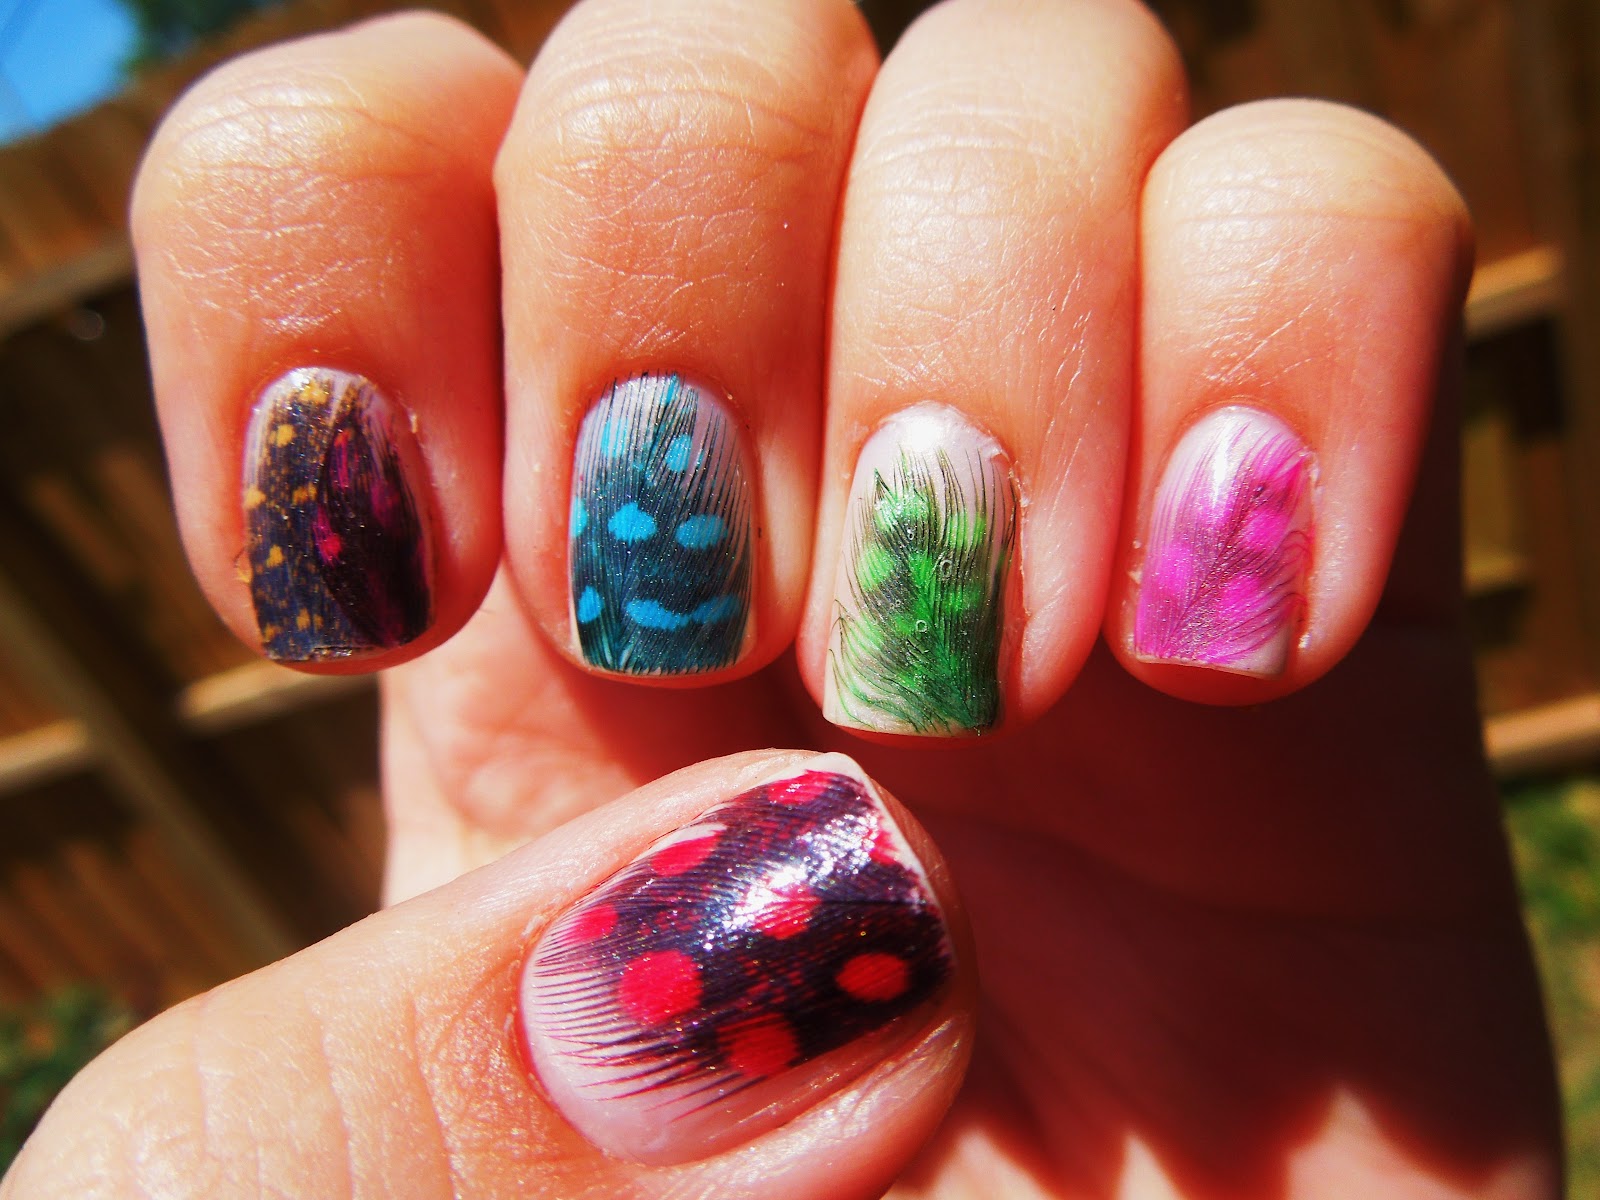
If you're feeling creative, you can use acrylic paint to create a unique and artistic feather nail art. Here's how to do it: Step 1: Begin by painting your nails with a base color of your choice. You can use a light or neutral color for this design. Step 2: Once the base color is dry, take a small brush and dip it into white acrylic paint. Create thin, feathery strokes on your nails to resemble real feathers. Step 3: While the paint is still wet, gently place small pieces of feathers on your nails using tweezers. Step 4: Once the feathers are in place, use a small brush to apply a layer of top coat over the feathers to secure them in place. Step 5: Let the top coat dry completely and then finish off with another layer of clear top coat for added shine and protection.6. Real Feather Nail Art Tutorial with Acrylic Paint | Feather Nail Art Techniques


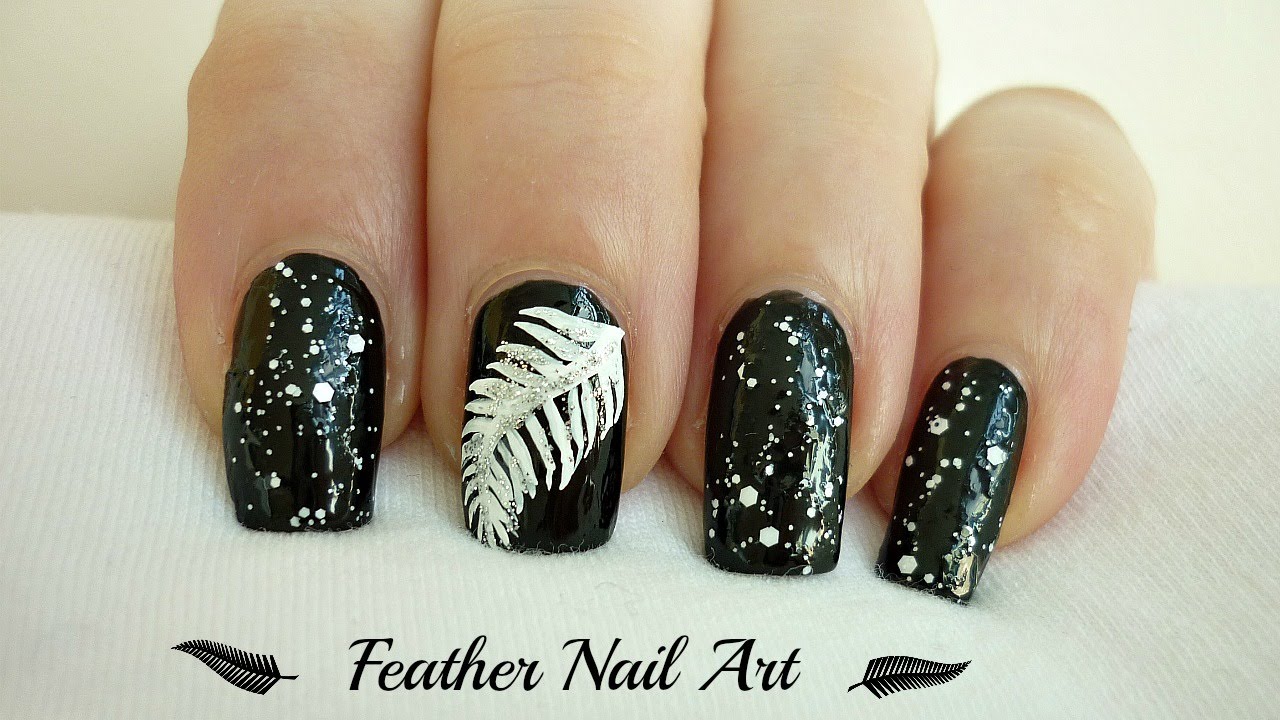
3. Step-by-Step Real Feather Nail Art Tutorial


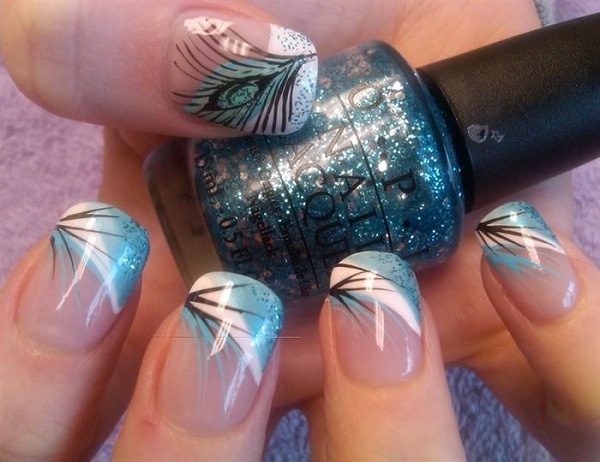
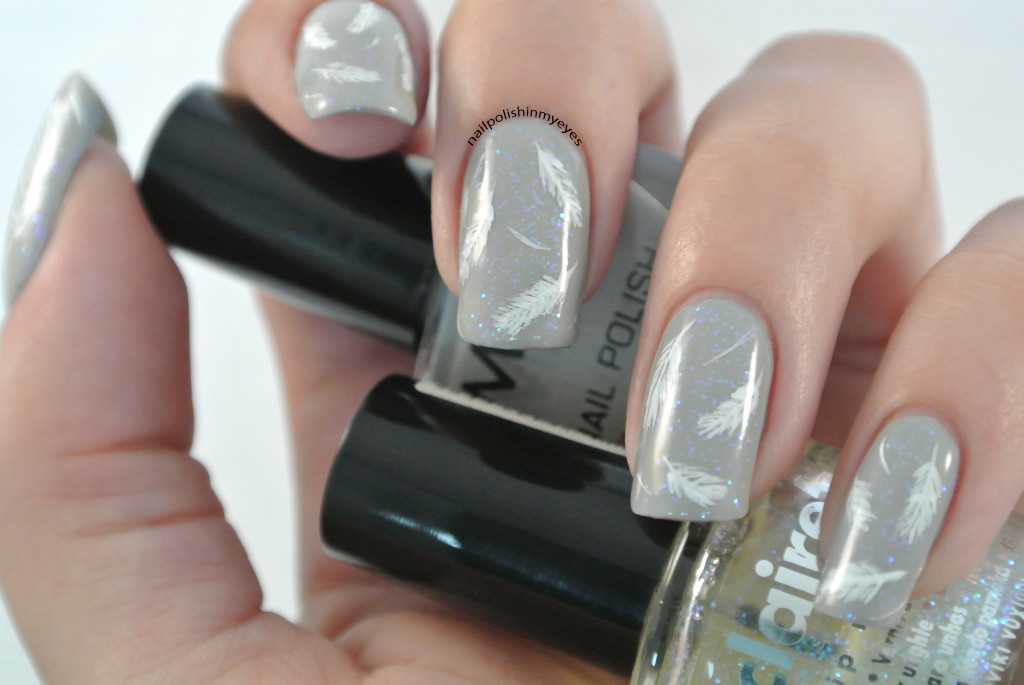
If you want to create a quick and easy feather nail art, you can use nail stickers instead of real feathers. Here's how to do it: Step 1: Begin by painting your nails with a base color of your choice. You can use a light or neutral color for this design. Step 2: Once the base color is dry, apply a layer of clear top coat to your nails. Step 3: While the top coat is still wet, gently place the feather nail sticker on your nails and press down firmly. Step 4: Once the sticker is in place, use a small brush to apply a layer of top coat over the sticker to secure it in place. Step 5: Let the top coat dry completely and then finish off with another layer of clear top coat for added shine and protection.7. Real Feather Nail Art Tutorial with Nail Stickers | Feather Nail Art Supplies


Feather Nail Art Design

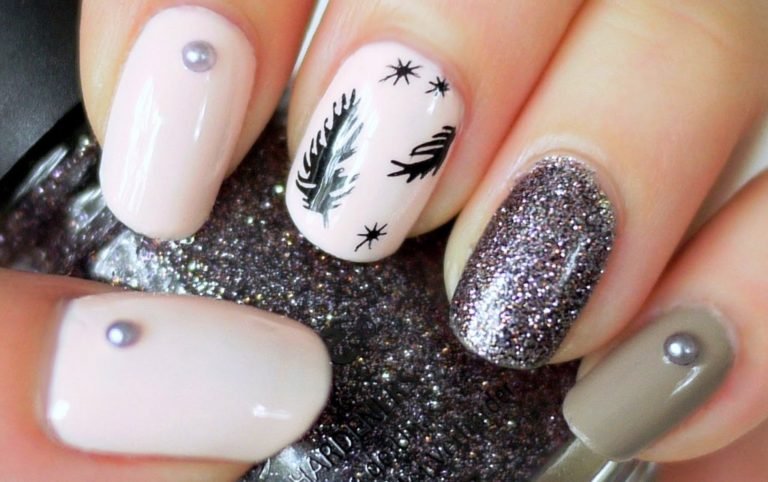
Short nails can also rock a feather nail art design. Here's a simple tutorial on how to create a feather design for short nails: Step 1: Begin by painting your nails with a base color of your choice. You can use a light or neutral color for this design. Step 2: Once the base color is dry, apply a layer of clear top coat to your nails. Step 3: While the top coat is still wet, gently place small pieces of feathers on your nails using tweezers. Step 4: Once the feathers are in place, use a small brush to apply a layer of top coat over the feathers to secure them in place. Step 5: Let the top coat dry completely and then finish off with another layer of clear top coat for added shine and protection.8. Real Feather Nail Art Tutorial for Short Nails | Feather Nail Art for Every Length
4. Real Feather Nail Art Tutorial for Beginners

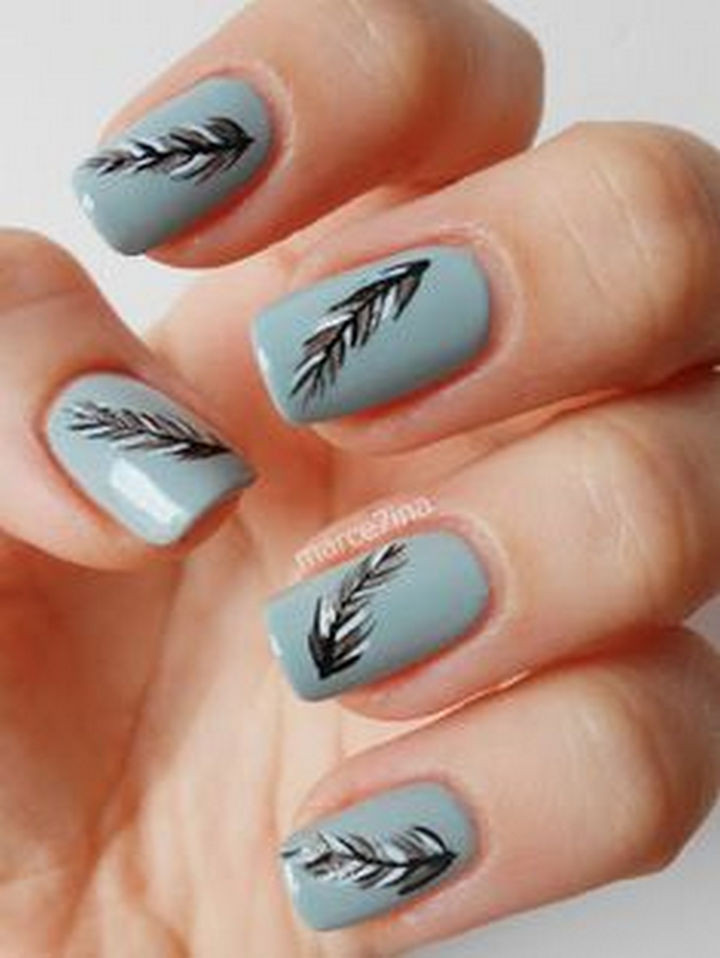
Long nails provide more space to create intricate nail art designs, including feather nail art. Here's how to create a stunning feather design for long nails: Step 1: Start by painting your nails with a base color of your choice. You can use a light or neutral color for this design. Step 2: Once the base color is dry, apply a layer of clear top coat to your nails. Step 3: While the top coat is still wet, gently place small pieces of feathers on your nails using tweezers. Step 4: Once the feathers are in place, use a small brush to apply a layer of top coat over the feathers to secure them in place. Step 5: Let the top coat dry completely and then finish off with another layer of clear top coat for added shine and protection.9. Real Feather Nail Art Tutorial for Long Nails | Feather Nail Art for Different Shapes

Simple Feather Nail Art

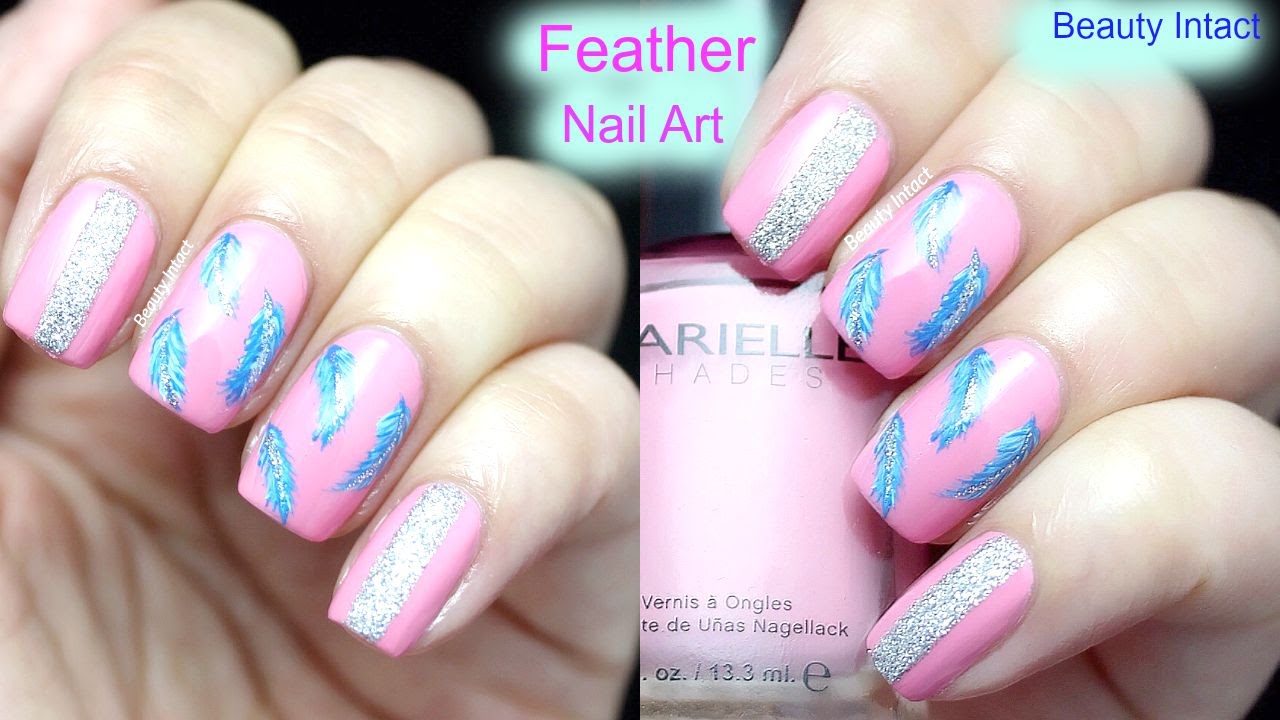
Feather nail art is perfect for special occasions, such as weddings and parties. You can create a chic and elegant look with this tutorial: Step 1: Begin by painting your nails with a light or neutral base color. Step 2: Once the base color is dry, apply a layer of clear top coat to your nails. Step 3: While the top coat is still wet, gently place small pieces of feathers on your nails using tweezers. Step 4: Once the feathers are in place, use a small brush to apply a layer of top coat over the feathers to secure them in place. Step 5: To add some sparkle, you can also place small rhinestones or glitter on top of the feathers before applying the top coat. Step 6: Let the top coat dry completely and then finish off with another layer of clear top coat for added shine and protection. Now that you have learned different ways to create real feather nail art, it's time to get creative and try out these designs for yourself. Remember to have fun and experiment with different colors and feather sizes to create unique and beautiful nail art. Happy nail designing!10. Real Feather Nail Art Tutorial for Special Occasions | Feather Nail Art for Weddings and Parties


5. Real Feather Nail Art Tutorial with Gel Polish
How to Create Stunning Feather Nail Art: A Step-by-Step Tutorial
Feather Nail Art: The Hottest Trend in Nail Design
 Nail art has become a popular form of self-expression and creativity, with endless possibilities for designs and styles. One of the latest trends to take the nail world by storm is feather nail art. This whimsical and delicate design adds a touch of elegance and dimension to any manicure. Whether you're a nail art novice or a seasoned pro, this step-by-step tutorial will guide you through the process of creating beautiful feather nails.
Gather Your Materials
 Before you begin, make sure you have all the necessary materials. You will need
nail polish
,
nail art brushes
,
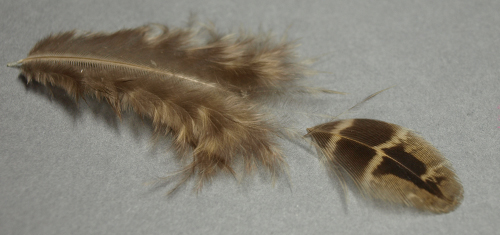
feathers
,
top coat
, and
nail glue
. You can choose any colors you like, but for a more natural look, opt for neutral shades such as beige, brown, or grey.
Before you begin, make sure you have all the necessary materials. You will need
nail polish
,
nail art brushes
,
feathers
,
top coat
, and
nail glue
. You can choose any colors you like, but for a more natural look, opt for neutral shades such as beige, brown, or grey.
Step 1: Prep Your Nails
 Start by prepping your nails. This involves shaping, filing, and buffing them to your desired length and shape. Next, apply a base coat to protect your nails and help the polish adhere better.
Step 2: Apply Base Color
 Choose your base color and apply two coats for a smooth, opaque finish. Let the polish dry completely before moving on to the next step.
Step 3: Cut the Feathers
 Using scissors, cut the feathers into small pieces that will fit on your nails. You can cut them into different shapes and sizes for a more natural and realistic look.
Step 4: Apply Nail Glue
 Dip a nail art brush into the nail glue and carefully apply it to the areas where you want to place the feathers. Be sure to work quickly as the glue dries fast.
Step 5: Place the Feathers
 Using tweezers, place the cut feathers onto the glued areas. You can overlap them or arrange them in a specific pattern, depending on your desired look. Press down gently to secure them in place.
Step 6: Seal with Top Coat
 Once the glue has dried and the feathers are securely in place, apply a layer of top coat over your entire nail. This will seal in the feathers and add a glossy finish to your design.
Step 7: Clean Up
 Using a small brush dipped in acetone, carefully clean up any excess glue or polish around your cuticles or edges of your nails.
Final Thoughts
 Feather nail art may seem daunting at first, but with a little practice, you'll be creating beautiful and unique designs in no time. This trend is perfect for any occasion, whether it's a special event or just a fun way to express your creativity. So go ahead and try out this stunning nail art technique, and watch as your nails take flight with feather accents.


