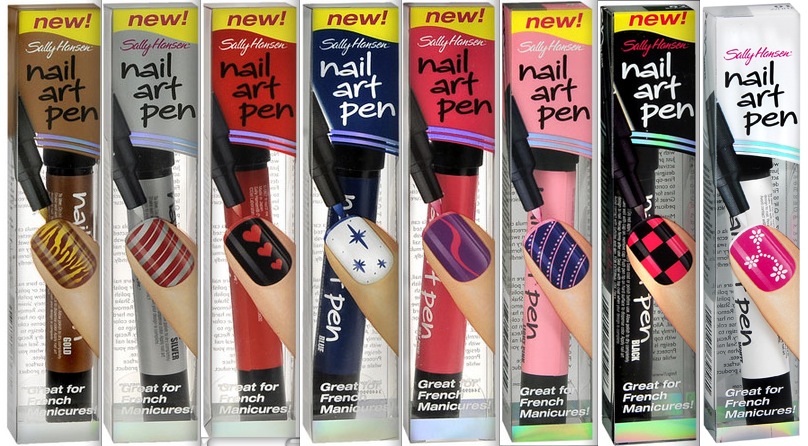
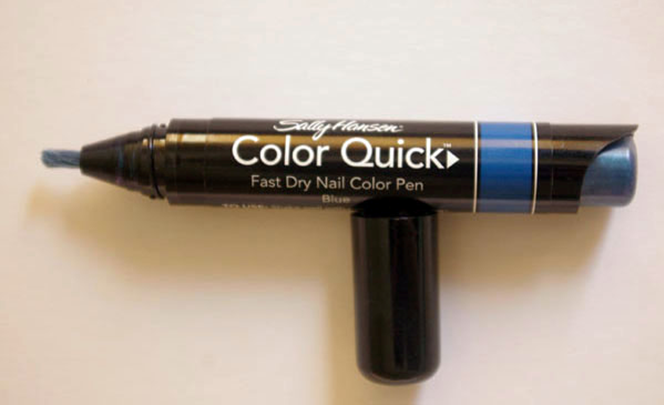
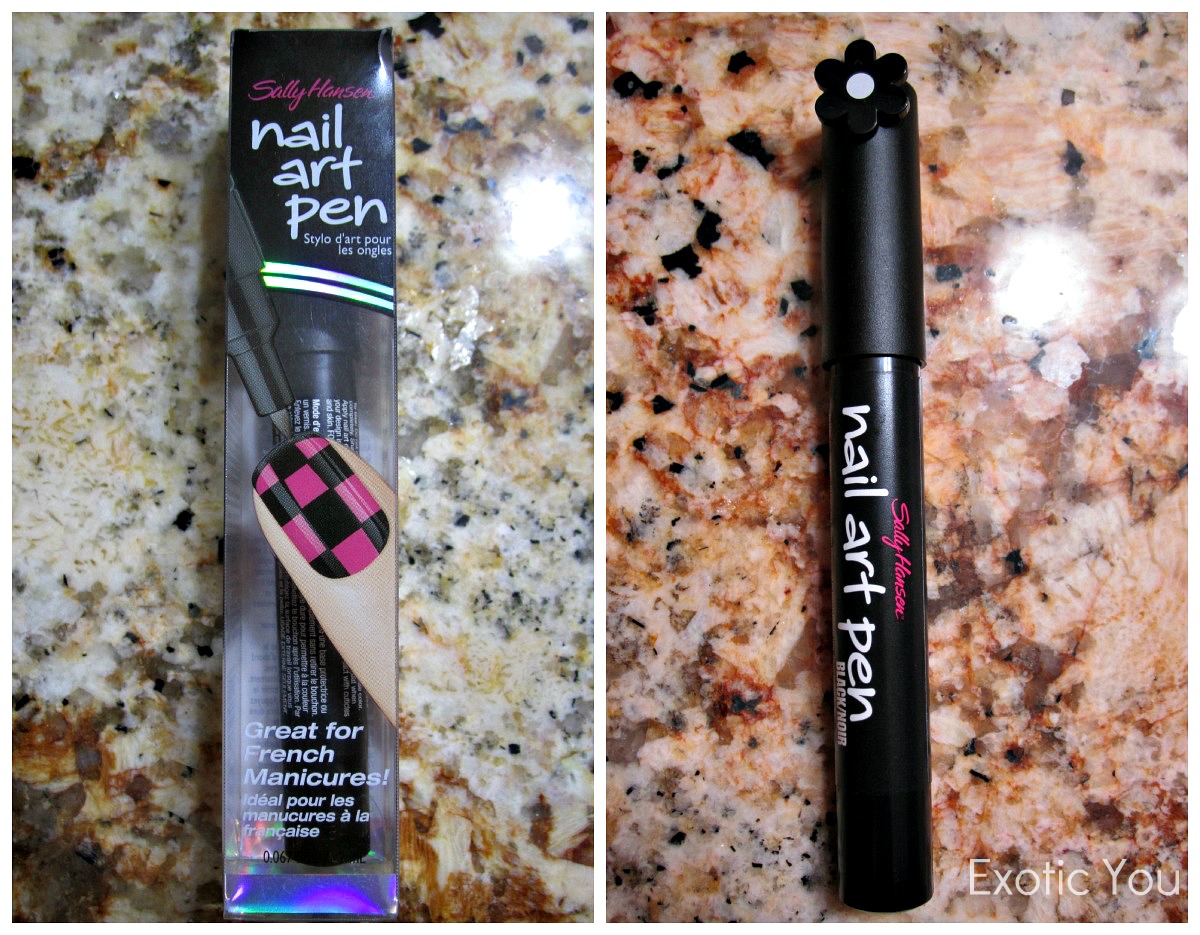
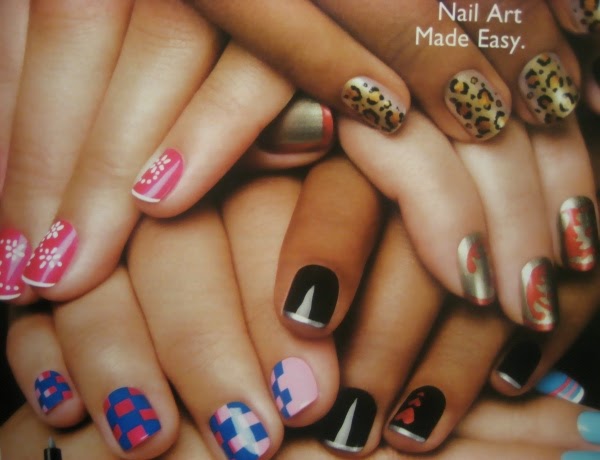
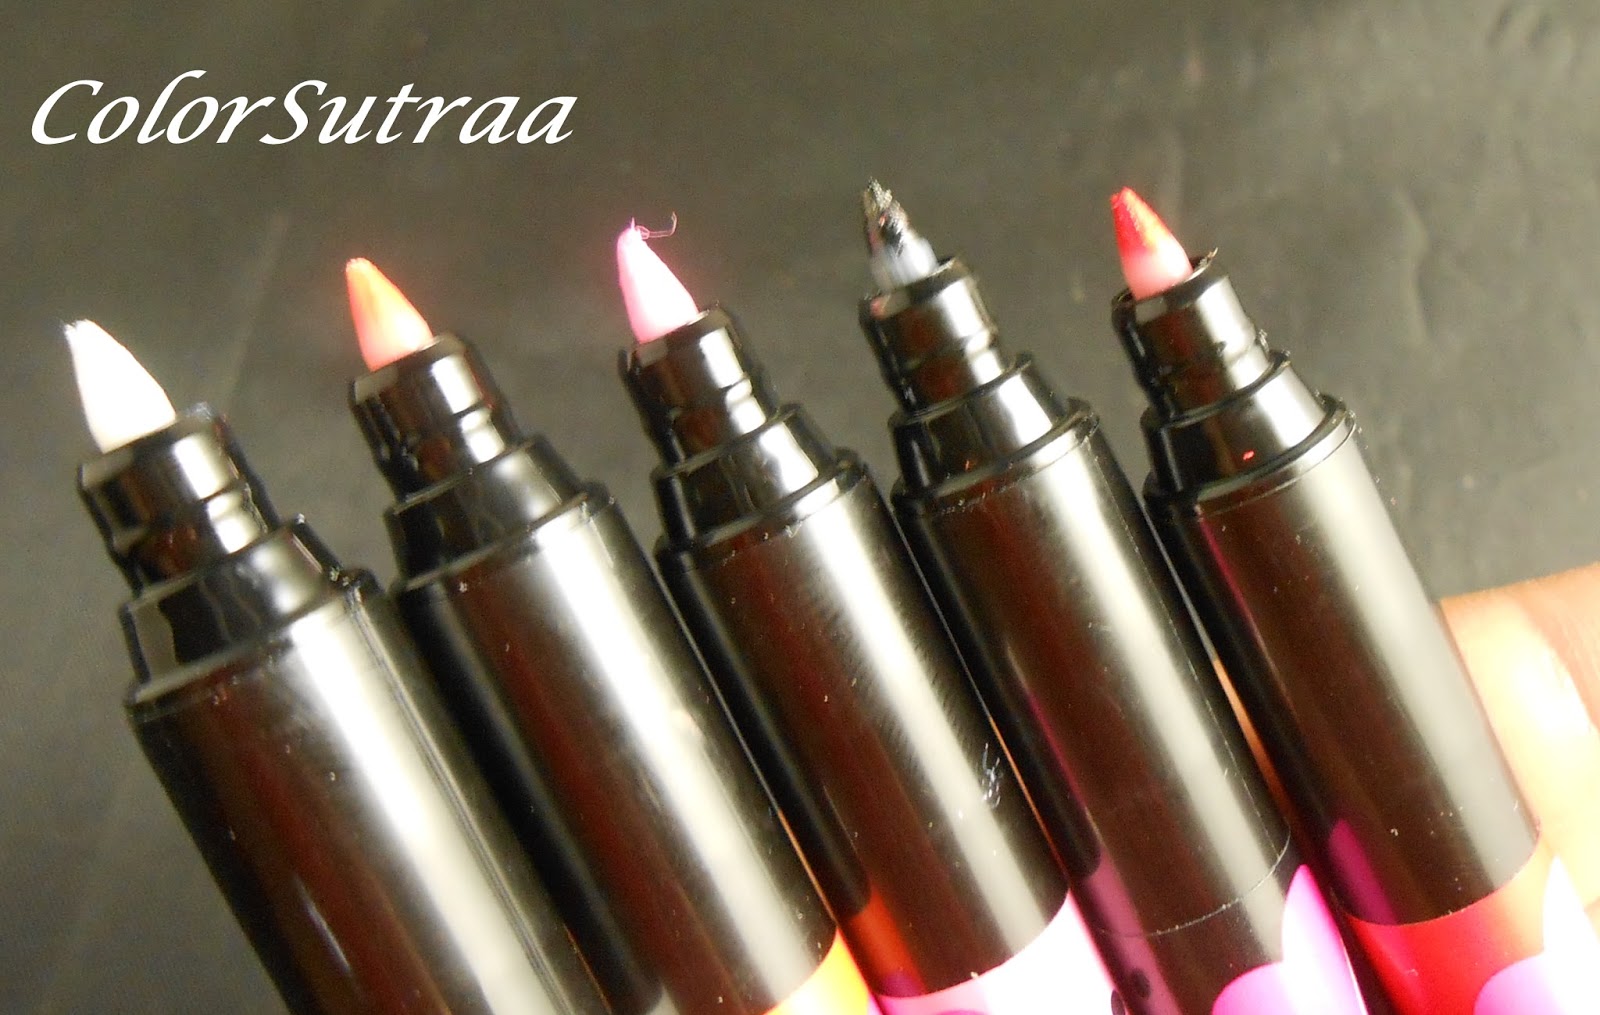
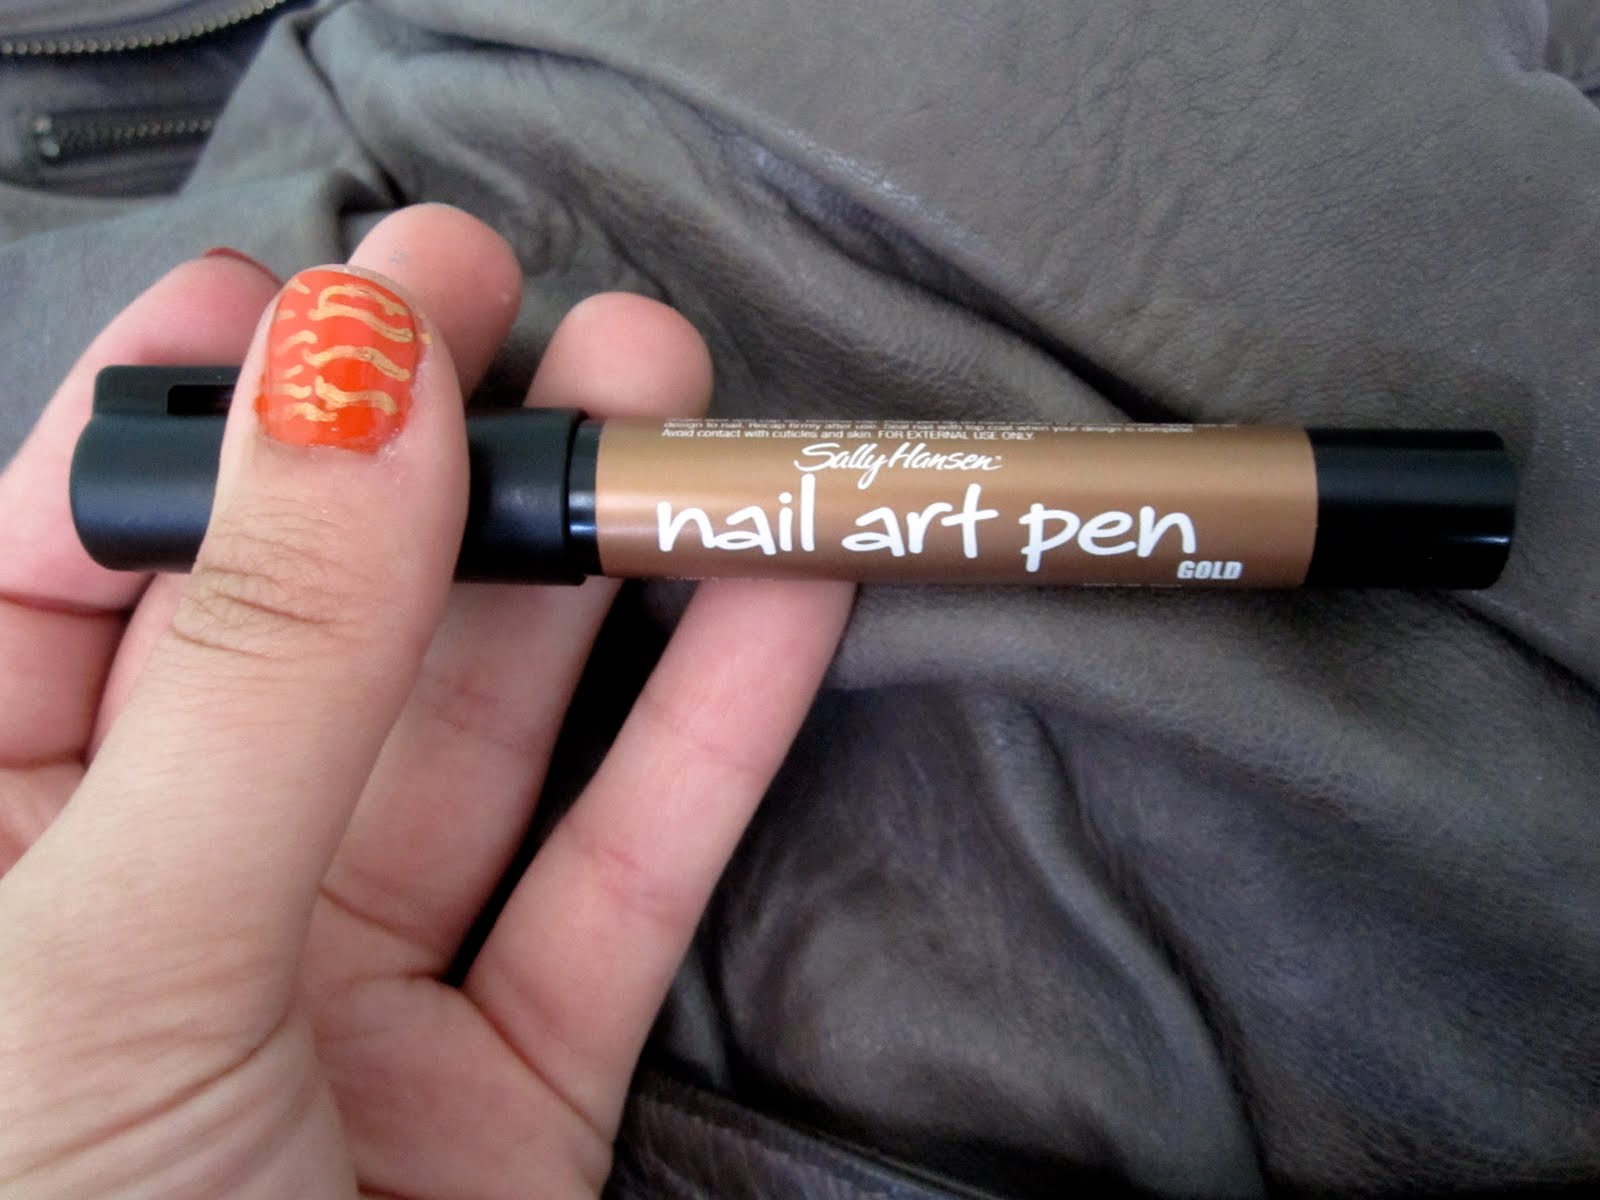
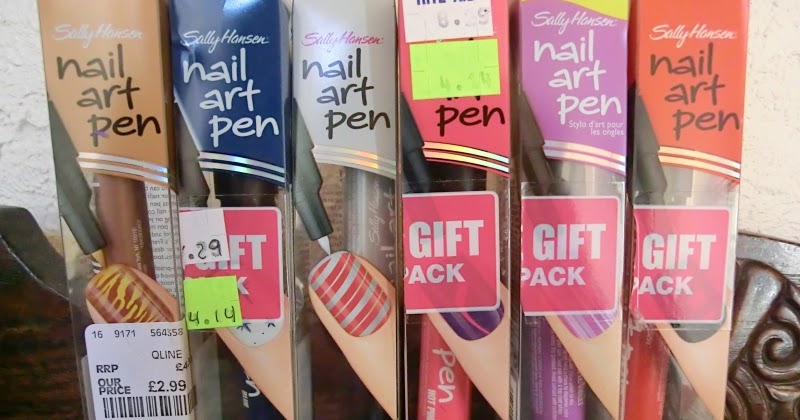
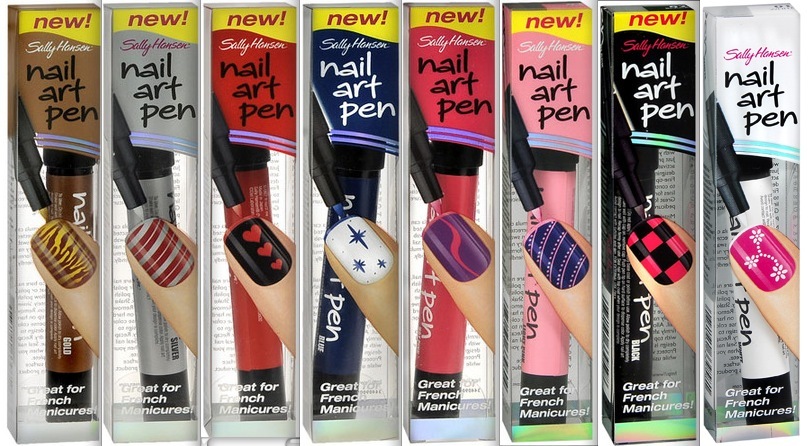
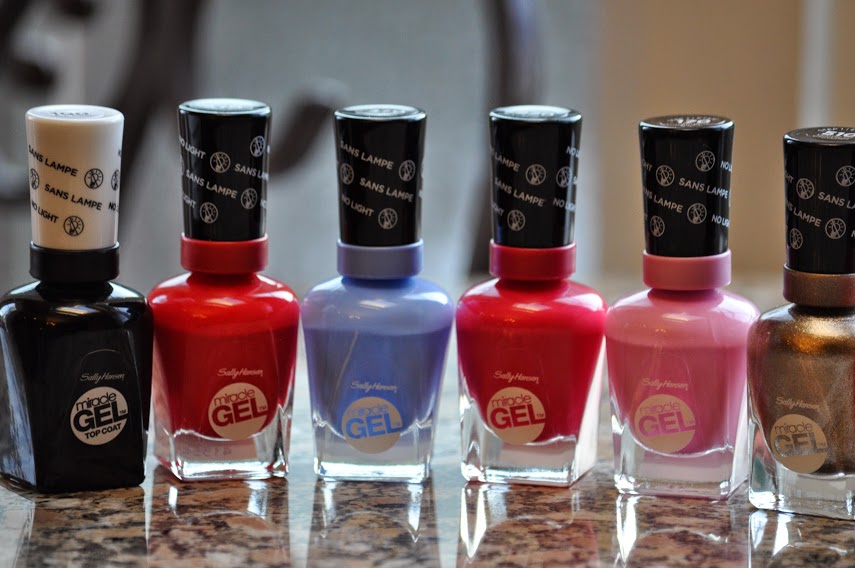
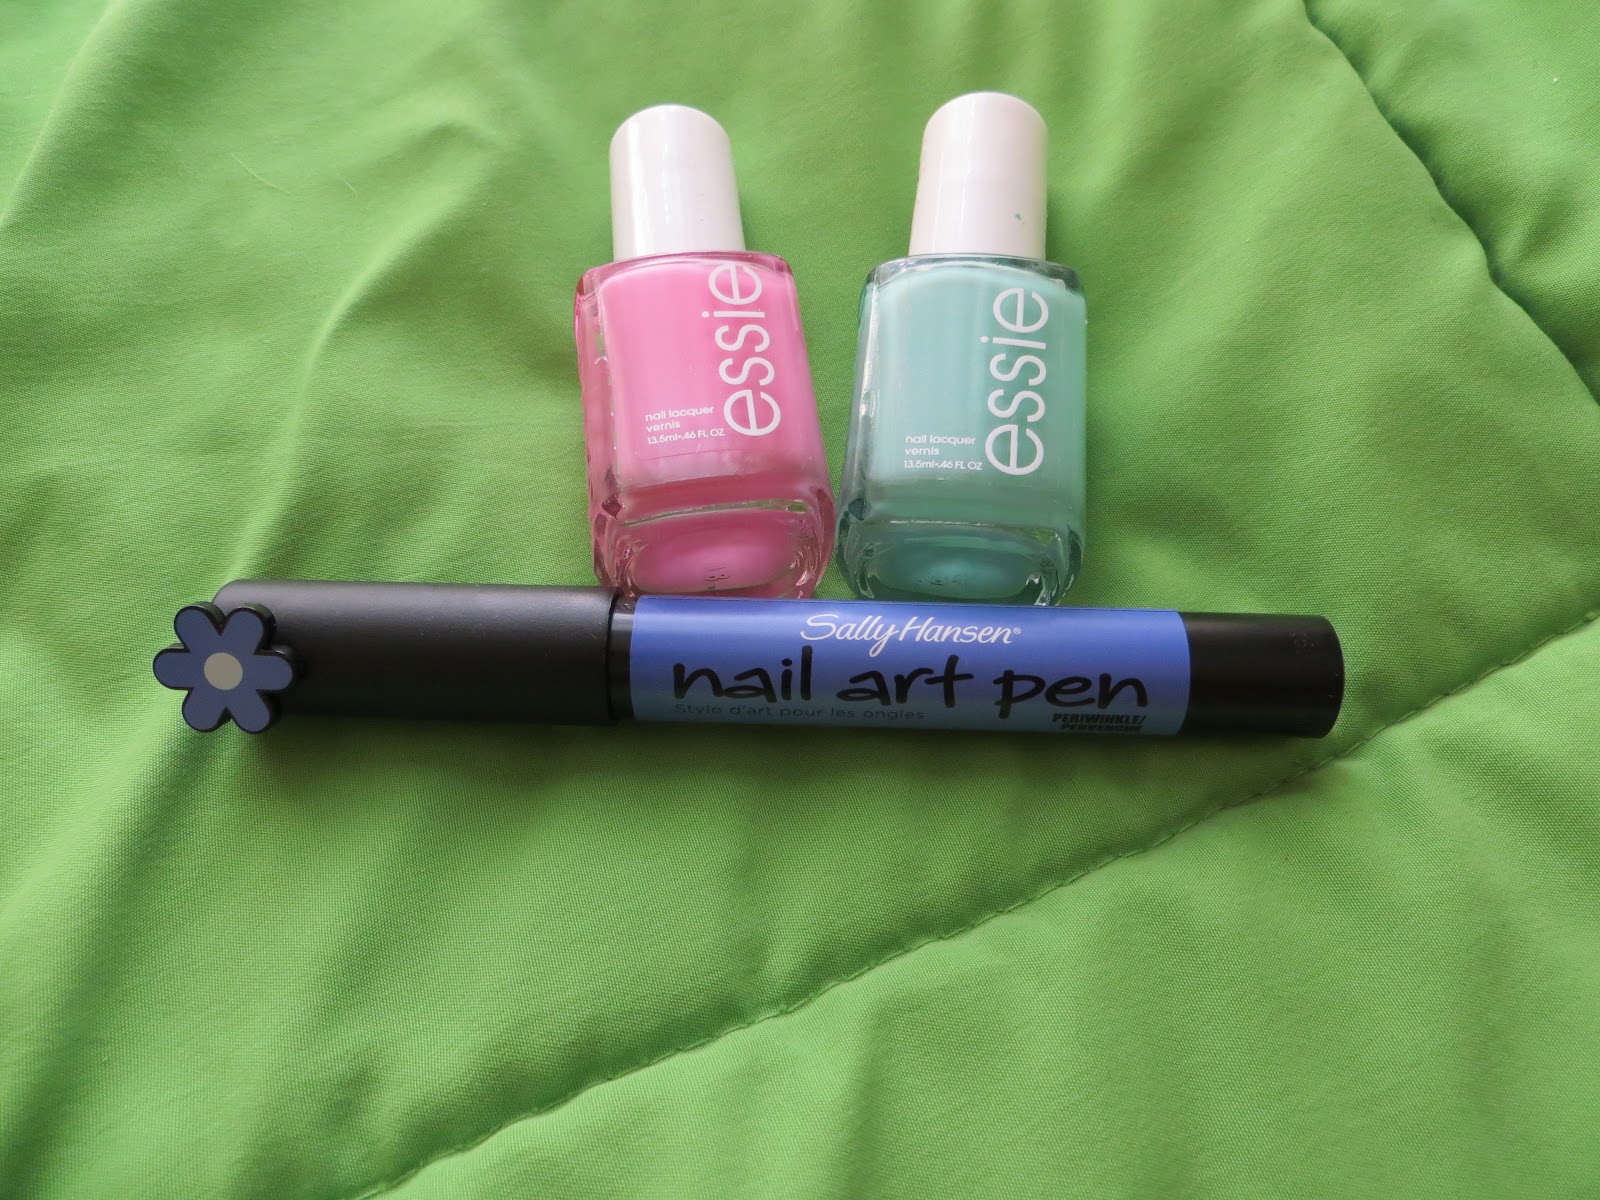
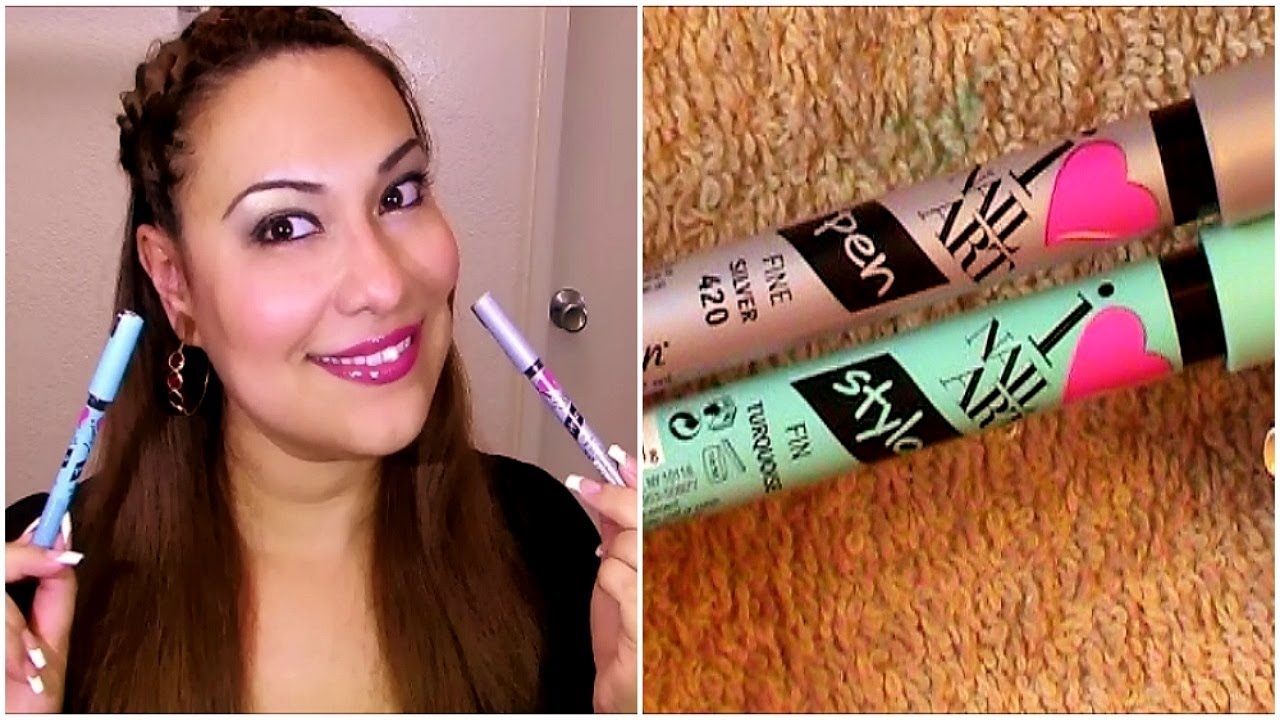
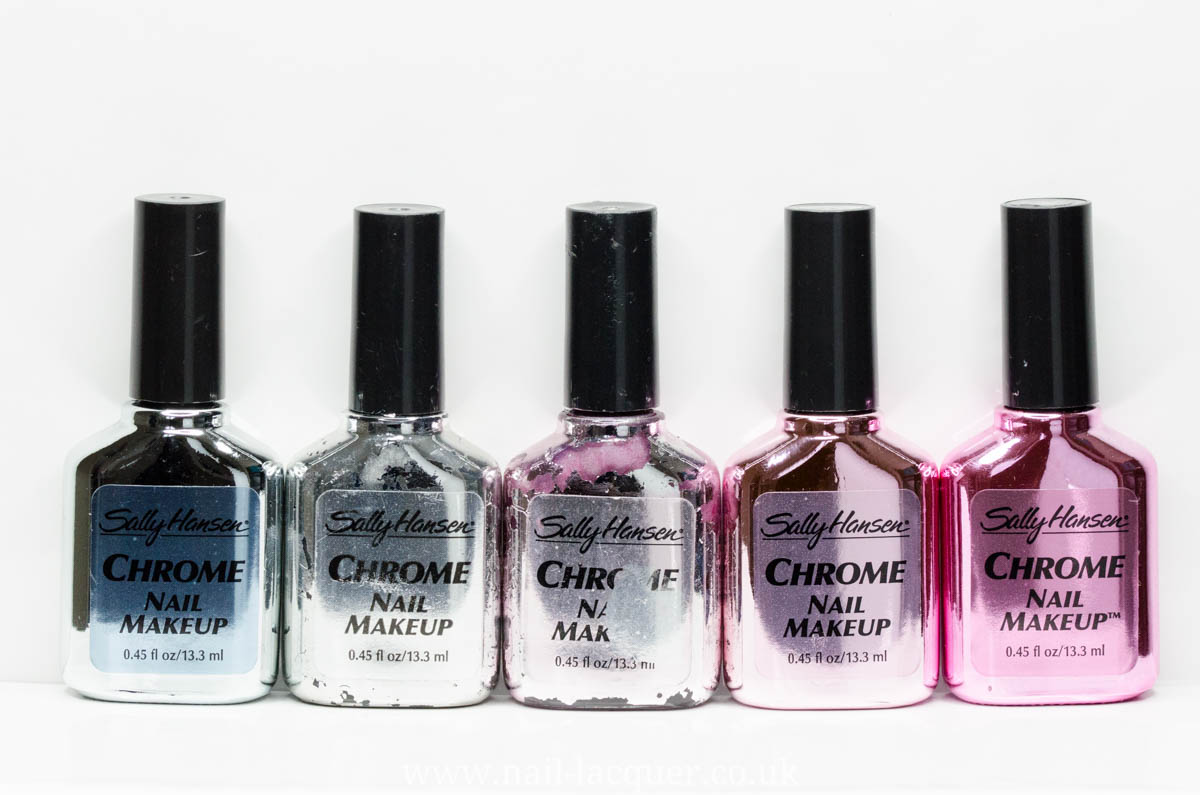
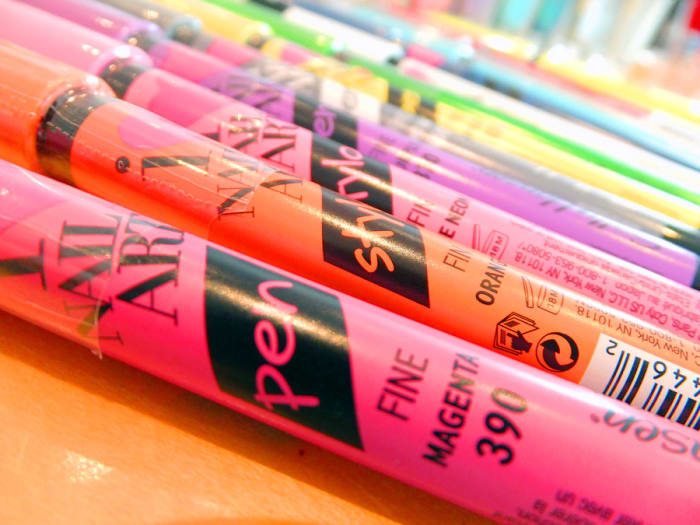
If you're an avid fan of at-home nail art, then you've probably come across the popular Sally Hansen Nail Art Pens. These handy tools allow you to create intricate designs and detailed nail art with ease. However, like any product, there may be times when your Sally Hansen Nail Art Pen is not working as it should. But don't worry, we've got you covered with some tips and tricks to help you fix it. First and foremost, it's important to understand why your nail art pen may not be working. There could be various reasons, such as a clogged tip, dried out ink, or even a faulty pen. But before you toss it out and buy a new one, let's try to troubleshoot the issue together.1. Sally Hansen Nail Art Pen Not Working: How to Fix It


1. Sally Hansen Nail Art Pen Not Working: How to Fix It


If your nail art pen is not working, the first thing you should do is check the tip. Over time, the tip can get clogged with dried-up polish or debris, making it difficult for the ink to flow smoothly. To unclog the tip, simply dip it in some nail polish remover or acetone for a few seconds. Then, wipe it clean with a cotton pad or paper towel. This should help clear out any blockages and get your pen working again. If the tip is still clogged, you can try using a thin needle or pin to gently poke through the tip and remove any buildup. Just be careful not to damage the tip in the process.2. Sally Hansen Nail Art Pen Not Working? Here's What to Do


2. Sally Hansen Nail Art Pen Not Working? Here's What to Do
In some cases, the issue may not be a clogged tip. Your pen may have run out of ink, or the ink may have dried out. If this is the case, you can try dipping the tip in some warm water for a few minutes. This can help loosen up the dried ink and get it flowing again. Alternatively, you can also try adding a few drops of nail polish thinner or remover to the pen's ink chamber to revive the ink. If none of these solutions work, there may be a problem with the pen itself. If it's still under warranty, you can contact the manufacturer for a replacement. Otherwise, it may be time to invest in a new pen.3. Troubleshooting Common Issues with Sally Hansen Nail Art Pens


3. Troubleshooting Common Issues with Sally Hansen Nail Art Pens


We've already covered how to unclog the tip of your nail art pen, but what about the rest of it? If you notice that the ink is not flowing smoothly or there are air bubbles in the ink chamber, you may need to unclog the pen entirely. To do this, you can follow these steps: - Remove the cap and unscrew the tip of the pen. - Use a thin needle or pin to gently poke through the ink chamber, making sure to clear out any blockages. - If there is dried ink around the rim of the chamber, you can use a cotton swab dipped in nail polish remover to clean it off. - Once the chamber is cleared, replace the tip and cap, and you should have a working pen again.4. How to Unclog a Sally Hansen Nail Art Pen


4. How to Unclog a Sally Hansen Nail Art Pen
To prevent your nail art pen from clogging or drying out, here are a few tips to help you get the most out of it: - Always replace the cap immediately after use to prevent air from entering the ink chamber and drying out the ink. - Before using the pen, shake it well to ensure the ink is evenly distributed. - If you're not using the pen for a while, store it upside down to prevent the ink from settling at the bottom of the chamber. - Avoid using the pen on top of wet nail polish, as this can cause the ink to smear or bleed. Wait for your base color to dry completely before using the pen. - If you notice the ink is starting to dry out, you can add a few drops of nail polish thinner or remover to the chamber to revive it.5. Tips for Getting the Most Out of Your Sally Hansen Nail Art Pen
5. Tips for Getting the Most Out of Your Sally Hansen Nail Art Pen

Aside from clogging and drying out, there are a few other common problems you may encounter with your Sally Hansen Nail Art Pen. Here are some quick solutions to help you solve them: - Ink is too watery and bleeds: If the ink is too watery and bleeds when you try to create designs, you can thicken it by leaving the pen uncapped for a few hours. This will allow some of the solvent to evaporate, leaving you with a thicker consistency. - Pen is leaking: If you notice that the pen is leaking, it's likely that the tip is not screwed on tightly enough. Make sure to secure the tip properly to prevent any leaks. - Ink is not coming out smoothly: If the ink is not coming out smoothly, the pen may be too dry. You can try adding a few drops of nail polish thinner or remover to the chamber to revive it.6. Common Problems with Sally Hansen Nail Art Pens and How to Solve Them


6. Common Problems with Sally Hansen Nail Art Pens and How to Solve Them
If you've tried all of the above solutions and your nail art pen is still not working, it may be time to say goodbye and invest in a new one. However, before you do that, you can try swapping out the tip with another one from a different pen. Sometimes, the tip itself may be faulty, and this can be an easy fix. Alternatively, you can also try contacting Sally Hansen's customer service for further assistance. They may have some additional tips or solutions to help you get your pen working again.7. Sally Hansen Nail Art Pen Not Working? Try These Solutions


7. Sally Hansen Nail Art Pen Not Working? Try These Solutions


To ensure your nail art pen stays in good working condition, it's essential to clean and maintain it regularly. Here are some tips to help you with this: - After each use, wipe the tip of the pen with a cotton pad or paper towel to remove any excess polish or debris. - Every once in a while, you can use a cotton swab dipped in nail polish remover to clean the inside of the tip and ink chamber. - When not in use, make sure to store the pen upright to prevent any ink from leaking or drying out.8. How to Clean and Maintain Your Sally Hansen Nail Art Pen


8. How to Clean and Maintain Your Sally Hansen Nail Art Pen
As with any product, there may be times when your nail art pen doesn't work as it should. Here are some general troubleshooting tips to help you: - Make sure to check the expiration date of your pen. If it's expired, it's best to replace it with a new one. - If your pen is not working on one specific nail, it could be due to the texture or finish of the polish. Some polishes may not work well with the pen, so you may need to try a different base color. - If your pen is still not working, try using it on a different surface, such as paper or a plastic bag, to see if the ink flows smoothly. If it does, then the issue may be with the polish you're using.9. Troubleshooting Tips for Sally Hansen Nail Art Pens

9. Troubleshooting Tips for Sally Hansen Nail Art Pens
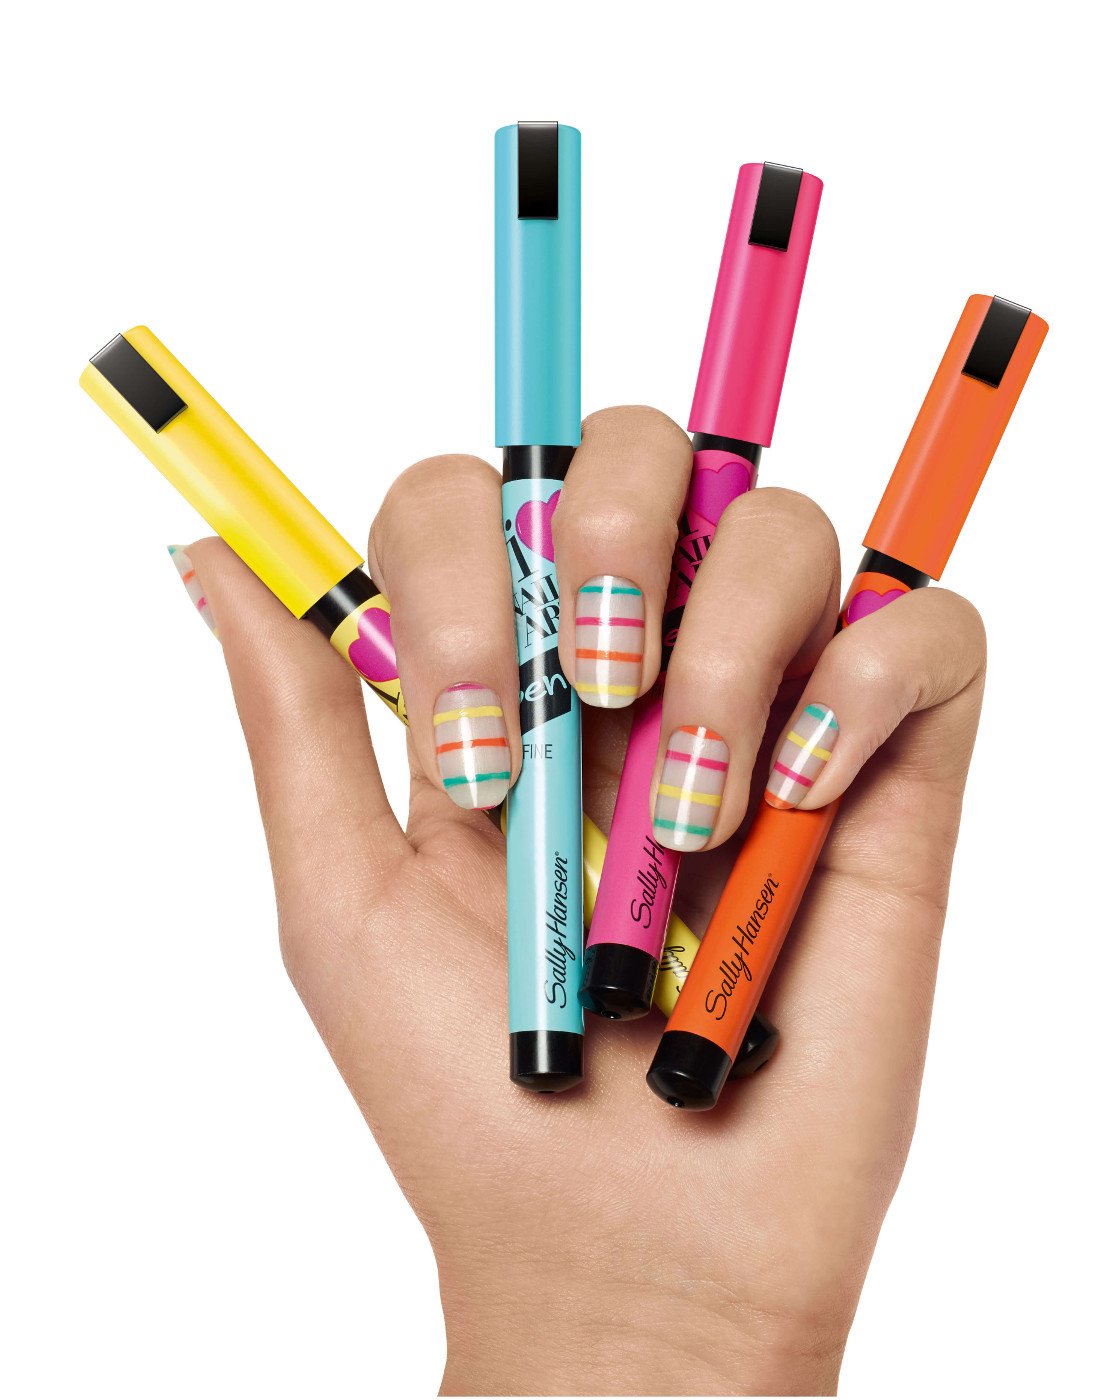
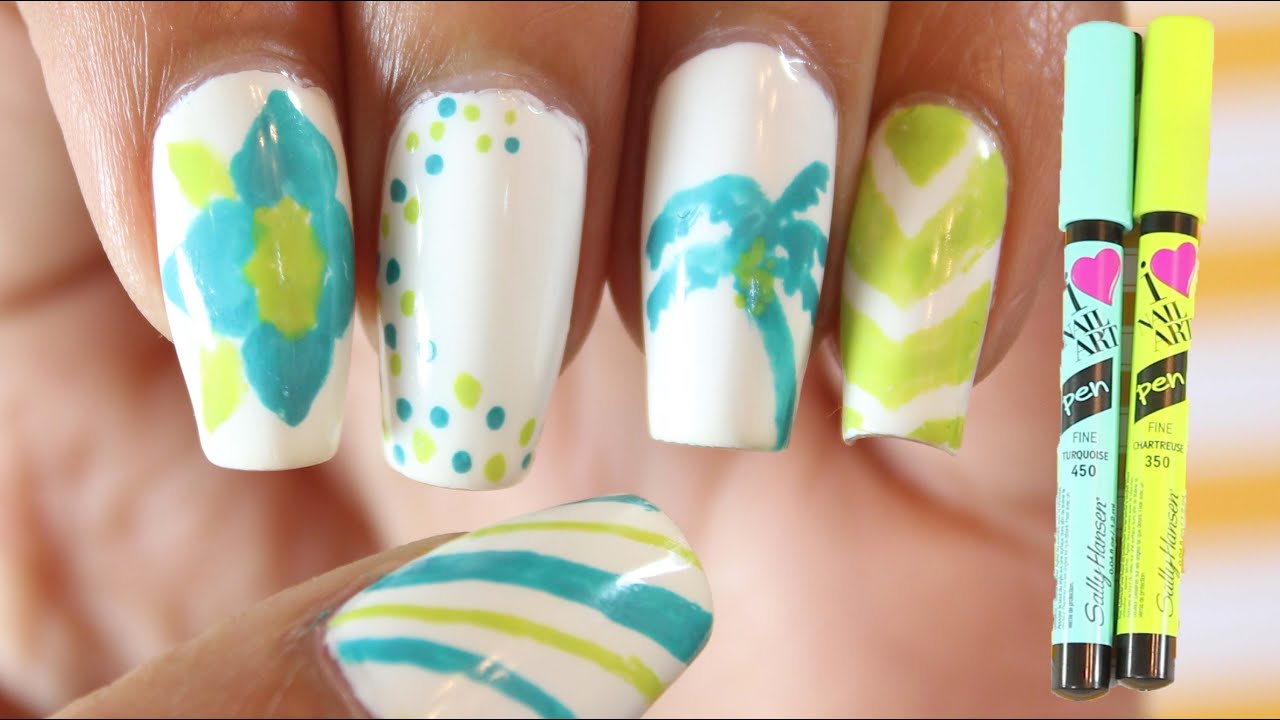
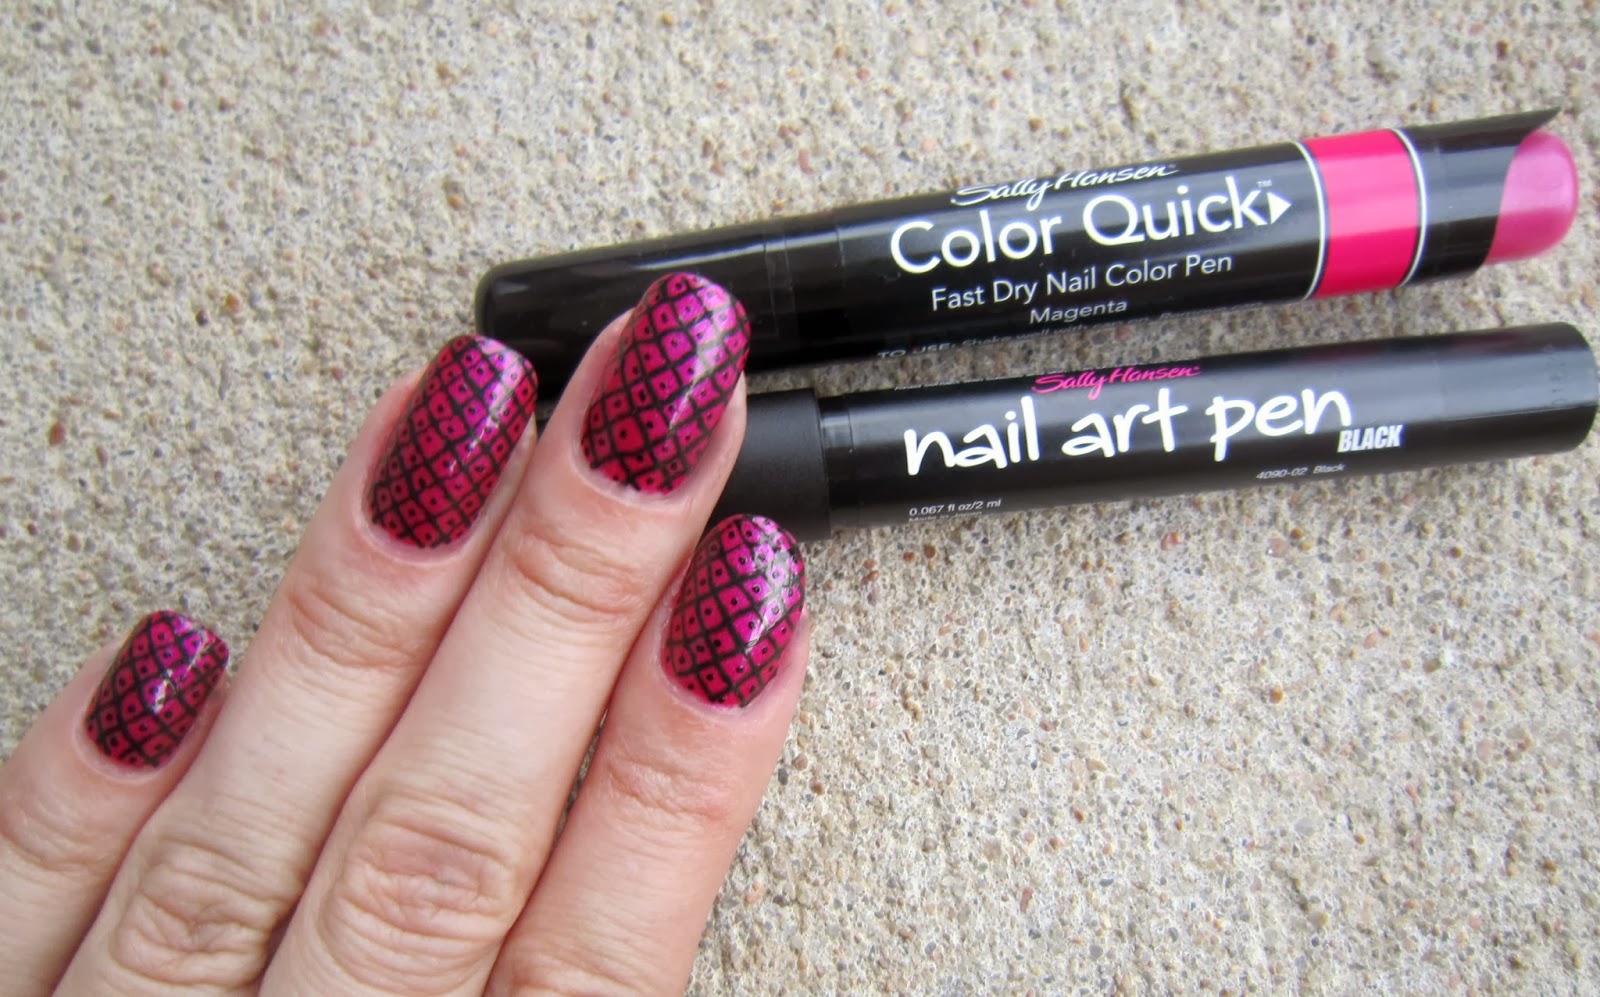
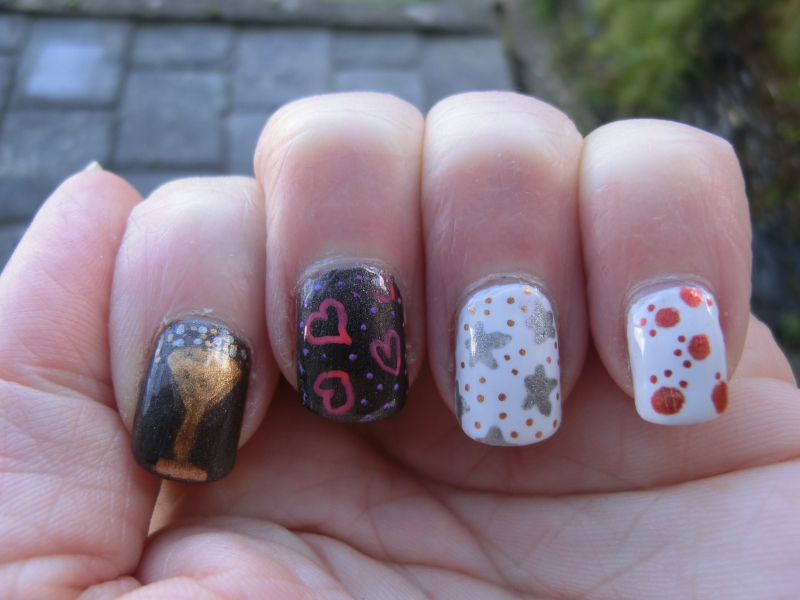
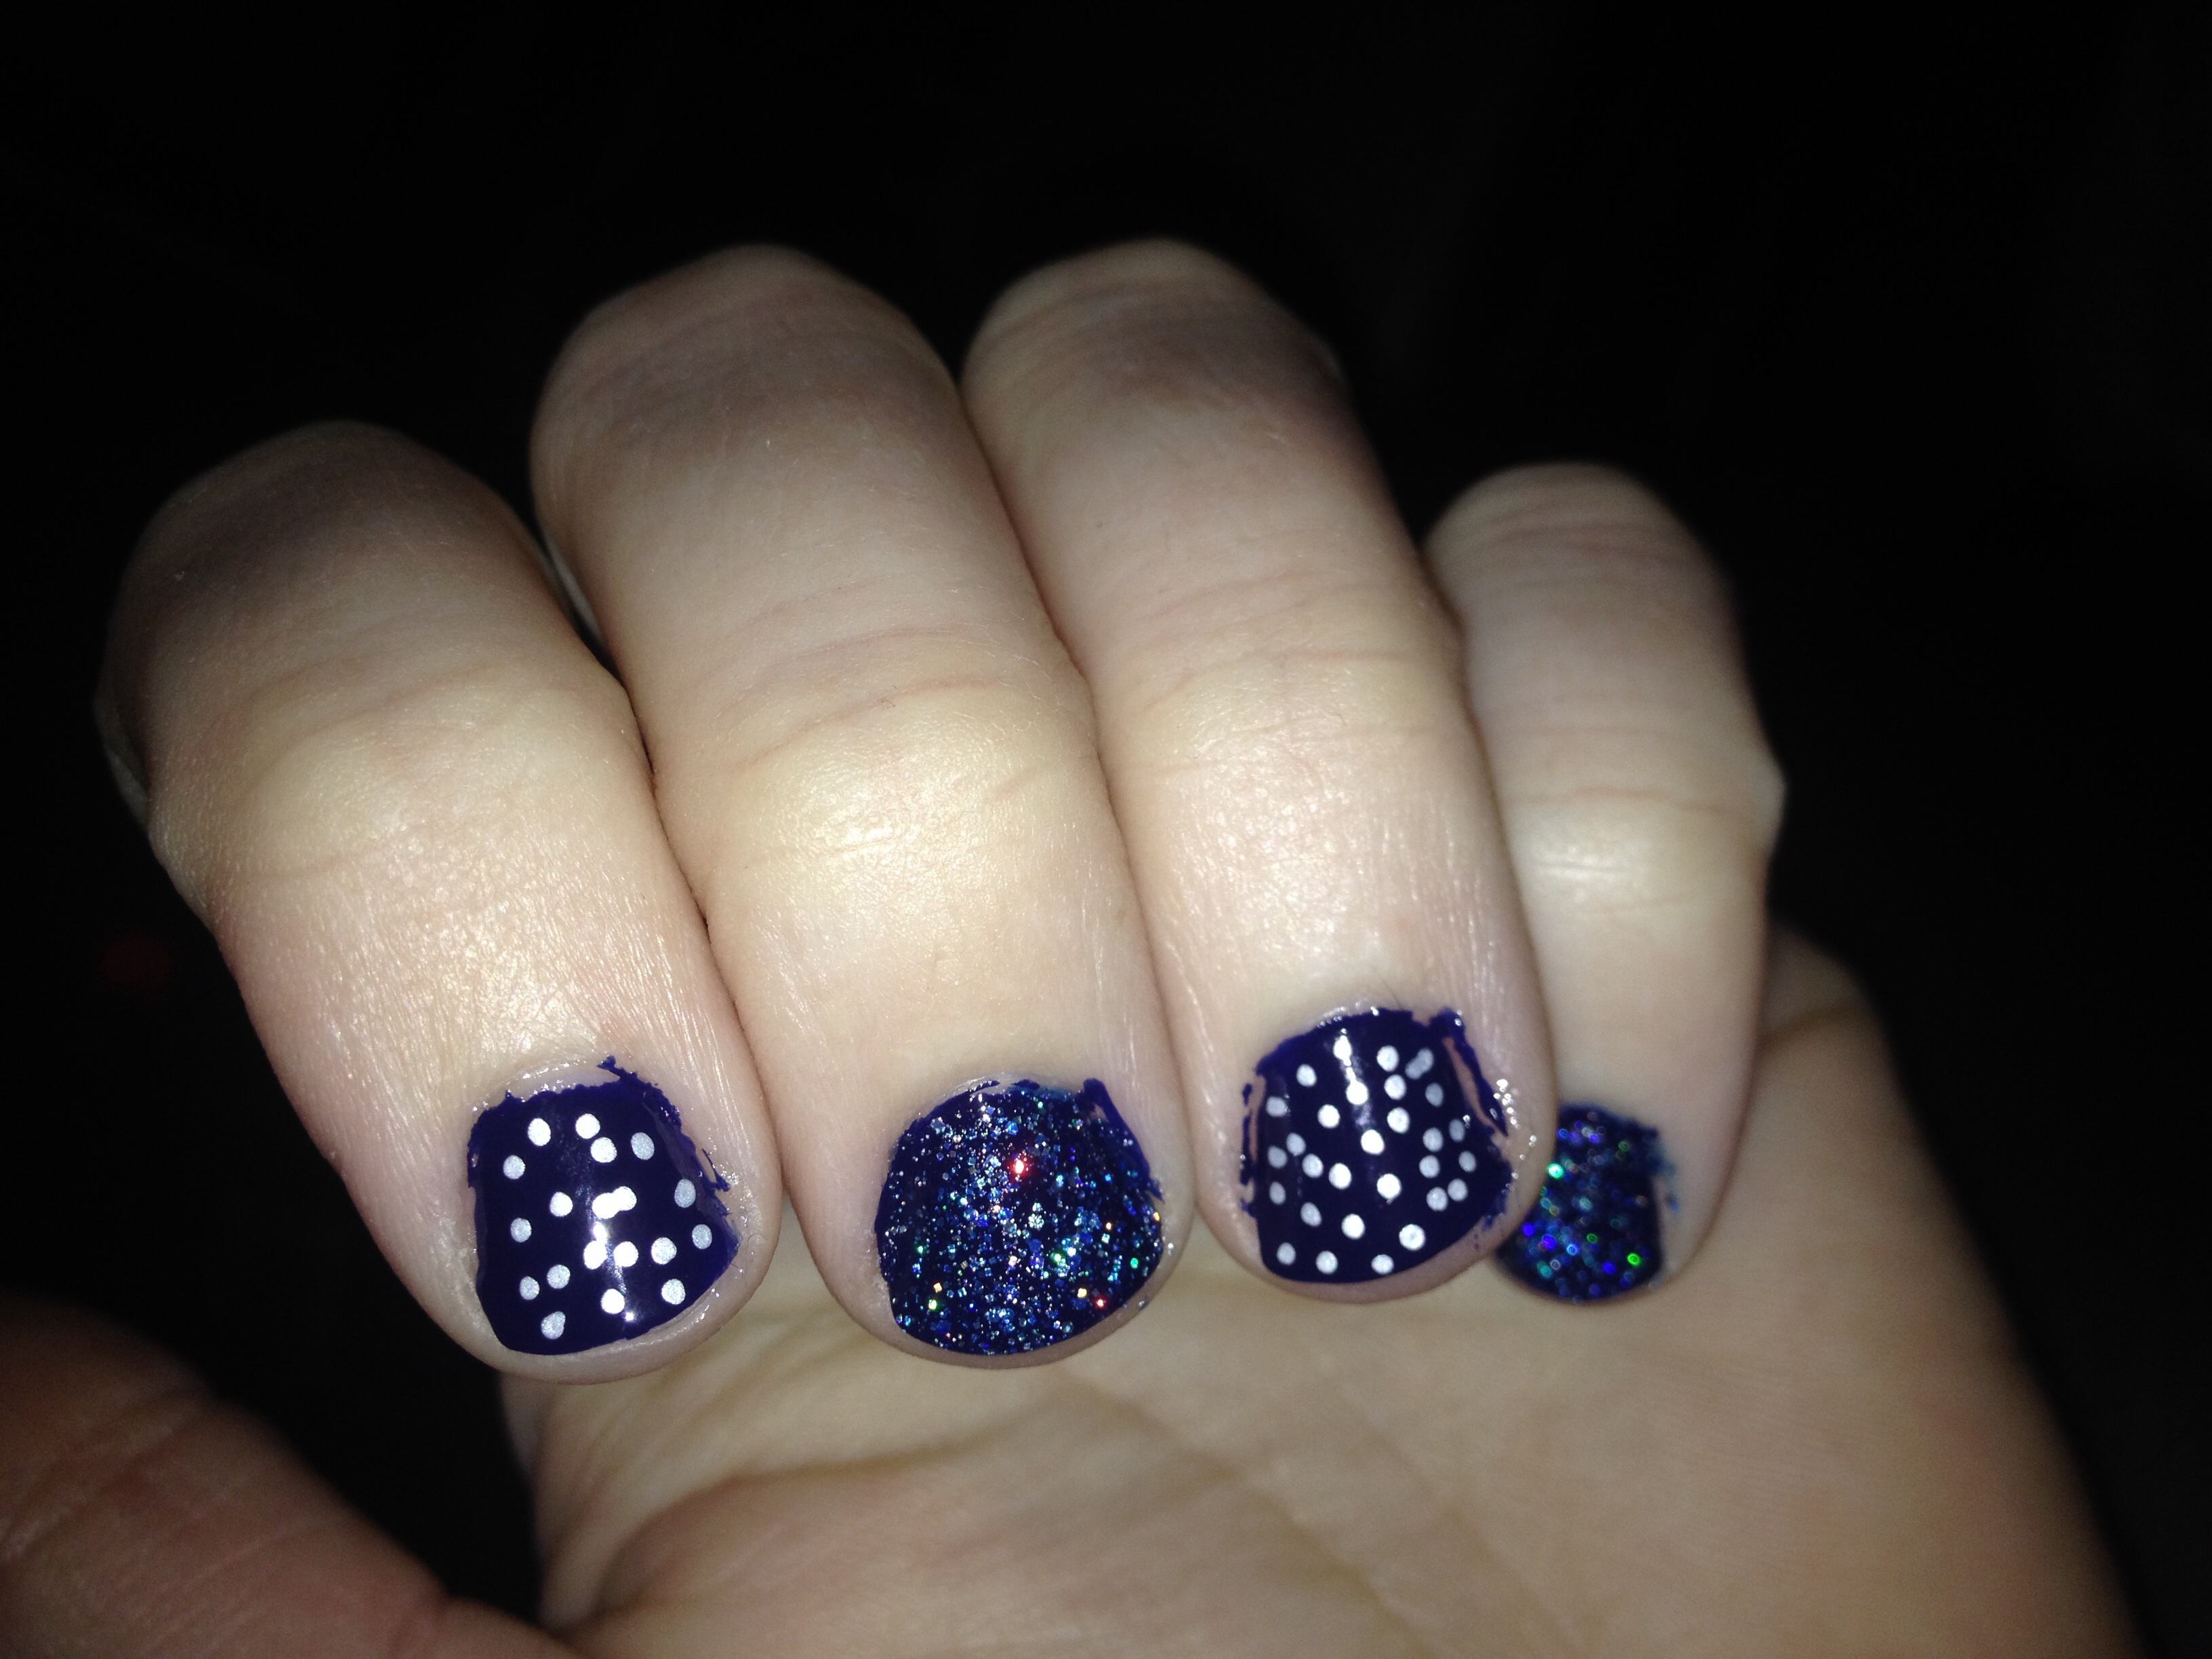
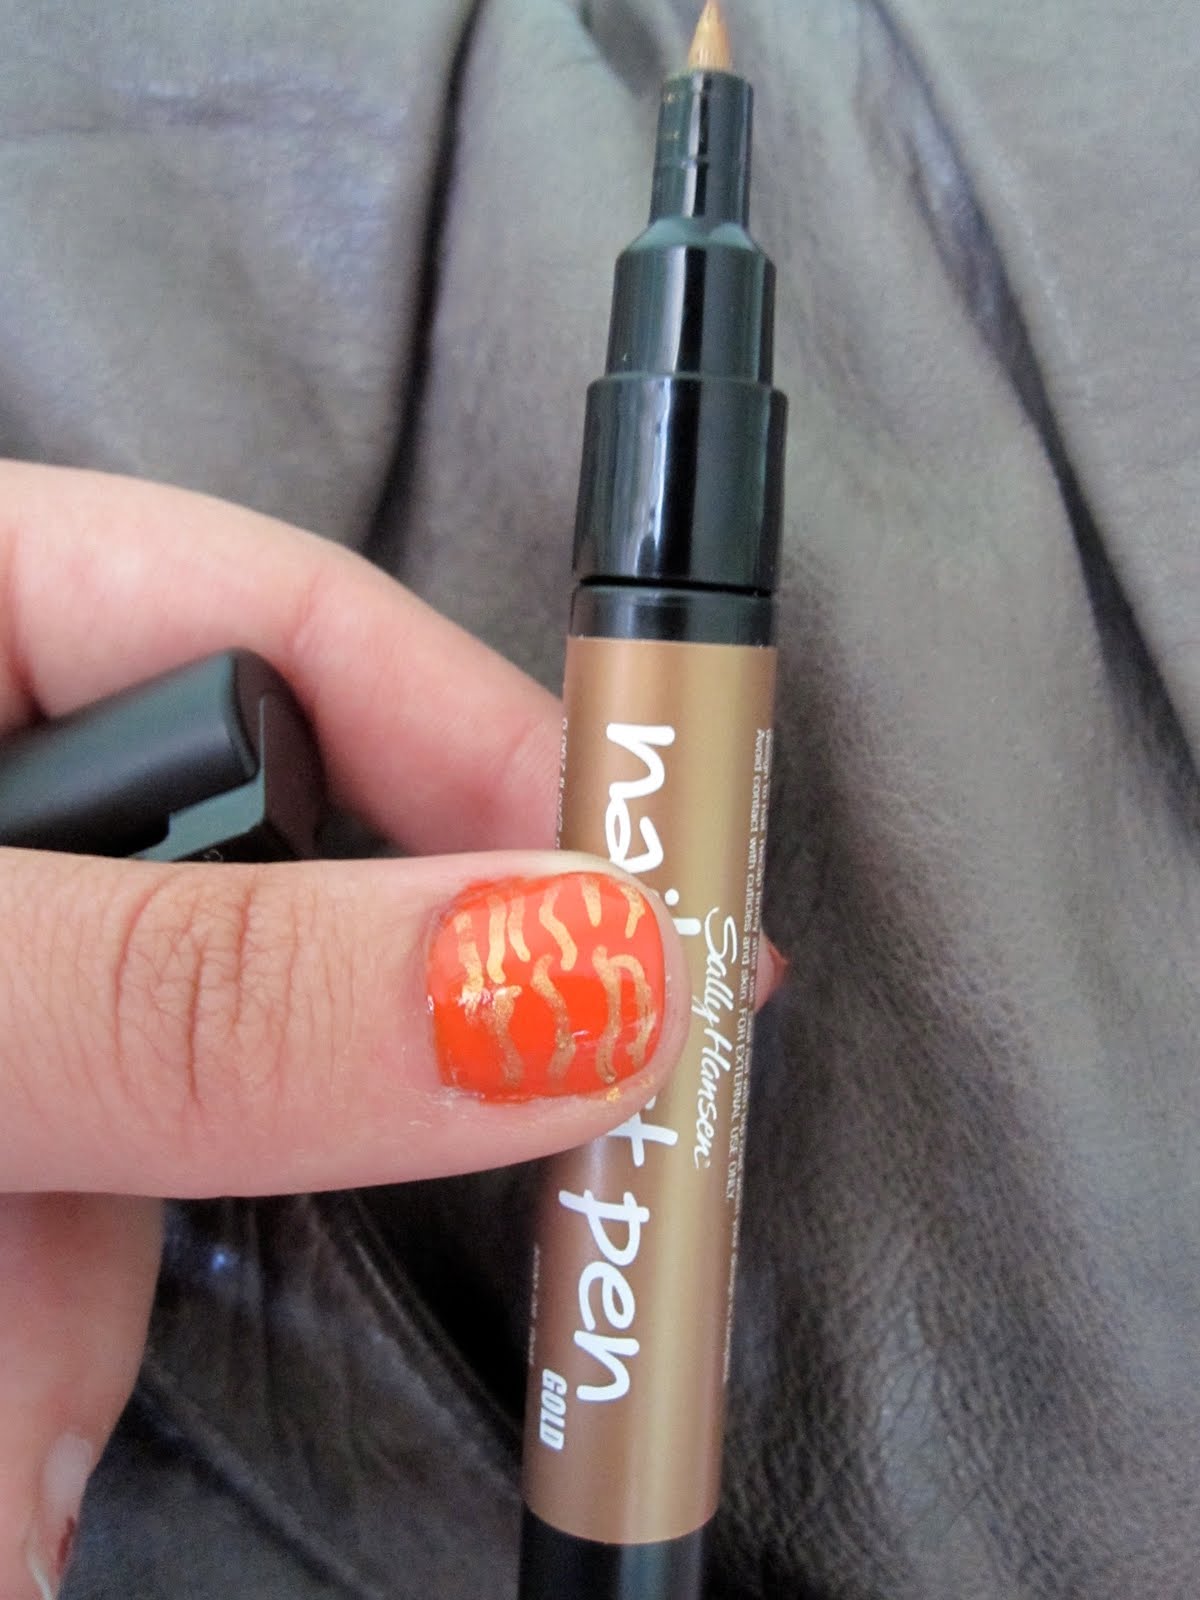
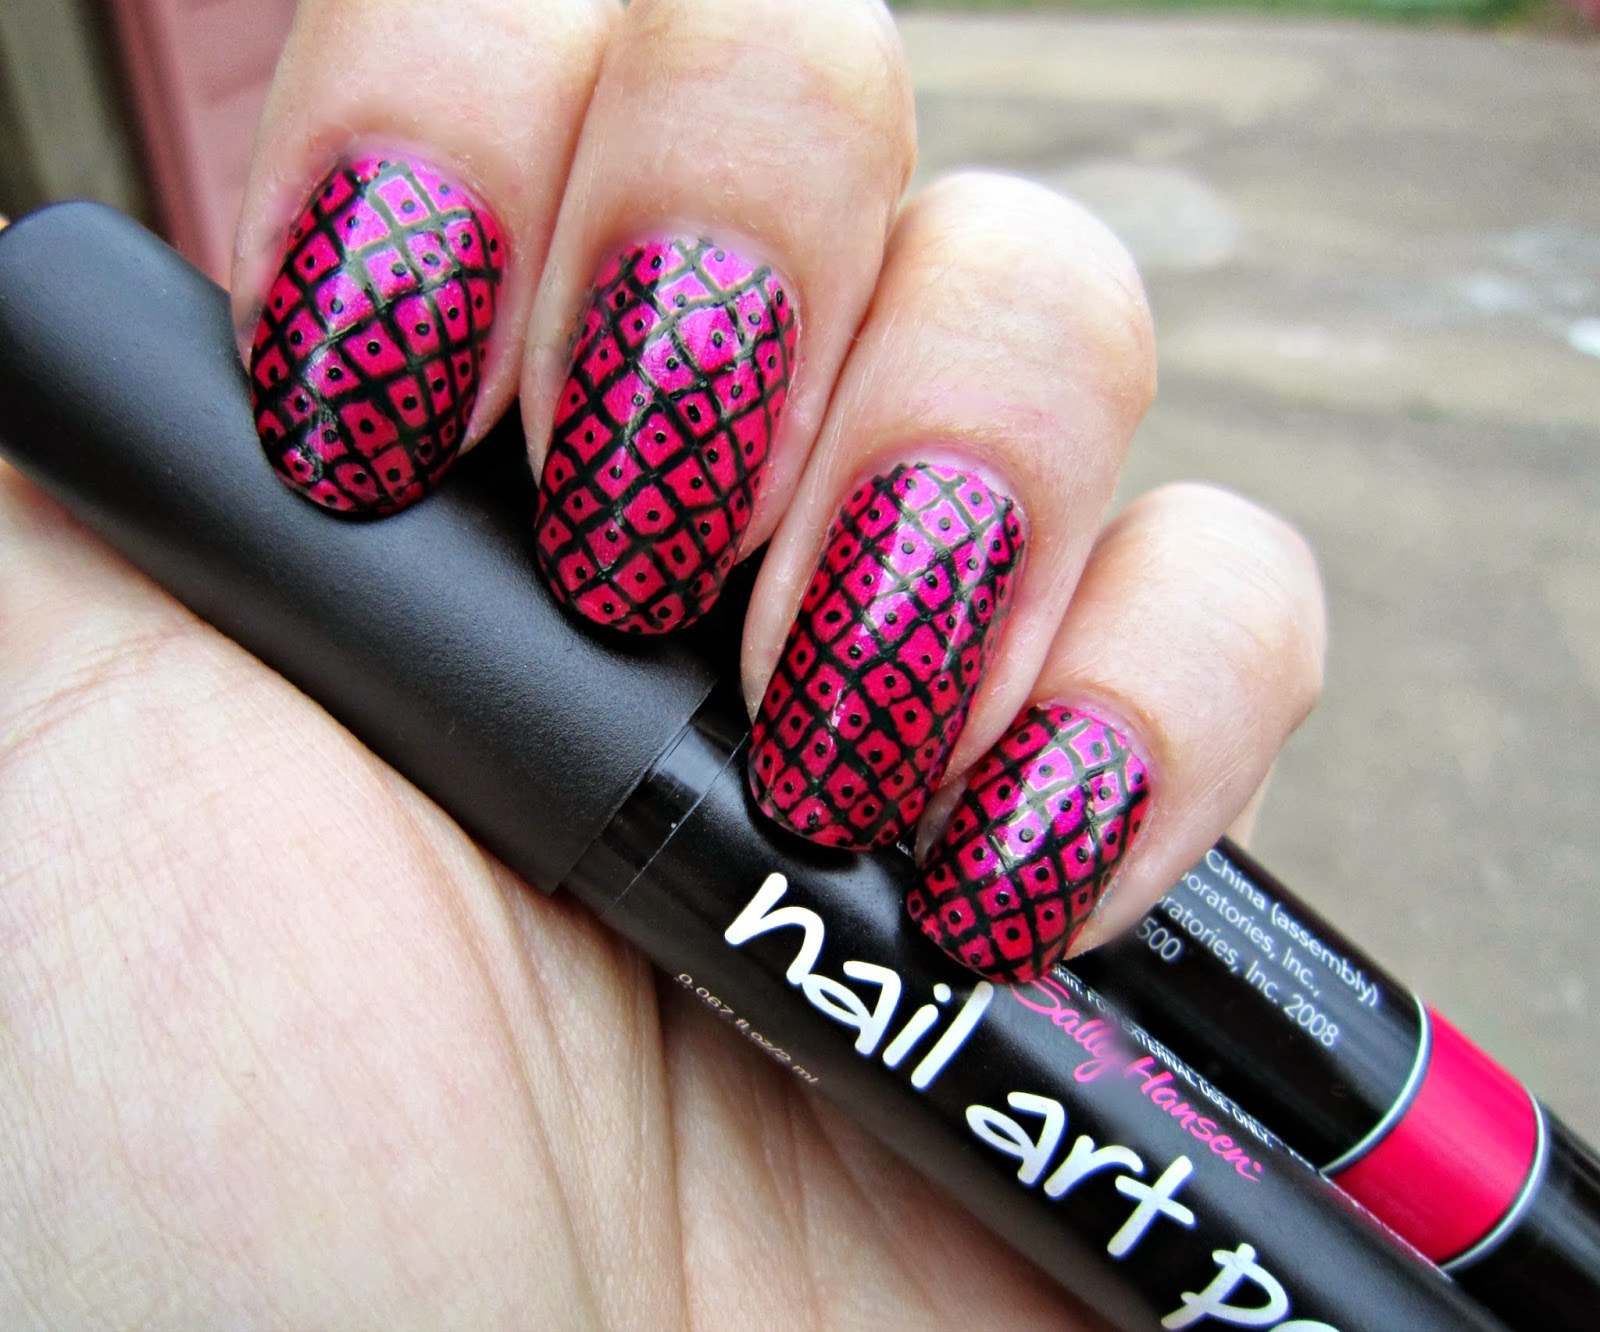
Now that you know how to fix common issues with your nail art pen let's talk about how to use it to create flawless designs every time. Here are some tips to help you out: - Start with a clean, dry base color. This will allow the nail art pen to glide smoothly and prevent any smudging or bleeding. - Practice on a paper or plastic surface first to get a feel for the pen and how the ink flows. - When creating designs, try to use light, steady pressure to avoid any mishaps or mistakes. - If you're not confident in your freehand skills, you can use stencils or tape to create clean, precise lines with the pen. - Finally, don't be afraid to experiment and have fun with different designs and colors. The possibilities are endless with your Sally Hansen Nail Art Pen! With these tips and tricks, you should be able to troubleshoot common issues with your Sally Hansen Nail Art Pen and use it to create beautiful nail art designs to your heart's content. Remember to take care of your pen and keep it clean and well-maintained, and it will continue to serve you well for many manicures to come.10. How to Use a Sally Hansen Nail Art Pen for Perfect Designs Every Time


10. How to Use a Sally Hansen Nail Art Pen for Perfect Designs Every Time

Why the Sally Hansen Nail Art Pen May Not Be Working for You

The Importance of Proper Nail Care and Maintenance
 If you're an avid fan of nail art, you've probably heard of the
Sally Hansen Nail Art Pen
. This innovative product promises to make creating intricate designs on your nails a breeze. However, you may have found that despite following the instructions and using it properly, the pen just isn't working for you. Before you give up on this product, it's important to understand that the issue may not lie with the pen itself, but with your nail care routine.
If you're an avid fan of nail art, you've probably heard of the
Sally Hansen Nail Art Pen
. This innovative product promises to make creating intricate designs on your nails a breeze. However, you may have found that despite following the instructions and using it properly, the pen just isn't working for you. Before you give up on this product, it's important to understand that the issue may not lie with the pen itself, but with your nail care routine.
Prepping Your Nails for Nail Art
 Nail care is the foundation of any successful nail art
. Just like a house needs a strong foundation to stand, your nails need to be in good condition for nail art to adhere properly and last. If your nails are dry, brittle, or have ridges, the nail art pen may not glide smoothly and create the desired effect. It's important to regularly moisturize your nails and cuticles and use a top coat to smooth out any imperfections before attempting to use the nail art pen.
Nail care is the foundation of any successful nail art
. Just like a house needs a strong foundation to stand, your nails need to be in good condition for nail art to adhere properly and last. If your nails are dry, brittle, or have ridges, the nail art pen may not glide smoothly and create the desired effect. It's important to regularly moisturize your nails and cuticles and use a top coat to smooth out any imperfections before attempting to use the nail art pen.
The Importance of a Clean Working Space
 Another factor that may be affecting the performance of your nail art pen is the cleanliness of your working space. If there is dust, oils, or debris on your nails, the pen may not be able to grip the surface properly and create the desired design. Make sure to thoroughly clean your nails before starting your nail art and avoid using hand creams or oils on your hands before using the pen.
Practice Makes Perfect
 Finally, like any skill,
nail art requires practice and patience
. The nail art pen may take some getting used to, especially if you're used to using traditional nail polish brushes. Don't get discouraged if your designs don't turn out perfectly on your first try. Keep practicing and experimenting with different techniques and you'll soon become a pro at using the Sally Hansen Nail Art Pen.
In conclusion, if you're having trouble with the Sally Hansen Nail Art Pen, it may not be the product's fault. By prioritizing proper nail care and maintenance, and ensuring a clean working space, you can get the most out of this innovative nail art tool. Remember to be patient and keep practicing, and soon you'll be creating beautiful and intricate designs with ease.
Finally, like any skill,
nail art requires practice and patience
. The nail art pen may take some getting used to, especially if you're used to using traditional nail polish brushes. Don't get discouraged if your designs don't turn out perfectly on your first try. Keep practicing and experimenting with different techniques and you'll soon become a pro at using the Sally Hansen Nail Art Pen.
In conclusion, if you're having trouble with the Sally Hansen Nail Art Pen, it may not be the product's fault. By prioritizing proper nail care and maintenance, and ensuring a clean working space, you can get the most out of this innovative nail art tool. Remember to be patient and keep practicing, and soon you'll be creating beautiful and intricate designs with ease.


