It's that time of year where spooky and scary reign supreme - Halloween! And what better way to get into the spirit than with some creepy and creative nail art? Simply Nailogical has got you covered with her step-by-step tutorial on how to achieve the perfect Halloween nails. First, start with a black base coat and let it dry completely. Then, using a thin brush, draw on some ghosts in different shapes and sizes. You can make them cute or creepy, it's up to you! Next, take a white polish and add some spider webs to your nails. This is where you can get creative and make them as intricate as you'd like. Don't worry about being too precise, the messier the better for that haunted house vibe. For an extra touch, add some glitter to your spider webs or to the tips of your nails. This will give your Halloween nails some extra sparkle and shine.1. "Halloween Nail Art Tutorial" by Simply Nailogical


1. "Halloween Nail Art Tutorial" by Simply Nailogical


Clowns are a classic Halloween costume, and now you can bring that frightful character to your nails. Simply Nailogical shows us how to achieve a scary clown nail art design using only a few colors and a steady hand. Start by painting your nails with a white base coat and let it dry completely. Then, using a thin brush, create a red triangle on the tip of your nail. This will be the nose of your clown. Next, draw on a black line across your nail, starting at the cuticle and ending at the tip. This will create the outline of the clown's mouth. Use the same black polish to draw on some eyebrows above the nose. For the finishing touch, add some white dots around the mouth to create the clown's signature face paint. And there you have it, a scary clown nail art that will give everyone a fright this Halloween.2. "Scary Clown Nail Art" by Simply Nailogical


2. "Scary Clown Nail Art" by Simply Nailogical


Zombies are a staple in the horror genre, and now you can bring them to life on your nails. Simply Nailogical shows us how to create a zombie nail art design that is both creepy and cool. Start with a gray base coat and let it dry completely. Then, using a thin brush, draw on some green veins on your nails. This will give the illusion that your nails are decaying. Next, take a red polish and add some blood splatters to your nails. You can make them as small or as big as you'd like, and even add some drips for a more realistic effect. For the finishing touch, add some black polish to the tips of your nails to create the look of rotting nails. And there you have it, a zombie nail art design that will make your friends do a double take.3. "Zombie Nail Art" by Simply Nailogical


3. "Zombie Nail Art" by Simply Nailogical
Dolls are meant to be cute and innocent, but this creepy doll nail art design by Simply Nailogical will give a whole new meaning to the word "doll". Start with a pink base coat and let it dry completely. Then, using a thin brush, create black lines on your nails to resemble the joints of a doll's limbs. Don't worry about being too precise, the messier the better for a more eerie effect. Next, take a white polish and add a red dot in the center of your nail for the doll's eye. Using a toothpick, add a smaller black dot on top of the red for the pupil. Repeat on all of your nails. For the finishing touch, add some cracks using a black polish to create the illusion of a broken doll. And there you have it, a creepy doll nail art design that will spook anyone who sees it.4. "Creepy Doll Nail Art" by Simply Nailogical


4. "Creepy Doll Nail Art" by Simply Nailogical
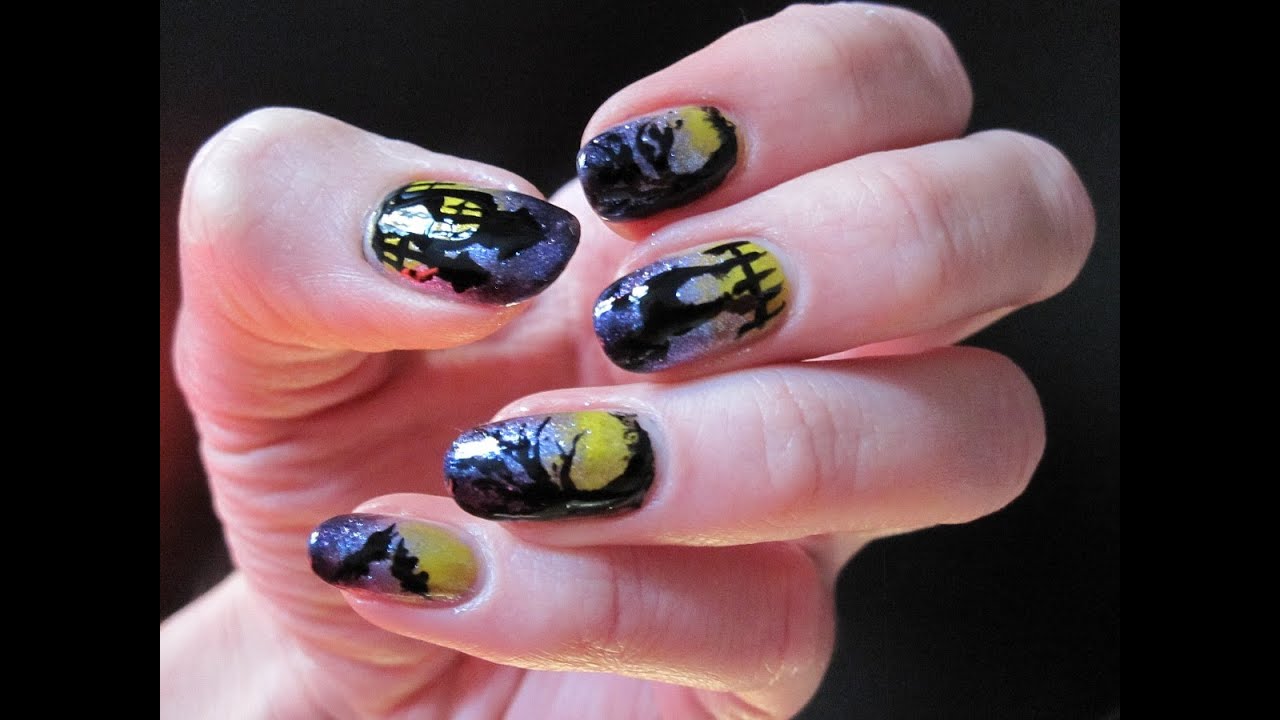
What's Halloween without a haunted house? And now you can bring that spooky atmosphere to your nails with this haunted house nail art tutorial by Simply Nailogical. Start with a dark purple base coat and let it dry completely. Then, using a thin brush, create a gray silhouette of a haunted house on your nails. You can make it as detailed or as simple as you'd like. Next, take a white polish and add some ghosts floating around the haunted house. You can make them small or large, and even add some glow in the dark polish for an extra spooky effect. For the finishing touch, add some orange dots on your nails to resemble pumpkins and complete the Halloween look. And there you have it, a haunted house nail art design that will definitely give you the chills.5. "Haunted House Nail Art" by Simply Nailogical


5. "Haunted House Nail Art" by Simply Nailogical

Vampires are a classic Halloween character, and now you can bring that dark and alluring vibe to your nails with this vampire nail art tutorial by Simply Nailogical. Start with a dark red base coat and let it dry completely. Then, using a thin brush, create a black outline of a vampire's cape on your nails. You can make it as detailed or as simple as you'd like. Next, take a white polish and add some fangs on one side of your nail. Use a toothpick to create the sharp tips of the fangs. Repeat on all of your nails. For the finishing touch, add some red dots on your nails to resemble blood droplets. And there you have it, a vampire nail art design that will make you feel like the queen of the night.6. "Vampire Nail Art" by Simply Nailogical


6. "Vampire Nail Art" by Simply Nailogical
Witches are a staple in the Halloween world, and now you can bring that magical and mystical vibe to your nails with this witch nail art tutorial by Simply Nailogical. Start with a dark green base coat and let it dry completely. Then, using a thin brush, create a black silhouette of a witch flying on her broomstick on your nails. Next, take a black polish and add some spider webs around the witch on your nails. Don't worry about being too precise, the messier the better for a more spooky effect. For the finishing touch, add some glow in the dark polish to the witch's hat and broomstick for an extra eerie look. And there you have it, a witch nail art design that will make you feel like you have magical powers.7. "Witch Nail Art" by Simply Nailogical

7. "Witch Nail Art" by Simply Nailogical
Ghosts are a classic Halloween symbol, and now you can bring that spooky and ethereal vibe to your nails with this ghost nail art tutorial by Simply Nailogical. Start with a white base coat and let it dry completely. Then, using a thin brush, create a black outline of a ghost on your nails. You can make it as detailed or as simple as you'd like. Next, take a white polish and fill in the outline of the ghost. Use a toothpick to create the eyes and mouth of the ghost with a black polish. For the finishing touch, add some glitter to the ghost's body for an extra pop and shine. And there you have it, a ghost nail art design that will haunt your nails in the best way.8. "Ghost Nail Art" by Simply Nailogical


8. "Ghost Nail Art" by Simply Nailogical
Frankenstein is a classic Halloween character, and now you can bring that eerie and green vibe to your nails with this Frankenstein nail art tutorial by Simply Nailogical. Start with a light green base coat and let it dry completely. Then, using a thin brush, create a black outline of a bolt on your nails. You can make it as detailed or as simple as you'd like. Next, take a dark green polish and fill in the outline of the bolt. Use a toothpick to create the screws on the bolt with a black polish. For the finishing touch, add some black lines on your nails to resemble the stitches on Frankenstein's face. And there you have it, a Frankenstein nail art design that will bring some monster fun to your nails.9. "Frankenstein Nail Art" by Simply Nailogical


9. "Frankenstein Nail Art" by Simply Nailogical

Skeletons are a classic Halloween symbol, and now you can bring that spooky and bony vibe to your nails with this skeleton nail art tutorial by Simply Nailogical. Start with a black base coat and let it dry completely. Then, using a thin brush, create a white outline of a skeleton on your nails. You can make it as detailed or as simple as you'd like. Next, take a white polish and fill in the outline of the skeleton. Use a toothpick to create the eyes and mouth of the skeleton with a black polish. For the finishing touch, add some glow in the dark polish to the skeleton's bones for an extra spooky effect. And there you have it, a skeleton nail art design that will give you some serious Halloween vibes.10. "Skeleton Nail Art" by Simply Nailogical
.jpg)

10. "Skeleton Nail Art" by Simply Nailogical


The Growing Trend of Scary Nail Art: A Bold and Fierce Statement

Why Scary Nail Art is Taking the Beauty World by Storm
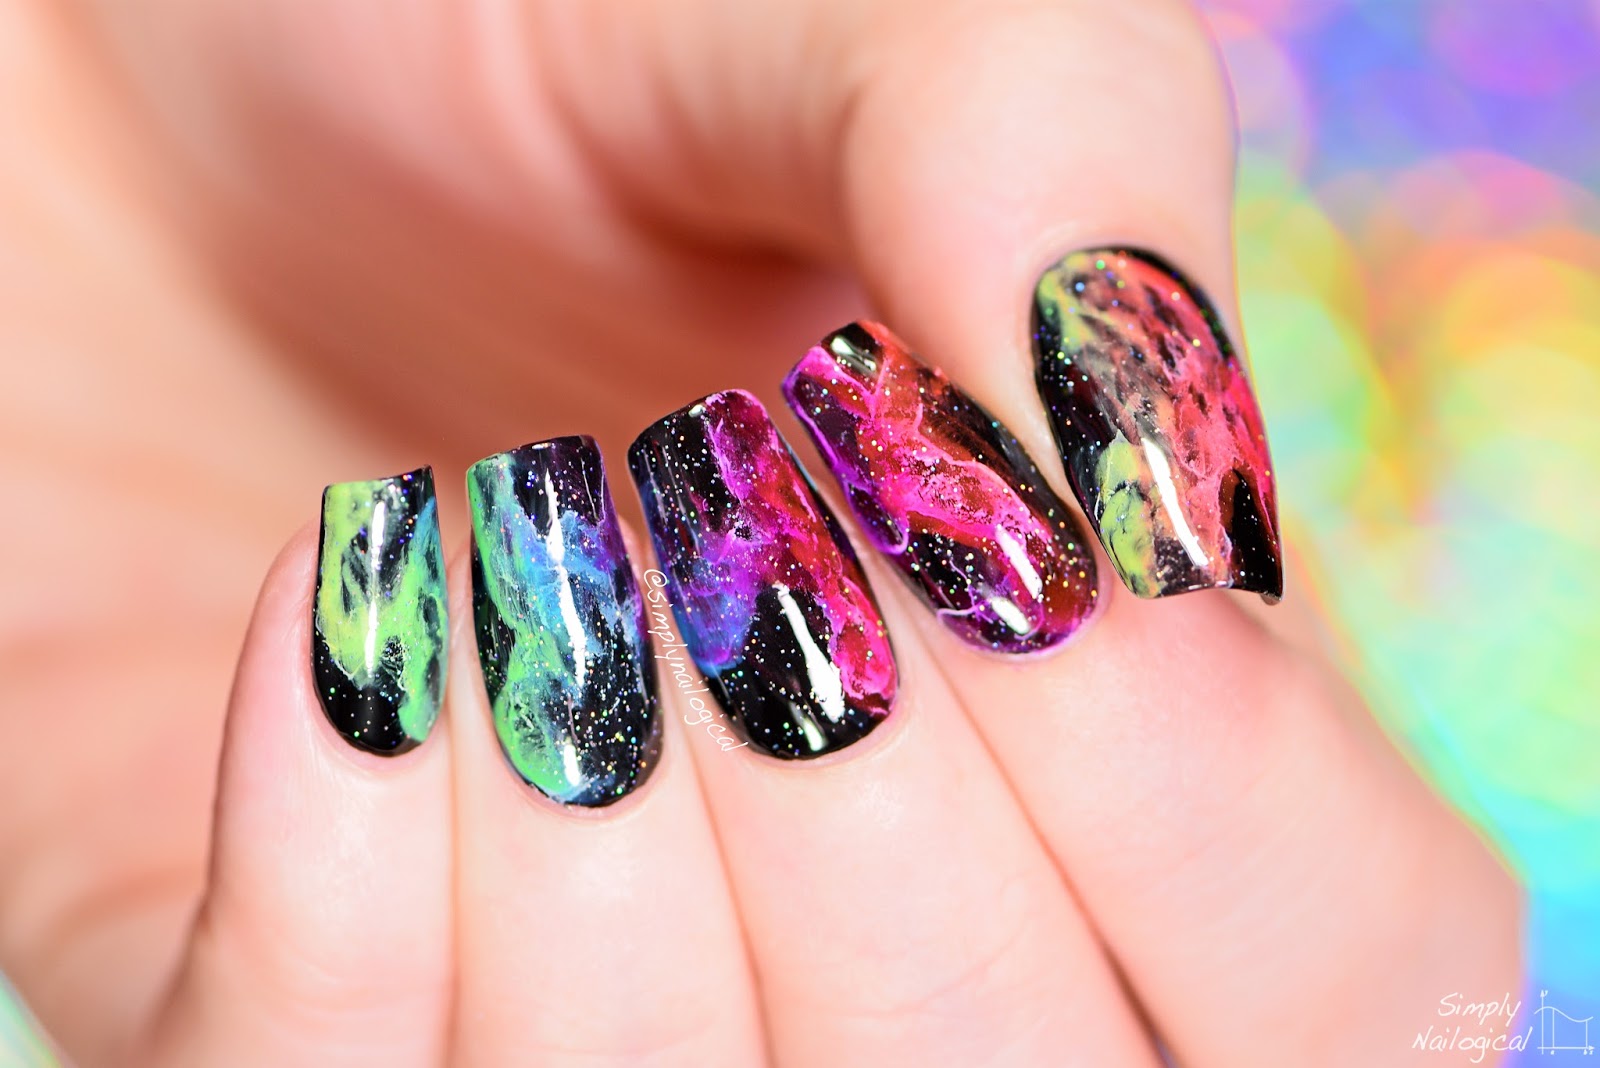
 In recent years, the world of nail art has seen a major shift in trends. From simple and chic designs to intricate and bold creations, nail art has become a form of self-expression and a way to make a statement. But one trend, in particular, has been making waves in the beauty community - scary nail art. This unique and daring trend has captured the attention of many, including the popular YouTuber and nail artist, Simply Nailogical. But what exactly is scary nail art and why is it becoming so popular?
Scary nail art
, also known as horror or spooky nail art, is a style that involves creating designs inspired by horror movies, TV shows, and characters. From creepy clowns to bloody zombies, the possibilities for this trend are endless. But what sets scary nail art apart from other nail art styles is its bold and fierce nature. It's not for the faint of heart, but for those who want to make a statement and stand out from the crowd.
In recent years, the world of nail art has seen a major shift in trends. From simple and chic designs to intricate and bold creations, nail art has become a form of self-expression and a way to make a statement. But one trend, in particular, has been making waves in the beauty community - scary nail art. This unique and daring trend has captured the attention of many, including the popular YouTuber and nail artist, Simply Nailogical. But what exactly is scary nail art and why is it becoming so popular?
Scary nail art
, also known as horror or spooky nail art, is a style that involves creating designs inspired by horror movies, TV shows, and characters. From creepy clowns to bloody zombies, the possibilities for this trend are endless. But what sets scary nail art apart from other nail art styles is its bold and fierce nature. It's not for the faint of heart, but for those who want to make a statement and stand out from the crowd.
A Bold and Fierce Way to Express Yourself
 One of the main reasons for the rise in popularity of scary nail art is its ability to allow individuals to express themselves in a bold and fierce way. In a world where conformity is often encouraged, scary nail art gives people the freedom to break away from the norm and showcase their unique personality. It's a form of self-expression that is not only fun and creative but also empowering.
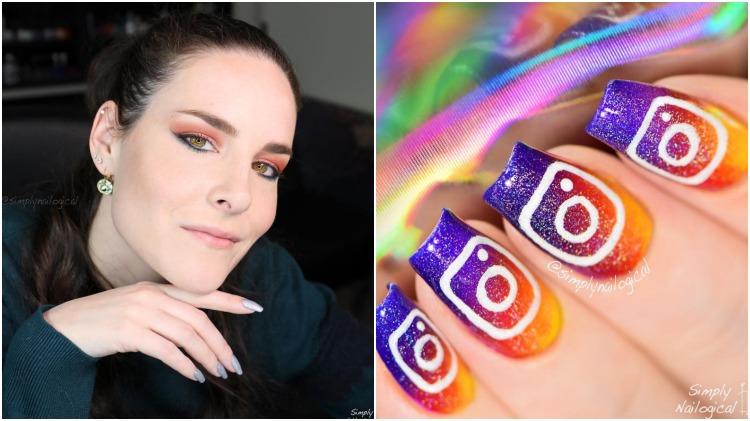
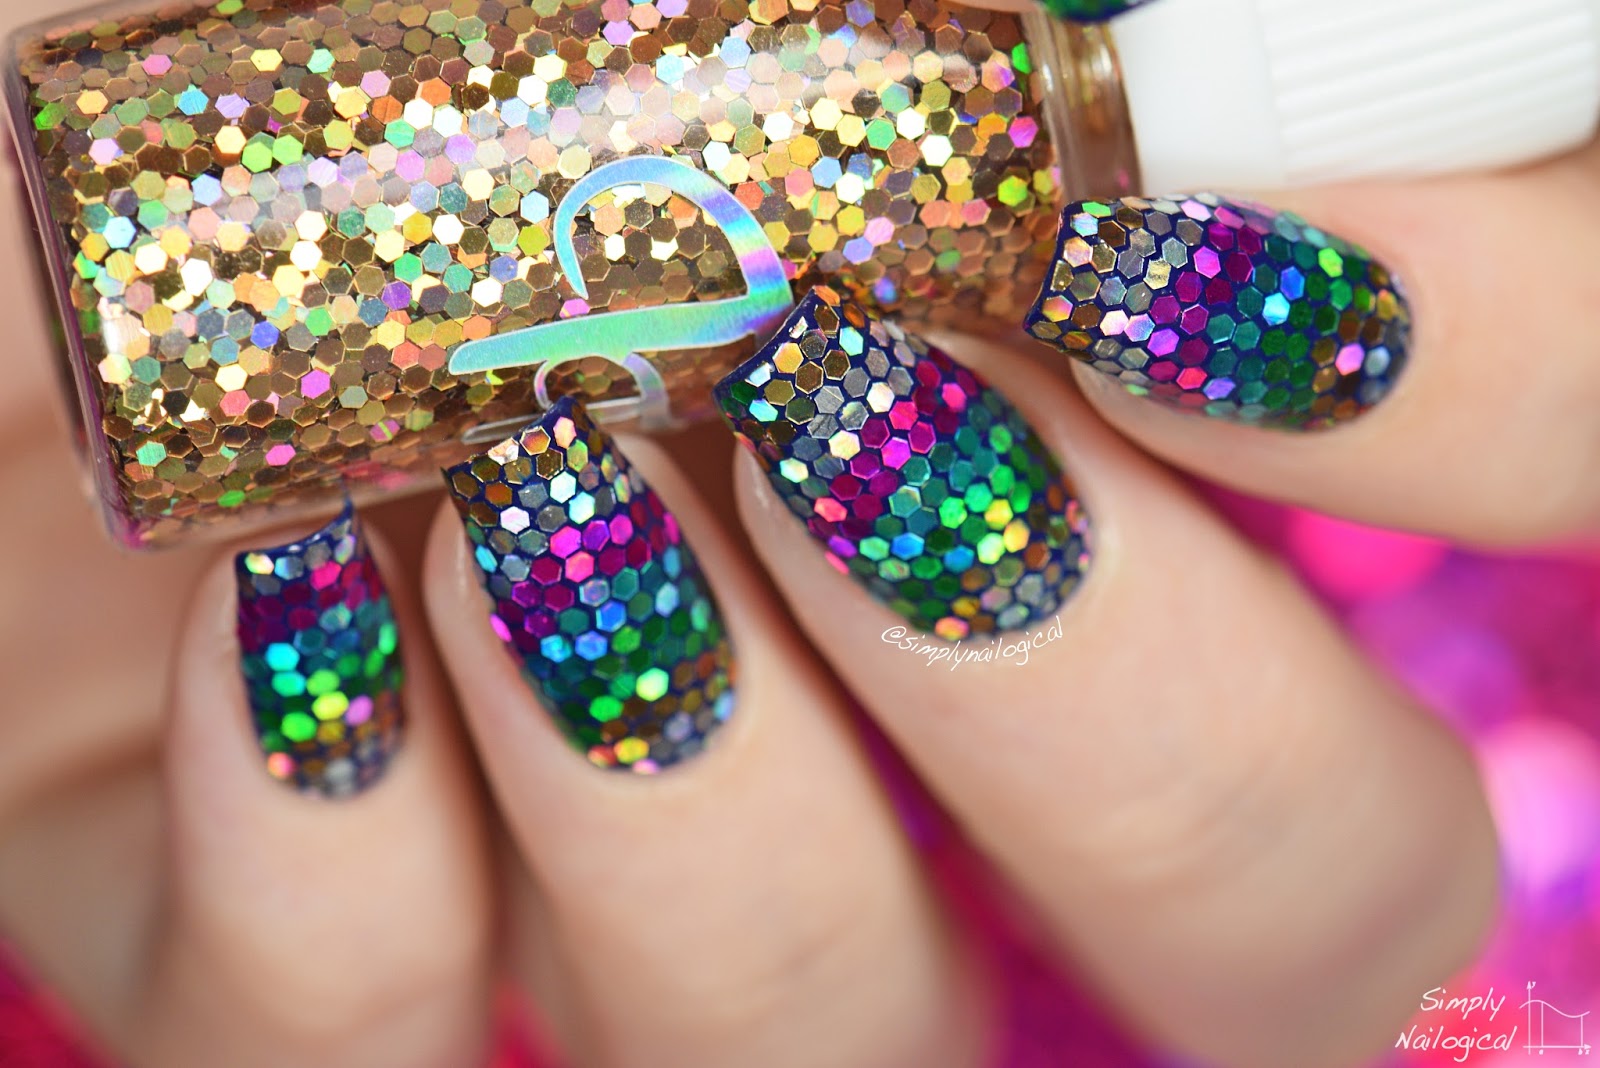
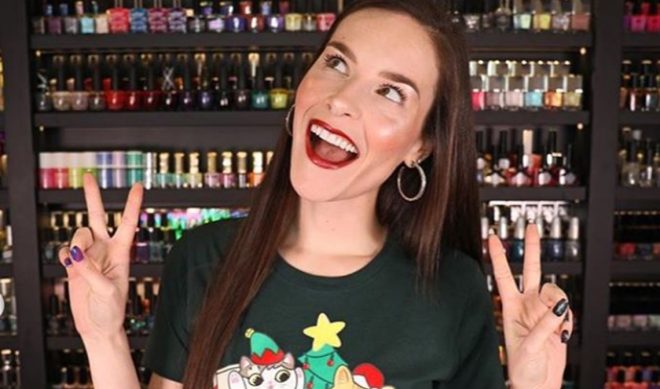
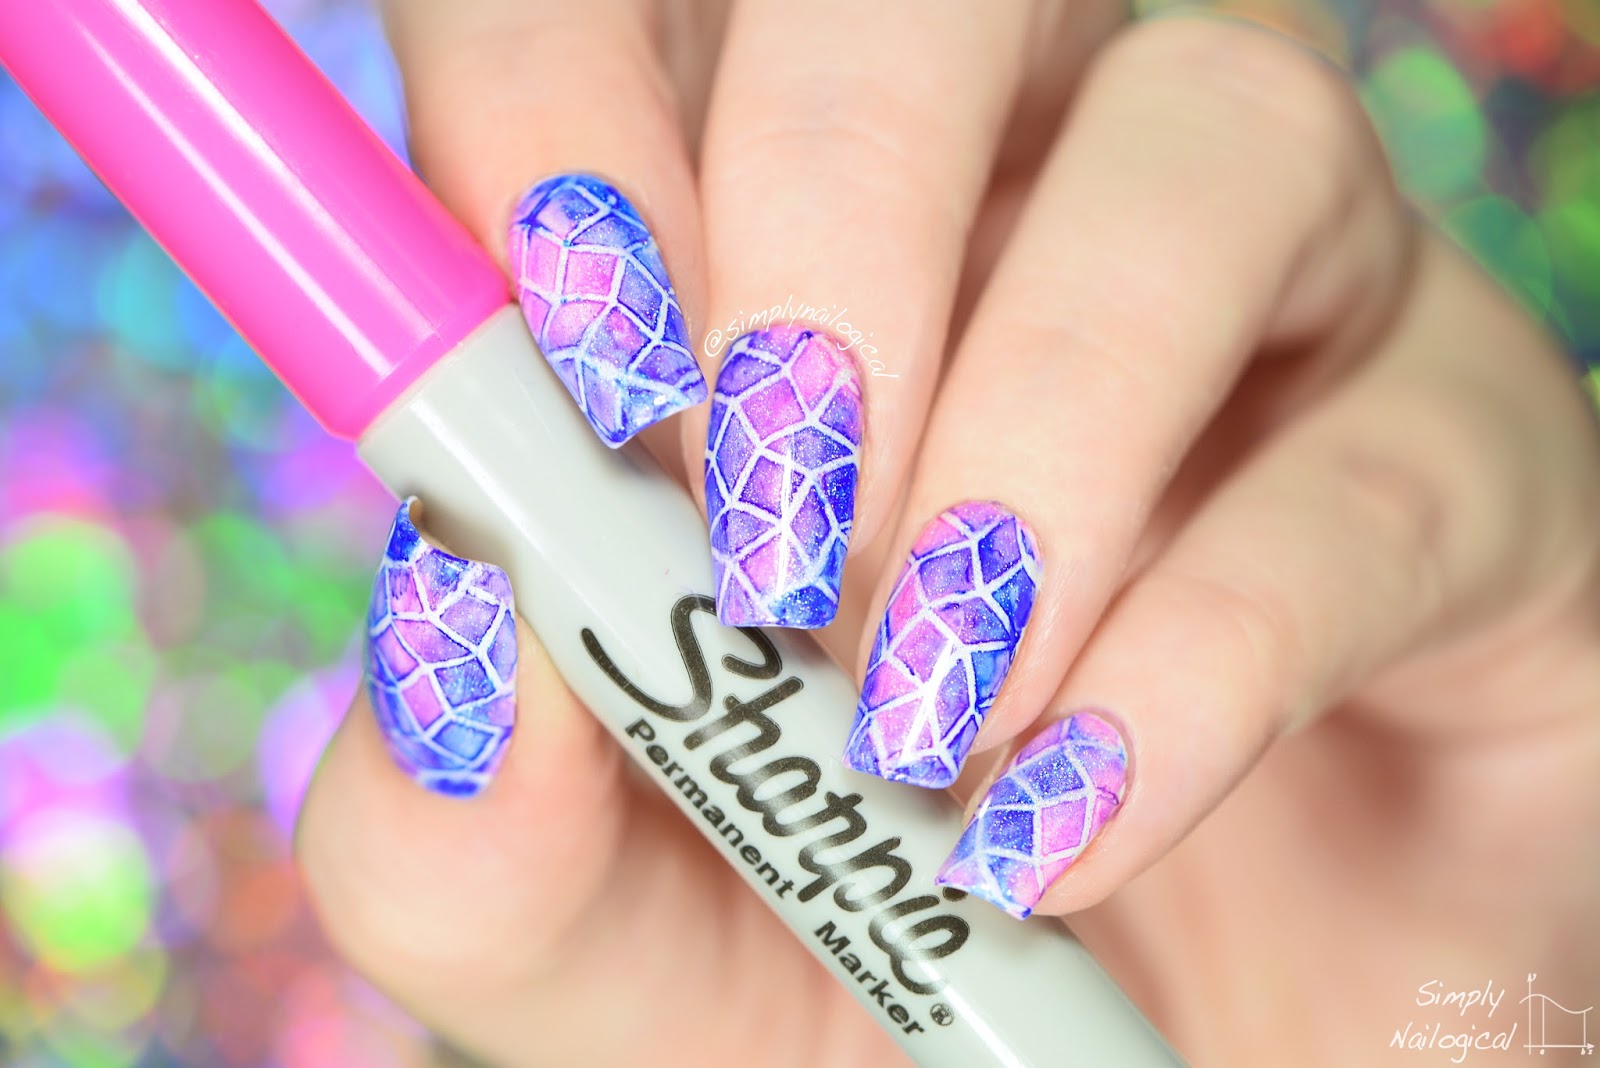
Simply Nailogical
, who has over 7 million subscribers on YouTube, is known for her love of scary nail art and has inspired many to try this trend for themselves. With her creative and unique designs, she has shown that scary nail art is not just about being spooky, but it can also be stylish and eye-catching.
One of the main reasons for the rise in popularity of scary nail art is its ability to allow individuals to express themselves in a bold and fierce way. In a world where conformity is often encouraged, scary nail art gives people the freedom to break away from the norm and showcase their unique personality. It's a form of self-expression that is not only fun and creative but also empowering.
Simply Nailogical
, who has over 7 million subscribers on YouTube, is known for her love of scary nail art and has inspired many to try this trend for themselves. With her creative and unique designs, she has shown that scary nail art is not just about being spooky, but it can also be stylish and eye-catching.
How to Incorporate Scary Nail Art into Your Style
 If you're looking to try out scary nail art for yourself, there are a few ways to incorporate it into your style. You can start small by adding a few spooky accents to your traditional manicure, such as a spider web design or a skull accent nail. Or, you can go all out and create a full set of horror-inspired nails. The key is to have fun and let your creativity run wild.
In conclusion, scary nail art is more than just a trend. It's a bold and fierce statement that allows individuals to express themselves in a unique and empowering way. So why not give this trend a try and let your nails do the talking?
If you're looking to try out scary nail art for yourself, there are a few ways to incorporate it into your style. You can start small by adding a few spooky accents to your traditional manicure, such as a spider web design or a skull accent nail. Or, you can go all out and create a full set of horror-inspired nails. The key is to have fun and let your creativity run wild.
In conclusion, scary nail art is more than just a trend. It's a bold and fierce statement that allows individuals to express themselves in a unique and empowering way. So why not give this trend a try and let your nails do the talking?


