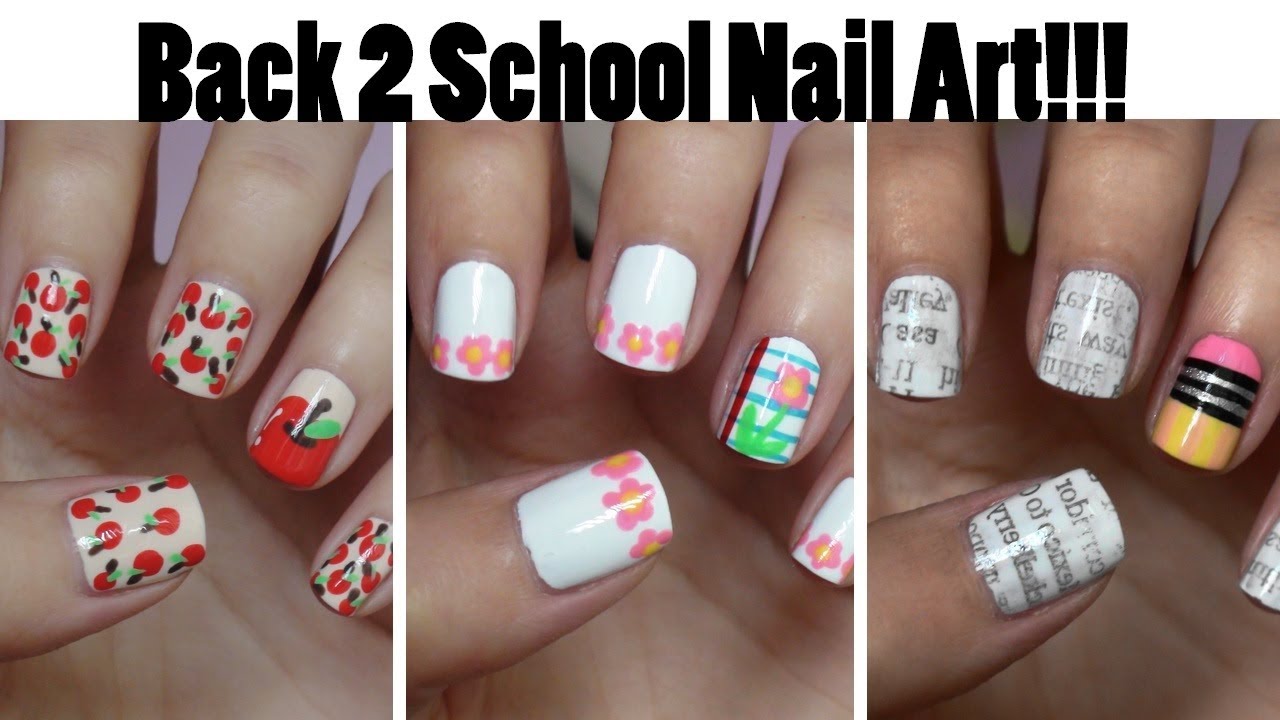
As summer comes to an end, it's time to start thinking about heading back to school. And what better way to make a statement than with some fun and creative nail art? Whether you're a student or a teacher, these back to school nail art ideas will add some personality to your look. From simple designs to more intricate ones, there's something for everyone to try. So grab your nail polish and let's get started!Back to School Nail Art Ideas


Back to School Nail Art Ideas


If you're new to nail art or just looking for something quick and easy, this tutorial is perfect for you. Start by painting your nails with a base color of your choice. Then, using a thin brush or toothpick, create small polka dots on your nails with a different color. You can also add a striped accent nail for some extra flair. Finish off with a top coat and you're ready for school!Easy School Nail Art Tutorial
Easy School Nail Art Tutorial


If you want to add a touch of cuteness to your back to school look, these nail designs are perfect for you. Paint your nails with a light pastel color and then create a heart or star design on one or two nails using a contrasting color. You can also add some glitter for some extra sparkle. This design is simple yet eye-catching.Cute and Simple School Nail Designs


Cute and Simple School Nail Designs


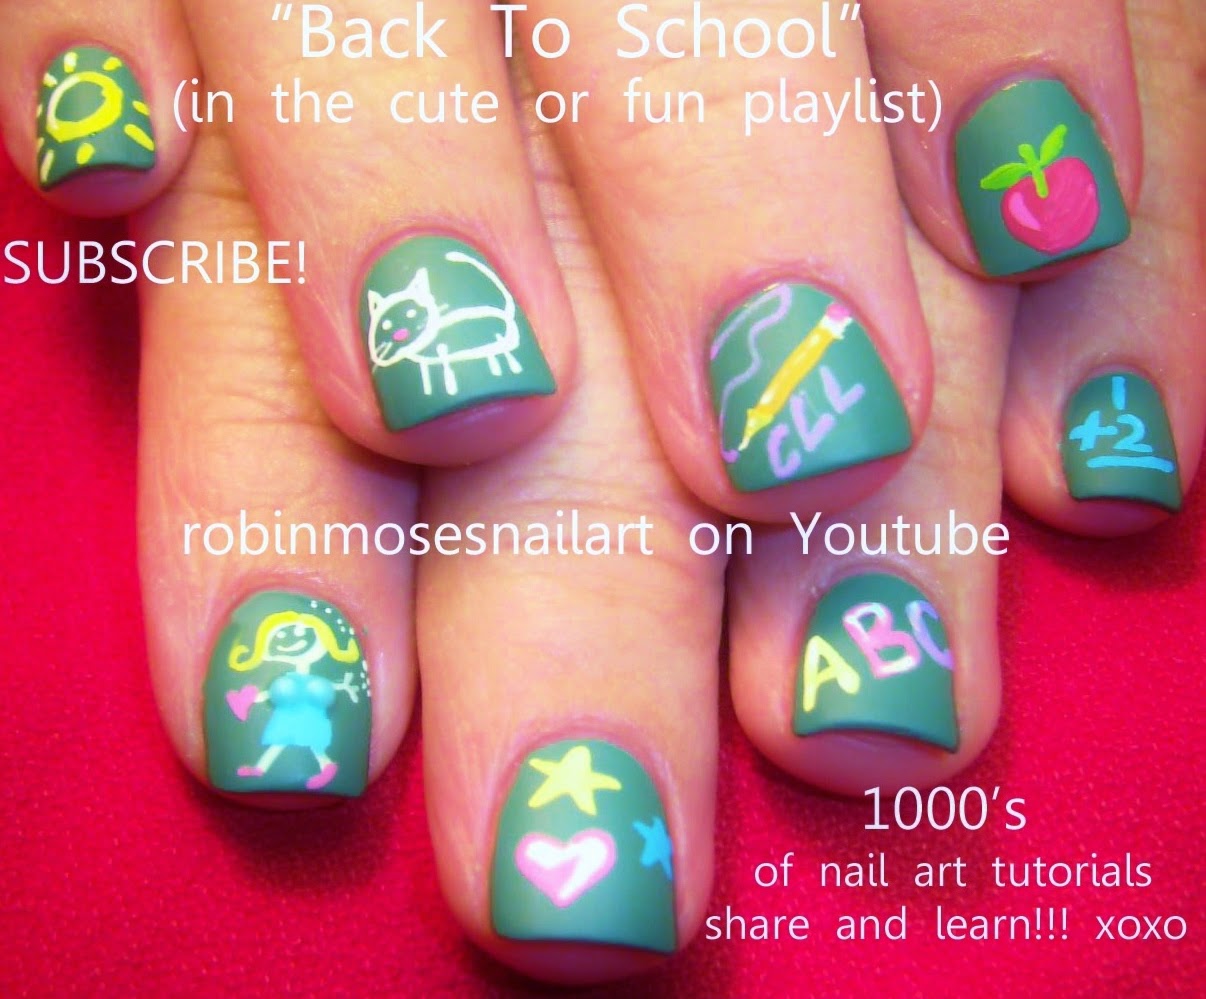
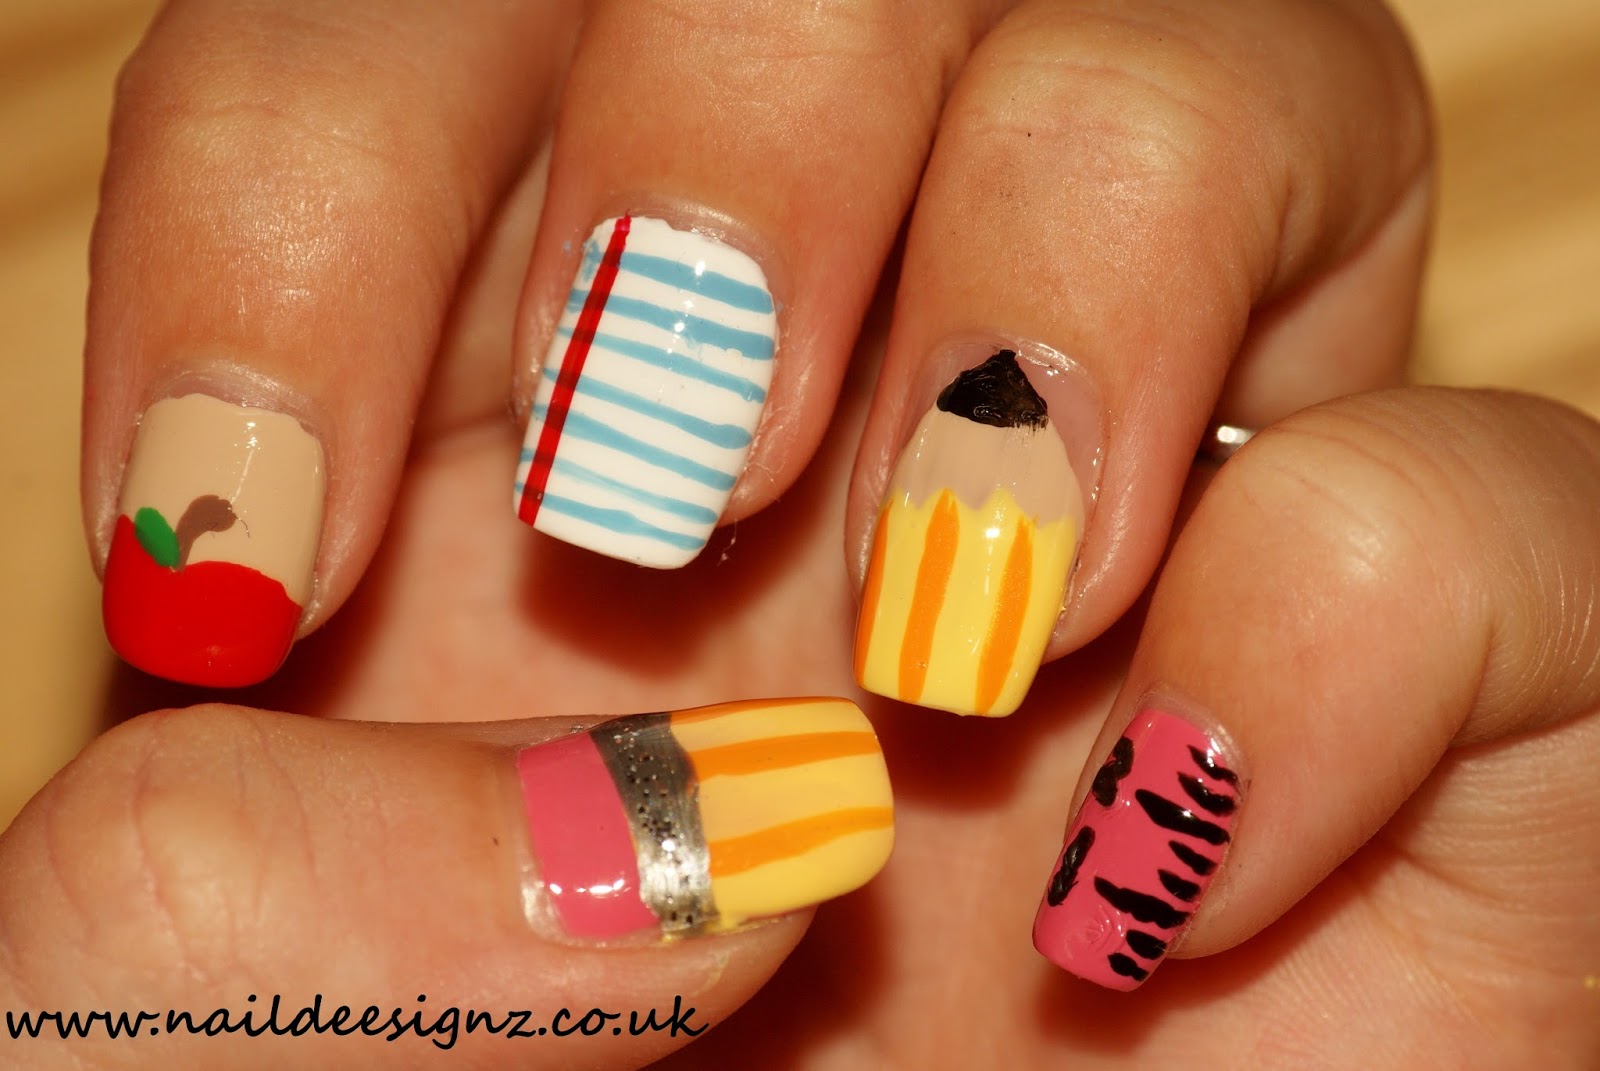
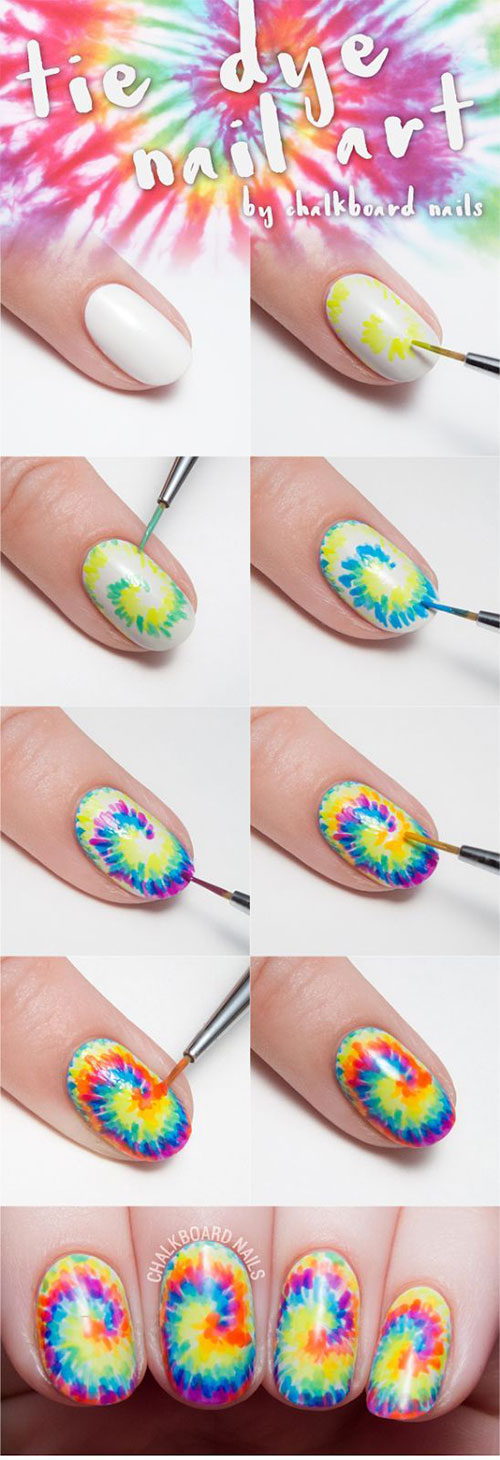
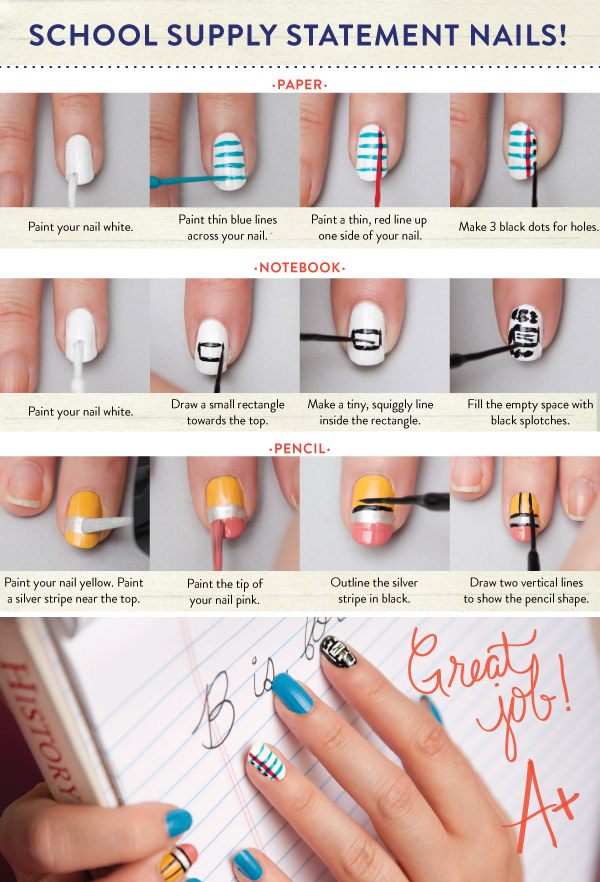
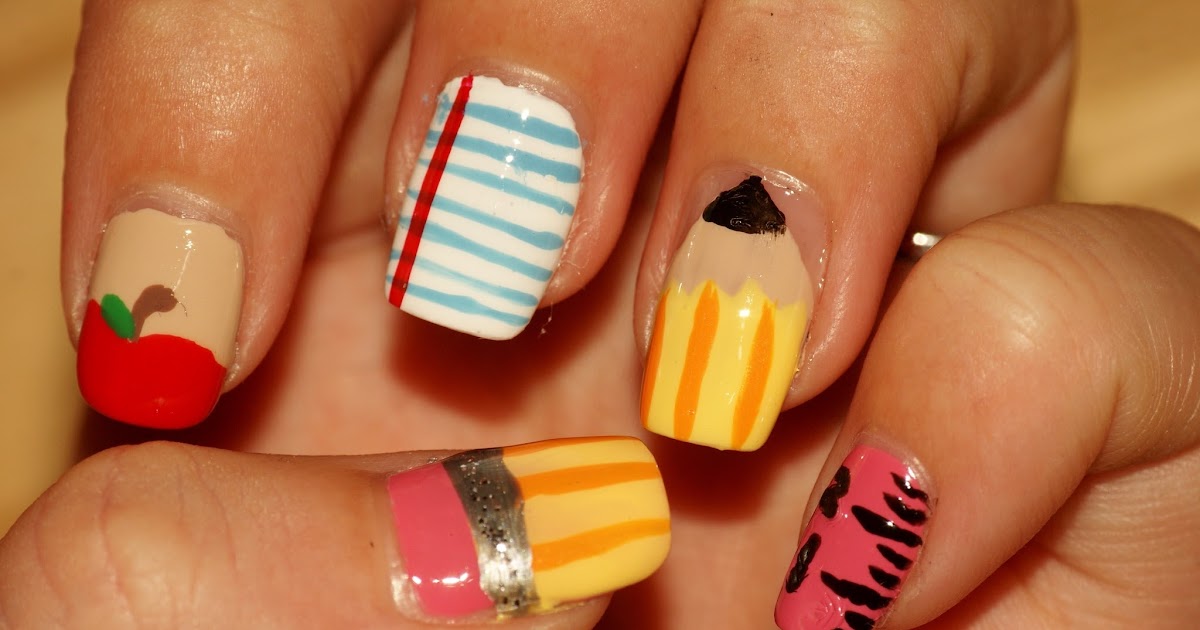
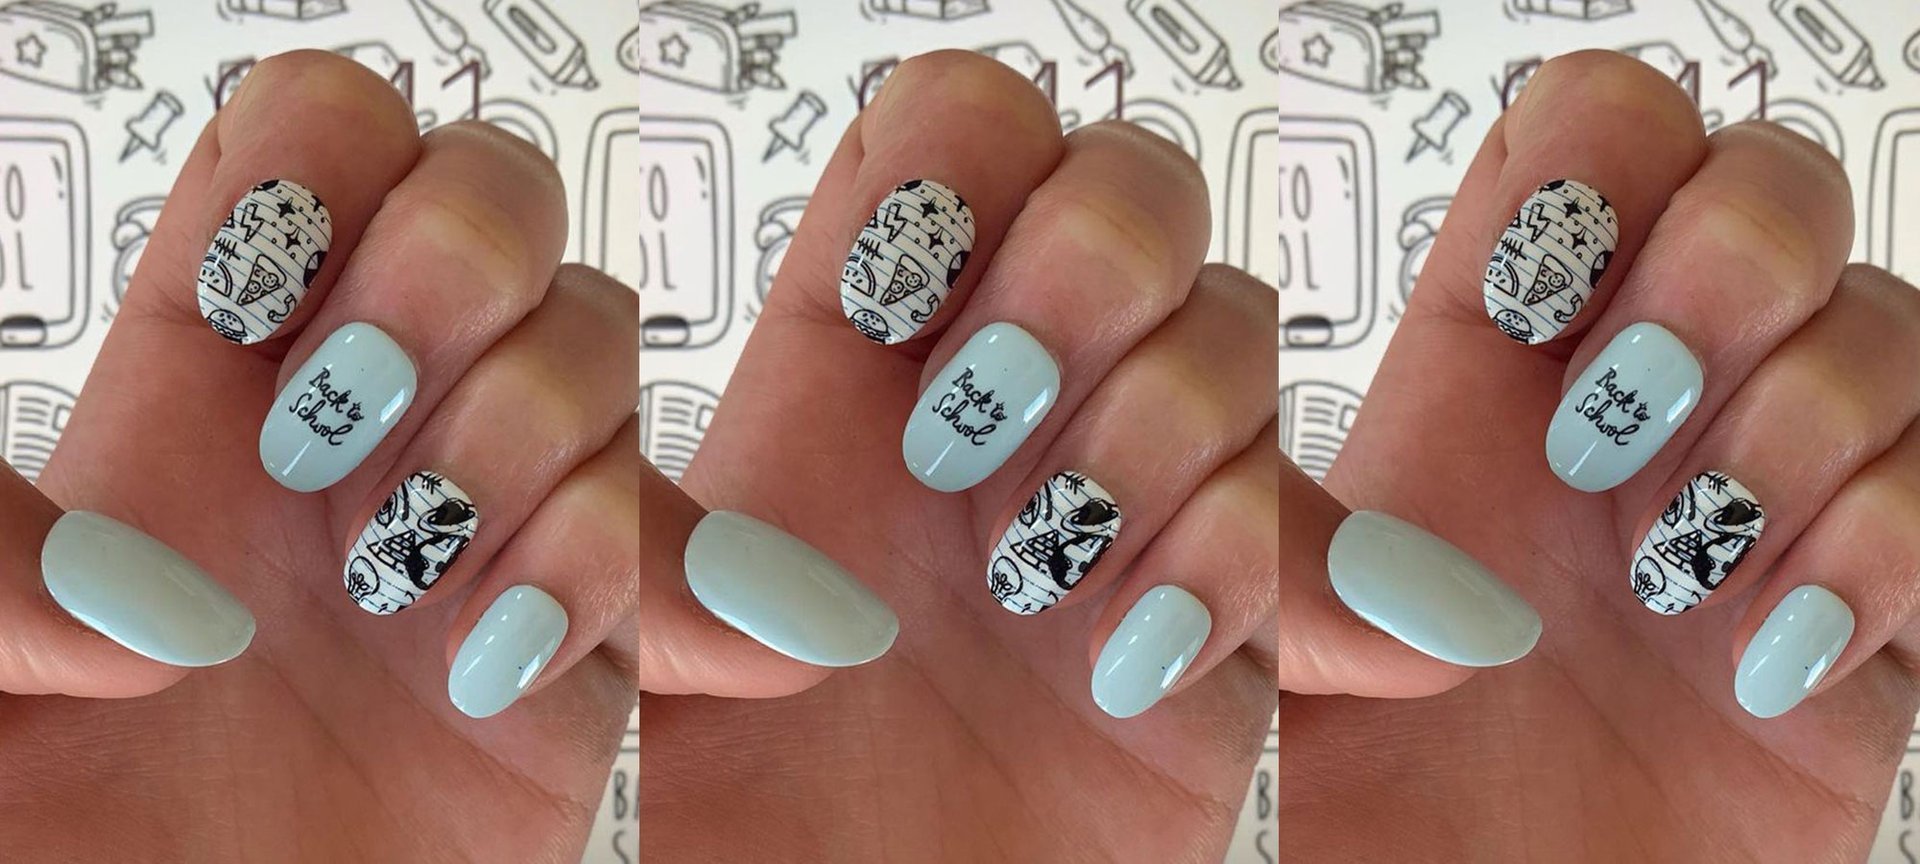
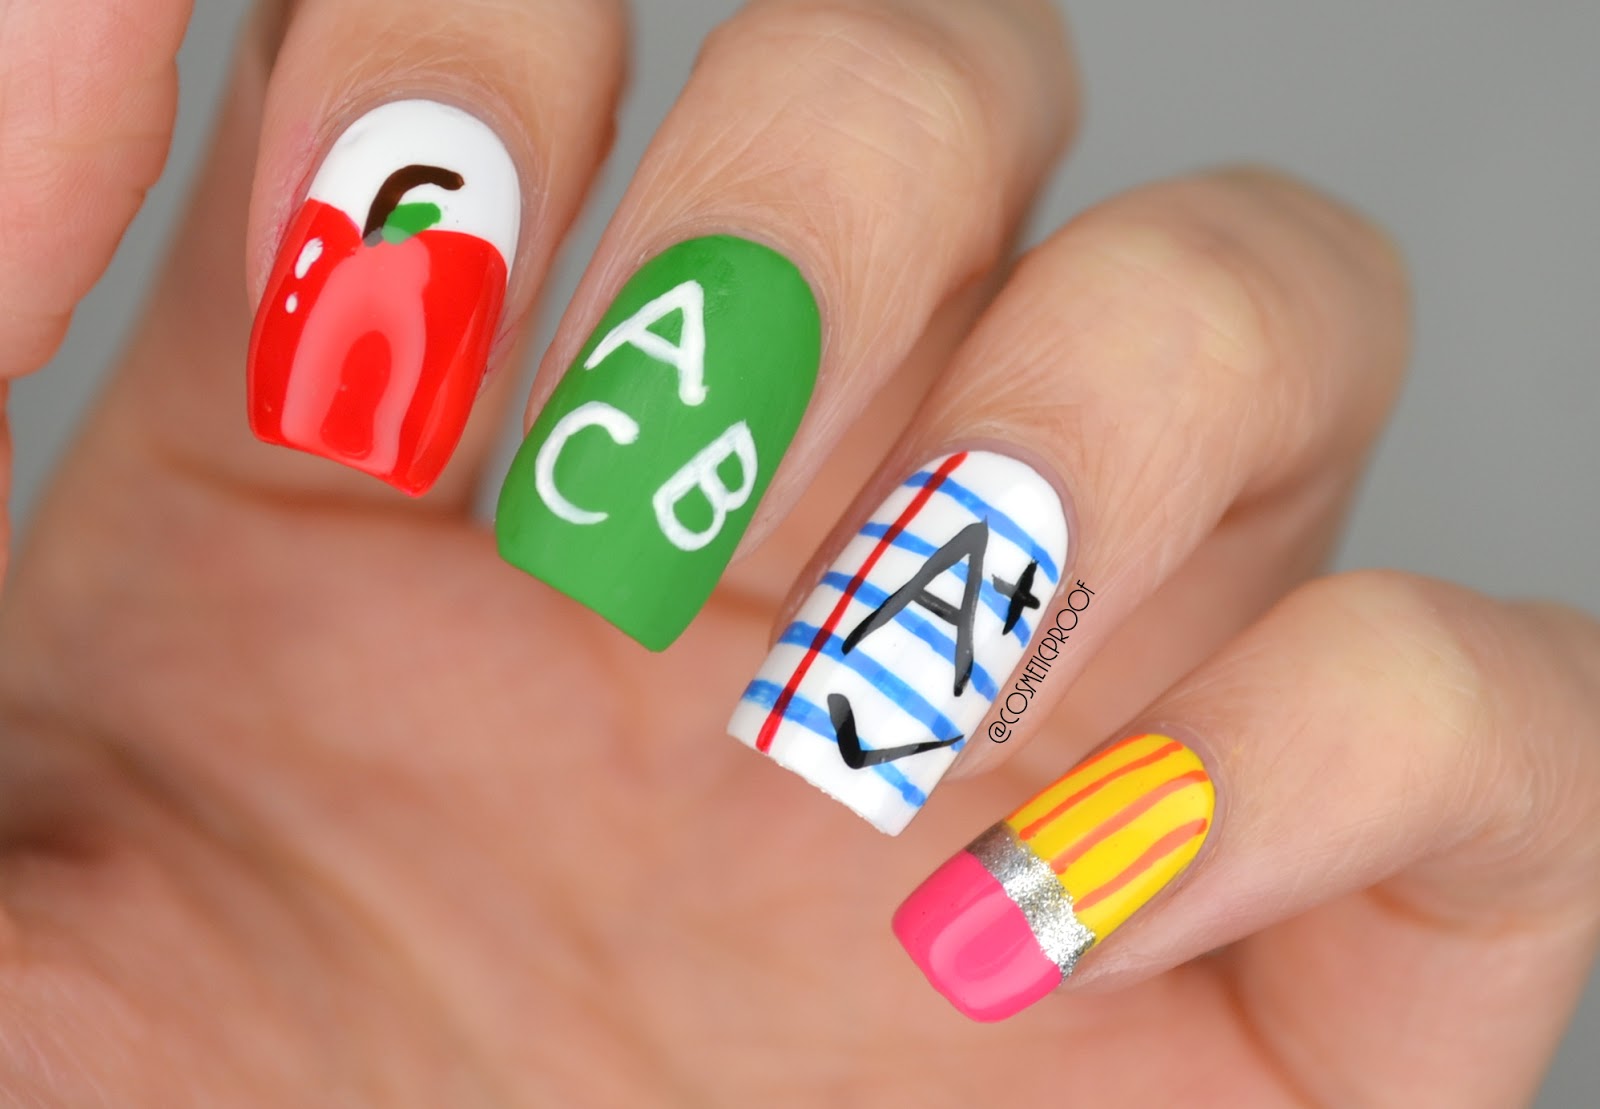
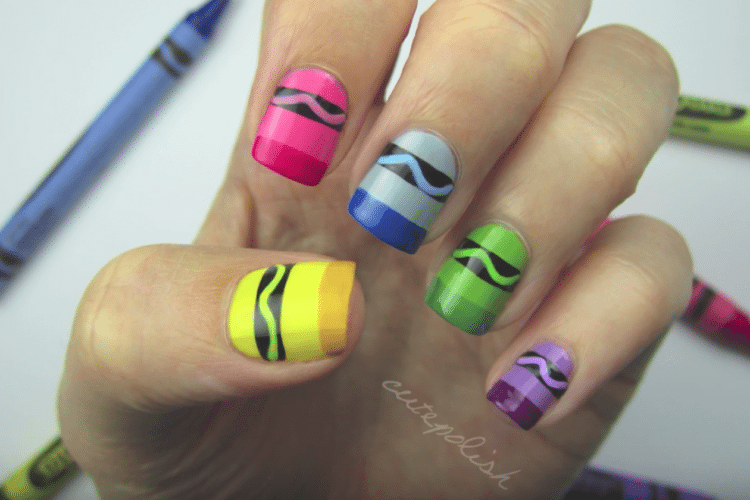
For those who love a challenge, try out this step by step school themed nail art design. Start by painting your nails with a white base color. Then, using a thin brush, create a black outline of a book on one nail and a pencil on another. Next, fill in the outlines with colored polish. For the other nails, create a chalkboard design with a black base and white polish for writing. Once everything is dry, add some details with a toothpick or thin brush. This design is sure to impress your classmates.Step by Step School Themed Nail Art


Step by Step School Themed Nail Art


Short nails? No problem! You can still rock some back to school nail art. For a simple design, paint your nails with a light blue base color and create a cloud design on one or two nails using a white polish. You can also add a sun or rainbow for some extra detail. Another option is to paint your nails with a black base color and create a school bus design on one nail using a yellow polish. This design is perfect for those with short nails.Back to School Nail Art for Short Nails


Back to School Nail Art for Short Nails


Don't worry if you're new to nail art, this tutorial is perfect for beginners. Start by painting your nails with a light pink base color. Then, using a toothpick or thin brush, create small flowers on your nails with a white polish. You can also add some dots for some extra detail. This design is simple yet elegant and perfect for anyone just starting out with nail art.DIY School Nail Art for Beginners


DIY School Nail Art for Beginners


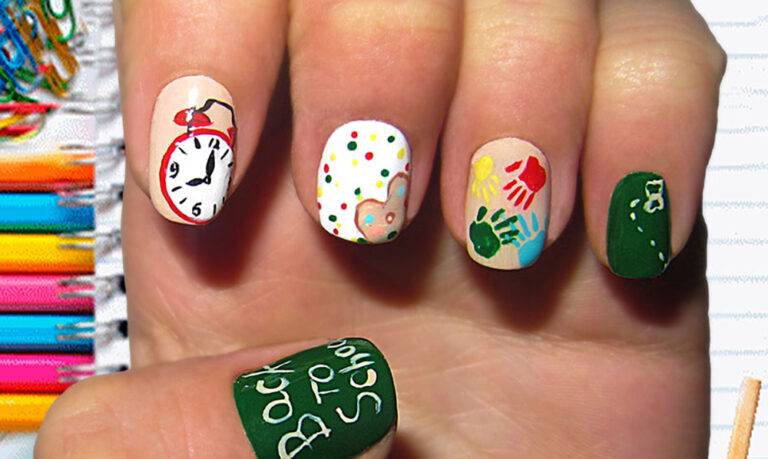
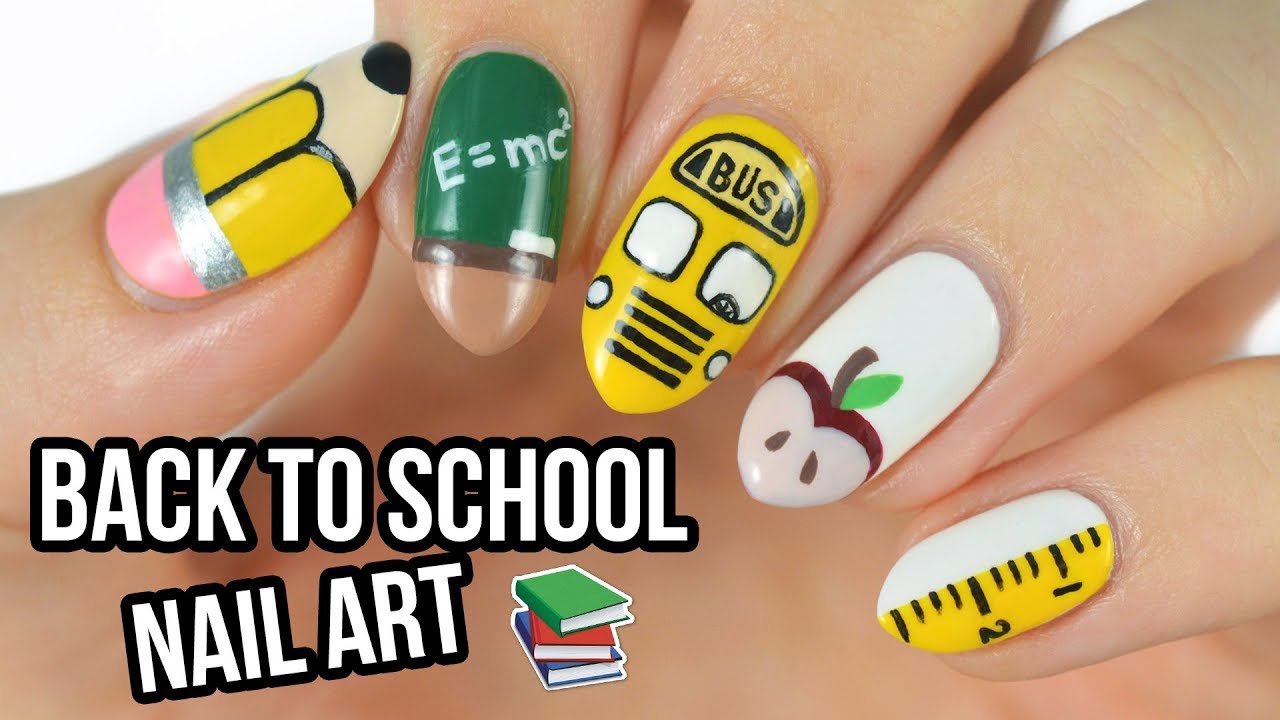
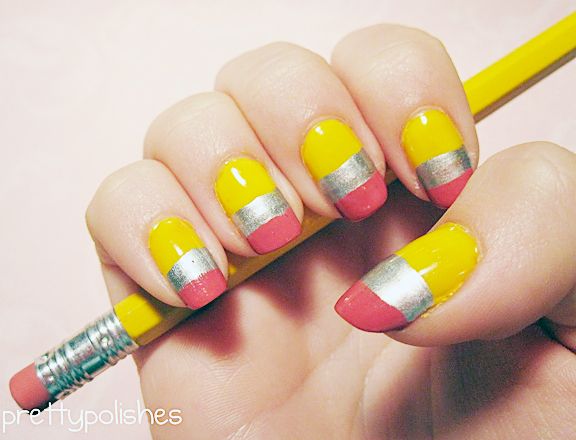
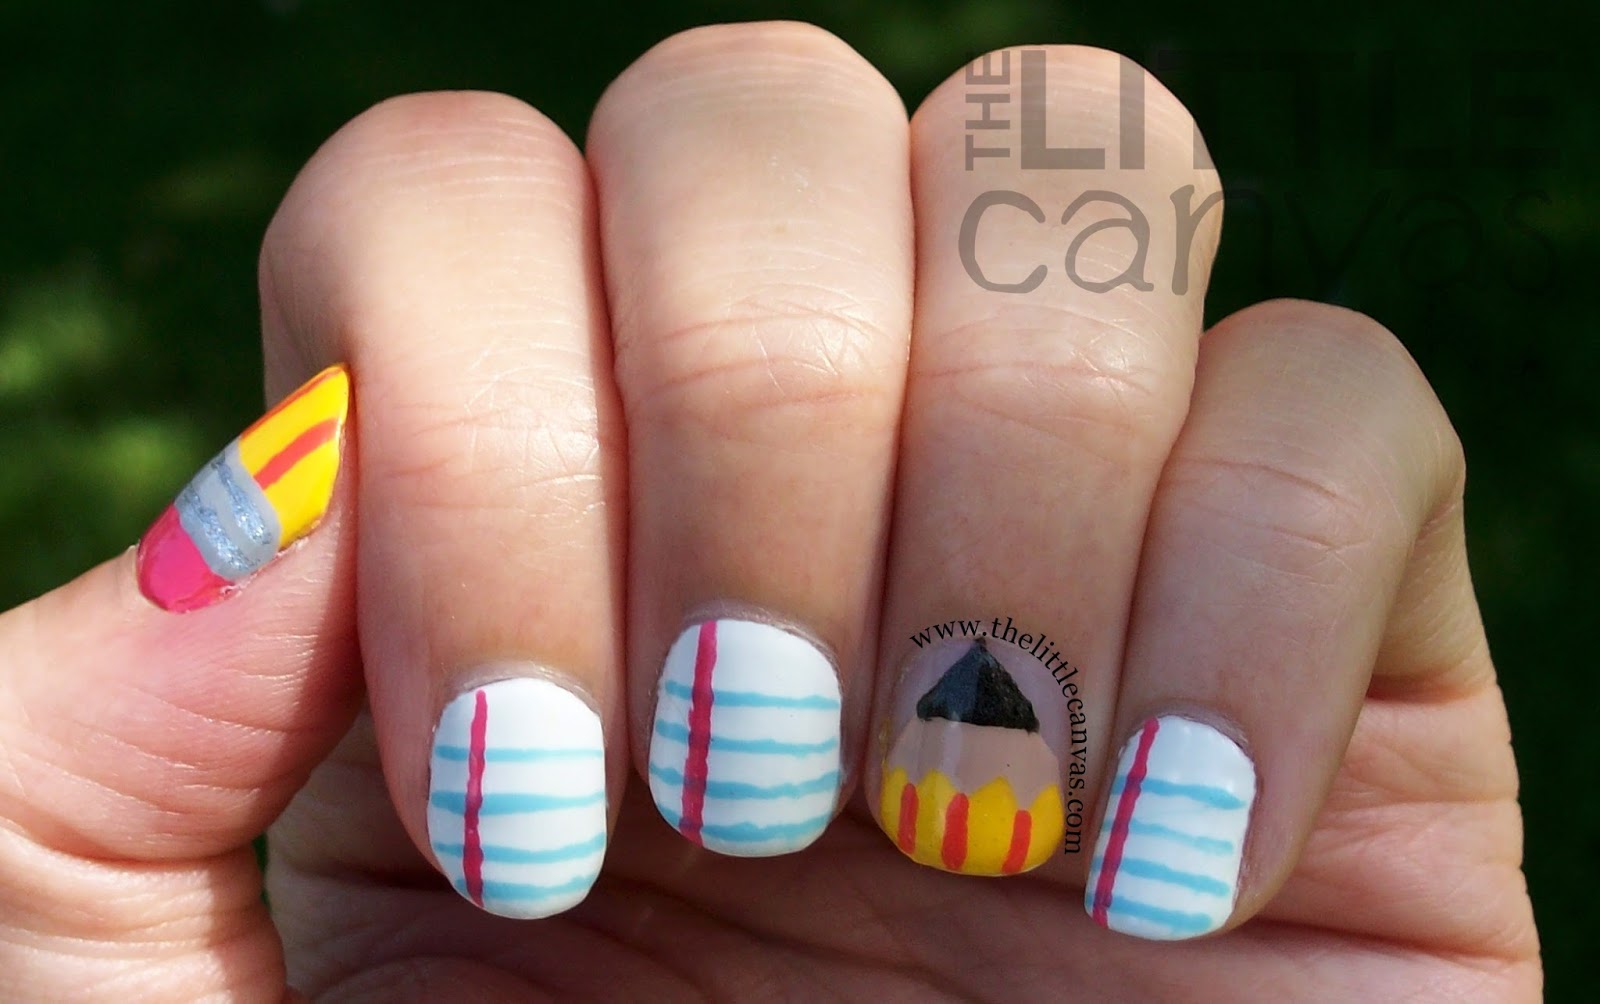
If you're short on time, these quick and easy school nail art designs are perfect for you. Start by painting your nails with a nude base color. Then, using a thin brush or toothpick, create a blackboard design on one nail with a black polish. On another nail, create a chalk design using white polish. For the remaining nails, create math equations or letters using a black polish. This design is perfect for anyone who loves a minimalistic look.Quick and Easy School Nail Art Designs


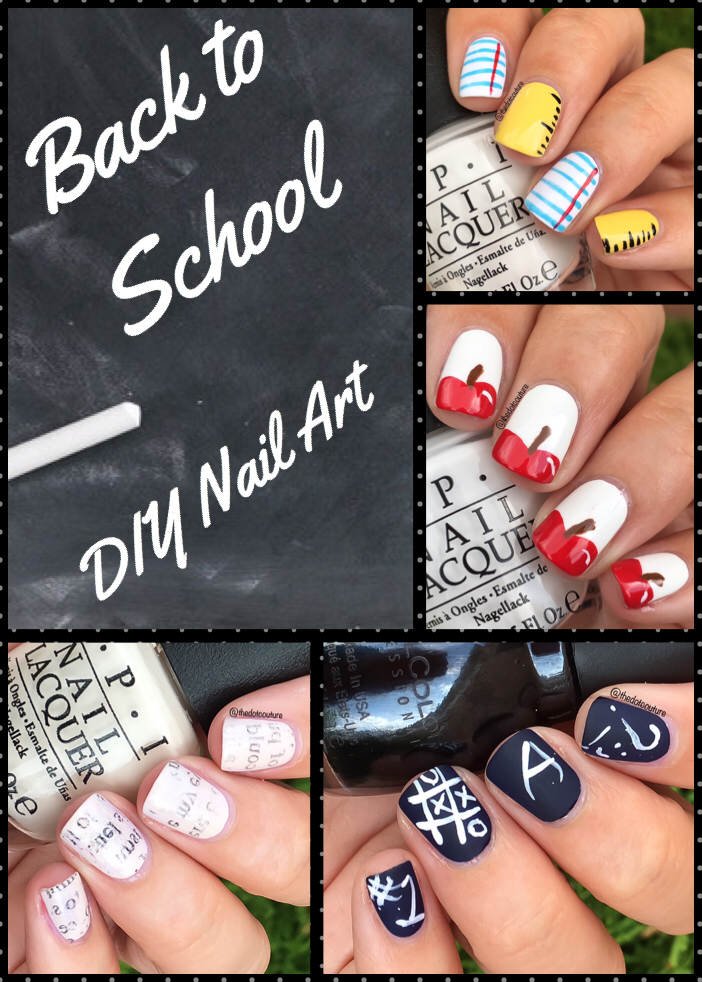
Quick and Easy School Nail Art Designs

Got long nails? Show them off with some fun back to school nail art. Start by painting your nails with a light purple base color. Then, using a thin brush, create a blackboard design on one nail with a black polish. On another nail, create a chalk design using white polish. For the remaining nails, create book shelves with different colored polishes and add some books or other school supplies with a toothpick or thin brush. This design is perfect for those with long nails.Back to School Nail Art for Long Nails


Back to School Nail Art for Long Nails

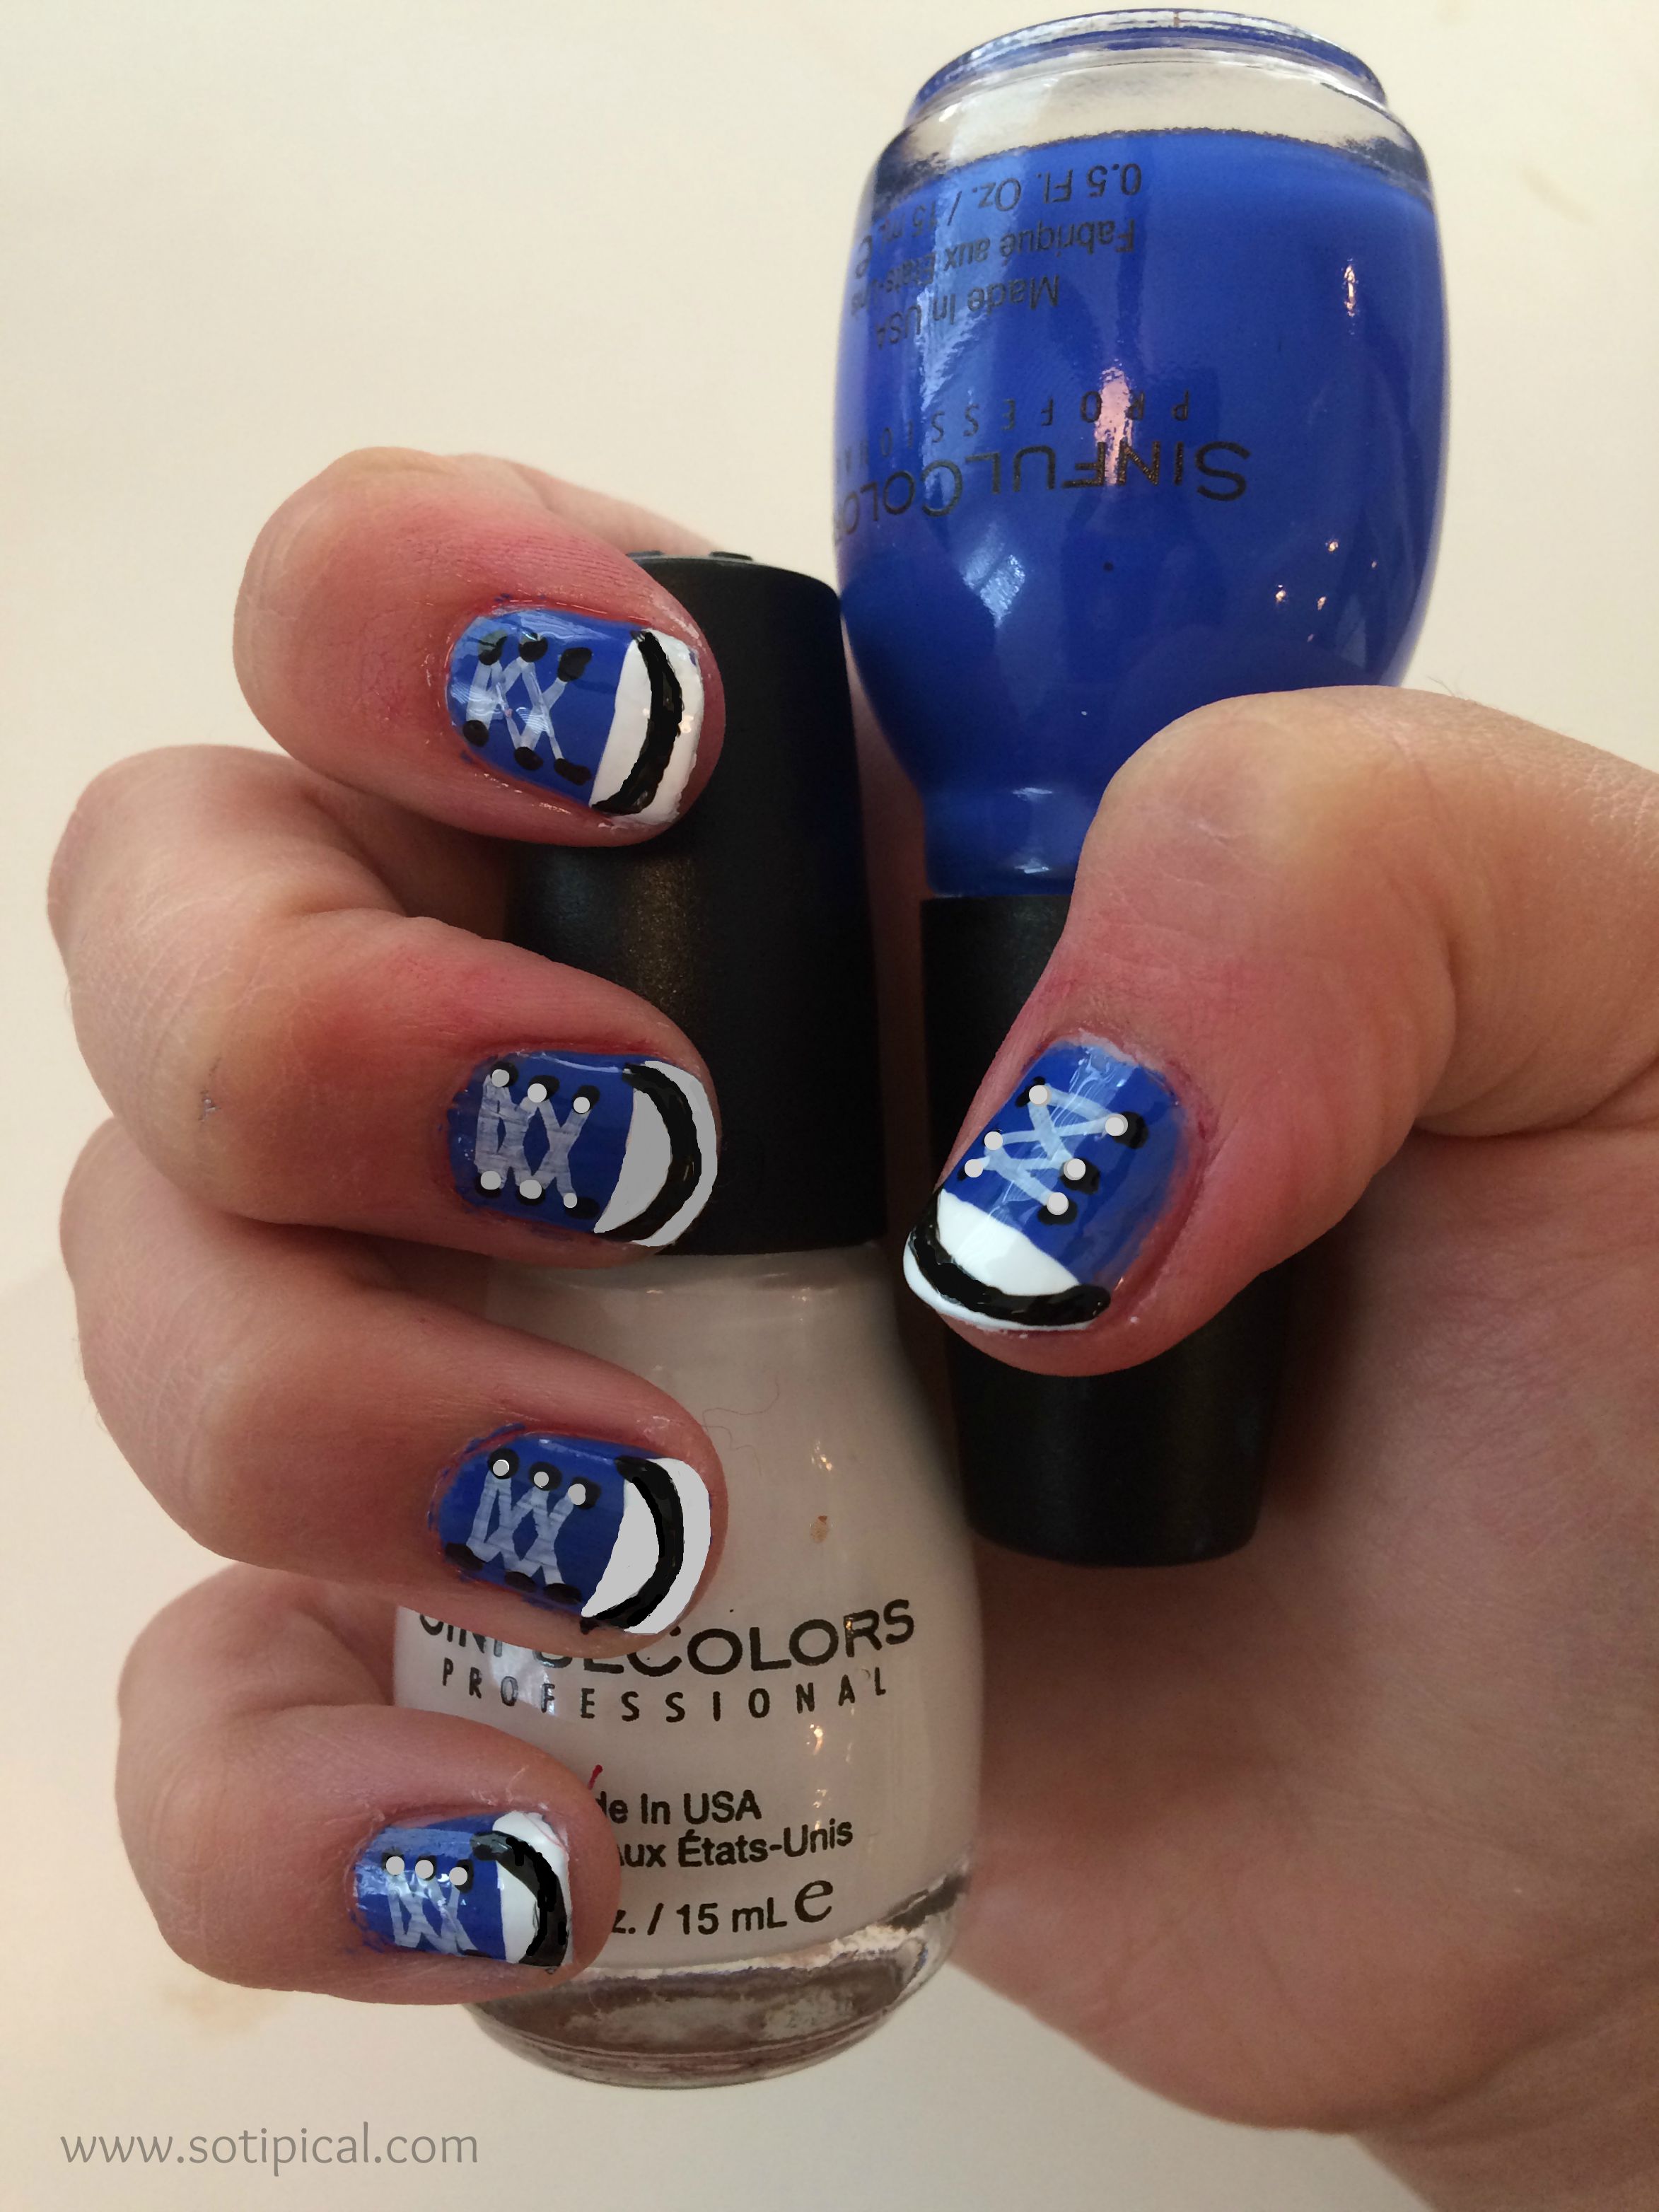
If you're feeling extra creative, try out these fun and creative school nail art ideas. Start by painting your nails with a light blue base color. Then, using a thin brush or toothpick, create a blackboard design on one nail with a black polish. On another nail, create a chalk design using white polish. For the remaining nails, create a classroom scene with different colored polishes and add some details with a toothpick or thin brush. This design is sure to impress everyone at school.Fun and Creative School Nail Art Ideas


Fun and Creative School Nail Art Ideas


For a simple yet stylish back to school nail art, try out this design. Start by painting your nails with a pink base color. Then, using a thin brush or toothpick, create stripes on one or two nails with a white polish. On the remaining nails, create small dots with a different color. This design is perfect for anyone who wants to add some color to their back to school look.Back to School Nail Art with Stripes and Dots

Back to School Nail Art with Stripes and Dots


Create Stunning School Nail Art: A Step-by-Step Guide

The Importance of Nail Art in School
 Nail art has become increasingly popular among students in recent years. It not only allows for self-expression and creativity but also adds a touch of style and personality to any outfit. School nail art is a great way to show off your school spirit, support your team, or simply add some fun and color to your everyday look. In this article, we will walk you through the step-by-step process of creating stunning school nail art that will make heads turn in the hallways.
Gather Your Materials
 Before getting started, make sure you have all the necessary materials. The key to achieving a flawless school nail art design is having the right tools. You will need a base coat, top coat, nail polish in your school's colors, a fine-tipped brush, a toothpick, and some nail art decorations such as glitter, studs, or stickers. Make sure to have a clean work surface and a steady hand.
Prep and Prime Your Nails
 Begin by removing any old nail polish and shaping your nails to your desired length and shape. Then, apply a base coat to protect your nails and ensure the longevity of your nail art. This step is crucial in preventing your nail polish from chipping or staining your nails. Let the base coat dry completely before moving on to the next step.
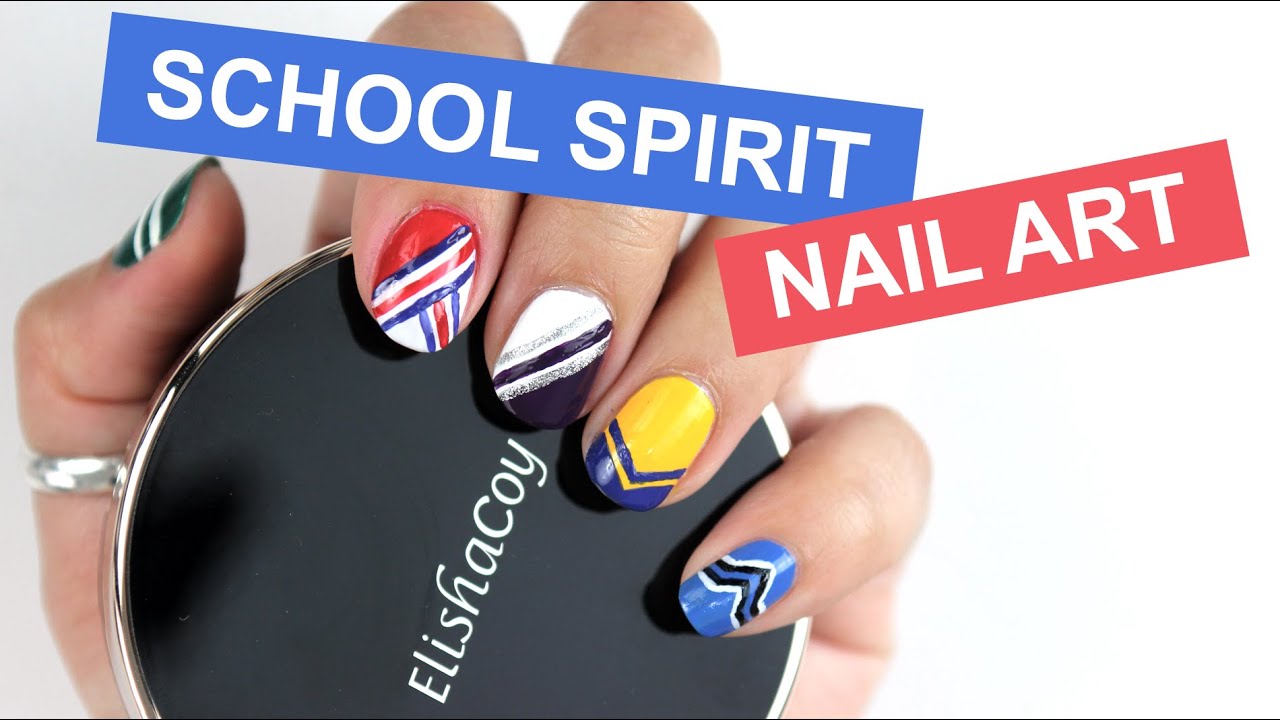
Get Creative with Your School Colors
 Now comes the fun part – painting your nails with your school's colors. You can choose to paint your nails with a solid color or mix and match different shades to create a unique design. To add some extra flair, use your fine-tipped brush or toothpick to create designs such as stripes, polka dots, or even your school's logo. Let your creativity run wild and don't be afraid to experiment.
Add Some Sparkle
 To take your school nail art to the next level, add some glitter or other decorations. You can use a toothpick to carefully place small dots of glitter onto your nails, or use a clear top coat to secure glitter or studs onto your nails. This step adds a touch of glam and makes your school nail art stand out.
Seal the Deal with Top Coat
 After your nail art has fully dried, apply a top coat to seal in your design and add shine. This step also helps your nail art last longer and prevents it from chipping. Make sure to apply the top coat evenly and let it dry completely before touching anything.
Now you're ready to rock your stunning school nail art! With these simple steps, you can create a variety of designs to show off your school spirit and creativity. So go ahead and try out different designs, and don't forget to share your creations with your classmates. Happy painting!
After your nail art has fully dried, apply a top coat to seal in your design and add shine. This step also helps your nail art last longer and prevents it from chipping. Make sure to apply the top coat evenly and let it dry completely before touching anything.
Now you're ready to rock your stunning school nail art! With these simple steps, you can create a variety of designs to show off your school spirit and creativity. So go ahead and try out different designs, and don't forget to share your creations with your classmates. Happy painting!


