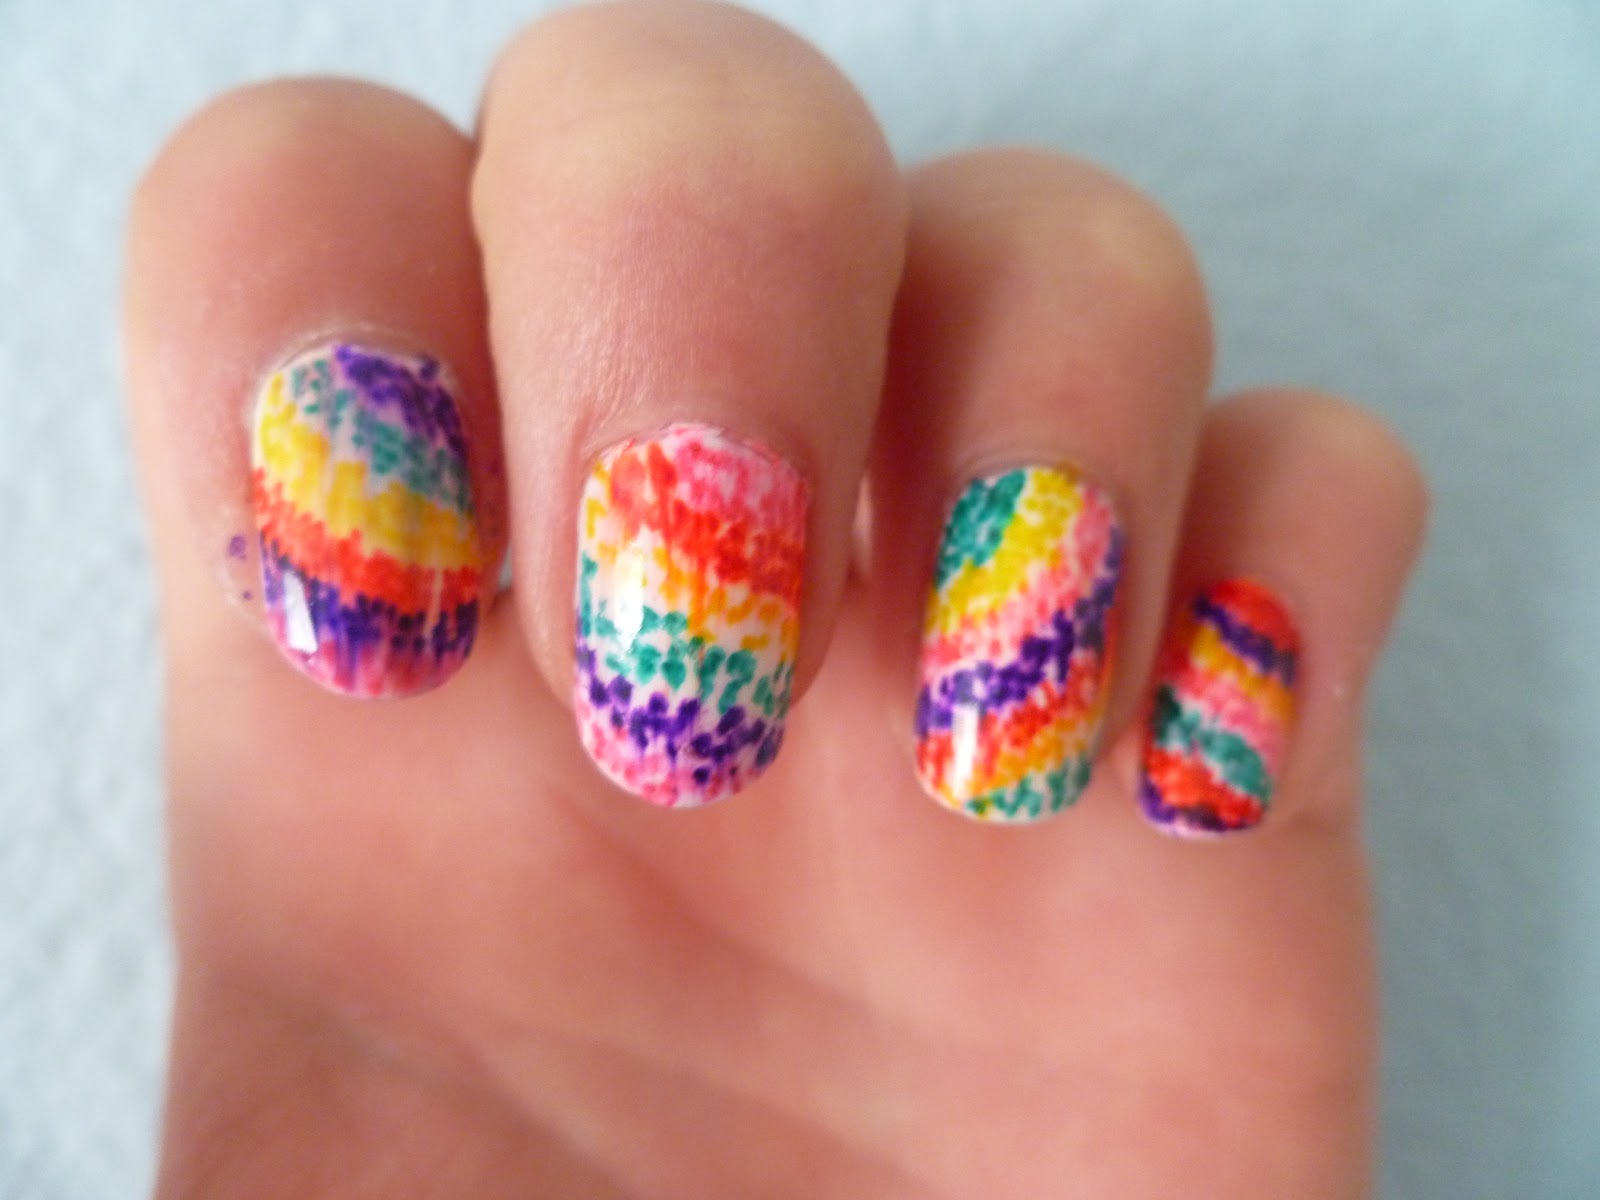
If you're looking for a fun and unique way to spice up your nails, look no further than sharpie tie dye nail art. This easy and affordable DIY technique will have you rocking a colorful and eye-catching manicure in no time. To create this tie dye effect, all you need is a few sharpie markers, rubbing alcohol, and some basic nail art supplies. Follow these simple steps to achieve your own sharpie tie dye nails.Sharpie Tie Dye Nail Art Tutorial


Sharpie Tie Dye Nail Art Tutorial


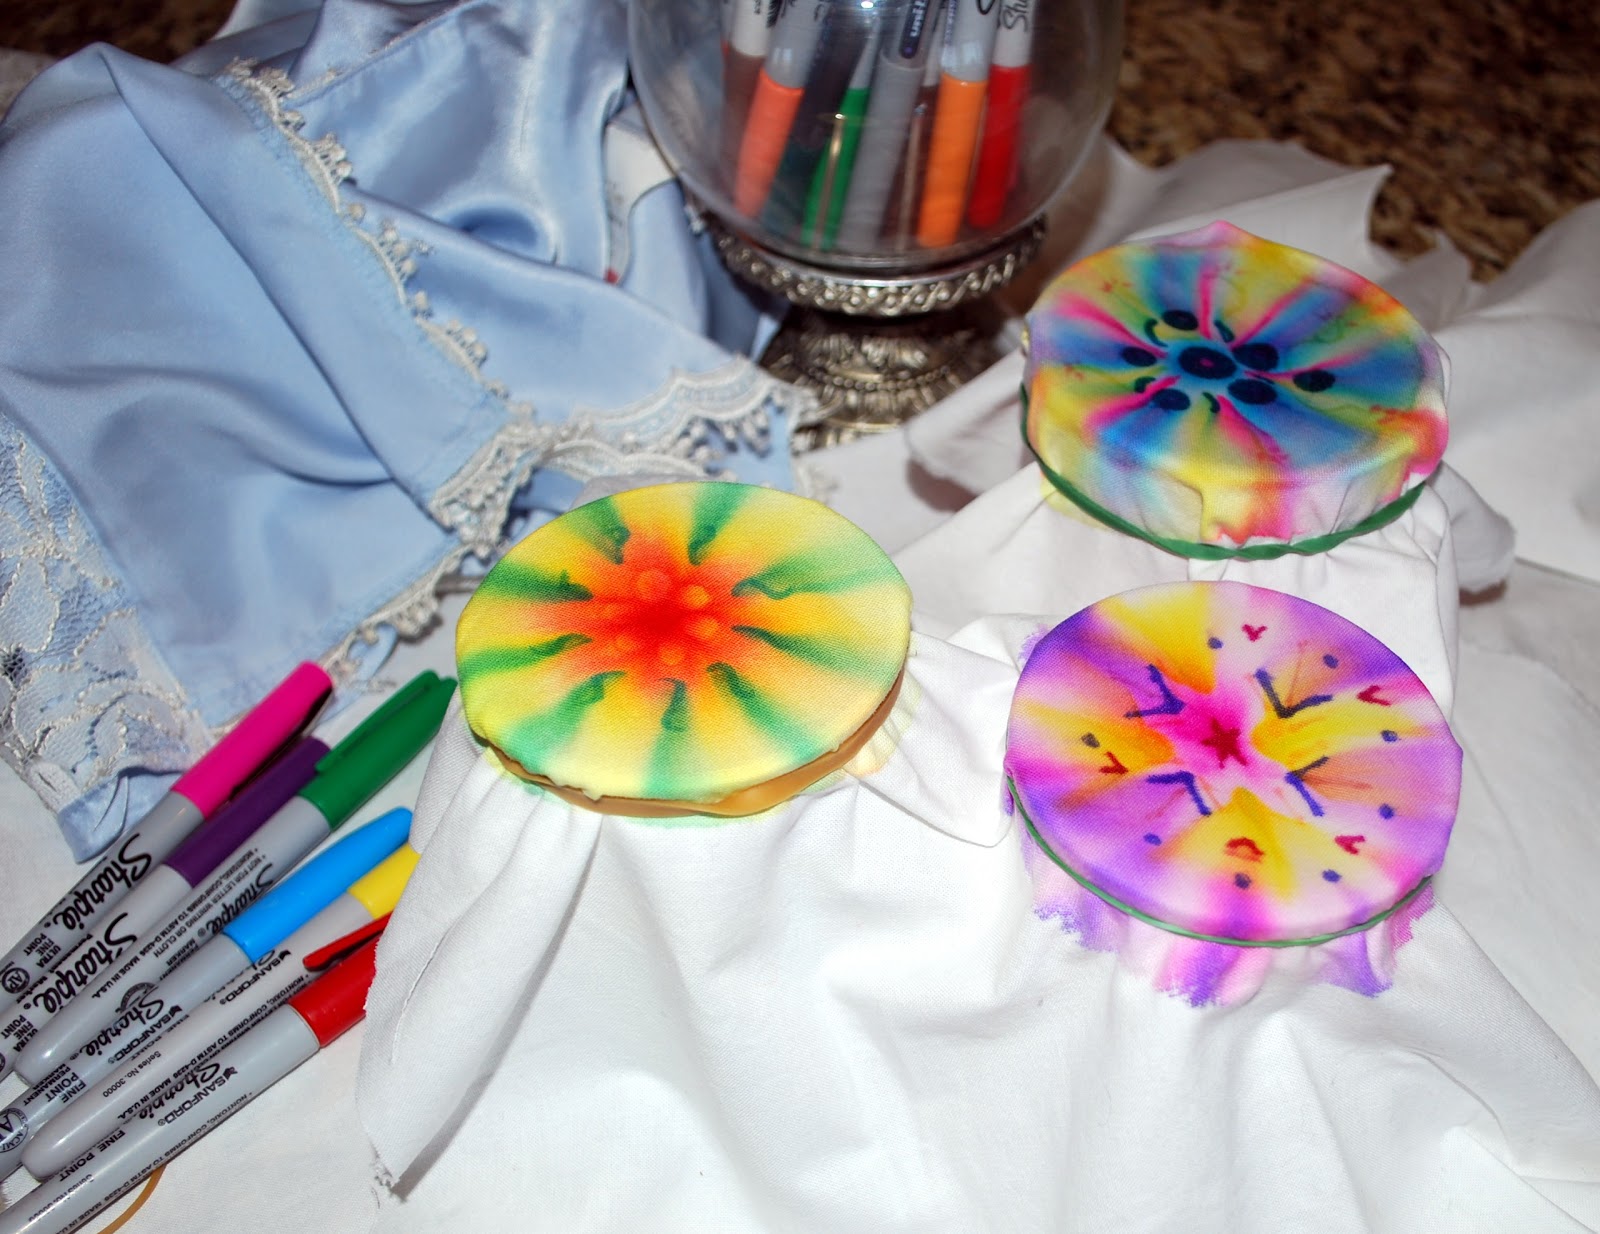
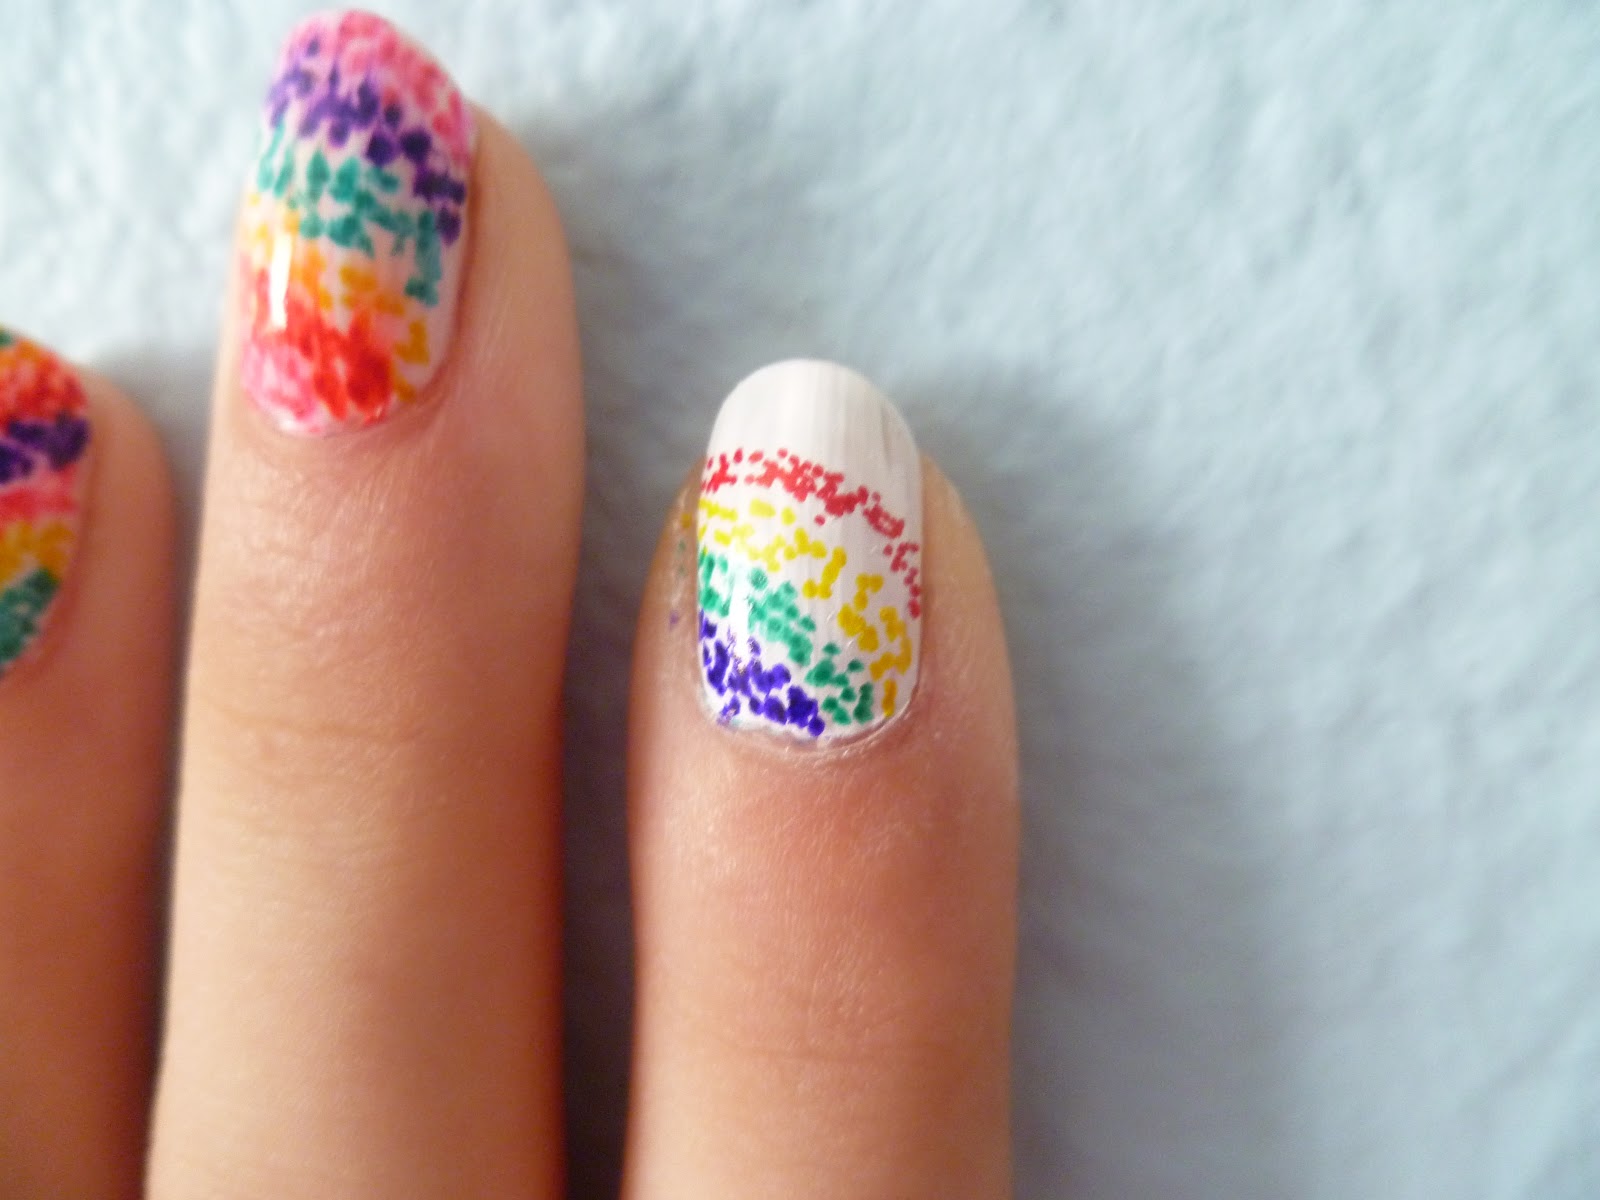
Start by prepping your nails as you normally would for a manicure. File and shape your nails, push back your cuticles, and apply a base coat to protect your natural nails. Next, choose your desired sharpie colors and begin drawing small dots all over your nails. You can use as many or as few colors as you like, but make sure to leave some space between the dots for the tie dye effect to show through.DIY Sharpie Tie Dye Nails


DIY Sharpie Tie Dye Nails


Once you have your dots in place, take a small brush or cotton swab and dip it in rubbing alcohol. Gently dab the brush or swab onto your nails, allowing the alcohol to spread and blend the colors together. This will create a beautiful tie dye effect. If you want a more subtle look, you can also use water instead of rubbing alcohol. Simply dip your brush or swab in water and follow the same steps as before.Easy Sharpie Tie Dye Nail Art


Easy Sharpie Tie Dye Nail Art
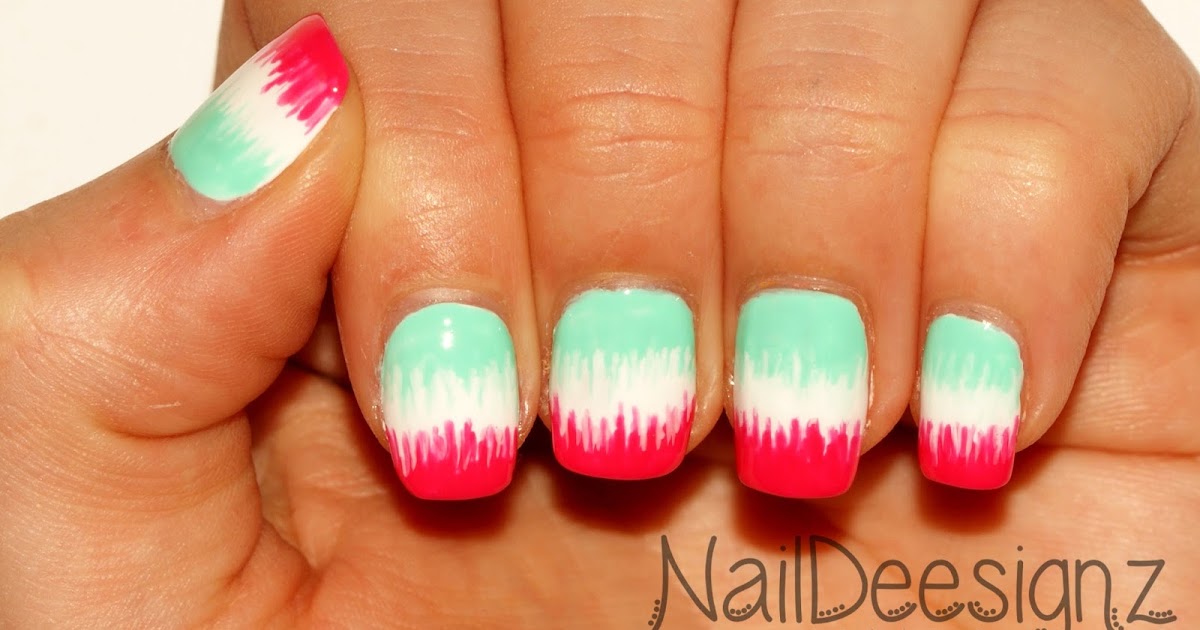


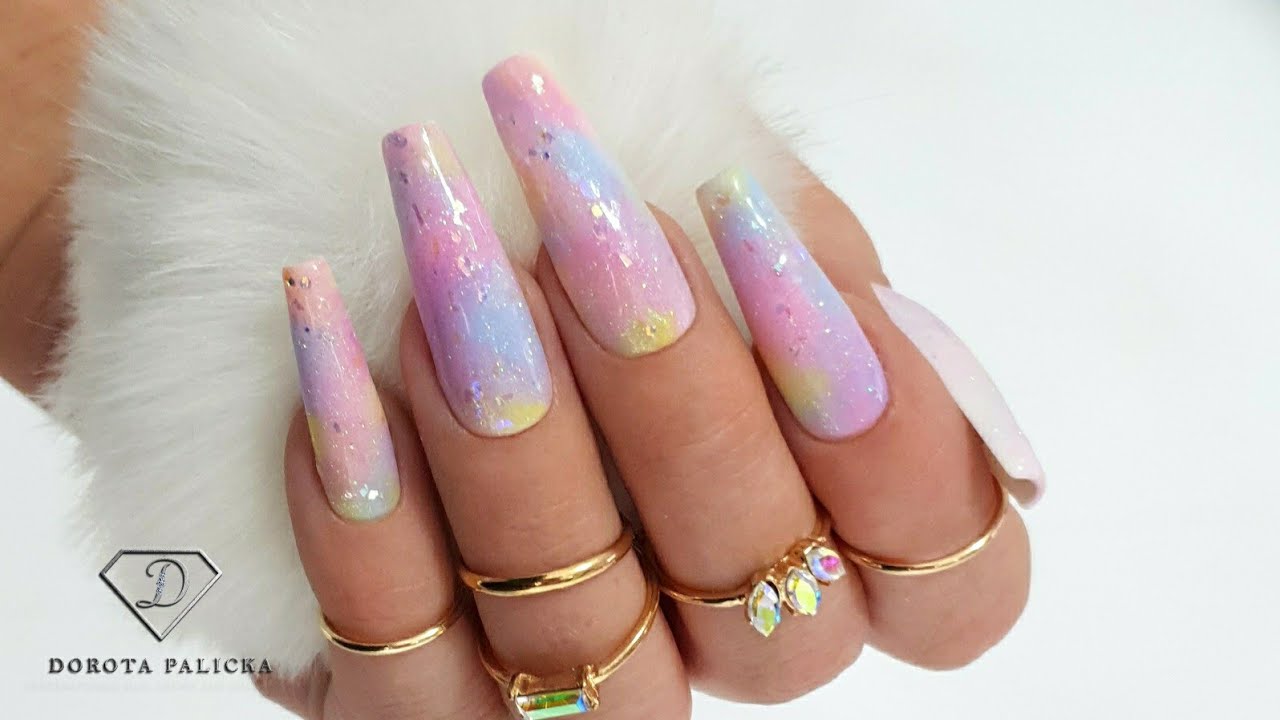
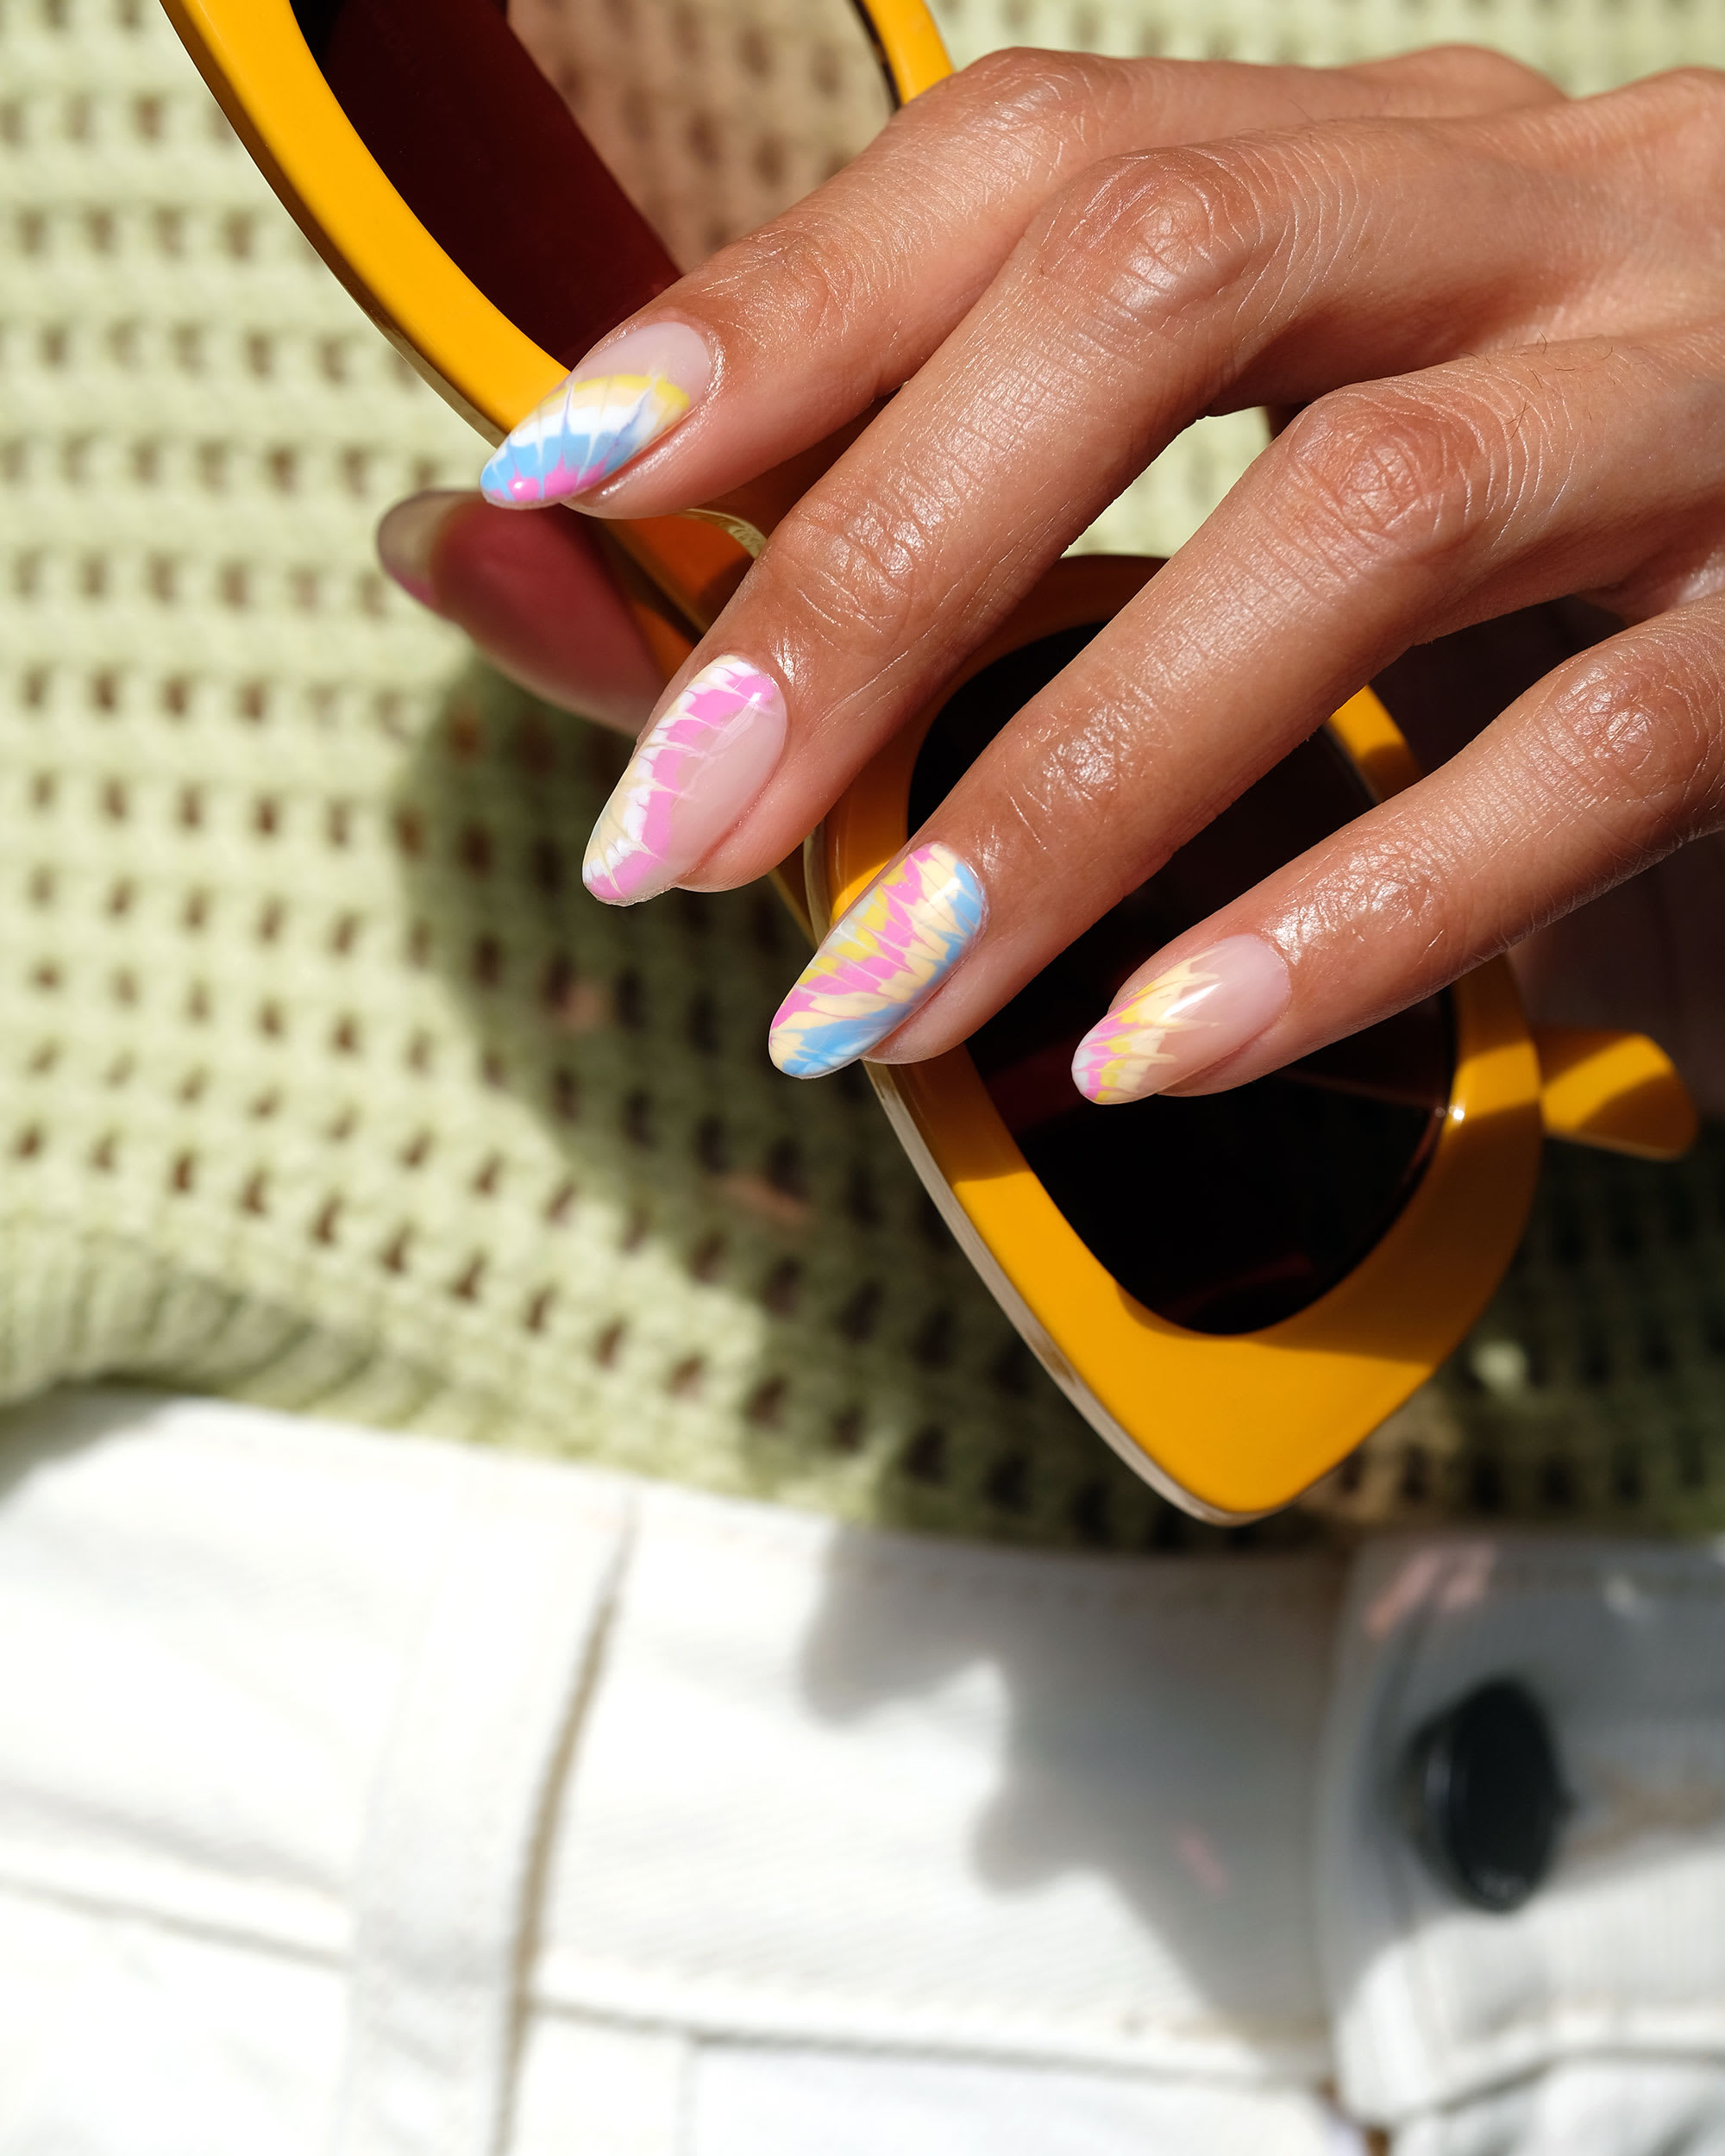
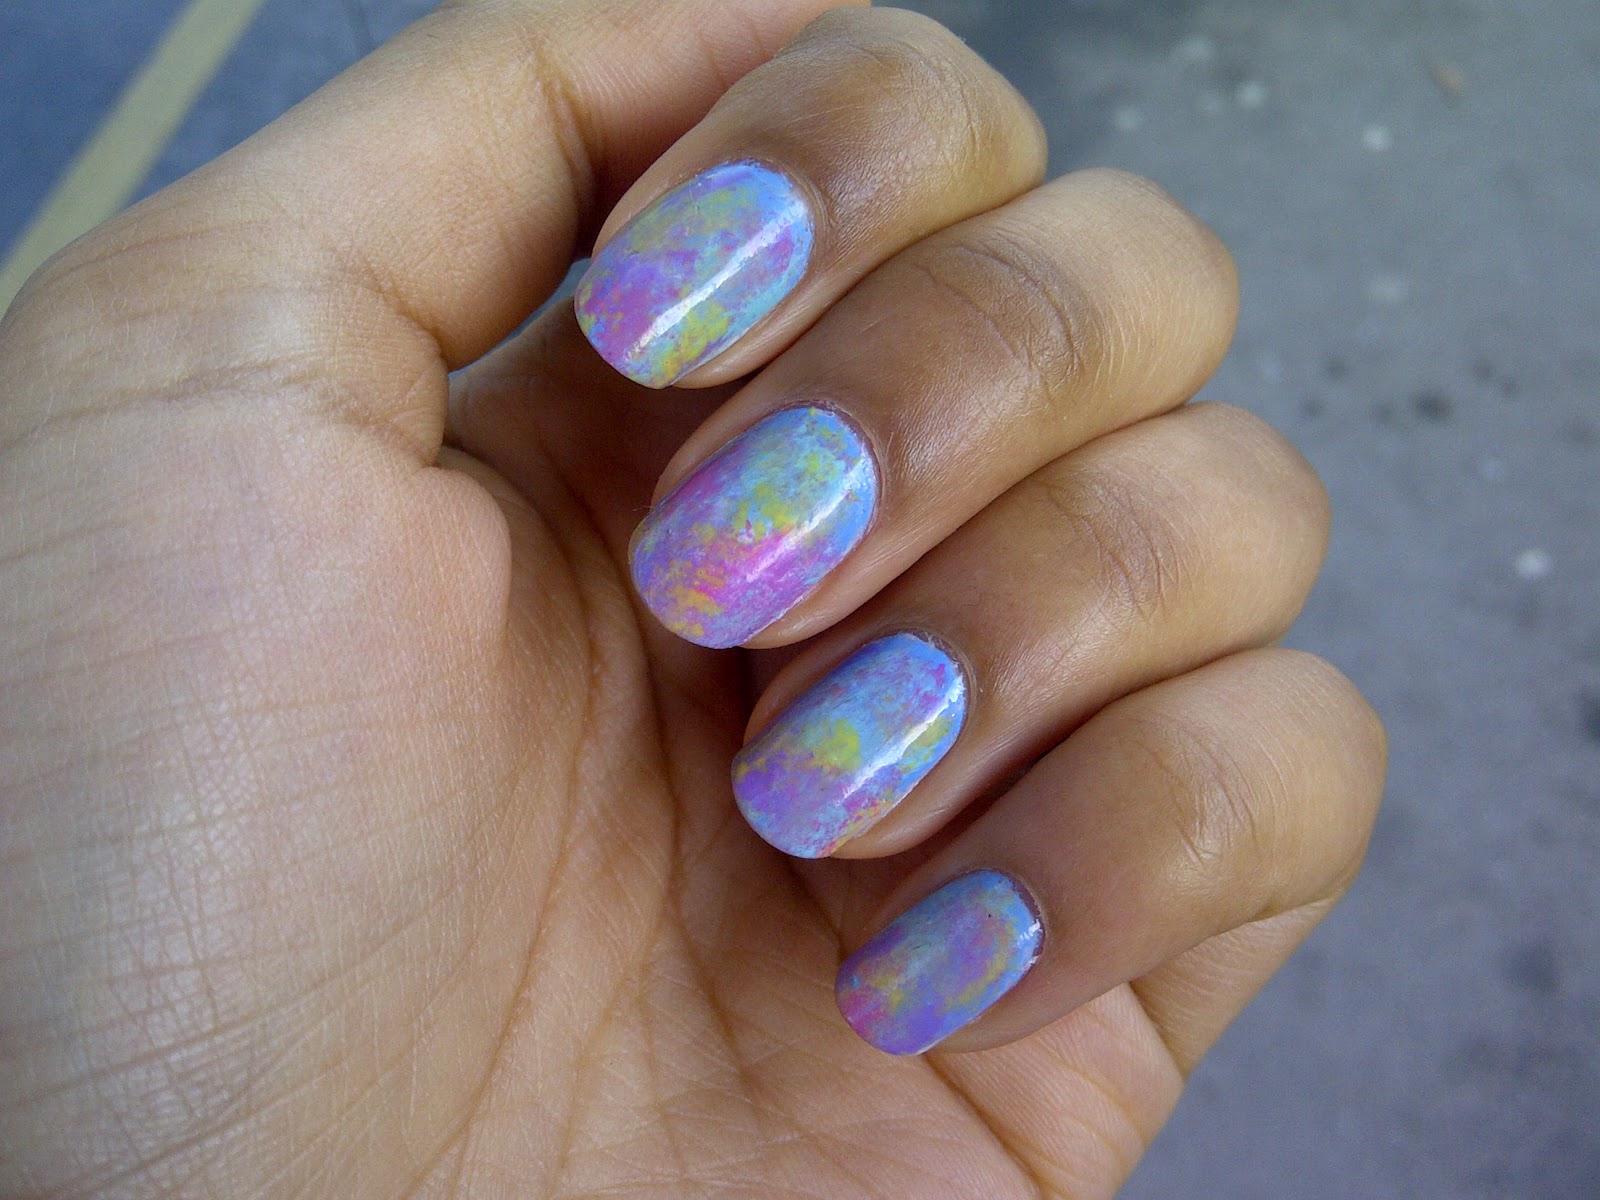
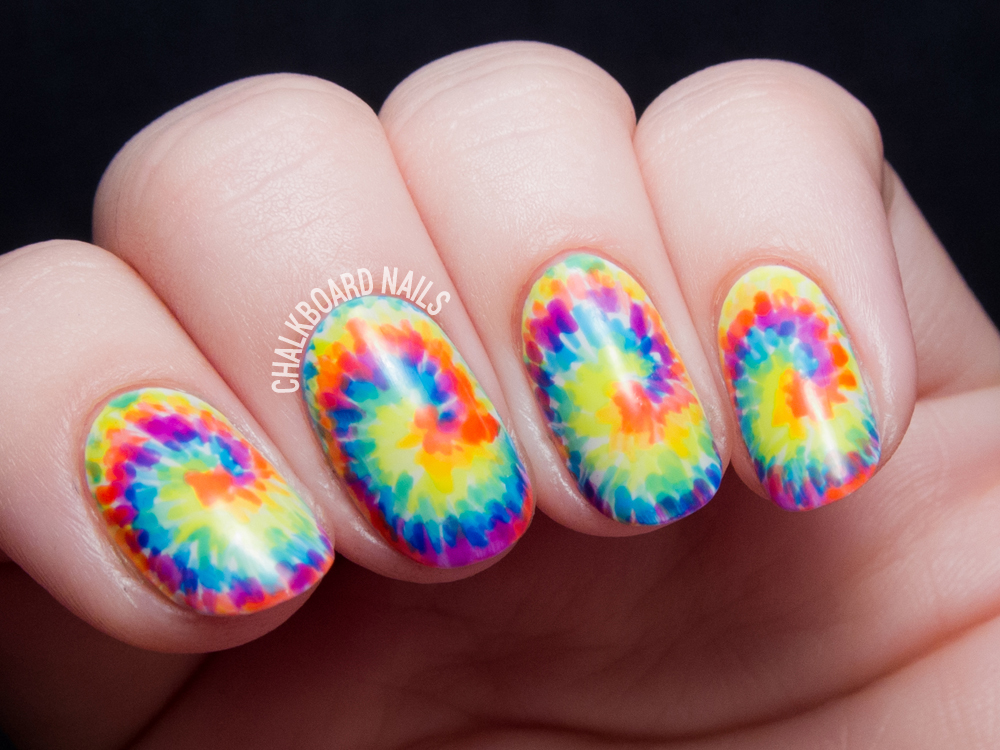
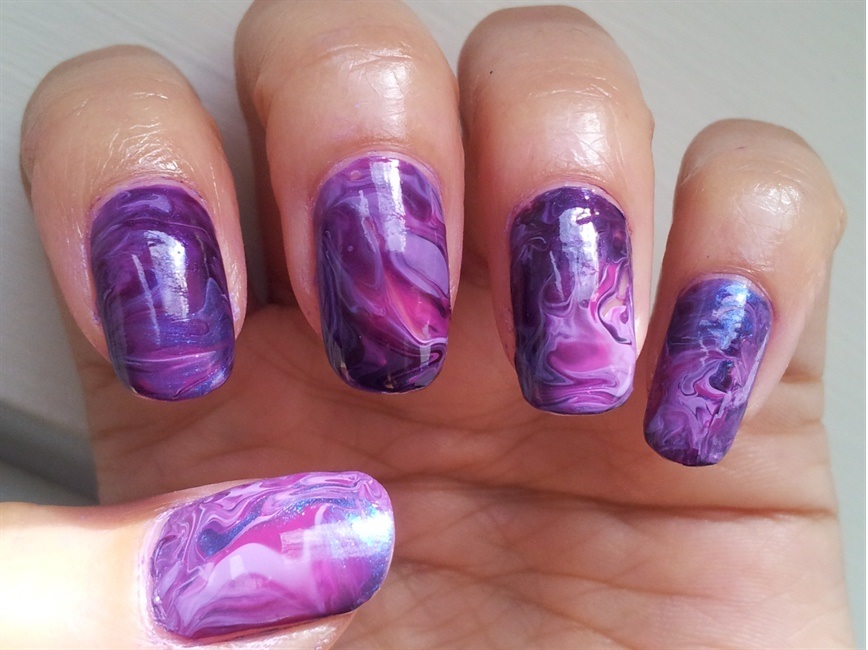
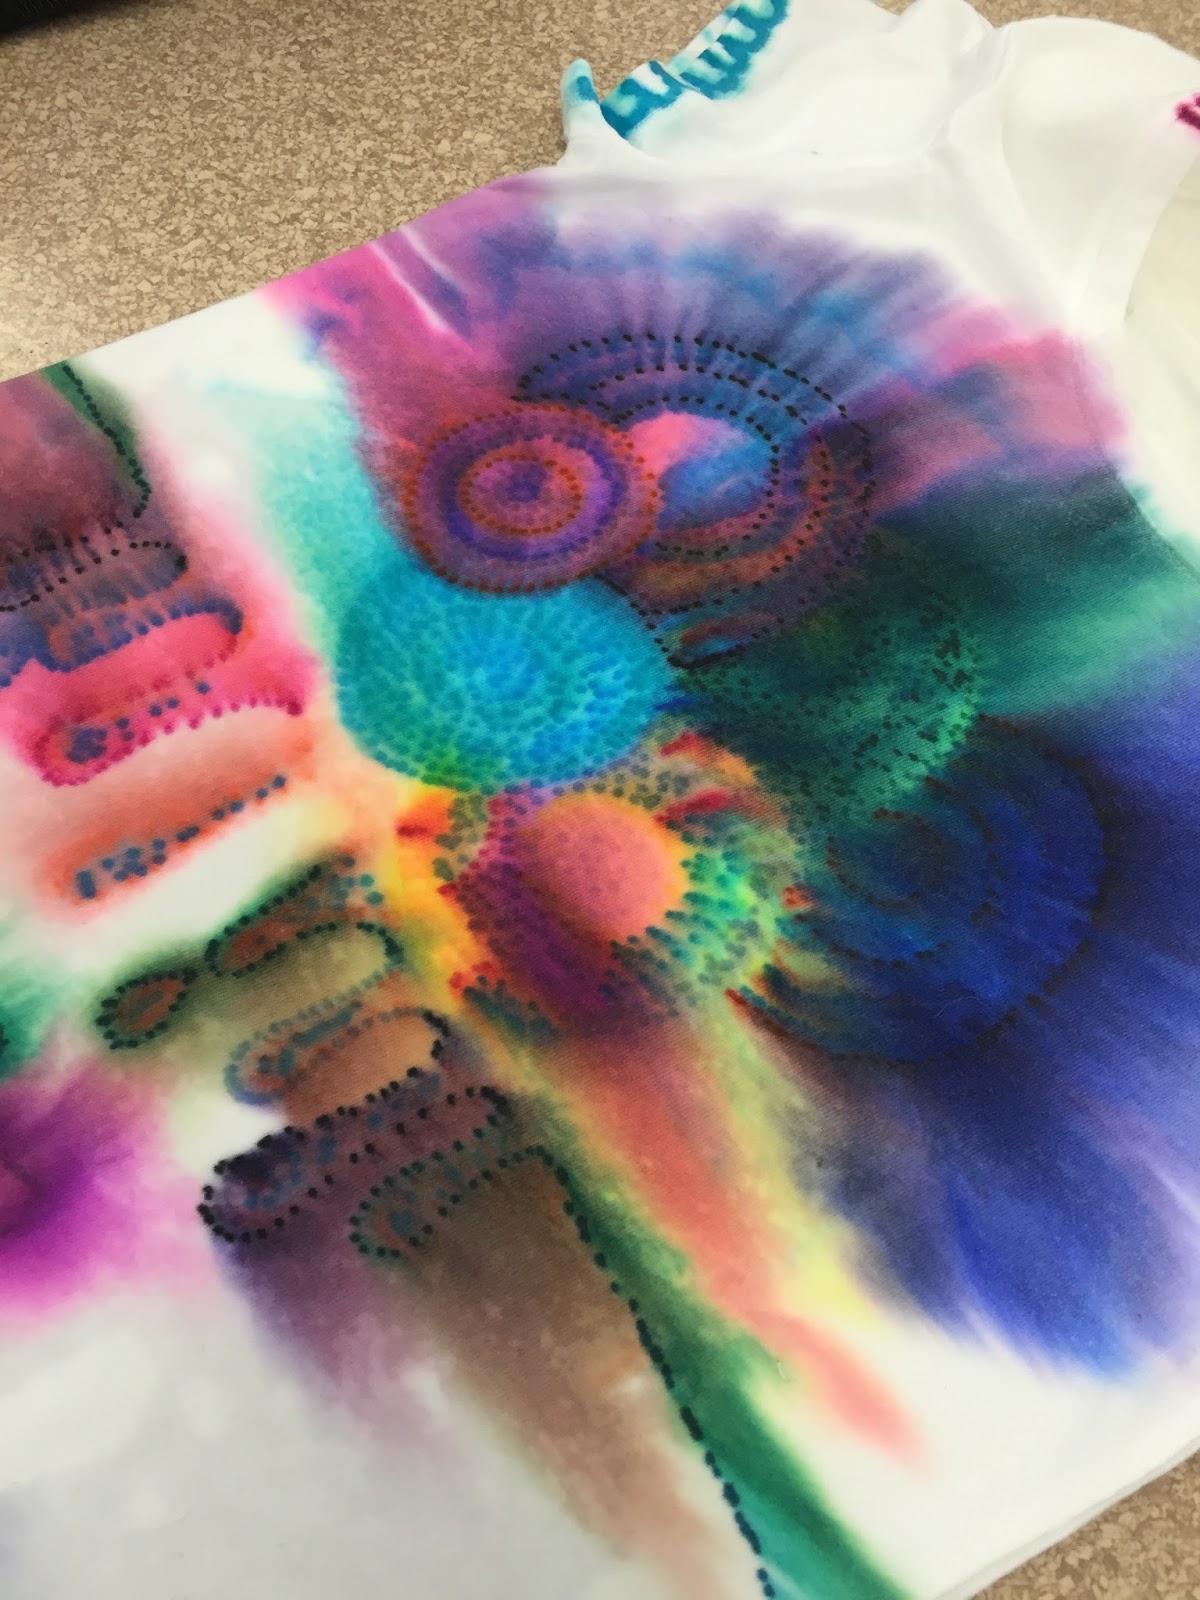
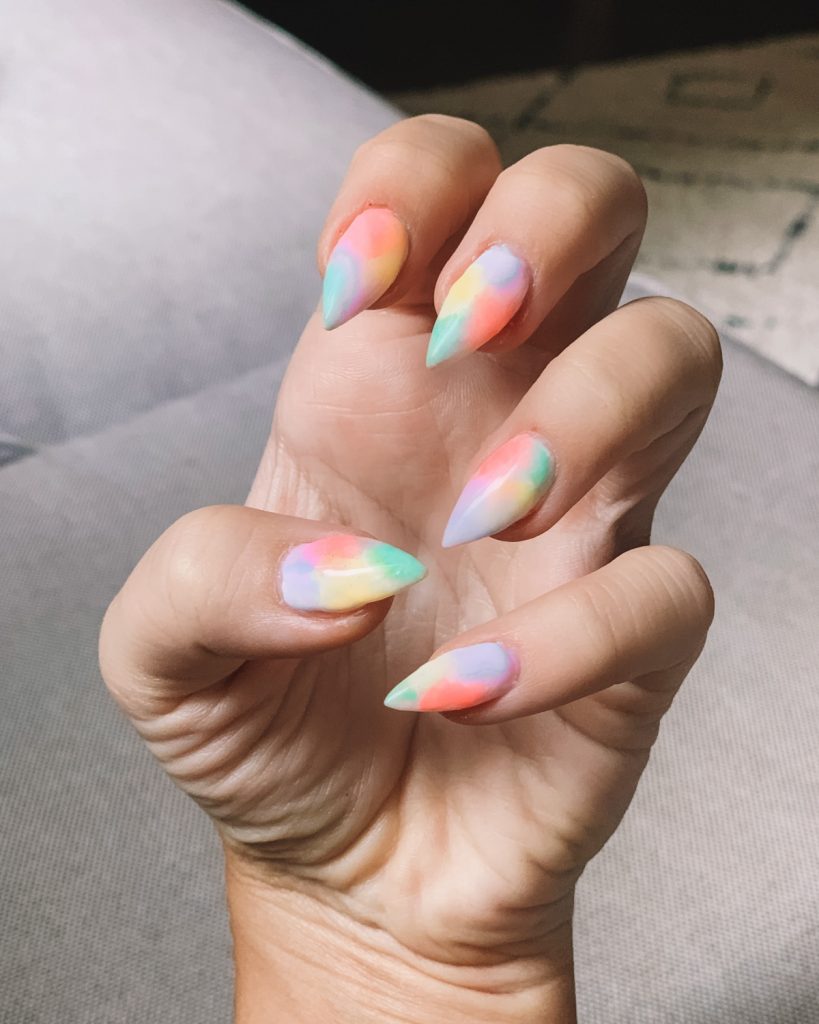
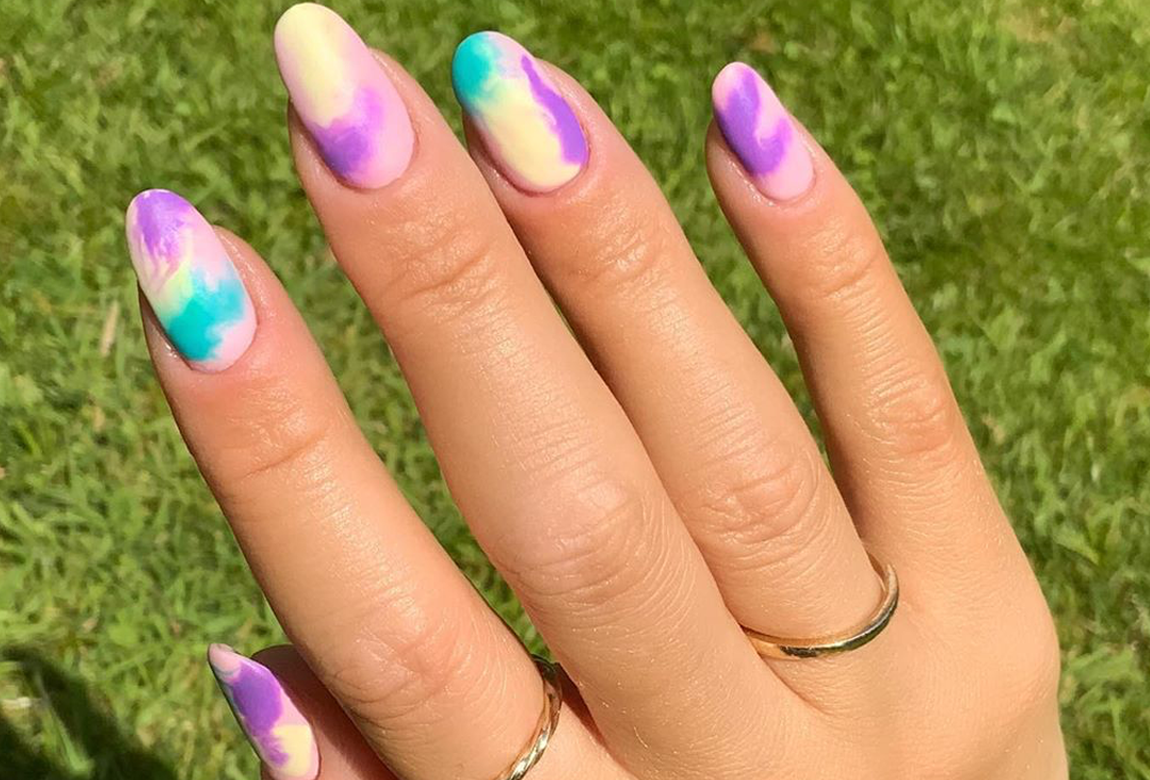
The possibilities for designs with sharpie tie dye nails are endless. You can create a rainbow effect, ombre look, or even try different patterns like stripes or swirls. Let your creativity run wild! You can also experiment with different colored sharpies and different shades of rubbing alcohol to achieve unique and one-of-a-kind designs.Sharpie Tie Dye Nail Art Designs


Sharpie Tie Dye Nail Art Designs


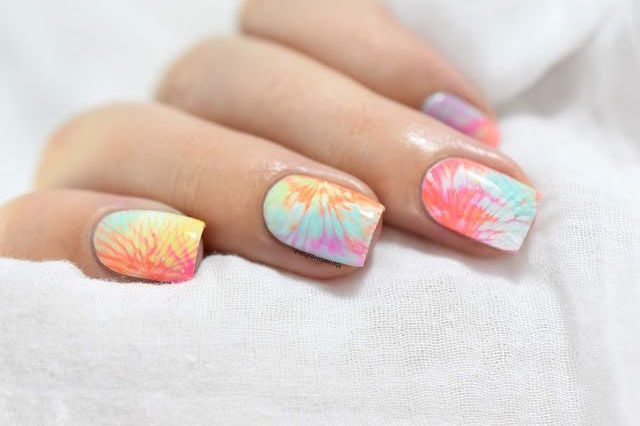
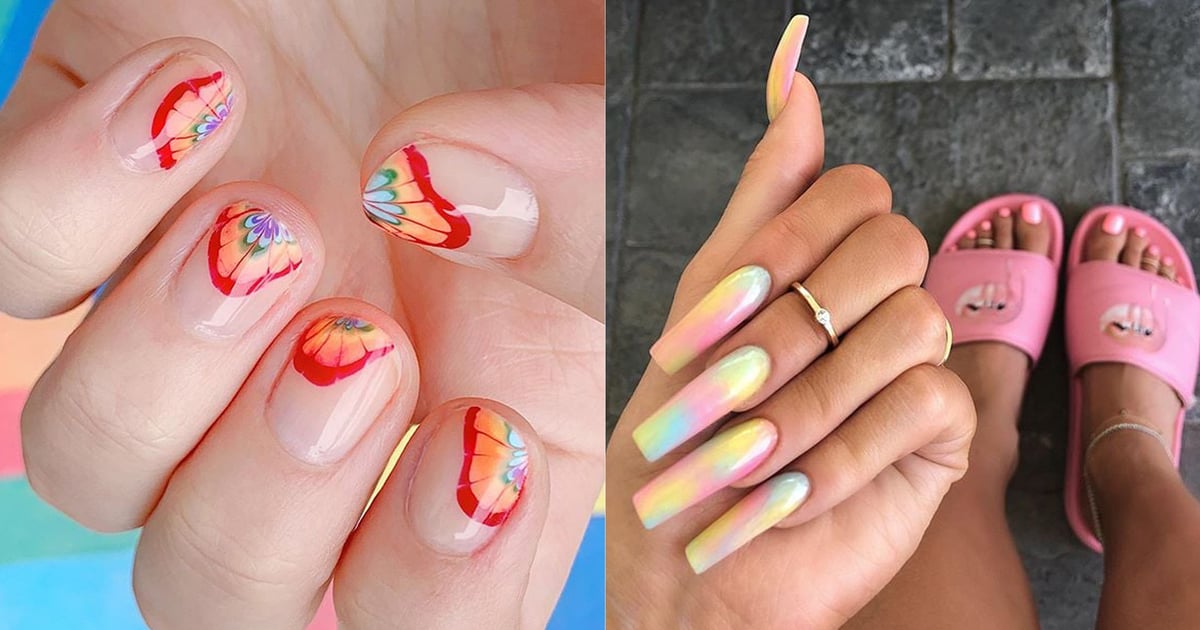
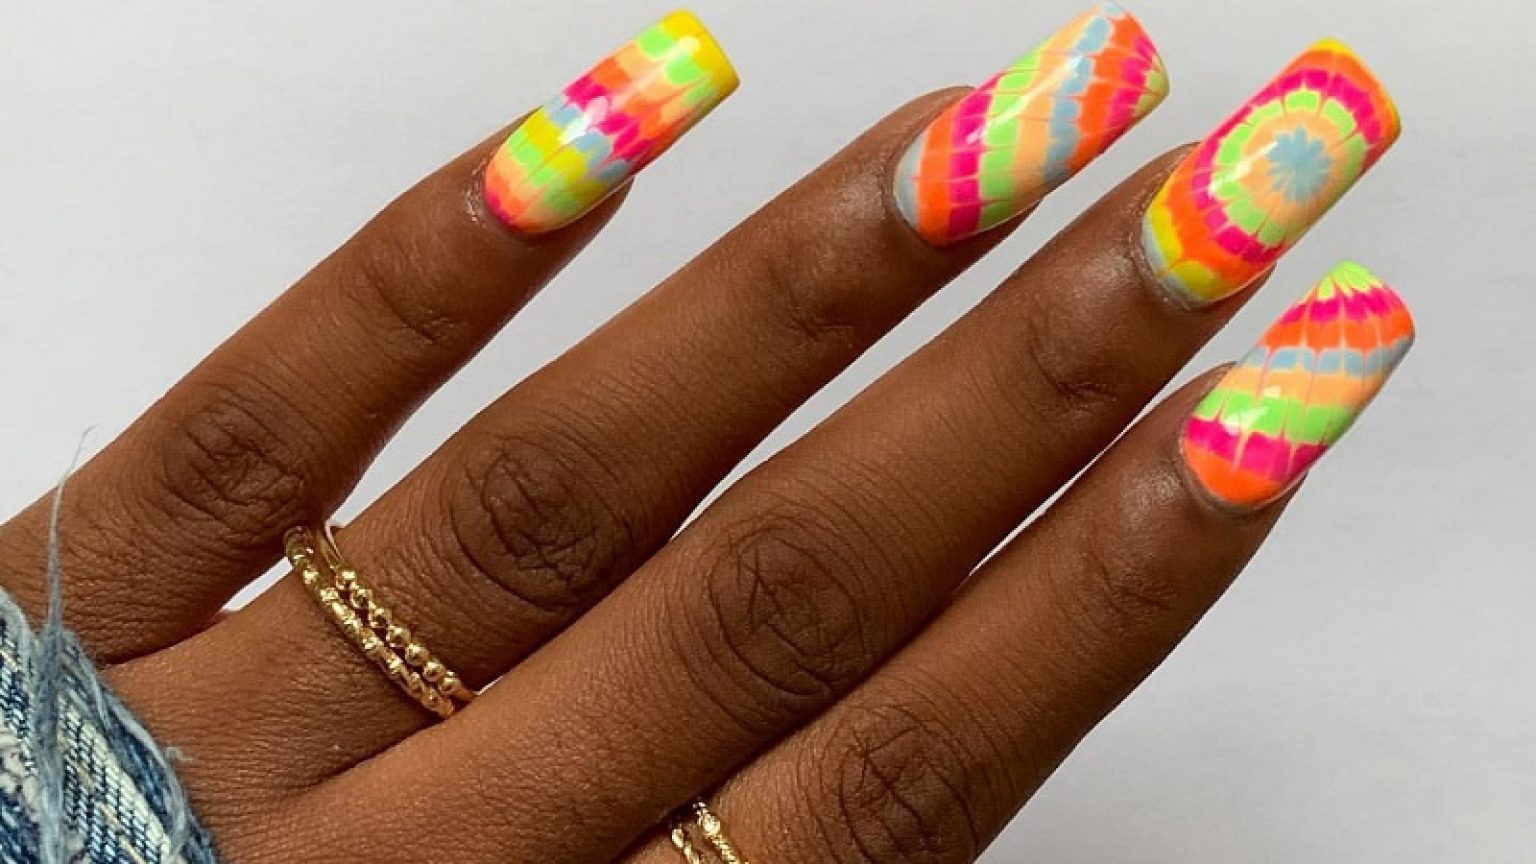
If you need some inspiration for your sharpie tie dye nails, look no further than social media. Instagram and Pinterest are full of amazing nail art ideas and tutorials, including sharpie tie dye designs. You can also try incorporating other nail art techniques, like using nail polish or glitter, to add some extra flair to your tie dye nails.Sharpie Tie Dye Nail Art Ideas
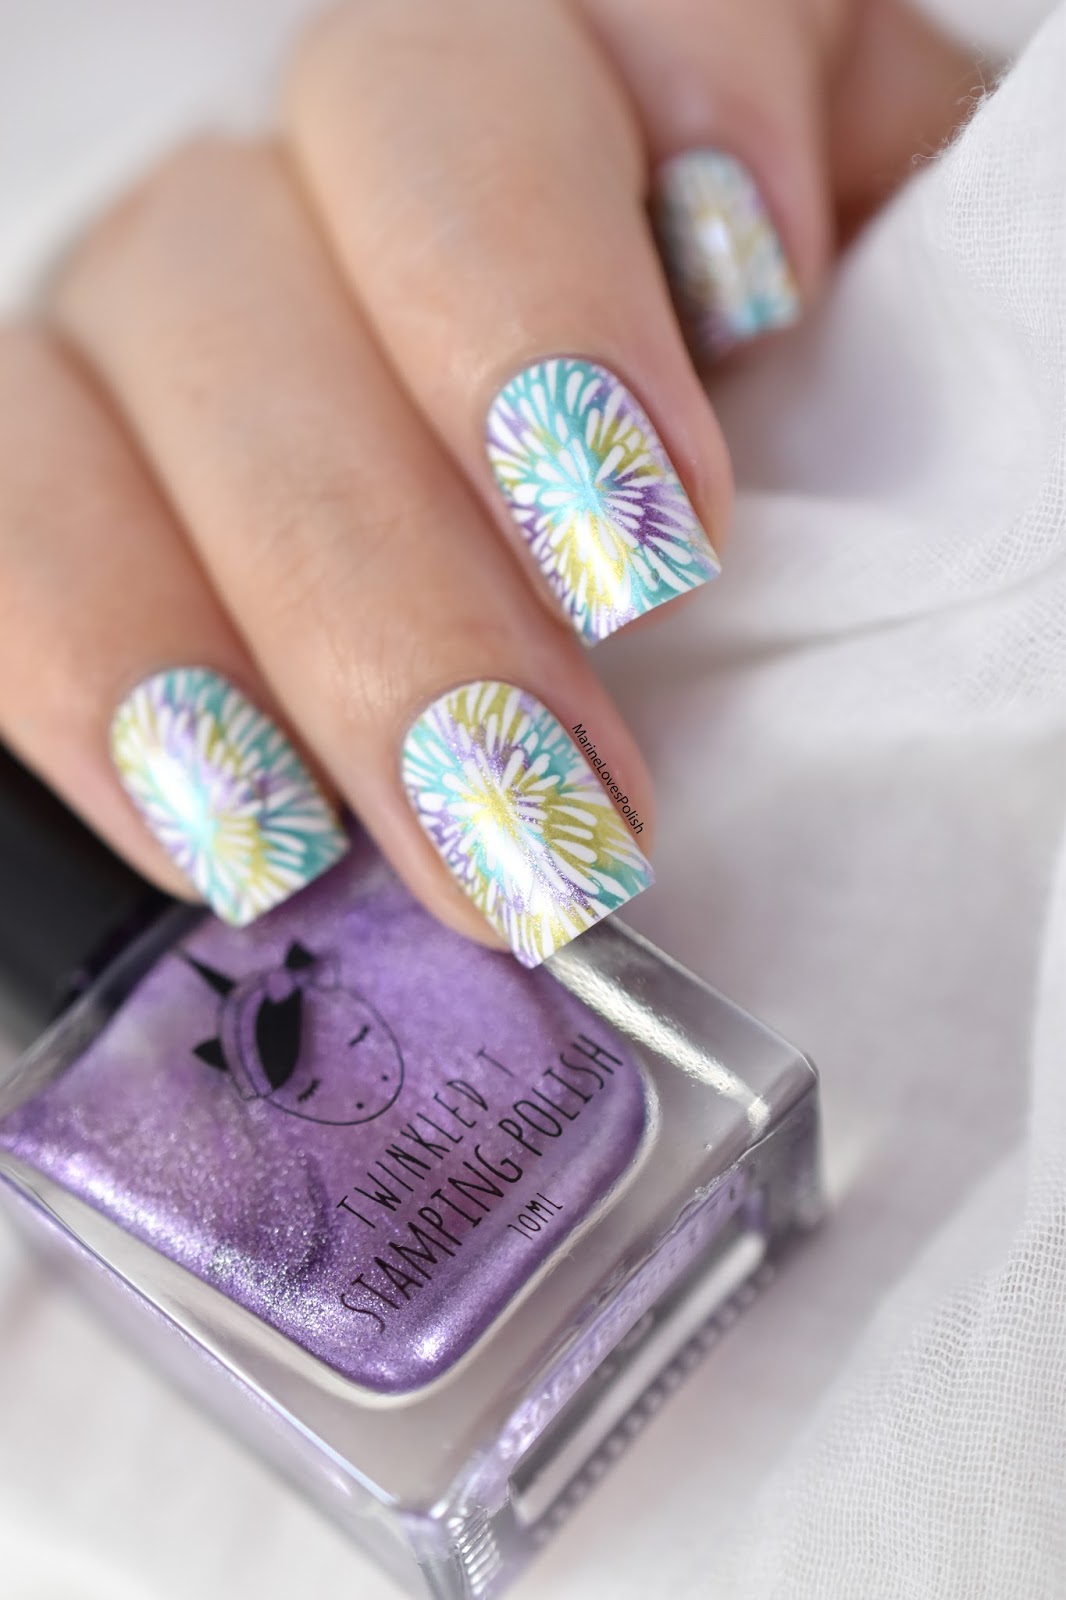

Sharpie Tie Dye Nail Art Ideas


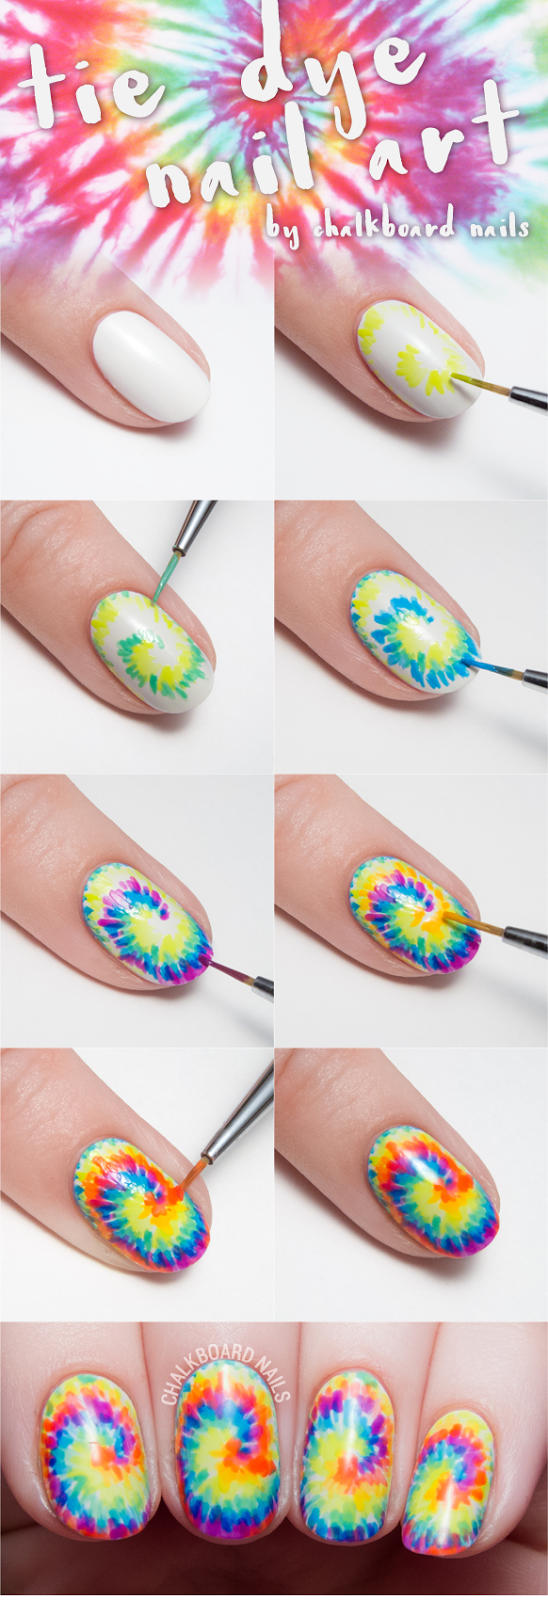
To recap, here is a step by step guide for creating sharpie tie dye nail art: 1. Prep your nails. 2. Draw dots with sharpie markers on your nails. 3. Use rubbing alcohol or water to blend the colors together. 4. Create your desired design or pattern. 5. Let your nails dry completely. 6. Finish with a top coat to seal in your design.Sharpie Tie Dye Nail Art Step by Step


Sharpie Tie Dye Nail Art Step by Step


If you're new to nail art, don't be intimidated by sharpie tie dye nails. This technique is perfect for beginners because it is easy and forgiving. If you make a mistake, simply wipe off the sharpie with rubbing alcohol and start again. Plus, you don't need any fancy tools or skills to achieve a stunning result. Just a few basic supplies and a little bit of patience.Sharpie Tie Dye Nail Art for Beginners
Sharpie Tie Dye Nail Art for Beginners
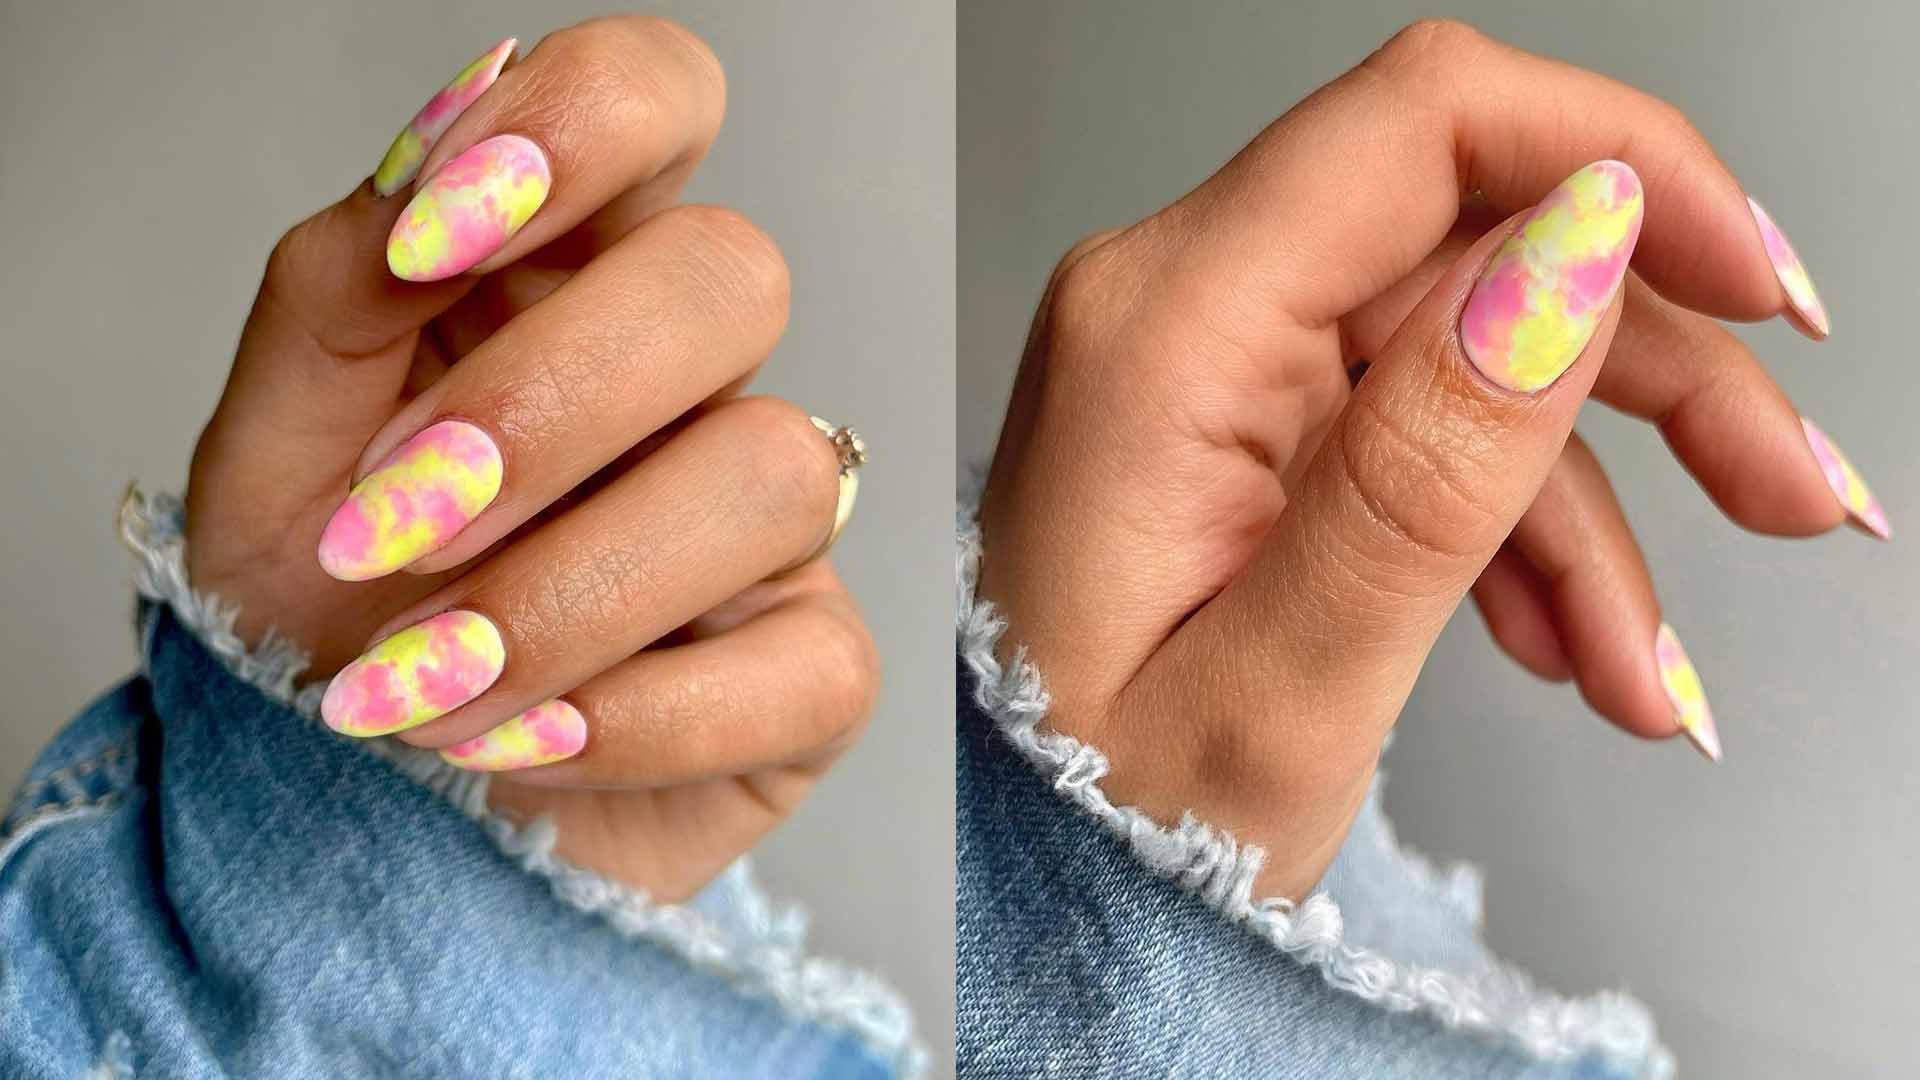
As mentioned before, you can use water instead of rubbing alcohol to create the tie dye effect with your sharpie markers. This is a great option for those with sensitive skin or who want a more subtle look. Simply dip your brush or swab in water and follow the same steps as before. You may need to use a bit more water to achieve the desired effect.Sharpie Tie Dye Nail Art with Water

Sharpie Tie Dye Nail Art with Water

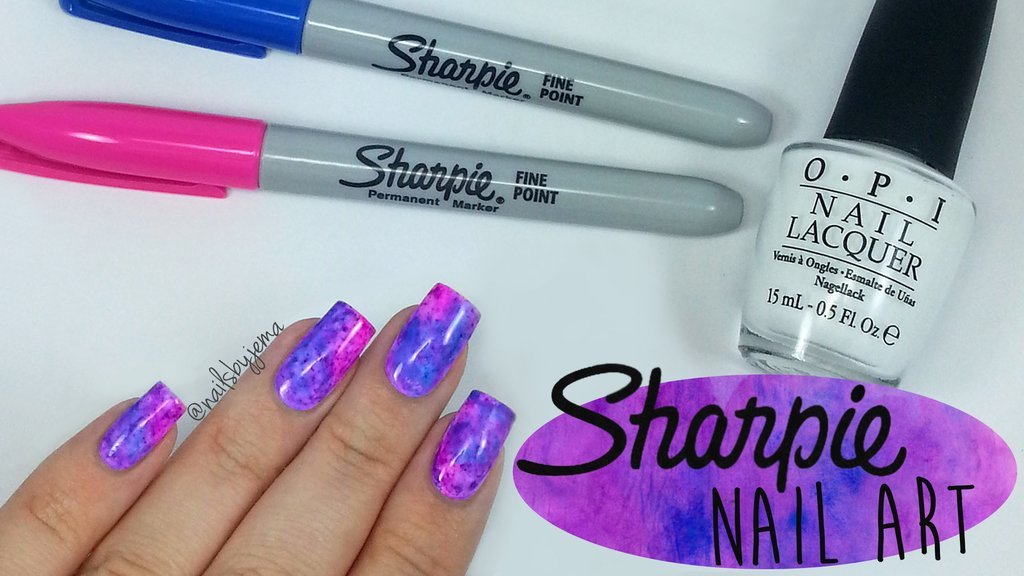
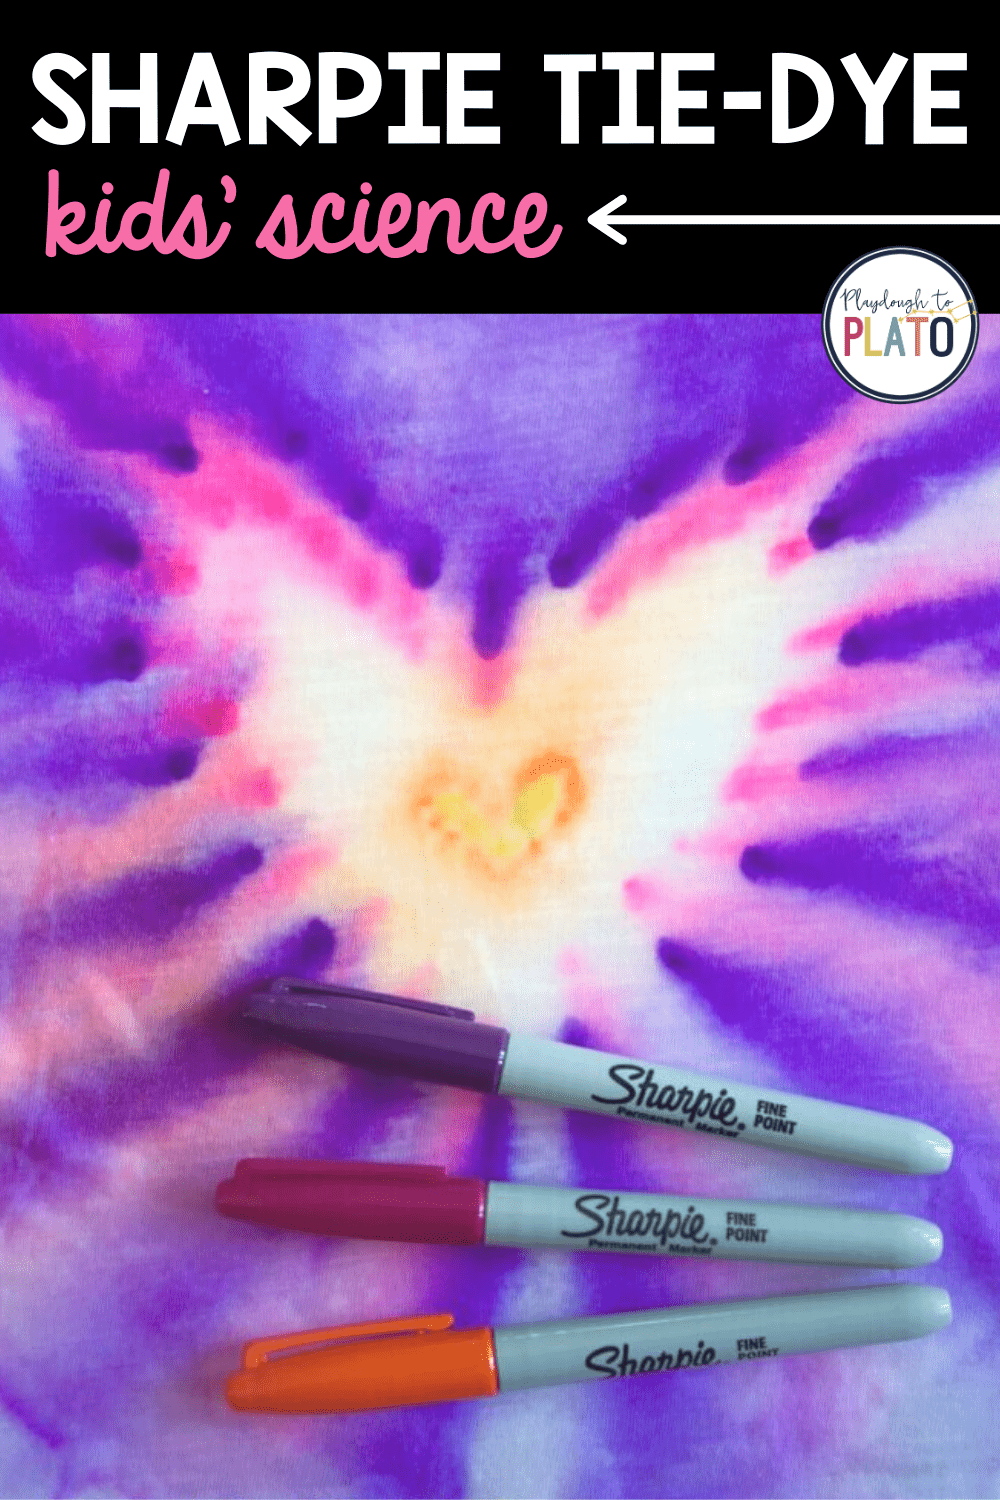
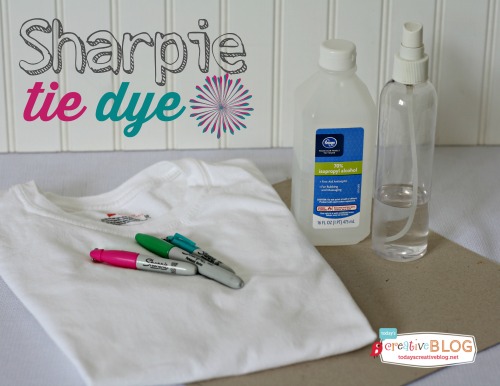
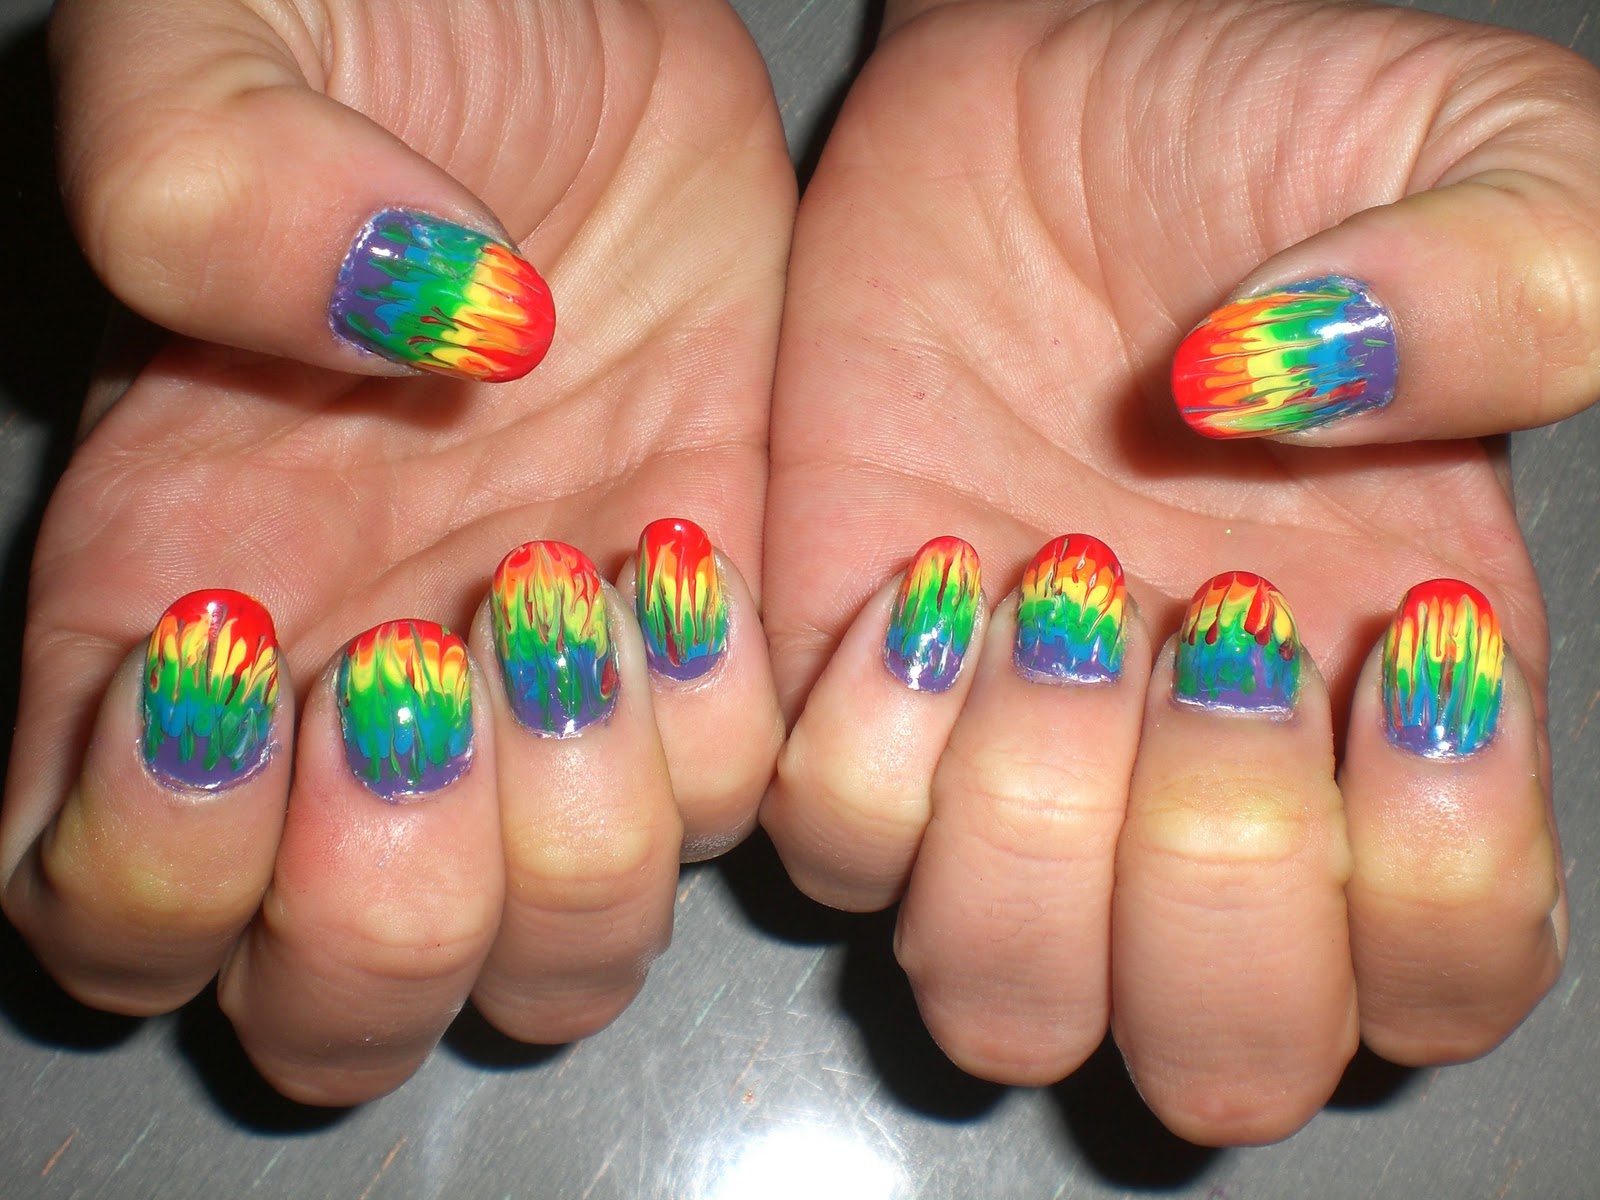
Using rubbing alcohol is the most popular and effective way to create sharpie tie dye nail art. The alcohol helps to blend the colors together and create a tie dye effect that is vibrant and long-lasting. You can find rubbing alcohol at any drugstore or grocery store, and it is very affordable. It is also a great household item to have on hand for other DIY projects.Sharpie Tie Dye Nail Art with Rubbing Alcohol


Sharpie Tie Dye Nail Art with Rubbing Alcohol

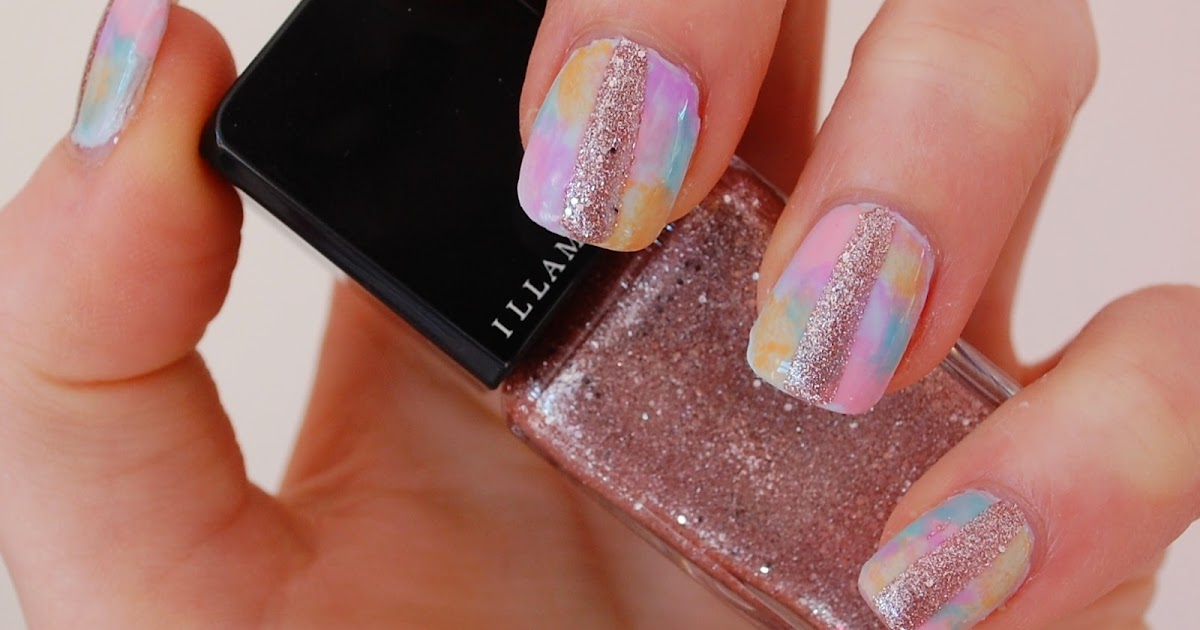
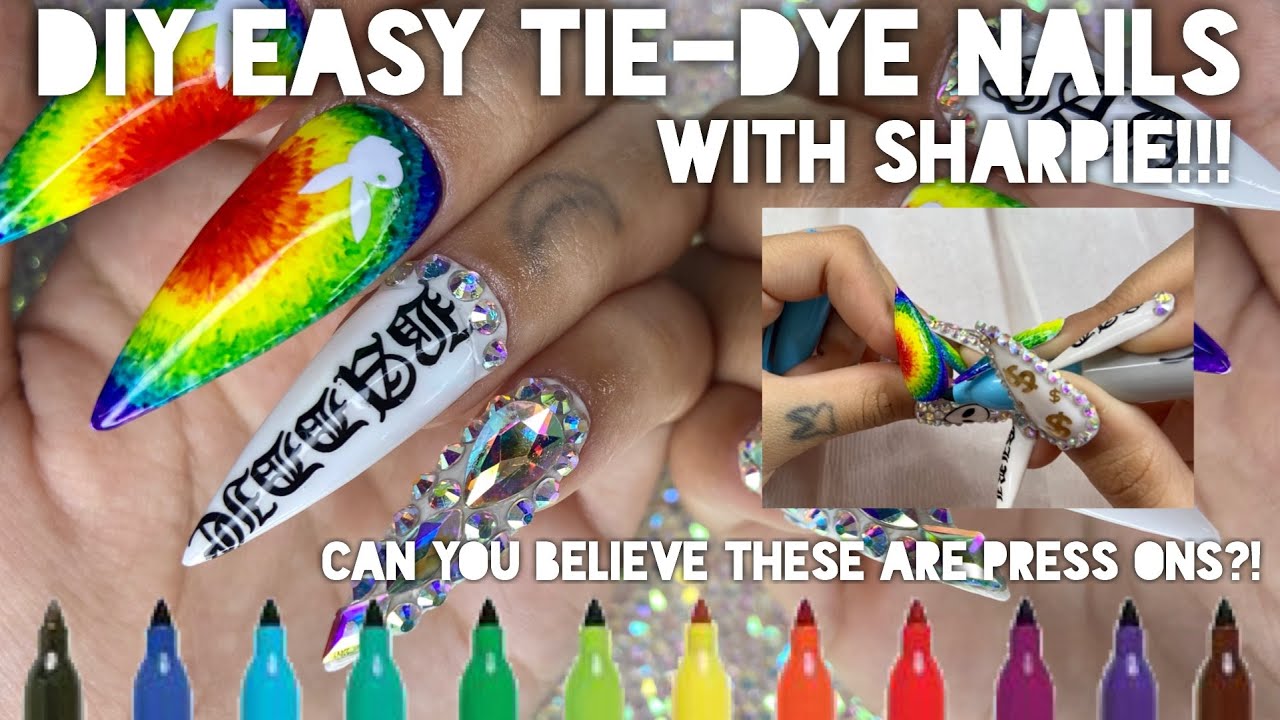
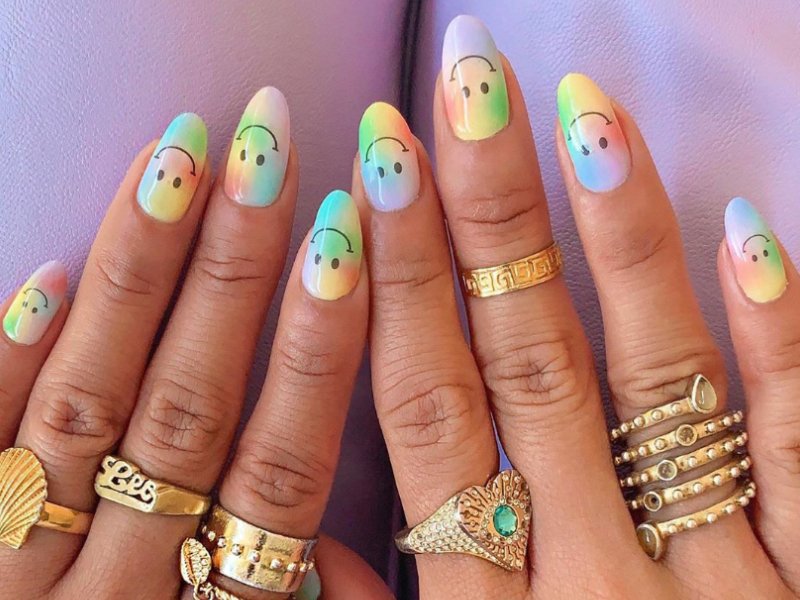
If you want to take your sharpie tie dye nails to the next level, try incorporating some nail polish into the design. You can use it to create a base color or add some glitter accents on top of your tie dye design. Just make sure to let the sharpie design dry completely before adding any nail polish, and finish with a top coat to seal everything in.Sharpie Tie Dye Nail Art with Nail Polish


Sharpie Tie Dye Nail Art with Nail Polish
Taking Nail Art to the Next Level with Sharpie Tie Dye Designs
 Nail art has become a popular way to express one's creativity and style through their nails. From intricate designs to bold colors, the possibilities are endless. One of the latest trends in nail art is the use of Sharpie tie dye designs. These vibrant and eye-catching designs are easy to create and can add a unique touch to any manicure.
What is Sharpie Tie Dye Nail Art?
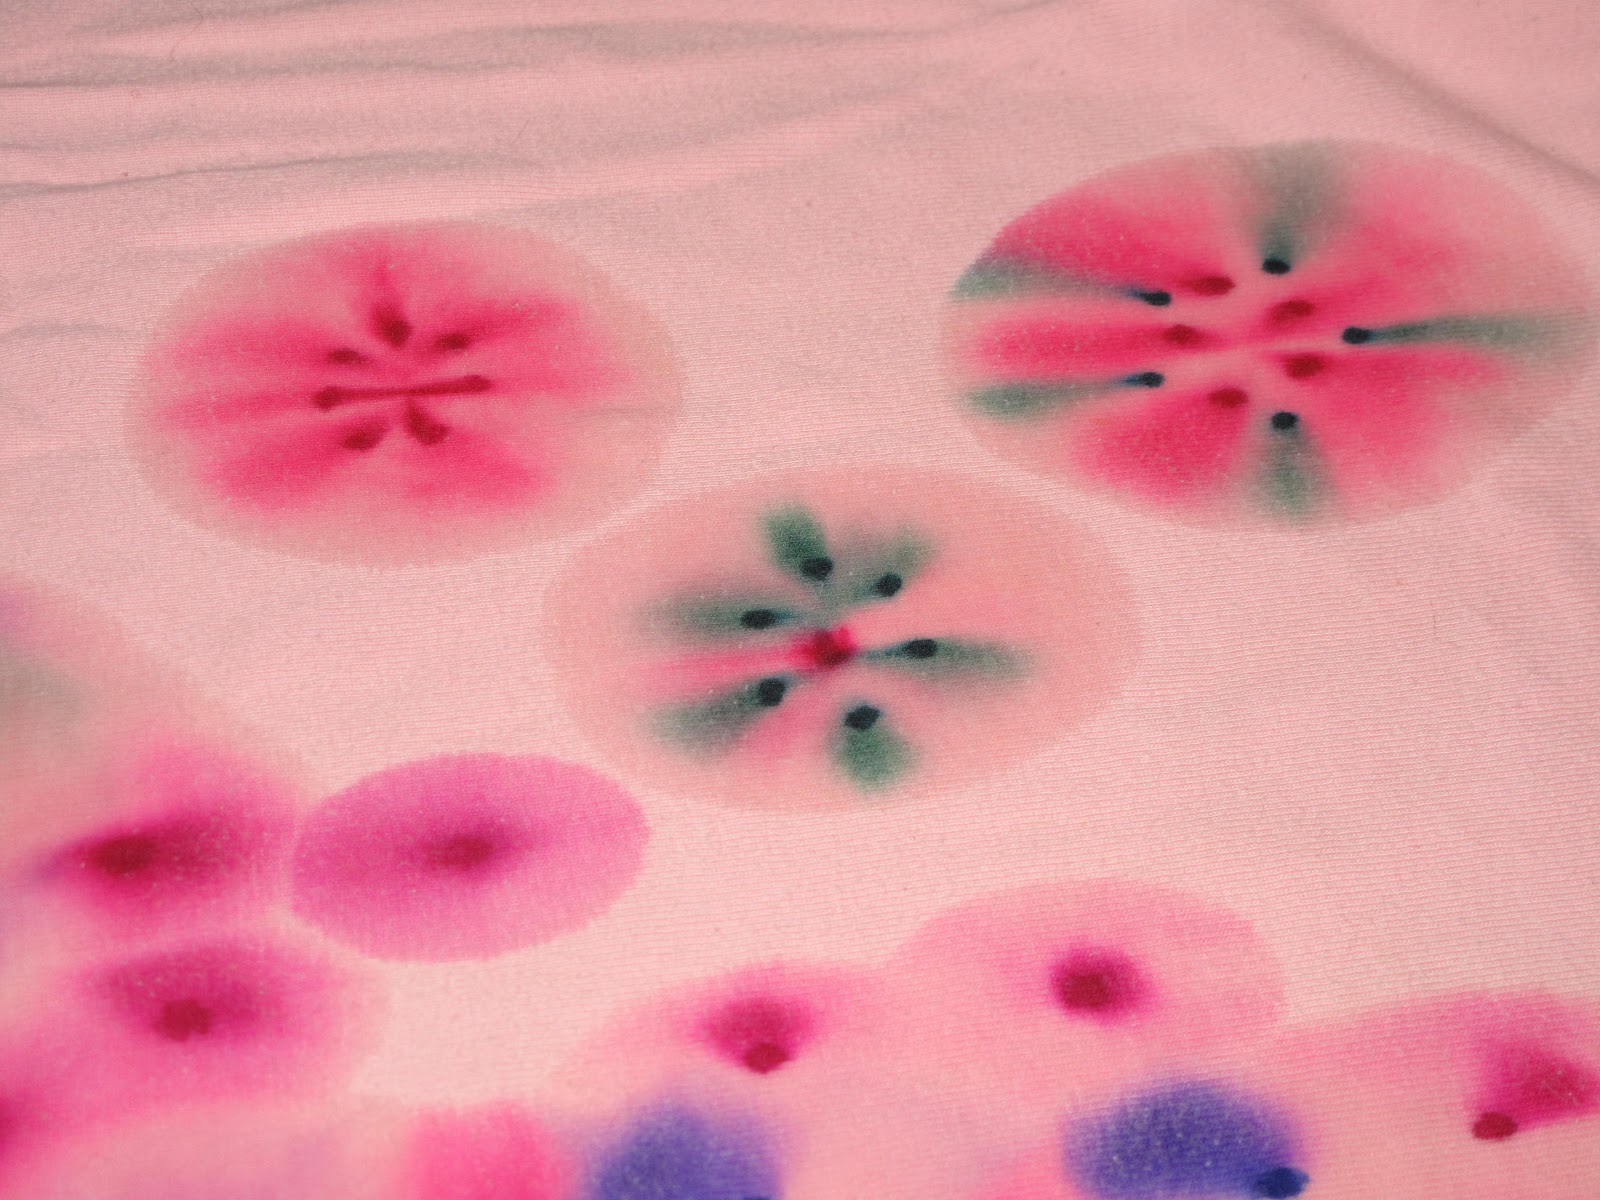
 Sharpie tie dye nail art involves using Sharpie markers to create a tie dye effect on the nails. This technique is inspired by the popular tie dye method used on fabrics. By using different colors and blending techniques, you can achieve a tie dye effect on your nails that is sure to make a statement.
How to Create Sharpie Tie Dye Nail Art
 Creating Sharpie tie dye nail art is a fun and simple process that anyone can do. To start, gather your materials: Sharpie markers in various colors, rubbing alcohol, a small paintbrush, and a top coat. Begin by painting your nails with a base color and letting it dry completely. Then, use your Sharpie markers to create small dots or lines on your nails in various colors. Next, use the paintbrush to lightly dab rubbing alcohol onto the nail, allowing the colors to blend and create a tie dye effect. Finish off with a top coat to seal in the design and give your nails a glossy finish.
Benefits of Sharpie Tie Dye Nail Art
 Aside from being a fun and easy way to create unique nail designs, Sharpie tie dye nail art has many benefits. For starters, it is a more affordable alternative to traditional nail art techniques. Sharpie markers are easily accessible and come in a wide range of colors, making it easy to create a variety of designs. Additionally, the markers are easy to control, making it suitable for beginners and experts alike. Plus, the designs are long-lasting and can withstand daily wear and tear.
In conclusion, Sharpie tie dye nail art is an innovative and exciting way to elevate your nail game. With its endless design possibilities and easy application process, it's no wonder why it has become a popular trend in the world of nail art. So why not give it a try and add some vibrant tie dye designs to your next manicure? Your nails will thank you.
Aside from being a fun and easy way to create unique nail designs, Sharpie tie dye nail art has many benefits. For starters, it is a more affordable alternative to traditional nail art techniques. Sharpie markers are easily accessible and come in a wide range of colors, making it easy to create a variety of designs. Additionally, the markers are easy to control, making it suitable for beginners and experts alike. Plus, the designs are long-lasting and can withstand daily wear and tear.
In conclusion, Sharpie tie dye nail art is an innovative and exciting way to elevate your nail game. With its endless design possibilities and easy application process, it's no wonder why it has become a popular trend in the world of nail art. So why not give it a try and add some vibrant tie dye designs to your next manicure? Your nails will thank you.


