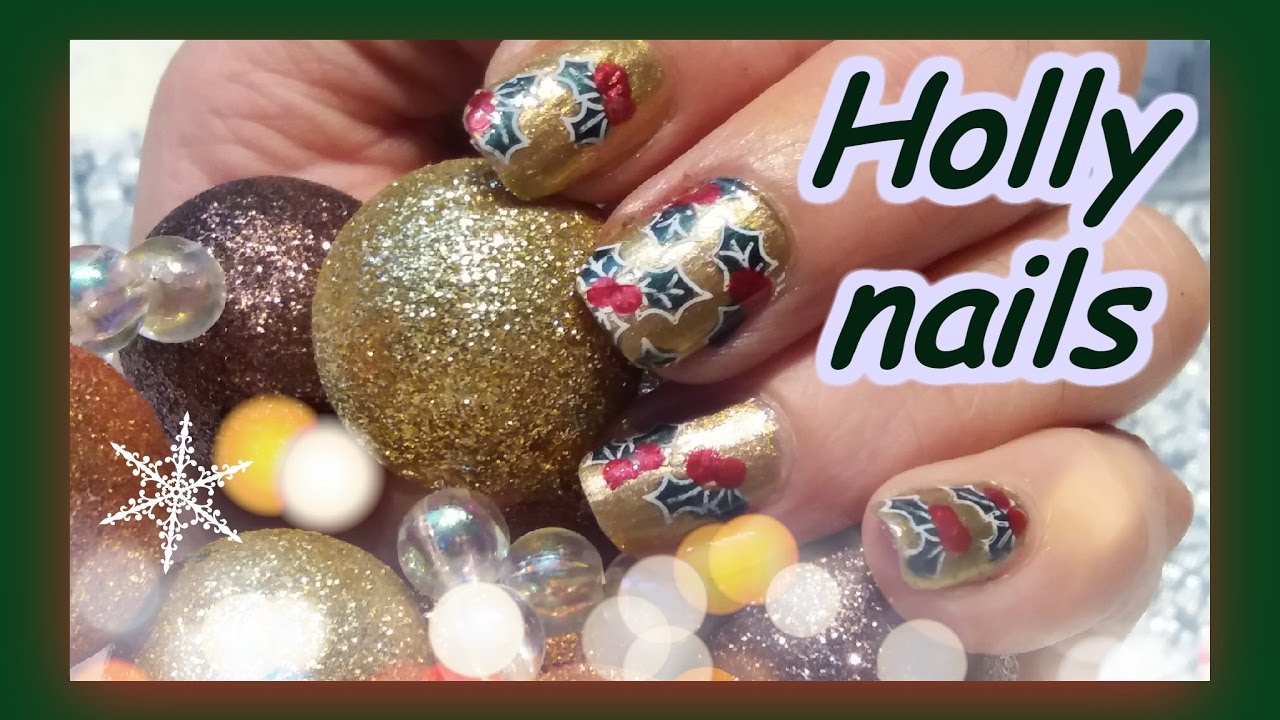
Looking to add a festive touch to your nails this holiday season? Look no further than our simple holly nail art tutorial. This easy and fun design is perfect for beginners and will have your nails looking merry and bright in no time. Start by prepping your nails with a base coat to protect them from any staining. Then, using a deep green nail polish, paint your nails and let them dry completely. Next, using a thin brush or dotting tool, create three small red berries on each nail with a bright red nail polish. Make sure to space them evenly and leave room for the holly leaves. Now, it's time to add the holly leaves. Using a lighter green nail polish, create three small curved lines above the berries. Then, add a larger curved line below the berries to complete the holly leaf shape. Once all the leaves are in place, you can add some shading to give the holly more dimension. Using a darker green nail polish, carefully outline the leaves and add some veins for a more realistic look. Finish off your holly nail art with a glossy top coat to seal in your design and give it a polished finish. And there you have it, a simple and festive holly nail art that is perfect for the holidays.1. Simple Holly Nail Art Tutorial


1. Simple Holly Nail Art Tutorial


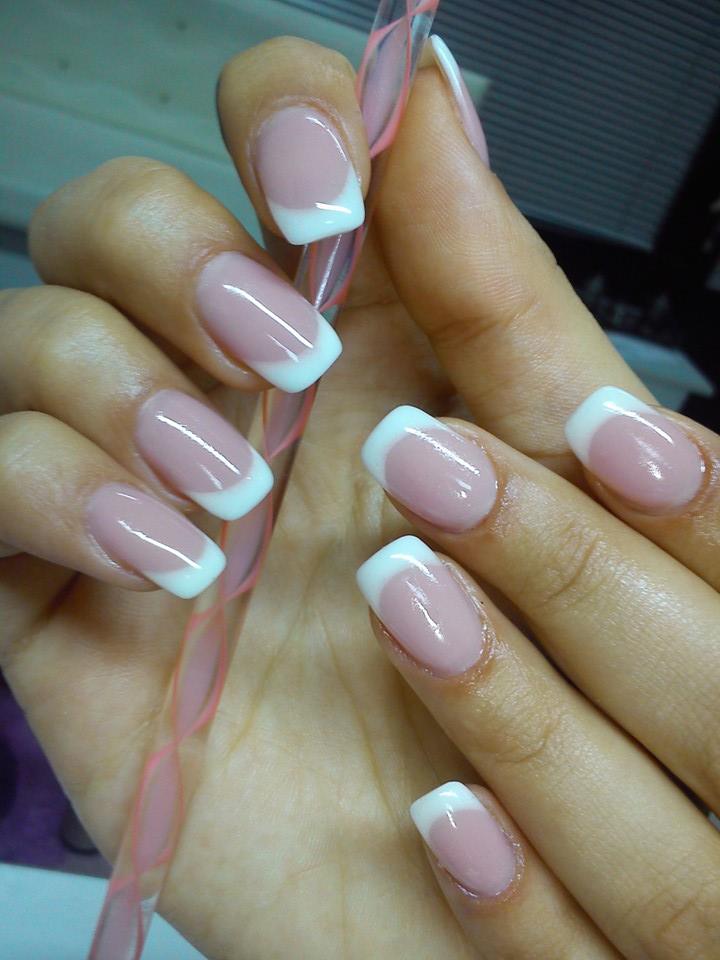
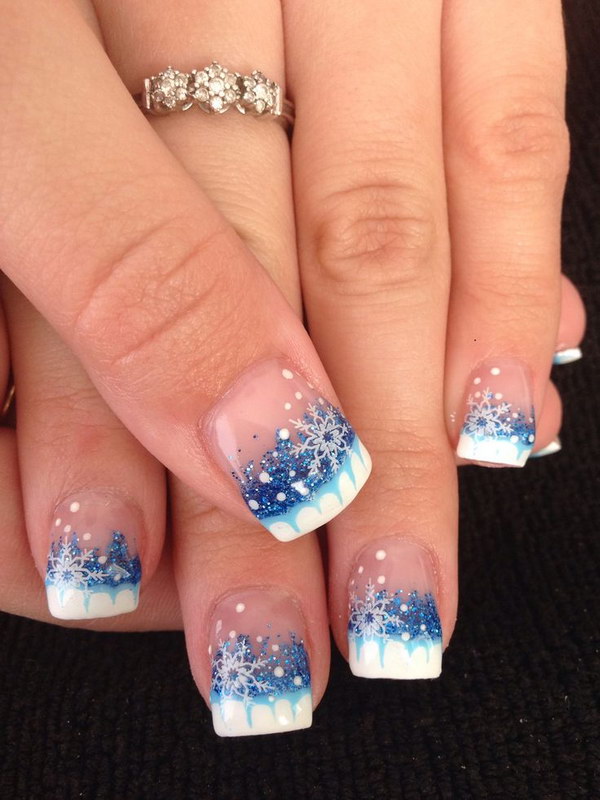
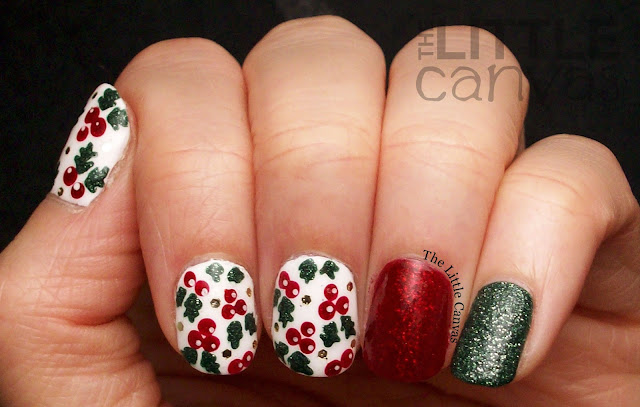
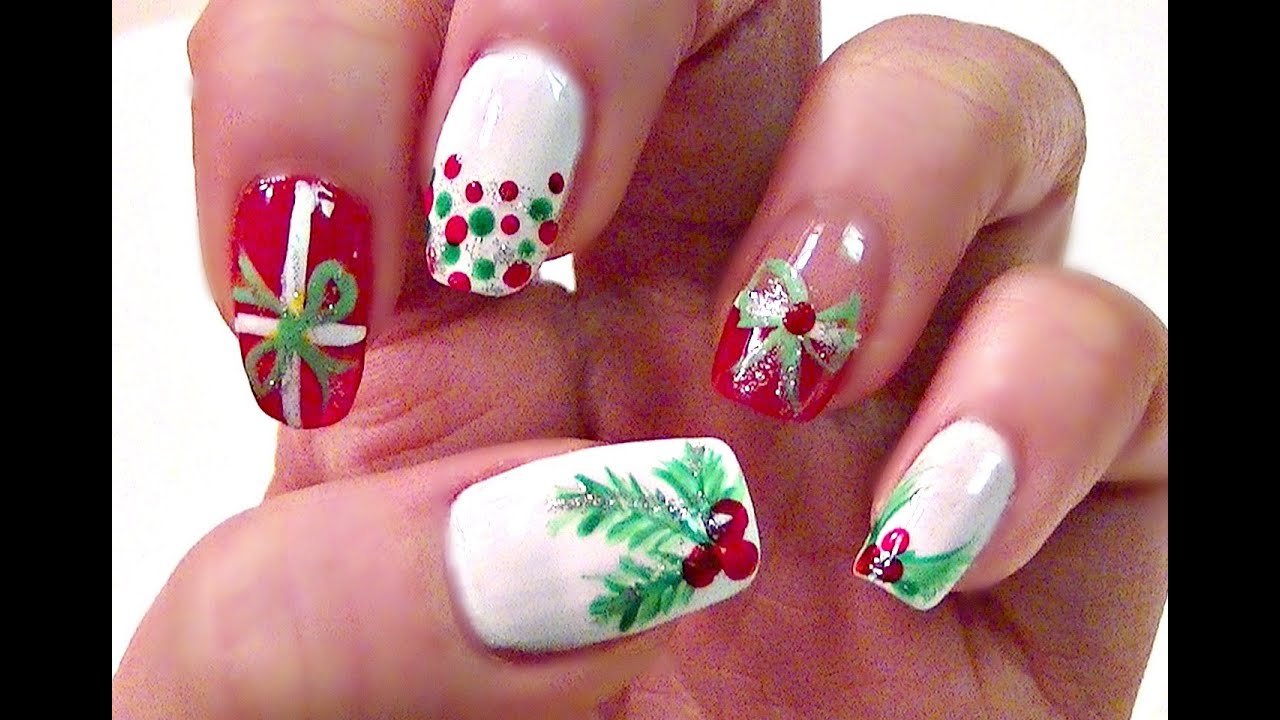
If you're looking for a quick and easy way to add some holly to your nails, we have you covered with these easy holly nail designs. These designs are perfect for those who want a festive look without spending too much time on their nails. For a simple yet elegant design, try painting your nails with a white or nude base color. Then, using a thin brush, create small curved lines with a dark green nail polish to resemble holly leaves. Finish off with some red dots for the berries and a top coat for a glossy finish. If you want a more playful look, try a holly French manicure. Start by painting your nails with a light green base color. Then, using a dark green nail polish, create a curved line at the tip of your nail to resemble a holly leaf. Add a red dot on each side for the berries and finish with a top coat. For those with shorter nails, try a minimalist holly design. Paint your nails with a nude or light green base color and then create a single holly leaf on each nail with a dark green nail polish. Add a red dot for the berry and a top coat for a simple yet festive look.2. Easy Holly Nail Designs


2. Easy Holly Nail Designs

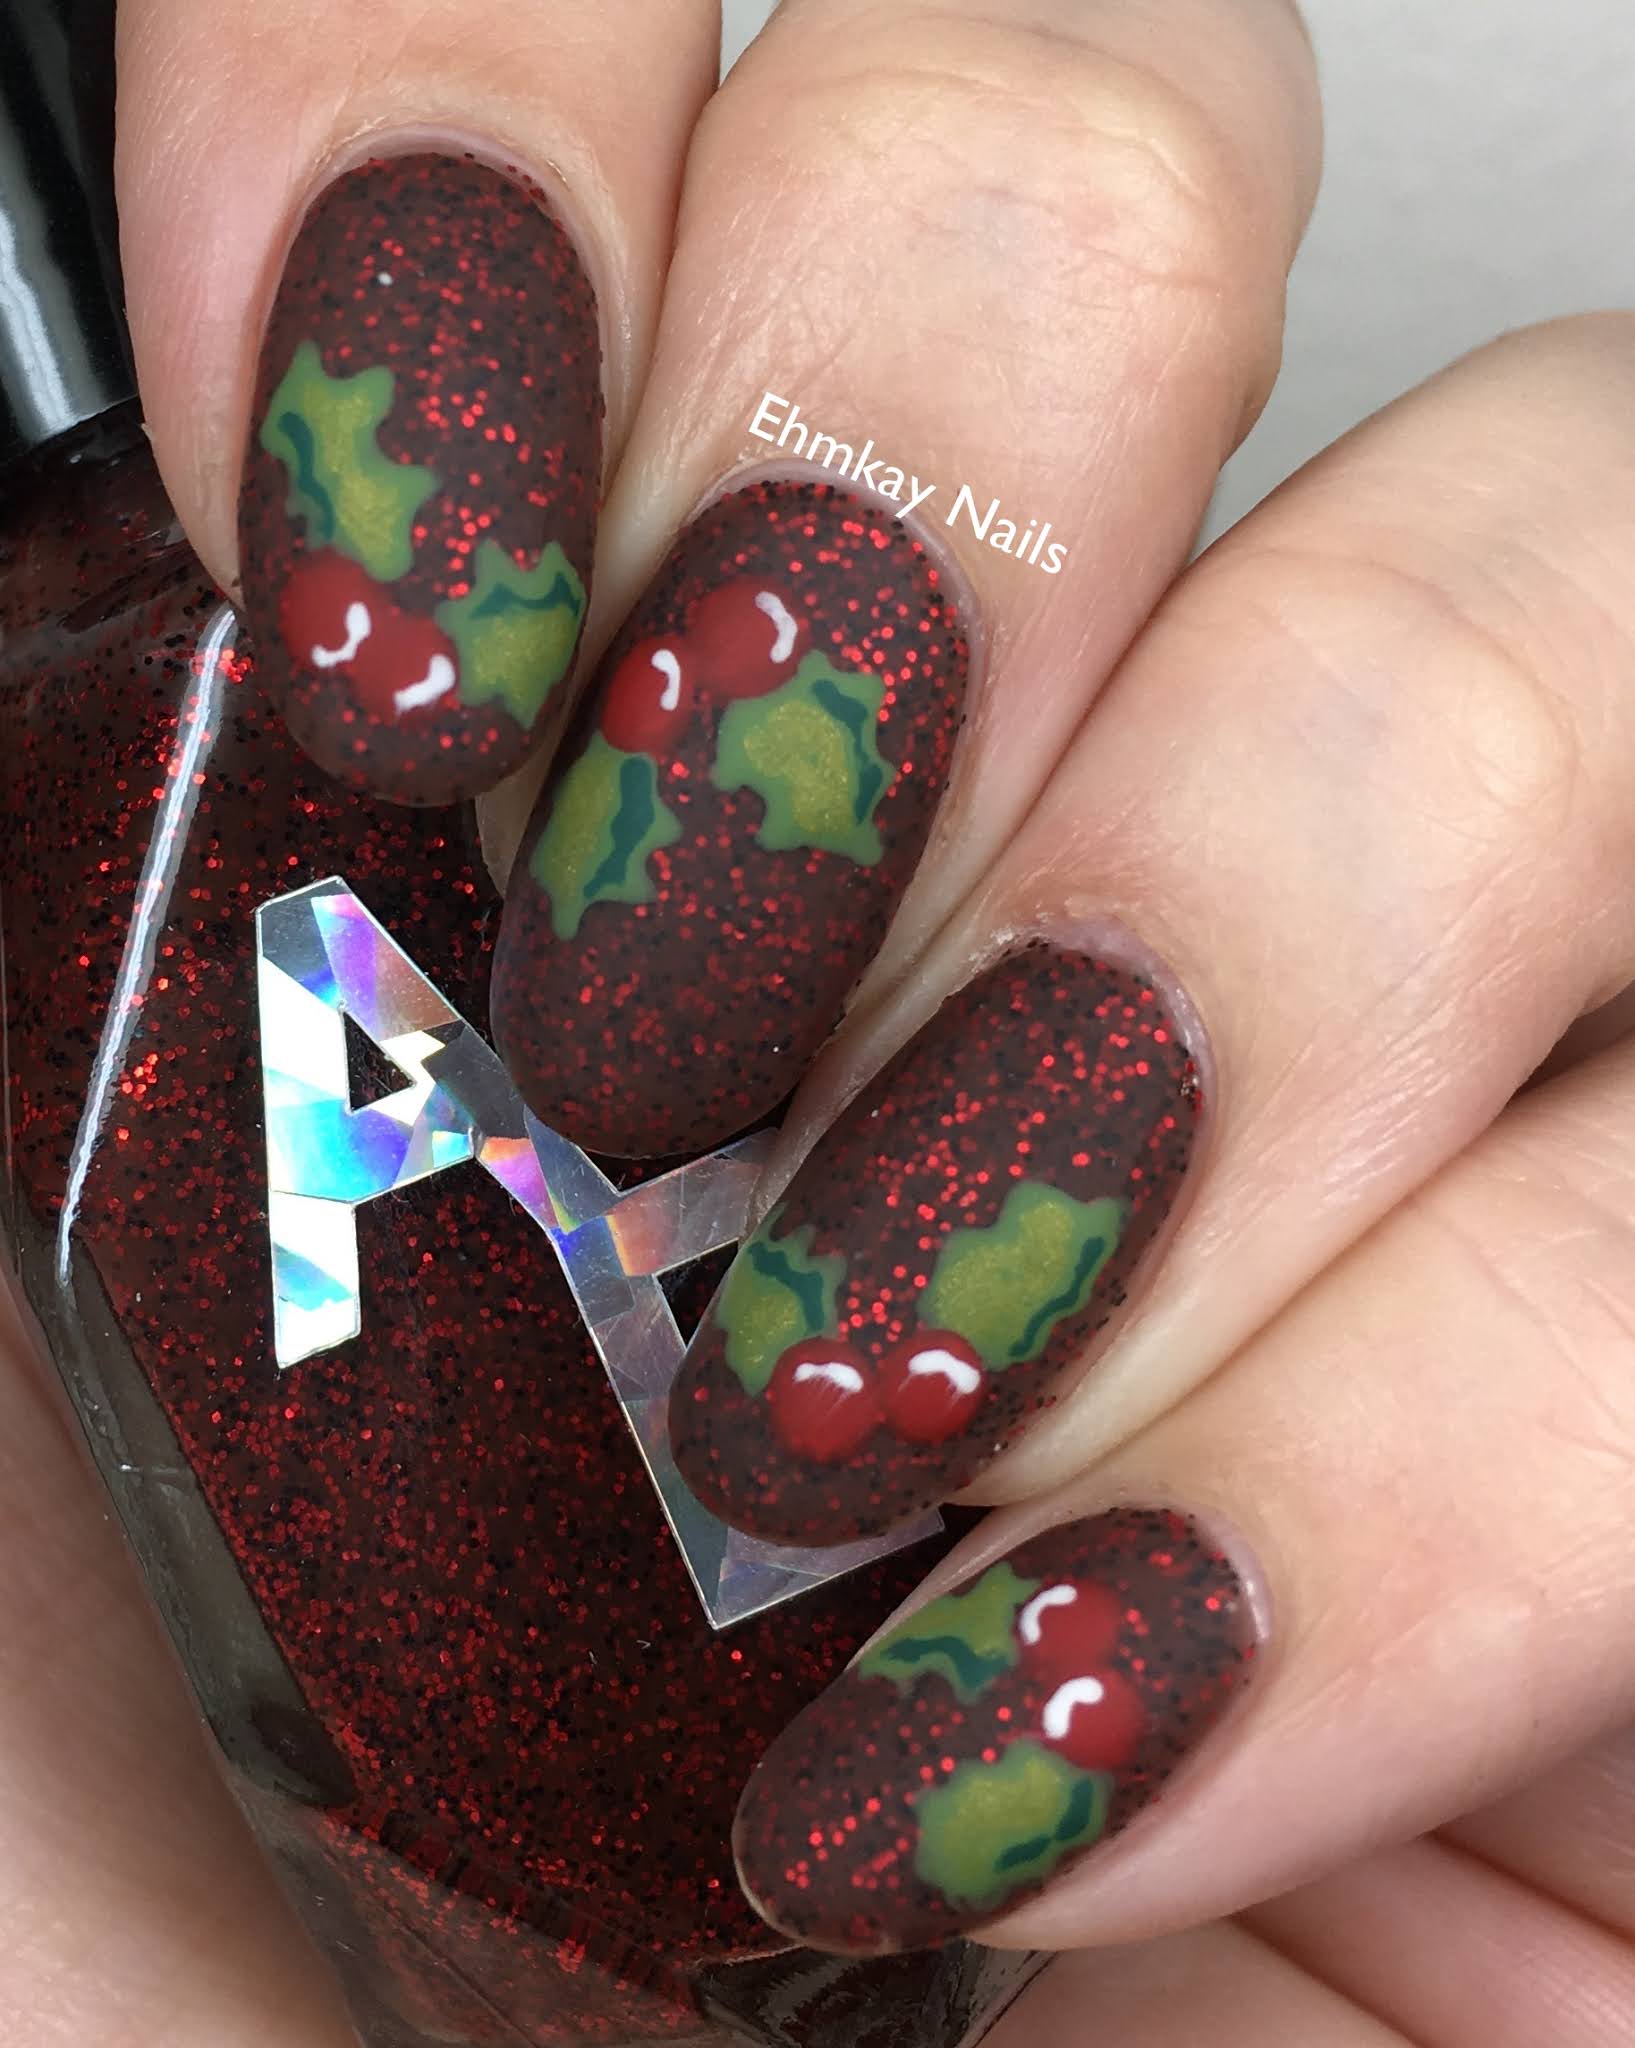
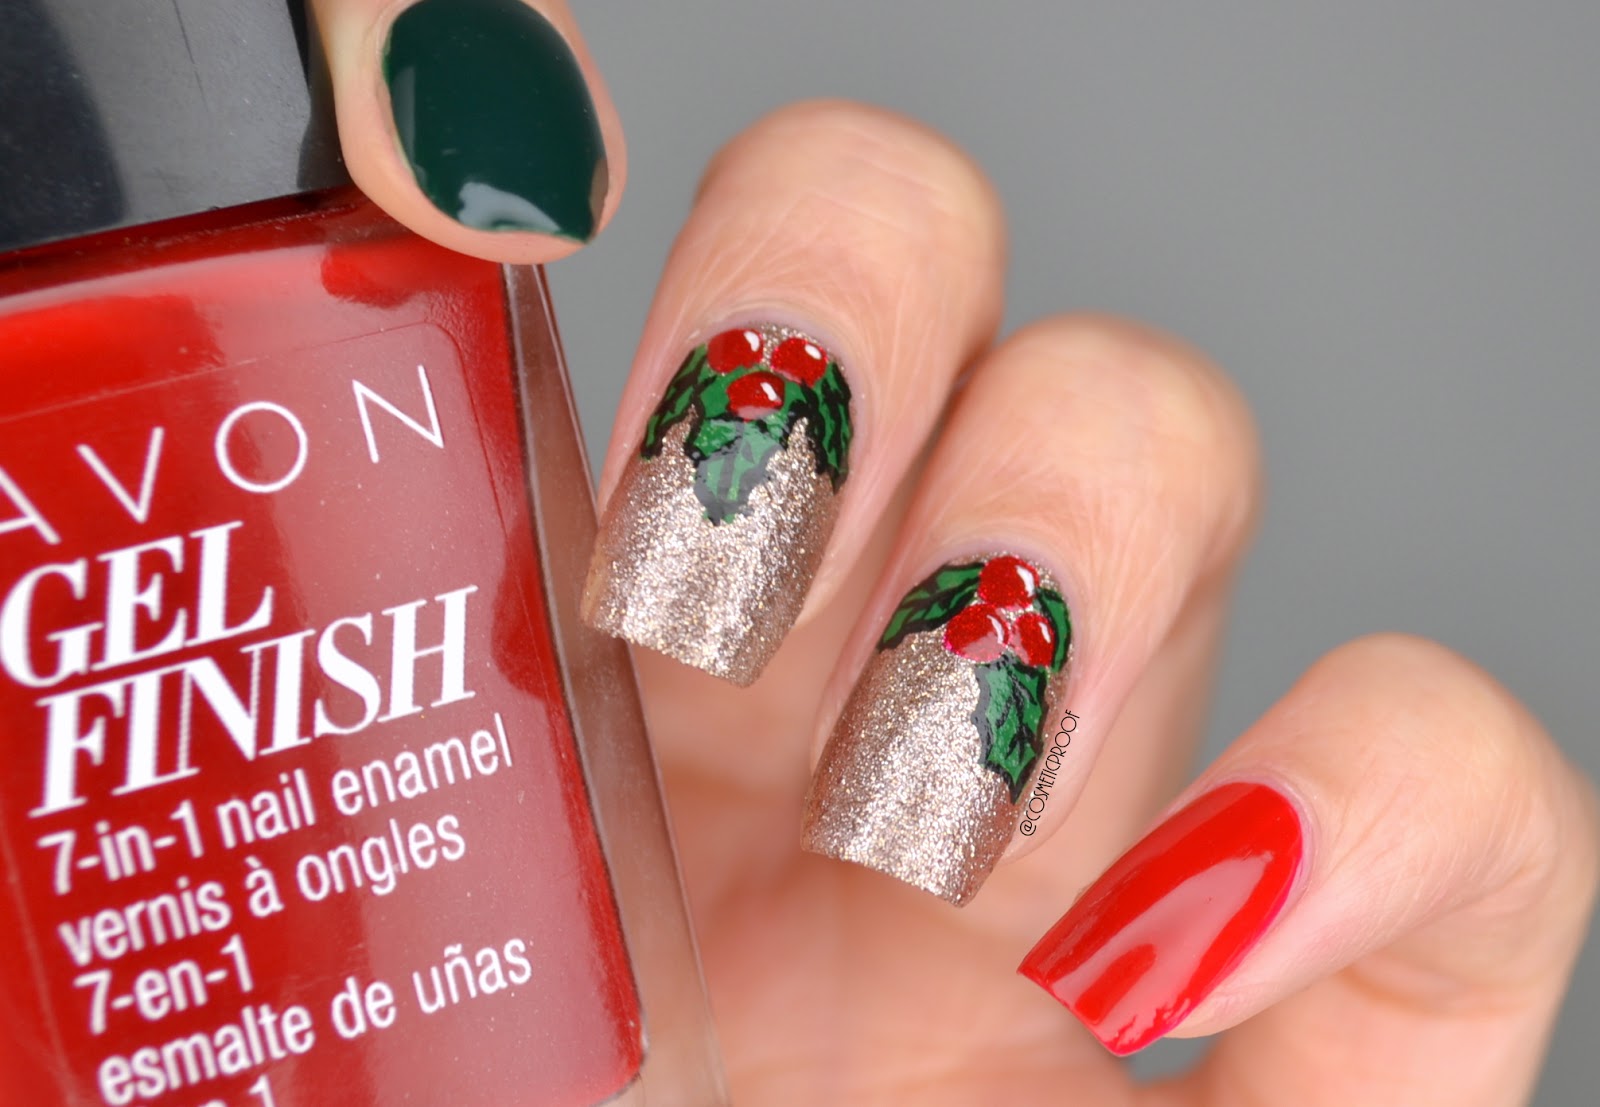
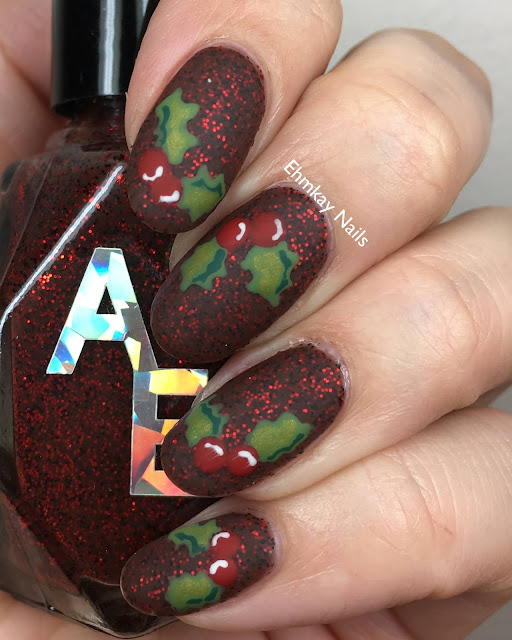
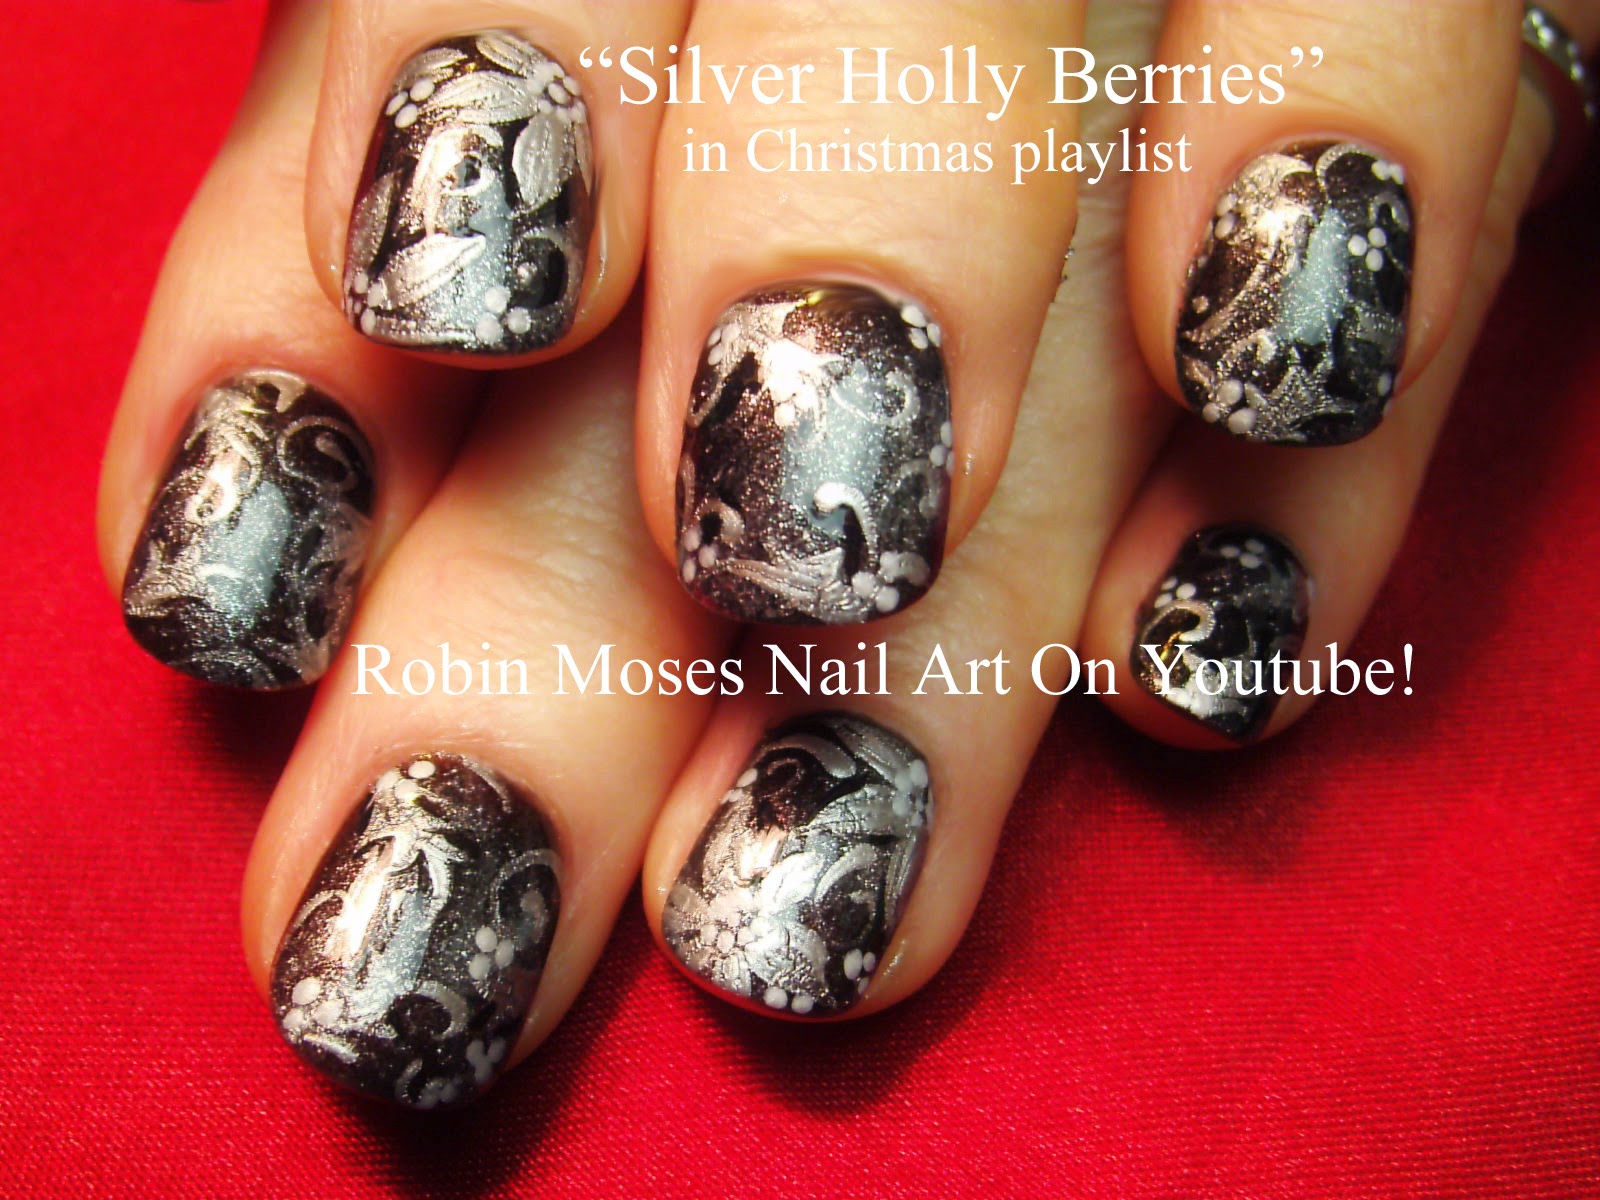
Looking for more inspiration for your holly nail art? We have some festive holly nail art ideas that will make your nails stand out this holiday season. For a more intricate design, try a gradient holly nail art. Start by painting your nails with a light green base color. Then, using a makeup sponge, dab on dark green and white nail polish to create a gradient effect on your nails. Add some red berries and shading to complete the look. If you're feeling bold, try a 3D holly nail art. Start by painting your nails with a red or burgundy base color. Then, using a nail art brush, create 3D holly leaves with a dark green nail polish. Finish off with some red rhinestones for the berries and a top coat for a glamorous holly design.3. Festive Holly Nail Art Ideas


3. Festive Holly Nail Art Ideas

If you're new to nail art, don't worry, we have some easy DIY holly nail art ideas for beginners that you can try at home. For a simple yet festive look, try a holly accent nail. Paint your nails with a red base color and then create a single holly leaf on your accent nail with a dark green nail polish. Add a red dot for the berry and finish with a top coat for a pop of holiday cheer. Another easy design for beginners is a holly tip nail art. Start by painting your nails with a white or nude base color. Then, using a thin brush, create a curved line at the tip of your nail with a dark green nail polish. Add a red dot on each side for the berries and finish with a top coat.4. DIY Holly Nail Art for Beginners


4. DIY Holly Nail Art for Beginners

If you want a cute and simple holly nail design, we have some ideas that are perfect for you. For a playful look, try a cartoon holly nail art. Start by painting your nails with a light green base color. Then, using a black nail polish, create a cartoon holly leaf on each nail. Add a red dot for the berry and finish off with a top coat for a fun and unique design. If you're a fan of glitter, try a glitter holly nail art. Paint your nails with a white or nude base color and then add a layer of green glitter nail polish on top. Using a thin brush, create some holly leaves with a dark green nail polish and add some red glitter for the berries. Finish with a top coat for a sparkly and festive look.5. Cute and Simple Holly Nail Designs


5. Cute and Simple Holly Nail Designs
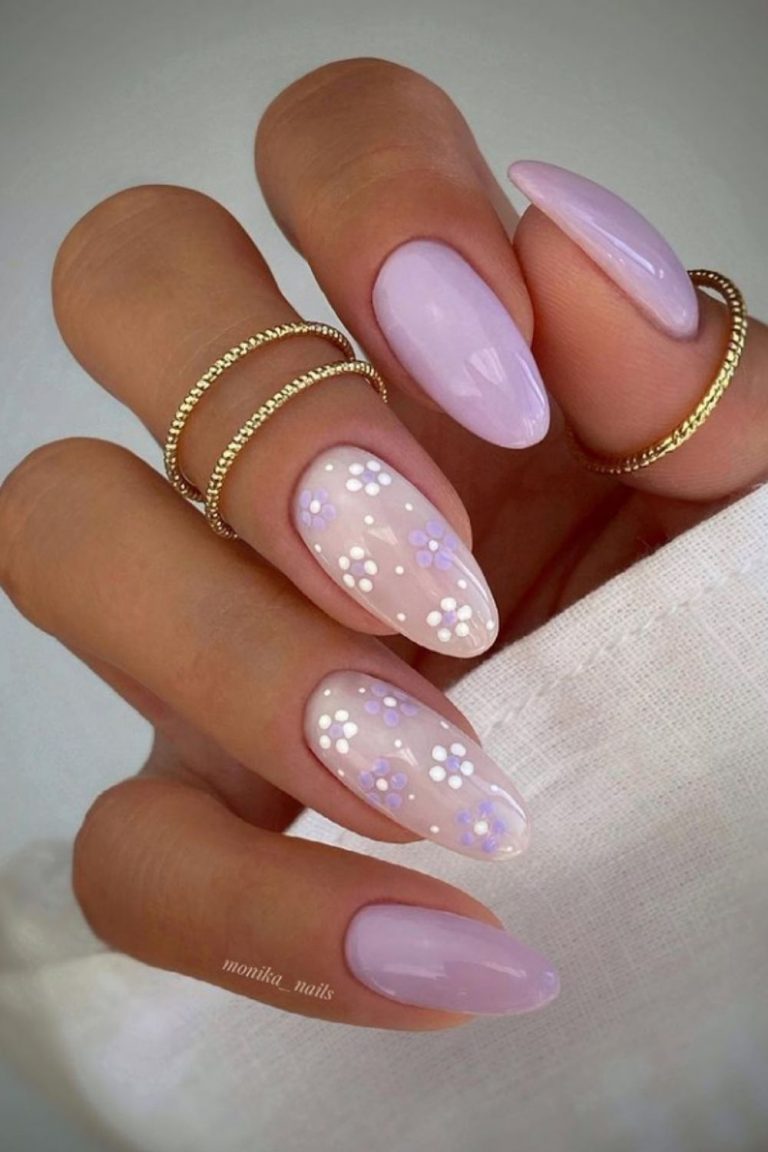
If you prefer a more minimalist look, we have some holly nail art inspiration that will suit your style. For a subtle yet elegant design, try a negative space holly nail art. Start by painting your nails with a clear or nude base color. Then, using a thin brush, create some holly leaves with a dark green nail polish on the bottom half of your nail. Leave some space between the leaves for a clean and minimalist look. If you want a more subtle design, try a simple holly tip nail art. Paint your nails with a nude base color and then create a single holly leaf on the tip of your nail with a dark green nail polish. Add a red dot for the berry and finish with a top coat for a chic and minimalistic design.6. Minimalist Holly Nail Art Inspiration
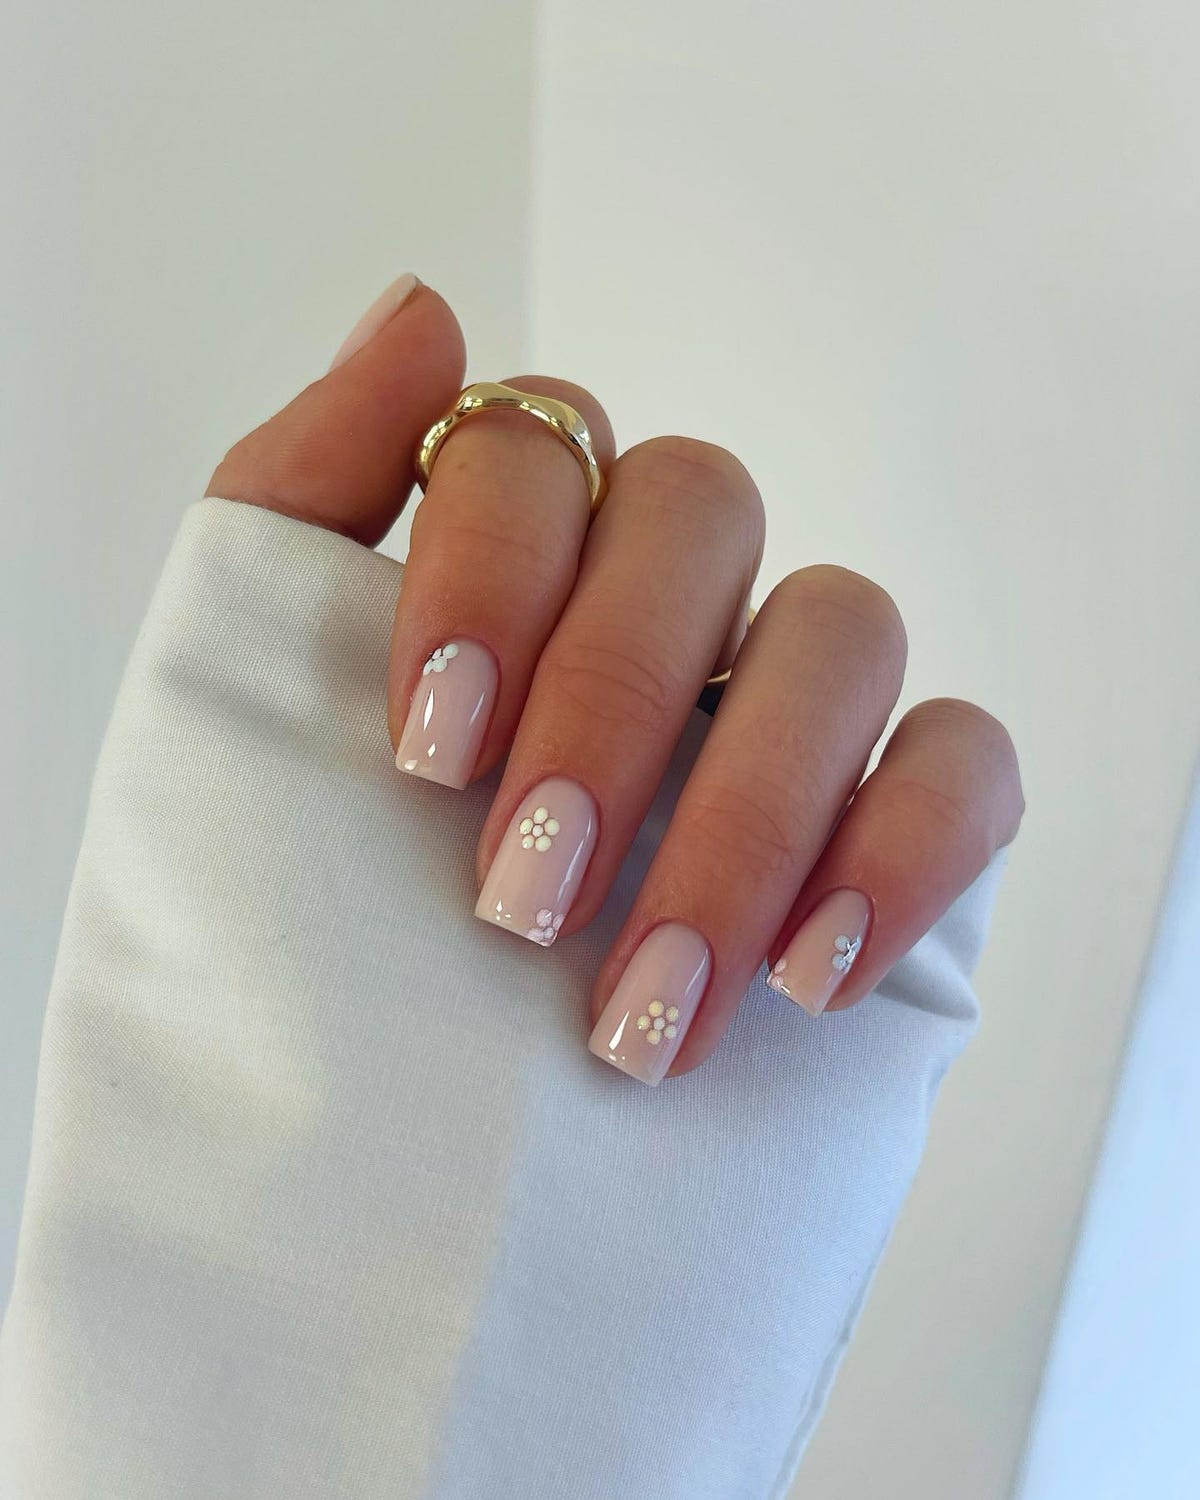
6. Minimalist Holly Nail Art Inspiration

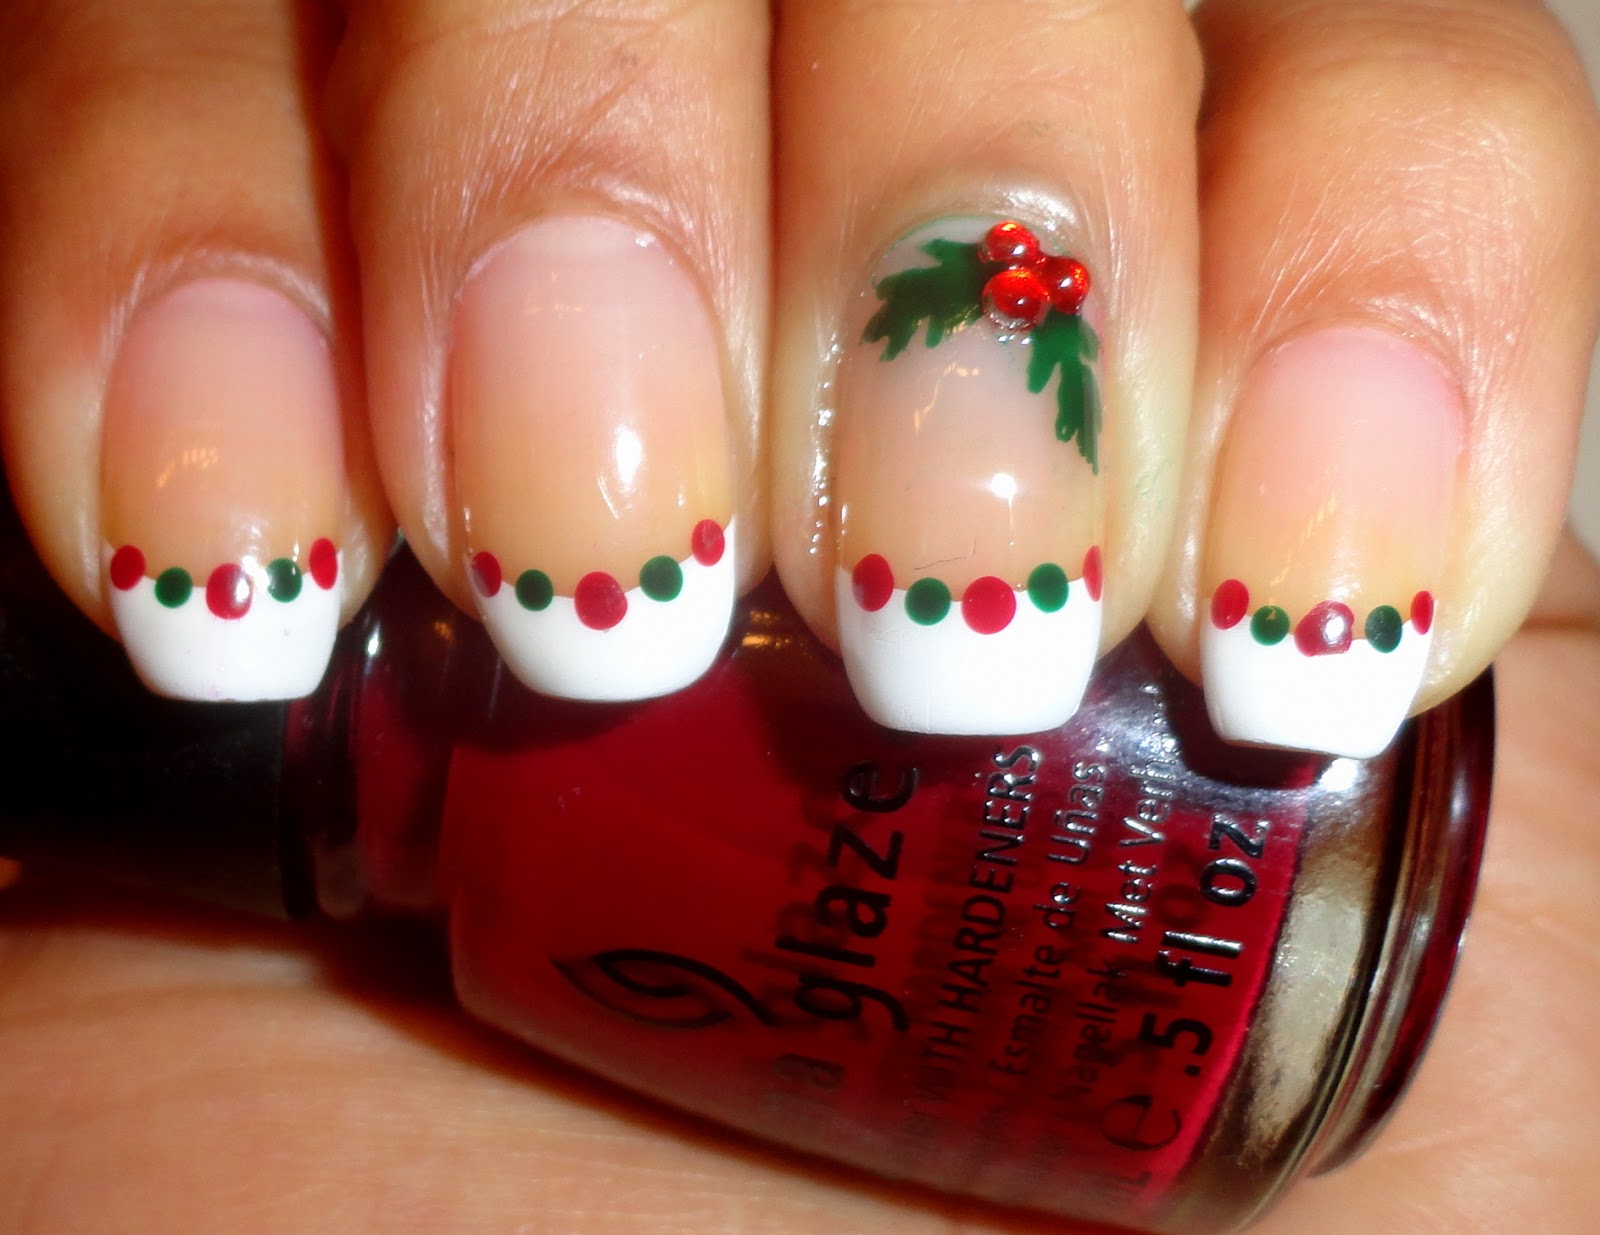
Short on time but still want festive nails? These quick and easy holly nail art designs are perfect for you. For a 10-minute manicure, try a holly accent nail. Paint your nails with a dark green base color and then create a single holly leaf on your accent nail with a light green nail polish. Add a red dot for the berry and finish with a top coat for a simple yet festive look. If you want a more playful design, try a polka dot holly nail art. Start by painting your nails with a white base color. Then, using a dotting tool, create red dots all over your nails. Using a thin brush, create some holly leaves with a dark green nail polish and add a red dot for the berry. Finish with a top coat for a fun and easy holly design.7. Quick and Easy Holly Nail Art Designs


7. Quick and Easy Holly Nail Art Designs
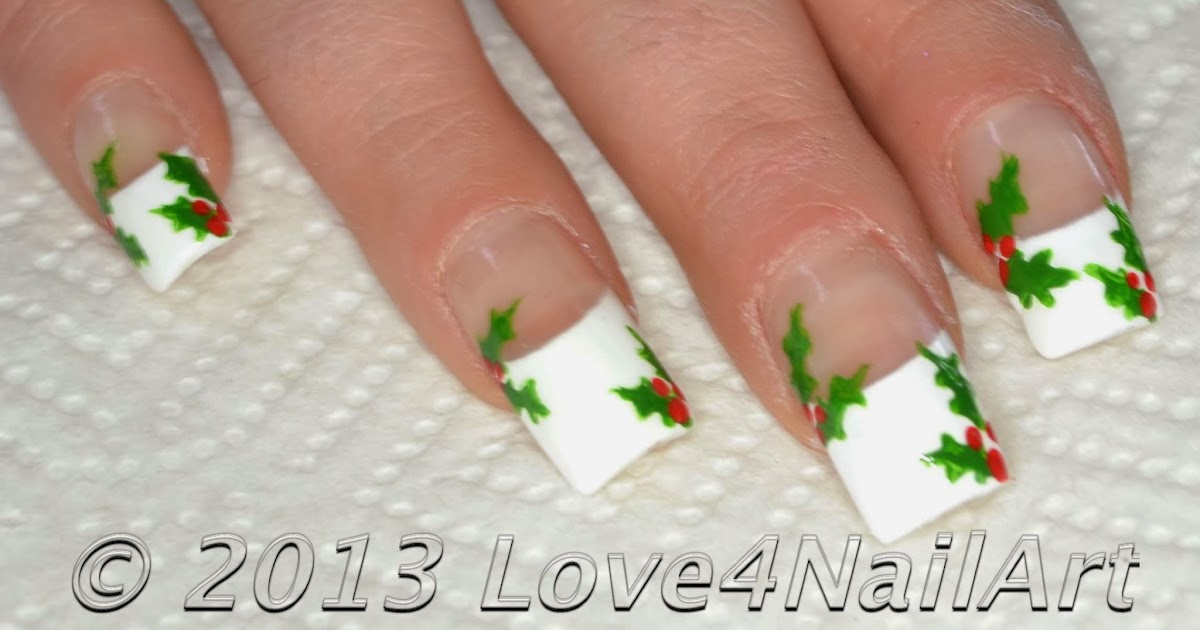
If you want a more elegant and sophisticated look for your holly nail art, we have some ideas that will elevate your nails for the holiday season. For an elegant French manicure, try a holly French tip nail art. Start by painting your nails with a nude base color and then create a curved line at the tip of your nail with a dark green nail polish. Add a red dot on each side for the berries and finish with a top coat for a classic and festive look. If you prefer a more subtle design, try a stamped holly nail art. Paint your nails with a white or nude base color and then use a nail stamping plate to transfer a holly leaf design onto your nails with a dark green nail polish. Add a red dot for the berry and finish with a top coat for a chic and elegant look.8. Elegant Holly Nail Art for the Holidays
8. Elegant Holly Nail Art for the Holidays
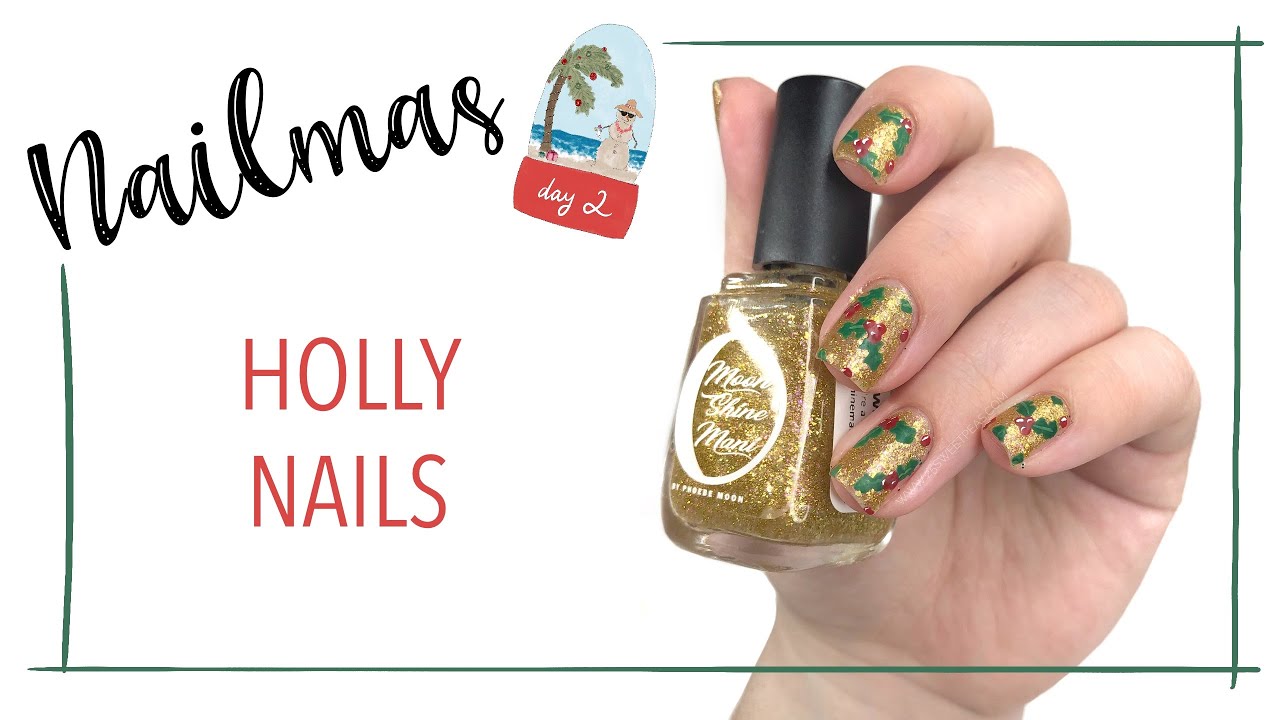
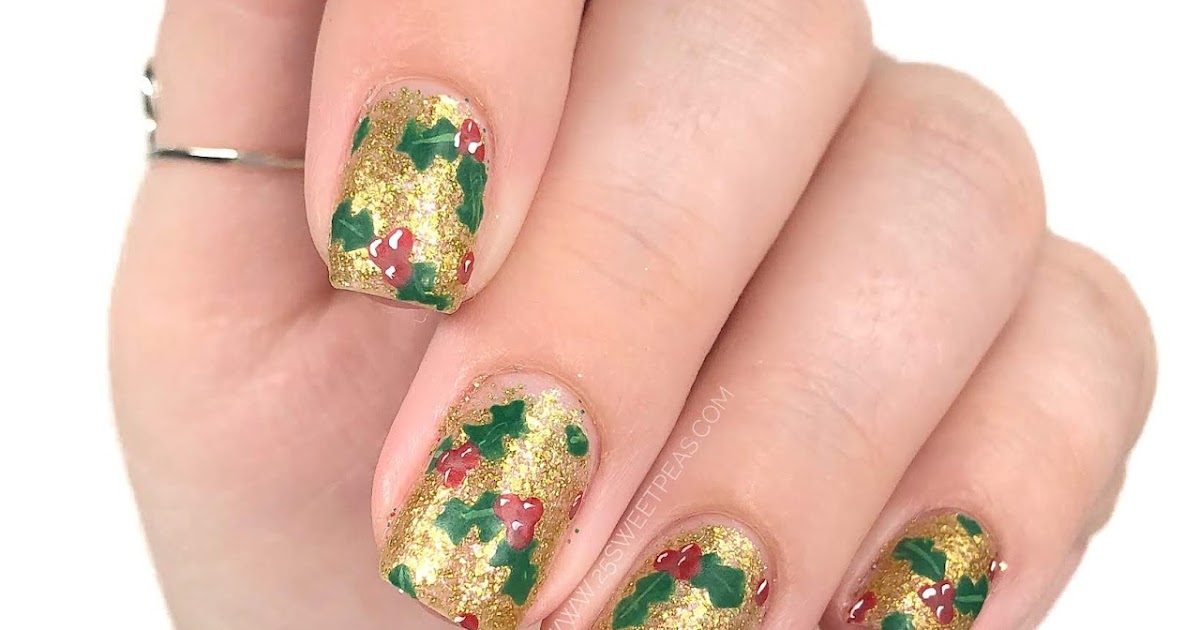
There's no better time to rock holly nail art than during Christmas. Here are some festive holly nail art ideas for the holiday season. For a fun and playful design, try a candy cane holly nail art. Paint your nails with a red and white striped base and then create a single holly leaf on each nail with a dark green nail polish. Add a red dot for the berry and finish with a top coat for a sweet and festive look. If you want a more elegant look, try a gold holly nail art. Paint your nails with a gold base color and then use a nail stamping plate to transfer a holly leaf design onto your nails with a black nail polish. Add some gold glitter for the berries and finish with a top coat for a glamorous and festive look.9. Festive Holly Nail Art for Christmas
9. Festive Holly Nail Art for Christmas
Short nails can still rock holly nail art with these simple and cute designs. For a minimalist look, try a single holly leaf nail art. Start by painting your nails with a white or nude base color. Then, using a nail art brush, create a single holly leaf on each nail with a dark green nail polish. Add a red dot for the berry and finish with a top coat for a clean and chic design. If you want a pop of color, try a red holly nail art. Paint your nails with a red base color and then create a single holly leaf on each nail with a dark green nail polish. Add a red dot for the berry and finish with a top coat for a bold and festive look.10. Simple Holly Nail Art for Short Nails

10. Simple Holly Nail Art for Short Nails


Add a Touch of Festivity to Your Nails with Simple Holly Nail Art
Easy to Create, Stunning to Look At
 The holiday season is just around the corner and what better way to add some festive cheer to your everyday look than with some holly nail art? With just a few simple steps, you can transform your plain nails into a winter wonderland.
Simple holly nail art
is the perfect way to add a touch of festivity to your overall appearance without being too flashy. Whether you're attending a holiday party or just want to spread some holiday spirit, this nail art is perfect for any occasion.
The holiday season is just around the corner and what better way to add some festive cheer to your everyday look than with some holly nail art? With just a few simple steps, you can transform your plain nails into a winter wonderland.
Simple holly nail art
is the perfect way to add a touch of festivity to your overall appearance without being too flashy. Whether you're attending a holiday party or just want to spread some holiday spirit, this nail art is perfect for any occasion.
What You'll Need
 Before we get into the steps, let's gather all the necessary materials for this
simple holly nail art
. You will need a base coat, red and green nail polish, a thin brush or toothpick, and a top coat. You can also add some glitter polish for some extra sparkle.
Before we get into the steps, let's gather all the necessary materials for this
simple holly nail art
. You will need a base coat, red and green nail polish, a thin brush or toothpick, and a top coat. You can also add some glitter polish for some extra sparkle.
Step 1: Prep Your Nails
 As with any nail art, it's important to start with clean and well-manicured nails. Begin by filing your nails to your desired shape and pushing back your cuticles. Apply a base coat to protect your natural nails and let it dry completely.
Step 2: Paint Your Nails Red
 Once your base coat is dry, it's time to add some color. Apply two coats of red nail polish to all your nails and let it dry completely. If you're using a glitter polish, now is the time to add a coat on top of the red.
Step 3: Create the Holly Leaves
 Using a thin brush or toothpick, dip it into the green nail polish and create three small strokes in the shape of a triangle on your nail. These will be your holly leaves. You can make them as big or as small as you like, depending on the size of your nails.
Step 4: Add the Holly Berries
 Once the green polish has dried, use the same brush or toothpick to add three small dots in red nail polish in the center of the holly leaves. These will be your holly berries. You can also use a dotting tool for more precision.
Step 5: Seal the Look
 To make sure your holly nail art lasts throughout the holiday season, finish off with a top coat. This will seal in the design and give your nails a glossy finish.
In Conclusion
 With these simple steps, you can create a festive and
professional
looking
holly nail art
design in no time. It's an easy and affordable way to add some holiday spirit to your look and impress everyone around you. So, gather your materials and get ready to rock some stunning holly nails this holiday season!
With these simple steps, you can create a festive and
professional
looking
holly nail art
design in no time. It's an easy and affordable way to add some holiday spirit to your look and impress everyone around you. So, gather your materials and get ready to rock some stunning holly nails this holiday season!


