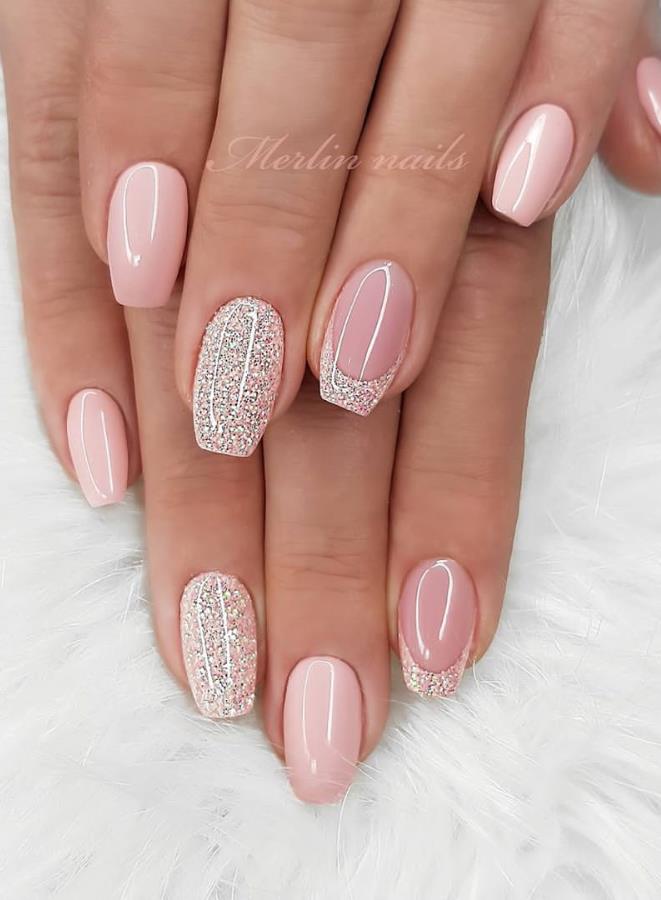
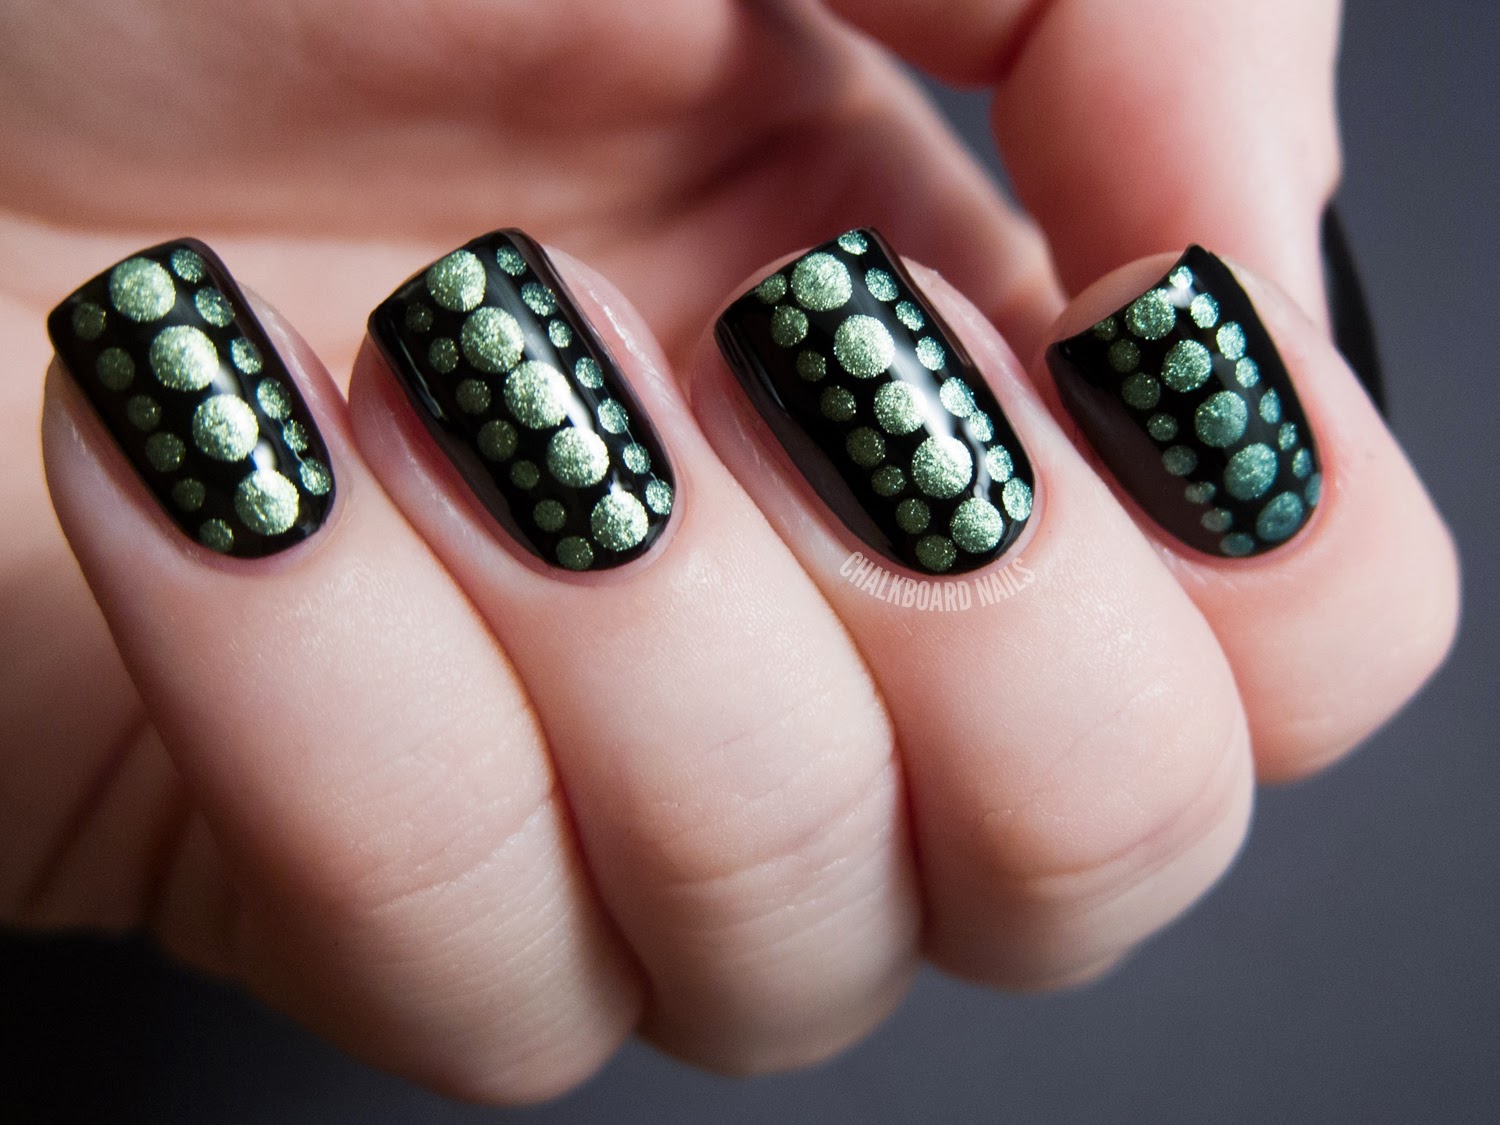
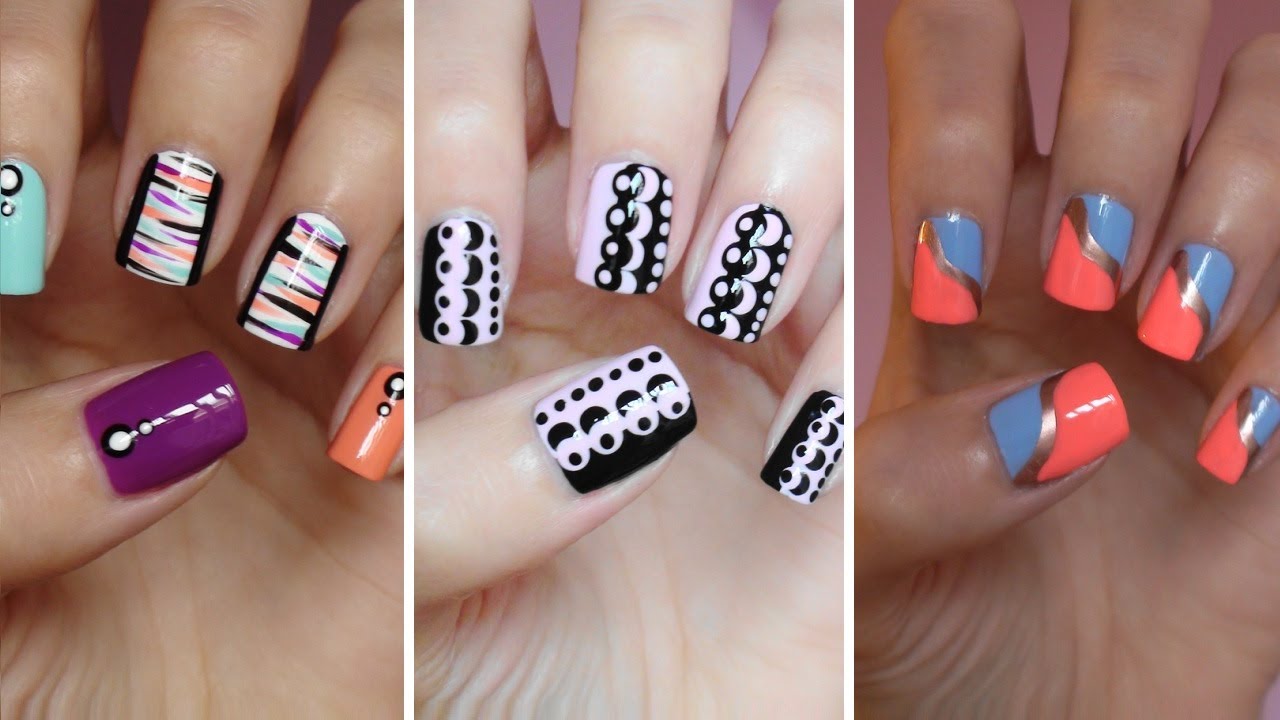
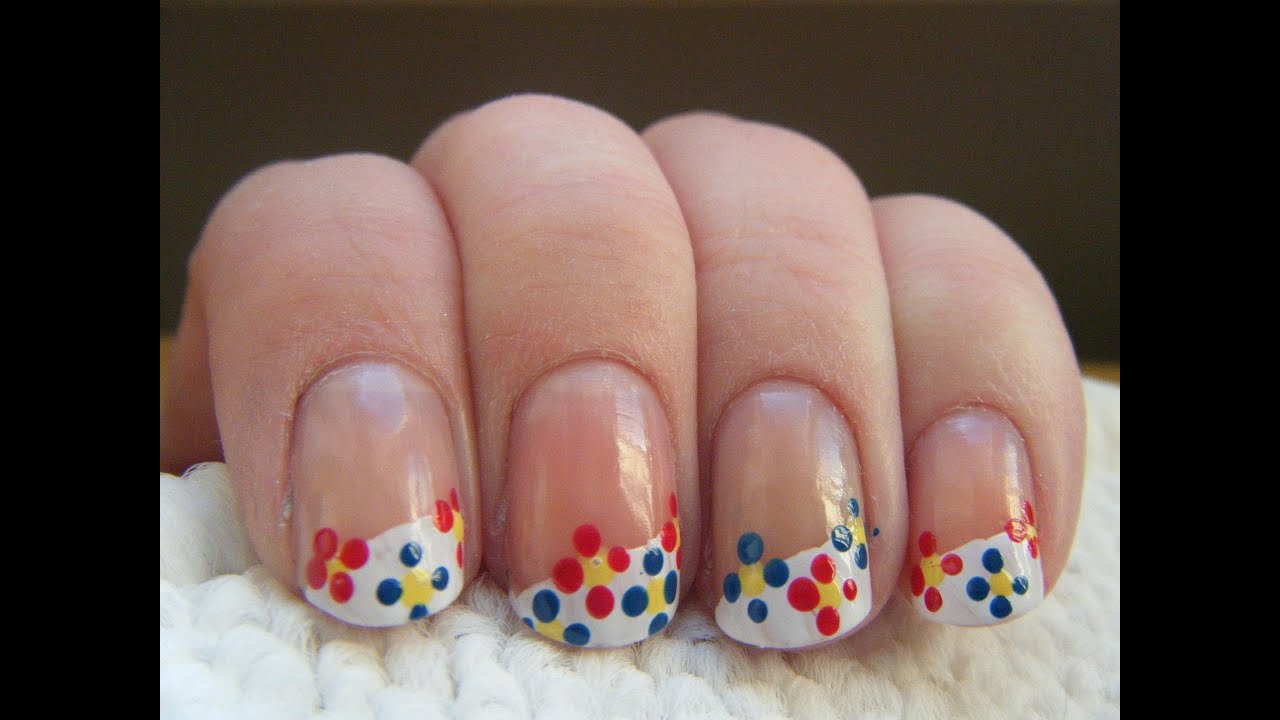
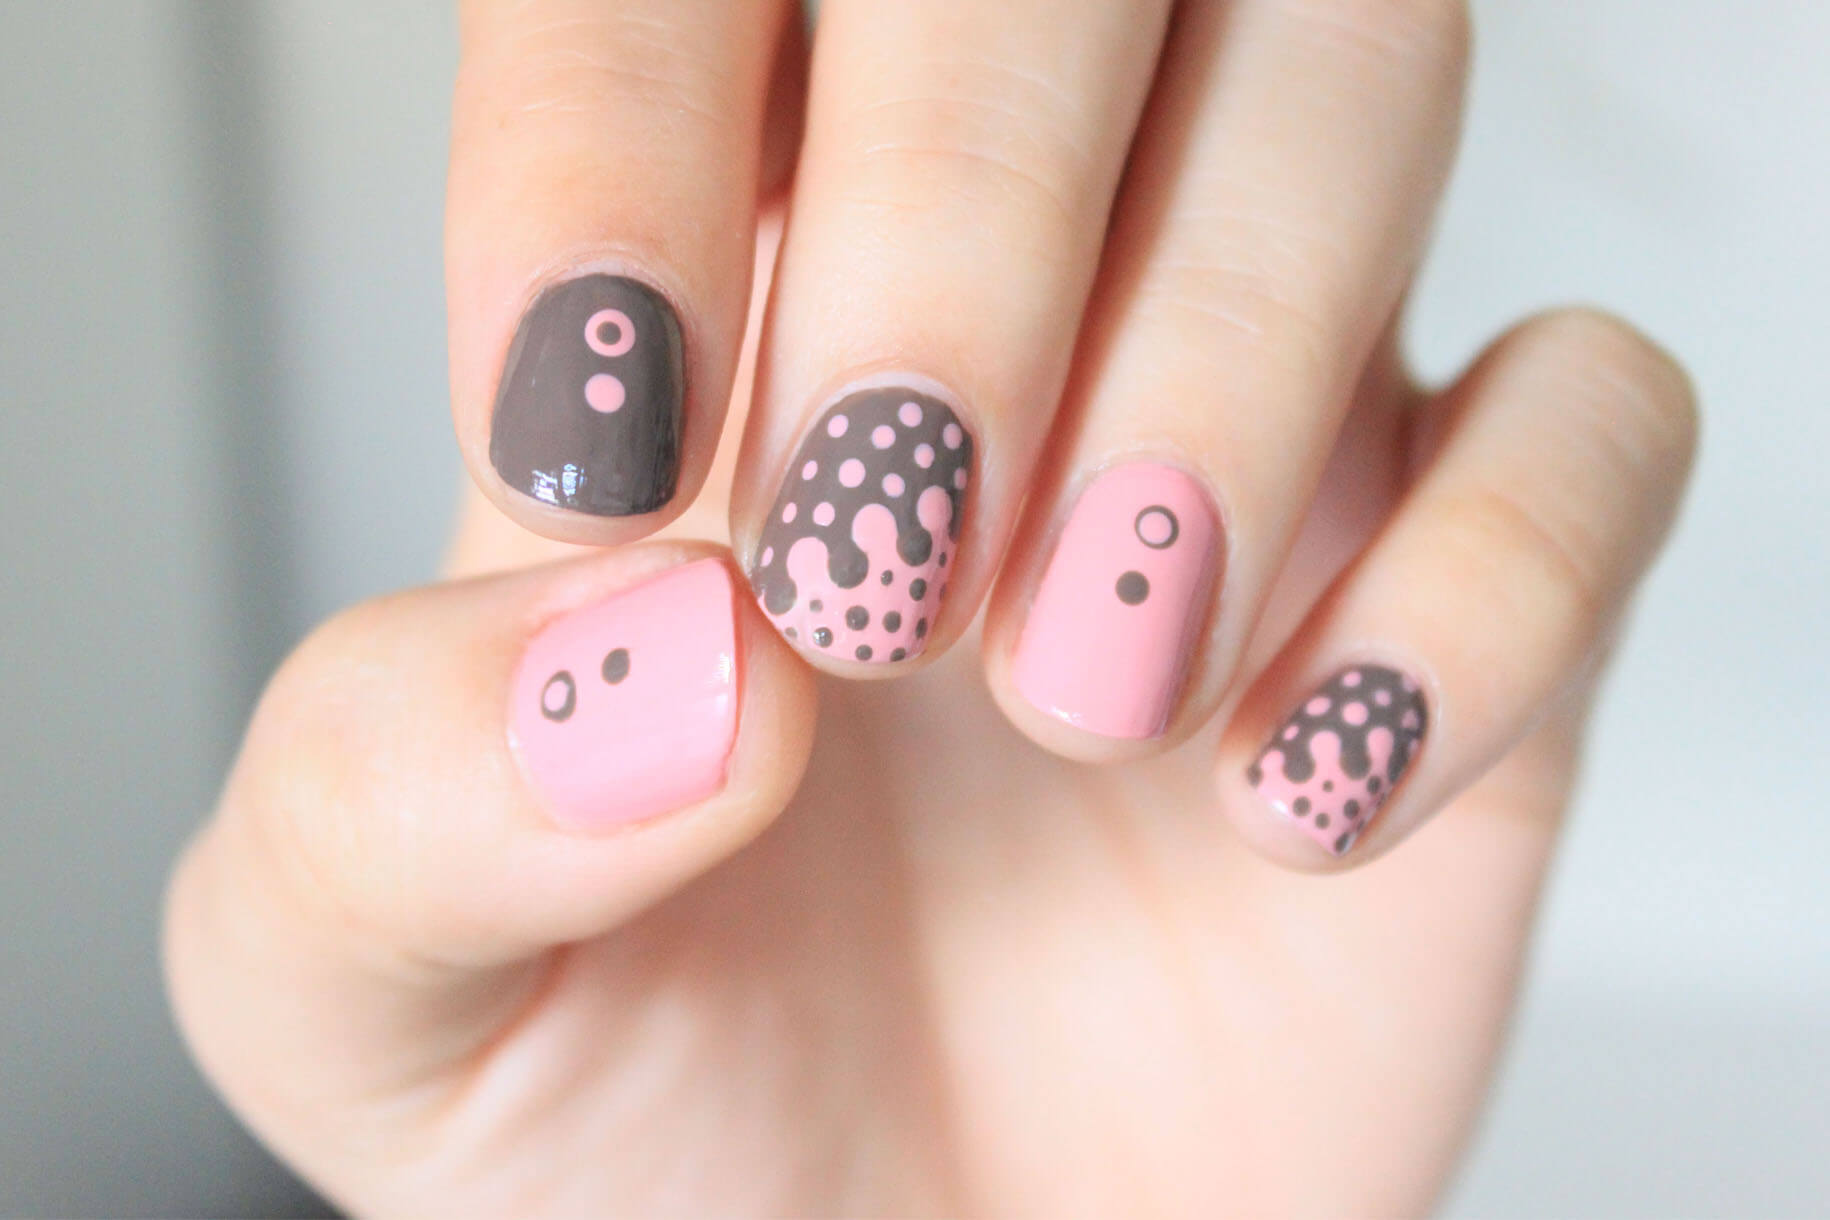
If you're new to the world of nail art, it can seem intimidating and overwhelming. But fear not, because we've got you covered with these easy nail art ideas for beginners! These designs are simple and achievable, even for those with little to no experience. First, start with a base coat to protect your natural nails and help your nail polish last longer. Then, try out a polka dot design by using a bobby pin or the back of a makeup brush to create dots on your nails. You can use one color for all the dots, or mix it up with multiple colors for a fun and playful look. Another easy idea is to create stripes by using striping tape or even regular tape. Simply apply the tape to your nails in a desired pattern, then paint over it with your chosen polish. Once the polish is dry, gently remove the tape to reveal clean and crisp stripes. If you're feeling adventurous, try a watercolor design using a makeup sponge. Apply a few drops of different colored polishes onto the sponge, then dab it onto your nails for a blended and artsy effect. Top it off with a clear top coat to seal in the design.Easy Nail Art Ideas for Beginners


Easy Nail Art Ideas for Beginners


/ScreenShot2020-01-13at1.02.35PM-f3cc8a0d04b748e9ab7aaa185aab409b.png)


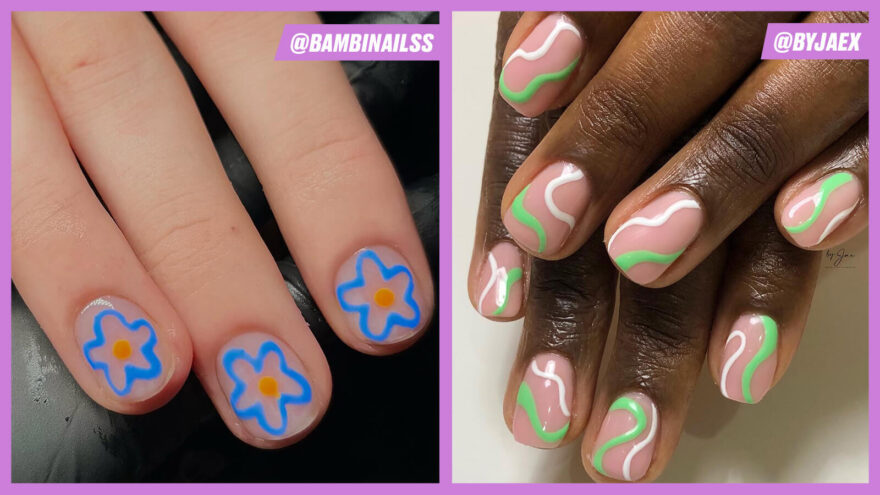
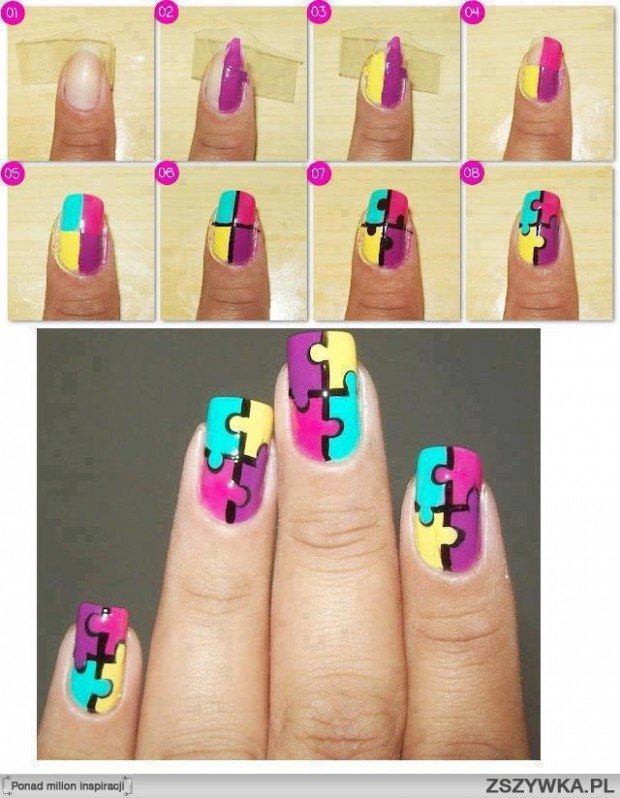
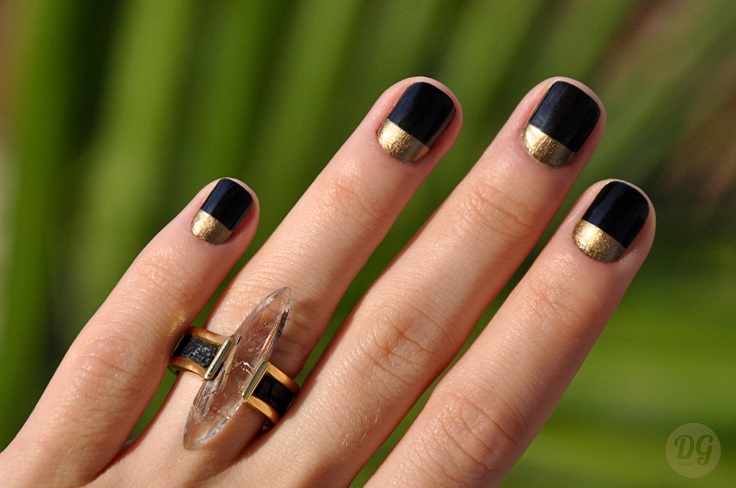
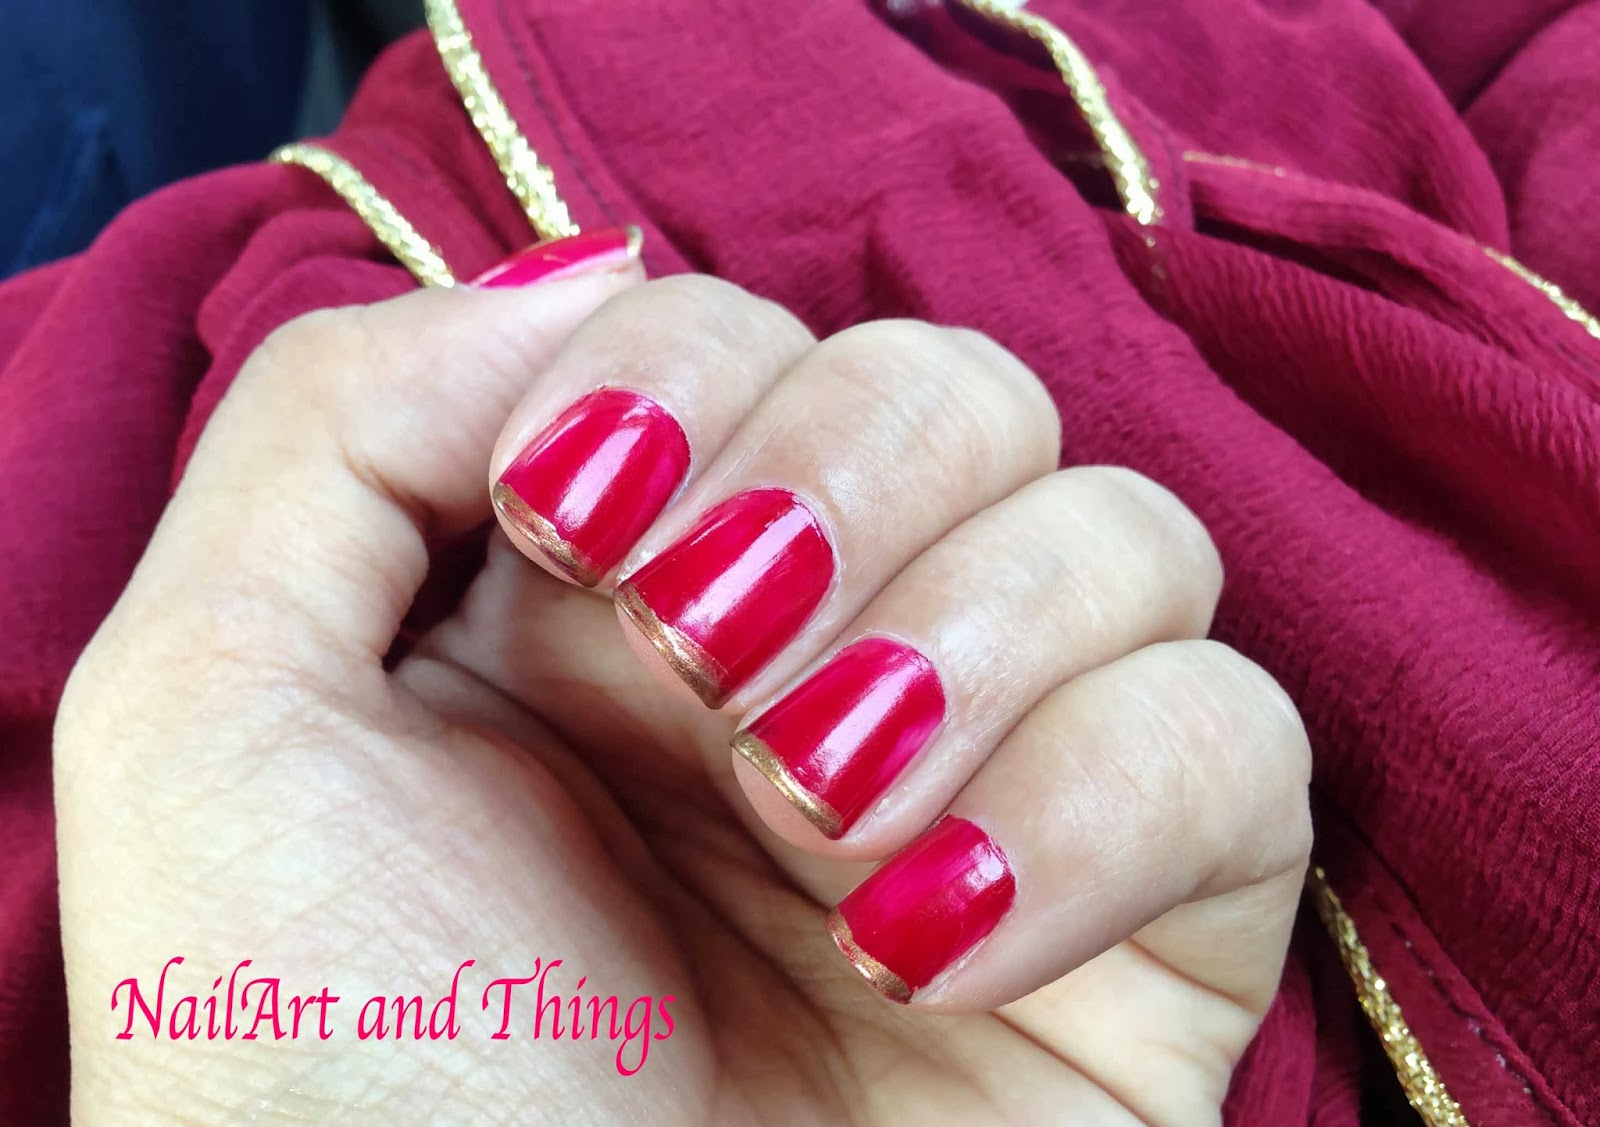
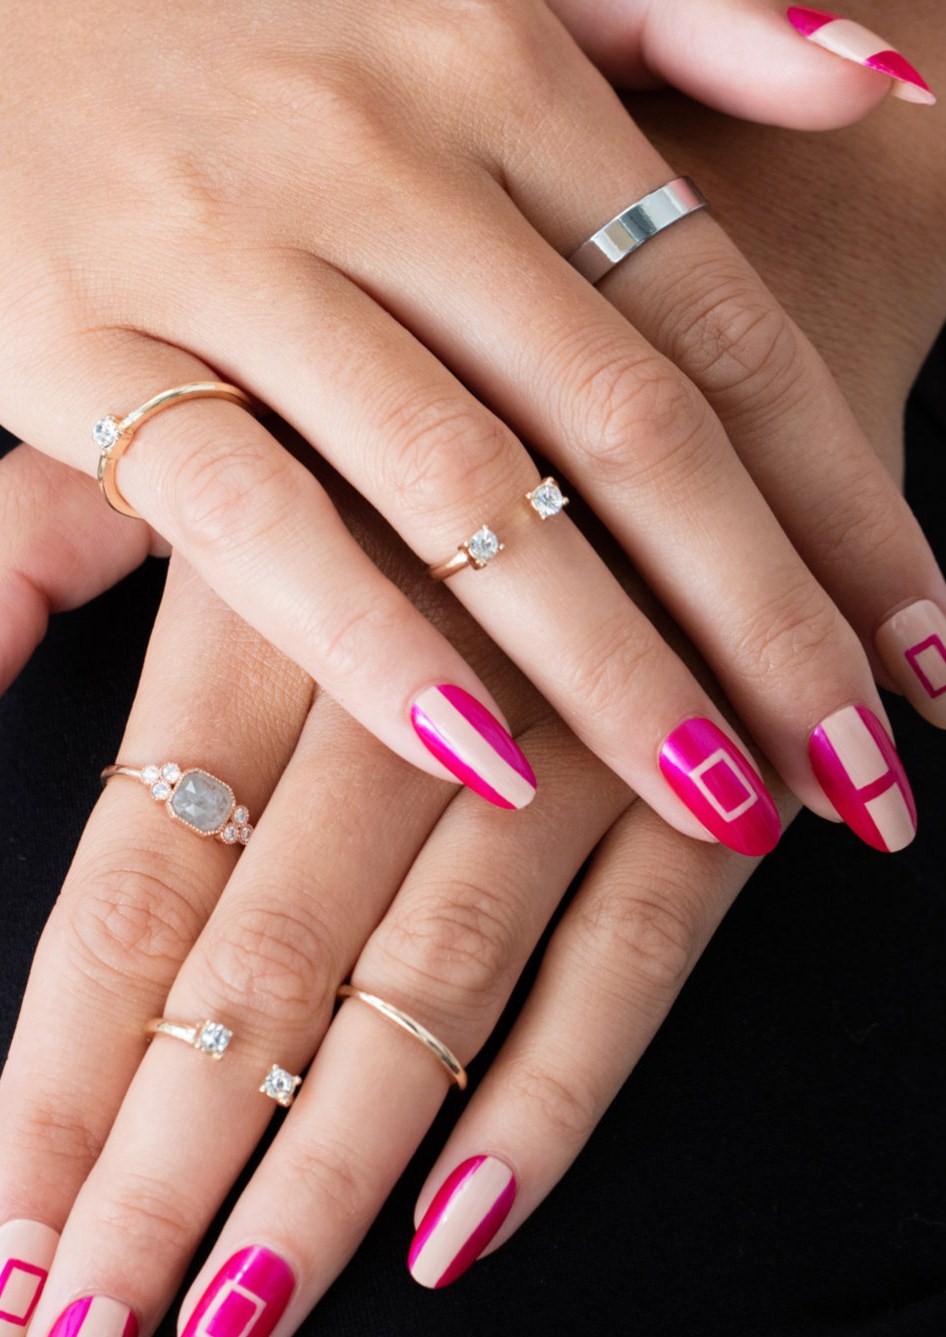
Short nails don't have to limit your nail art options. In fact, there are many simple nail art designs that look great on shorter nails. For a chic and minimalist look, try a half-moon design by painting the bottom half of your nails with a different color than the top half. You can also use a stencil or stickers to create a clean and precise half-moon shape. Another cute idea is to create negative space designs on your nails. This means leaving parts of your natural nail exposed and incorporating it into the design. You can do this by using striping tape or stickers to create geometric shapes or lines on your nails. If you want to add a pop of color to your short nails, try color blocking. This involves painting different sections of your nails with different colors, creating a fun and playful look. You can also add some glitter or metallic accents for extra dimension. Don't forget to seal in your designs with a top coat for a longer lasting manicure.Simple Nail Art Designs for Short Nails

Simple Nail Art Designs for Short Nails

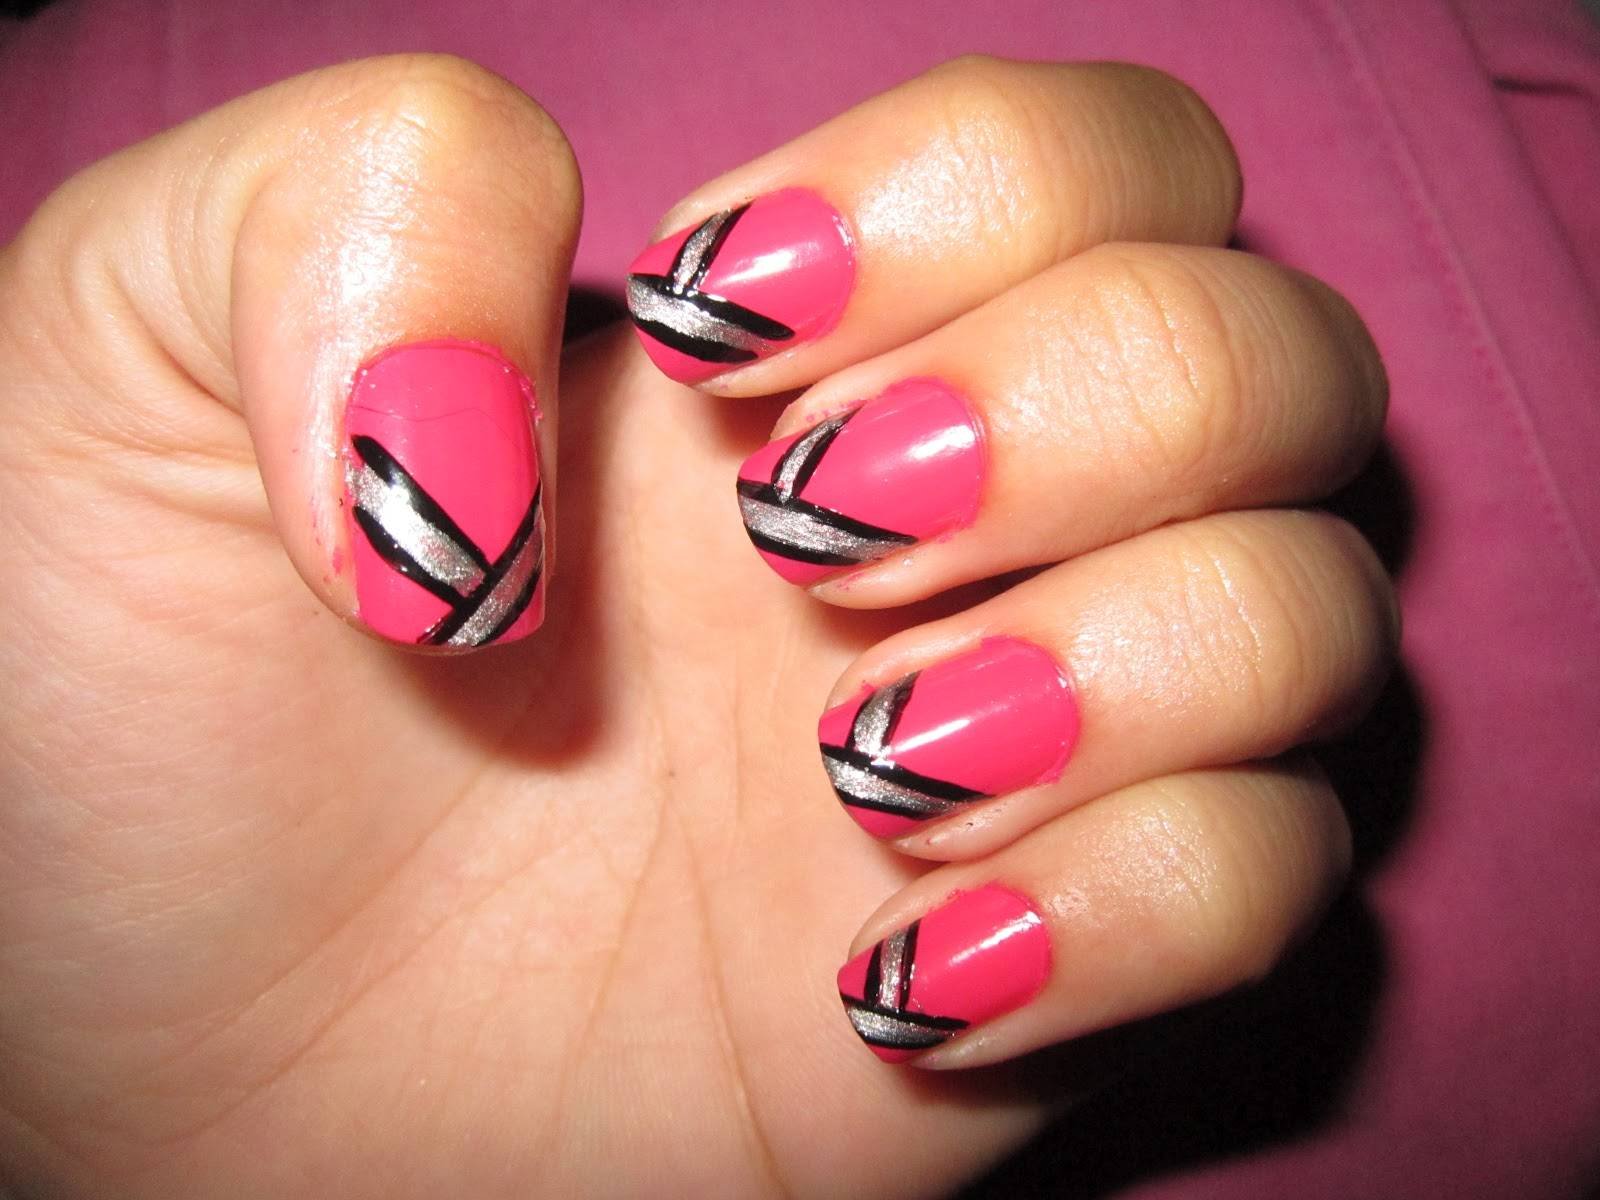


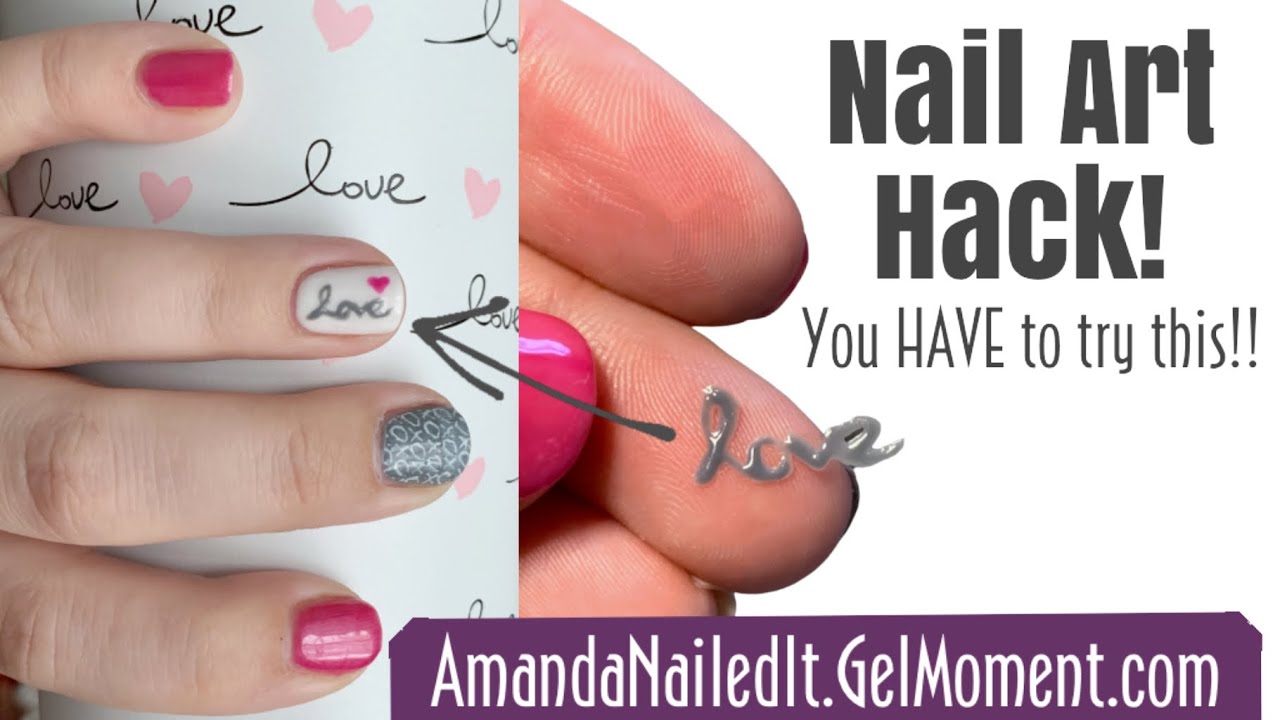
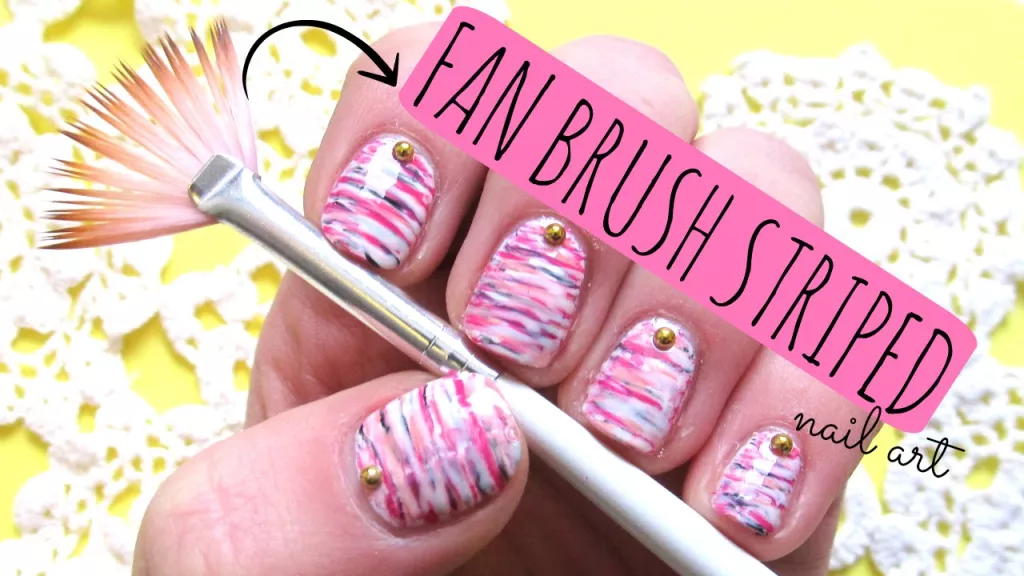
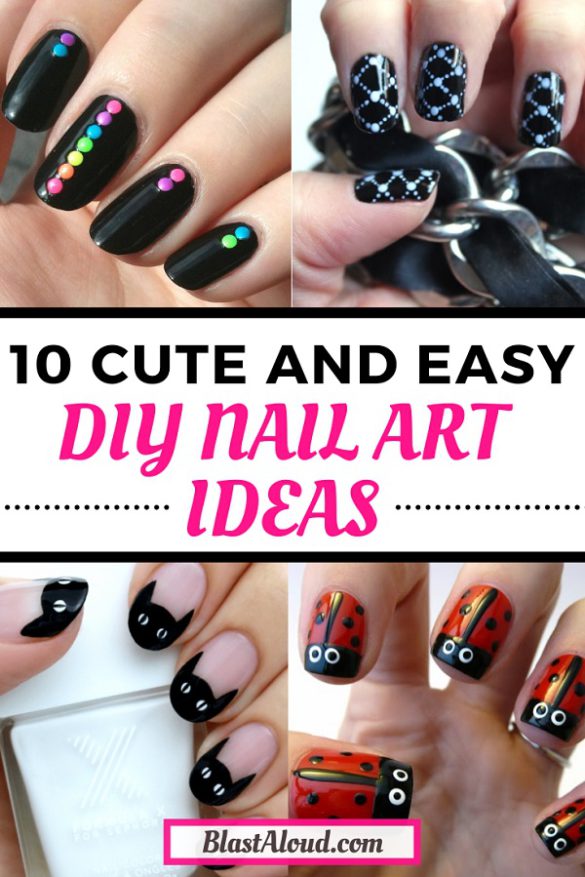
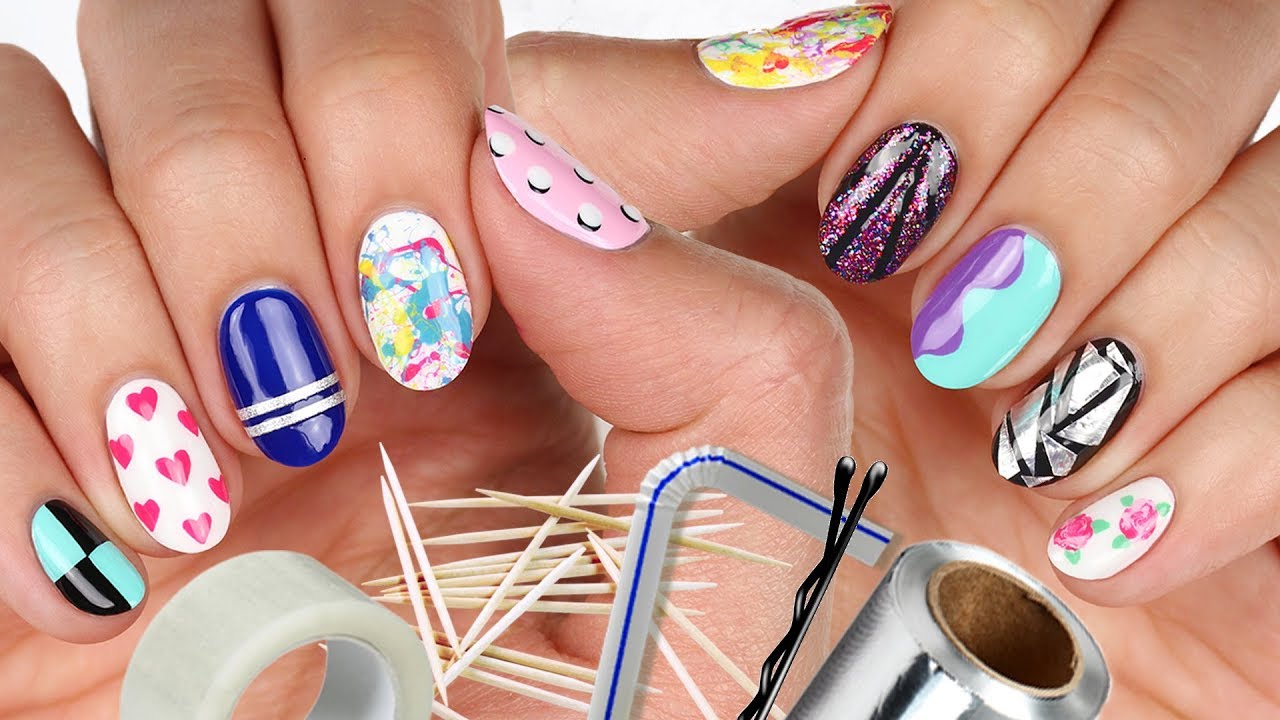
If you're on a budget or just love a good DIY project, these nail art hacks are perfect for you. Reuse old makeup sponges by cutting them into small pieces and using them to create gradient or ombre nail designs. The porous texture of the sponge helps blend the colors seamlessly on your nails. For a marbled effect, use a plastic bag or cling wrap to mix and blend different nail polish colors together. Simply dab the plastic onto your nails to transfer the marbled design. You can also use this technique to create abstract and unique designs. Another fun hack is to use a toothpick to create intricate designs on your nails. Dip the tip of the toothpick into nail polish and use it to create dots, lines, or other patterns on your nails. This is a great way to add a personal touch to your manicure. Remember to always have a clean-up brush on hand to fix any mistakes or smudges. Just dip the brush into nail polish remover and use it to clean up the edges of your nails for a professional looking finish.DIY Nail Art Hacks


DIY Nail Art Hacks


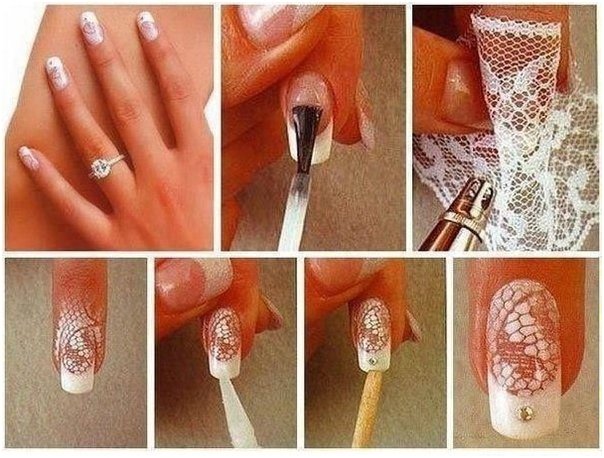


Short on time but still want to rock some cute nail art? These quick and easy tutorials are perfect for those who are always on the go. Use a makeup sponge to create a gradient or ombre effect on your nails. Simply paint different colors onto the sponge and dab it onto your nails for a blended look. You can also create a glitter accent nail for a touch of sparkle and glam. Apply a clear base coat, then dip your nail into a container of loose glitter. Shake off any excess and seal it in with a top coat. Another simple tutorial is to use nail stickers or decals to instantly elevate your manicure. These can be found at most drugstores or beauty supply stores and come in a variety of designs. Simply apply them onto your nails and seal them in with a top coat. With these tutorials, you can have a stylish and eye-catching manicure in no time.Quick and Easy Nail Art Tutorials

Quick and Easy Nail Art Tutorials

:max_bytes(150000):strip_icc()/072922-beauty-nail-art-lead-2000-21de3481261e48a995c855269f9846ad.jpg)

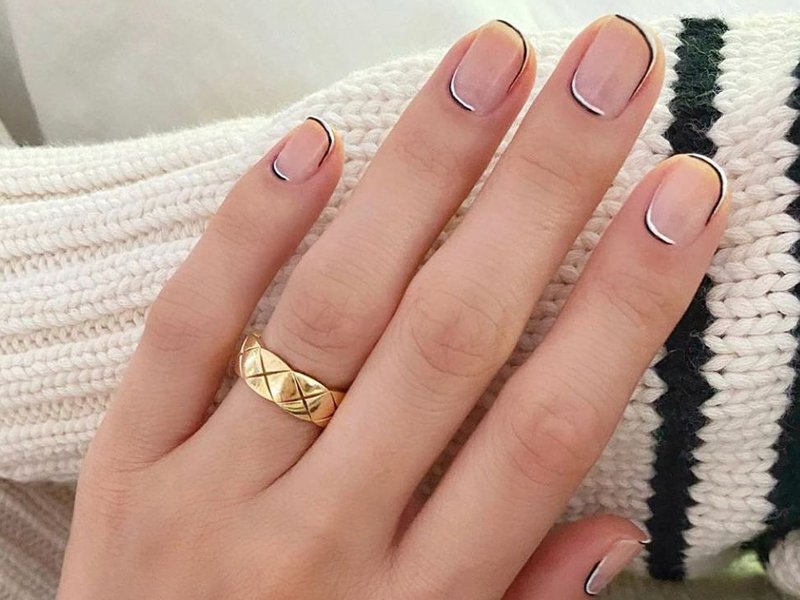
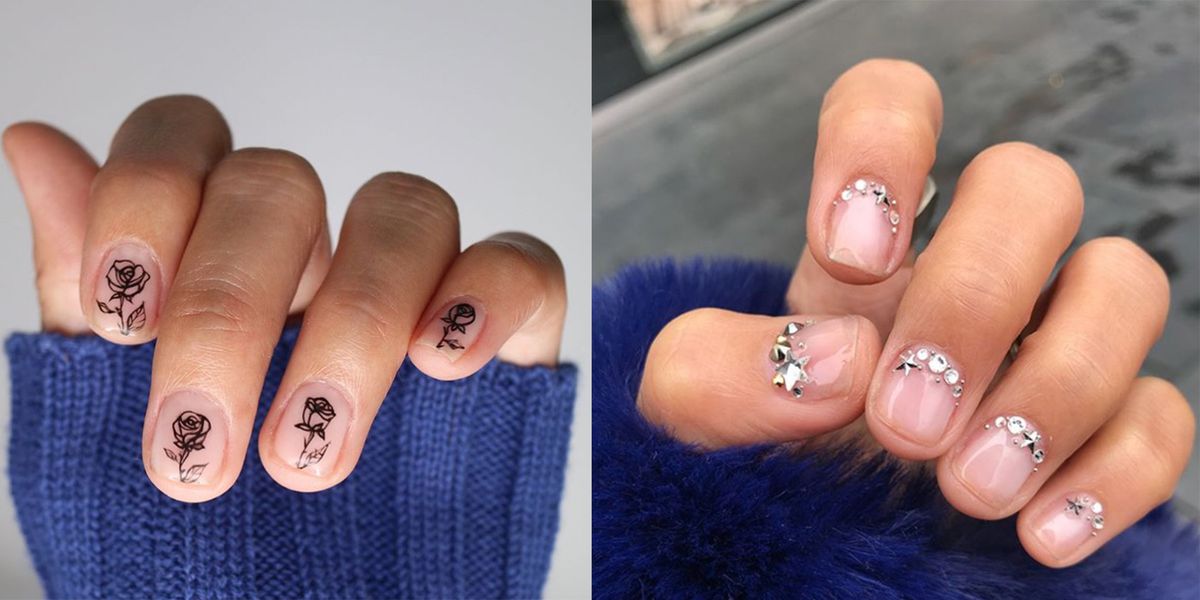
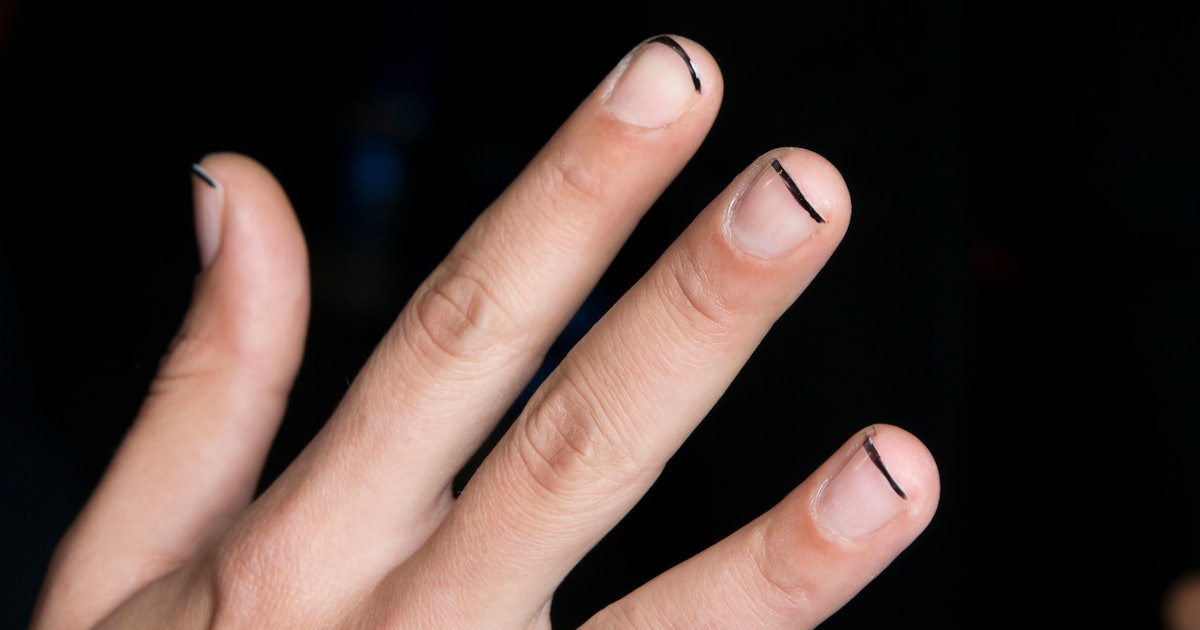
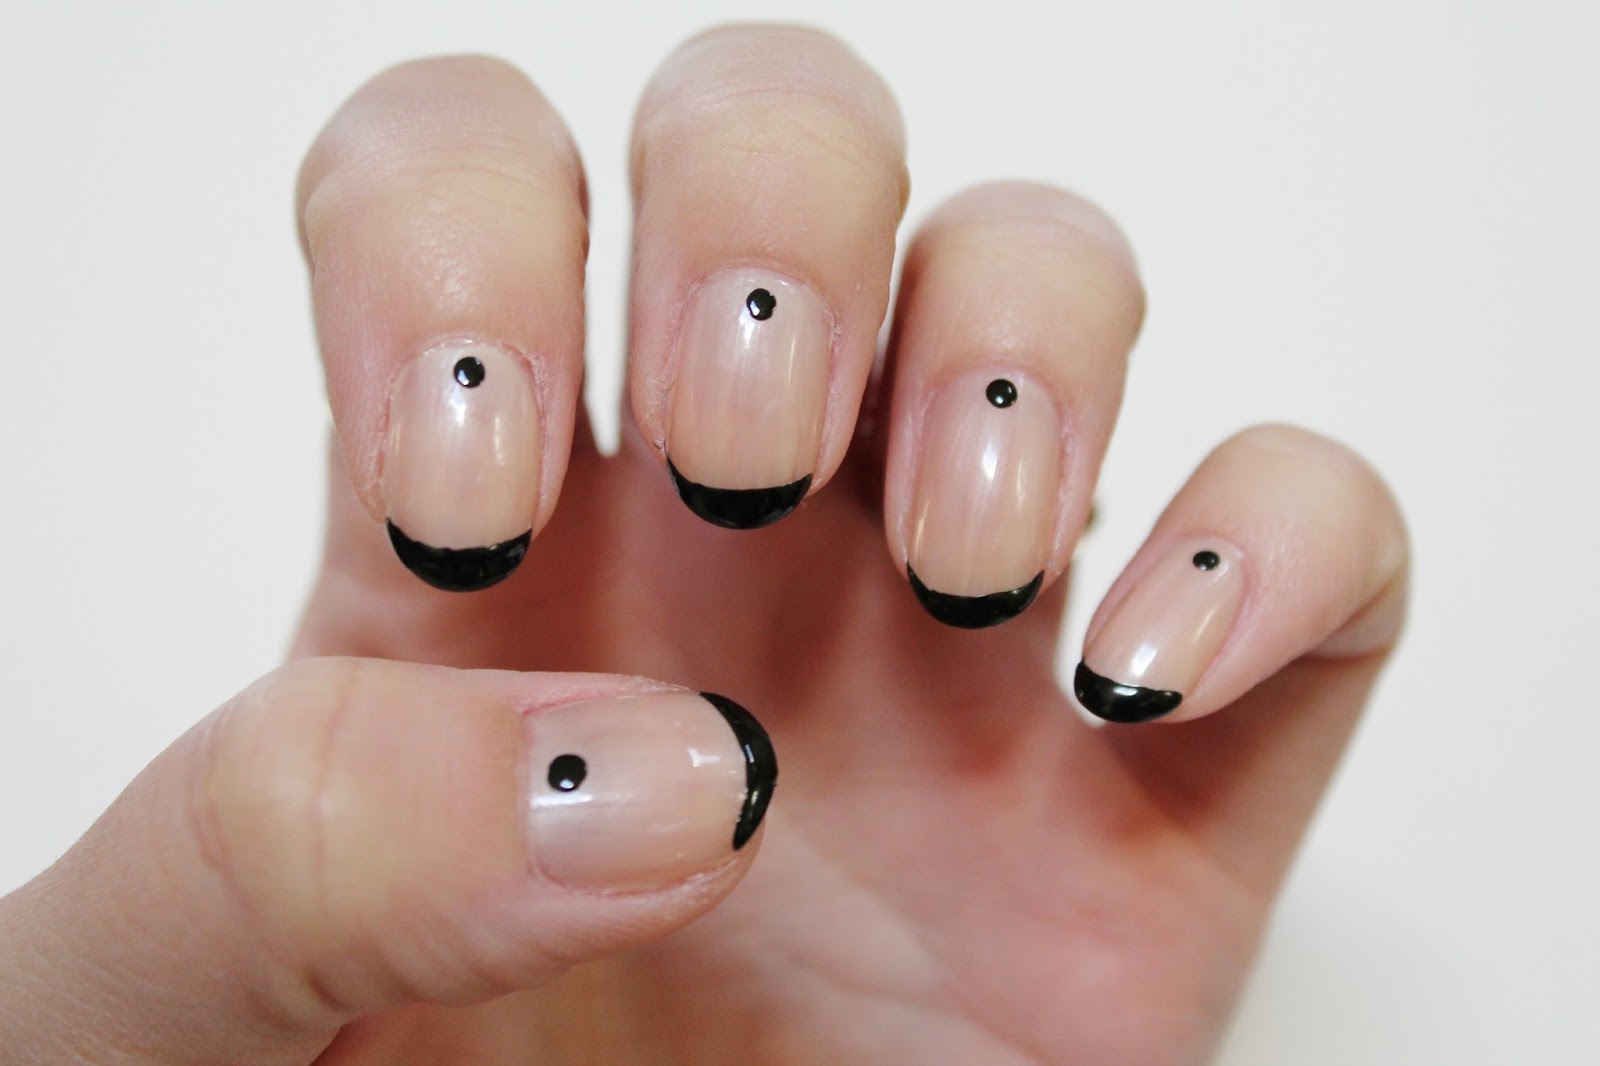
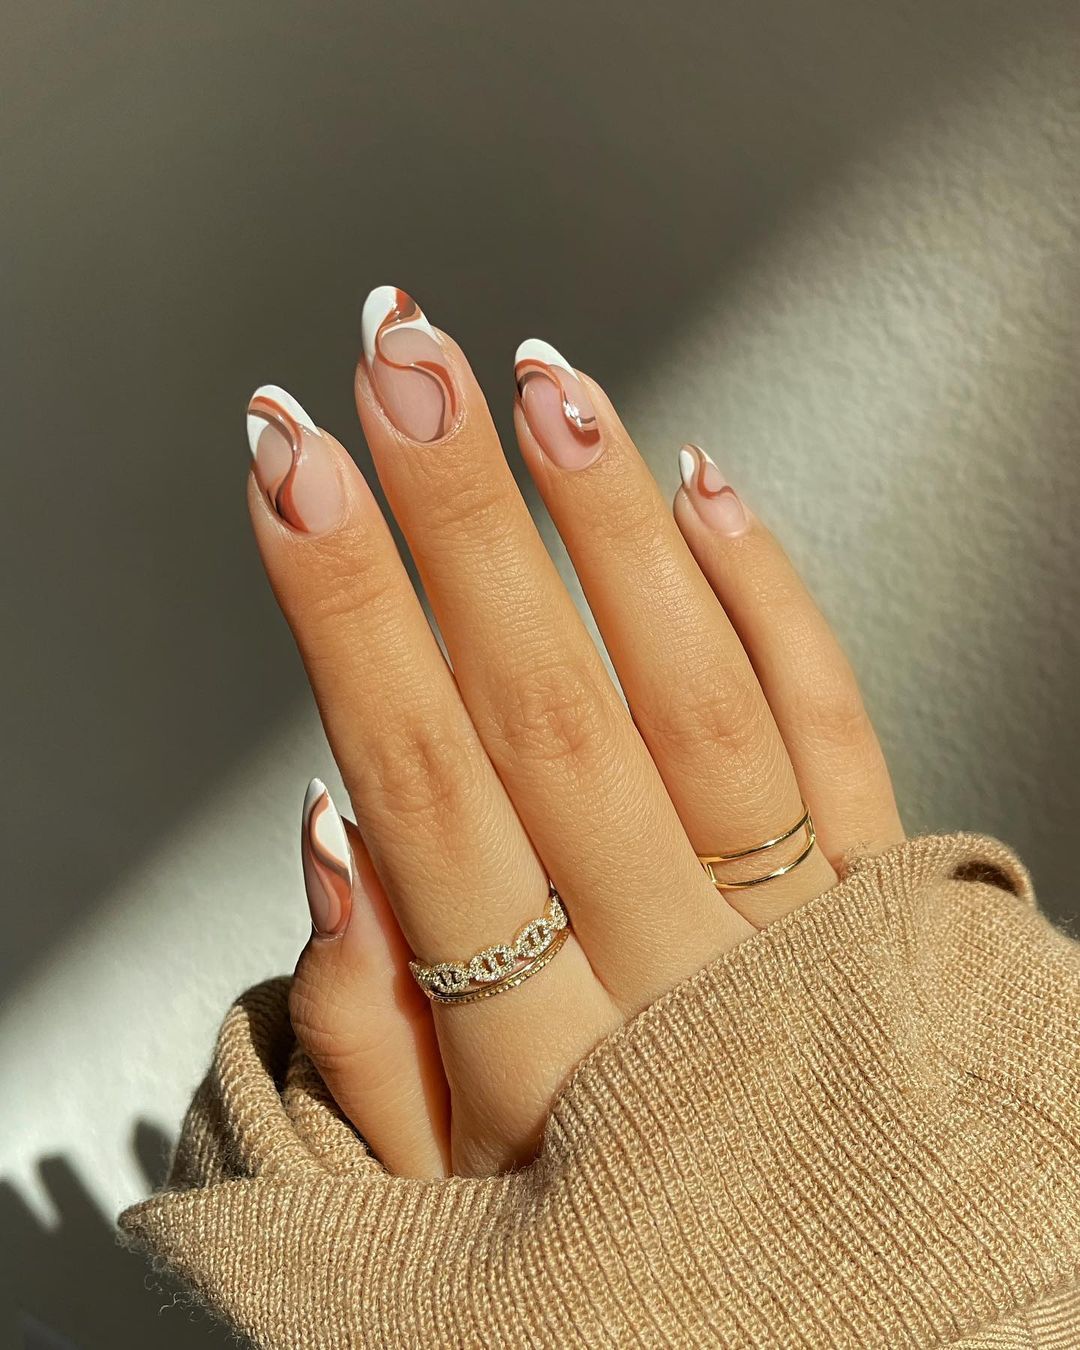
If you prefer a more subtle and understated look, these minimalist nail art ideas are perfect for you. Go for a monochromatic design by using different shades of the same color on your nails. This creates a cohesive and chic look that is still interesting and unique. You can also try a negative space french tip by leaving the tips of your nails bare and painting the rest of your nails with a nude or light color. This is a modern twist on the classic french manicure and adds a touch of elegance to your nails. For a simple yet eye-catching design, try a single line or dot on your nails. This can be done with a striping brush or a toothpick, and adds a subtle detail to your manicure. Remember, less is more when it comes to minimalist nail art. Keep it clean and simple for a sophisticated look.Minimalist Nail Art Ideas


Minimalist Nail Art Ideas


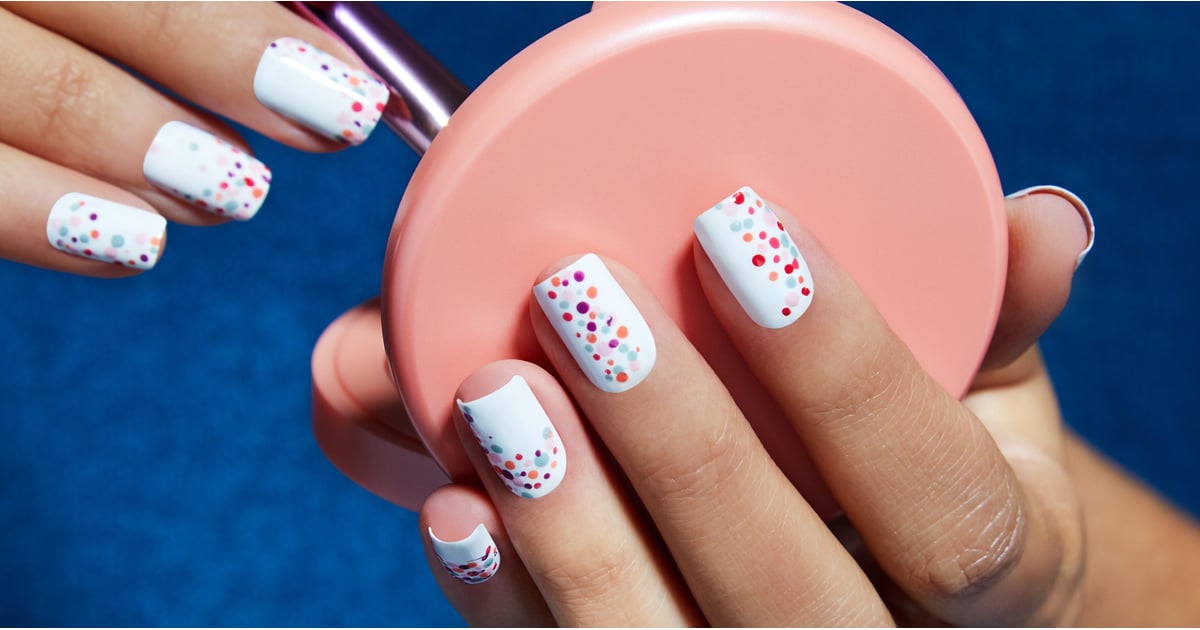
Short on time but still want a cute and polished manicure? These 5-minute nail art solutions are perfect for those busy days. Use nail wraps, which are adhesive stickers that come in various designs and patterns. Simply apply them onto your nails and file off the excess for a quick and easy design. You can also create a polka dot design using a bobby pin. Just dip the round end of the pin into your chosen polish and dab it onto your nails for perfect and evenly sized dots. If you have some loose glitter on hand, simply add it onto your wet nail polish for a glitter gradient. This adds a touch of sparkle to your nails without needing to apply multiple coats of glitter polish. Don't let a busy schedule stop you from having stylish nails!5-Minute Nail Art Solutions


5-Minute Nail Art Solutions


Being a mom can be hectic, but that doesn't mean you can't have pretty nails. These nail art ideas are perfect for busy moms who still want to add a touch of fun to their manicure. Use nail stickers for an instant and easy upgrade to your nails. They come in a variety of designs and can be applied in minutes. You can also try a simple geometric design by using striping tape or stickers to create clean and modern lines on your nails. This adds a touch of sophistication to your manicure without needing to spend a lot of time on it. If you want to add some color to your nails, try a color block design using a few different nail polishes. This is a quick and easy way to add some interest to your nails without needing to create intricate designs. With these ideas, busy moms can still have stylish nails without taking up too much time.Nail Art for Busy Moms


Nail Art for Busy Moms


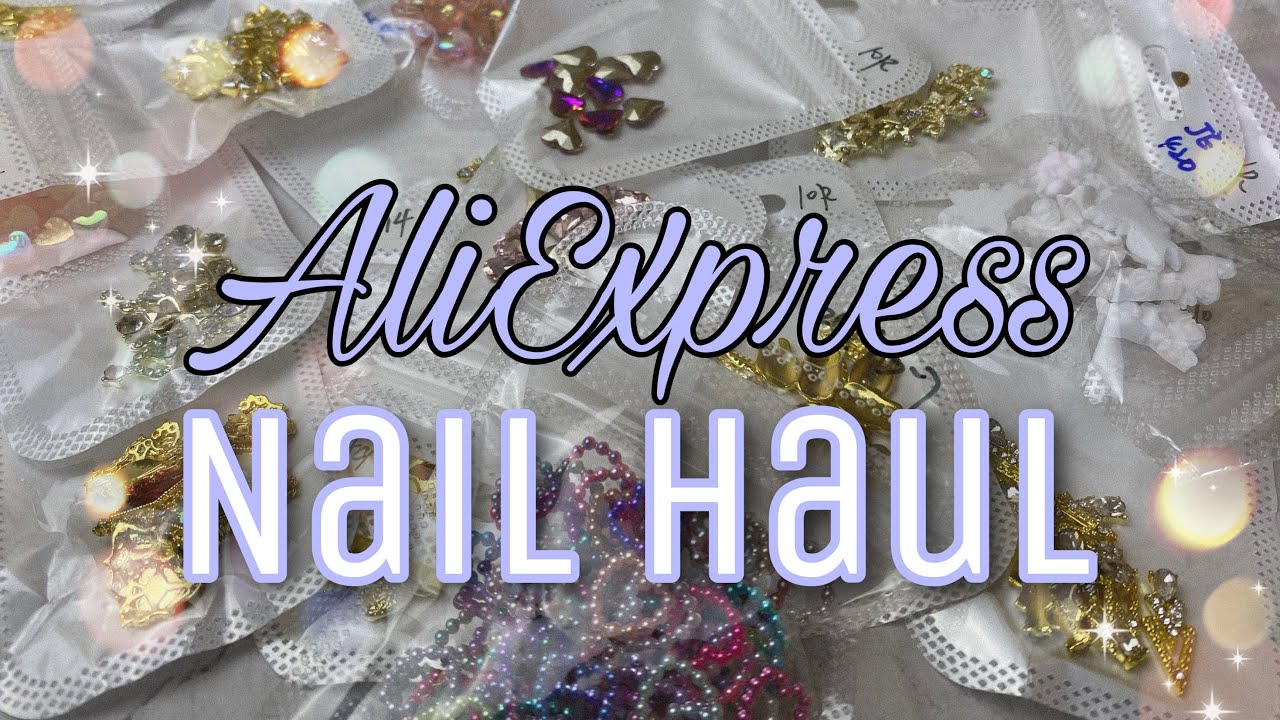
Nail art doesn't have to break the bank. There are many affordable nail art supplies that can help you achieve a professional looking manicure at home. Invest in a good quality base coat and top coat to help your manicure last longer and protect your natural nails. You can also find nail art brushes at affordable prices, which can help you create intricate designs and patterns on your nails. These can be found at most drugstores or beauty supply stores. If you want to add some bling to your nails, try using rhinestones or sequins. They can be found at craft stores or online at a low cost and instantly add glamour to your manicure. Remember, you don't need to spend a lot to achieve beautiful nail art.Affordable Nail Art Supplies


Affordable Nail Art Supplies


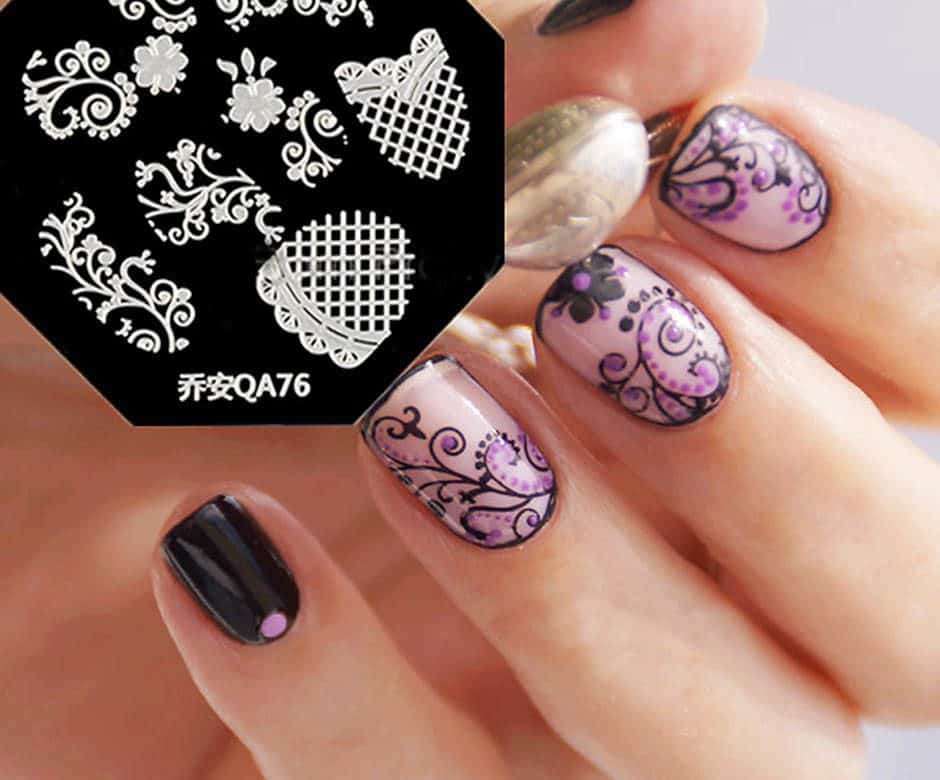
Nail art stamping is a great way to create intricate and detailed designs on your nails without needing to have a steady hand. Invest in a good quality stamping kit that comes with a stamper, scraper, and metal plates with various designs to choose from. Start by applying a layer of nail polish onto the desired design on the metal plate, then use the scraper to remove the excess polish. Quickly press the stamper onto the design, then transfer it onto your nail for a clean and precise pattern. You can also use nail art tape in combination with stamping to create multi-colored designs. Simply apply different colors of polish onto the design on the metal plate, then use the tape to create stripes or other patterns before stamping it onto your nail. With stamping, you can achieve intricate and professional looking designs with ease.Nail Art Stamping Techniques

Nail Art Stamping Techniques


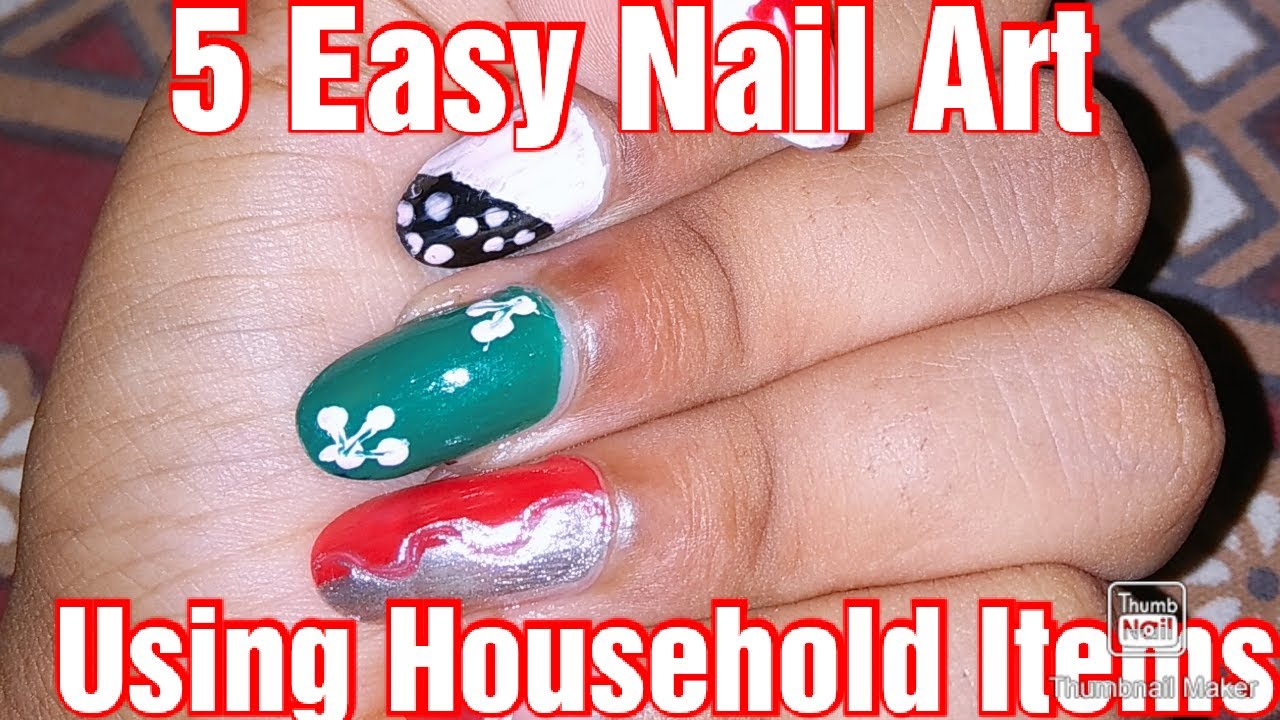
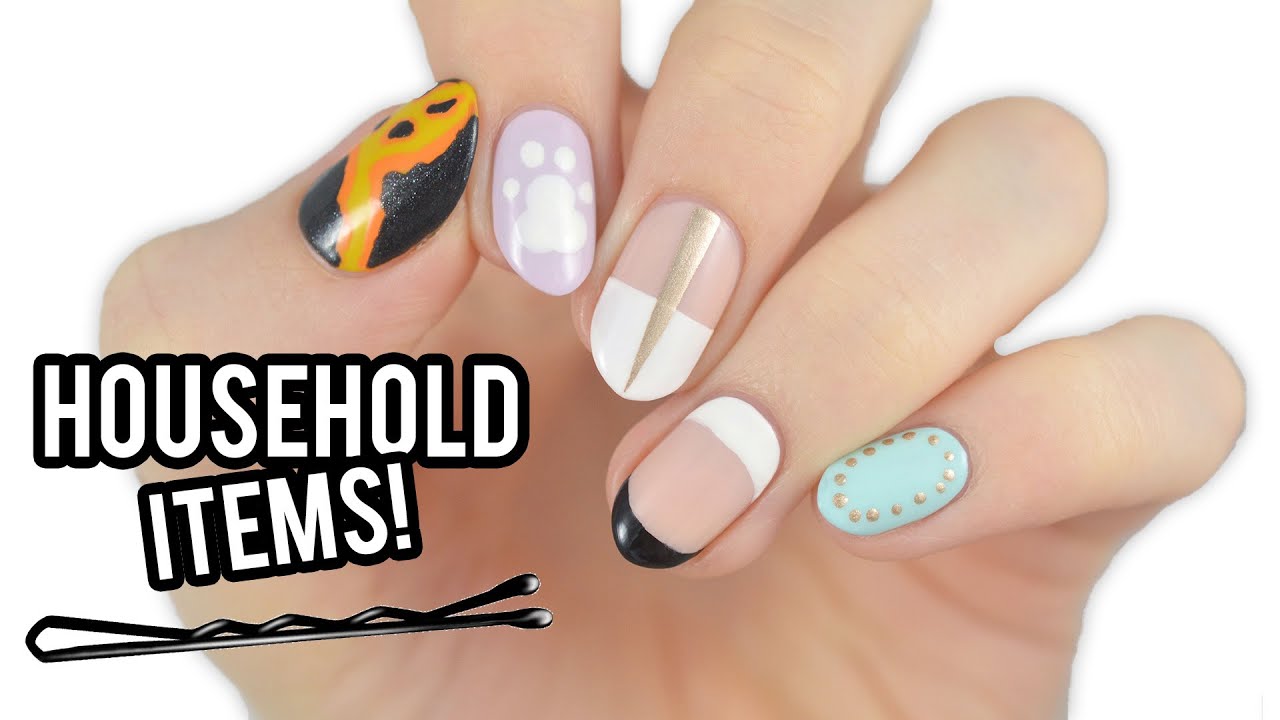
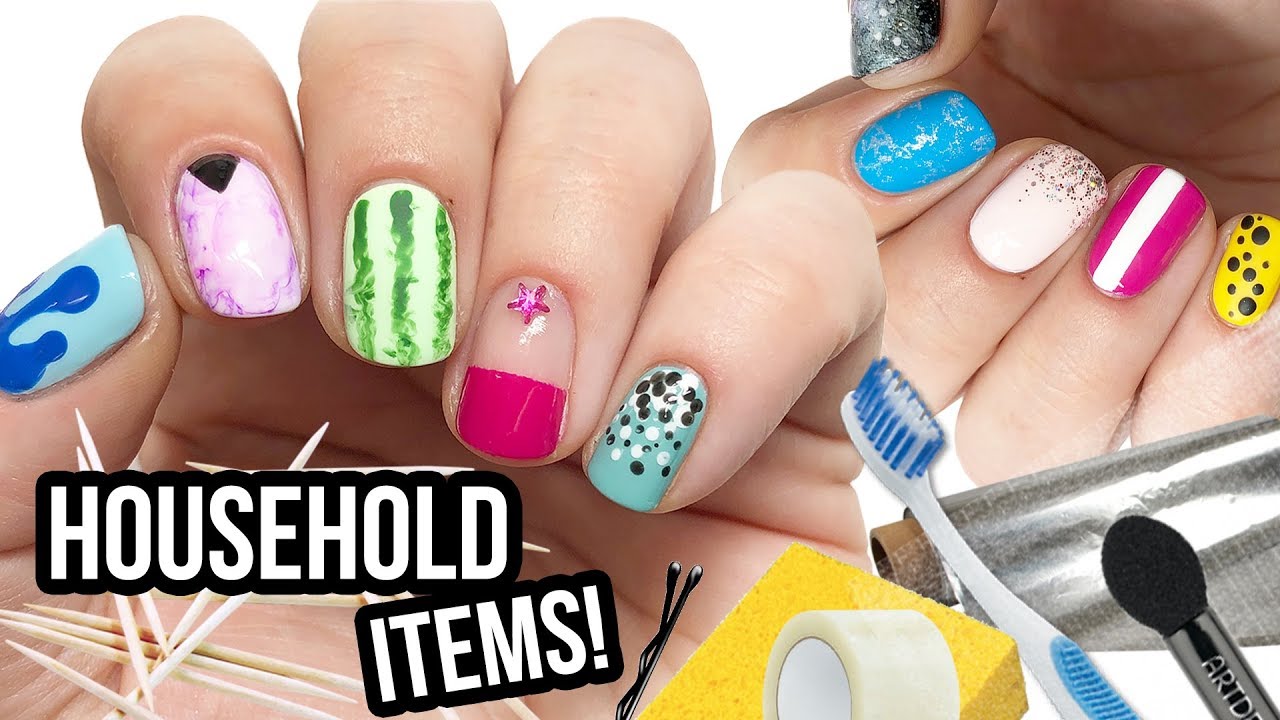
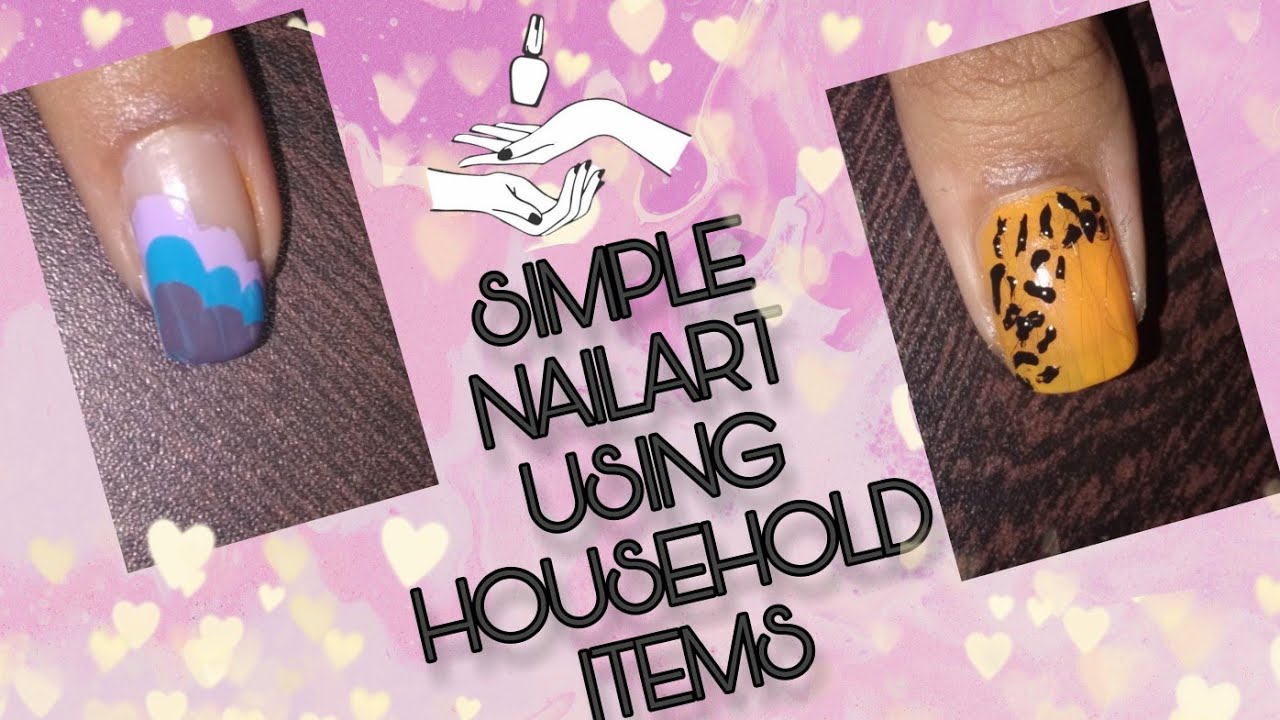
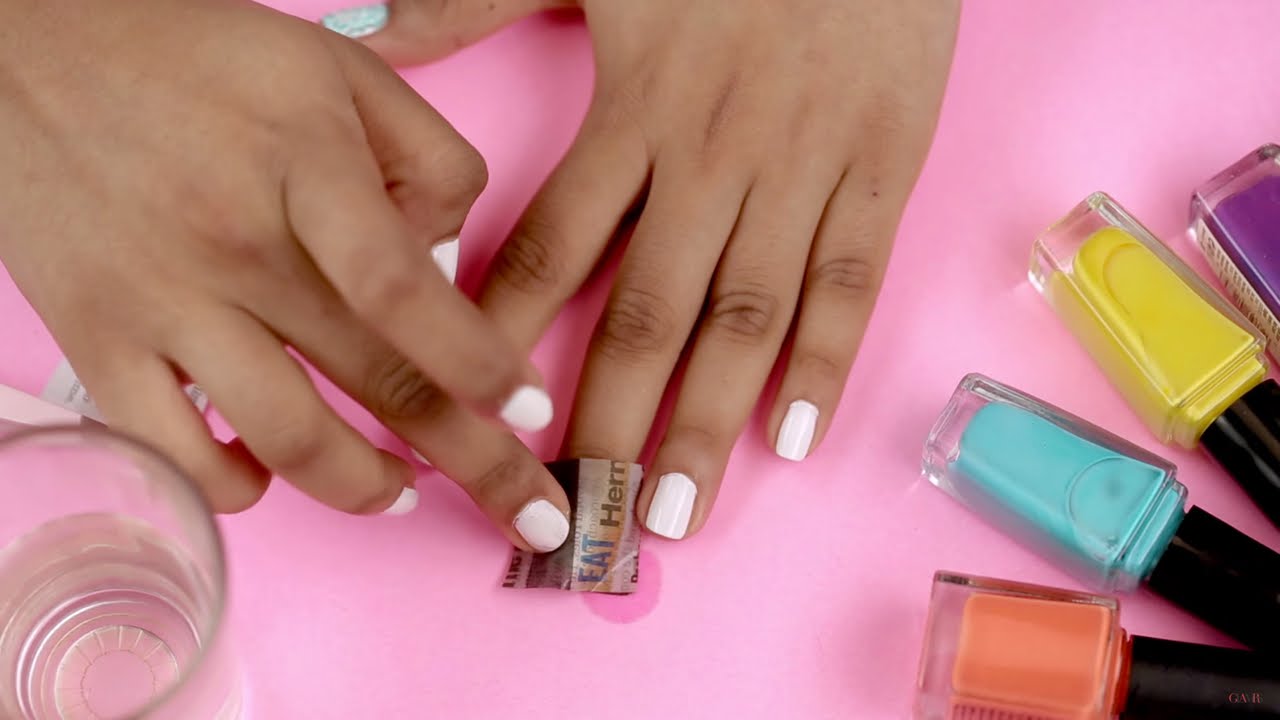
Don't have any nail art supplies on hand? No problem! There are many household items that can be used to create unique and fun nail designs. Use a toothbrush to create a splatter effect on your nails by dipping the bristles into nail polish and quickly flicking it onto your nails. You can also use cotton swabs to create small and precise dots on your nails. Simply dip the end of the swab into your chosen polish and dab it onto your nails. For a tie-dye effect, use a plastic bag or saran wrap to blend different colors of nail polish on your nails. Simply dab the plastic onto your nails for a unique and abstract design. With these household items, you can create fun and creative nail art without spending a dime.Nail Art Using Household Items

Nail Art Using Household Items


Create an Eye-Catching Design with Simple Nail Art

Add a Personal Touch to Your Home with Easy Nail Art Techniques
 Are you looking for a quick and affordable way to spice up your home's design? Look no further than your own fingertips. Nail art is not just for your nails anymore, it can also be used as a fun and unique way to add some personality to your living space.
Nail art has become a popular trend in the beauty industry, with endless possibilities for designs and styles. But did you know that you can also use these techniques to add a touch of creativity to your home? With a few simple steps, you can transform your plain walls, furniture, or even household items into eye-catching pieces of art.
One of the easiest ways to incorporate nail art into your home design is by using
stencils
. These are pre-made designs that you can easily apply to any surface with the help of a brush or sponge. You can find a variety of stencils with different patterns and designs, making it easy to find one that suits your personal style.
Decals
are another great option for adding some flair to your home. These are small stickers that come in a variety of shapes and designs. They can be easily applied to any surface, and are a great way to add some color and personality to your walls, furniture, or even your
home accessories
.
If you are feeling more adventurous, you can try
freehand nail art
techniques on your walls. This involves using a thin brush or even a toothpick to create intricate designs directly on the surface. This method allows for more creativity and customization, and can result in a truly unique and one-of-a-kind design.
Not only is nail art a fun and easy way to add some personality to your home, but it is also a
cost-effective
solution. You can use materials that you already have at home, such as nail polish, or purchase a few inexpensive supplies from your local craft store.
Incorporating nail art into your home design is a great way to
express your individuality
and add a personal touch to your living space. With the endless possibilities and budget-friendly options, there is no reason not to give it a try. So go ahead, grab your nail polish and unleash your creativity on your home's design.
Are you looking for a quick and affordable way to spice up your home's design? Look no further than your own fingertips. Nail art is not just for your nails anymore, it can also be used as a fun and unique way to add some personality to your living space.
Nail art has become a popular trend in the beauty industry, with endless possibilities for designs and styles. But did you know that you can also use these techniques to add a touch of creativity to your home? With a few simple steps, you can transform your plain walls, furniture, or even household items into eye-catching pieces of art.
One of the easiest ways to incorporate nail art into your home design is by using
stencils
. These are pre-made designs that you can easily apply to any surface with the help of a brush or sponge. You can find a variety of stencils with different patterns and designs, making it easy to find one that suits your personal style.
Decals
are another great option for adding some flair to your home. These are small stickers that come in a variety of shapes and designs. They can be easily applied to any surface, and are a great way to add some color and personality to your walls, furniture, or even your
home accessories
.
If you are feeling more adventurous, you can try
freehand nail art
techniques on your walls. This involves using a thin brush or even a toothpick to create intricate designs directly on the surface. This method allows for more creativity and customization, and can result in a truly unique and one-of-a-kind design.
Not only is nail art a fun and easy way to add some personality to your home, but it is also a
cost-effective
solution. You can use materials that you already have at home, such as nail polish, or purchase a few inexpensive supplies from your local craft store.
Incorporating nail art into your home design is a great way to
express your individuality
and add a personal touch to your living space. With the endless possibilities and budget-friendly options, there is no reason not to give it a try. So go ahead, grab your nail polish and unleash your creativity on your home's design.


