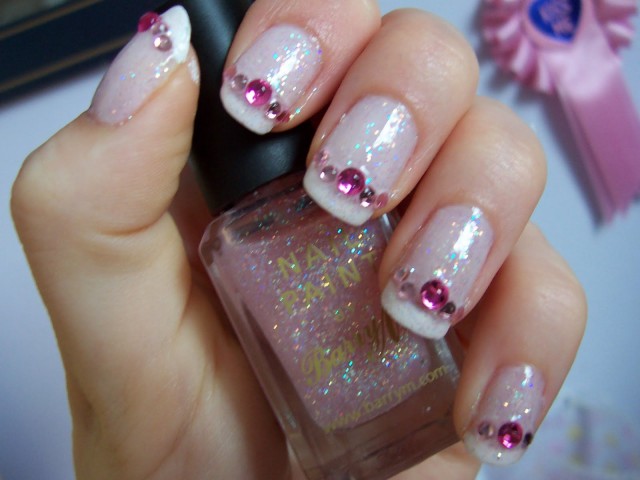
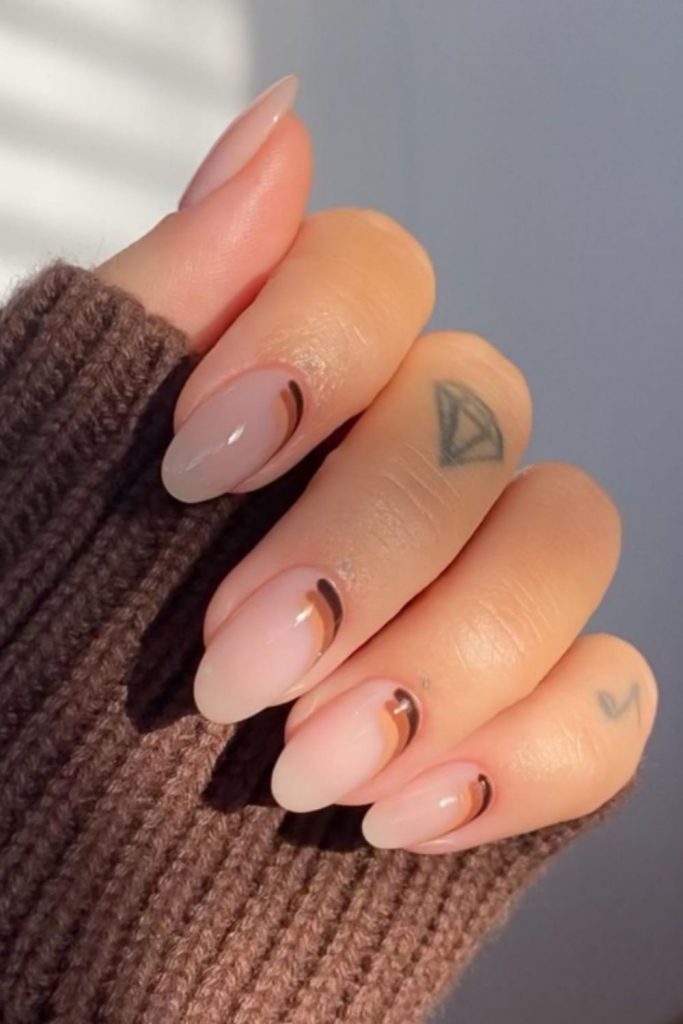
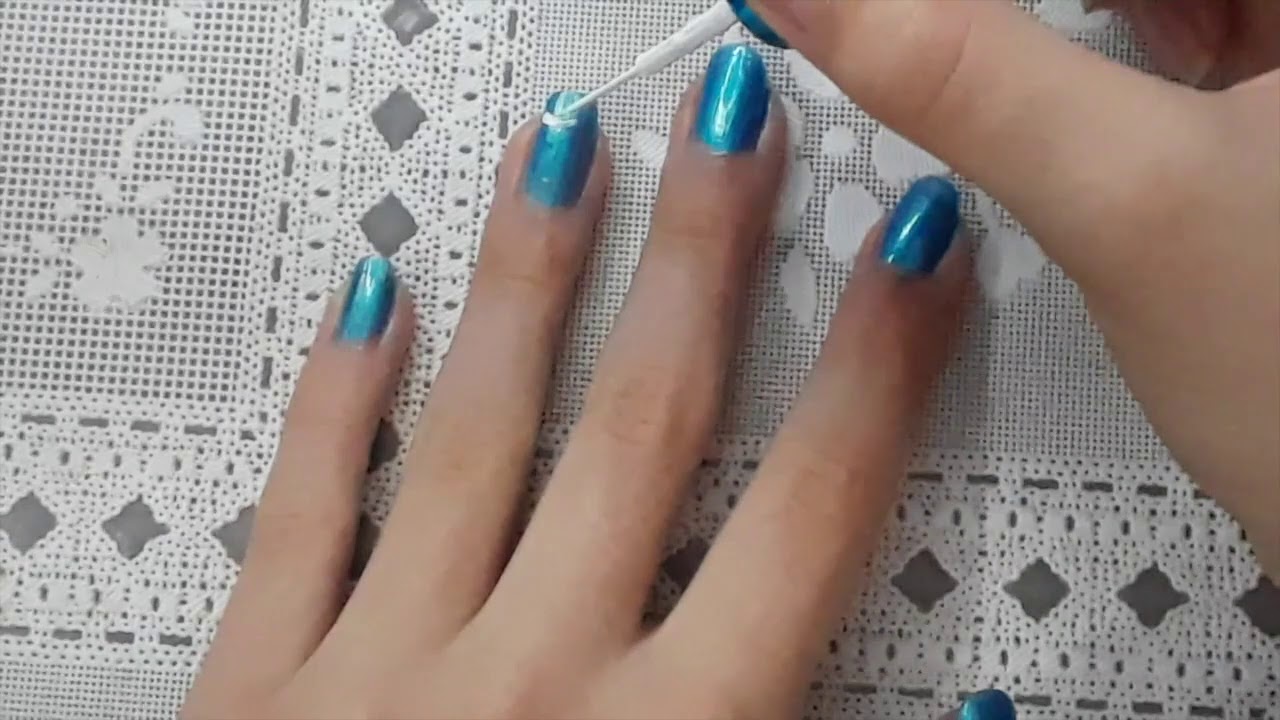
If you're looking to add some sparkle to your next manicure, why not try incorporating gems into your nail art? Not only are gemstones a beautiful addition to any design, they're also easy to work with and can create stunning results. Follow our simple tutorial to learn how to create your own easy gem nail art. First, gather your materials. You'll need a base coat, colored nail polish of your choice, top coat, and of course, gems. You can find these at your local beauty supply store or even online. Make sure to choose gems that are small enough to fit on your nails and have a flat back for easy application. Next, apply your base coat and let it dry completely. This will help your nail polish adhere better and make your gems last longer. Once your base coat is dry, apply your chosen nail polish color and let it dry completely. For a fun twist, try using a shimmery or metallic polish to really make your gems stand out. When your polish is dry, it's time to add the gems. Using a pair of tweezers or a dotting tool, carefully pick up your gems and place them on your nails. You can create a pattern or simply place them randomly for a more natural look. Once you're happy with the placement, gently press down on the gems to secure them in place. Finally, seal your design with a top coat to protect your gems and give your manicure a glossy finish. And that's it! You now have a beautiful and easy gem nail art design to show off.1. Easy Gem Nail Art Tutorial


1. Easy Gem Nail Art Tutorial


:max_bytes(150000):strip_icc()/072922-beauty-nail-art-lead-2000-21de3481261e48a995c855269f9846ad.jpg)


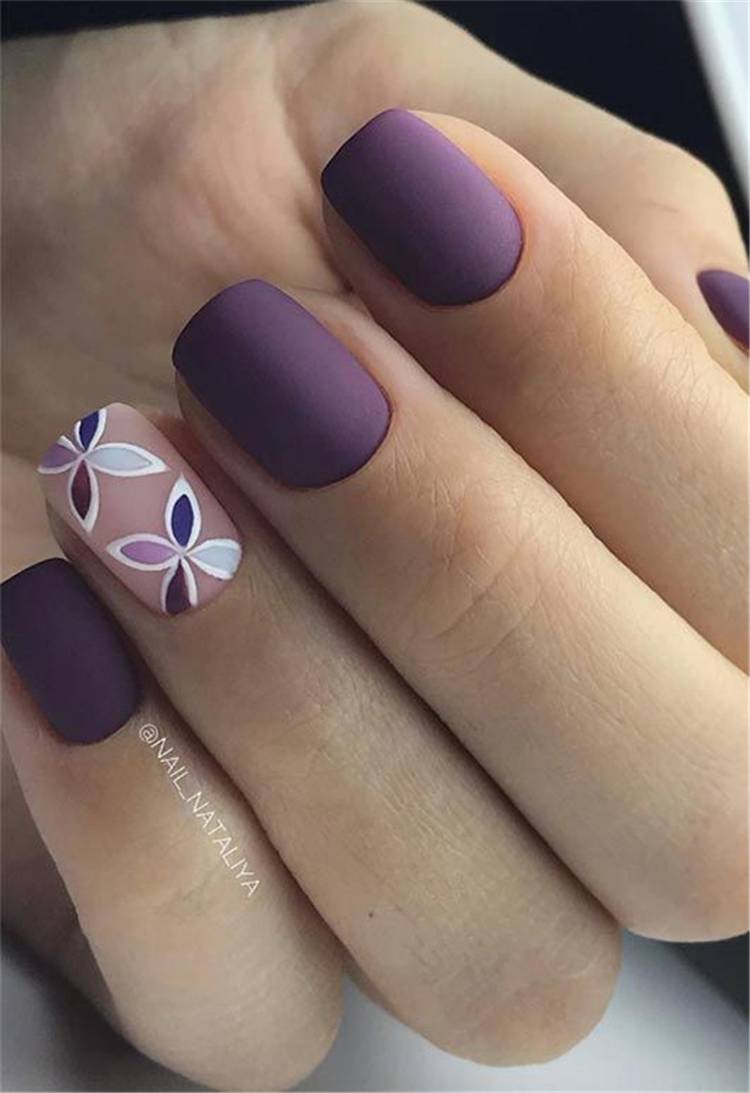
If you want to add some glamour to your nails without spending hours on intricate designs, a simple gemstone nail design is the way to go. This design is perfect for those who want a subtle yet eye-catching manicure. Follow these steps to create your own gemstone nail design. Start by prepping your nails with a base coat, then apply a nude or neutral colored polish as your base. Once it's dry, use a small dotting tool or toothpick to dab on a few drops of a different colored polish in random spots on your nails. This will create a marbled effect. Next, take your gems and place them in the center of each drop of polish. You can use one color or mix and match for a colorful look. Once the gems are in place, use a top coat to seal them in and give your nails a polished finish. This simple gemstone nail design is perfect for any occasion and can be customized to match your personal style. It's a quick and easy way to add a touch of elegance to your manicure.2. Simple Gemstone Nail Design


2. Simple Gemstone Nail Design


Do you love the look of gem nail art but think it's too complicated to do yourself? Think again! With a few simple tools and some practice, even beginners can create beautiful DIY gem nail art. Here's how. Start by choosing your base color. For beginners, it's best to stick with a light or pastel shade to make the gems stand out. Apply your base coat and let it dry completely. Next, using a dotting tool or toothpick, create a polka dot pattern on your nails using a different colored polish. This will serve as the base for your gems. Once your dots are dry, use a pair of tweezers to pick up your gems and place them on top of the dots. You can use as many or as few gems as you'd like, but be sure to leave some space between them so they don't look too crowded. Finish off with a top coat to secure your gems and give your nails a glossy finish. With a little practice, you'll be a DIY gem nail art pro in no time. This design is perfect for beginners as it's simple yet still makes a statement.3. DIY Gem Nail Art for Beginners


3. DIY Gem Nail Art for Beginners


Short on time but still want to add some sparkle to your nails? These quick and easy gem nail designs are the perfect solution. With minimal effort, you can have a beautiful manicure that will have everyone asking where you got it done. One option is to create a half-moon design on your nails and place gems along the curve. Start by applying a base coat, then use a hole reinforcement sticker to create a half-moon shape at the base of your nail. Fill in the area with a contrasting color, then carefully remove the sticker. Place gems along the curve of the half-moon and seal with a top coat. Another quick and easy option is to create a reverse French tip design. Apply a base coat, then use a small brush or striping tape to create a thin line of color at the tip of your nail. Fill in the area with a contrasting color, then place gems along the edge of the colored tip. Finish with a top coat to seal. These gem nail designs are perfect for when you're short on time but still want to add a bit of sparkle to your look.4. Quick and Easy Gem Nail Designs


4. Quick and Easy Gem Nail Designs


/ScreenShot2020-01-13at1.02.35PM-f3cc8a0d04b748e9ab7aaa185aab409b.png)
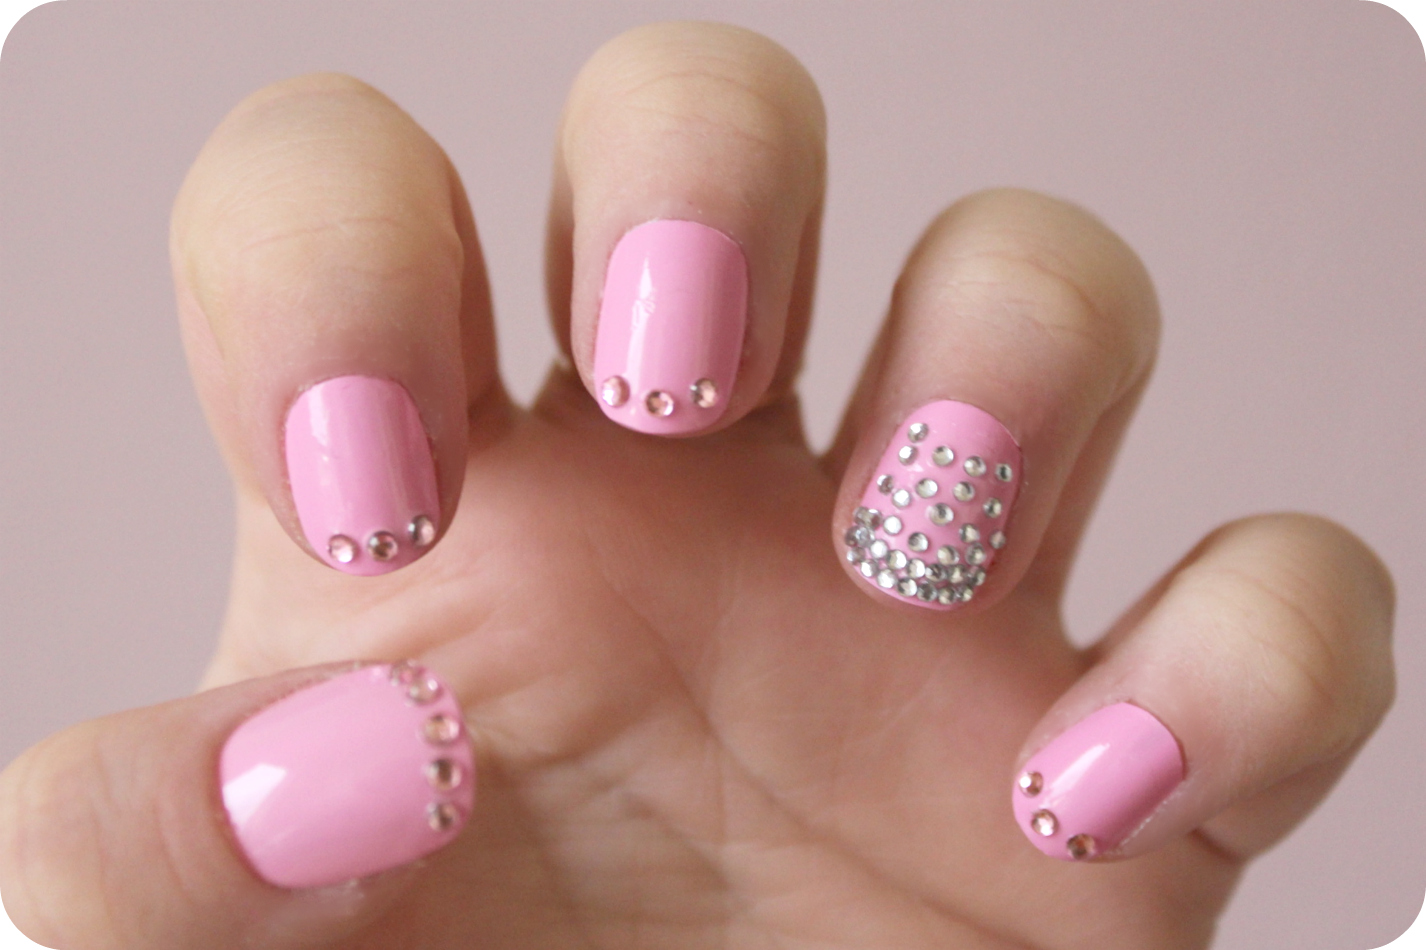
Want to add a touch of bling to your manicure without going overboard? An accent nail with gems is the perfect solution. This tutorial will teach you how to create a gem accent nail that will take your manicure to the next level. Start by painting your nails with a base color of your choice. When it's dry, choose one nail to be your accent nail. Apply a second coat of polish to this nail, then use a pair of tweezers to place a single gem in the center. You can use a large gem for a dramatic look or a small gem for a more subtle touch of sparkle. Next, use a dotting tool or toothpick to create a few polka dots around the gem. These dots will serve as a base for smaller gems. Place smaller gems on top of the dots, then seal with a top coat. This gem accent nail is a unique and eye-catching addition to any manicure.5. Gem Accent Nail Tutorial


5. Gem Accent Nail Tutorial

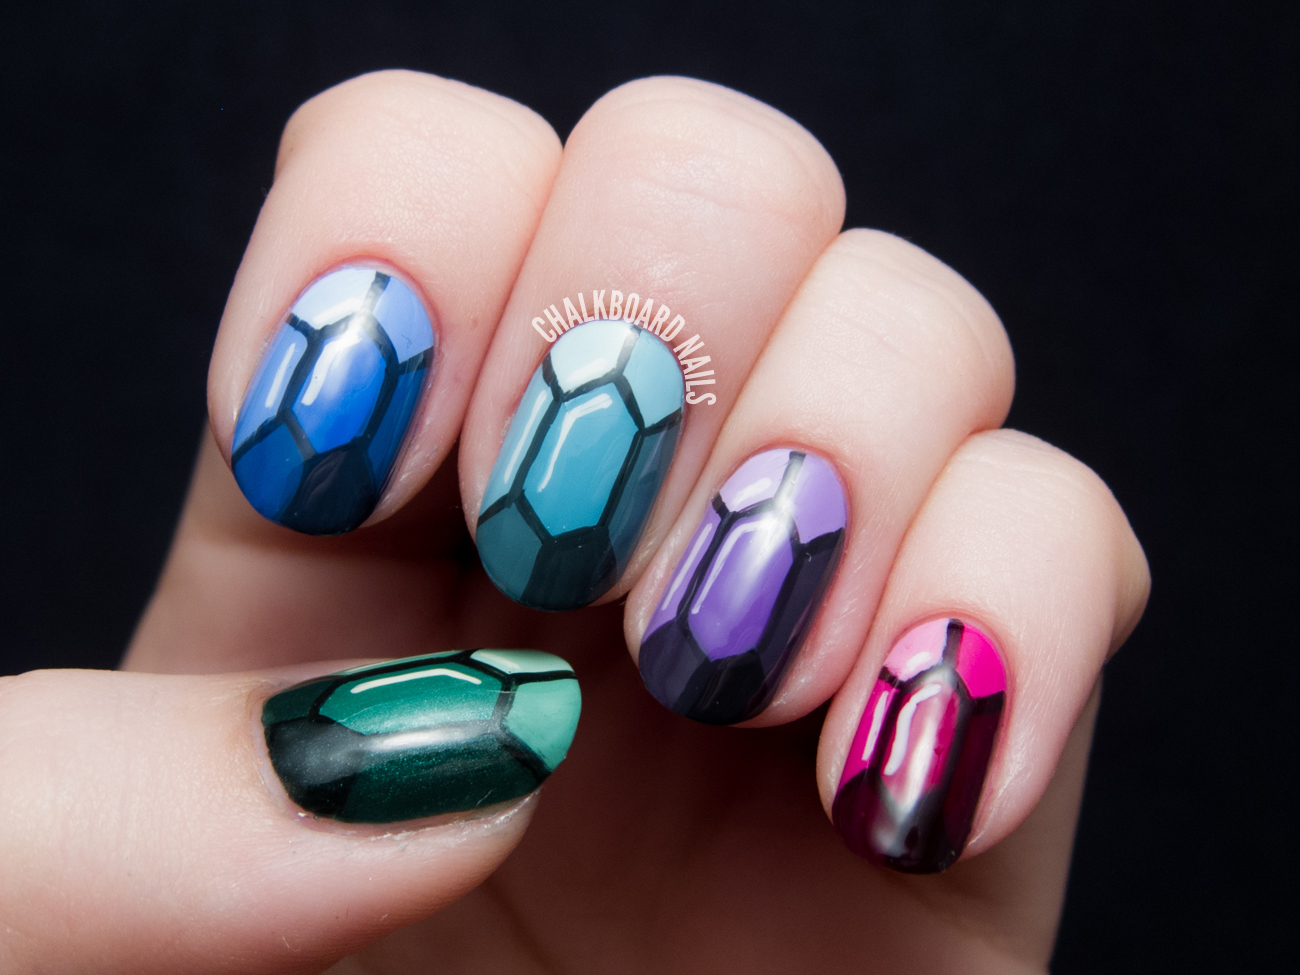
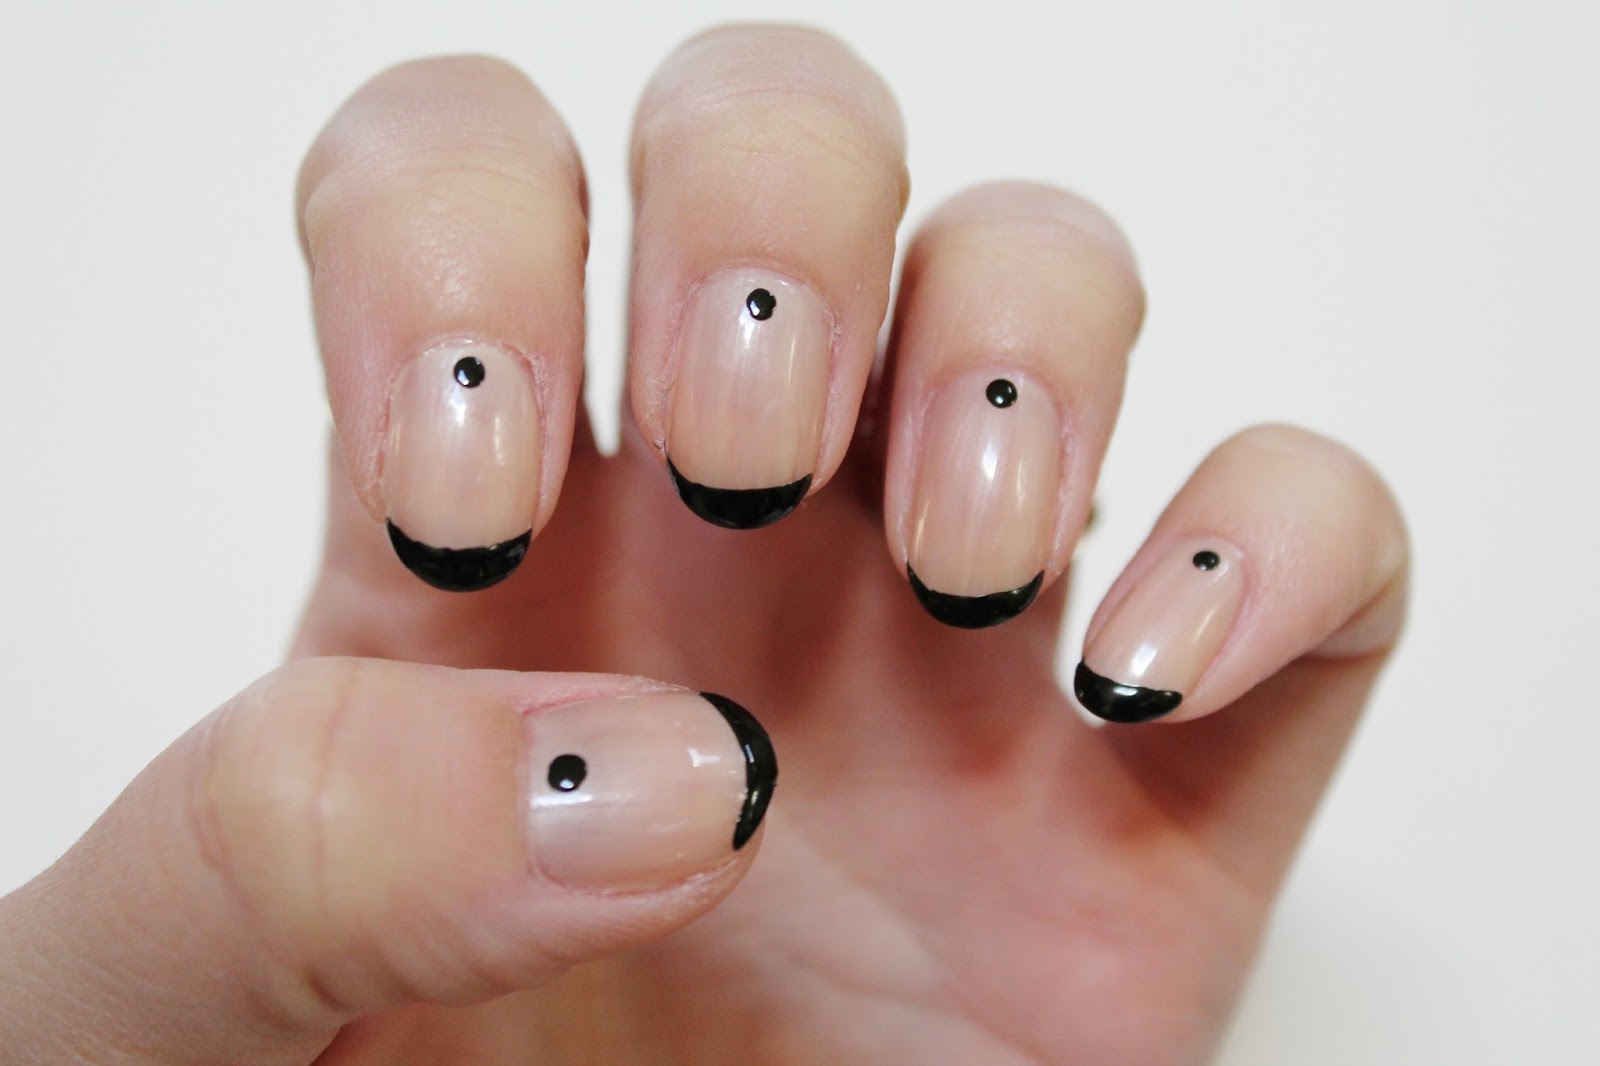
If you prefer a more subtle and understated look, minimalist gem nail art may be just what you're looking for. These designs use gems in a simple yet striking way, creating a chic and elegant look. One idea is to create a single gemstone accent on each nail. This adds a touch of sparkle without being too overpowering. Another option is to create a line of gems along one side of each nail, creating a vertical accent that elongates the look of your nails. You can also use gems to create negative space designs. Simply place gems along the edges of your nails, leaving a blank space in the middle. This creates a modern and sophisticated look that is perfect for any occasion. Whether you prefer a minimalist or more dramatic look, these gem nail art ideas are sure to make a statement.6. Minimalist Gem Nail Art Ideas


6. Minimalist Gem Nail Art Ideas


Think you can't rock gem nail art on short nails? Think again! With the right techniques, even those with shorter nails can create beautiful gemstone manicures. Here's how. Start by choosing a light or pastel colored base coat. This will make your gems stand out more. Once it's dry, use a dotting tool or toothpick to create a gradient effect using a different colored polish. This means starting with a few dots near the base of your nail, then gradually adding more as you move towards the tip. Next, place gems along the gradient as desired. You can create a line of gems along the gradient or randomly place them for a more natural look. Finish with a top coat to seal your gems in place. This gemstone nail art for short nails is a creative and fun way to add some sparkle to your manicure.7. Gemstone Nail Art for Short Nails

7. Gemstone Nail Art for Short Nails


If you want a subtle yet unique nail design, try a simple gem placement design. This technique involves placing gems in a random or symmetrical pattern on your nails, creating a minimalist and modern look. Start by painting your nails with a base color of your choice. When it's dry, use a pair of tweezers to place gems on your nails. You can create a random pattern or place them in a symmetrical shape, such as a triangle or square. Finish with a top coat to secure the gems. This simple gem placement nail design is perfect for those who want to add a touch of glamour to their manicure without going over the top.8. Simple Gem Placement Nail Design


8. Simple Gem Placement Nail Design


Put a twist on the classic French manicure by incorporating gems into the design. This gem French tip nail tutorial will teach you how to create a chic and modern version of this timeless look. Start by painting your nails with a base coat, then use a white polish to create a traditional French tip on each nail. Once it's dry, use a dotting tool or toothpick to create dots along the edge of the white tip using a different colored polish. Place a gem in the center of each dot and seal with a top coat. This gem French tip nail design is perfect for those who want a twist on a classic look.9. Gem French Tip Nail Tutorial


9. Gem French Tip Nail Tutorial


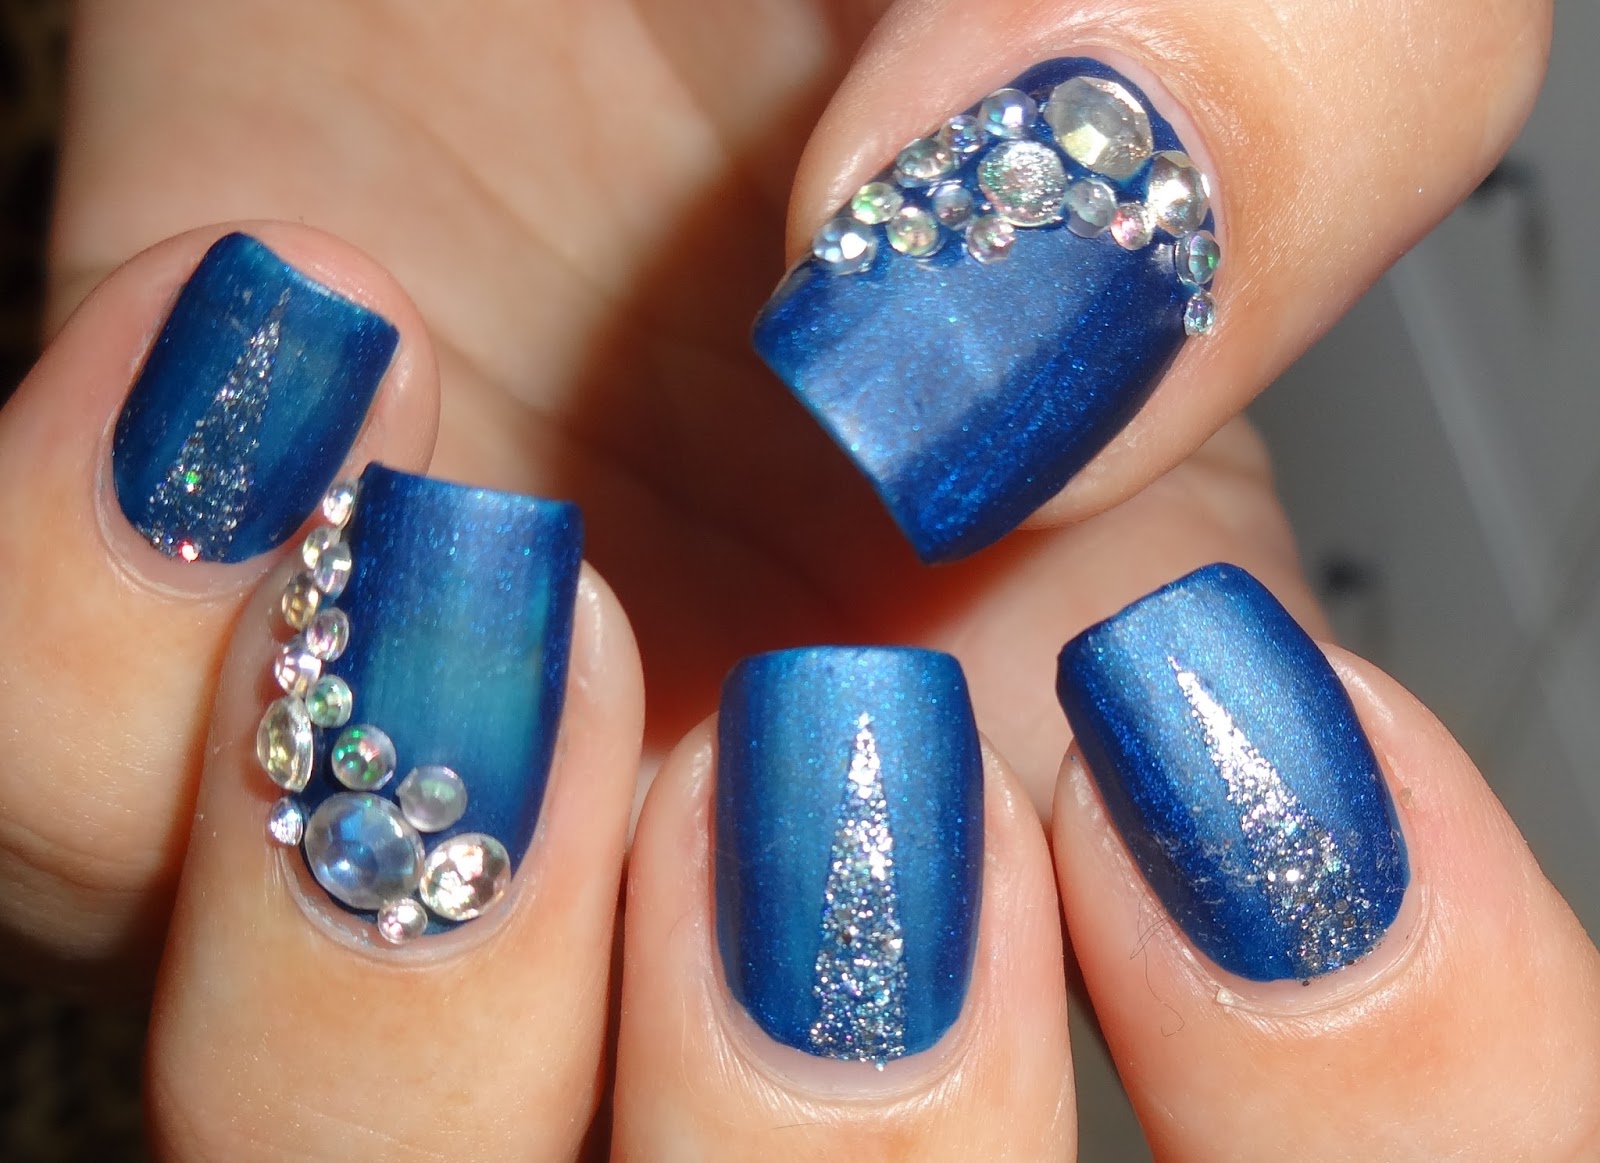
Looking for a show-stopping manicure for a special occasion? Look no further than elegant gem nail art. This design is perfect for weddings, proms, or any other formal event where you want your nails to make a statement. Start by prepping your nails with a base coat, then paint them with a nude or neutral colored polish. Once it's dry, use a small brush or striping tape to create lines or geometric shapes on your nails using a different colored polish. Place gems along these lines or shapes, then seal with a top coat. This elegant gem nail art is sure to turn heads and make you feel like the belle of the ball.10. Elegant Gem Nail Art for Special Occasions


10. Elegant Gem Nail Art for Special Occasions


The Beauty of Simple Nail Art with Gems

Adding a Touch of Elegance to Your Nails
 If you're someone who loves to experiment with different nail styles, then you've probably heard of
simple nail art with gems
. This trend has been taking the beauty world by storm, and for good reason. It's a fun and easy way to add a touch of elegance and glamour to your nails. With just a few simple steps, you can achieve a stunning look that will make your nails stand out.
If you're someone who loves to experiment with different nail styles, then you've probably heard of
simple nail art with gems
. This trend has been taking the beauty world by storm, and for good reason. It's a fun and easy way to add a touch of elegance and glamour to your nails. With just a few simple steps, you can achieve a stunning look that will make your nails stand out.
Choosing the Right Gems
 Before you start creating your own
nail art with gems
, it's important to choose the right gems for the look you want to achieve. There are a variety of gems available in different shapes, sizes, and colors, so the possibilities are endless. You can opt for classic round gems, edgy geometric shapes, or even mix and match different sizes and colors for a unique look. Whichever gems you choose, make sure they are of good quality and are safe to use on your nails.
Before you start creating your own
nail art with gems
, it's important to choose the right gems for the look you want to achieve. There are a variety of gems available in different shapes, sizes, and colors, so the possibilities are endless. You can opt for classic round gems, edgy geometric shapes, or even mix and match different sizes and colors for a unique look. Whichever gems you choose, make sure they are of good quality and are safe to use on your nails.
The Simple Steps to Creating Nail Art with Gems
 Now that you have your gems, it's time to get creative. Here are the simple steps to creating
nail art with gems
:
1. Start by applying a base coat to your nails and letting it dry completely. This will provide a smooth base for the gems to adhere to.
2. Next, use a small dotting tool or a toothpick to apply a small amount of clear nail polish on your nail. This will act as an adhesive for the gems.
3. Carefully place the gems on your nail, using the dotting tool or toothpick to adjust their position. You can create a simple design with just a few gems or go all out and cover your entire nail with them.
4. Once you're happy with the placement of the gems, apply a top coat to seal them in place and give your nails a glossy finish.
Now that you have your gems, it's time to get creative. Here are the simple steps to creating
nail art with gems
:
1. Start by applying a base coat to your nails and letting it dry completely. This will provide a smooth base for the gems to adhere to.
2. Next, use a small dotting tool or a toothpick to apply a small amount of clear nail polish on your nail. This will act as an adhesive for the gems.
3. Carefully place the gems on your nail, using the dotting tool or toothpick to adjust their position. You can create a simple design with just a few gems or go all out and cover your entire nail with them.
4. Once you're happy with the placement of the gems, apply a top coat to seal them in place and give your nails a glossy finish.
More Ways to Incorporate Gems into Your Nail Art
 While the traditional way to use gems in nail art is to simply place them on your nails, there are other creative ways to incorporate them into your designs. You can create a gradient effect by placing smaller gems at the base of your nail and gradually increasing the size as you move towards the tip. You can also create a 3D effect by using larger gems and layering them on top of each other. The possibilities are endless, so don't be afraid to experiment and let your creativity shine.
In conclusion,
simple nail art with gems
is a fun and easy way to add a touch of elegance and glamour to your nails. With the right gems and a little bit of creativity, you can create stunning designs that will make your nails the talk of the town. So go ahead and give it a try, and let your nails sparkle and shine.
While the traditional way to use gems in nail art is to simply place them on your nails, there are other creative ways to incorporate them into your designs. You can create a gradient effect by placing smaller gems at the base of your nail and gradually increasing the size as you move towards the tip. You can also create a 3D effect by using larger gems and layering them on top of each other. The possibilities are endless, so don't be afraid to experiment and let your creativity shine.
In conclusion,
simple nail art with gems
is a fun and easy way to add a touch of elegance and glamour to your nails. With the right gems and a little bit of creativity, you can create stunning designs that will make your nails the talk of the town. So go ahead and give it a try, and let your nails sparkle and shine.


