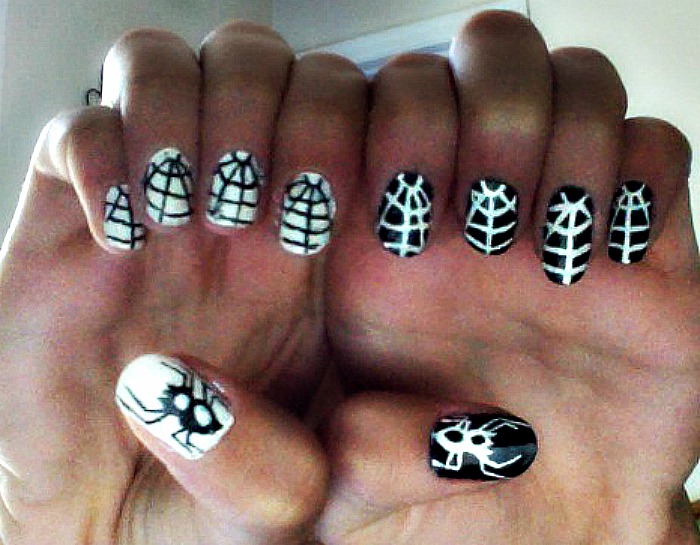
Looking for a simple and fun nail art design? Look no further than this easy spider web nail art tutorial! With just a few simple steps, you can create a spooky yet stylish look that is perfect for Halloween or any other occasion. Let's get started! To begin, gather all the necessary materials: a base coat, black and white nail polish, a thin nail art brush, and a dotting tool. Featured keywords: easy spider web nail art, simple, fun, nail art design, Halloween, spooky, stylish, steps, materials, base coat, black and white nail polish, thin nail art brush, dotting tool.1. Easy Spider Web Nail Art Tutorial


1. Easy Spider Web Nail Art Tutorial

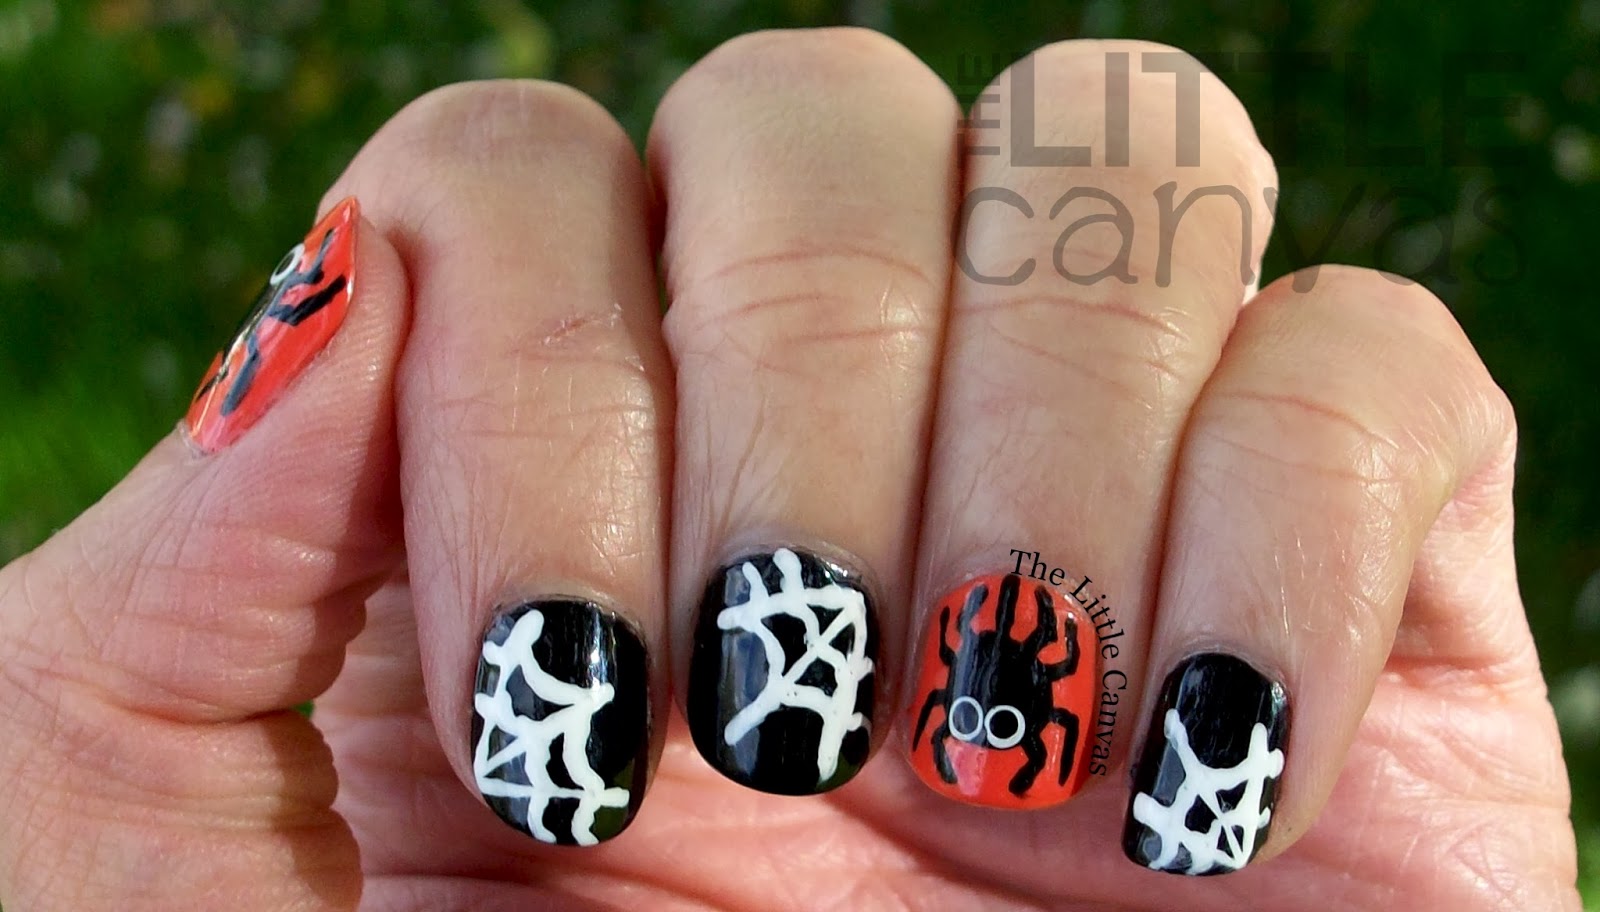

Halloween is the perfect time to get creative with your nail art, and this simple spider nail art design is no exception. It's the perfect mix of cute and creepy, making it a great choice for any Halloween party or event. To achieve this look, start by painting your nails with a black base color. Once dry, use a dotting tool or toothpick to create two white dots for the spider's eyes. Then, using a thin nail art brush, draw on the spider's legs with black polish. Finish off with a red dot for the spider's body and you have a spooky yet adorable Halloween nail design. Featured keywords: simple Halloween spider nail art, creative, cute, creepy, black base color, dotting tool, toothpick, white dots, spider's eyes, thin nail art brush, black polish, red dot, spider's body, Halloween nail design.2. Simple Halloween Spider Nail Art


2. Simple Halloween Spider Nail Art


Short on time but still want to rock a cool nail art design? This quick and easy spider nail art is just what you need. It's perfect for beginners or anyone looking for a simple yet eye-catching look. Start by painting your nails with a light color, such as white or light pink. Then, using a black nail polish, create a diagonal line across the nail. Next, use a dotting tool or toothpick to create four dots on each side of the line for the spider's legs. Finally, add a red dot in the center for the spider's body and you're done! Featured keywords: quick and easy spider nail art, beginners, simple, eye-catching, light color, black nail polish, diagonal line, dotting tool, toothpick, four dots, red dot, spider's body.3. Quick and Easy Spider Nail Art Design


3. Quick and Easy Spider Nail Art Design

For those who prefer a more understated look, this minimalist spider nail art tutorial is the perfect choice. It's simple, chic, and can be done in just a few easy steps. Start by painting your nails with a nude or light pink base color. Once dry, use a black nail polish and a thin brush to create a small horizontal line in the center of each nail. Then, using the same brush, create four small lines on each side of the horizontal line to create the spider's legs. Finish off with a tiny red dot in the center for the spider's body. Featured keywords: minimalist spider nail art tutorial, understated, simple, chic, nude, light pink, black nail polish, thin brush, horizontal line, spider's legs, tiny red dot, spider's body.4. Minimalist Spider Nail Art Tutorial


4. Minimalist Spider Nail Art Tutorial


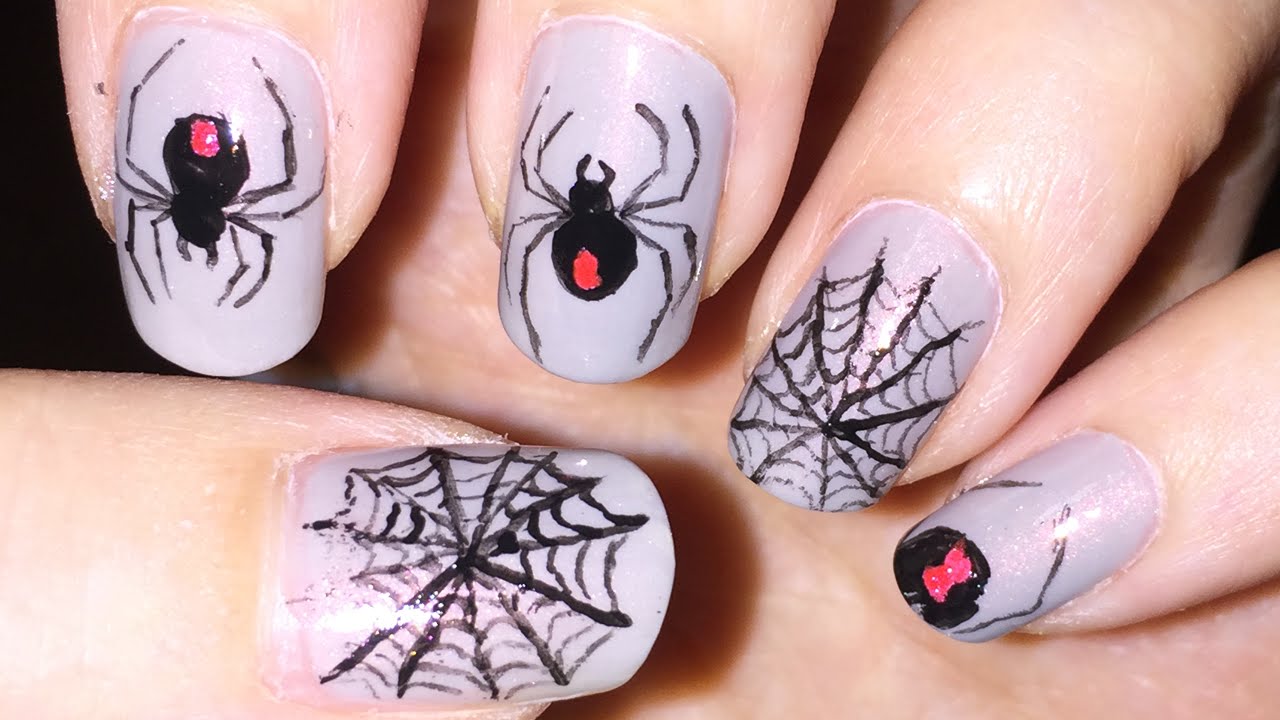
If you're a fan of all things spooky, this simple black widow spider nail art is a must-try. It's perfect for Halloween or any time you want to add a touch of creepiness to your look. To achieve this design, start by painting your nails with a black base color. Then, using a dotting tool or toothpick, create two white dots for the spider's eyes. Next, draw on the spider's legs with a thin brush and black polish. To add a bit of glamour, you can also add some silver glitter to the tips of your nails. Featured keywords: simple black widow spider nail art, spooky, Halloween, creepiness, black base color, dotting tool, toothpick, white dots, thin brush, black polish, silver glitter, glamour.5. Simple Black Widow Spider Nail Art

5. Simple Black Widow Spider Nail Art


Have little ones who love to get in on the nail art fun? This cute and easy spider nail art is perfect for kids! It's simple enough for them to do on their own, and they'll love showing off their spooky new nails. Start by painting their nails with a light color, such as pink or purple. Then, use a dotting tool or toothpick to create four dots on each side of the nail for the spider's legs. Finally, add a red dot in the center for the body and let them enjoy their new creepy-crawly nails. Featured keywords: cute and easy spider nail art for kids, simple, dotting tool, toothpick, light color, pink, purple, four dots, red dot, creepy-crawly.6. Cute and Easy Spider Nail Art for Kids
6. Cute and Easy Spider Nail Art for Kids


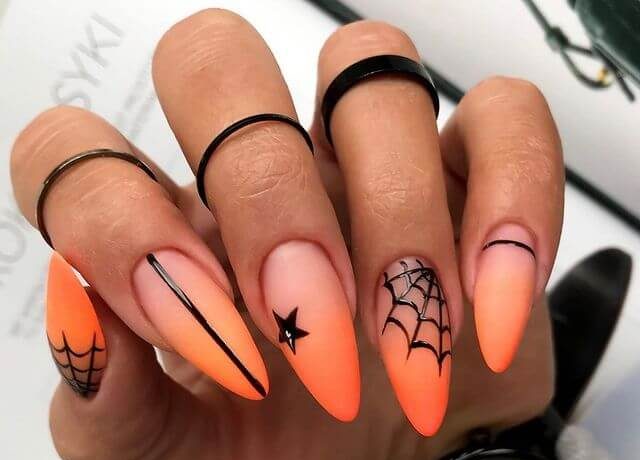
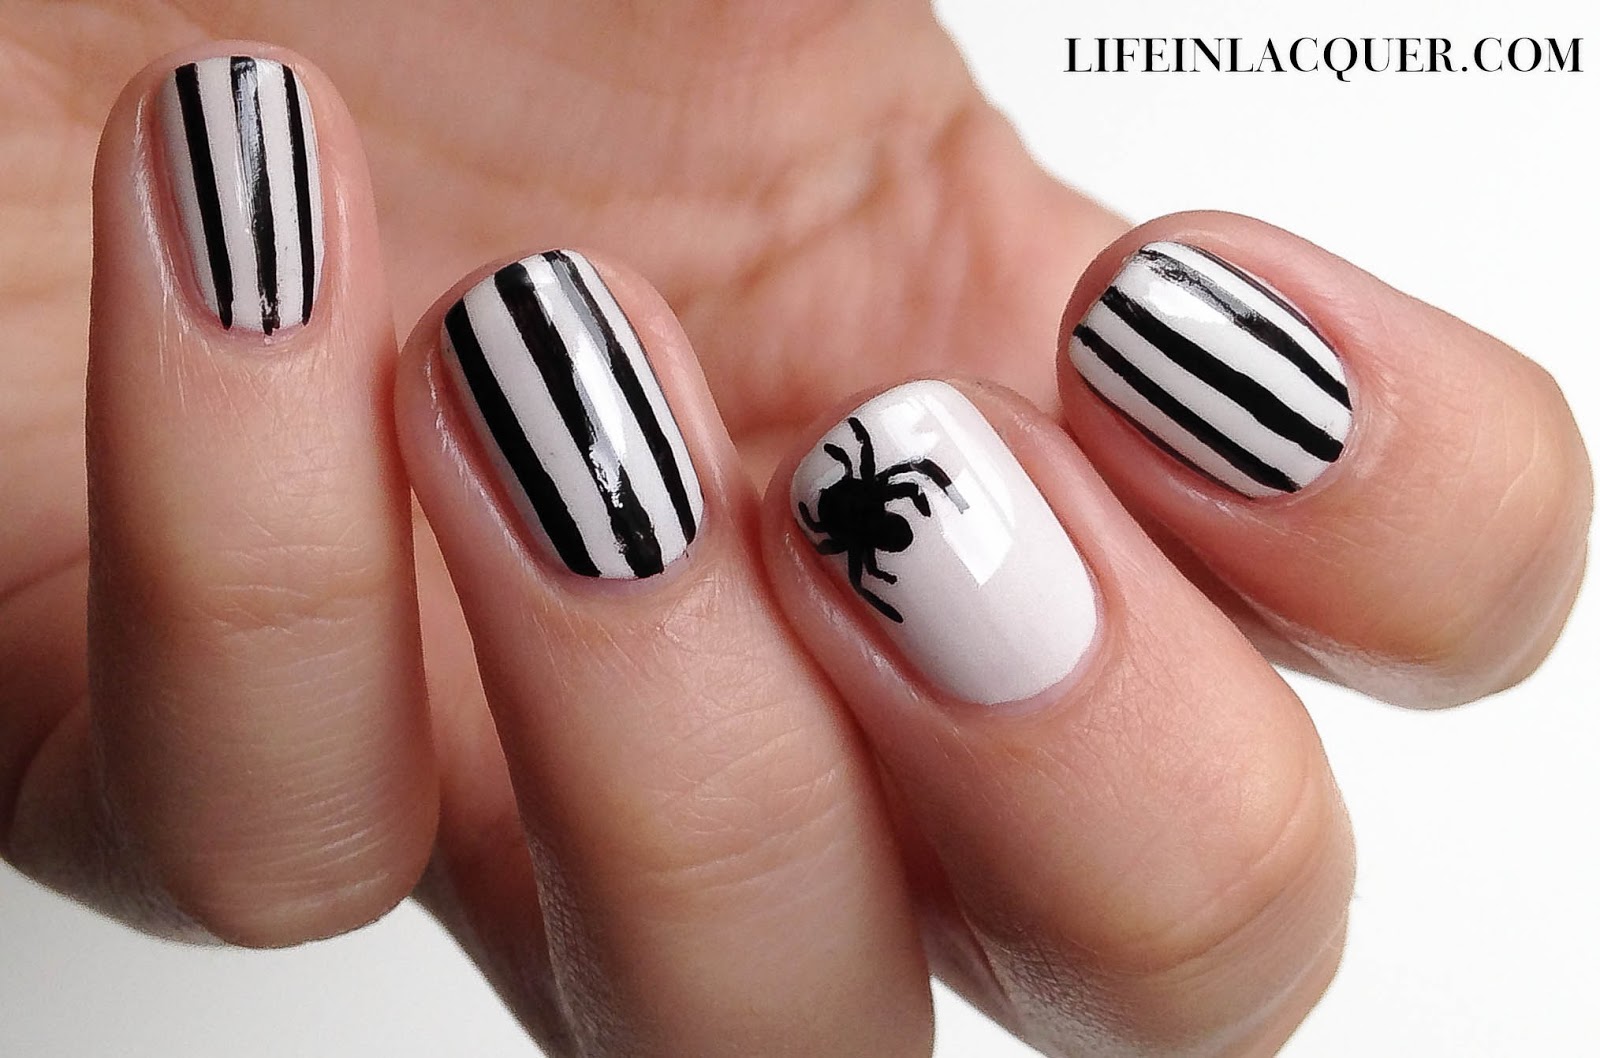
If you want to add a subtle touch of Halloween to your nails, this simple spider accent nail art is the way to go. It's perfect for those who want a more low-key look but still want to get in on the Halloween fun. Start by painting your nails with a nude or light pink base color. Then, using a black nail polish and a thin brush, create a small spider in one corner of your nail. You can also add a few small dots or lines to represent a spider web. Finish off with a top coat and you have a chic Halloween look. Featured keywords: simple spider accent nail art, subtle, low-key, nude, light pink, black nail polish, thin brush, small spider, corner, dots, lines, spider web, top coat, chic, Halloween.7. Simple Spider Accent Nail Art
7. Simple Spider Accent Nail Art

Who says Halloween nail art has to be limited to casual events? This elegant spider nail art is perfect for any formal occasion, whether it's a wedding, prom, or fancy dinner party. Start by painting your nails with a dark, vampy color like burgundy or deep purple. Then, using a silver or gold nail polish, create a spider web design on one or two nails. Finish off with a small black spider on the web and you have a sophisticated yet spooky look. Featured keywords: elegant spider nail art, formal occasions, Halloween nail art, dark, vampy, burgundy, deep purple, silver, gold, spider web design, black spider, sophisticated, spooky.8. Elegant Spider Nail Art for Formal Occasions

8. Elegant Spider Nail Art for Formal Occasions

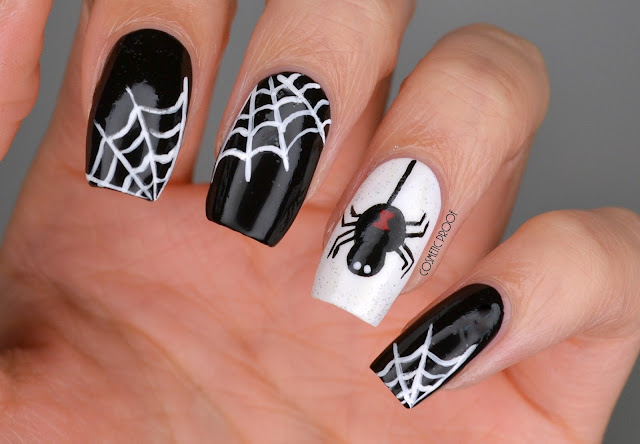
New to nail art but want to try something fun and festive? This simple spider and web nail art is perfect for beginners. You only need a few basic supplies and it's easy to customize to your own style. Start by painting your nails with a light color, such as white or light pink. Then, using a black nail polish and a thin brush, create a spider web design on one or two nails. Next, use a dotting tool or toothpick to create a small black spider on the web. You can also add glitter or rhinestones for some extra glam. Featured keywords: simple spider and web nail art, beginners, fun, festive, basic supplies, customize, light color, black nail polish, thin brush, spider web design, dotting tool, toothpick, black spider, glitter, rhinestones, glam.9. Simple Spider and Web Nail Art for Beginners


9. Simple Spider and Web Nail Art for Beginners
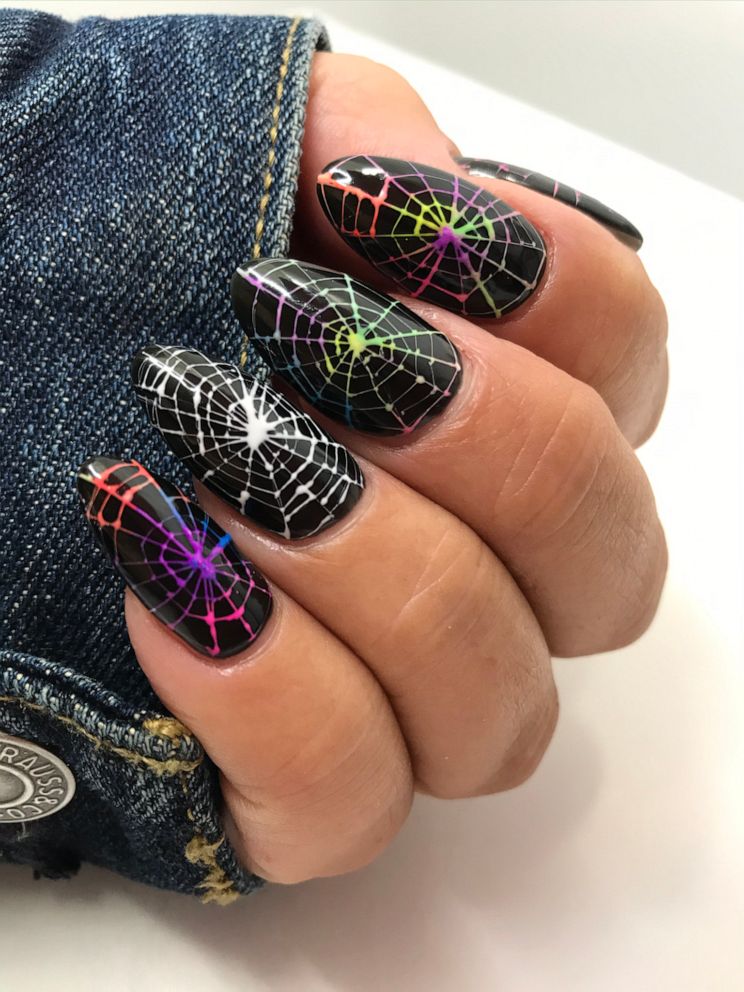
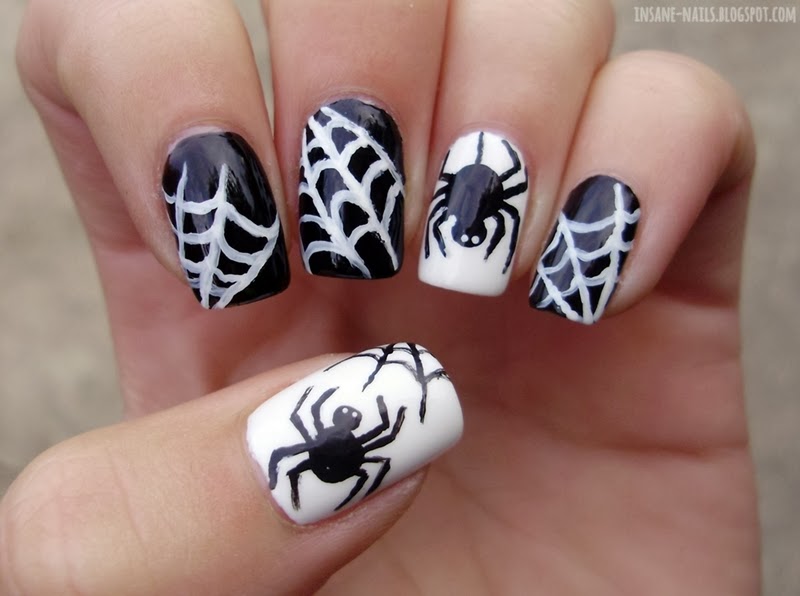
Last but certainly not least, we have the ultimate Halloween nail art – creepy crawly spider nails! This design is perfect for those who love all things spooky and want to fully embrace the Halloween spirit. To achieve this look, start by painting your nails with a black base color. Then, using a white nail polish, create a spider web design on one or two nails. Next, use a dotting tool or toothpick to create a few spiders on the web, adding different sizes and angles for a more realistic look. Finish off with a top coat and you have the perfect Halloween nails. Featured keywords: creepy crawly spider nail art, Halloween, spooky, black base color, white nail polish, spider web design, dotting tool, toothpick, spiders, different sizes, angles, realistic look, top coat, perfect.10. Creepy Crawly Spider Nail Art for Halloween

10. Creepy Crawly Spider Nail Art for Halloween

Simple Spider Nail Art: A Fun and Spooky Addition to Your House Design

Spider nail art is a popular trend that has taken the world of nail design by storm. It is a simple yet creative way to add a touch of spookiness to your house design . Whether you're a fan of Halloween or just love the creepy-crawly creatures, this nail art is perfect for any occasion. In this article, we will explore the detailed steps and tips for creating your own simple spider nail art and how you can incorporate it into your house design .
Gathering Materials

Before you begin, make sure you have all the necessary materials for your simple spider nail art . You will need a base color of your choice, a black nail polish, a thin nail art brush, a dotting tool, and a top coat. You can also use glitter or jewels to add some extra sparkle to your design.
The Base Color

Start by applying your chosen base color to all your nails and let it dry completely. This can be any color that you want, but dark shades like black, purple, or red work best for spooky house designs . If you want to add more depth to your design, you can also mix and match different base colors on each nail.
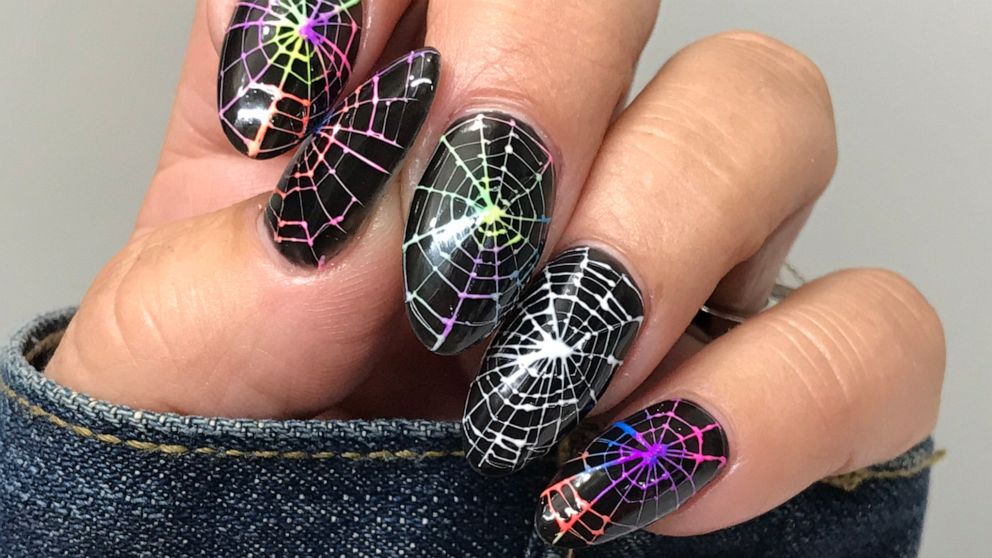
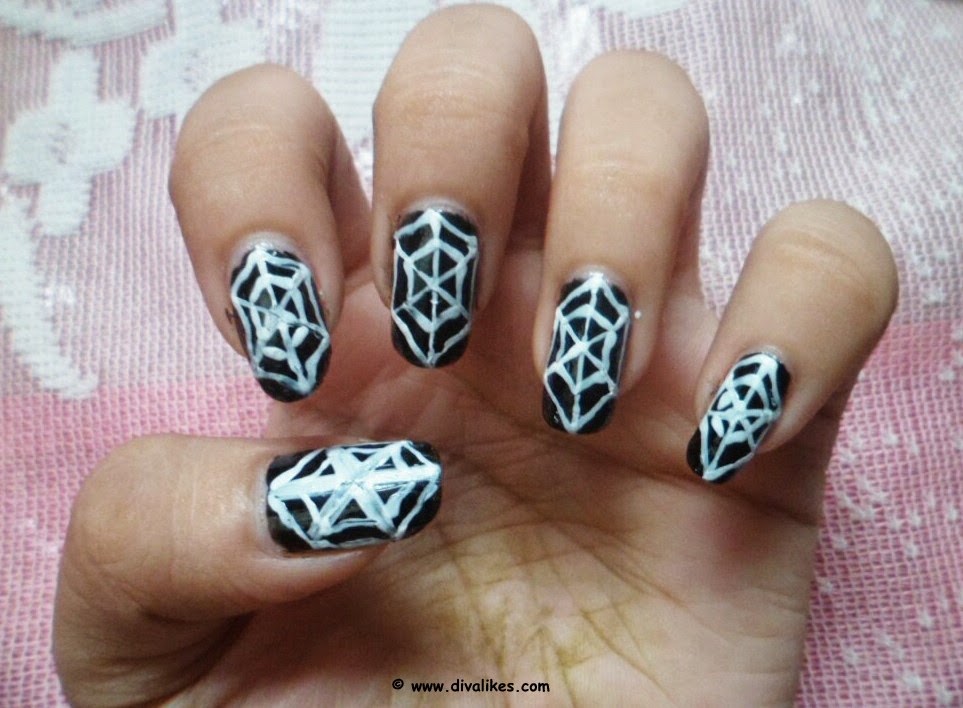
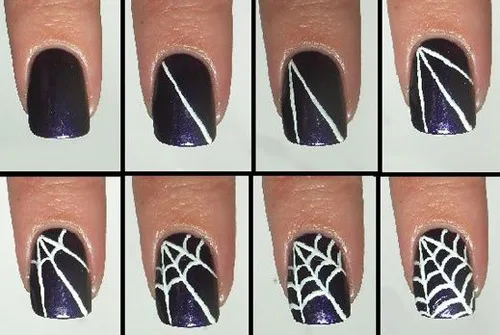
Creating the Spider Webs

Using your thin nail art brush, create the spider webs on your nails. Start by drawing three intersecting lines in the center of your nail, then connect them with curved lines to create the web. You can also draw smaller webs on the sides of your nail for a more intricate design. For an easier option, you can also use a spider web stencil or a nail wrap with a spider web design.
Adding the Spiders

Now it's time to add the spiders to your nail art . Using your dotting tool, create a small black circle on your nail and then add eight legs coming out from it. You can also use a toothpick or the end of your nail art brush to create the legs. For a more detailed look, you can also add some red eyes to your spiders using a small dotting tool.
Finishing Touches

To complete your simple spider nail art , add a top coat to seal in your design and add a glossy finish. You can also add some glitter or jewels to your nails for an extra touch of sparkle and glamour . Now you have a fun and spooky addition to your house design that is sure to impress.
In conclusion, simple spider nail art is a fun and affordable way to add some personality to your house design . With the right materials and a little bit of creativity, you can create your own spooky nail art that will leave everyone impressed . So why not give it a try and add a touch of spookiness to your next manicure?


