Are you looking for a fun and easy way to spice up your nail game? Look no further than these simple strawberry nail art designs. Perfect for beginners, these designs are not only adorable but also super easy to recreate. So grab your nail polish and let's get started!Strawberry Nail Art Tutorial for Beginners


Strawberry Nail Art Tutorial for Beginners


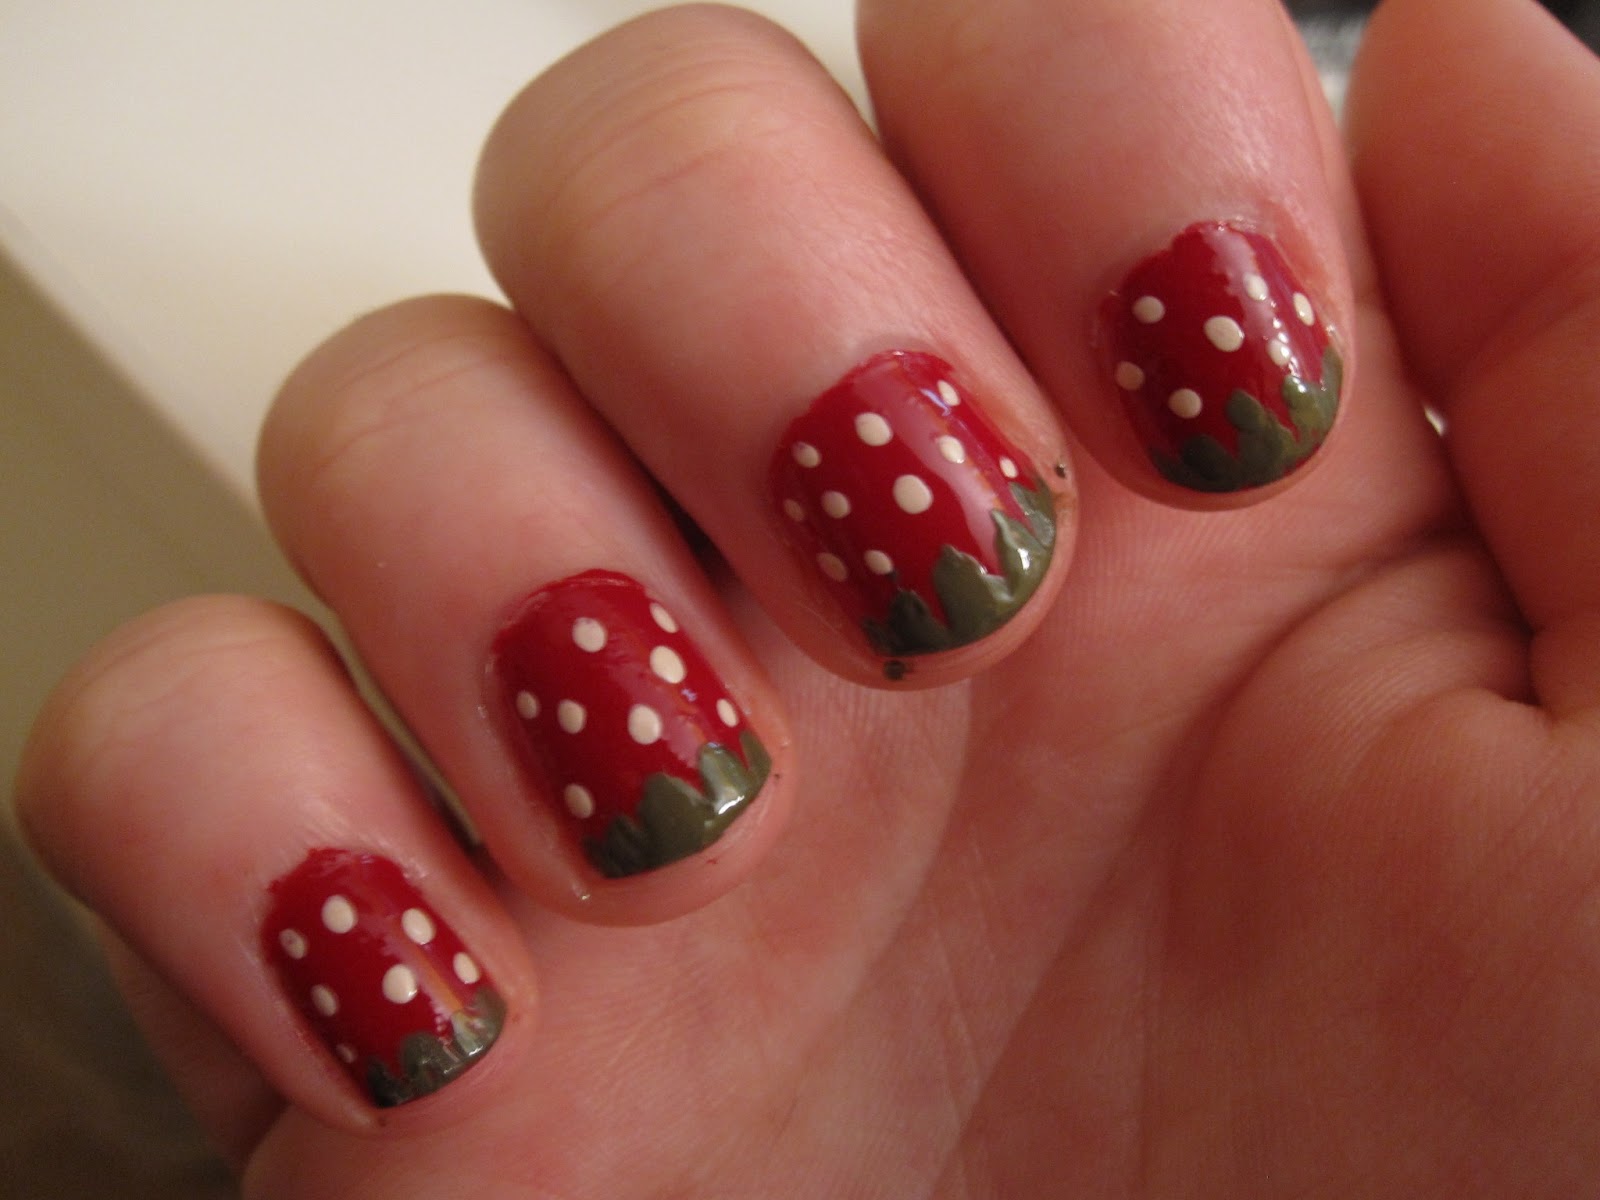
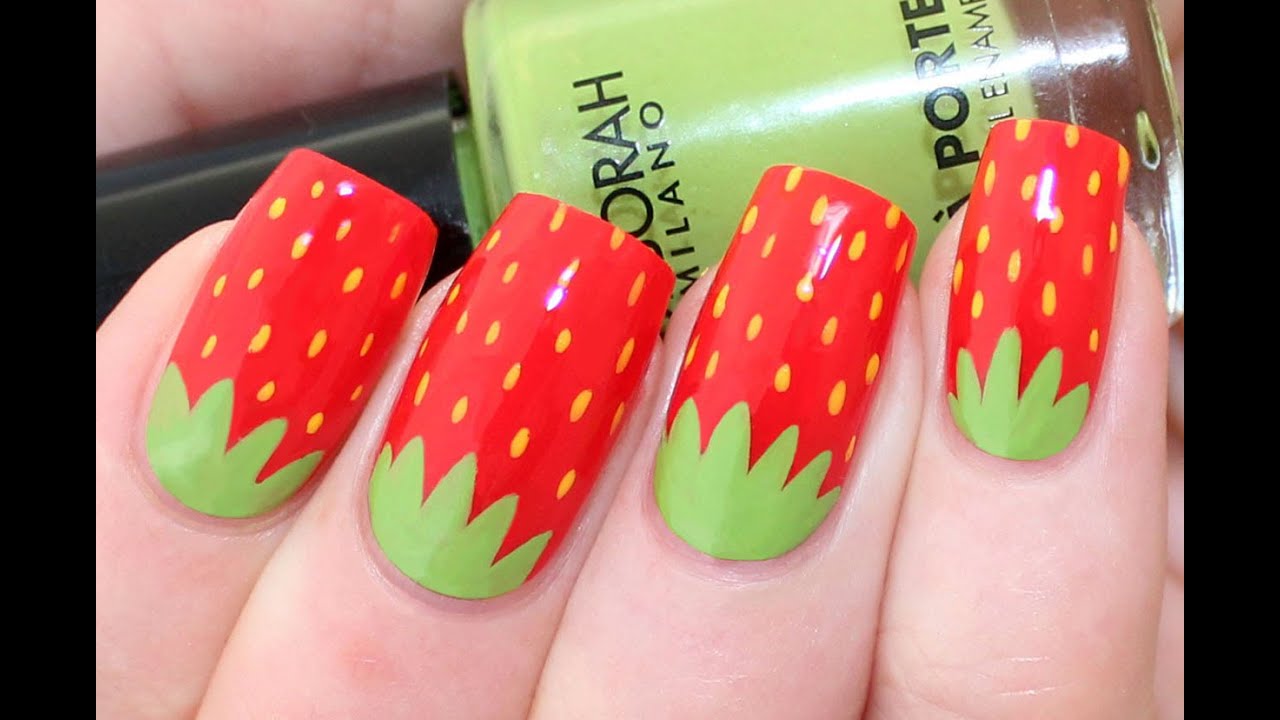
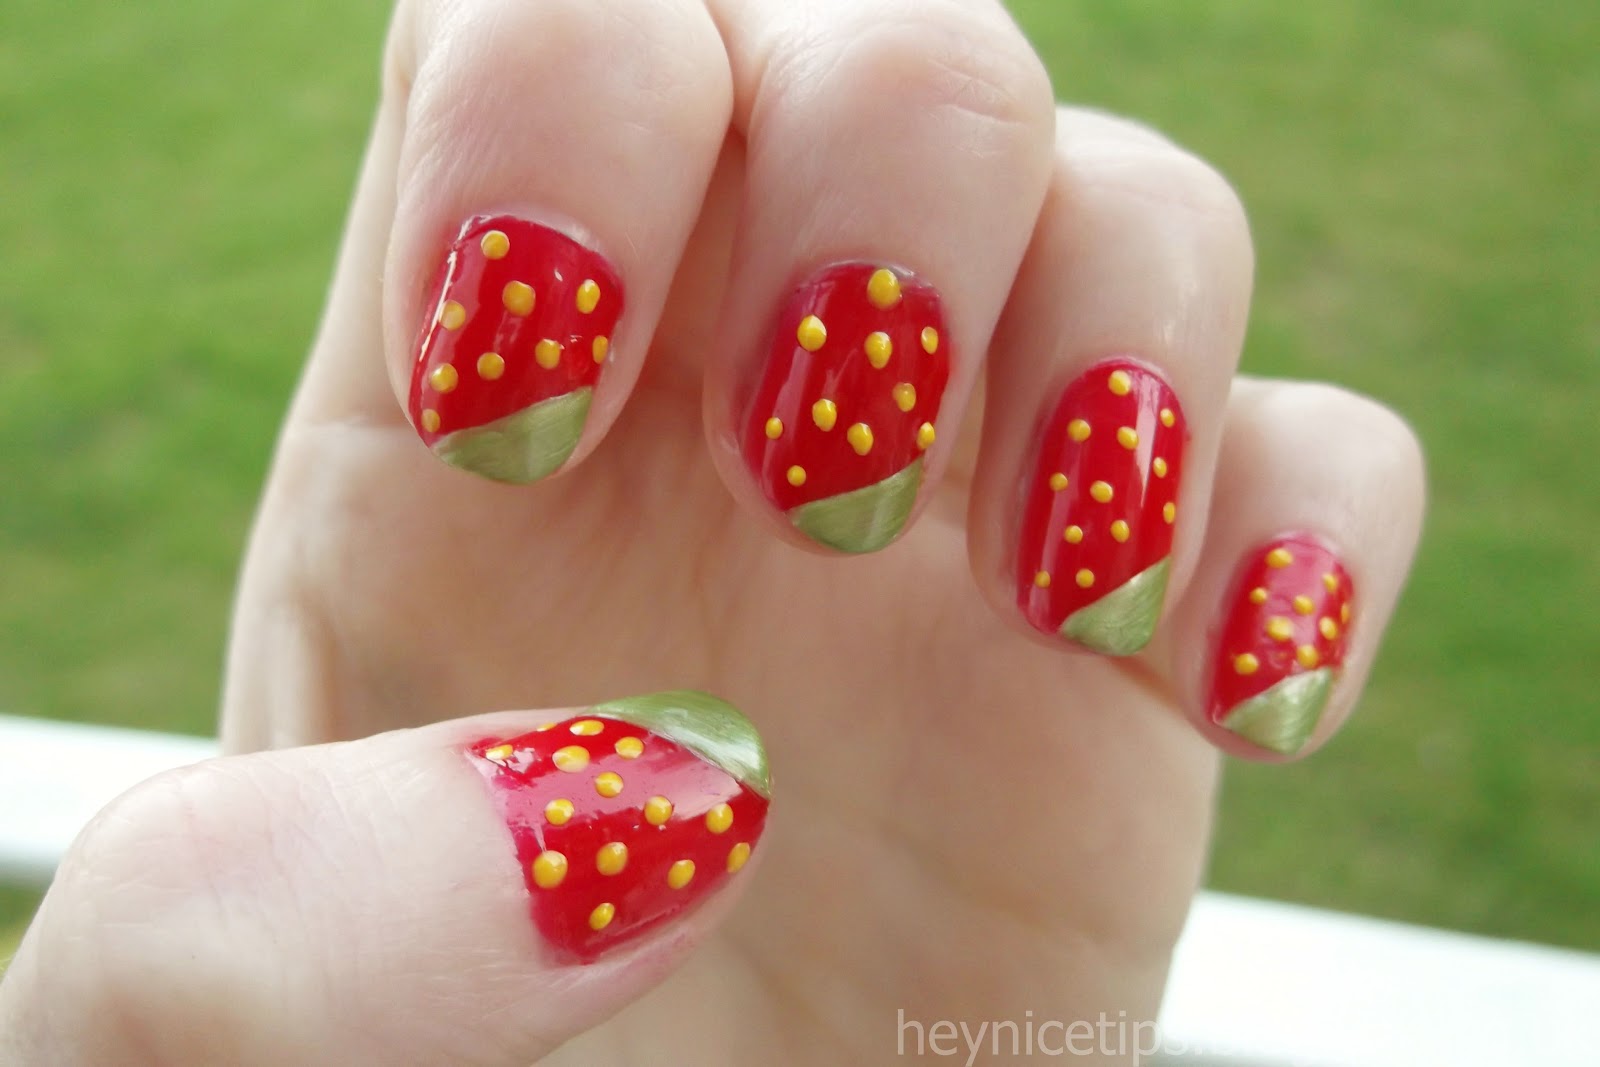
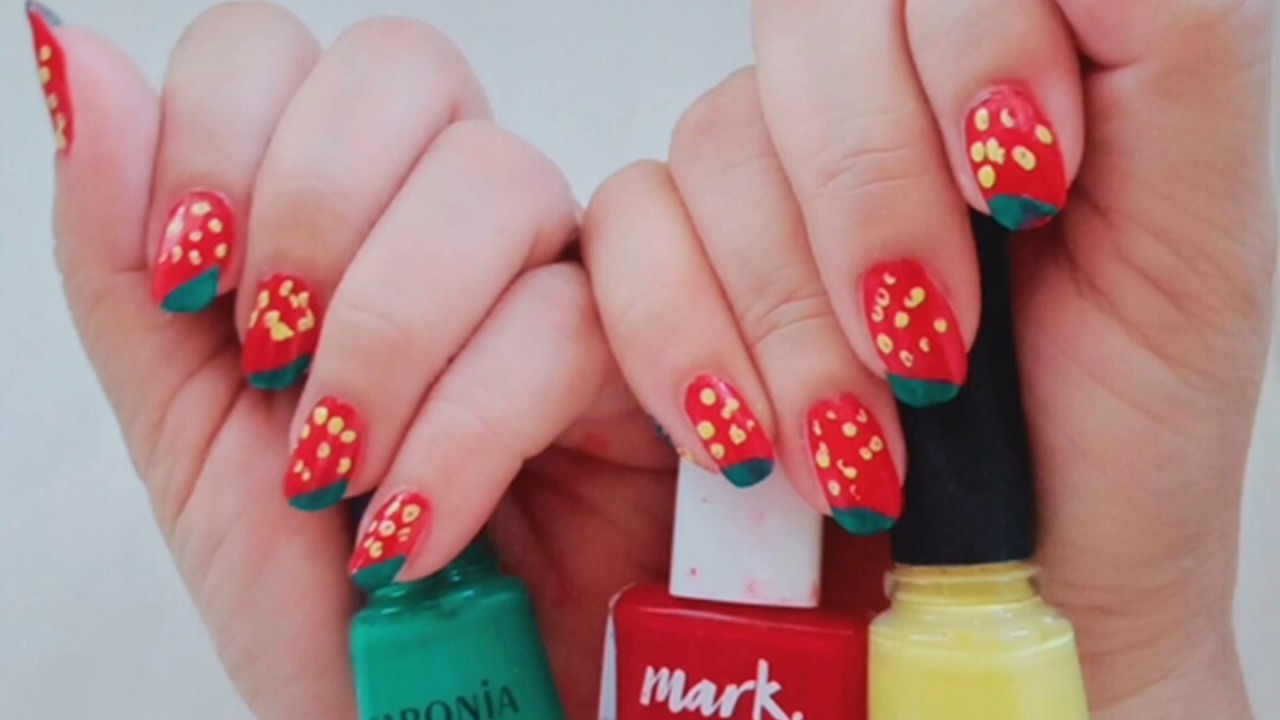
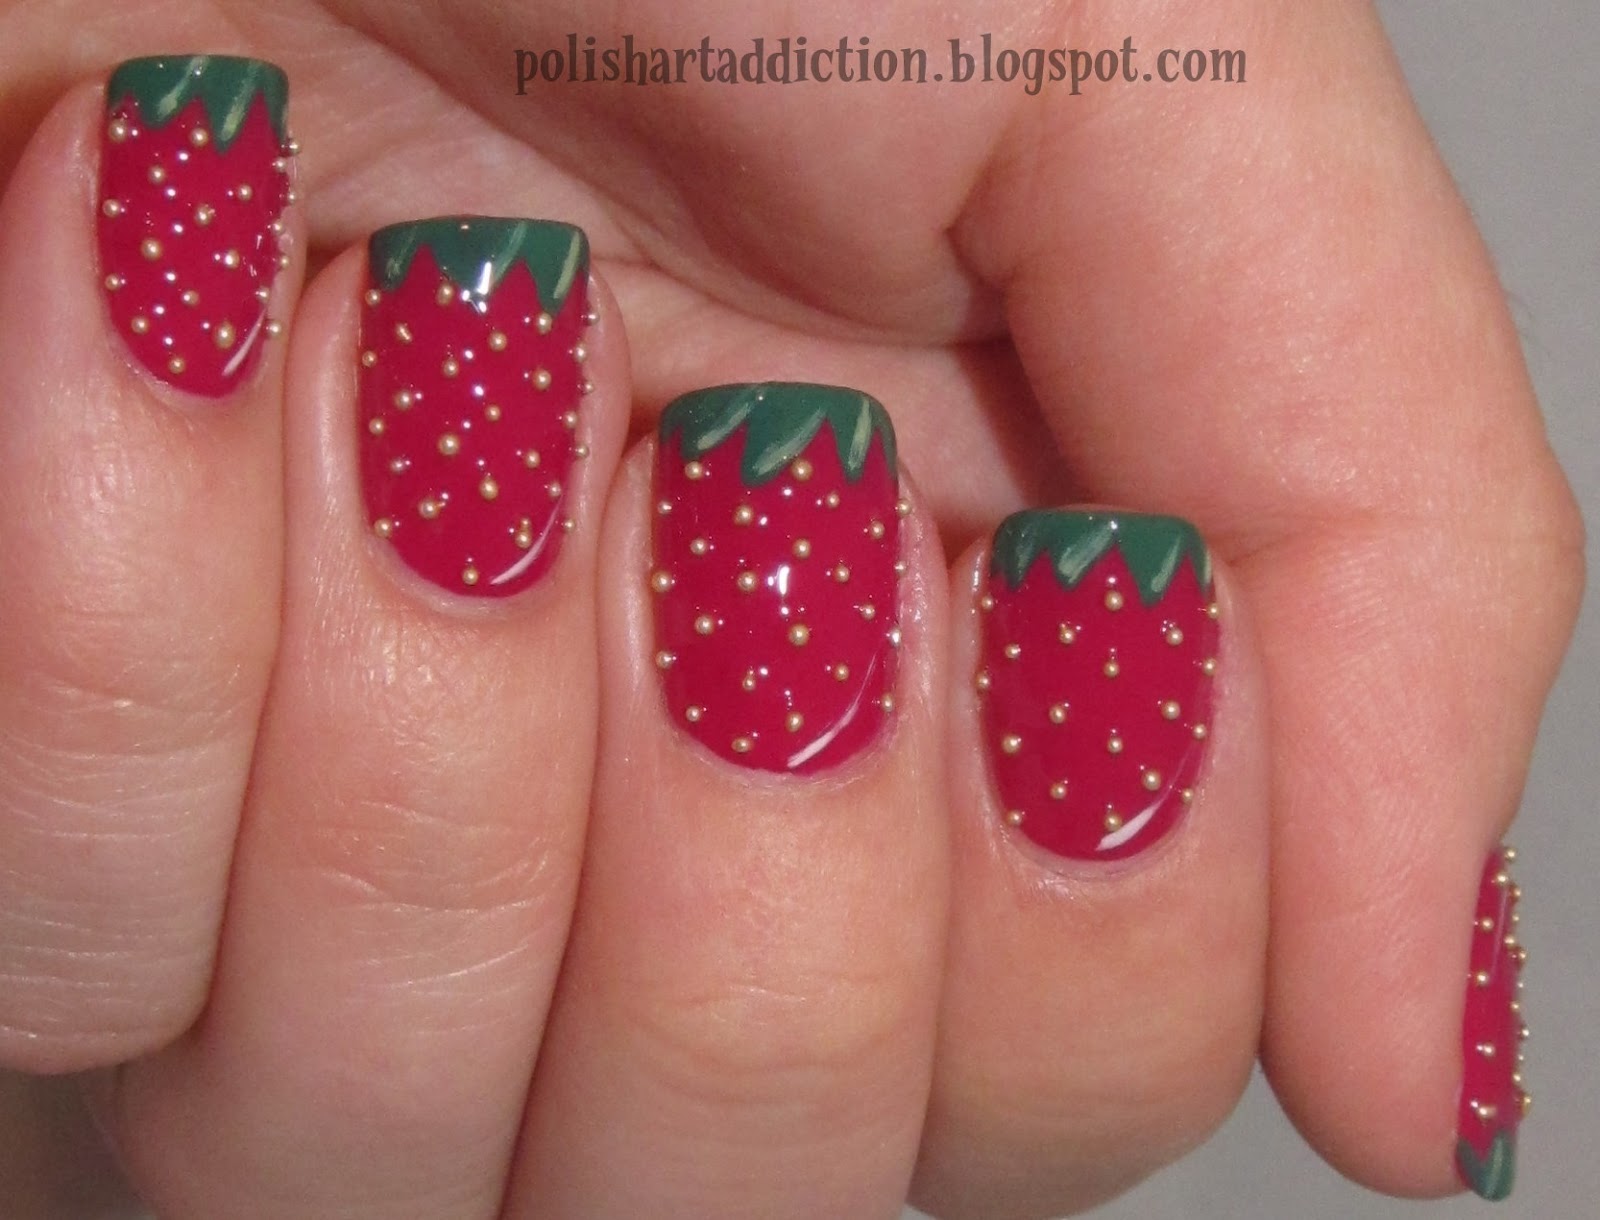
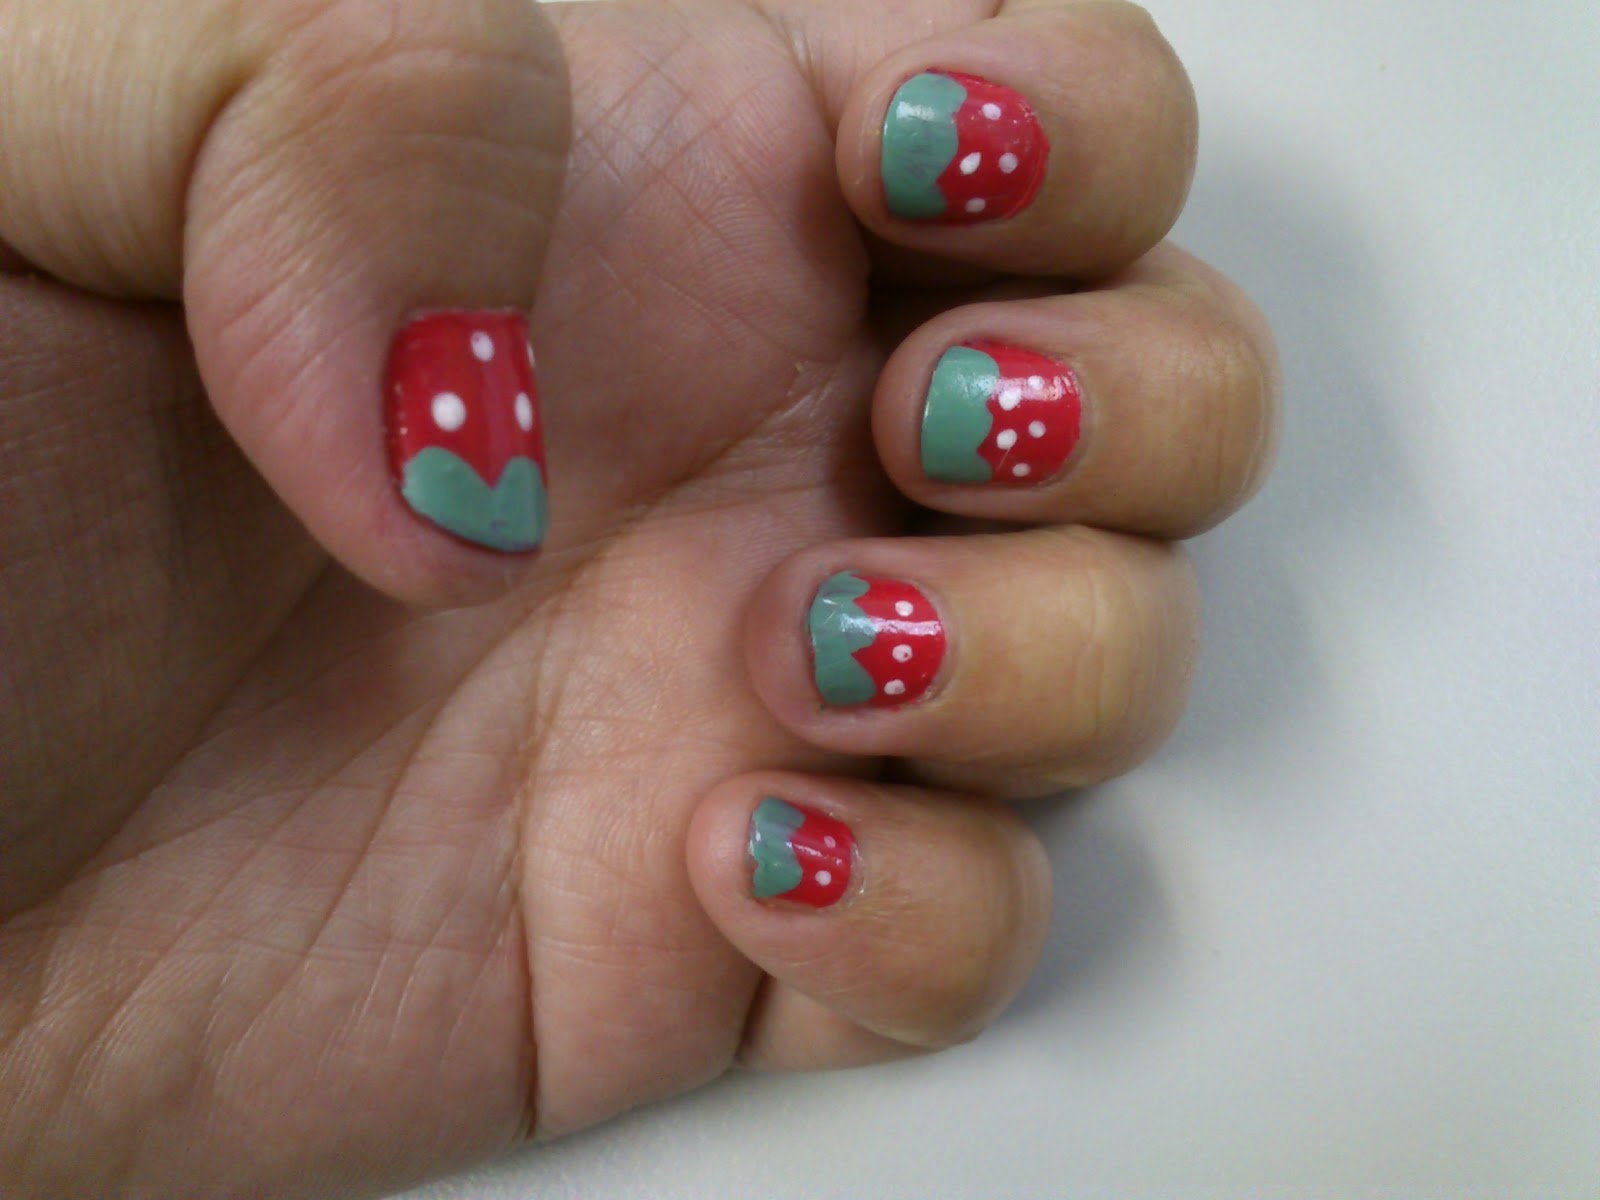
If you're short on time but still want to add a cute touch to your nails, this easy strawberry nail art design is perfect for you. Start by painting your nails a bright red shade, such as "Cherry Red" or "Crimson Fire". Once dry, use a thin brush to draw on small green leaves at the base of your nails. Then, use a dotting tool or toothpick to create small white dots on the red part of your nails. Finally, add tiny black seeds using a nail art pen or thin brush. Voila, you have adorable strawberry nails in no time!Easy Strawberry Nail Art Design
Easy Strawberry Nail Art Design


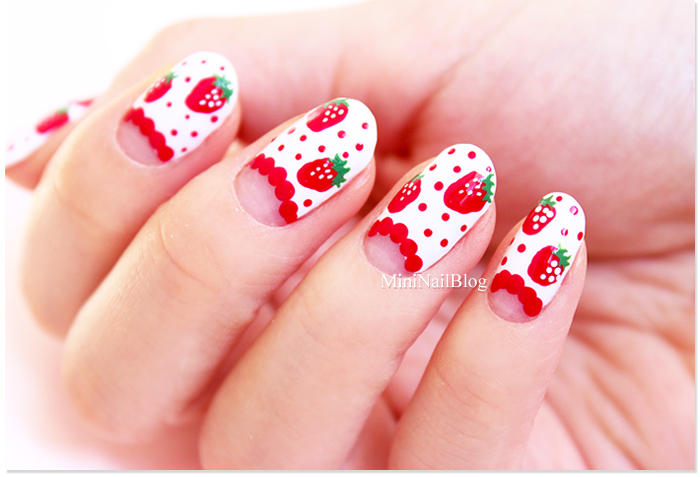

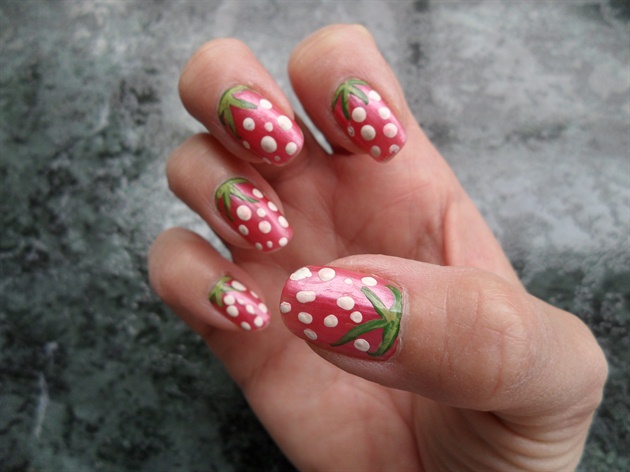
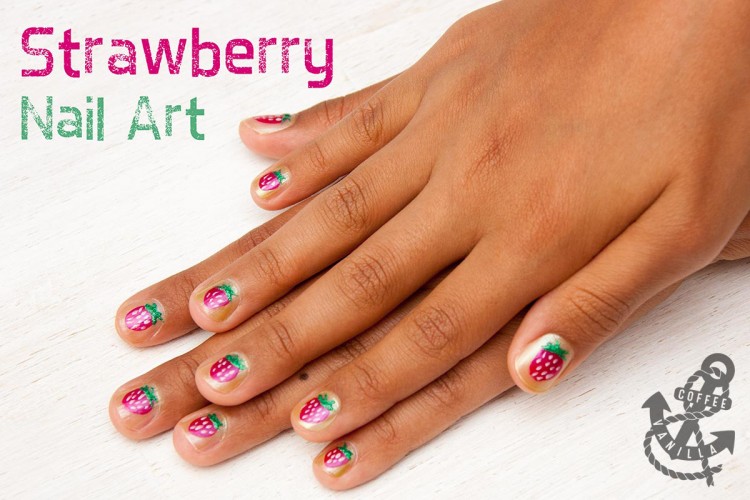
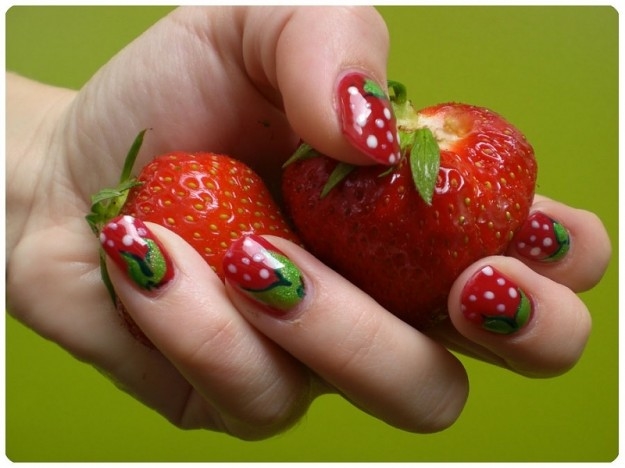
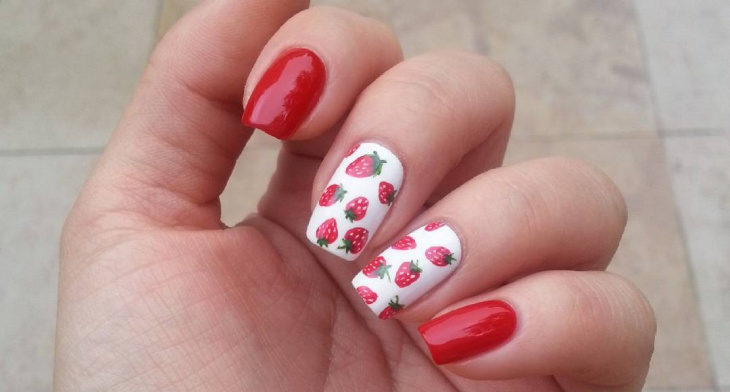
Looking for some inspiration to create your own unique strawberry nail art? Look no further than these DIY ideas. For a fun and playful look, try painting your nails a bright pink shade and then using a toothpick to create small green stems and white dots for the seeds. You can also experiment with different shades, such as pastel pink or neon green, to create a more unique look. The possibilities are endless with DIY strawberry nail art.DIY Strawberry Nail Art Ideas
DIY Strawberry Nail Art Ideas


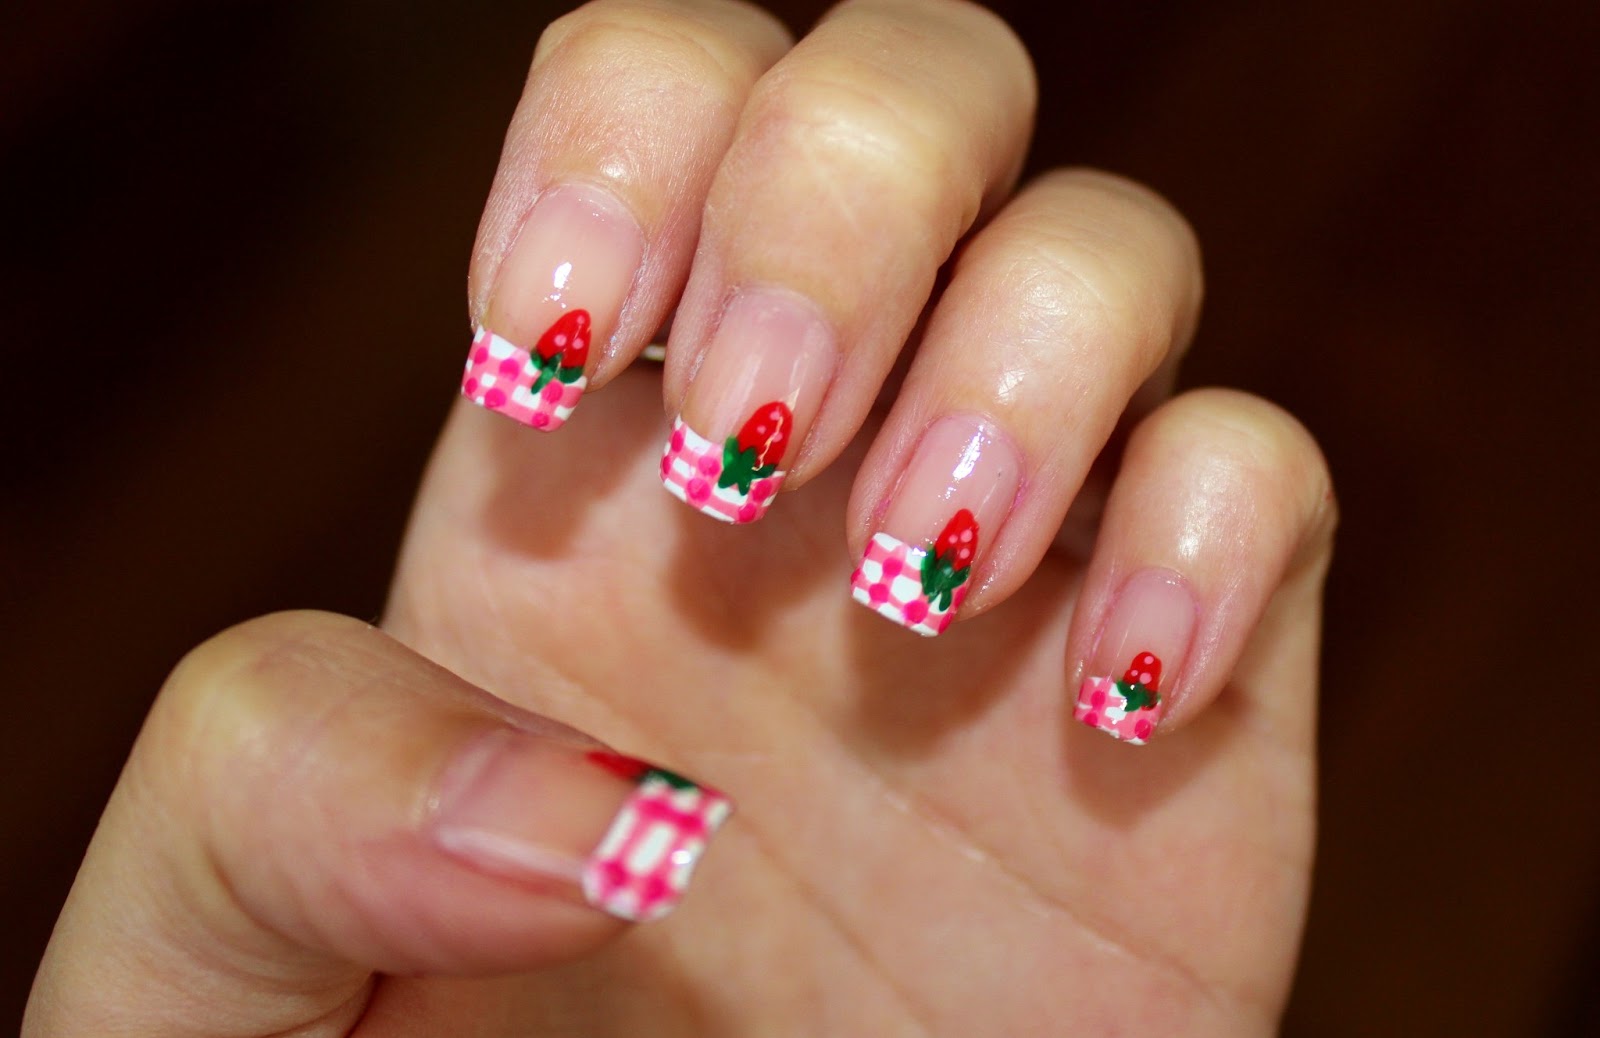
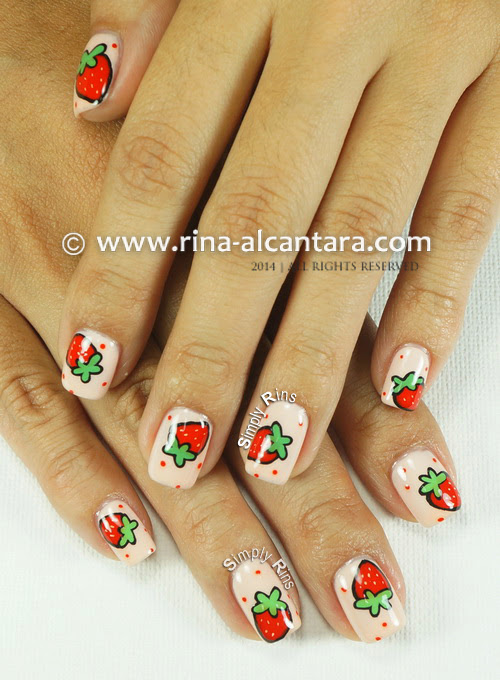
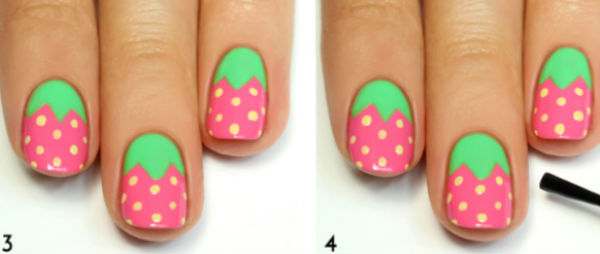
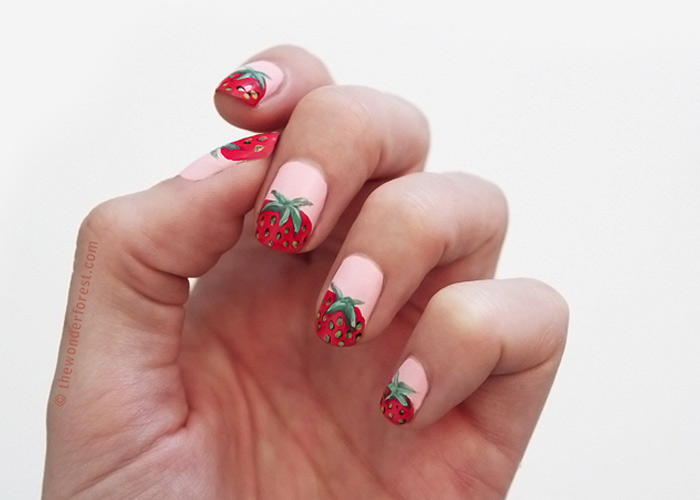
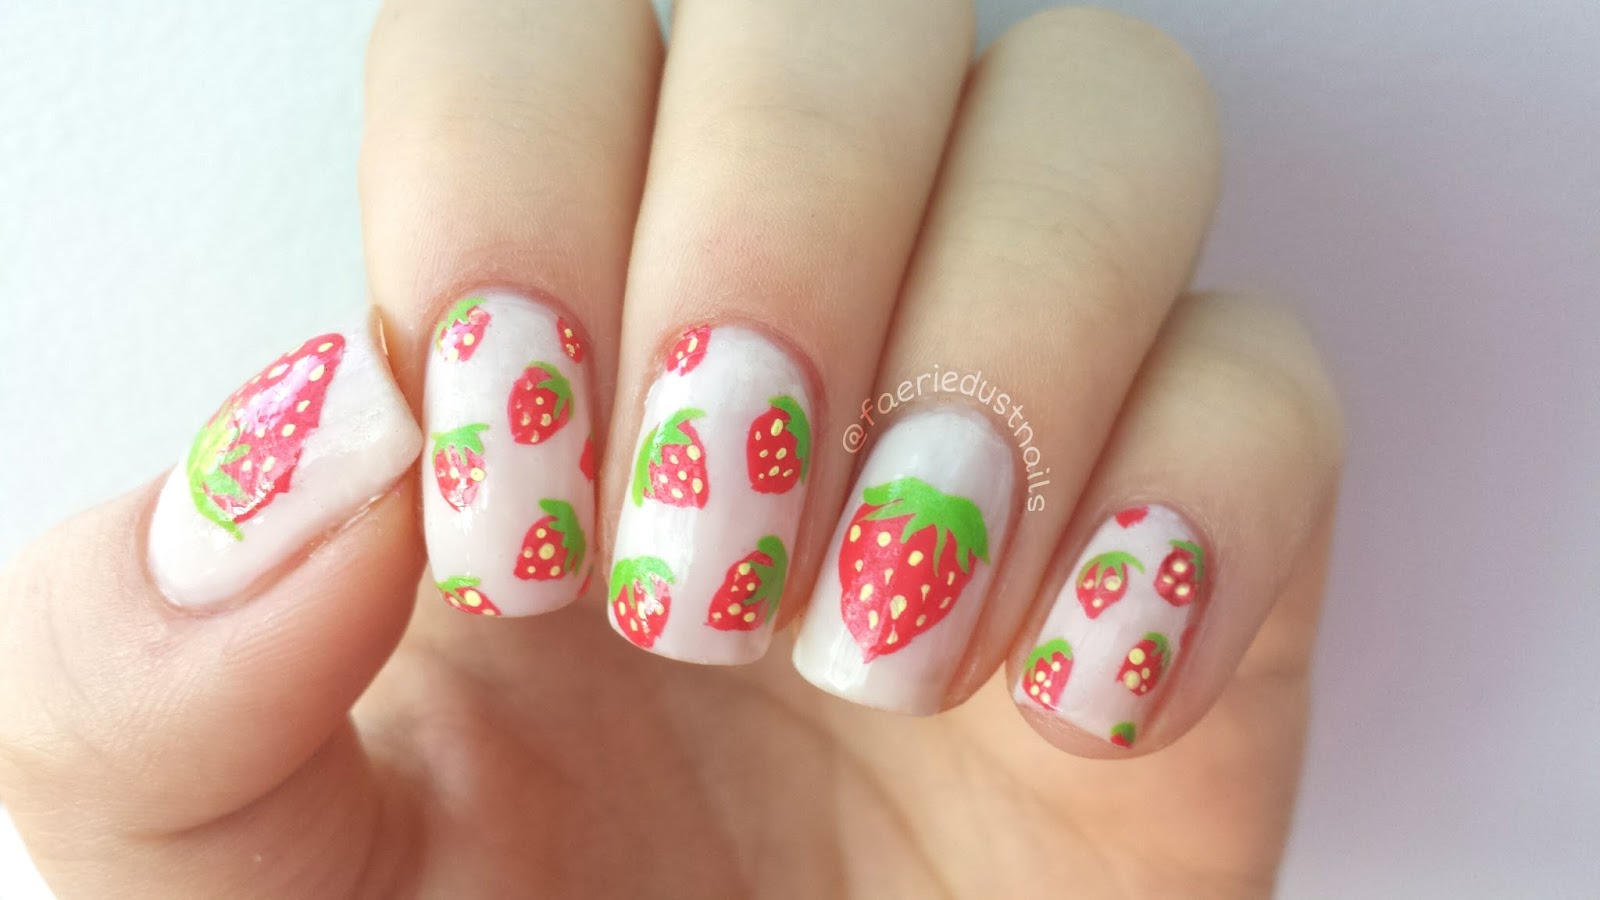
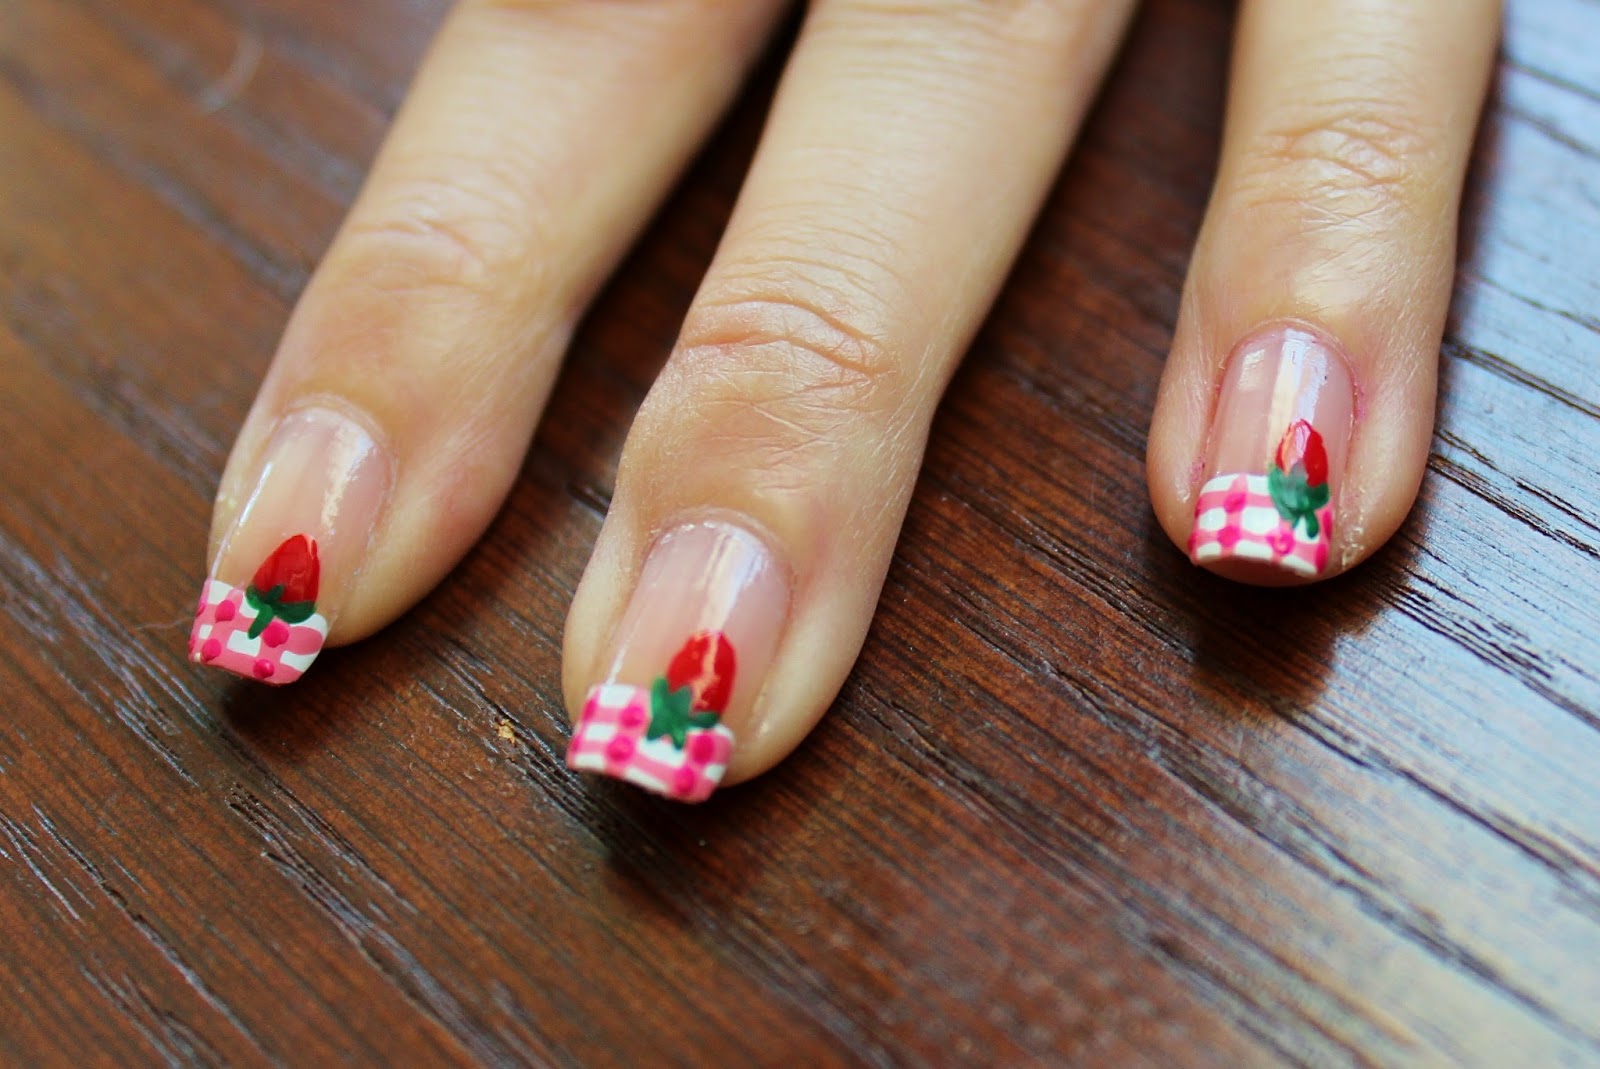
Who says cute can't be simple? These strawberry nail designs prove that you can have the best of both worlds. Start with a light pink base and then use a thin brush to create a diagonal line with a darker pink shade for the strawberry's tip. Add green leaves and white dots for the seeds, and you have yourself a cute and simple strawberry nail design that will surely make a statement.Cute and Simple Strawberry Nails

Cute and Simple Strawberry Nails


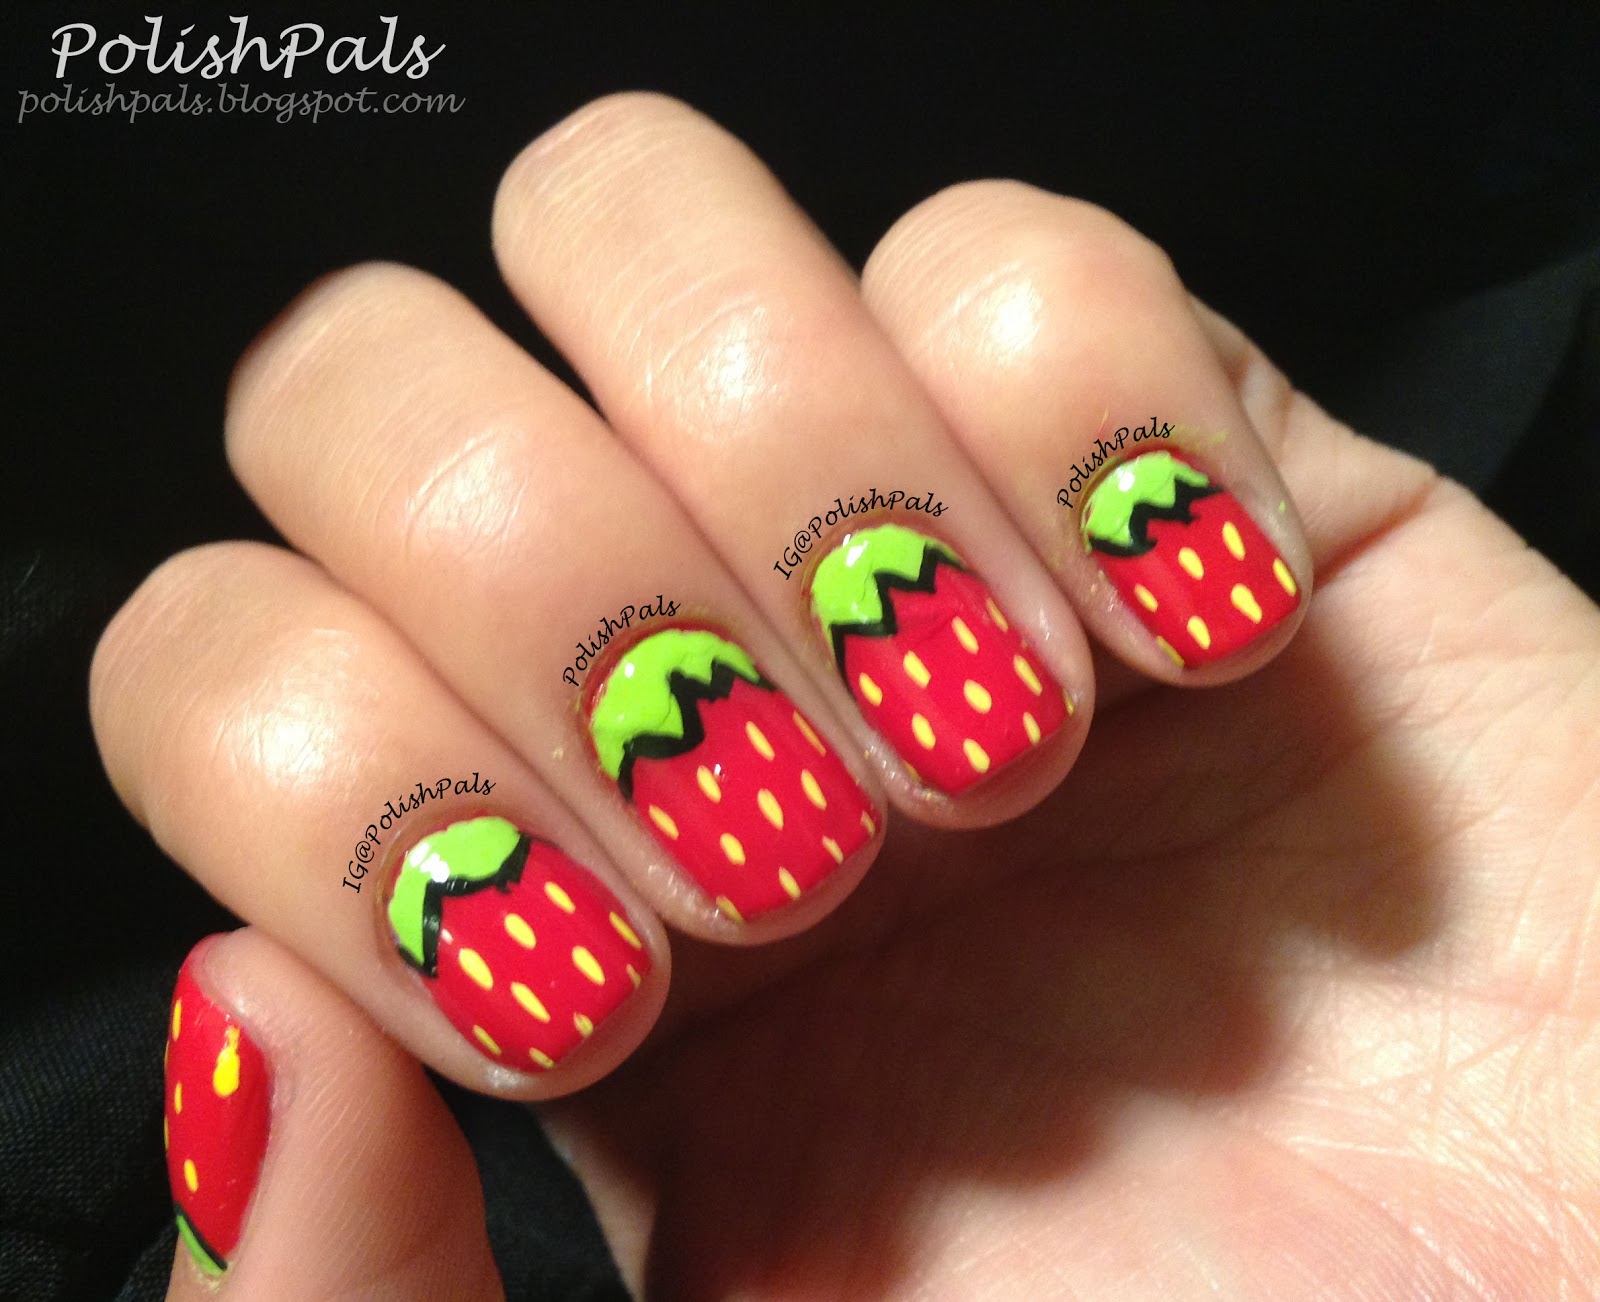
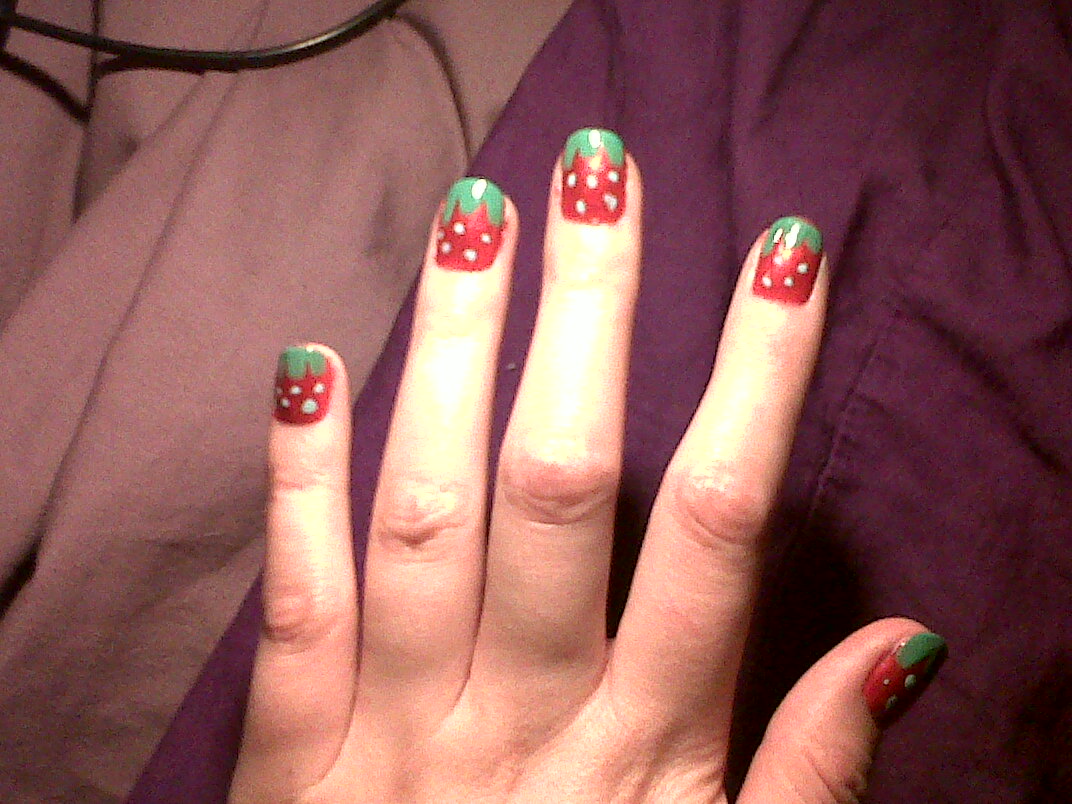
If you're new to nail art, don't worry because this step-by-step guide will walk you through creating the perfect strawberry nails. First, start with a base coat and let it dry completely. Then, use a bright red shade as the base for your strawberry. Once dry, use a toothpick or nail art pen to create small green leaves at the base of your nail. Next, use a dotting tool to add white dots on the red part of your nail for the seeds. Finally, use a thin brush or nail art pen to add tiny black seeds on top of the white dots. Finish off with a top coat and enjoy your beautiful strawberry nails.Step-by-Step Strawberry Nail Art Guide
Step-by-Step Strawberry Nail Art Guide

For those who prefer a more minimalist look, these strawberry nail art designs are perfect for you. Start with a nude or light pink base and then use a thin brush to create a diagonal line with a darker shade of pink for the strawberry's tip. Add a small green leaf and a few tiny black seeds using a nail art pen or toothpick. This simple yet chic design is perfect for everyday wear or a special occasion.Minimalist Strawberry Nail Art Inspiration


Minimalist Strawberry Nail Art Inspiration

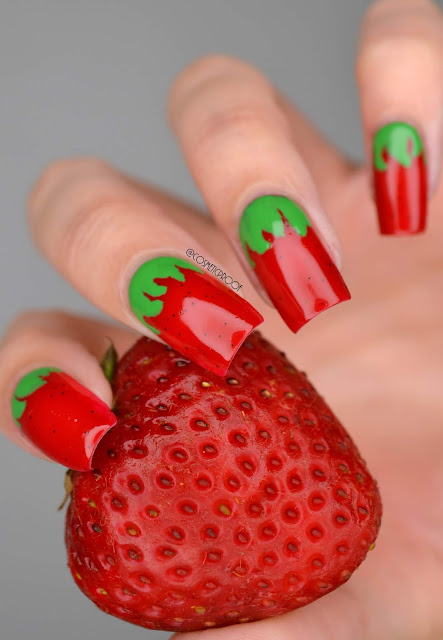
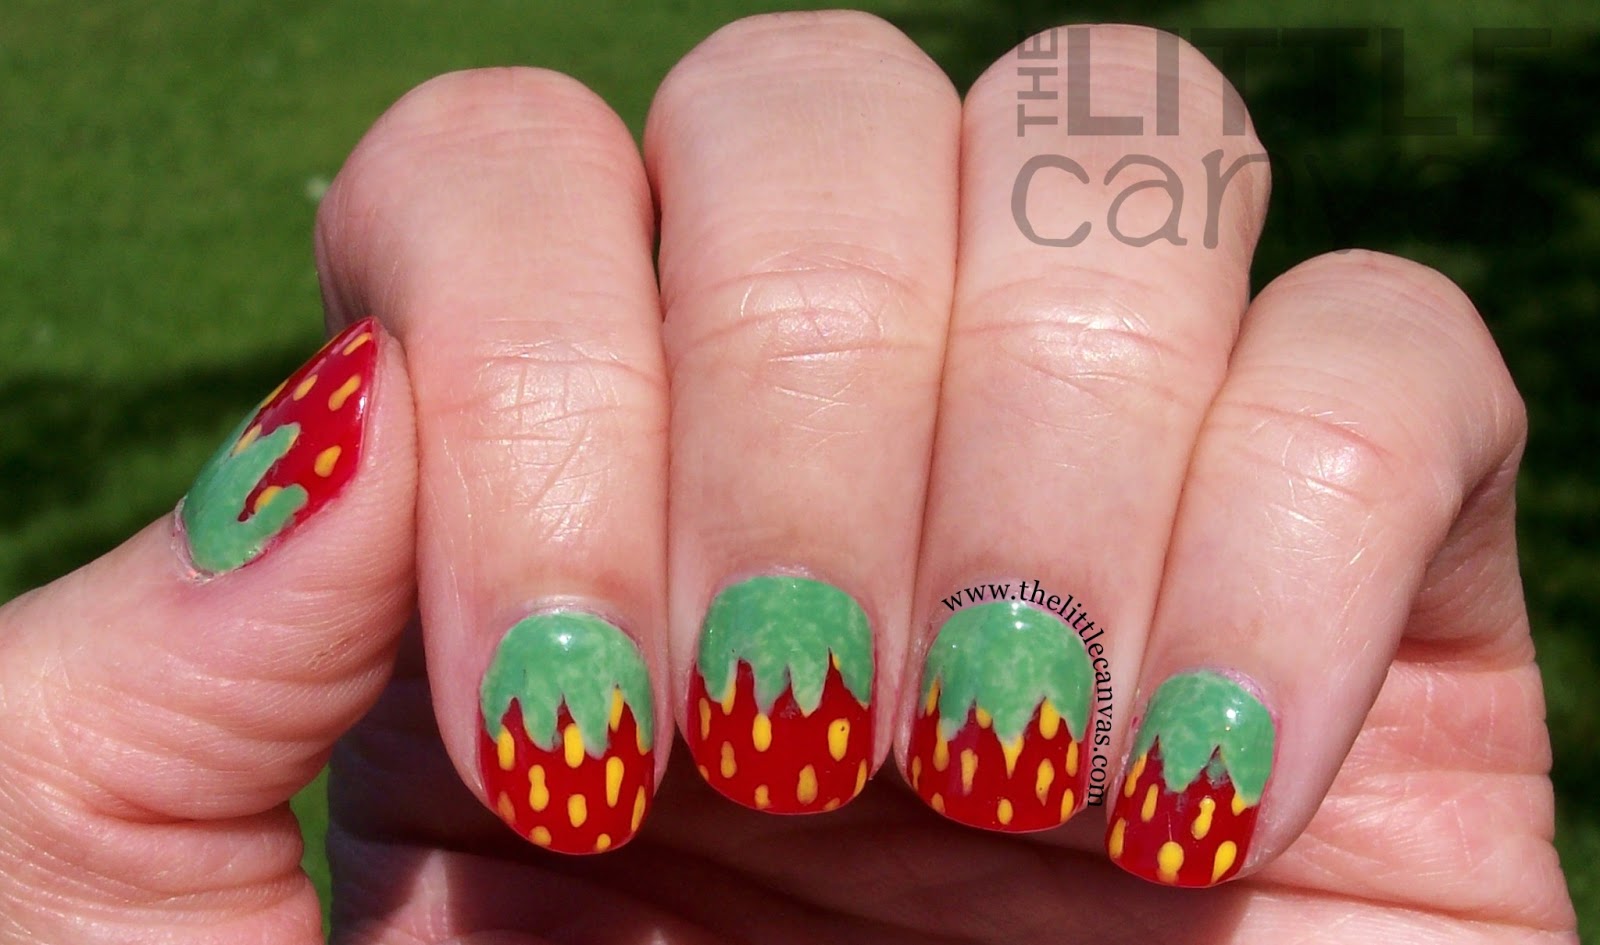
Short on time but still want to rock some cute strawberry nails? These quick and easy designs are perfect for you. Start with a bright red base and then use a toothpick or nail art pen to create small green leaves at the base of your nail. Next, use a dotting tool to add white dots for the seeds. To add a fun twist, you can also paint some of your nails a light green shade and use a thin brush to create a strawberry design on top. Quick, easy, and oh so cute!Quick and Easy Strawberry Nail Designs


Quick and Easy Strawberry Nail Designs


Short nails, don't care! These strawberry nail art designs are perfect for those with shorter nails. Start with a light pink base and then use a thin brush to create a diagonal line with a darker pink shade for the strawberry's tip. Add a small green leaf and a few white dots for the seeds. For an extra touch, you can also add some small black seeds using a toothpick or nail art pen. These adorable designs will make your short nails stand out.Strawberry Nail Art for Short Nails


Strawberry Nail Art for Short Nails

If you're not quite ready to commit to a full set of strawberry nails, this simple accent nail tutorial is perfect for you. Start with a base coat and then paint all your nails a light pink shade. Next, use a thin brush to create a diagonal line with a darker pink shade on one nail. Add a small green leaf and a few white dots for the seeds. This subtle yet cute accent nail will add a touch of summer to your overall nail look.Simple Strawberry Accent Nail Tutorial


Simple Strawberry Accent Nail Tutorial

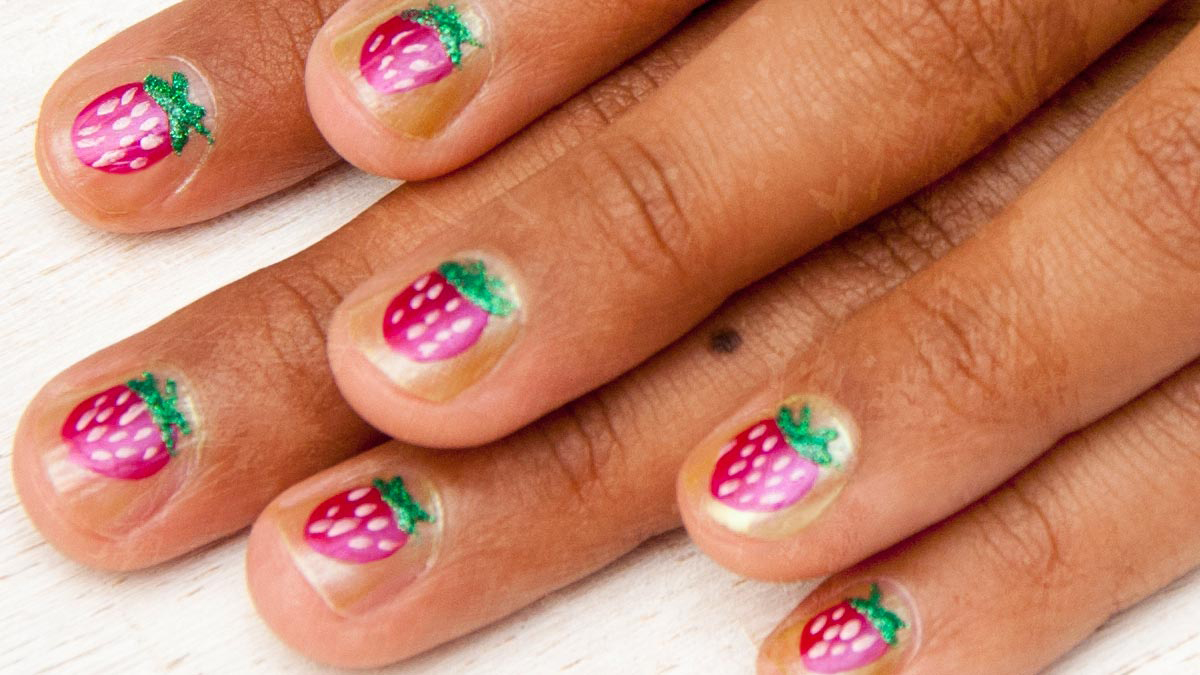
The dotting tool is a must-have for any nail art enthusiast, and it's perfect for creating these strawberry nail designs. Start with a light pink base and then use a dotting tool to create small green leaves at the base of your nail. Next, use a toothpick or smaller dotting tool to add white dots for the seeds. For an extra touch, you can also use a thin brush to add some black seeds on top of the white dots. This simple technique will give you perfect strawberry nails every time.Strawberry Nail Art Using Dotting Tool

Strawberry Nail Art Using Dotting Tool
Create a Sweet and Simple Look with Strawberry Nail Art

What is Strawberry Nail Art?
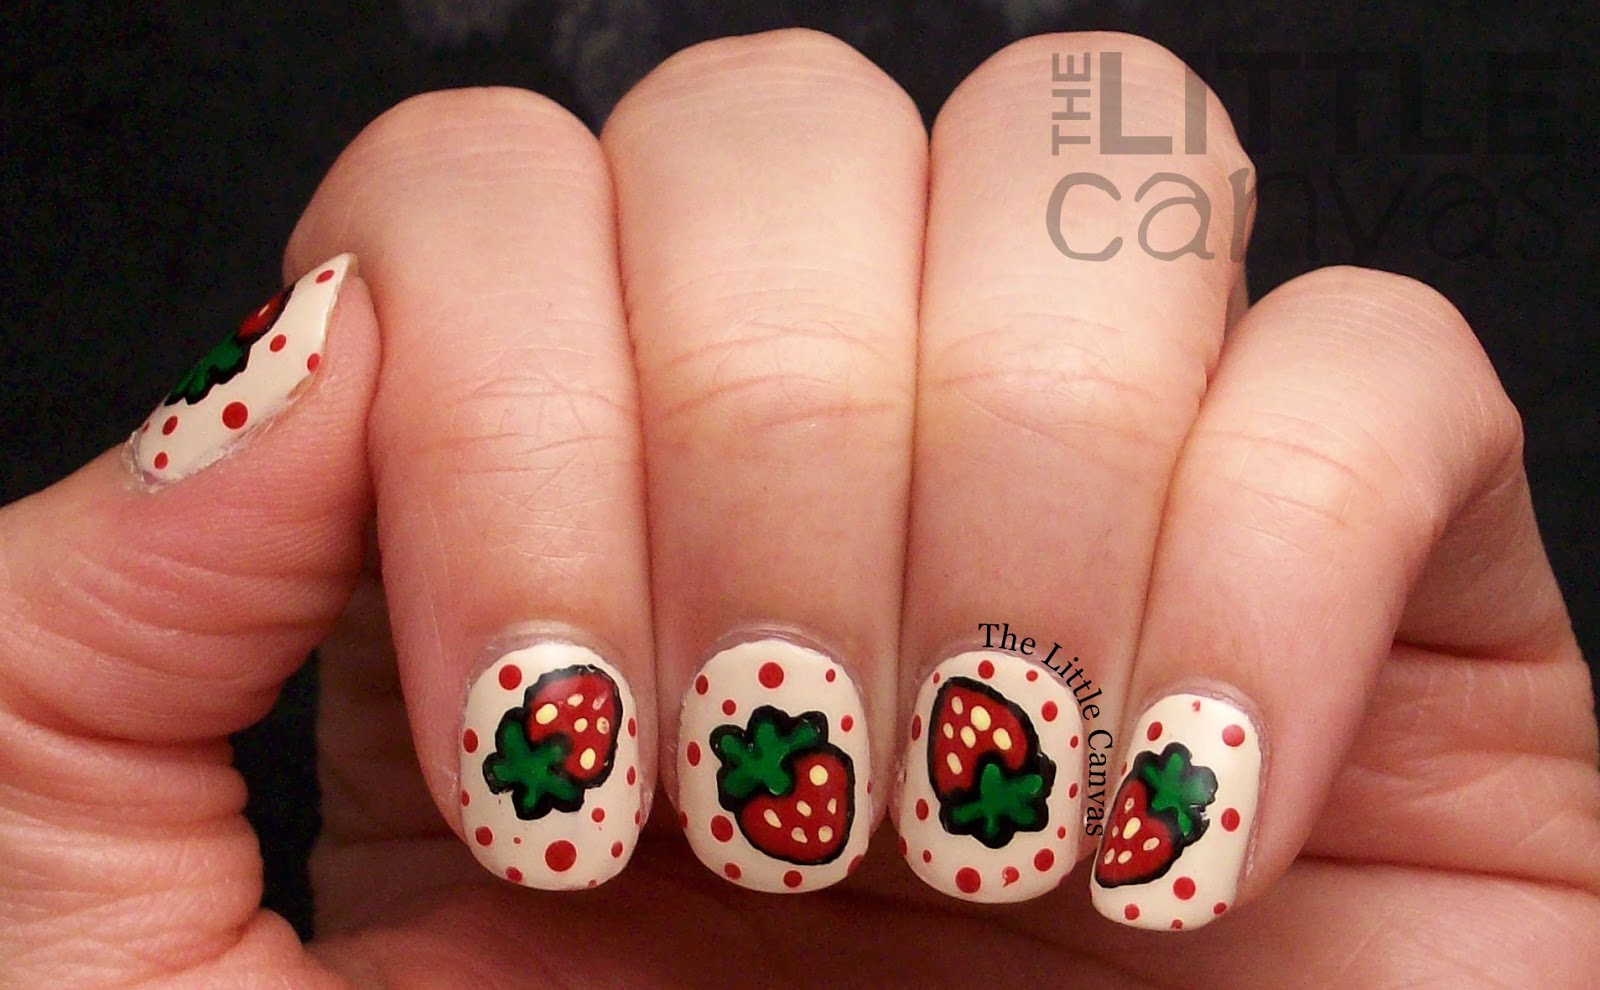
Strawberry nail art is a fun and playful way to add some fruity flair to your nails. This design features the iconic red fruit, complete with its signature green leaves and tiny black seeds. It's a great choice for anyone looking for a cute and feminine nail design that is easy to create at home.
How to Achieve the Look
The first step to creating strawberry nail art is to gather your supplies. You will need a base coat, red and green nail polish, a fine-tipped brush, and a toothpick or dotting tool. Start by applying a base coat to protect your nails and help the polish last longer.
Next, paint your nails with a vibrant red polish and let it dry completely. Once dry, use a fine-tipped brush to create the green leaves on the top of each nail. Simply dip the brush into the green polish and create small curved lines at the top of your nail, similar to the shape of a strawberry leaf.
After the green polish has dried, use a toothpick or dotting tool to add tiny black dots to the red portion of each nail. This will create the illusion of strawberry seeds and add a touch of realism to the design. Once your design is complete, finish it off with a clear topcoat to seal in the design and add shine.
Mix and Match
One of the best things about strawberry nail art is that it is highly customizable. You can mix and match different shades of red and green to create a unique and eye-catching design. You can also add additional elements like glitter or other fruit designs to create a more elaborate look.
Additionally, this design can be incorporated into other nail art styles, such as ombre or French tips. This allows you to experiment and create your own personalized version of strawberry nail art.
Final Thoughts

Strawberry nail art is a simple and charming way to add some fun to your manicure. It's perfect for any occasion and can be easily created at home with just a few supplies. So why not give it a try and add some sweetness to your nails with this cute and playful design?


