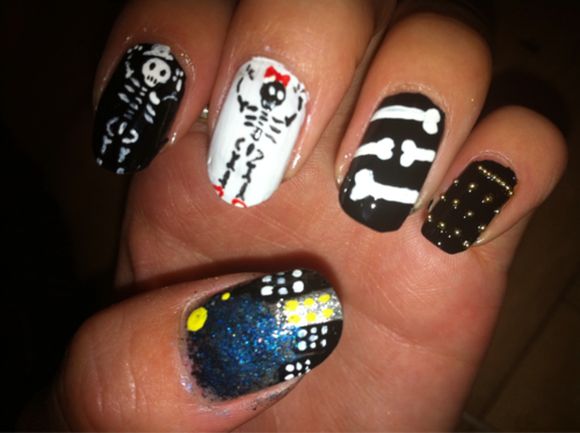
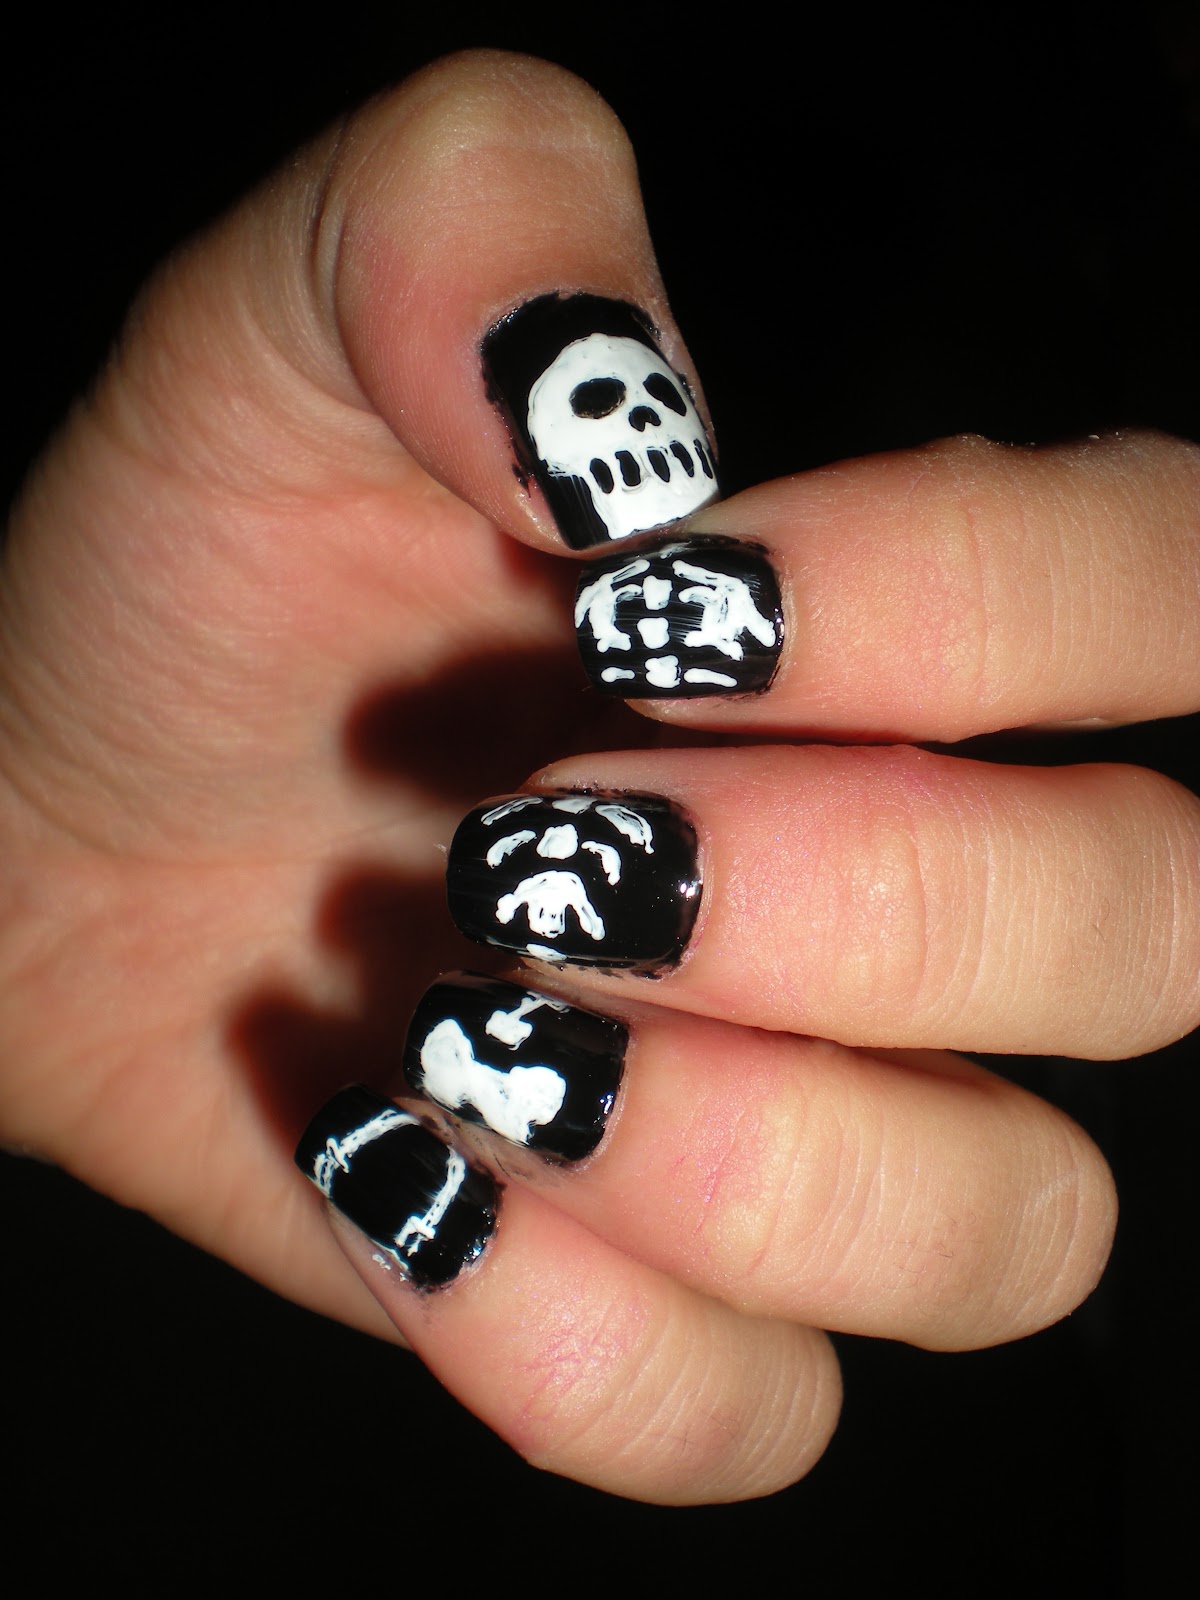
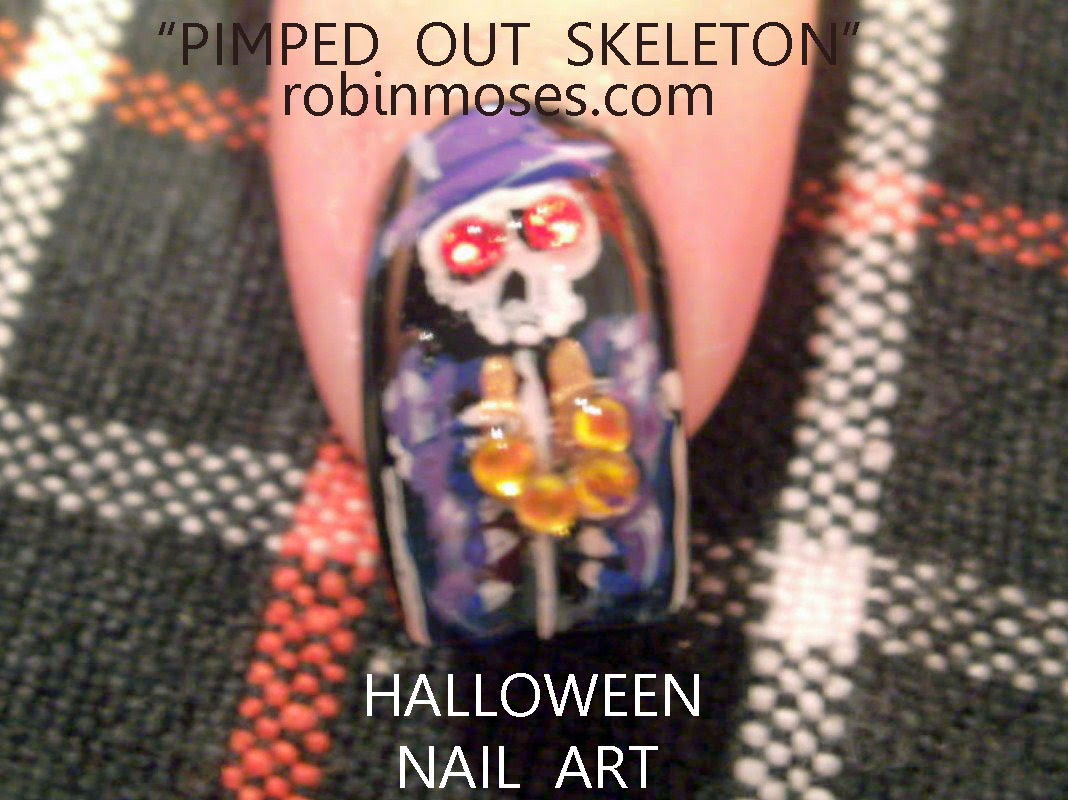
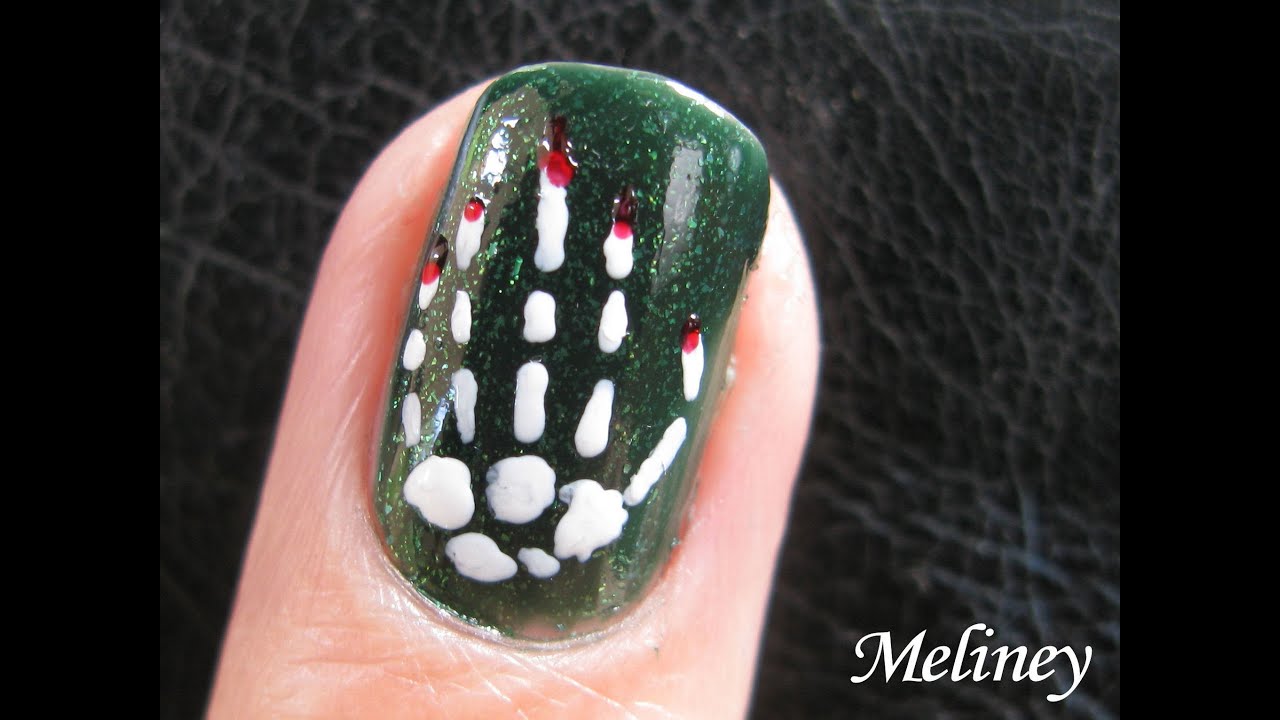
Are you looking for a spooky and unique nail art design for Halloween? Look no further than this skeleton hand nail art tutorial! With just a few simple steps, you can create a creepy and eye-catching look that will surely impress your friends. To start, you will need a base coat, black and white nail polish, a thin brush, and a dotting tool. Begin by applying a base coat to protect your nails and allow it to dry completely. Next, using the black nail polish, paint your nails and let it dry for a few minutes. Then, with the thin brush, create the outline of a skeleton hand on each nail, starting from the cuticle and extending towards the tip of the nail. Don't worry about making it perfect, as the messier it looks, the better it will fit the spooky theme. Once the outline is done, use the dotting tool to create small dots on the fingers to represent the bones. Remember to leave some space between the dots to make it more realistic. Finish off with a top coat to seal in your design and add some shine. And there you have it, a simple yet terrifying skeleton hand nail art that will make your nails stand out this Halloween!1. Skeleton Hand Nail Art Tutorial


1. Skeleton Hand Nail Art Tutorial


Halloween is the perfect time to experiment with fun and spooky nail art designs, and what better way to do so than with skeleton nails? This Halloween skeleton nail art is perfect for those who want to keep their nails looking chic and minimalistic while still adding a touch of Halloween spirit. To achieve this look, you will need a white base coat, black and white nail polish, a thin brush, and a dotting tool. Start by applying a white base coat and let it dry completely. Next, take the black nail polish and create a diagonal line across the middle of your nail. Then, using the thin brush, draw two lines extending from the top and bottom of the diagonal line to create the outline of a skull. Using the dotting tool, create small dots inside the skull to represent the teeth. Then, use the black nail polish to create two small dots for the eyes. Finish off with a top coat to seal in your design and add shine. This Halloween skeleton nail art is perfect for those who want a subtle yet spooky look for their nails. Give it a try and see how it turns out!2. Halloween Skeleton Nail Art


2. Halloween Skeleton Nail Art

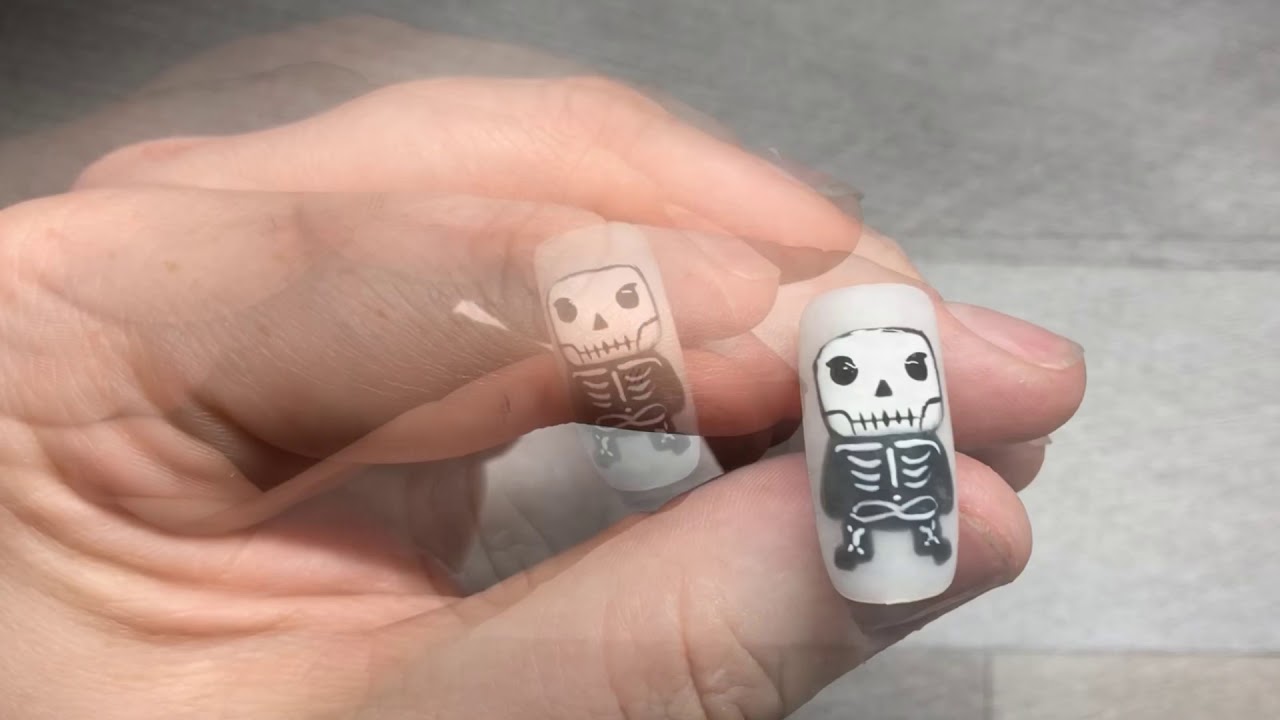


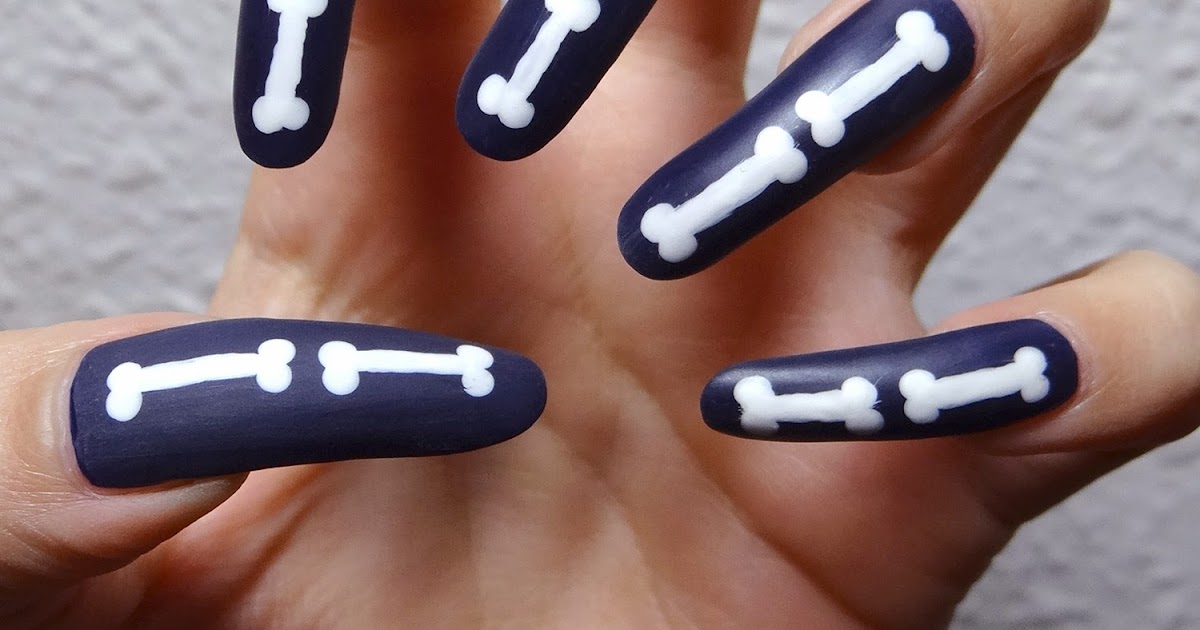
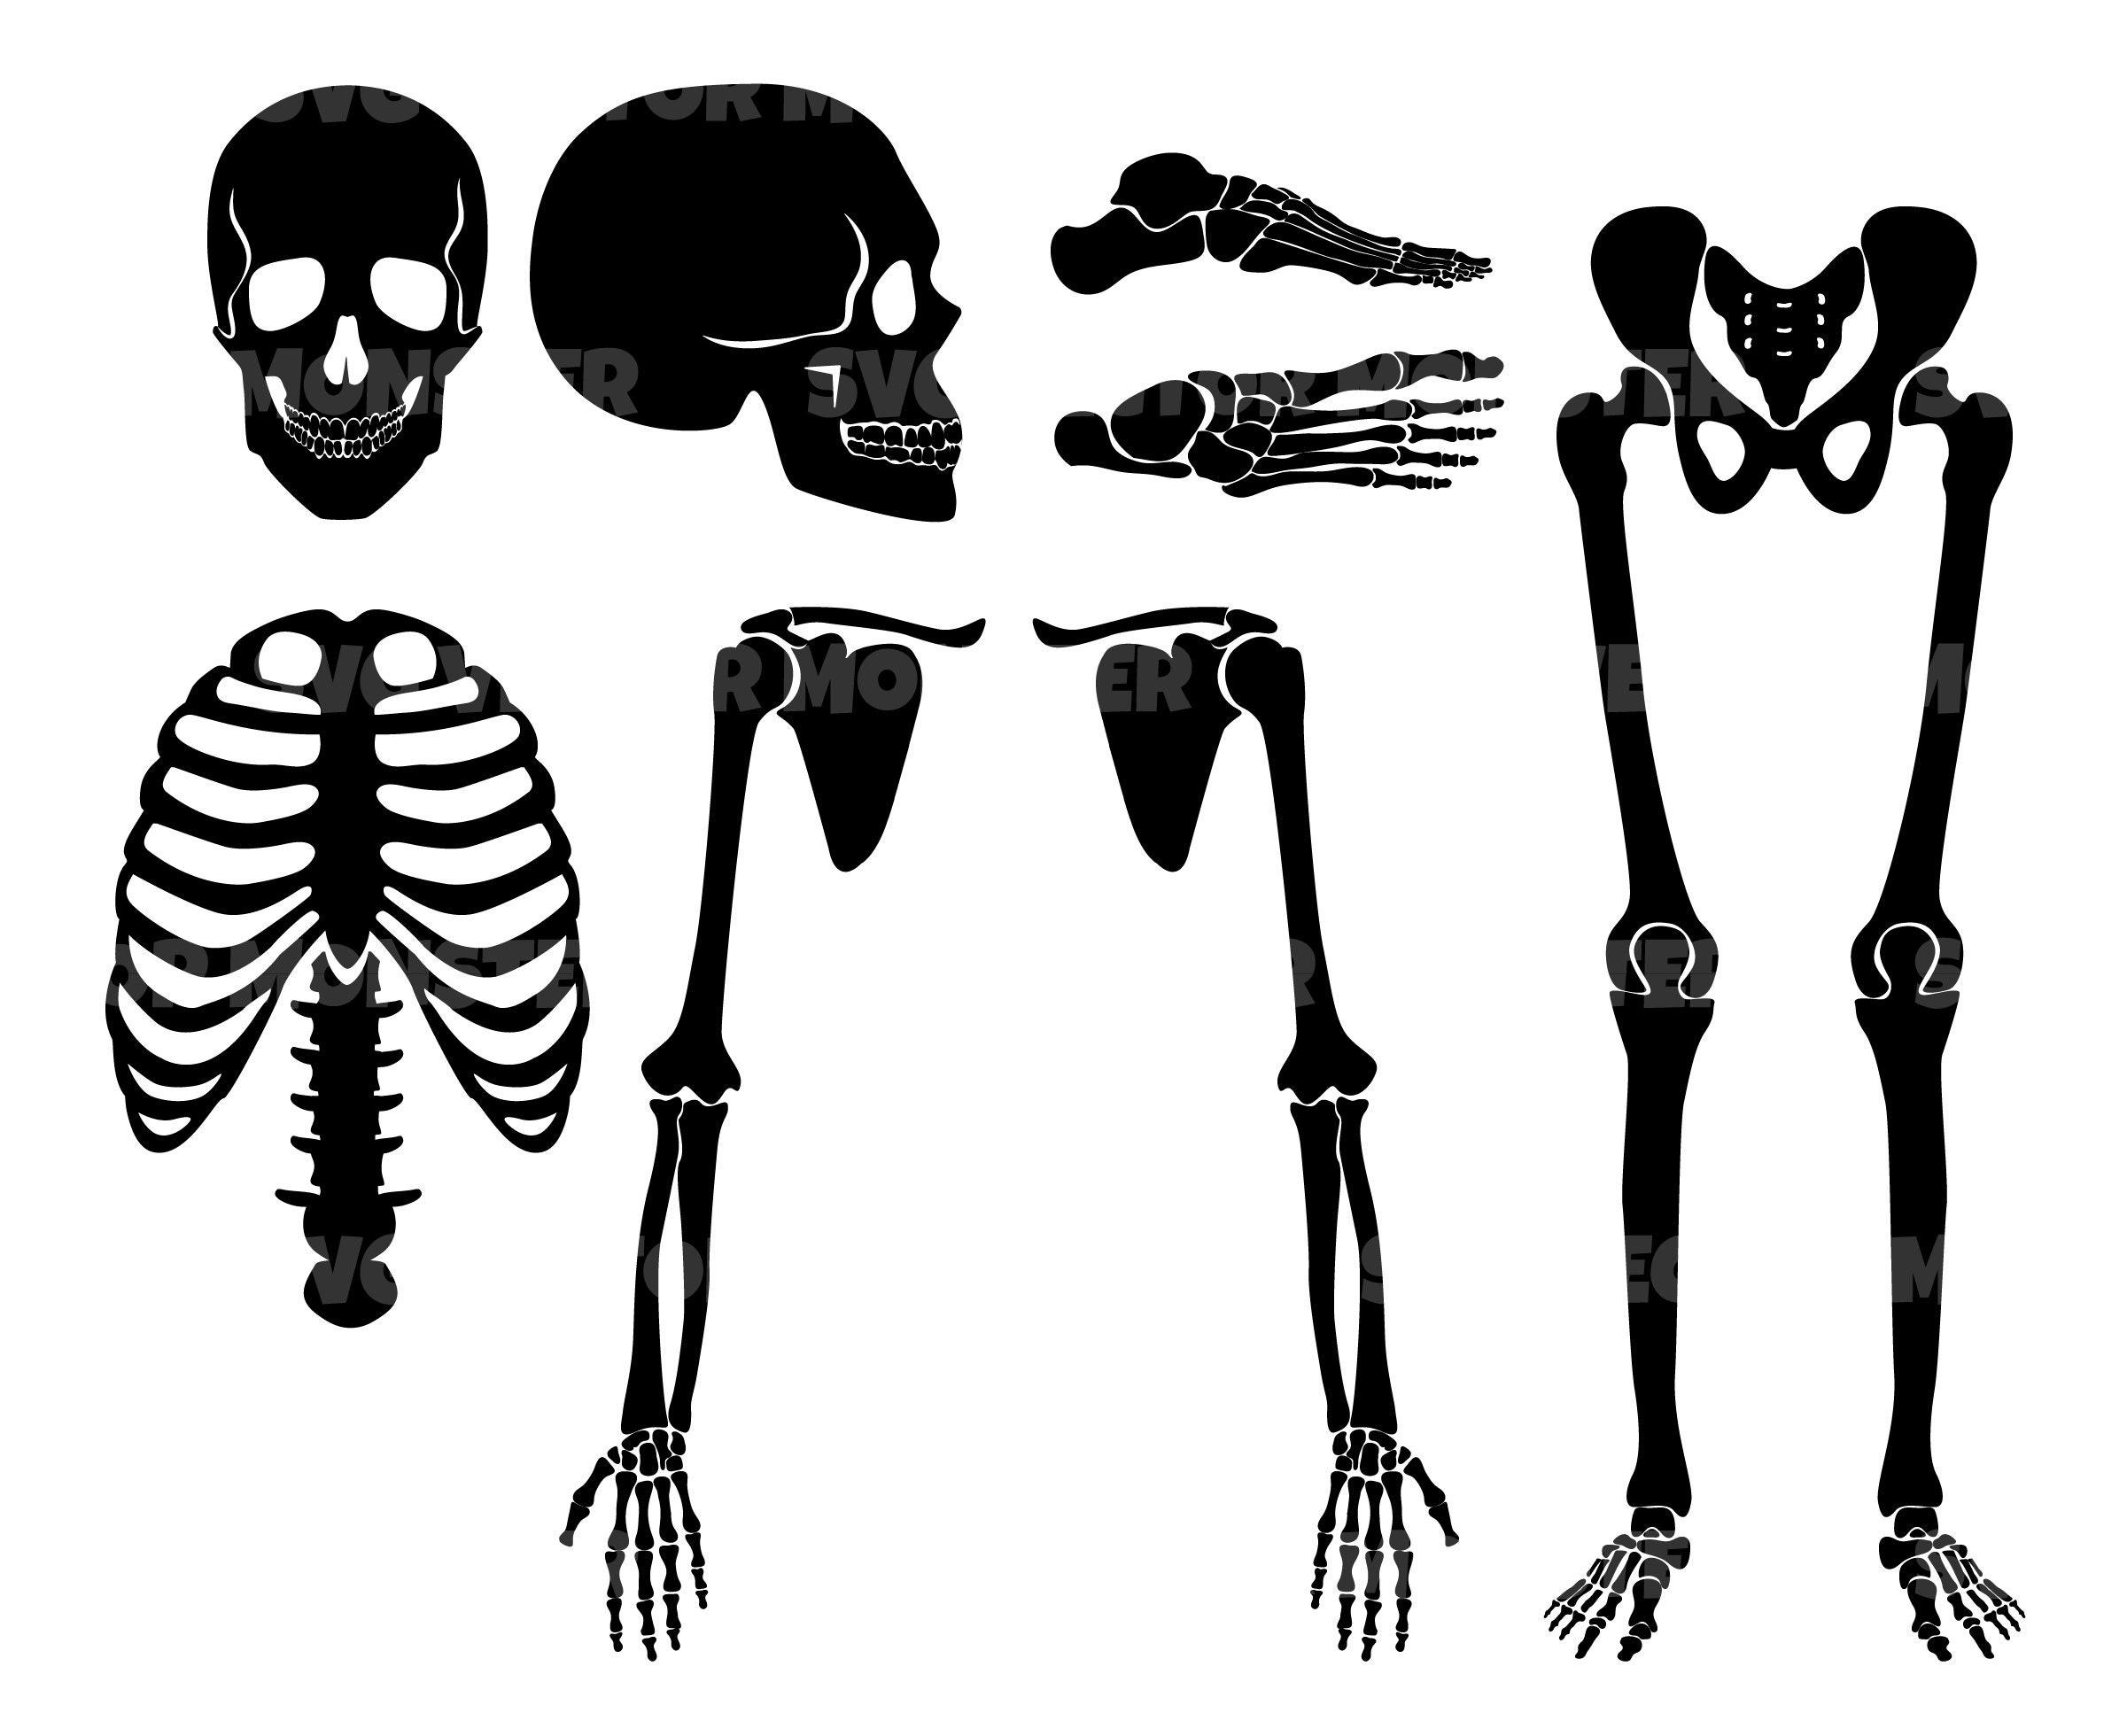
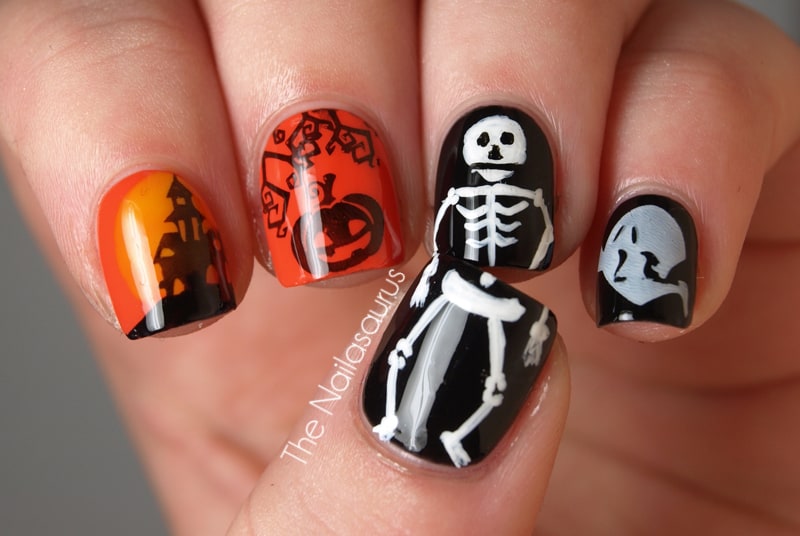
If you're a fan of intricate and detailed nail art, this skeleton bones nail art design is perfect for you. With its realistic depiction of skeleton bones, this design will surely turn heads and make your nails the talk of the town. To start, you will need a black base coat, white nail polish, a thin brush, and a dotting tool. Begin by applying the black base coat and let it dry completely. Next, using the white nail polish, create the outline of a skeleton bone on each nail, starting from the cuticle and extending towards the tip of the nail. Don't worry about making it perfect, as the imperfections will add to the authenticity of the design. Then, using the thin brush, draw thin lines inside the bones to give them a more detailed look. Use the dotting tool to create small dots to represent the joints of the bones. Finish off with a top coat to seal in your design and add some shine. This skeleton bones nail art design may require a bit more time and patience, but the end result will be worth it. Give it a try and show off your spooky and artistic side.3. Skeleton Bones Nail Art Design


3. Skeleton Bones Nail Art Design


Not everyone has the time or the skill to create intricate nail art designs, and that's okay. This easy skeleton nail art is perfect for those who want a quick and effortless way to add a touch of Halloween to their nails. All you need is a white base coat, black nail polish, and a dotting tool. Start by applying a white base coat and let it dry completely. Next, using the black nail polish, create the outline of a skull on each nail. Don't worry about making it perfect, as the messier it looks, the better it will fit the spooky theme. Using the dotting tool, create small dots inside the skull to represent the teeth. Then, use the black nail polish to create two small dots for the eyes. Finish off with a top coat to seal in your design and add shine. And just like that, you have a simple and easy skeleton nail art that looks like it took hours to create. Give it a try and see for yourself!4. Easy Skeleton Nail Art


4. Easy Skeleton Nail Art

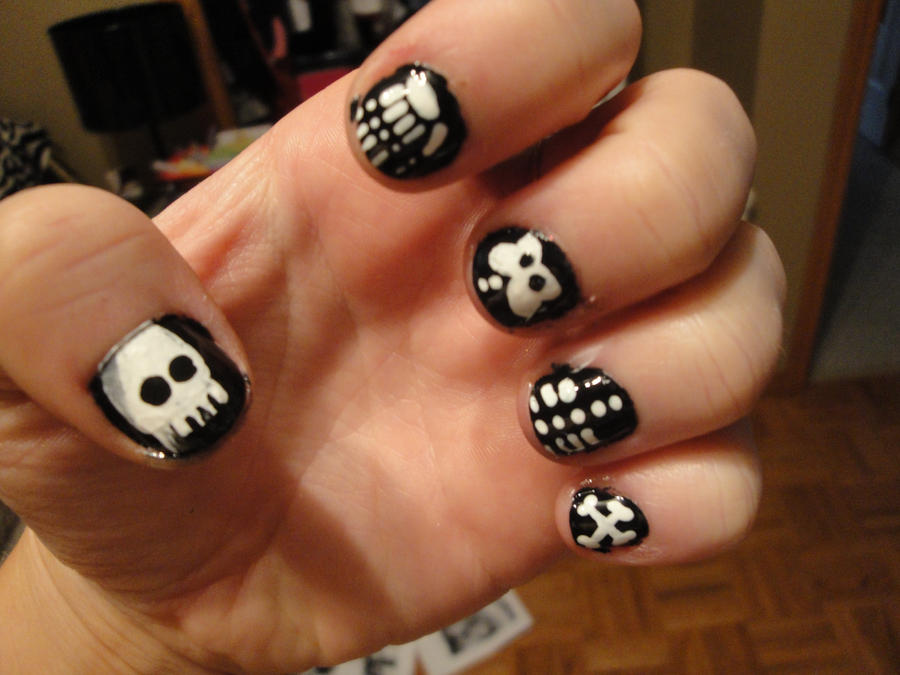
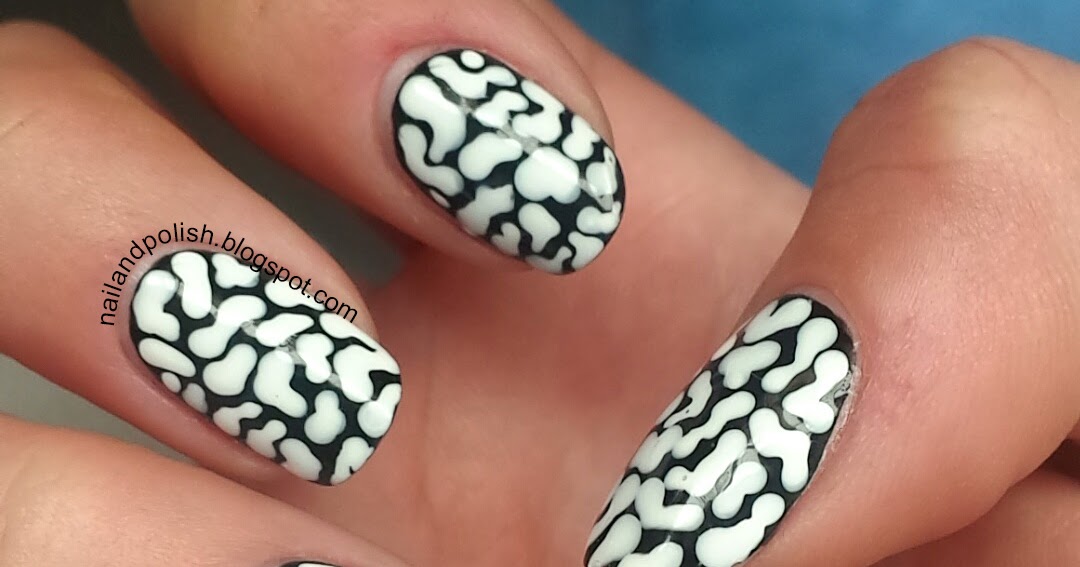
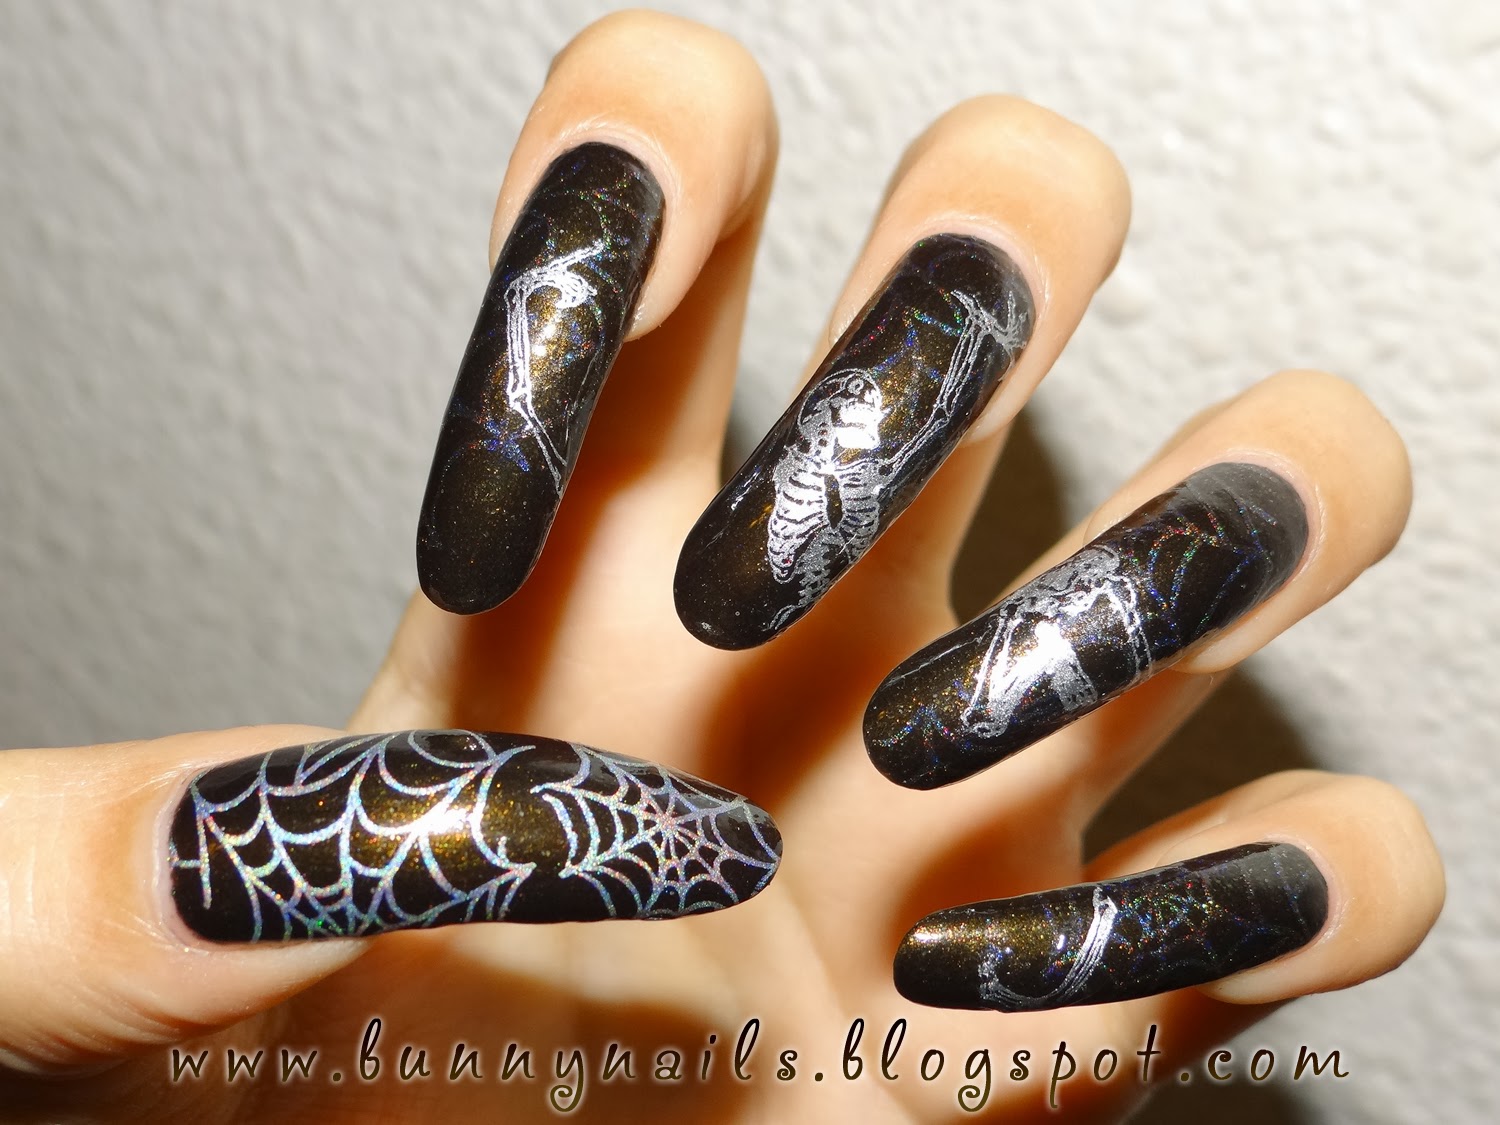
For those who prefer a monochromatic look for their nails, this black and white skeleton nail art is the perfect choice. With its clean and minimalistic design, it is sure to make a statement and add a touch of spookiness to your nails. You will need a black and white nail polish, a thin brush, and a dotting tool for this design. Start by applying a white base coat and let it dry completely. Next, using the black nail polish, create the outline of a skeleton bone on each nail, starting from the cuticle and extending towards the tip of the nail. Don't worry about making it perfect, as the imperfections will add to the authenticity of the design. Using the thin brush, draw thin lines inside the bones to give them a more detailed look. Use the dotting tool to create small dots to represent the joints of the bones. Finish off with a top coat to seal in your design and add some shine. This black and white skeleton nail art is perfect for those who want a more subtle yet stylish Halloween look for their nails. Give it a try and see how it turns out!5. Black and White Skeleton Nail Art

5. Black and White Skeleton Nail Art

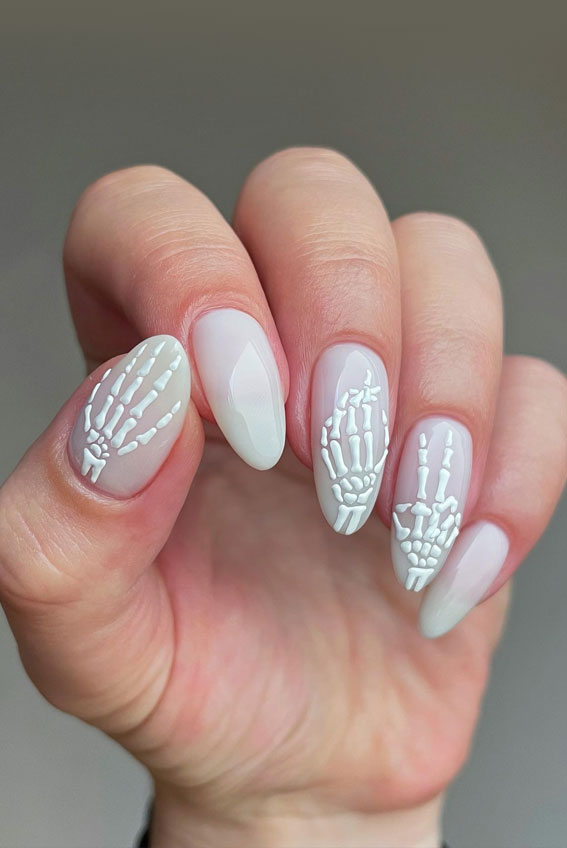
If you're not confident in your nail art skills, or simply don't have the time to create a design from scratch, these skeleton bones nail art stickers are the perfect solution for you. With just a few easy steps, you can have a spooky and professional-looking nail art in no time. Start by applying a base coat and let it dry completely. Next, choose the sticker that you want to use and carefully place it on your nail, making sure to smooth out any air bubbles. Then, apply a top coat to seal in the sticker and add some shine. These skeleton bones nail art stickers are perfect for those who want a quick and effortless way to add a touch of Halloween to their nails. And the best part? No mess and no clean up afterwards!6. Skeleton Bones Nail Art Stickers

6. Skeleton Bones Nail Art Stickers


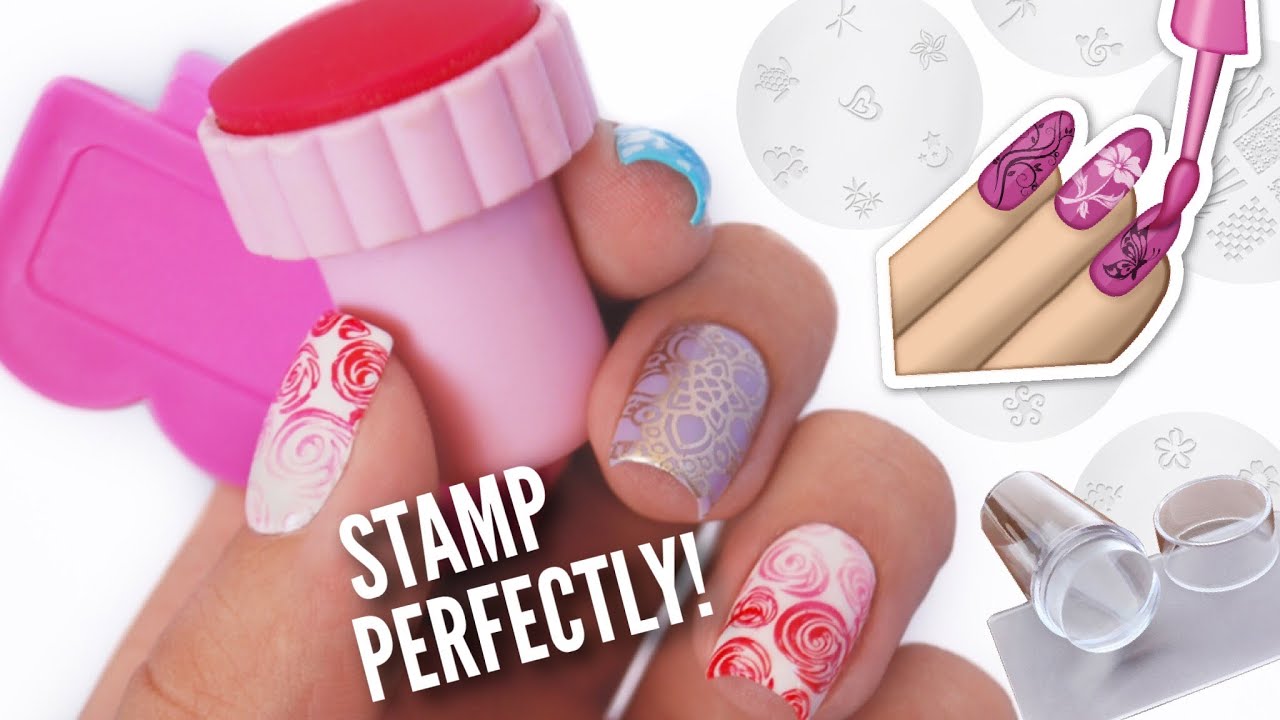
If you're a fan of nail stamping, this skeleton hand nail art stamping plate is a must-have for your collection. With its intricate and detailed design, you can create a realistic skeleton hand nail art in just a few simple steps. Start by applying a base coat and let it dry completely. Next, choose the design that you want to use and transfer it onto the stamping plate. Then, using a stamping tool, pick up the design and transfer it onto your nail. Finish off with a top coat to seal in your design and add some shine. This skeleton hand nail art stamping plate is perfect for those who want a more professional-looking design for their Halloween nails. Give it a try and see how it turns out!7. Skeleton Hand Nail Art Stamping Plate
.jpg)


7. Skeleton Hand Nail Art Stamping Plate


Another easy and hassle-free way to achieve a spooky skeleton nail art is with the help of nail art decals. These skeleton bones nail art decals are perfect for those who want a quick and effortless way to add a touch of Halloween to their nails. Start by applying a base coat and let it dry completely. Next, choose the decal that you want to use and carefully place it on your nail, making sure to smooth out any air bubbles. Then, apply a top coat to seal in the decal and add some shine. These skeleton bones nail art decals are perfect for those who want a quick and easy Halloween nail art without the mess and clean up. Give it a try and see for yourself!8. Skeleton Bones Nail Art Decals


8. Skeleton Bones Nail Art Decals

If you're new to nail art and want to try your hand at creating a spooky Halloween design, this skeleton hand nail art tutorial for beginners is the perfect place to start. With just a few simple steps, you can create a creepy and impressive look that will surely impress your friends. Start by applying a base coat and let it dry completely. Next, using a white nail polish, paint your nails and let it dry for a few minutes. Then, with the help of a thin brush, create the outline of a skeleton hand on each nail, starting from the cuticle and extending towards the tip of the nail. Once the outline is done, use a dotting tool to create small dots on the fingers to represent the bones. Remember to leave some space between the dots to make it look more realistic. Finish off with a top coat to seal in your design and add some shine. This skeleton hand nail art tutorial is perfect for beginners who want to try their hand at something spooky and fun for Halloween. Give it a try and see how it turns out!9. Skeleton Hand Nail Art Tutorial for Beginners


9. Skeleton Hand Nail Art Tutorial for Beginners


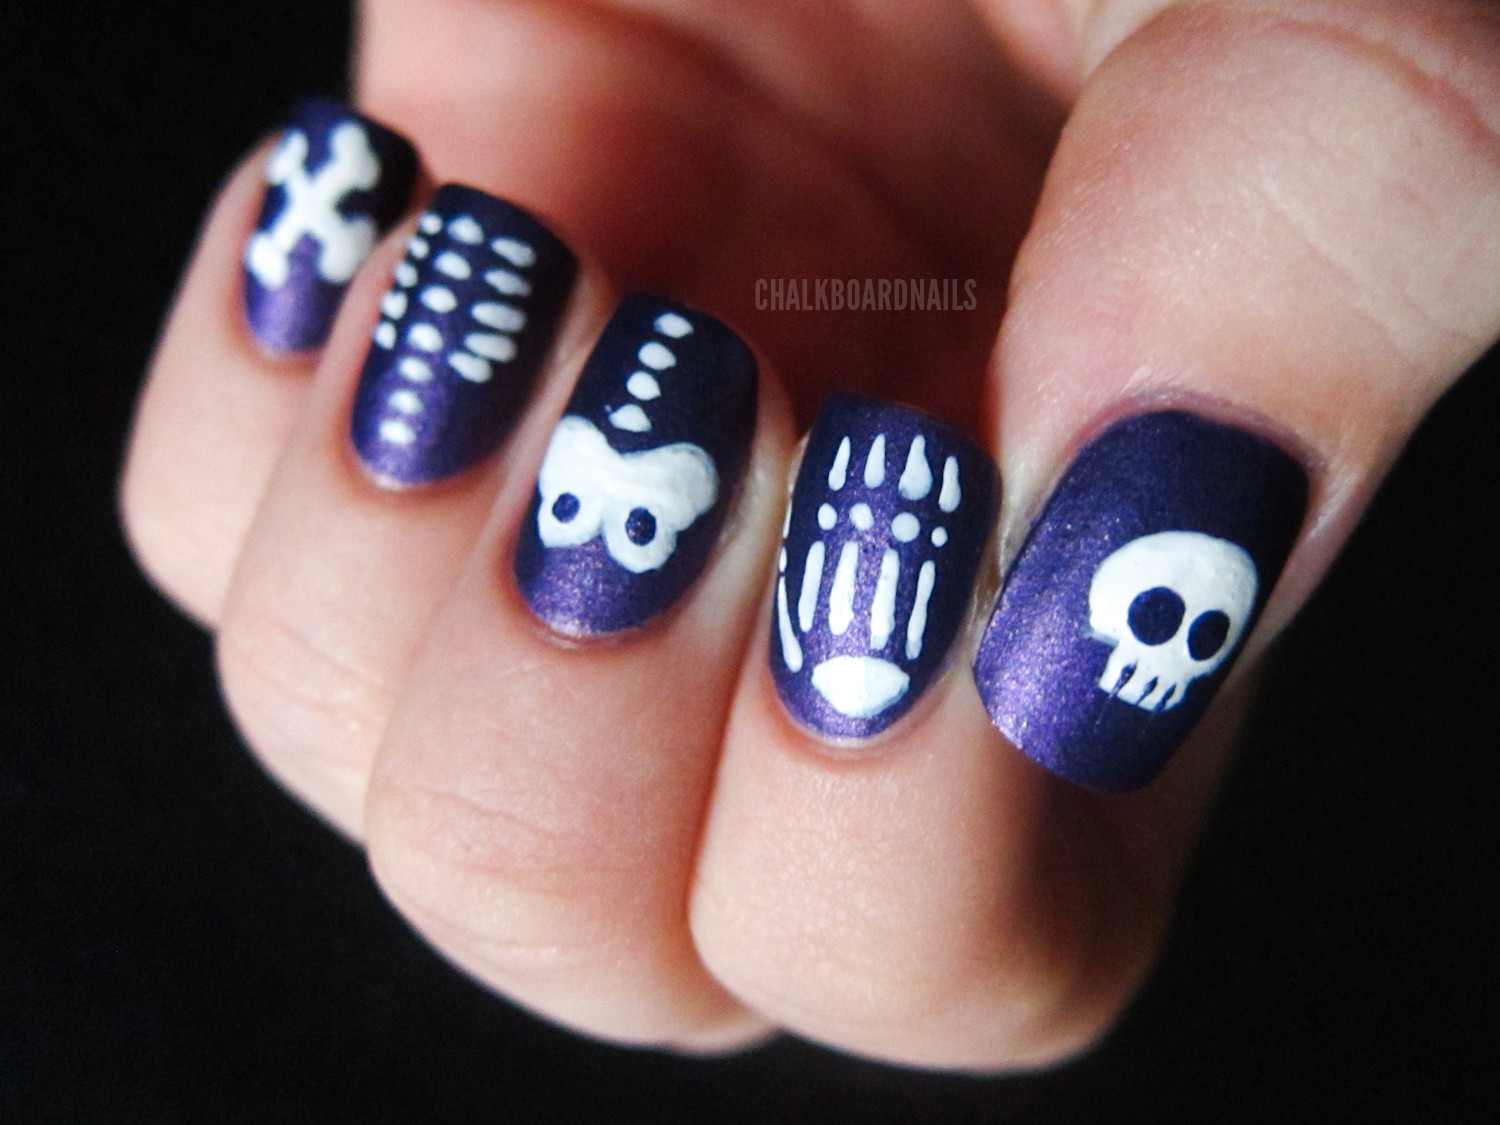
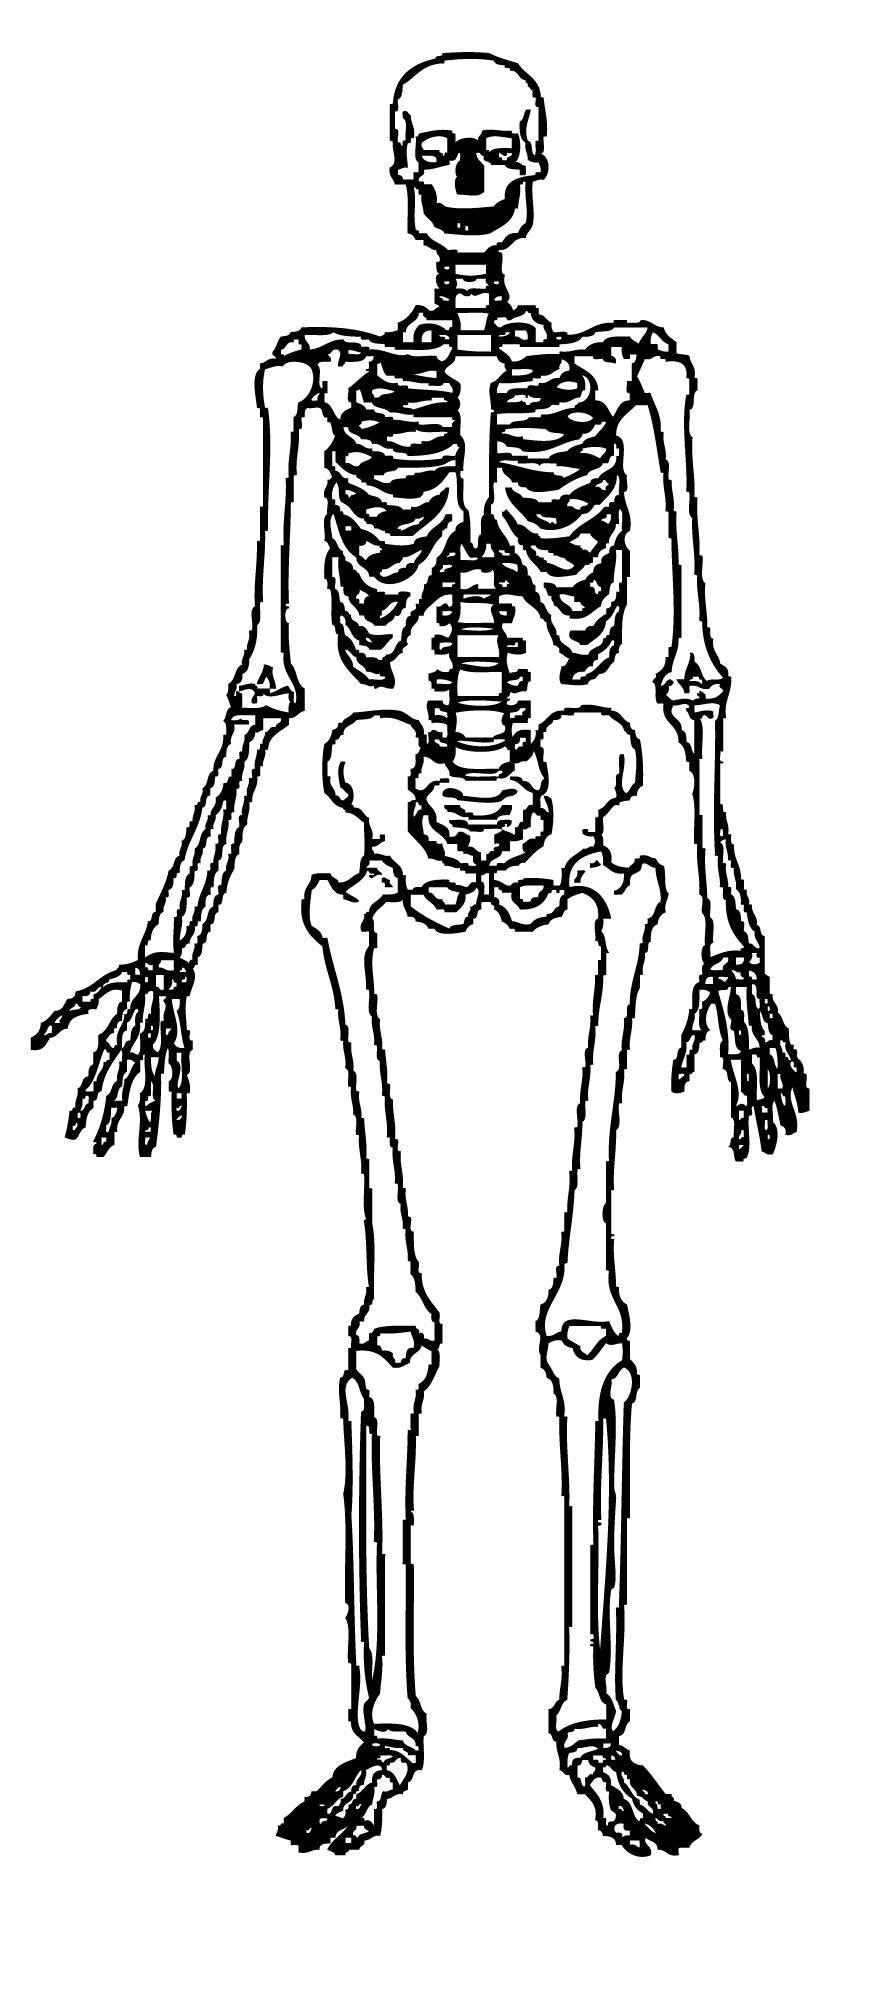
No Halloween is complete without some spooky and fun nail art, and these skeleton bones nail art designs are perfect for the occasion. With their realistic and detailed depiction of skeleton bones, you can achieve a creepy and impressive look that will surely turn heads. Choose from various designs such as a full skeleton hand, a skull with crossed bones, or just scattered bones on a black background. You can also mix and match different designs for a more unique and personalized look. These skeleton bones nail art designs are perfect for Halloween or any other spooky-themed event. Give them a try and show off your creative and artistic side!10. Skeleton Bones Nail Art Designs for Halloween


10. Skeleton Bones Nail Art Designs for Halloween
The Versatility of Skeleton Bones Nail Art in House Design
Unleash Your Creativity with Skeleton Bones Nail Art
 The art of
skeleton bones nail art
has taken the world by storm, and for a good reason. Not only is it a fun and unique way to express one's creativity, but it also adds a touch of edginess and sophistication to any house design. With the rise of social media and the increasing popularity of DIY projects,
skeleton bones nail art
has become a must-try trend for anyone looking to elevate their home decor game.
The art of
skeleton bones nail art
has taken the world by storm, and for a good reason. Not only is it a fun and unique way to express one's creativity, but it also adds a touch of edginess and sophistication to any house design. With the rise of social media and the increasing popularity of DIY projects,
skeleton bones nail art
has become a must-try trend for anyone looking to elevate their home decor game.
How to Incorporate Skeleton Bones Nail Art into Your House Design
 One of the best things about
skeleton bones nail art
is its versatility. It can be incorporated into various areas of your house, from the living room to the bedroom, and even the kitchen. The key is to find the perfect balance between boldness and subtlety, depending on the overall aesthetic of your home.
For those who want to make a statement,
skeleton bones nail art
can be used as a focal point in a room. It can be featured on a single wall, creating a dramatic and eye-catching accent. Another way to incorporate this trend is by using it as a border or trim on furniture, such as a bookshelf or coffee table.
For a more subtle approach,
skeleton bones nail art
can be used as smaller accents throughout the house. This could include a picture frame, a vase, or even a set of coasters. These subtle touches add a touch of personality and playfulness to any room without overwhelming the overall design.
One of the best things about
skeleton bones nail art
is its versatility. It can be incorporated into various areas of your house, from the living room to the bedroom, and even the kitchen. The key is to find the perfect balance between boldness and subtlety, depending on the overall aesthetic of your home.
For those who want to make a statement,
skeleton bones nail art
can be used as a focal point in a room. It can be featured on a single wall, creating a dramatic and eye-catching accent. Another way to incorporate this trend is by using it as a border or trim on furniture, such as a bookshelf or coffee table.
For a more subtle approach,
skeleton bones nail art
can be used as smaller accents throughout the house. This could include a picture frame, a vase, or even a set of coasters. These subtle touches add a touch of personality and playfulness to any room without overwhelming the overall design.
The Benefits of Using Skeleton Bones Nail Art in House Design
 Aside from its aesthetic appeal,
skeleton bones nail art
also has practical benefits when used in house design. The use of bold, contrasting colors and intricate designs can add depth and dimension to a room, making it feel more spacious and visually appealing.
Furthermore,
skeleton bones nail art
is a budget-friendly way to revamp your house design. With a little bit of creativity and some basic tools, anyone can create their own
skeleton bones nail art
pieces, making it a cost-effective alternative to expensive home decor items.
In conclusion,
skeleton bones nail art
is a trend that has proven its staying power in the world of house design. Its versatility, budget-friendliness, and unique aesthetic make it a must-try for anyone looking to add a touch of edginess and creativity to their home. So, unleash your inner artist and give
skeleton bones nail art
a try in your next house design project!
Aside from its aesthetic appeal,
skeleton bones nail art
also has practical benefits when used in house design. The use of bold, contrasting colors and intricate designs can add depth and dimension to a room, making it feel more spacious and visually appealing.
Furthermore,
skeleton bones nail art
is a budget-friendly way to revamp your house design. With a little bit of creativity and some basic tools, anyone can create their own
skeleton bones nail art
pieces, making it a cost-effective alternative to expensive home decor items.
In conclusion,
skeleton bones nail art
is a trend that has proven its staying power in the world of house design. Its versatility, budget-friendliness, and unique aesthetic make it a must-try for anyone looking to add a touch of edginess and creativity to their home. So, unleash your inner artist and give
skeleton bones nail art
a try in your next house design project!


