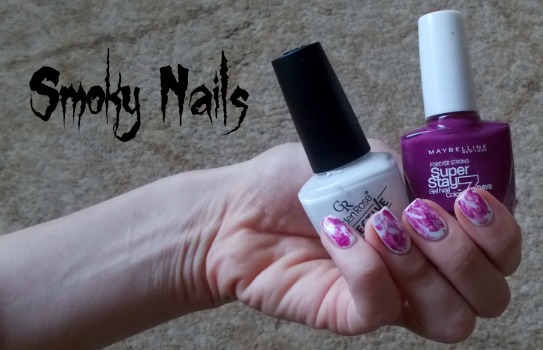
Are you looking to add a touch of mystery and edginess to your nails? Look no further than smoky nail art! With its dark and smoldering effect, this nail trend is perfect for those who want to make a statement. And the best part? You can easily create your own smoky nail art with just a few simple steps. Follow this tutorial and get ready to rock some seriously smoky nails. Featured keywords: smoky nail art, nail trend, create, tutorial1. Smoky Nail Art Tutorial


1. Smoky Nail Art Tutorial
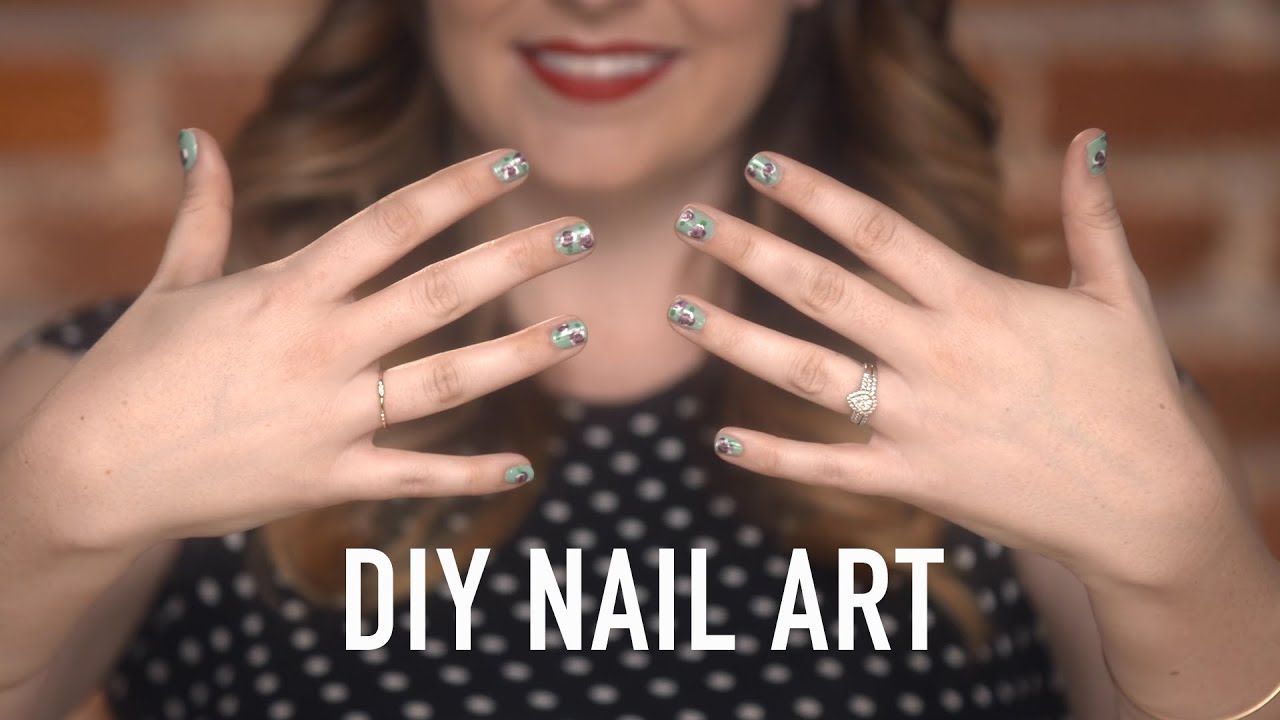


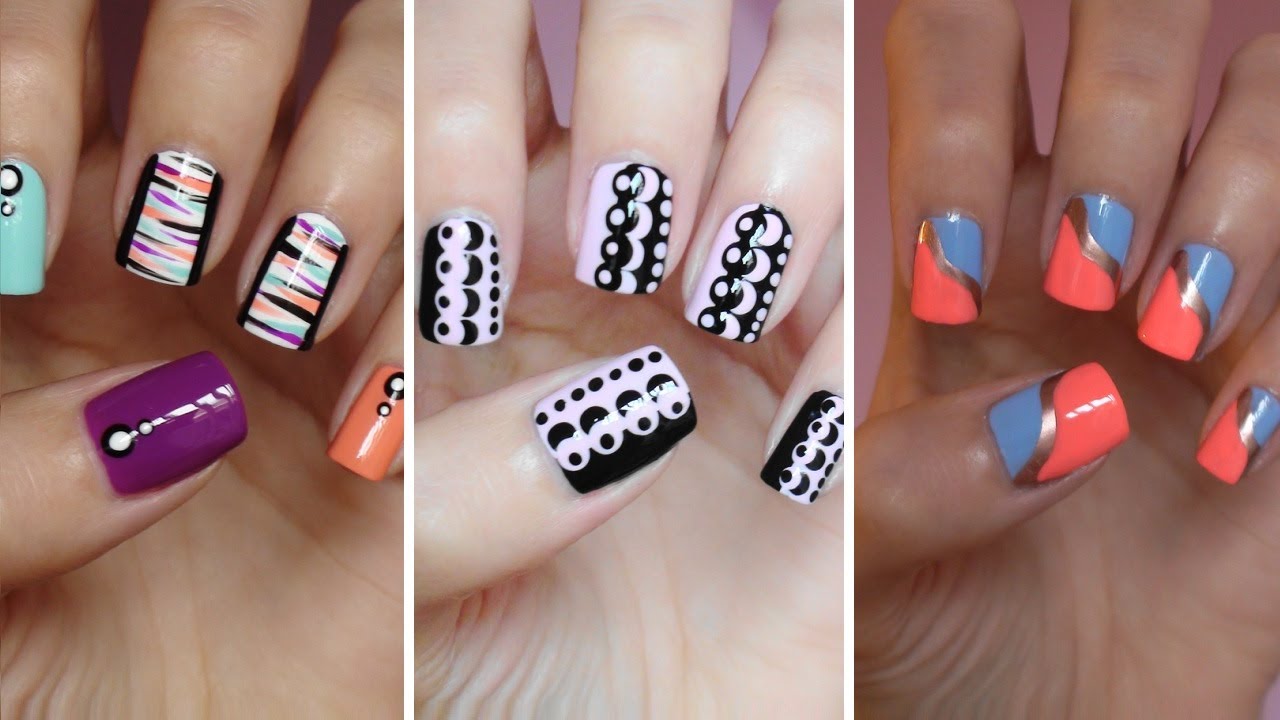
If you're a fan of DIY projects, then you'll love trying out different smoky nail designs. From classic black and grey smoky nails to more colorful options, there are endless possibilities when it comes to creating your own smoky nail art. With a few basic tools and some creativity, you can achieve stunning smoky nail designs that will have everyone asking where you got them done. Featured keywords: DIY, smoky nail designs, black, grey, colorful, tools, creativity2. DIY Smoky Nail Designs


2. DIY Smoky Nail Designs


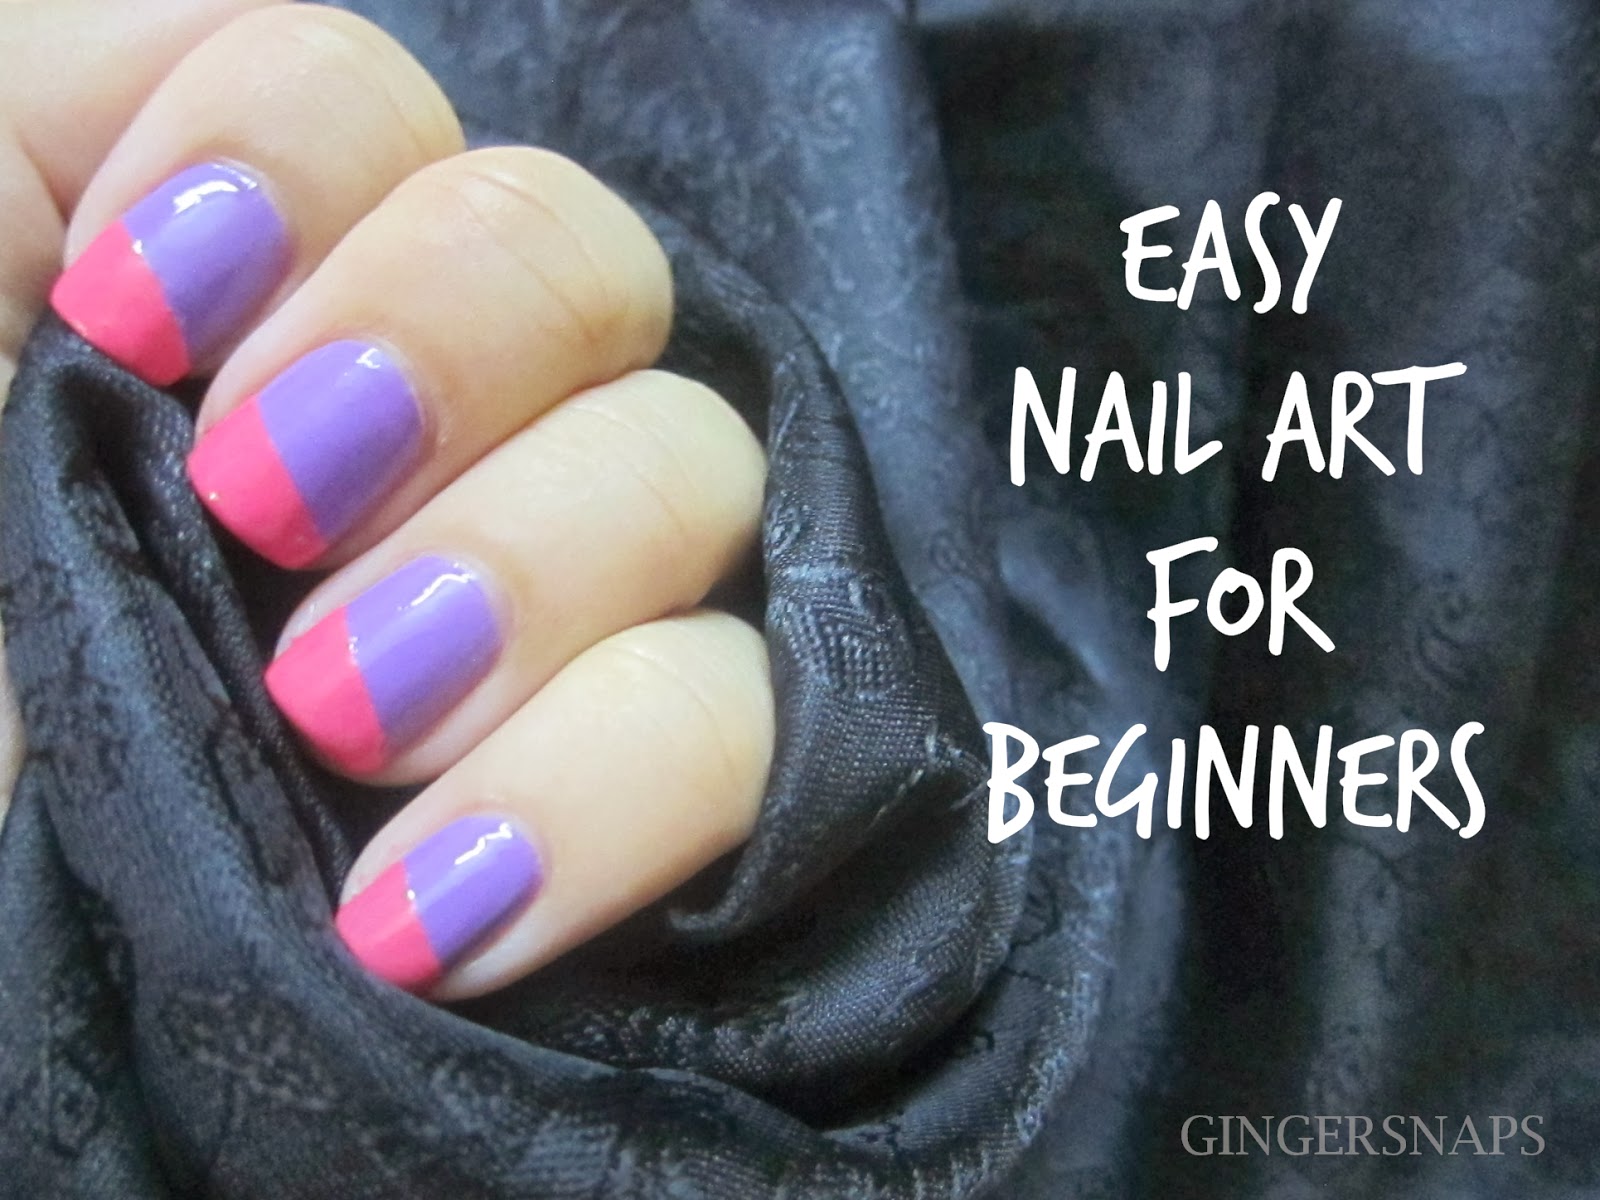
Think smoky nail art is too complicated for you? Think again! There are plenty of easy smoky nail art ideas that you can try at home. For beginners, simple gradient nails with a smoky effect are a great option. You can also experiment with different colors and textures to create your own unique smoky nail design. Don't be afraid to play around and have fun with it! Featured keywords: easy, smoky nail art ideas, gradient, beginners, experiment, colors, textures3. Easy Smoky Nail Art Ideas


3. Easy Smoky Nail Art Ideas


:max_bytes(150000):strip_icc()/121020-red-art-nail-designs-lead-2000-d0787e7365f44dfeaa27972ae713d448.jpg)

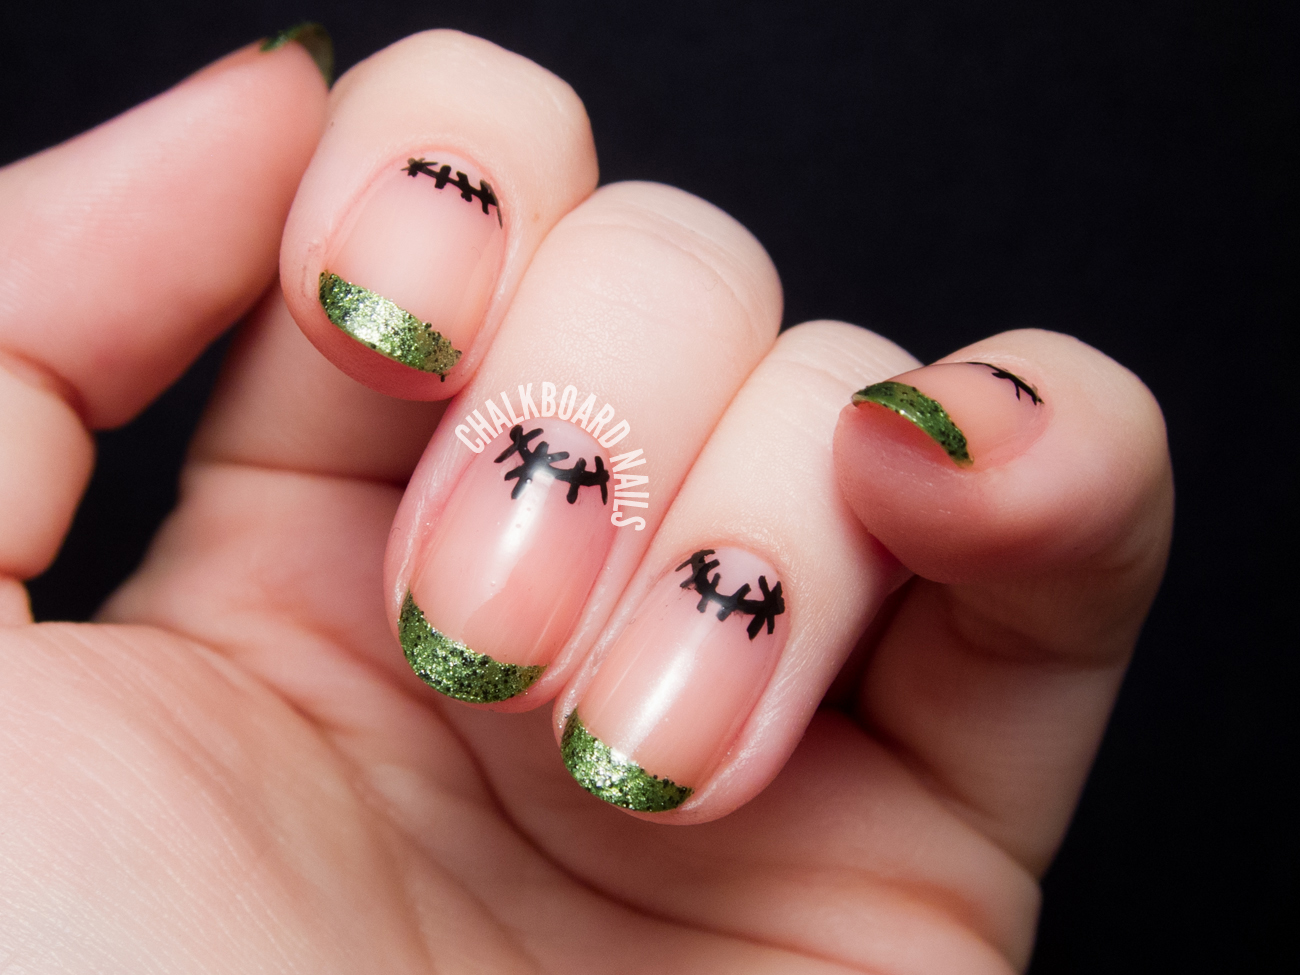
If you're new to the world of nail art, trying out a smoky nail design may seem intimidating. But fear not, there are plenty of smoky nail art options that are perfect for beginners. You can start with a simple black smoky nail design and gradually work your way up to more complex designs. With a little practice and patience, you'll be a smoky nail pro in no time. Featured keywords: beginners, smoky nail art, intimidating, black, practice, patience4. Smoky Nail Art for Beginners


4. Smoky Nail Art for Beginners


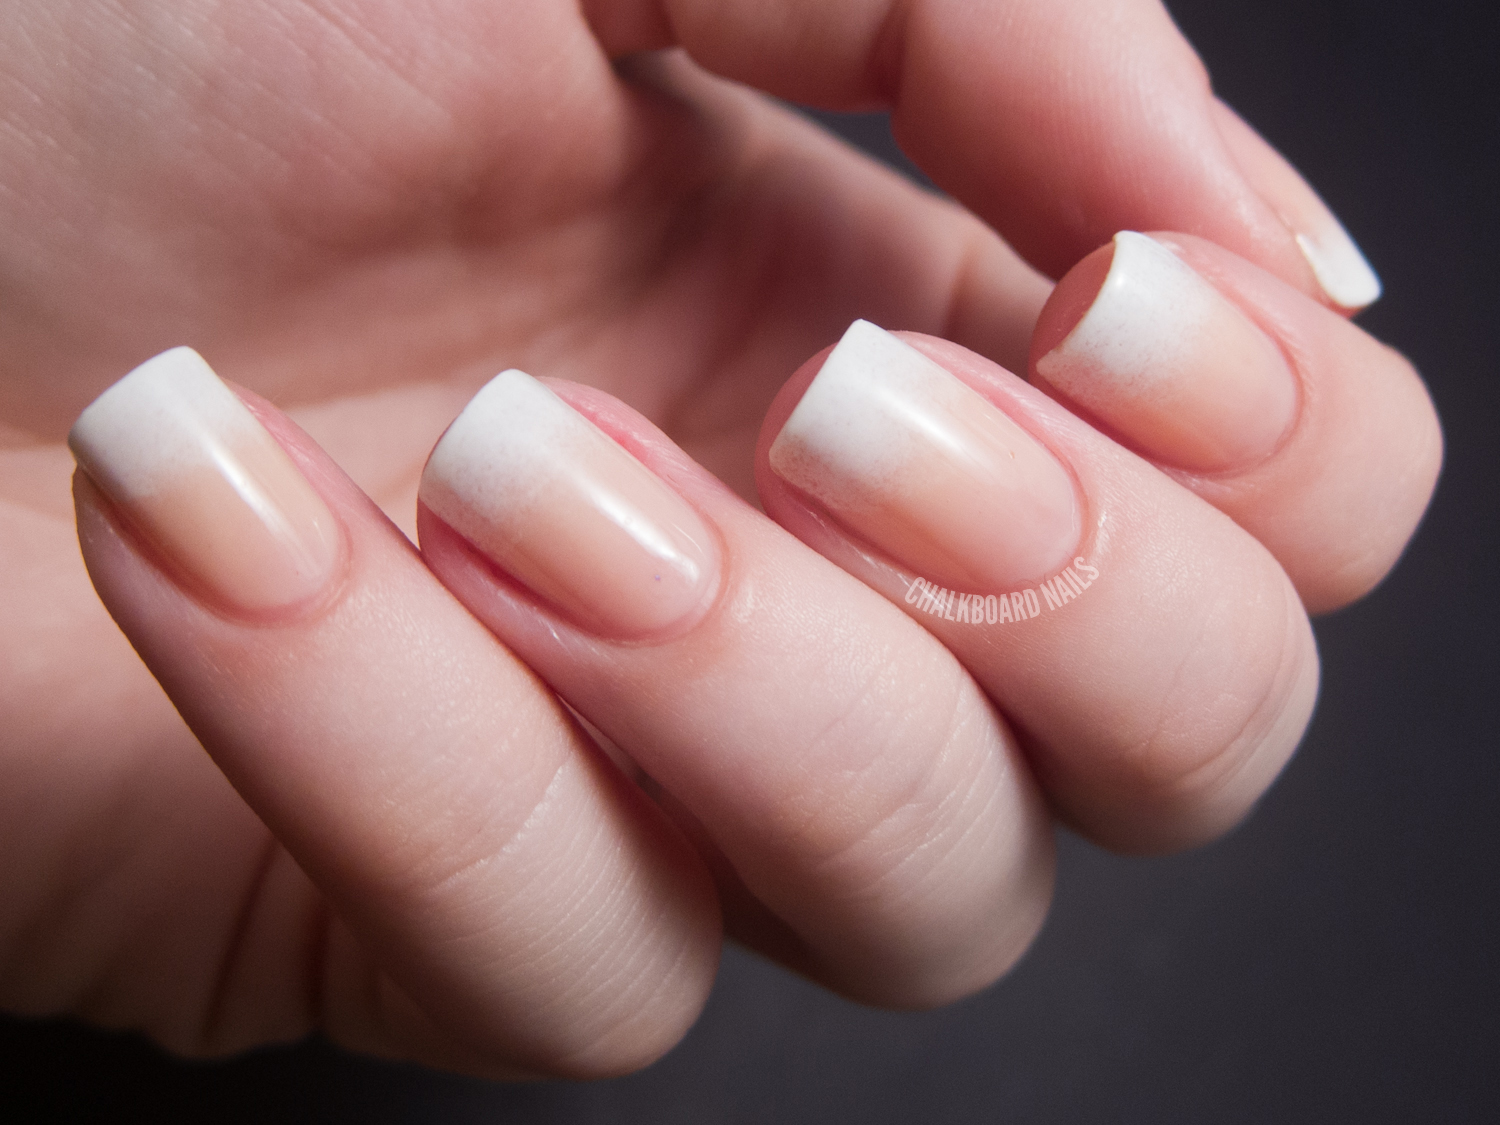
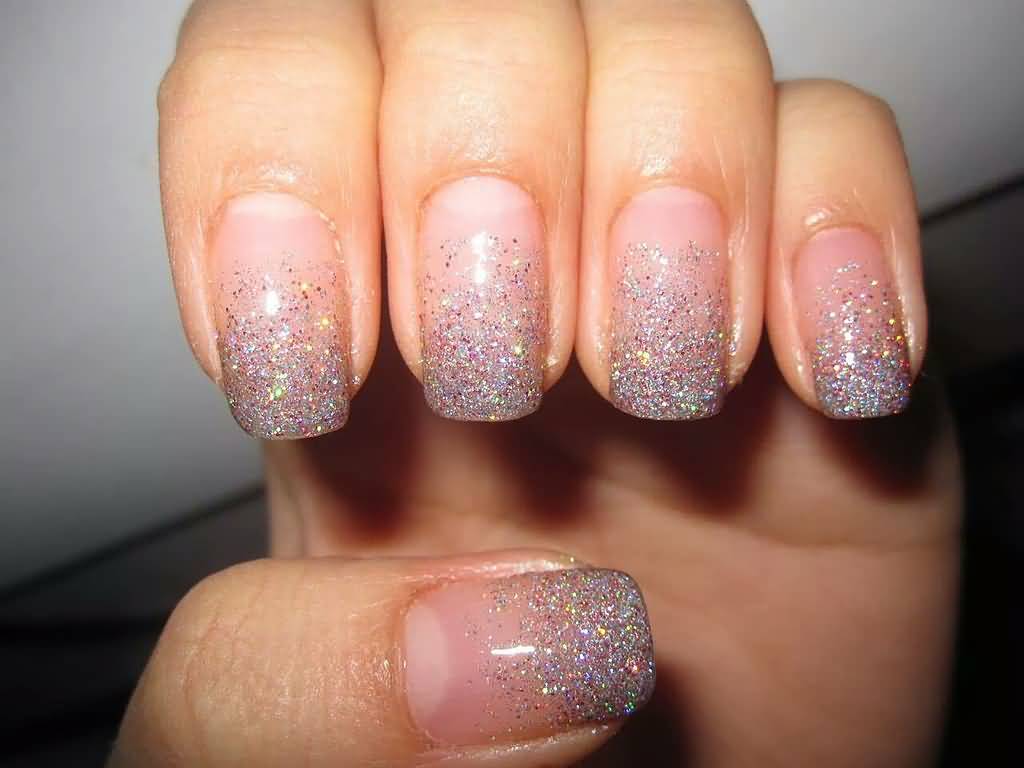
One of the easiest and most popular smoky nail art designs is the gradient effect. To achieve this look, you'll need a sponge and two or more nail polishes in different shades. Start by painting your nails with the lighter shade and let it dry. Then, dab the sponge with the darker shade and gently press it onto your nails to create a gradient effect. Finish off with a top coat for a smooth finish. Featured keywords: DIY, smoky gradient nails, sponge, nail polishes, shades, top coat5. DIY Smoky Gradient Nails


5. DIY Smoky Gradient Nails


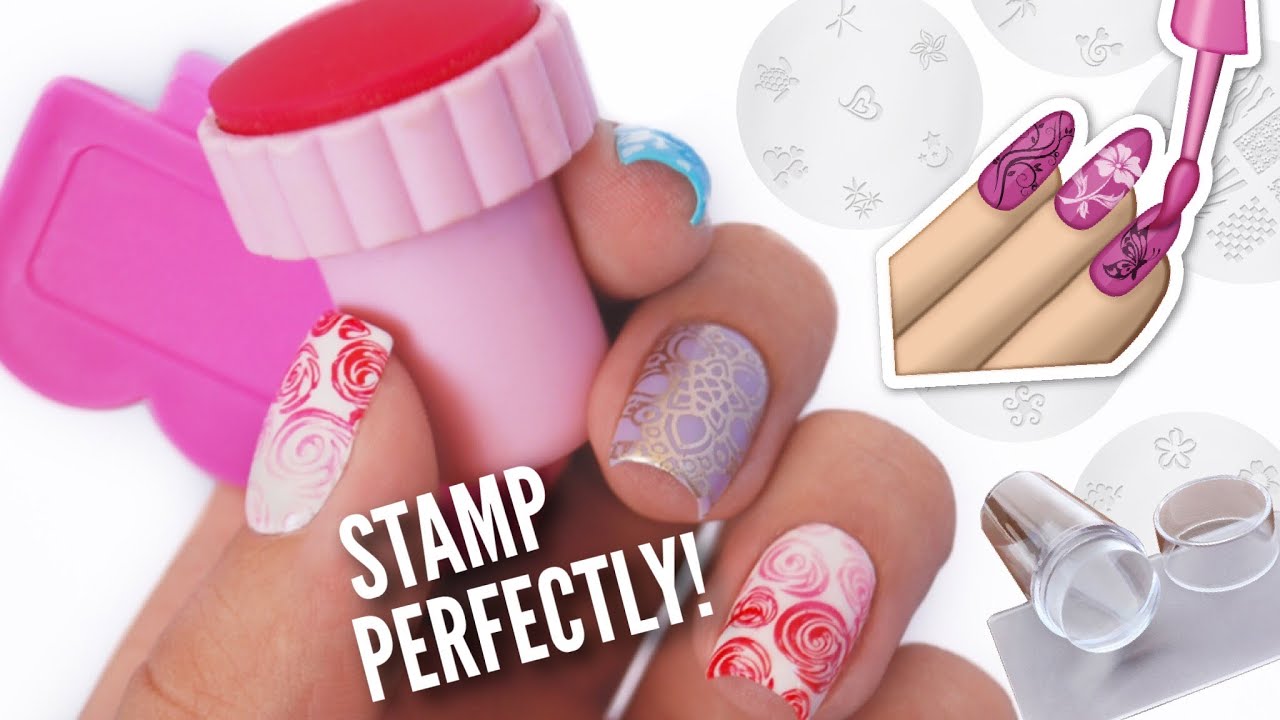
If you want to take your smoky nail art to the next level, consider adding some stamping. Stamping is a popular nail art technique that involves using a special stamping plate and stamper to transfer designs onto your nails. You can find stamping plates with smoky patterns or create your own smoky effect by combining different stamping designs. This is a great option for those who want a more intricate smoky nail design. Featured keywords: smoky nail art, stamping, stamping plate, stamper, transfer, patterns, intricate6. Smoky Nail Art with Stamping


6. Smoky Nail Art with Stamping


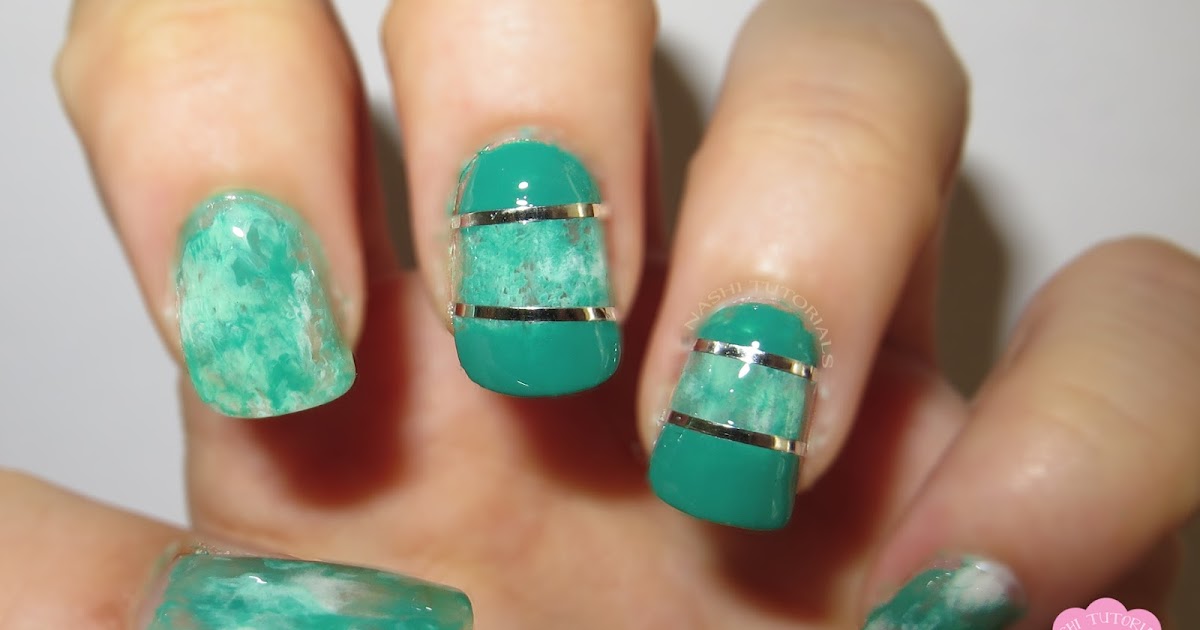
For a metallic and edgy twist on the classic smoky nail design, consider adding some foil. Foil nail art involves using thin metallic sheets to create a shiny and eye-catching effect on your nails. You can incorporate foil into your smoky nail design by adding it on top of a black or dark grey base. This will give your nails a unique and glamorous touch. Featured keywords: smoky nail art, foil, metallic, edgy, base, eye-catching, glamorous7. Smoky Nail Art with Foil


7. Smoky Nail Art with Foil


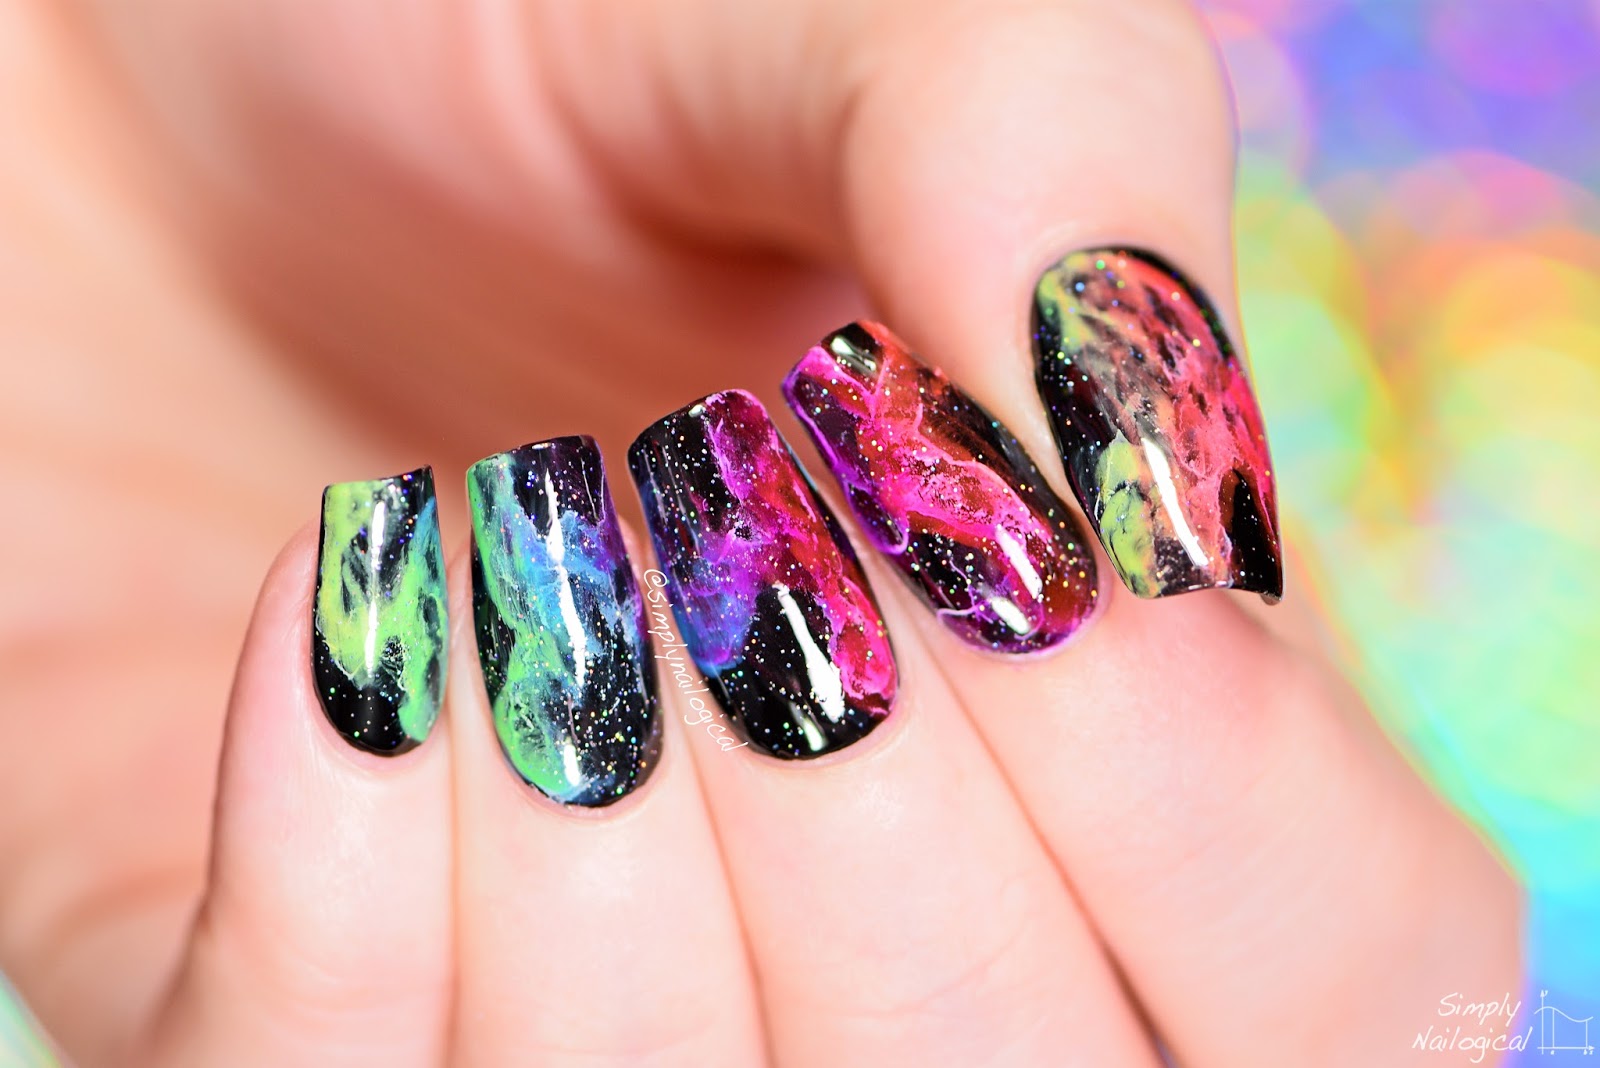
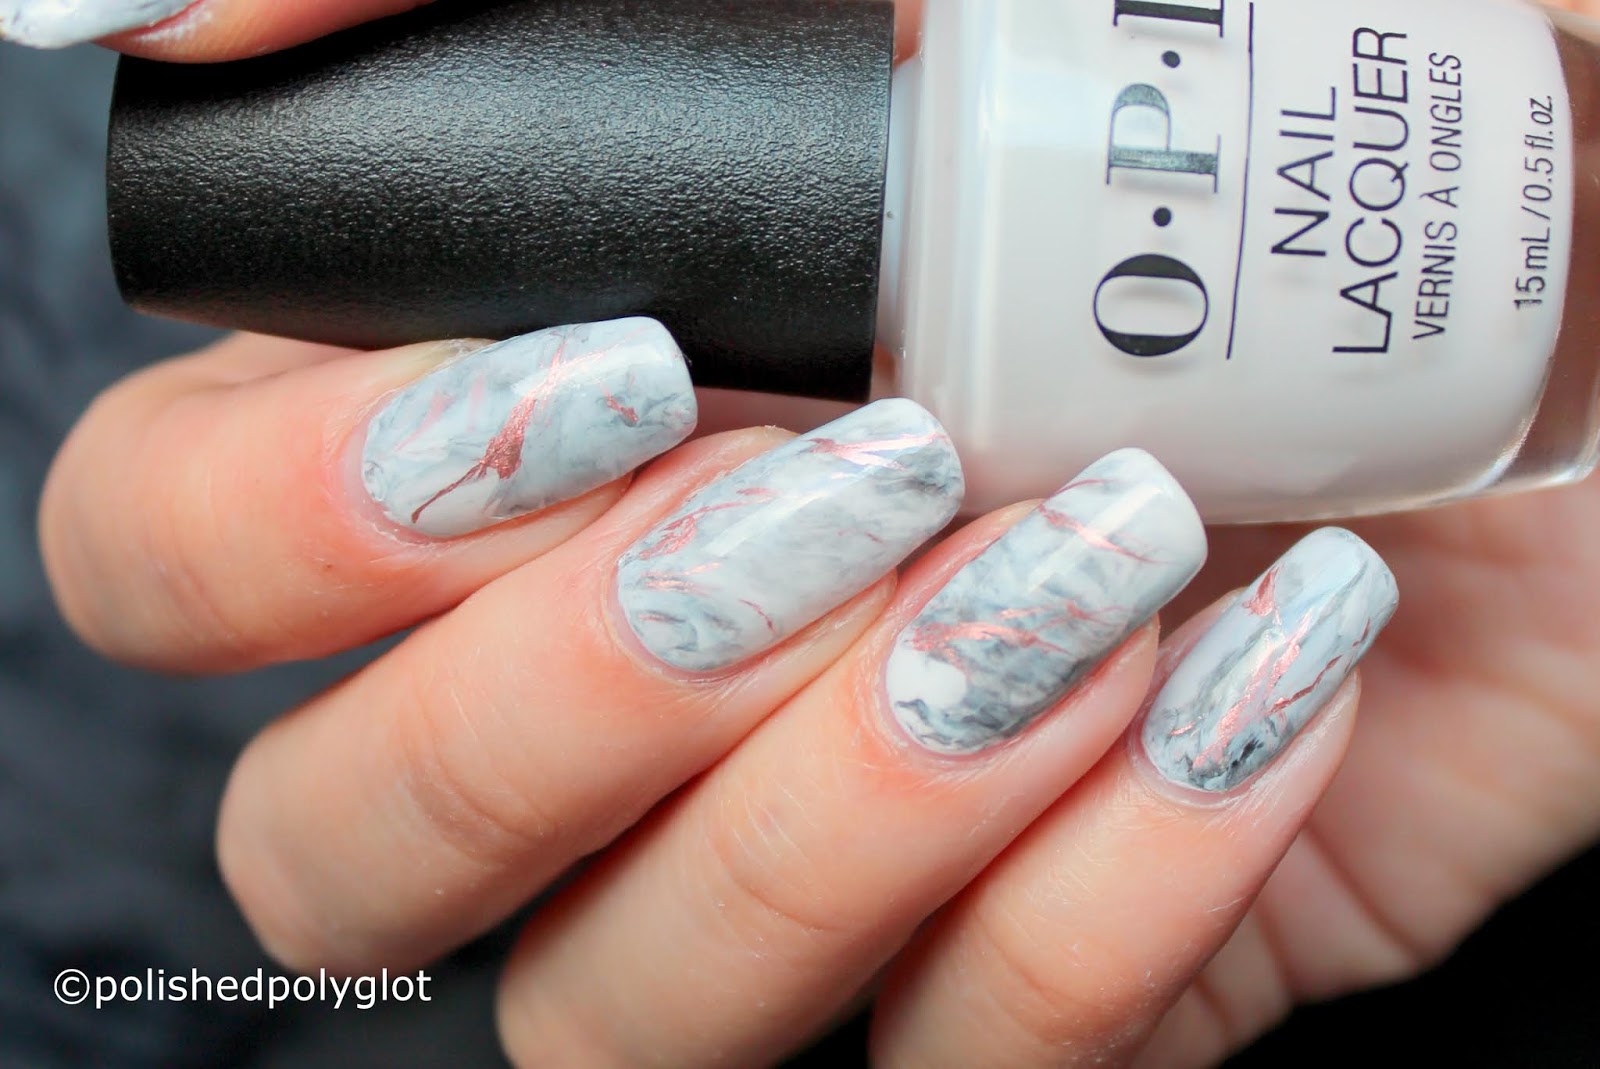
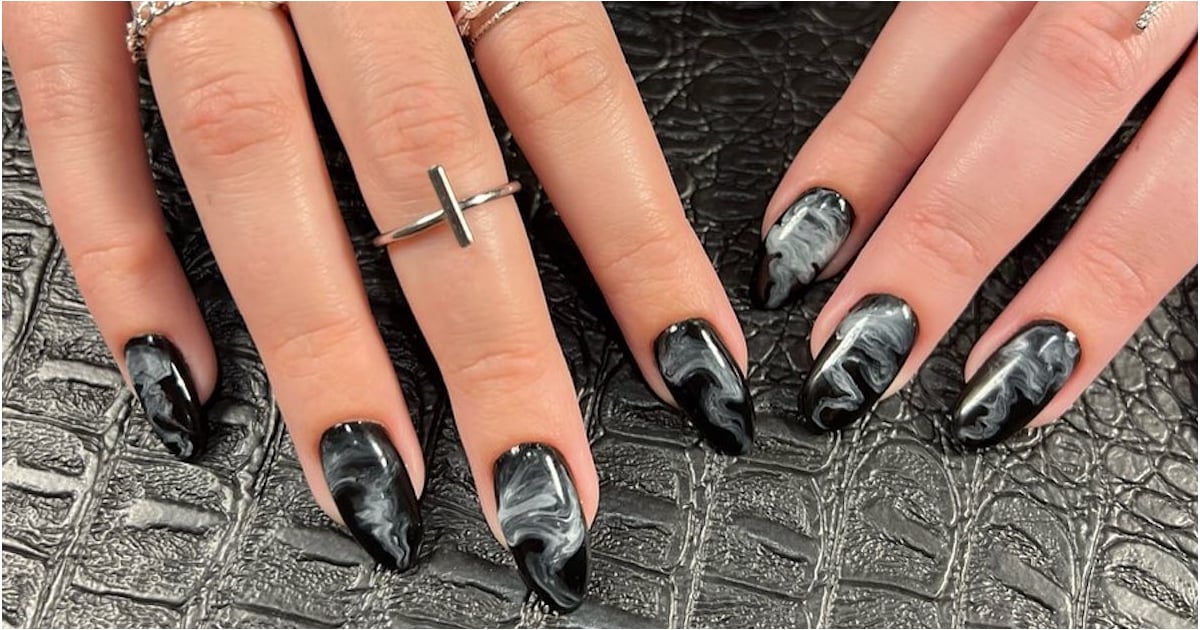
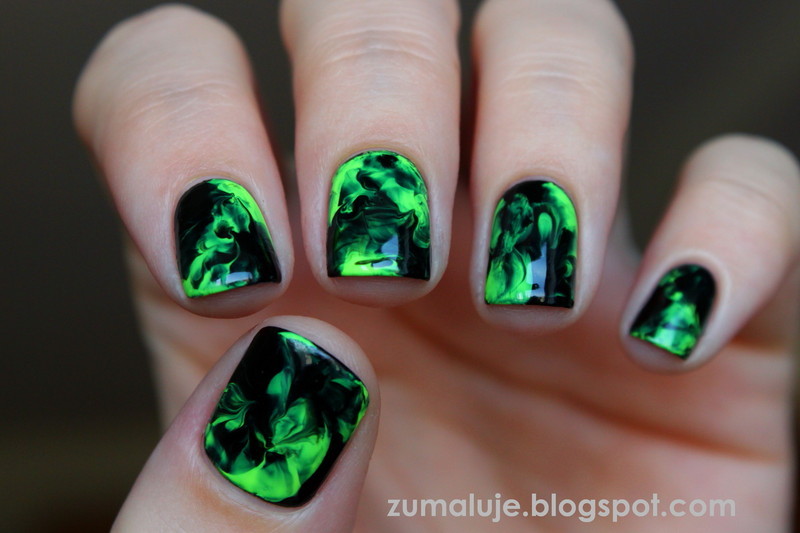
Marble nails are a beautiful and trendy nail art design, and you can easily incorporate a smoky effect into this look. Start by painting your nails with a white or light grey base. Then, add a few drops of a darker nail polish onto your nails and use a toothpick or a small brush to swirl the colors together. This will create a smoky marble effect that looks stunning on any nail length. Featured keywords: DIY, smoky marble nails, trendy, white, light grey, toothpick, brush, swirl, stunning8. DIY Smoky Marble Nails

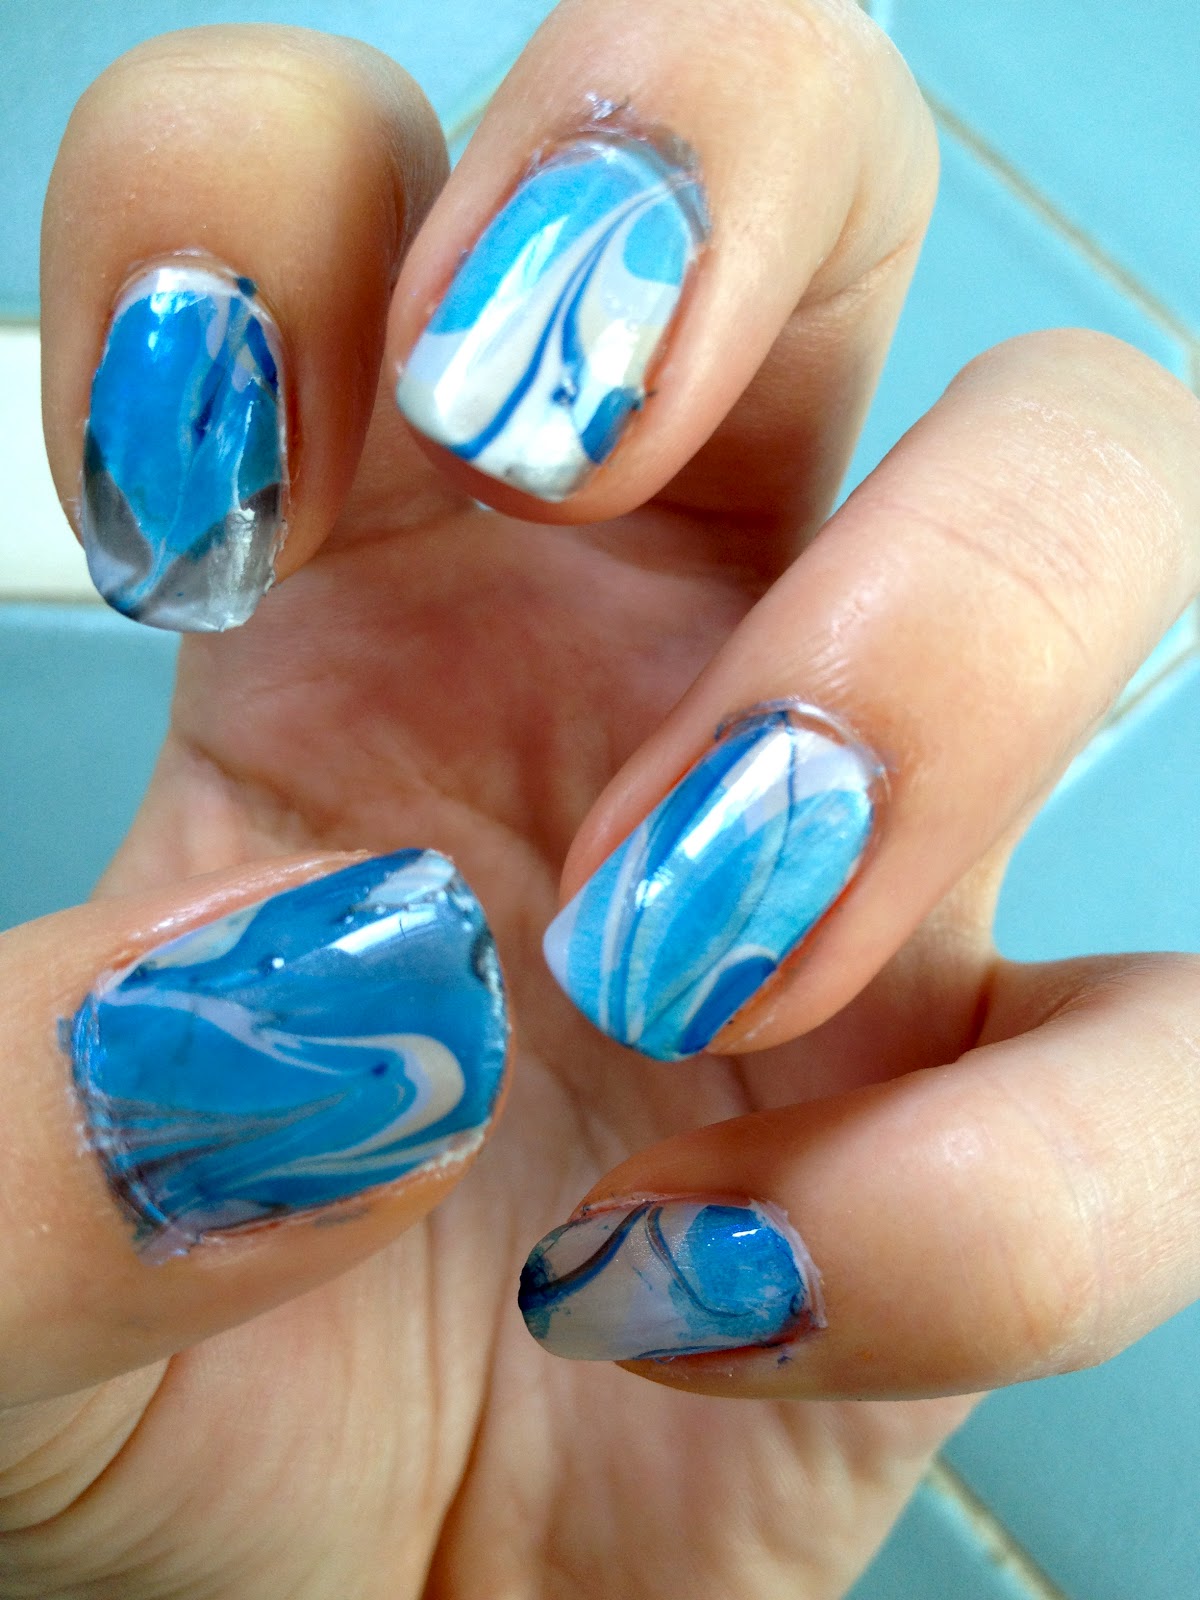
8. DIY Smoky Marble Nails


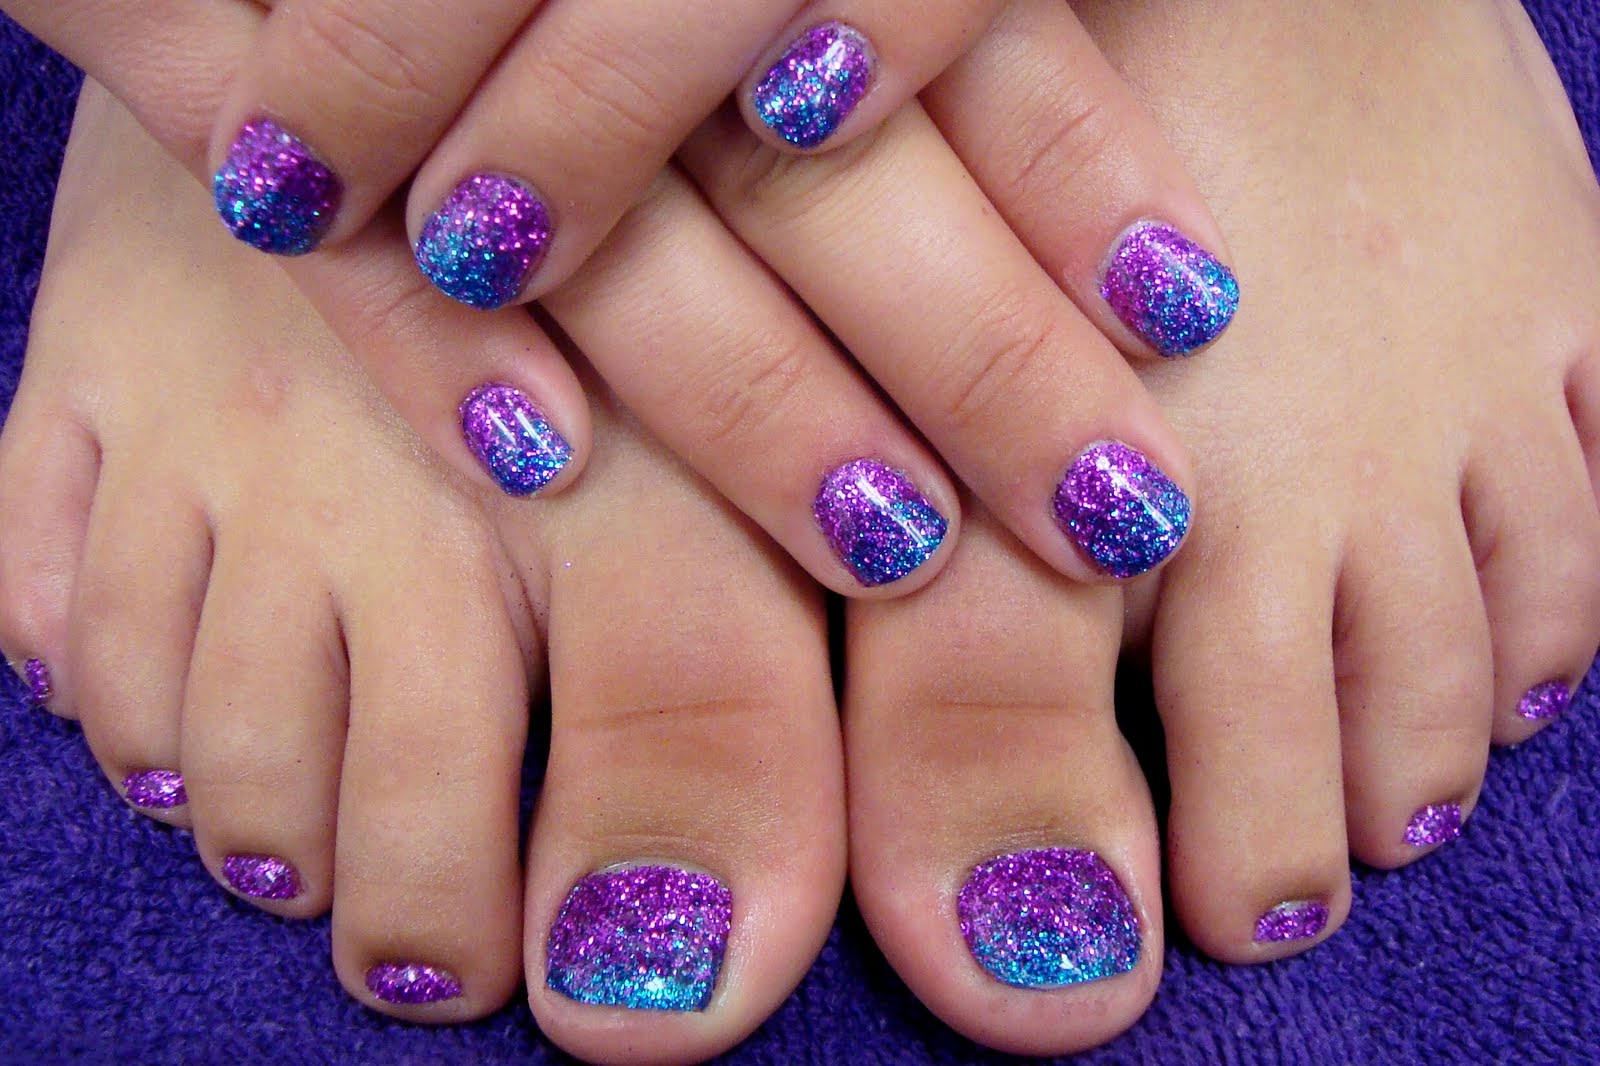
For a touch of sparkle and glamour, add some glitter to your smoky nail art. You can use a glittery nail polish or apply loose glitter onto your nails for a more dramatic effect. You can also create a smoky effect on top of the glitter by using a black or dark grey polish. This combination of glitter and smoky nails is perfect for a night out or any special occasion. Featured keywords: smoky nail art, glitter, nail polish, loose glitter, dramatic, combination, night out, special occasion9. Smoky Nail Art with Glitter


9. Smoky Nail Art with Glitter

Last but not least, you can't go wrong with a smoky ombre nail design. Ombre nails involve blending two or more colors together, and you can easily incorporate a smoky effect into this look. Start with a light color at the base of your nails and gradually blend in a darker color towards the tips. Finish off with a top coat for a seamless and smoky ombre effect. Featured keywords: smoky nail art, ombre effect, blending, light color, dark color, top coat, seamless10. Smoky Nail Art with Ombre Effect


10. Smoky Nail Art with Ombre Effect


The Art of Smoky Nail Art: A DIY Guide
What is Smoky Nail Art?
 Smoky nail art is a trendy and unique way to elevate your nail game. It involves creating a smoky effect on your nails using dark, muted colors and techniques such as sponging or dry brushing. This edgy and sophisticated look is perfect for any occasion and can be customized to match your personal style.
Why Try Smoky Nail Art?
 If you're tired of the same old plain nail colors and want to try something different, smoky nail art is the perfect choice. Not only does it add a touch of drama to your nails, but it also allows you to experiment with different colors and techniques. Plus, with the DIY approach, you can save money and have fun while creating your own unique designs.
How to Achieve Smoky Nails
 To achieve the perfect smoky nail art, you will need a few essential tools and materials. These include a base coat, dark nail polish in your desired colors, a makeup sponge or dry brush, and a top coat. You can also add some optional tools like nail stencils or glitter for added texture and dimension.
Step-by-Step Guide

- Prep Your Nails: Start by removing any old nail polish and trimming and shaping your nails. Then, apply a base coat to protect your nails from staining and help the color last longer.
- Choose Your Colors: Select two or three dark nail polish colors that complement each other. These could be shades of black, grey, brown, or even bold colors like purple or burgundy.
- Create the Base: Apply the lightest color as your base color and let it dry completely. This will provide a neutral background for the smoky effect.
- Sponge or Dry Brush: Dip your makeup sponge or dry brush into the second darkest color and gently dab it onto your nails. Start at the base of your nails and work your way up to the tip, creating a gradient effect.
- Add Dimension: Repeat the previous step with the darkest color, focusing on the tips of your nails to create a smoky effect. You can also use a dry brush to lightly sweep the color over the entire nail for a more subtle look.
- Optional Designs: If you want to add some extra flair to your smoky nail art, you can use nail stencils or glitter to create patterns or accents. Be creative and have fun with it!
- Seal the Look: Once your nails are dry, apply a top coat to seal and protect your design. This will also give your nails a glossy finish.
- Clean Up: Use a cotton swab dipped in nail polish remover to clean up any excess polish around your nails.
- Enjoy Your Smoky Nails: Now that your smoky nail art is complete, show off your unique and stylish nails!
In Conclusion
 Smoky nail art is a fun and creative way to add some edge to your nails. With these simple steps, you can easily achieve a professional-looking smoky design at home. So why not give it a try and take your nail game to the next level?


