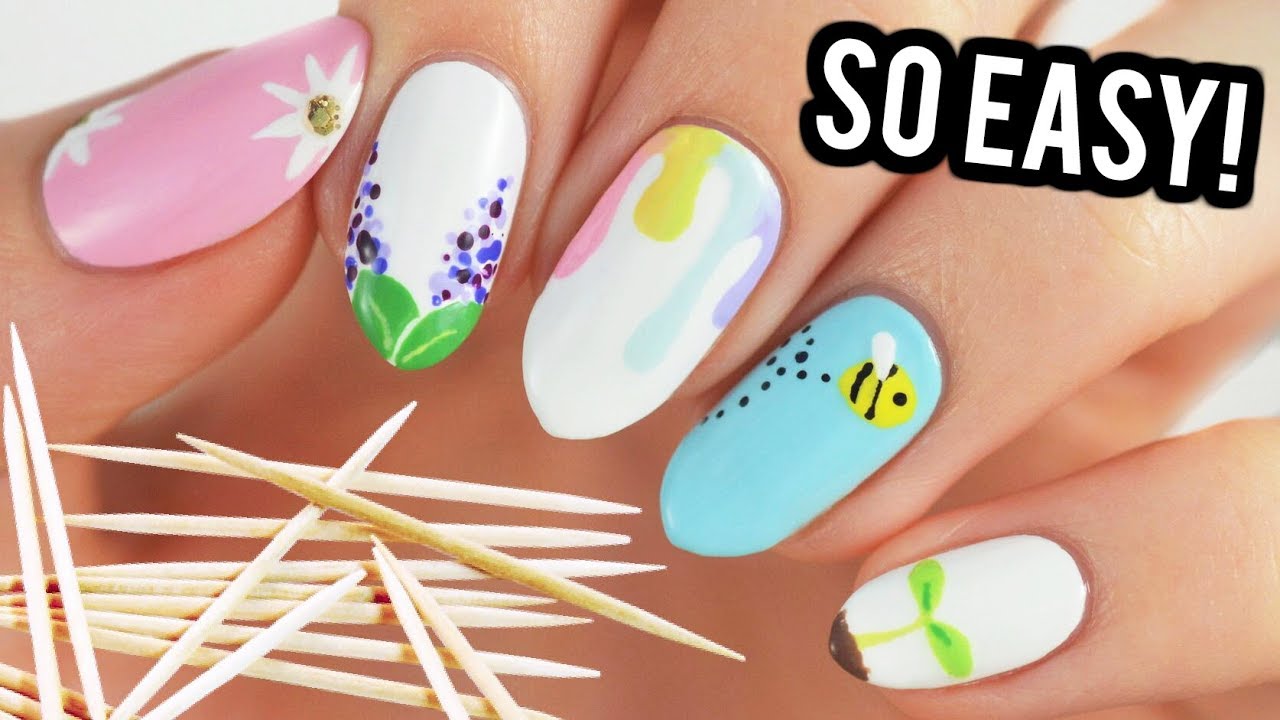
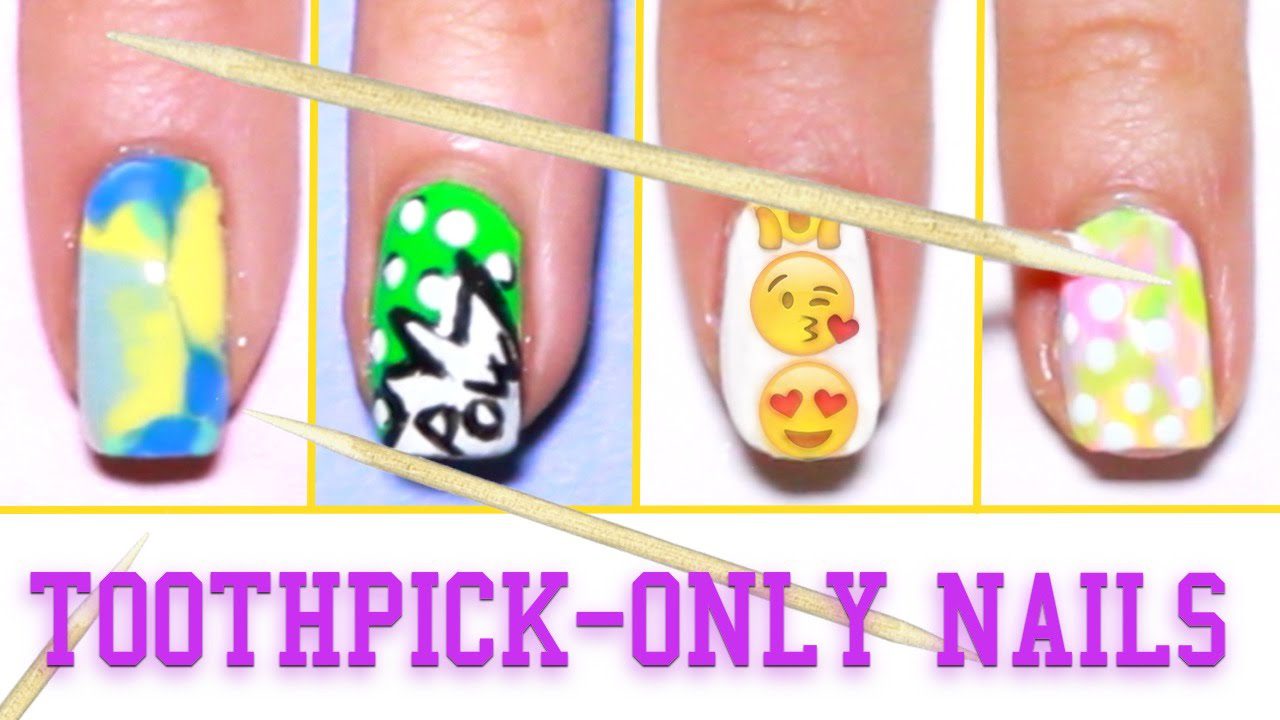
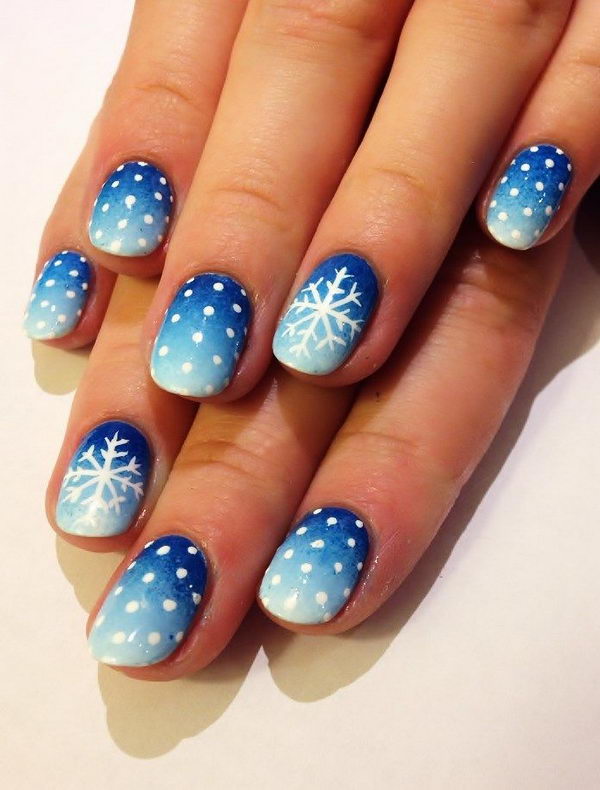
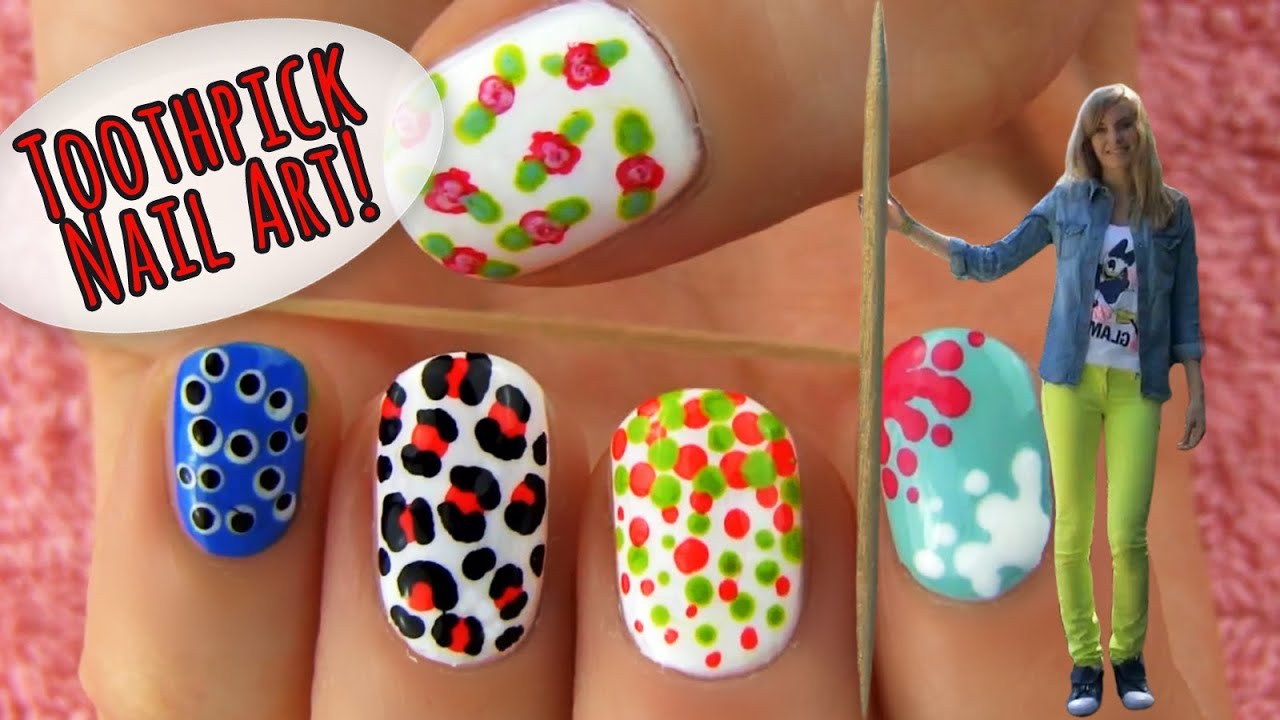
Looking for a fun and creative way to decorate your nails this winter? Why not try out some snowflake nail art using just a toothpick? Yes, you read that right – a toothpick! This simple and easy tutorial will have your nails looking festive and beautiful in no time. Let’s get started!1. Snowflake Nail Art Tutorial with Toothpick


1. Snowflake Nail Art Tutorial with Toothpick
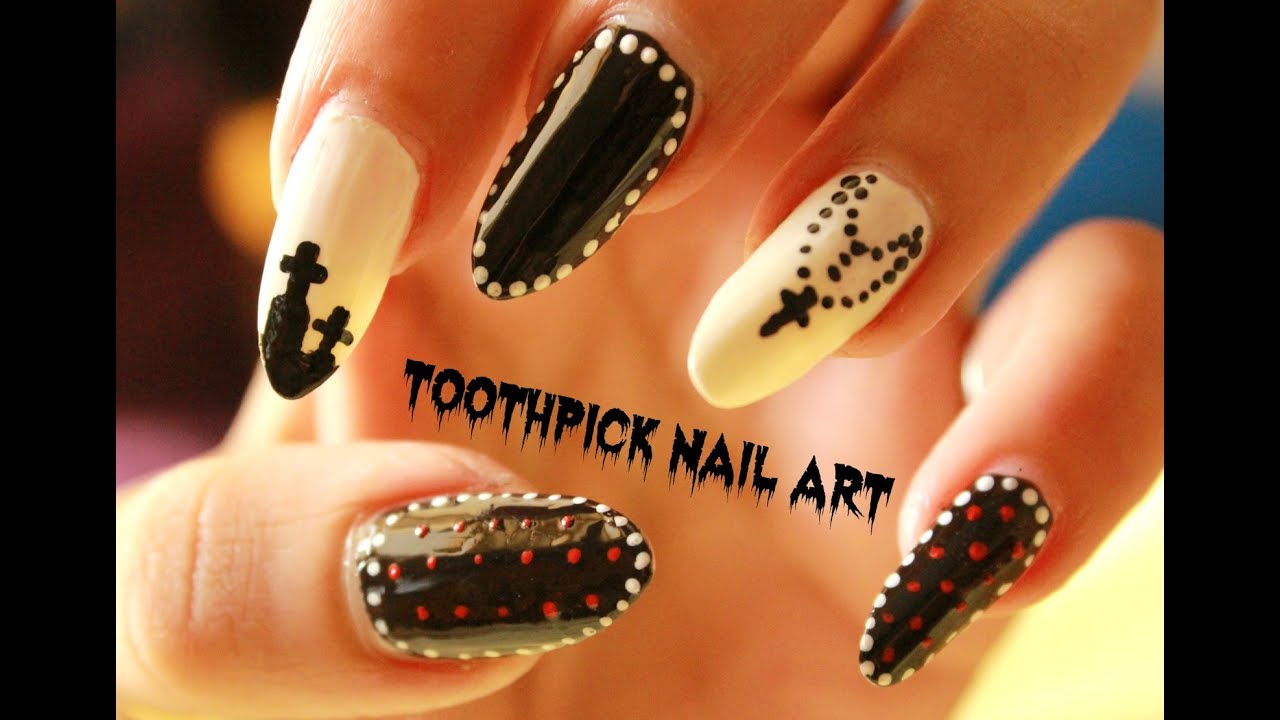


Don’t be intimidated by the intricate designs of snowflake nail art, with a toothpick, you can easily create your own unique and beautiful design. First, start by painting your nails with a base color of your choice. Once it’s dry, use the pointed end of the toothpick to draw three lines that intersect at the center of your nail. This will create the base of your snowflake.2. Easy Snowflake Nail Art with Toothpick

2. Easy Snowflake Nail Art with Toothpick


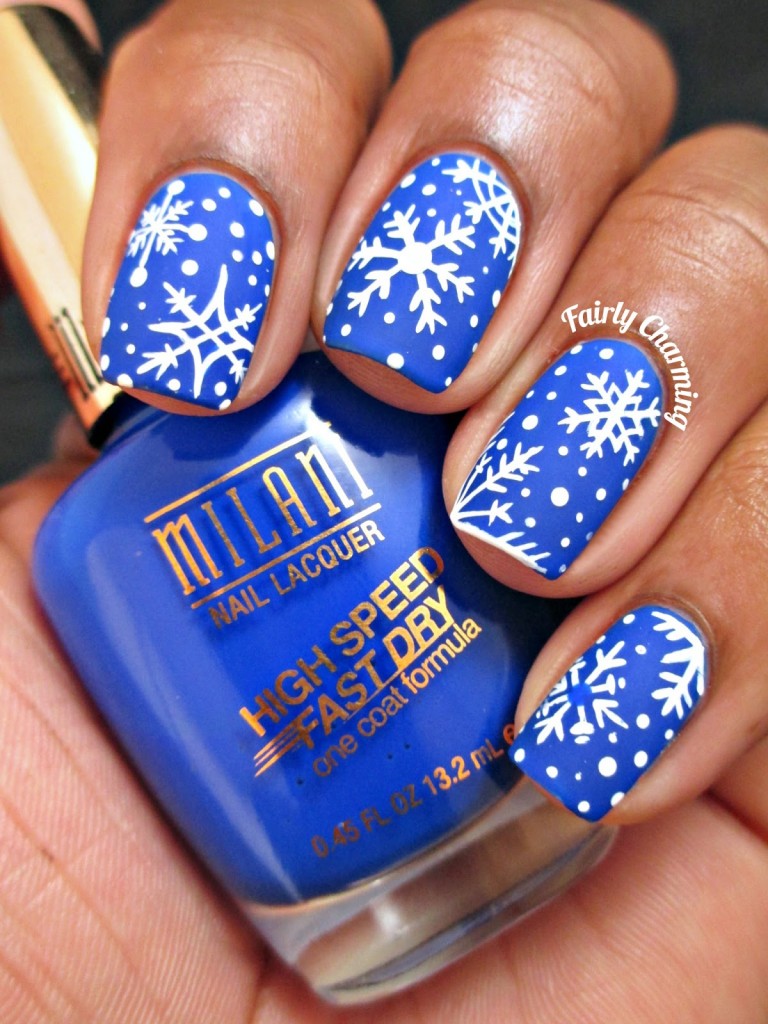
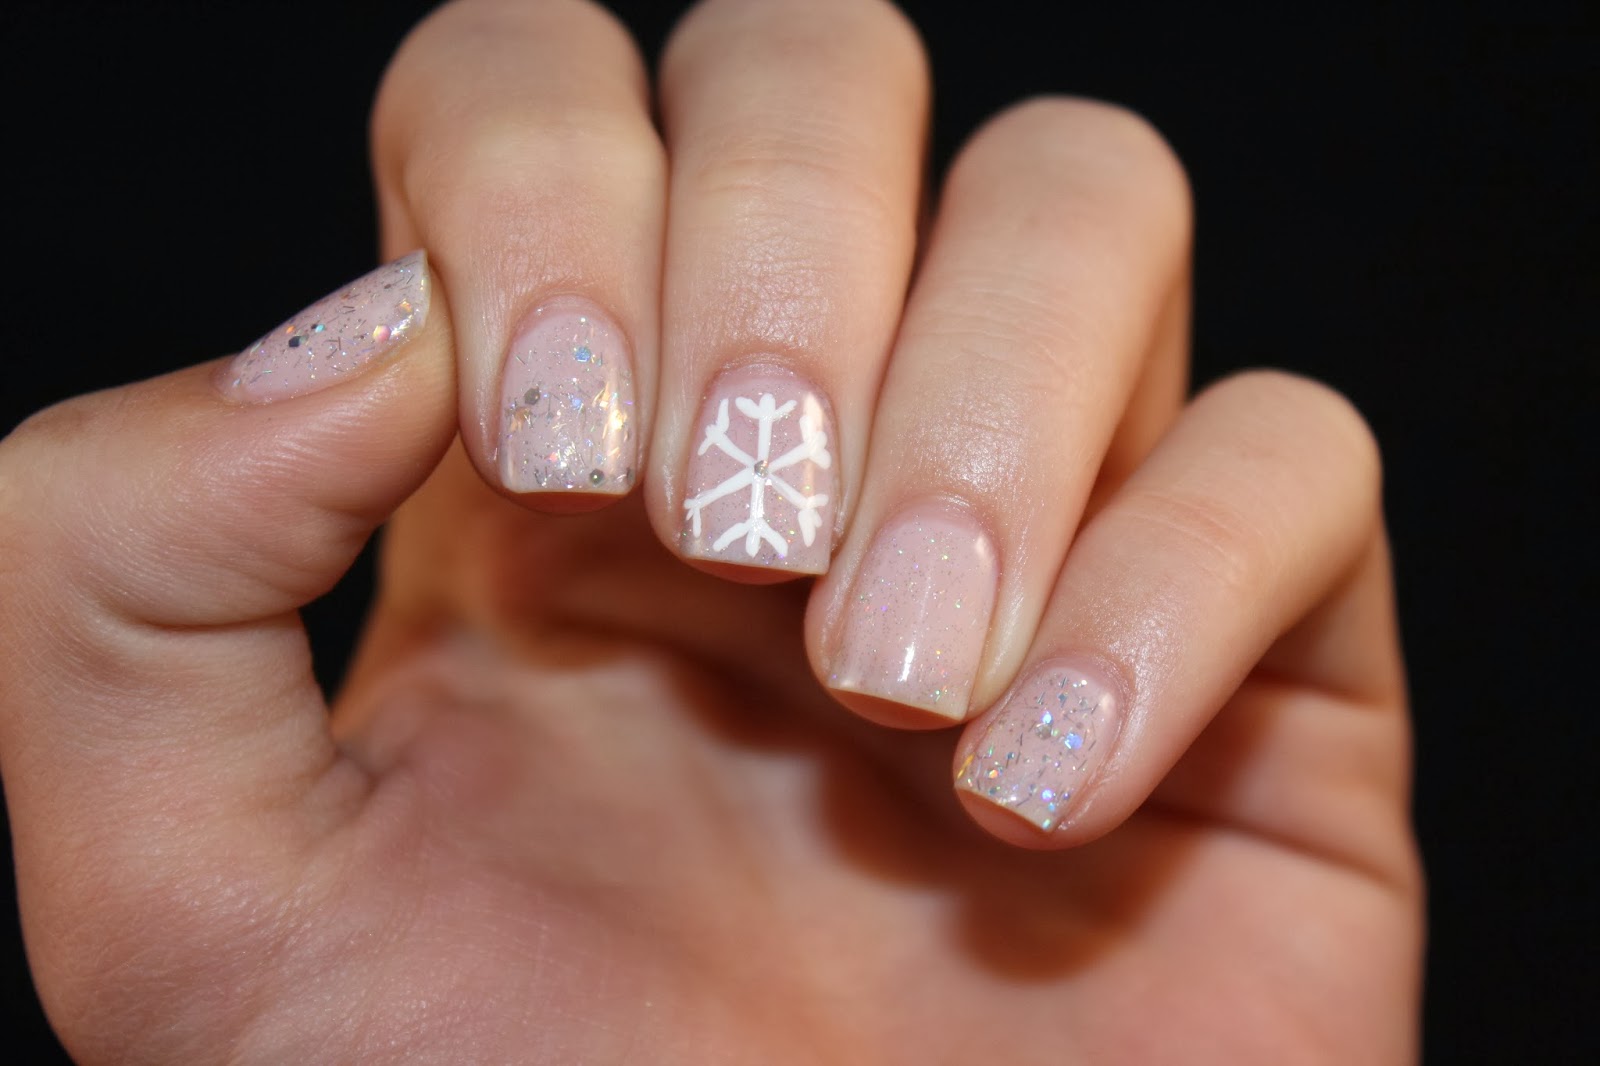
For those who love to do their own nail art at home, this DIY snowflake nail art with a toothpick is perfect for you. Start by painting your nails with a light blue or white base color. Then, using the pointed end of the toothpick, create a snowflake design by drawing six lines coming out of the center point. Add some small dots on the ends of the lines to create the snowflake’s “arms”.3. DIY Snowflake Nail Art with Toothpick


3. DIY Snowflake Nail Art with Toothpick


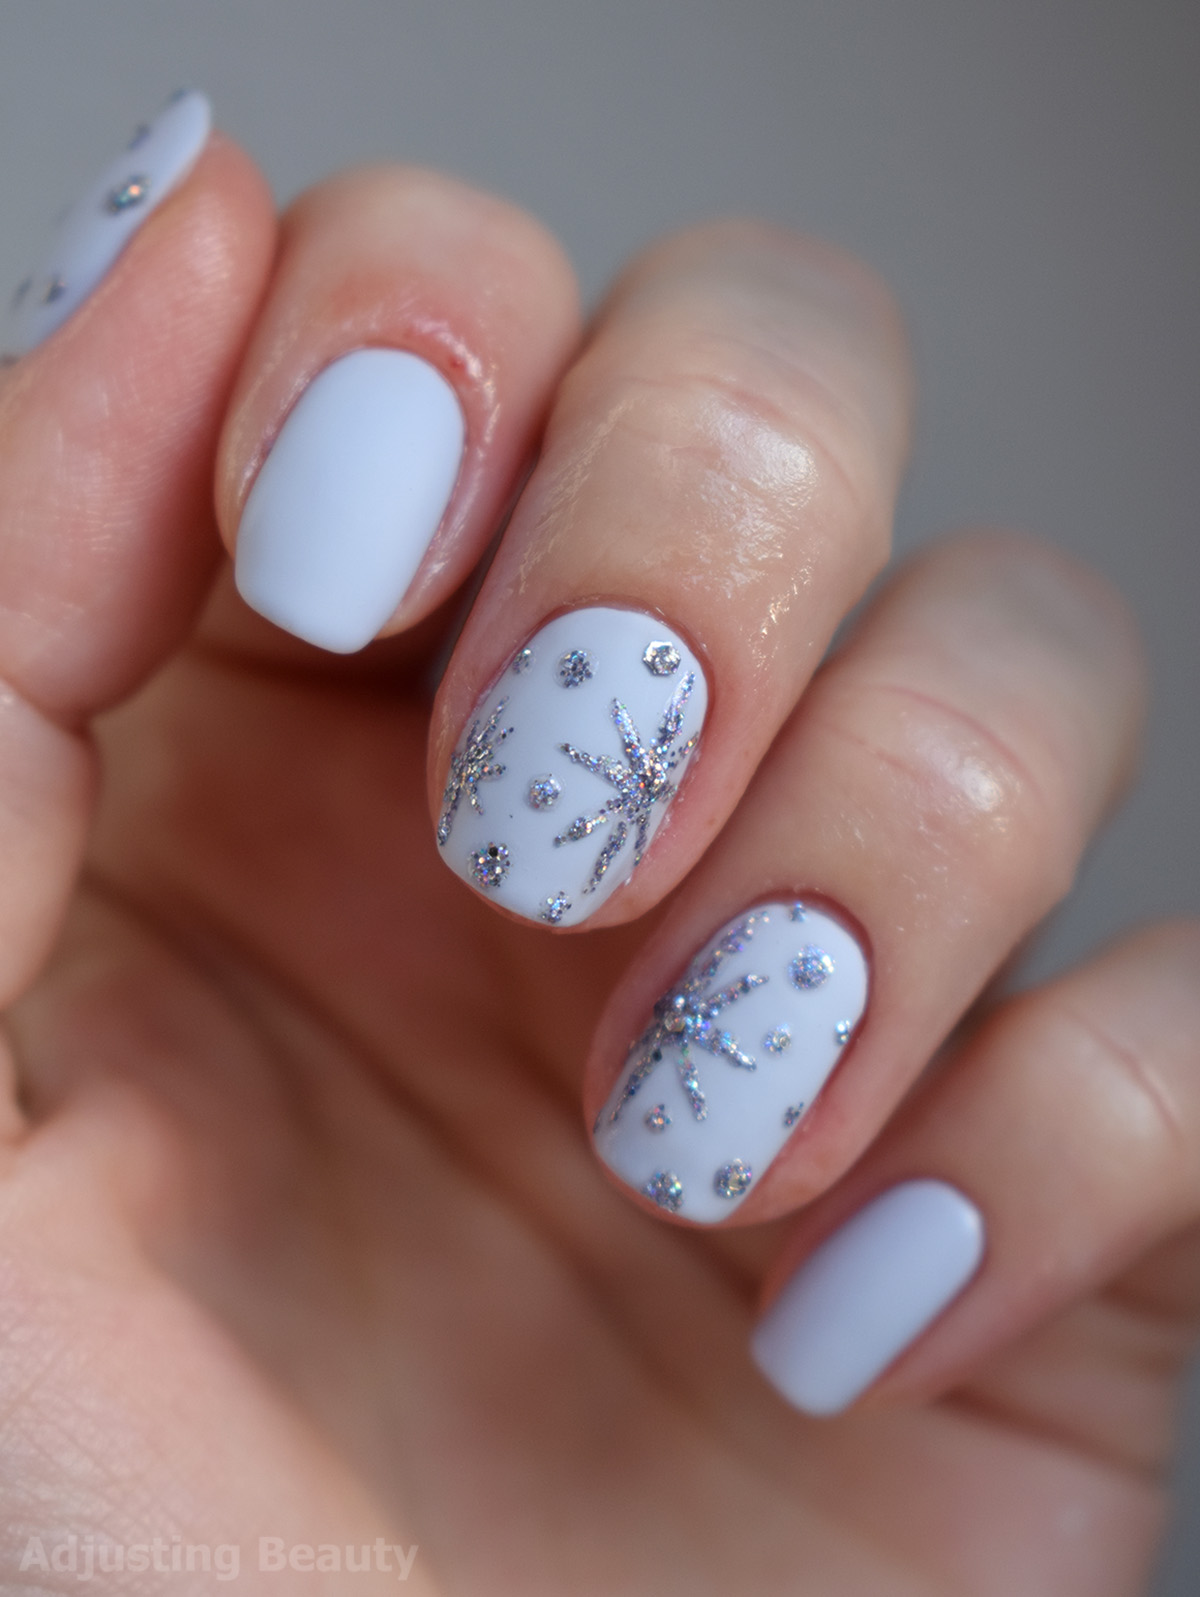
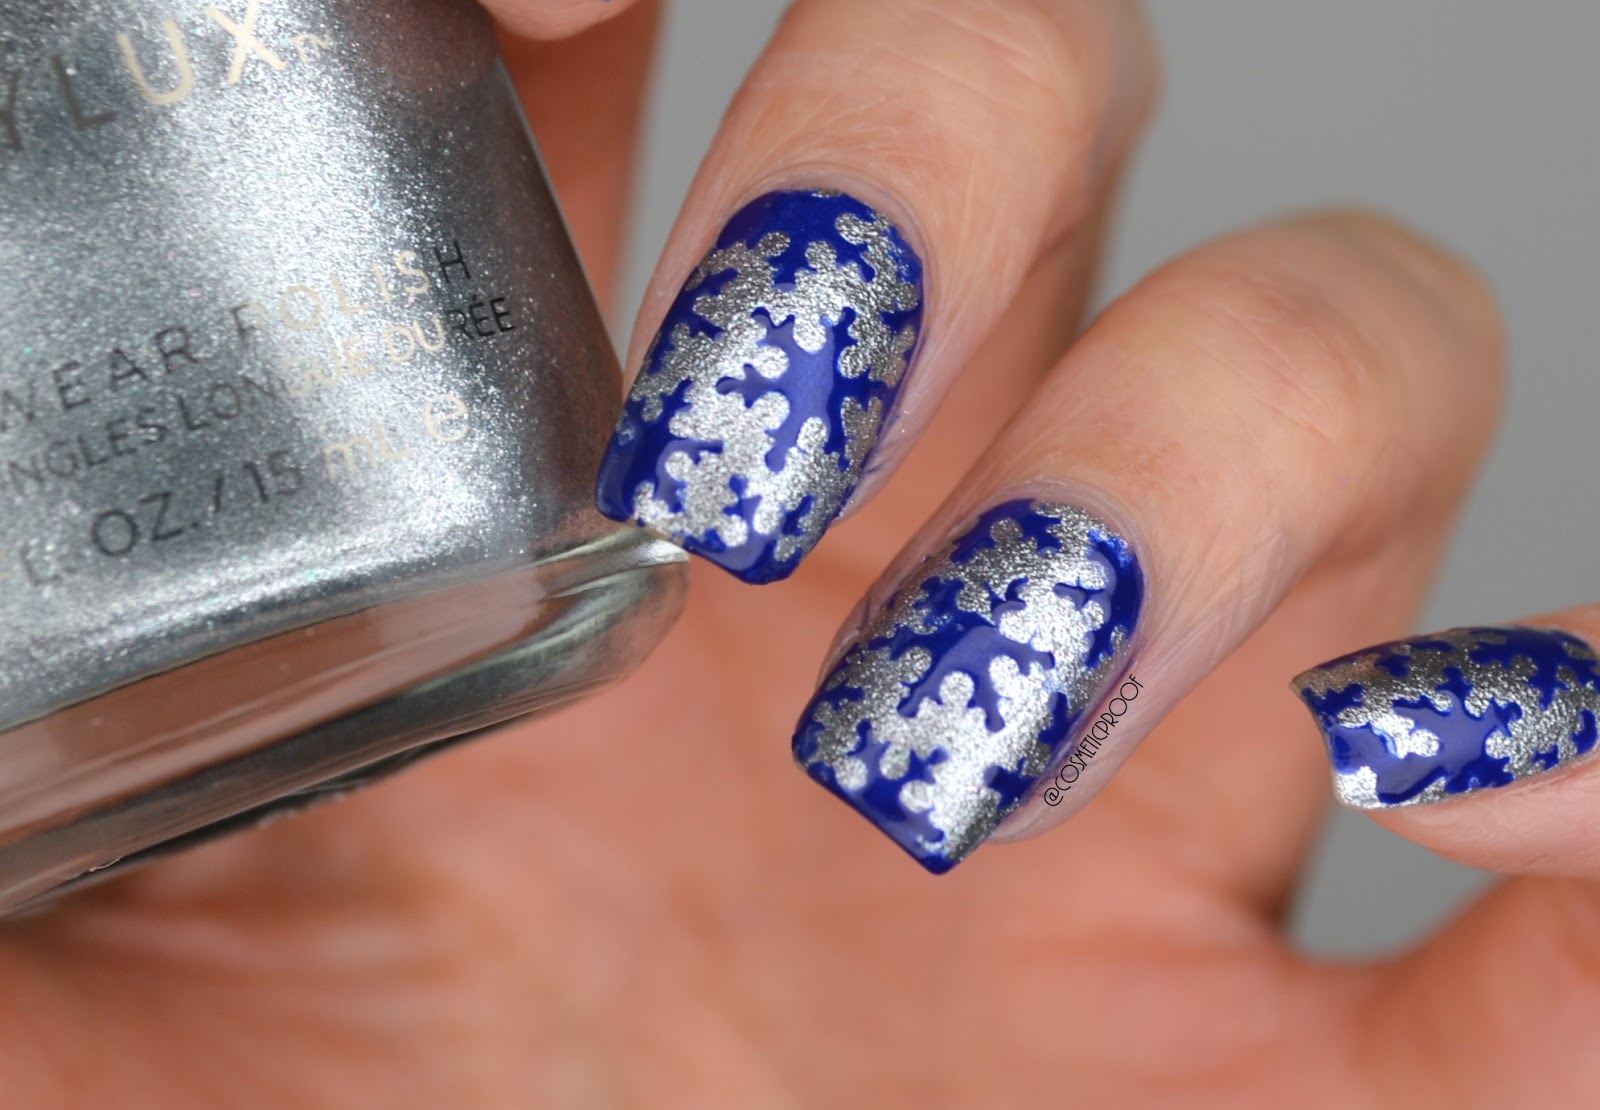
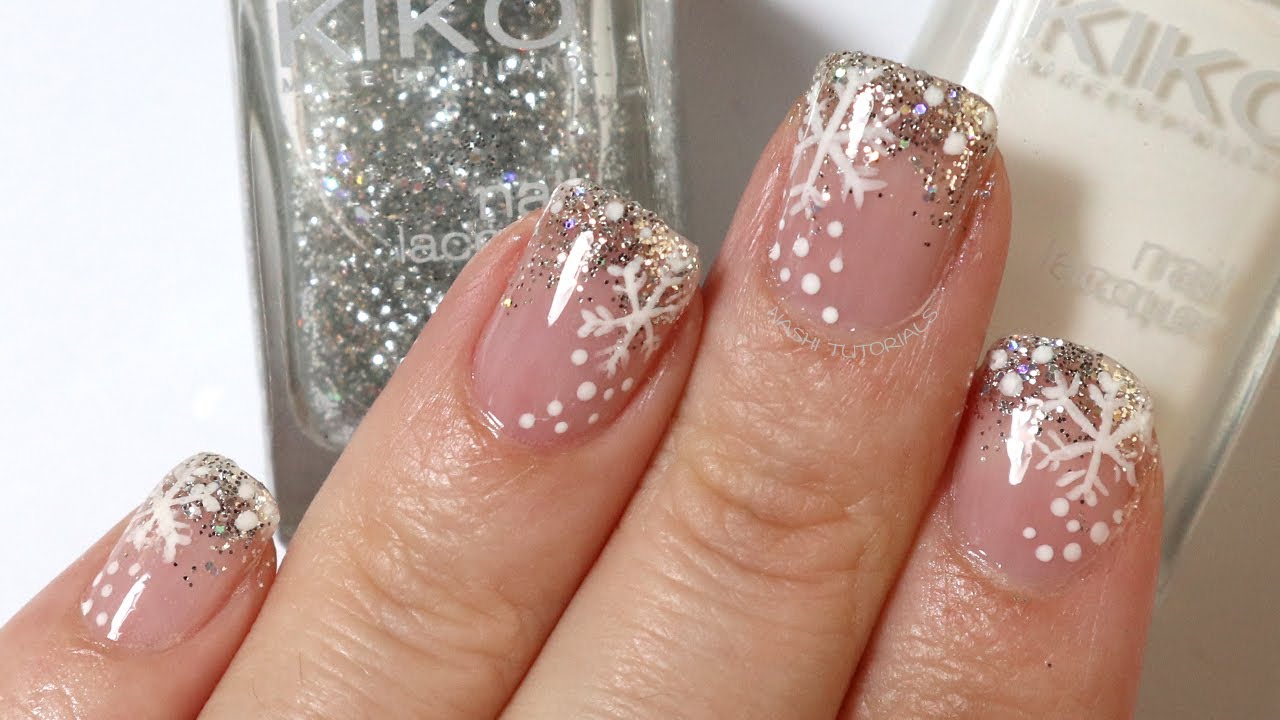
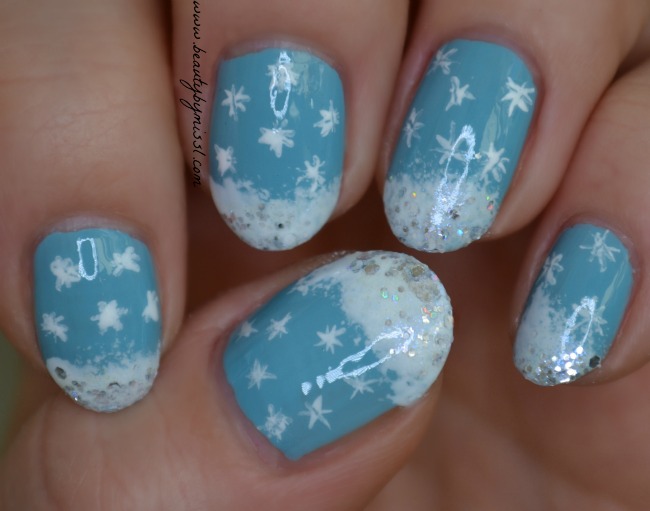
To take your snowflake nail art to the next level, try out this snowflake nail design using a toothpick. Begin by painting your nails with a glittery silver or white base color. Then, using the pointed end of the toothpick, draw a small circle in the center of your nail. Next, create six lines coming out of the circle to make the snowflake’s “arms”. Finish off by adding small dots and lines to fill in the snowflake design.4. Snowflake Nail Design with Toothpick


4. Snowflake Nail Design with Toothpick


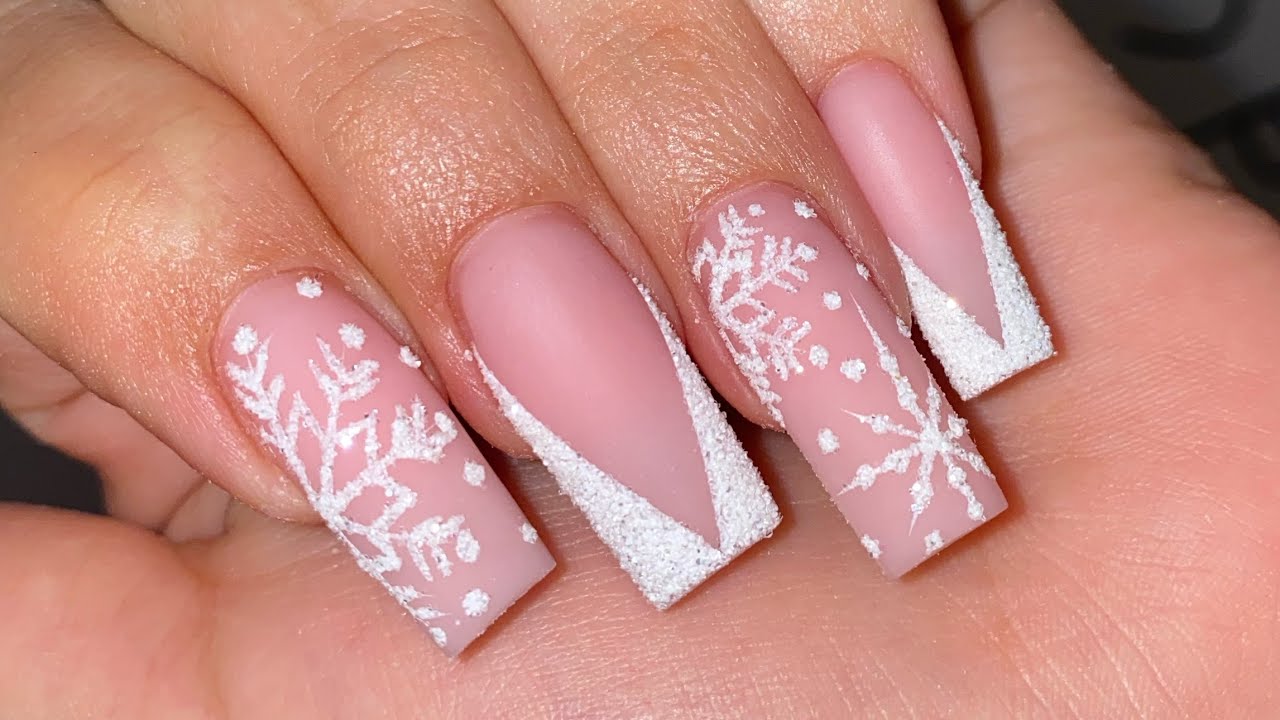
Creating snowflake nail art with a toothpick is easier than you think. Start by painting your nails with a light blue or white base color. Then, using the pointed end of the toothpick, draw three lines that intersect at the center of your nail. Next, add four small dots on each of the lines to create the snowflake’s “arms”. Finally, add some smaller dots and lines to fill in the design and give it a more intricate look.5. How to Create Snowflake Nail Art with Toothpick


5. How to Create Snowflake Nail Art with Toothpick


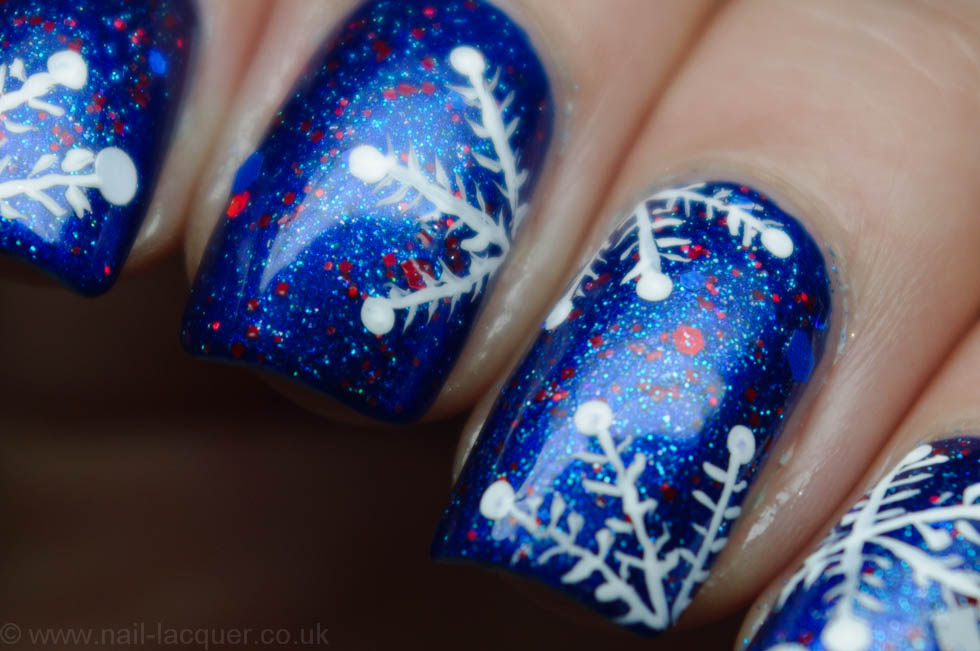
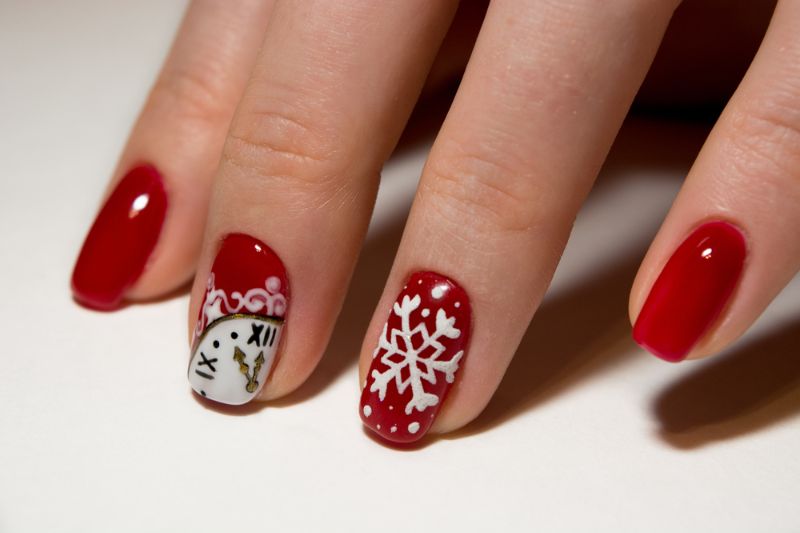
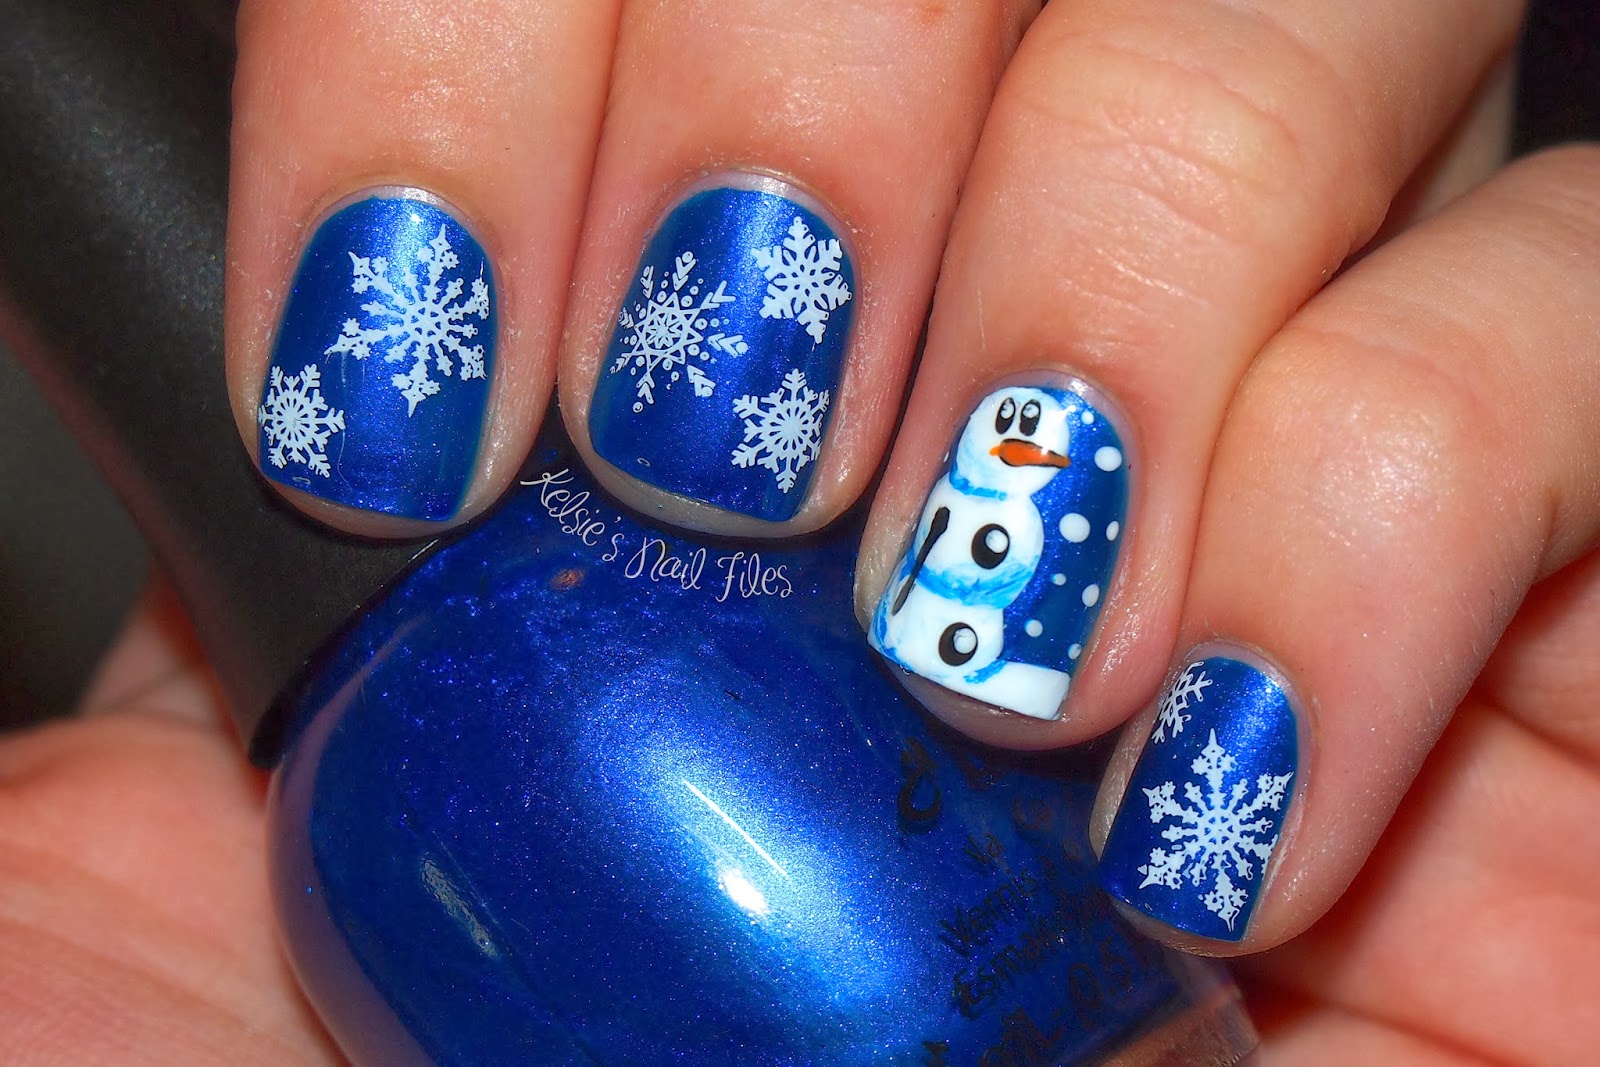
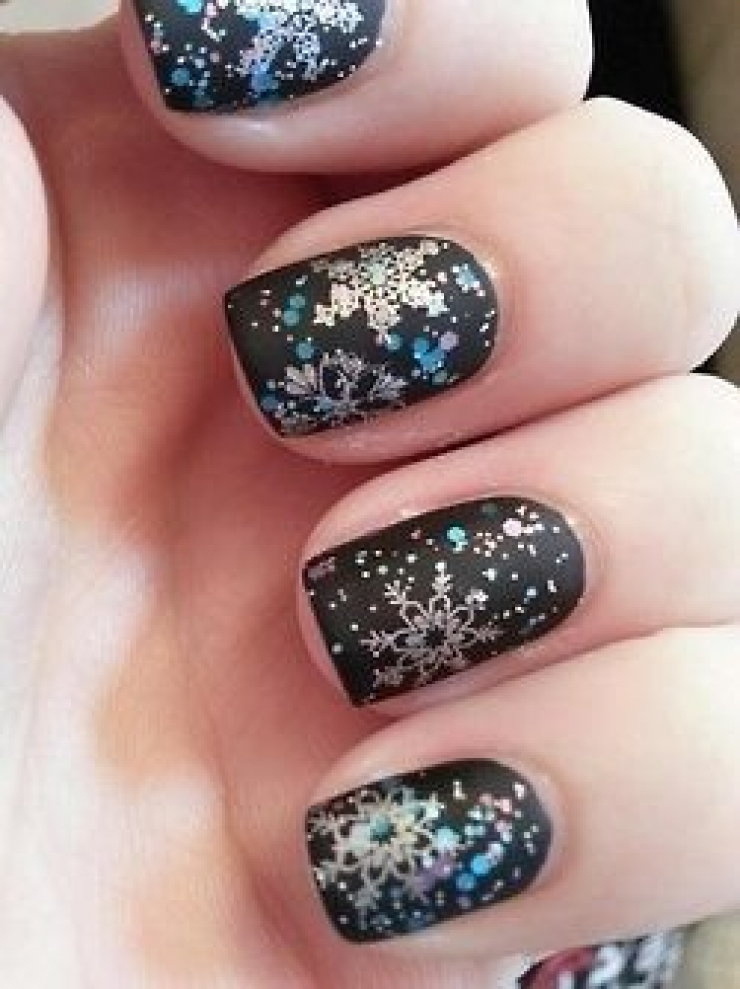
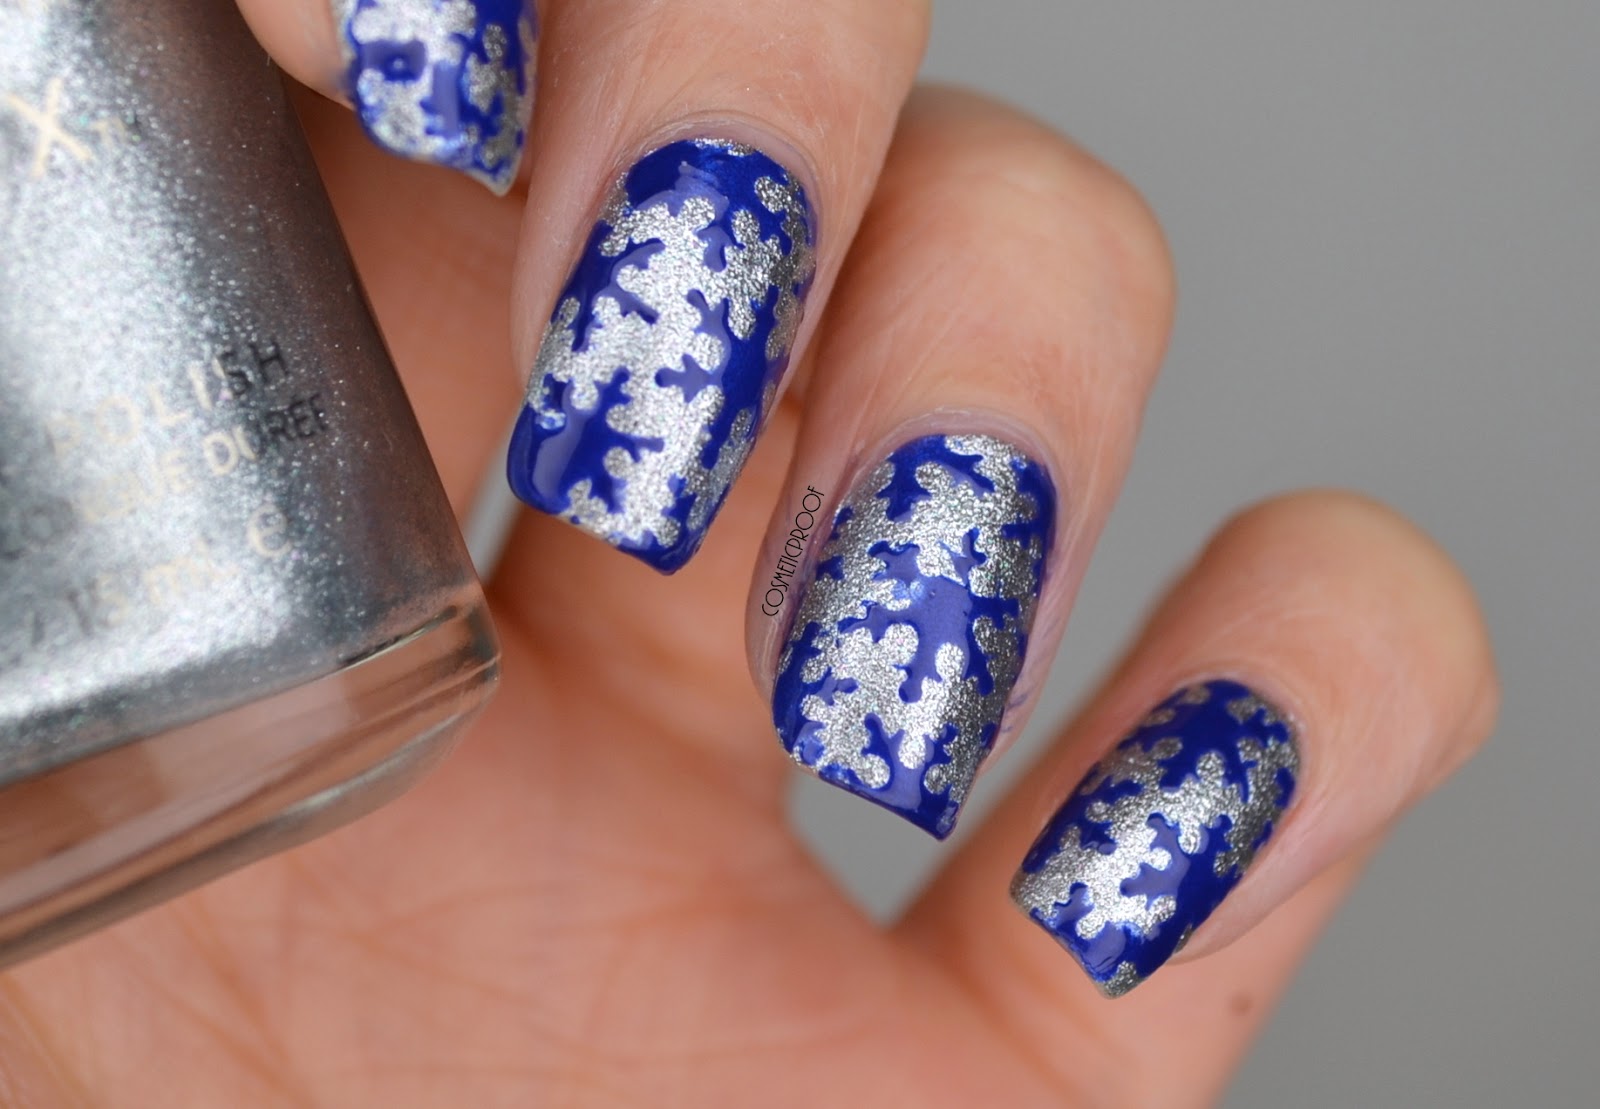
If you’re feeling a bit more adventurous, try out this toothpick nail art with a snowflake design. First, paint your nails with a dark blue or black base color. Then, using a toothpick, create a small circle in the center of your nail. Next, add six lines coming out of the circle, making sure they are not perfectly straight to give it a more natural look. Finally, add some small dots and lines to fill in the design and voila – a unique and eye-catching snowflake nail art!6. Toothpick Nail Art: Snowflake Design


6. Toothpick Nail Art: Snowflake Design


Winter calls for some festive nail art and what better way to do it than with a toothpick? Start by painting your nails with a light blue or white base color. Using the pointed end of the toothpick, create a snowflake design by drawing six lines coming out of the center point. Then, add small dots on the ends of the lines and some smaller ones to fill in the design. For an extra touch, add some glitter on top for a sparkling winter effect.7. Winter Nail Art: Snowflake Design with Toothpick

7. Winter Nail Art: Snowflake Design with Toothpick

There are endless possibilities when it comes to snowflake nail art using a toothpick. You can play around with different colors, designs, and even add some rhinestones or glitter for a more glamorous look. Let your creativity run wild and create your own unique snowflake nail art using just a toothpick.8. Snowflake Nail Art Ideas Using Toothpick

8. Snowflake Nail Art Ideas Using Toothpick
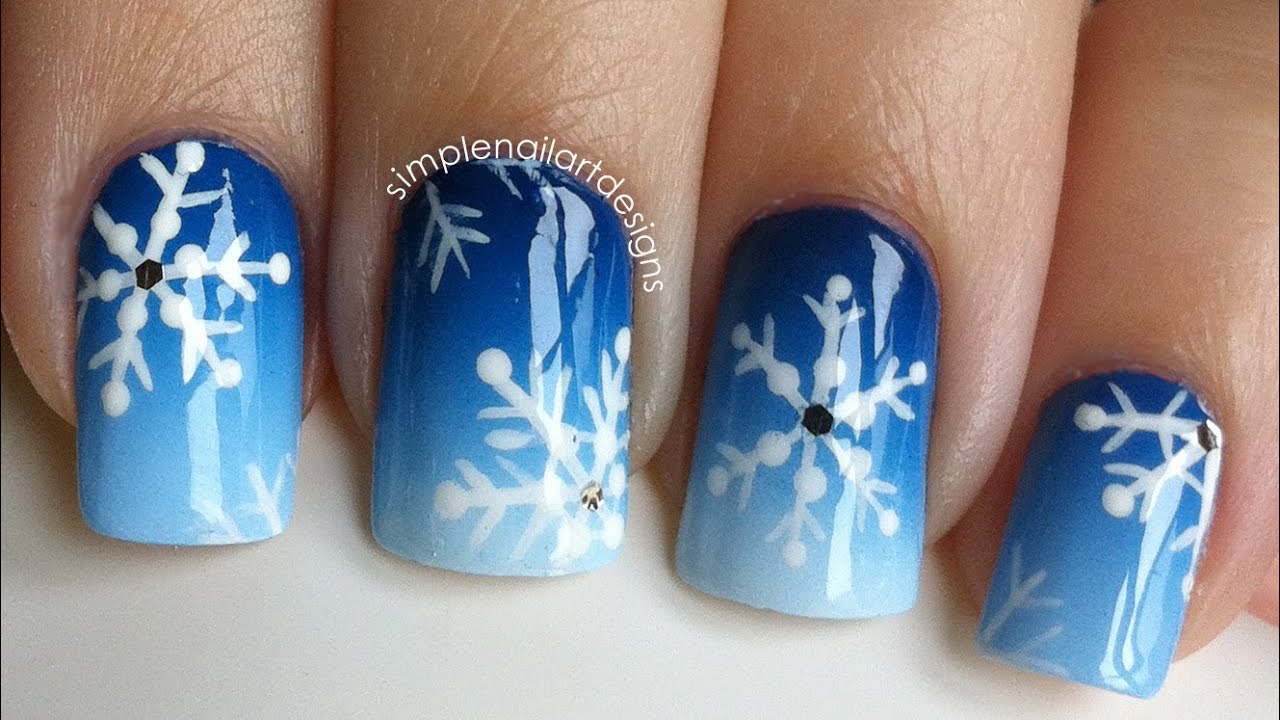
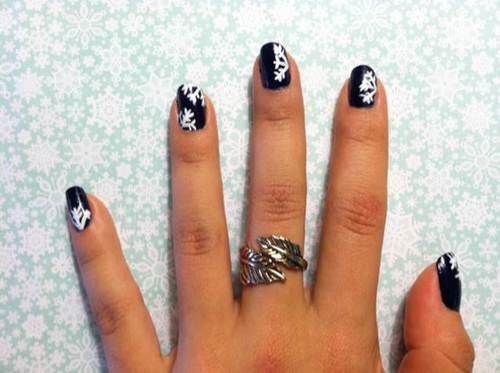
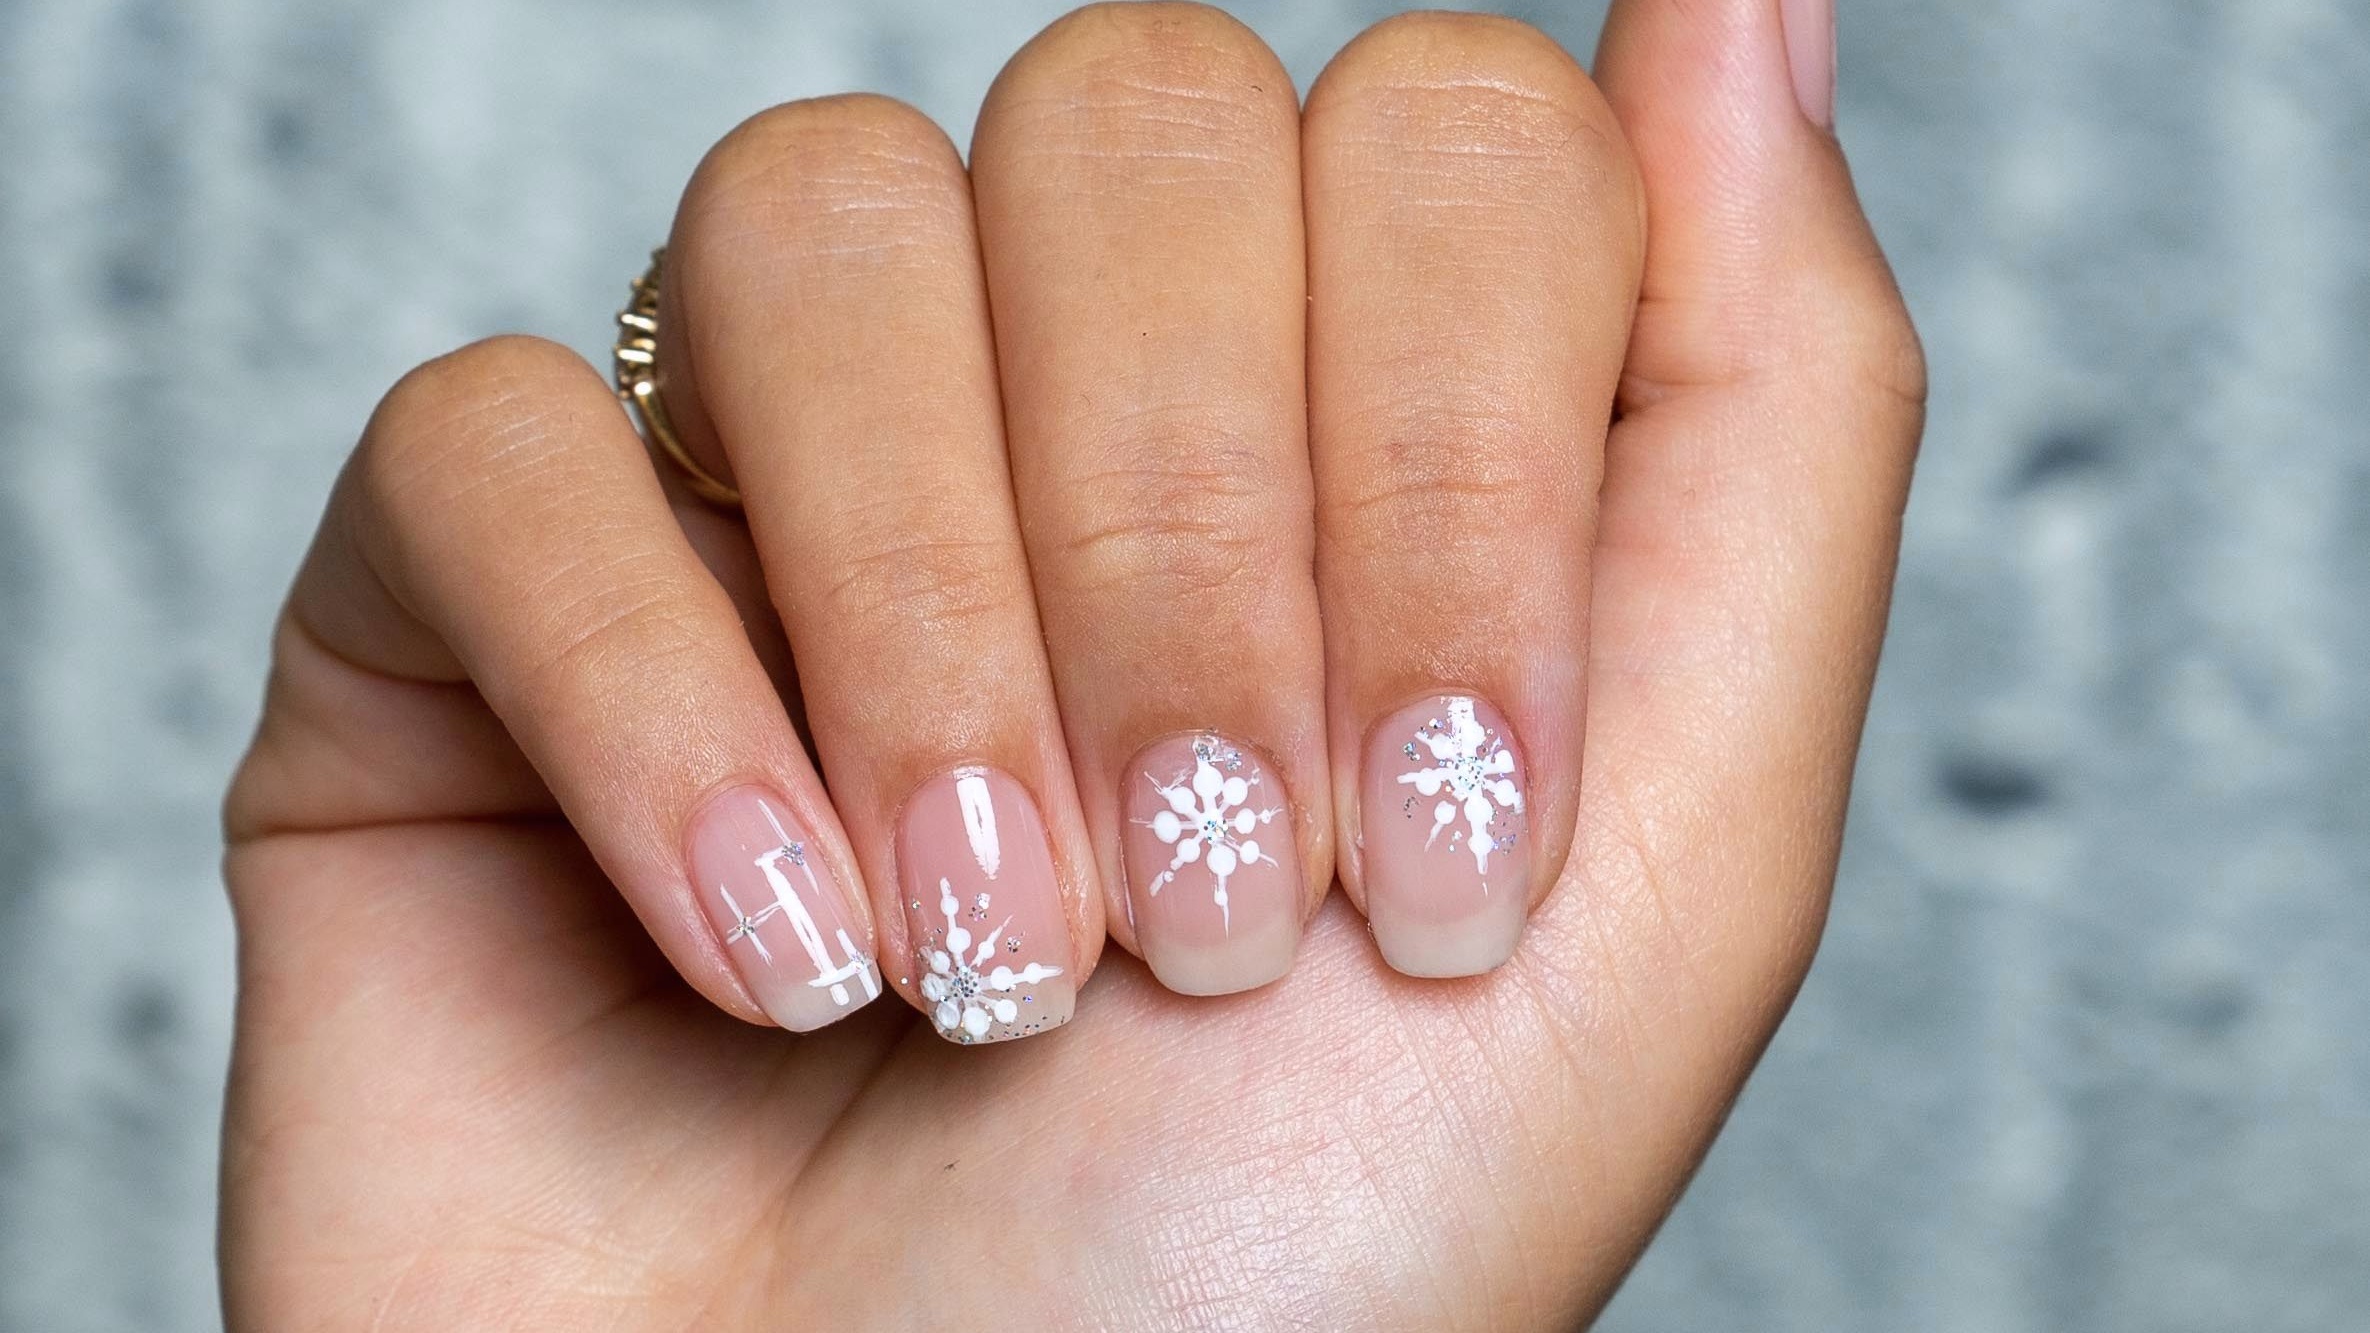
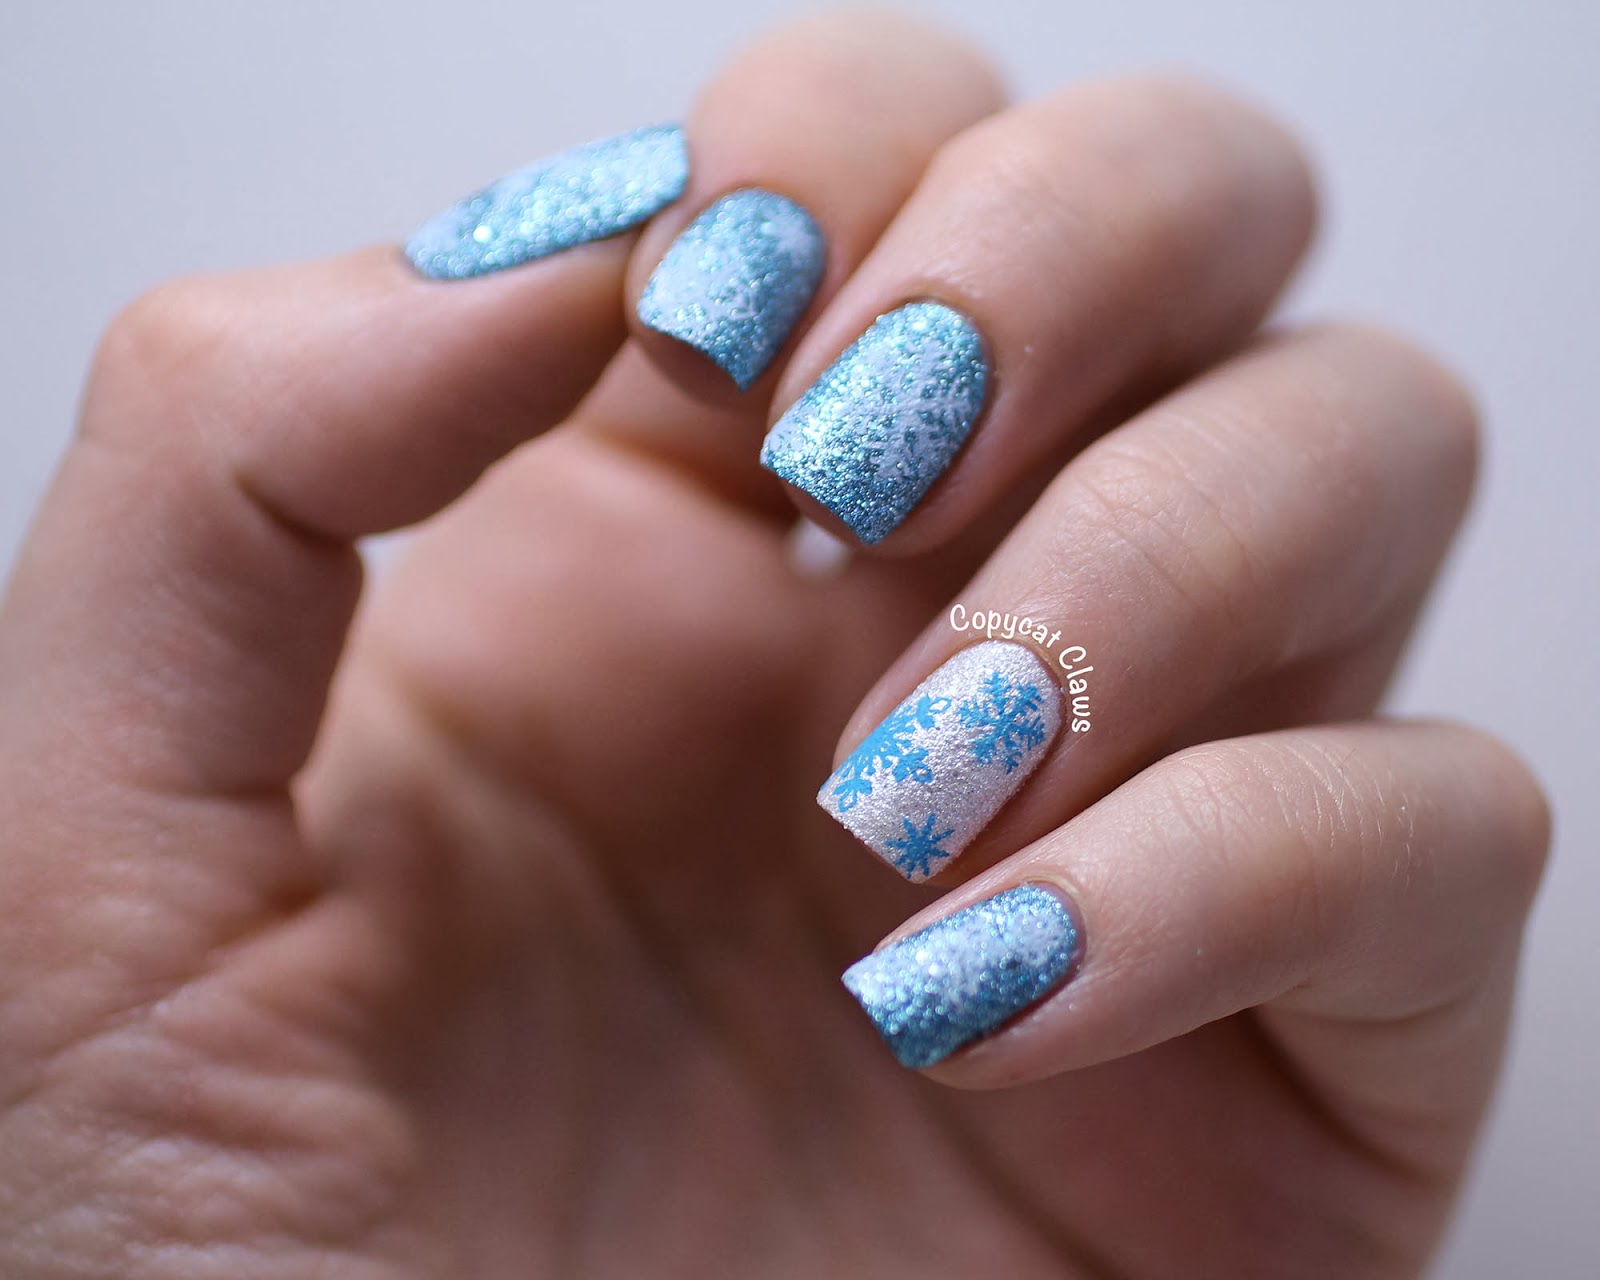
For a more subtle snowflake nail art, try out this toothpick design on just the tips of your nails. Start by painting your nails with a light blue or white base color. Then, using the pointed end of the toothpick, create three lines at the tip of your nail, starting from the sides and meeting at the center. Add some small dots on the ends of the lines and finish off with a top coat for a sleek and elegant look.9. Toothpick Nail Art: Snowflake French Tips


9. Toothpick Nail Art: Snowflake French Tips


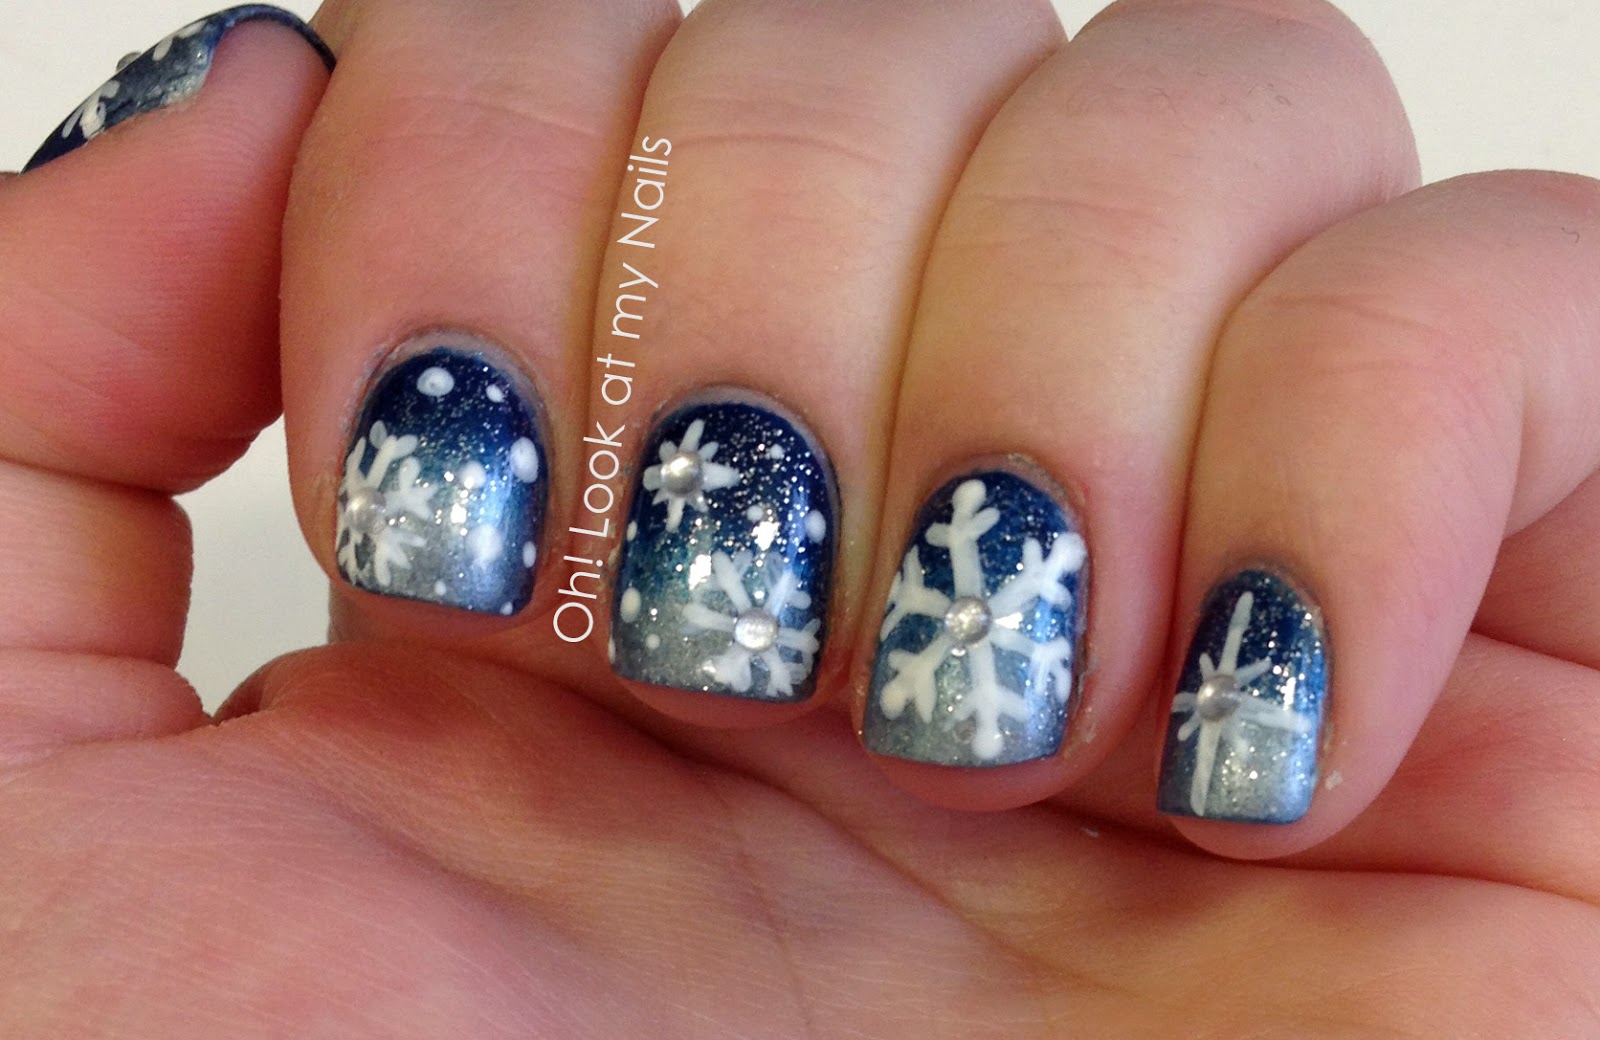
If you’re new to nail art or just need a quick refresher, here’s a step-by-step guide on how to create snowflake nail art with a toothpick. First, paint your nails with a base color of your choice and let it dry completely. Next, using the pointed end of the toothpick, draw three lines that intersect at the center of your nail. Then, add small dots on the ends of the lines and some smaller ones to fill in the design. Finish off with a top coat and there you have it – beautiful snowflake nail art using just a toothpick!
With these easy and creative snowflake nail art ideas using a toothpick, you can have festive and beautiful nails all winter long. So grab a toothpick and start creating your own unique designs now!10. Snowflake Nail Art with Toothpick: Step-by-Step Guide


10. Snowflake Nail Art with Toothpick: Step-by-Step Guide
Snowflake Nail Art with Toothpick: A Creative and Fun Way to Add Some Winter Flair to Your Nails

What is Snowflake Nail Art with Toothpick?
 If you're tired of the same old boring nail designs and want to add a touch of winter magic to your manicure, then snowflake nail art with toothpick is the perfect solution. This technique involves using a toothpick to create intricate and delicate snowflake designs on your nails. It's a fun and creative way to add some festive flair to your nails and make them stand out from the crowd.
How to Create Snowflake Nail Art with Toothpick
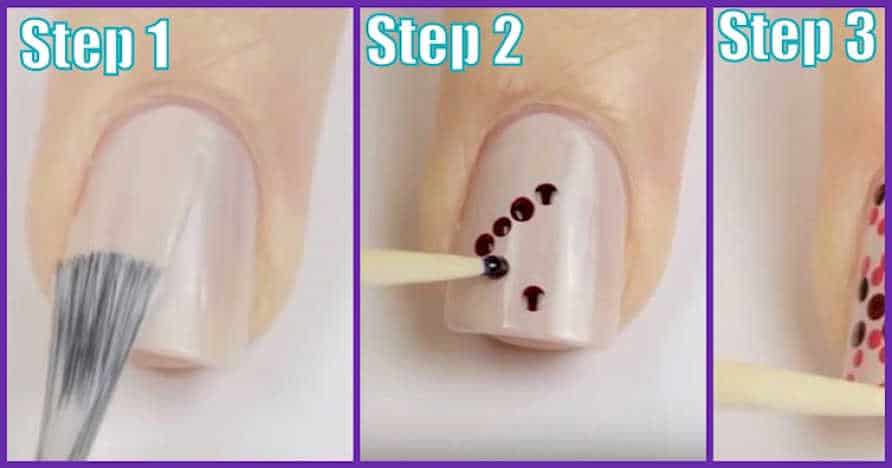
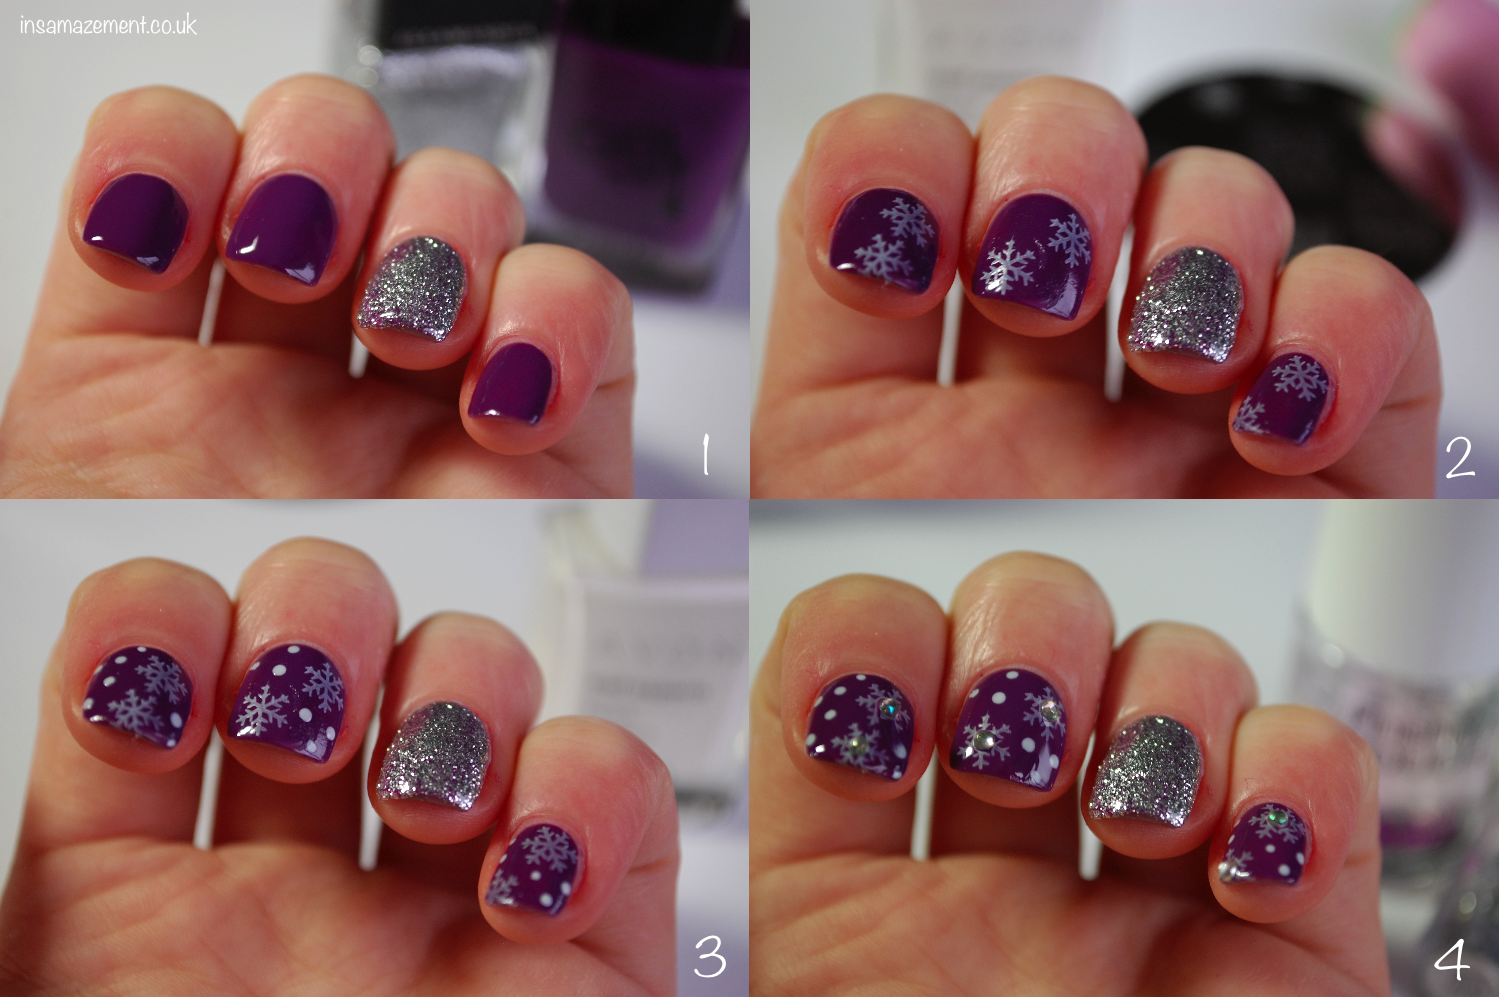
 Creating snowflake nail art with toothpick is surprisingly easy and requires minimal materials. All you need is a base coat, your choice of nail polish colors, a toothpick, and a top coat. Start by applying a base coat to your nails to protect them and help the polish last longer.
Next, choose your desired nail polish color for the base. You can go with a classic white to mimic the look of snow or opt for a bold and festive red or green. Once your base color is dry, it's time to start creating the snowflake design.
Dip the tip of the toothpick into the nail polish and carefully create a small dot on your nail. This will serve as the center of your snowflake. Then, using the toothpick, draw three lines outward from the dot to create the six points of the snowflake. You can add as many snowflakes as you'd like and play around with different designs and sizes.
Creating snowflake nail art with toothpick is surprisingly easy and requires minimal materials. All you need is a base coat, your choice of nail polish colors, a toothpick, and a top coat. Start by applying a base coat to your nails to protect them and help the polish last longer.
Next, choose your desired nail polish color for the base. You can go with a classic white to mimic the look of snow or opt for a bold and festive red or green. Once your base color is dry, it's time to start creating the snowflake design.
Dip the tip of the toothpick into the nail polish and carefully create a small dot on your nail. This will serve as the center of your snowflake. Then, using the toothpick, draw three lines outward from the dot to create the six points of the snowflake. You can add as many snowflakes as you'd like and play around with different designs and sizes.
Tips for a Perfect Snowflake Design
 To achieve a flawless snowflake design, here are a few helpful tips:
- Use a toothpick with a sharp point to create precise lines and details.
- Don't overload the toothpick with too much polish, or it will be difficult to control.
- Practice your design on a piece of paper first to get the hang of it before moving on to your nails.
- For a more realistic look, vary the sizes and angles of the snowflakes.
- Add a touch of glitter or rhinestones to make your snowflakes sparkle.
To achieve a flawless snowflake design, here are a few helpful tips:
- Use a toothpick with a sharp point to create precise lines and details.
- Don't overload the toothpick with too much polish, or it will be difficult to control.
- Practice your design on a piece of paper first to get the hang of it before moving on to your nails.
- For a more realistic look, vary the sizes and angles of the snowflakes.
- Add a touch of glitter or rhinestones to make your snowflakes sparkle.
Final Thoughts
 Snowflake nail art with toothpick is a fun and easy way to add some winter charm to your nails. With just a few simple steps, you can create stunning snowflake designs that will make your nails the talk of any holiday party. So grab your toothpick and get creative with this festive nail art technique.


