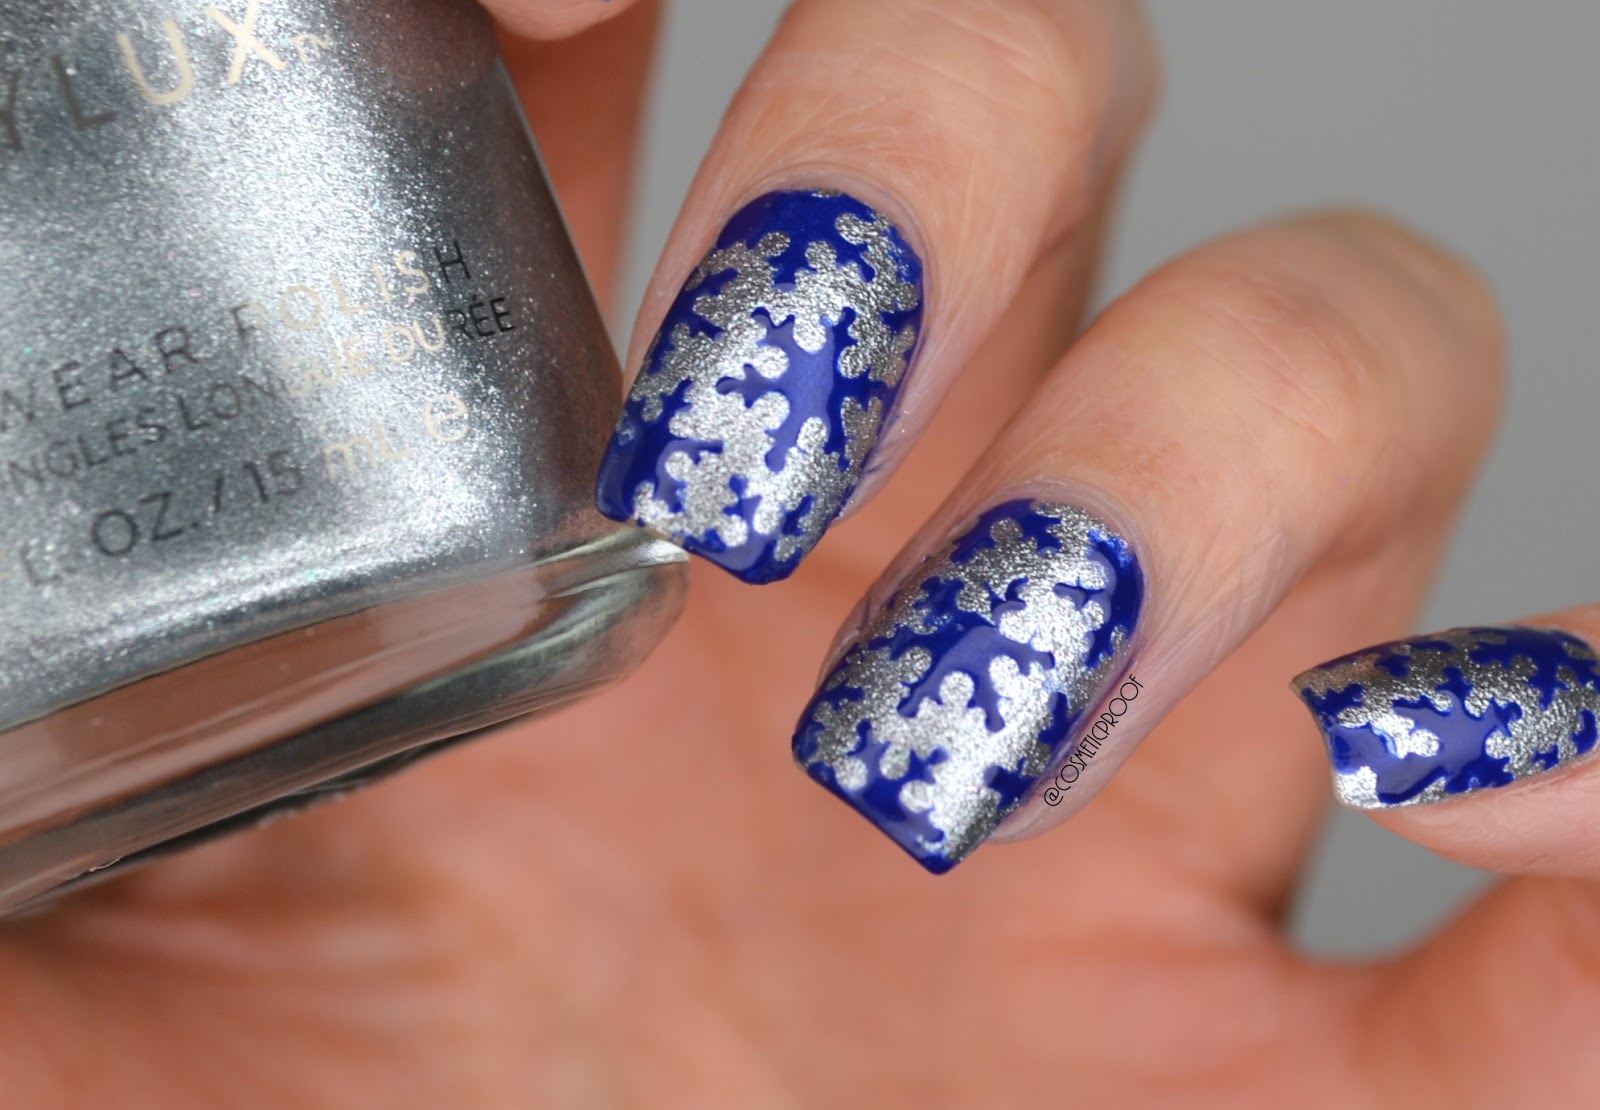
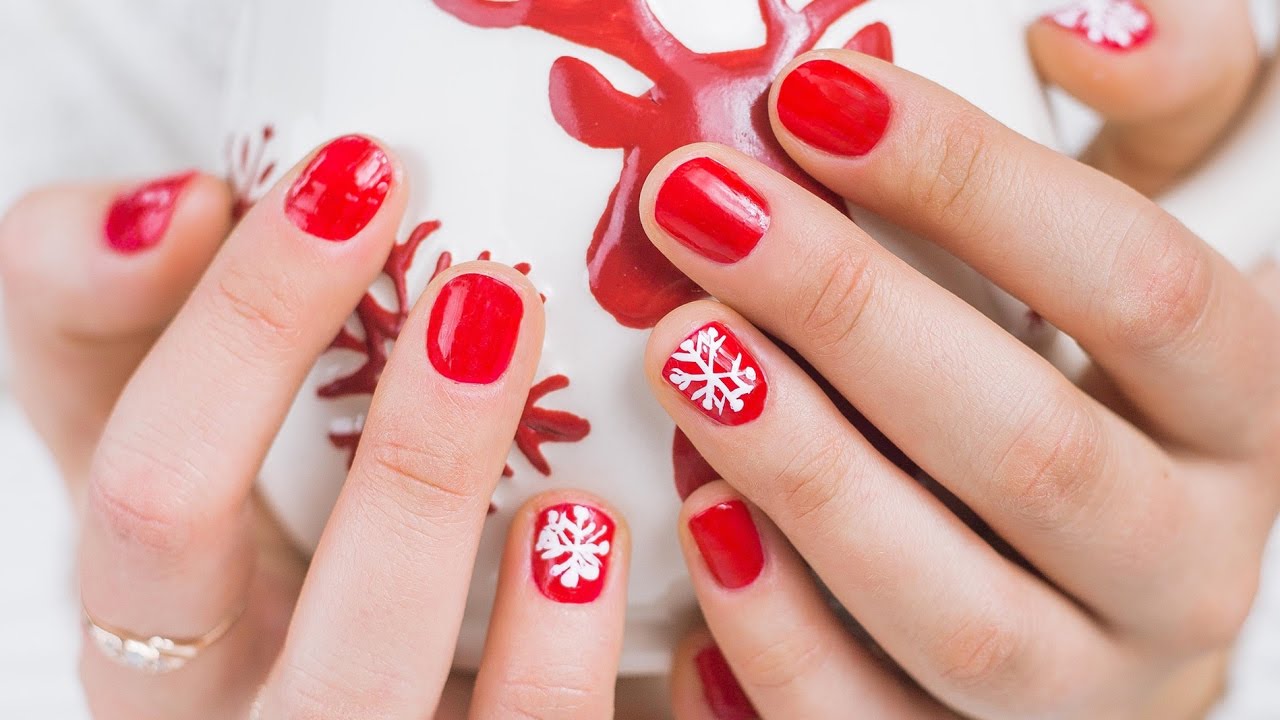
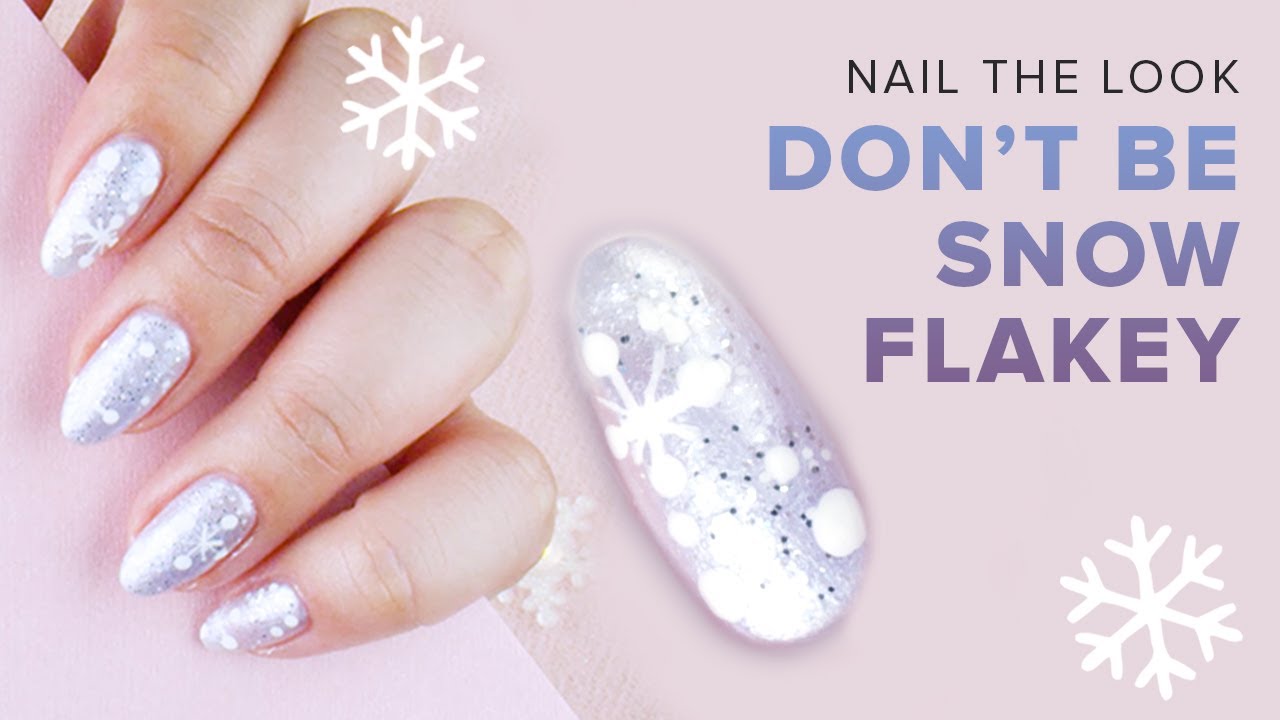
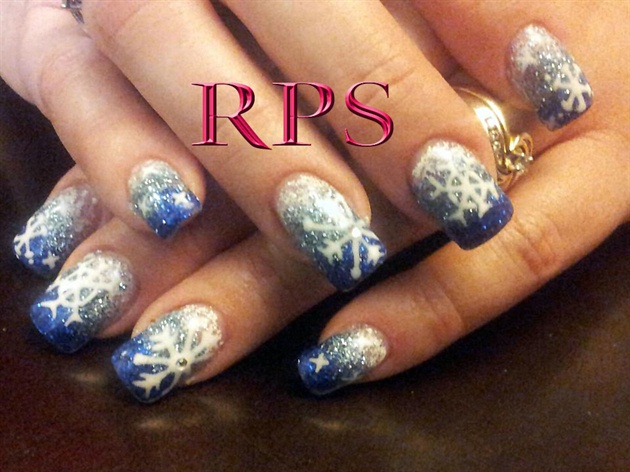
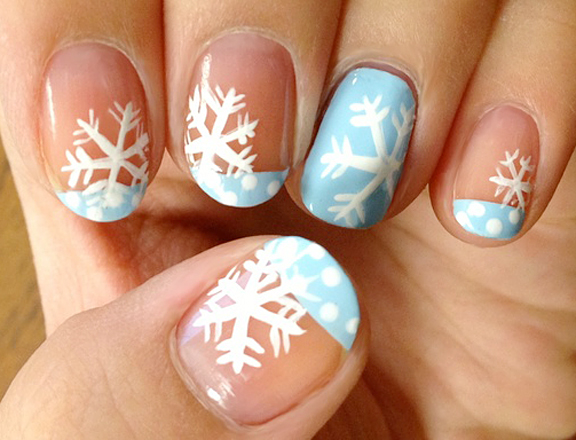
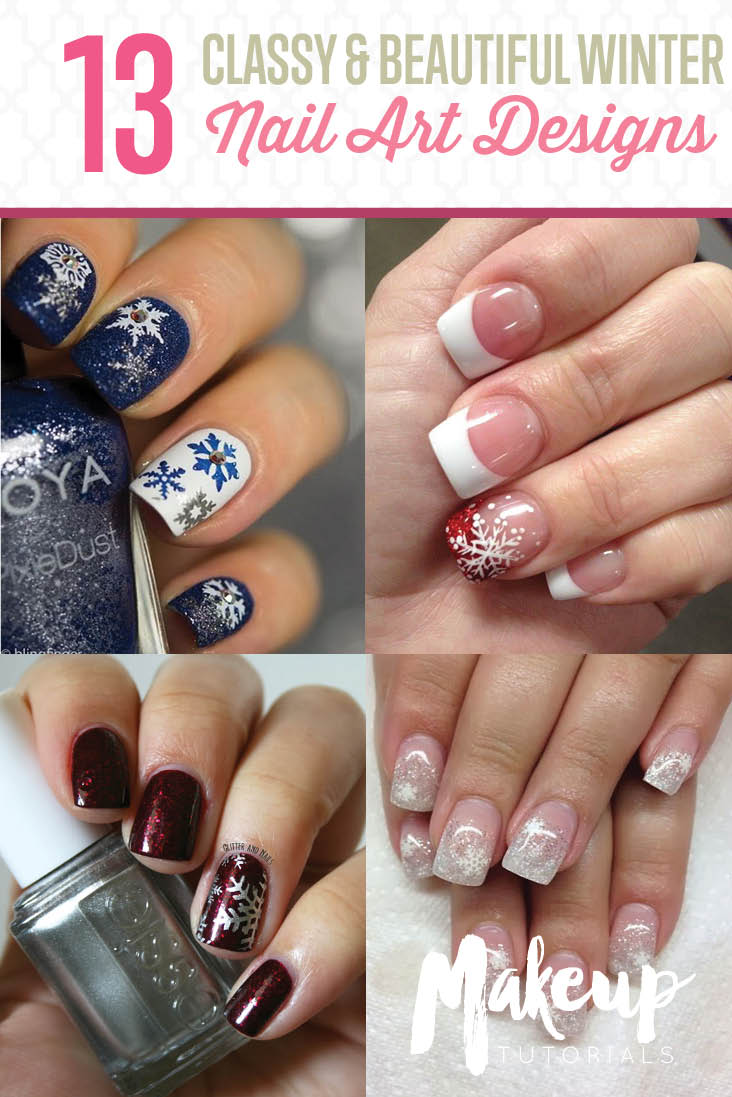
Looking for a simple and effortless way to add some winter magic to your nails? Look no further than this easy snowflake nail art tutorial. With just a few simple steps, you can have a beautiful snowflake design on your nails that will be the envy of all your friends. Start by painting your nails with a light blue or white base coat. Once this is dry, take a thin brush and create three white snowflakes on each nail. You can use a stencil or freehand the design, whichever you are more comfortable with. Next, take a silver glitter polish and carefully paint over the snowflake designs. This will add a touch of sparkle and make your nails look like they are covered in freshly fallen snow. Finish with a top coat to seal in your design and give it a glossy finish.1. Easy Snowflake Nail Art Tutorial


1. Easy Snowflake Nail Art Tutorial
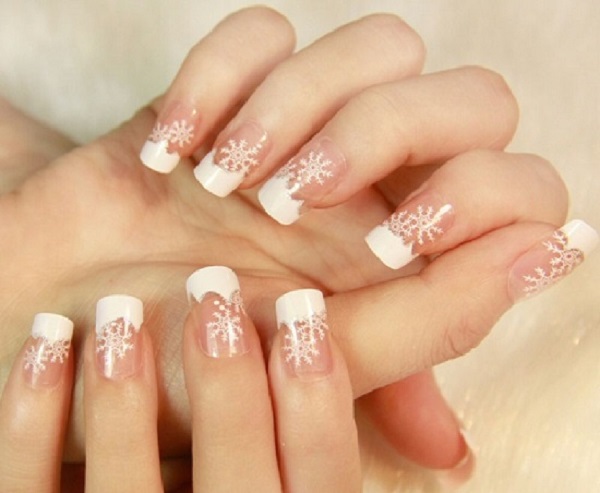


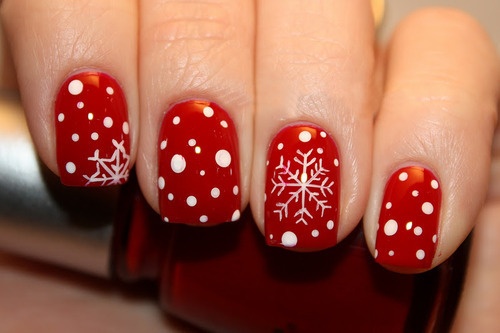
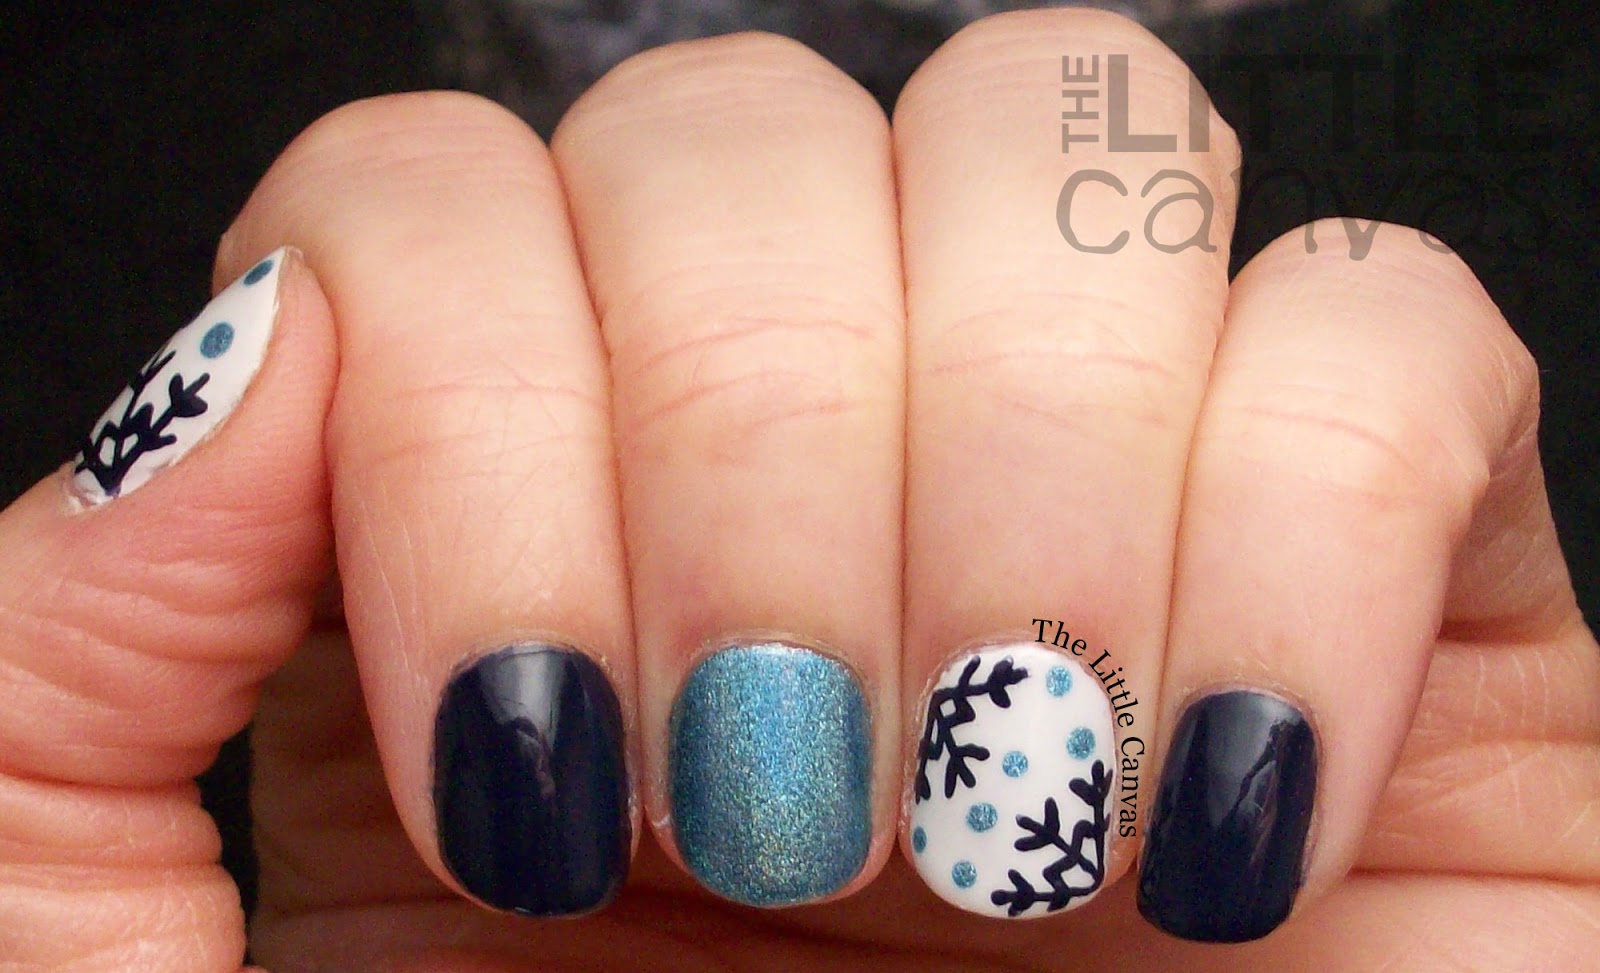
If you love do-it-yourself projects, then this DIY snowflake nail art tutorial is perfect for you. All you need are a few basic nail art supplies and some creativity to create a unique and personalized snowflake design. Start by painting your nails with a dark blue or black base coat. Once this is dry, take a toothpick or a small dotting tool and create white dots on each nail. These will be the center of your snowflakes. Next, use a thin brush or a toothpick to create six lines around each dot, resembling the spokes of a wheel. This will form the base of your snowflake. Then, add smaller lines and dots to create more intricate designs and give your snowflakes some dimension. Finish with a top coat to seal in your design and give it a glossy finish.2. DIY Snowflake Nail Art Tutorial


2. DIY Snowflake Nail Art Tutorial


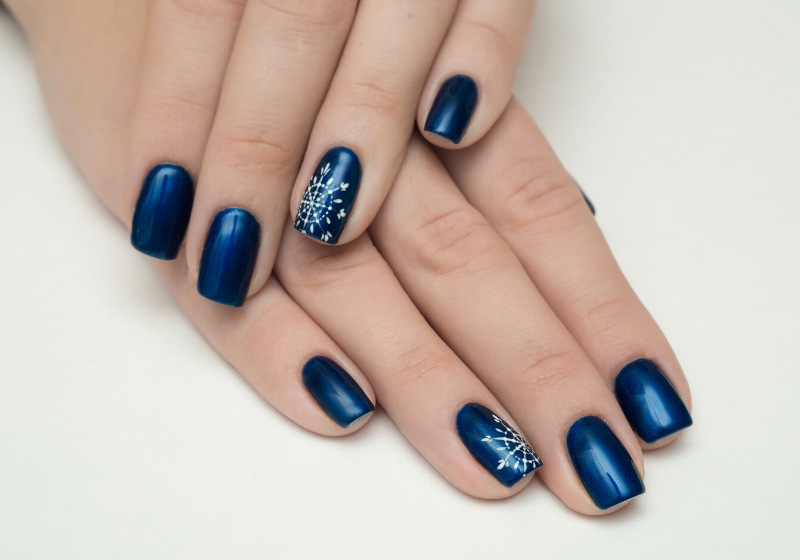
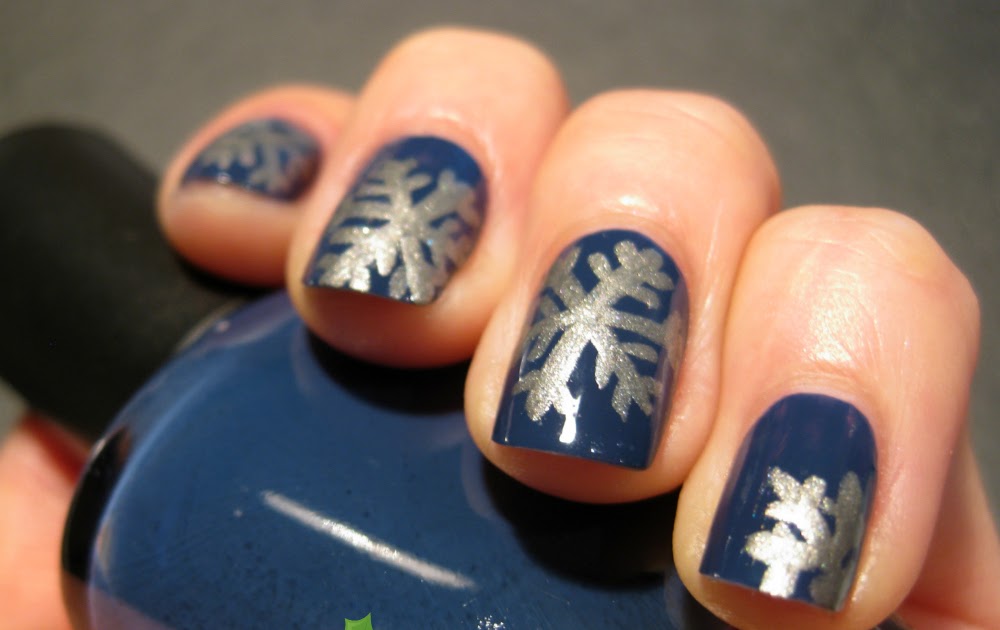
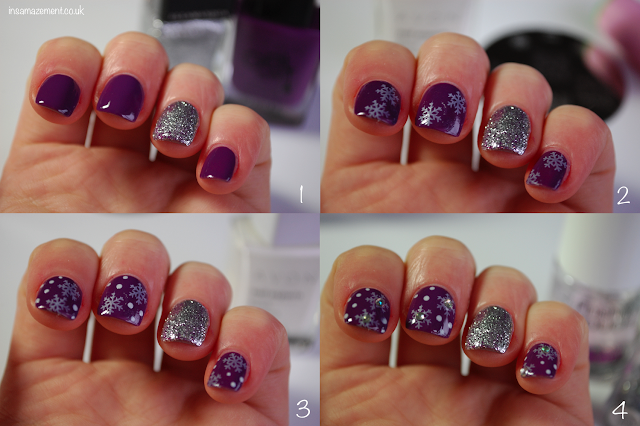
Embrace the winter season with this stunning snowflake nail art tutorial. This design is perfect for a holiday party or any winter-themed event, and it will leave your nails looking like a winter wonderland. Start by painting your nails with a pale blue or silver base coat. Once this is dry, use a white nail polish and a thin brush to create three large snowflakes on each nail. These snowflakes can be different sizes and shapes to add some variation to your design. Next, take a light blue or silver glitter polish and paint over the snowflakes. This will give them a frosted look and make them stand out. You can also add some smaller glitter dots around the snowflakes to mimic falling snow. Finish with a top coat to seal in your design and give it a glossy finish.3. Winter Snowflake Nail Art Tutorial

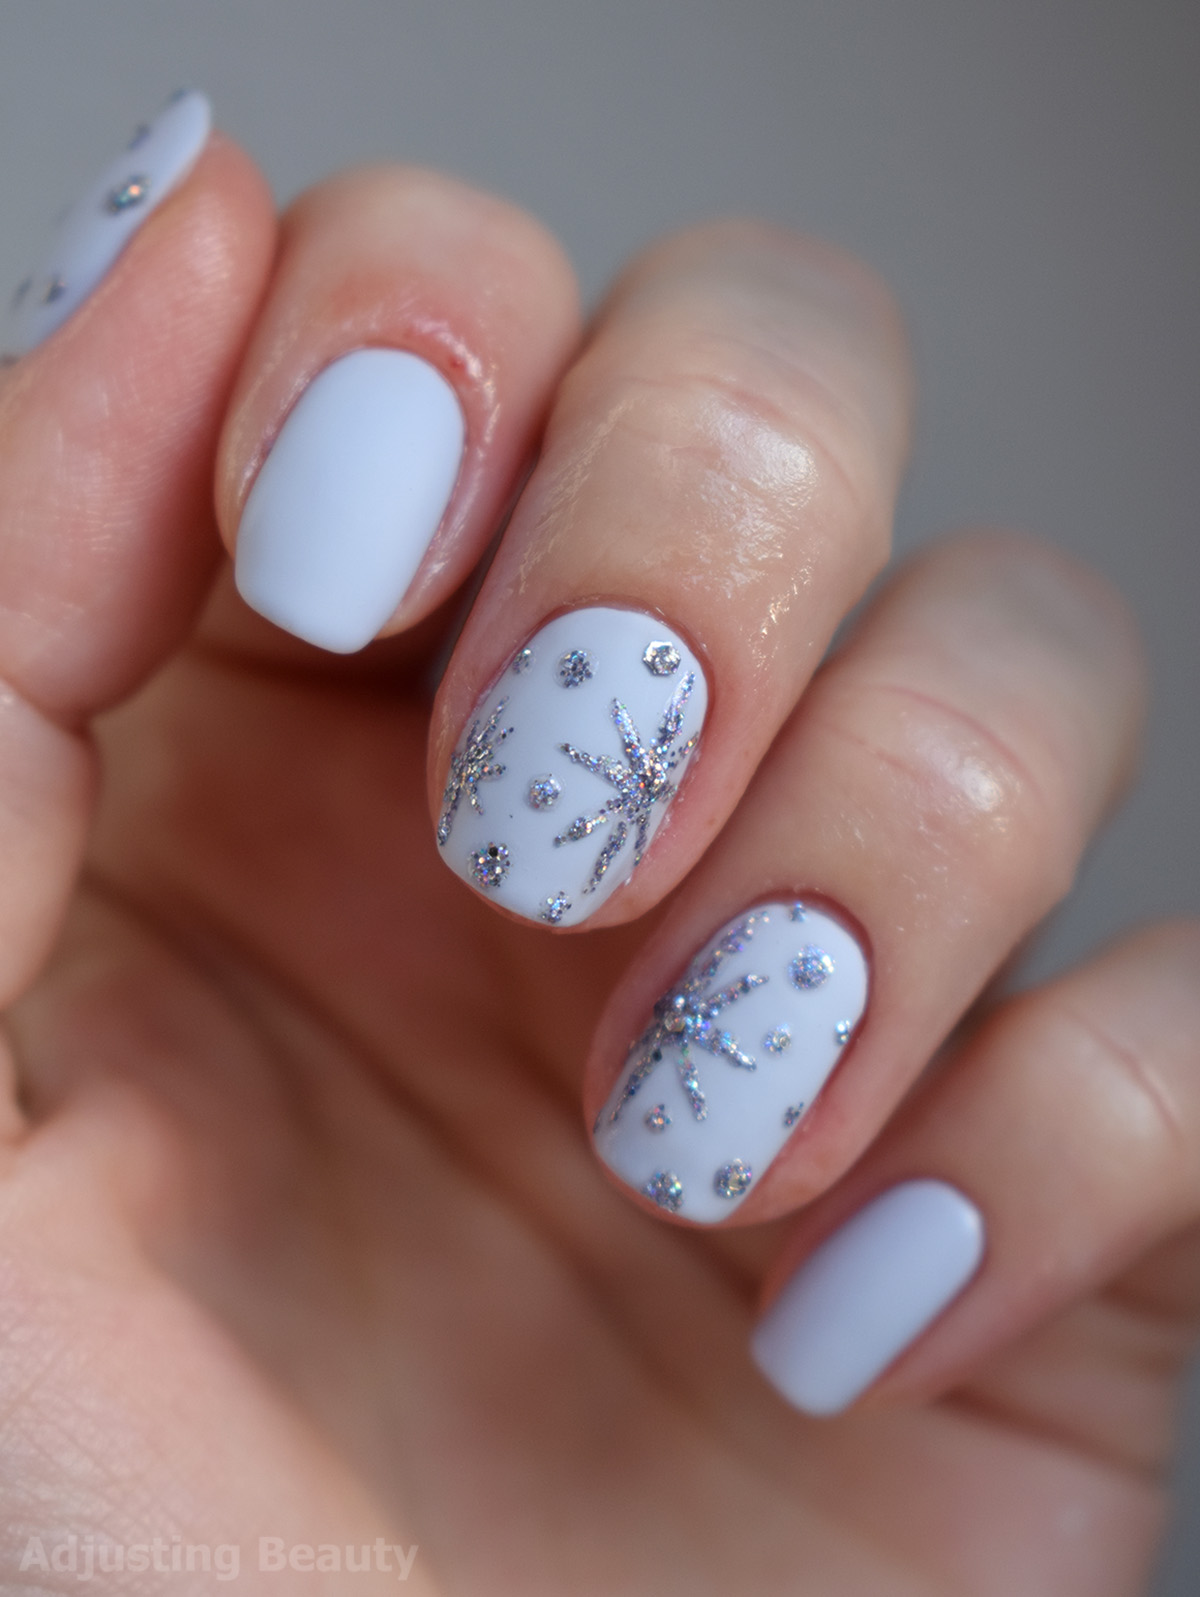

3. Winter Snowflake Nail Art Tutorial


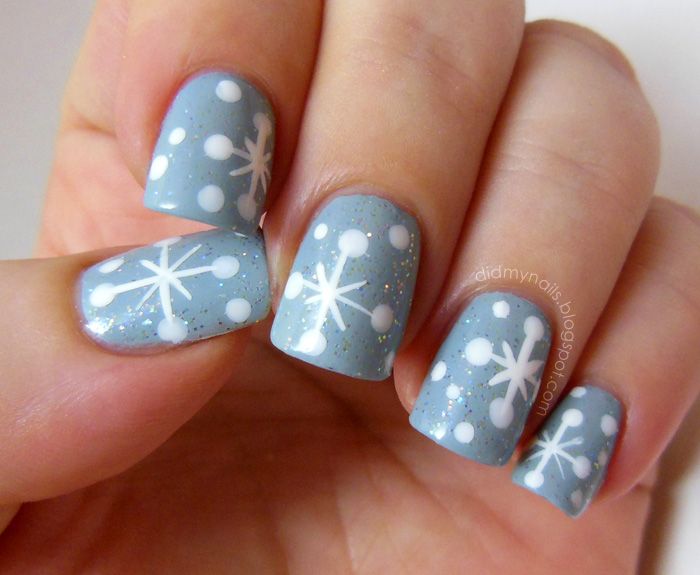
If you are short on time but still want to add some winter vibes to your nails, this simple snowflake nail art tutorial is perfect for you. It only requires a few steps, but the end result is a beautiful and elegant snowflake design. Start by painting your nails with a light blue or white base coat. Once this is dry, take a thin brush and create two intersecting lines on each nail. These lines will form the base of your snowflake. Next, add two more lines that are slightly shorter than the first two, crossing over the first lines to create a star-like shape. Finally, add small dots and lines to create the intricate details of a snowflake. Finish with a top coat to seal in your design and give it a glossy finish.4. Simple Snowflake Nail Art Tutorial


4. Simple Snowflake Nail Art Tutorial
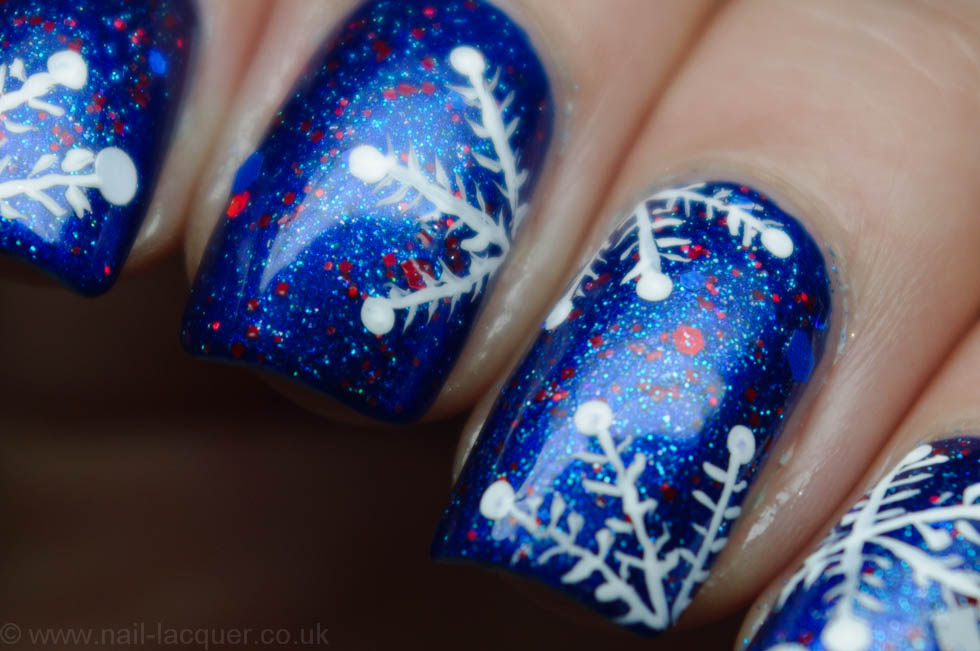
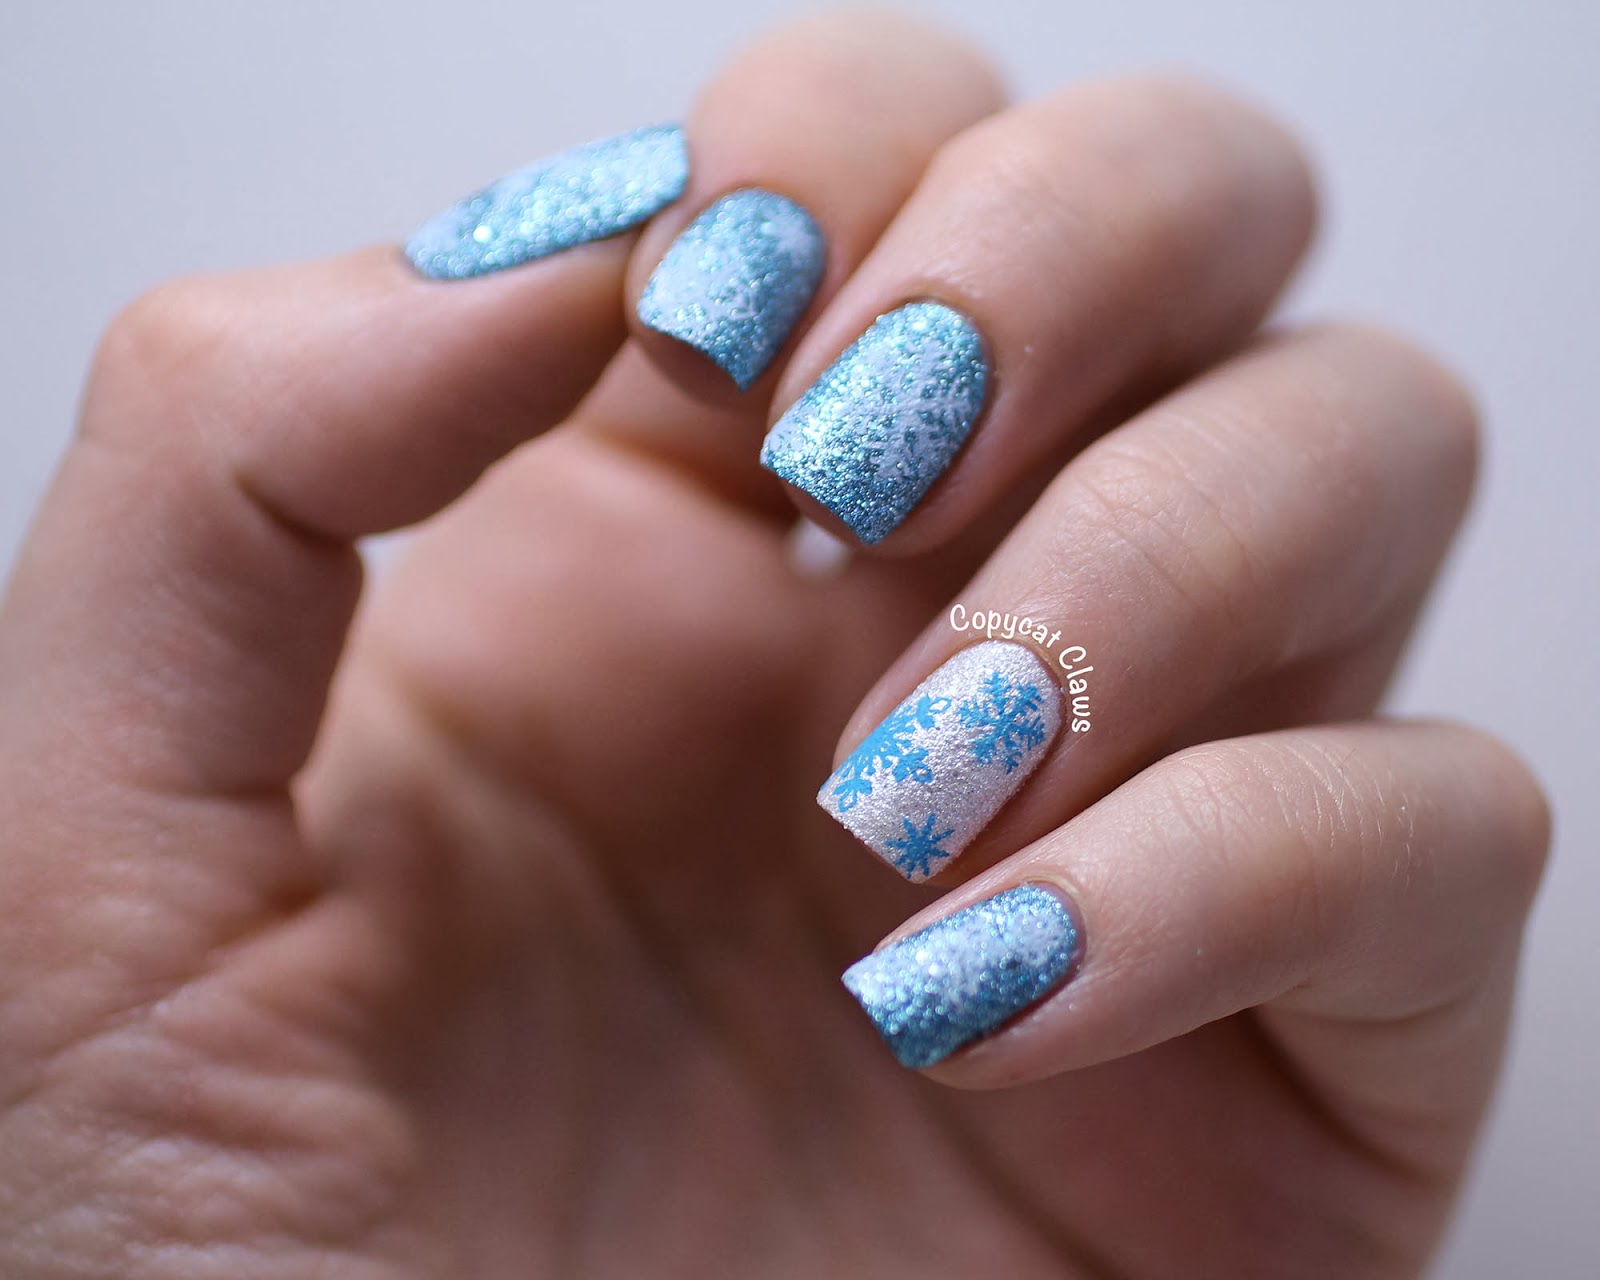
For those who love a little sparkle, this glitter snowflake nail art tutorial is a must-try. It combines glitz and glamour with a winter theme, creating a stunning and eye-catching design. Start by painting your nails with a dark blue or black base coat. Once this is dry, use a silver glitter polish and paint over the entire nail, leaving a small space at the bottom for the snowflake design. This will create a glittery background for your snowflakes. Next, use a white nail polish and a thin brush to create three large snowflakes on each nail. You can also add some smaller snowflakes in between the larger ones to add more dimension to your design. Finish with a top coat to seal in your design and give it a glossy finish.5. Glitter Snowflake Nail Art Tutorial


5. Glitter Snowflake Nail Art Tutorial
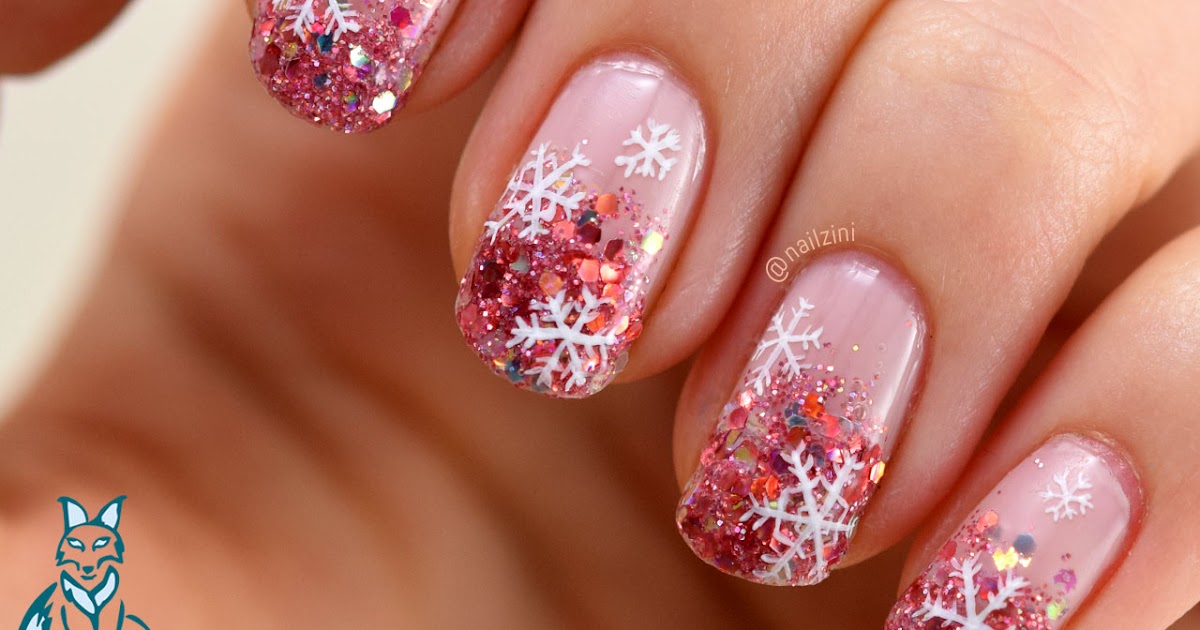
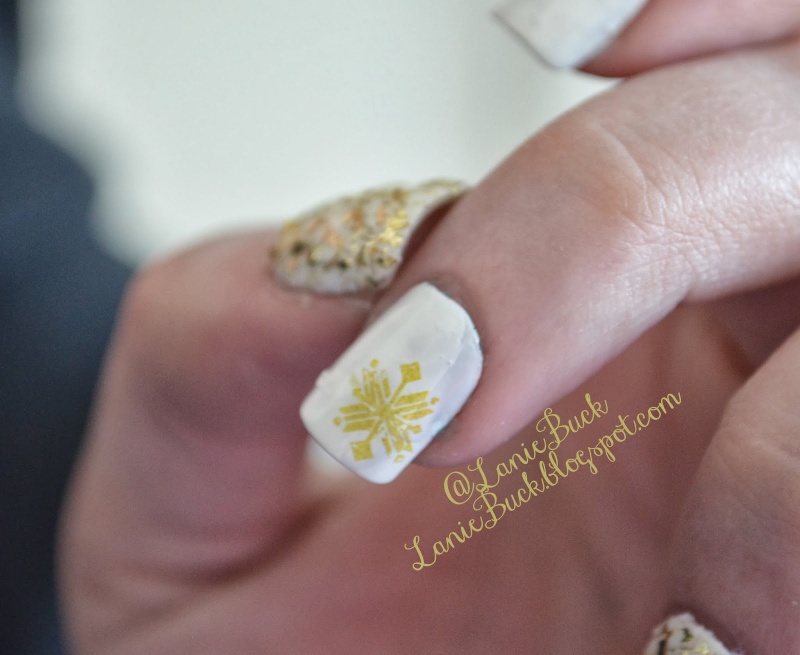
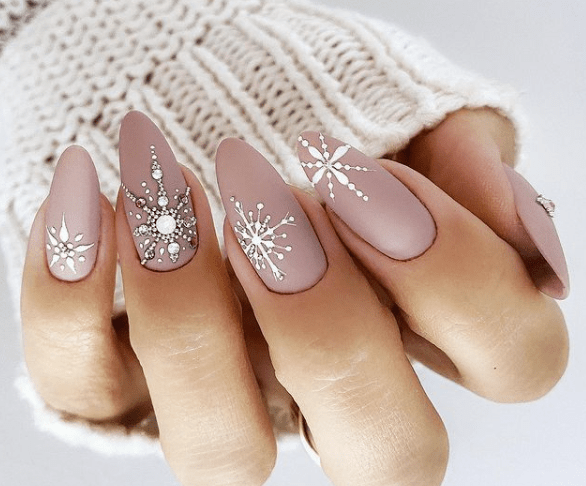
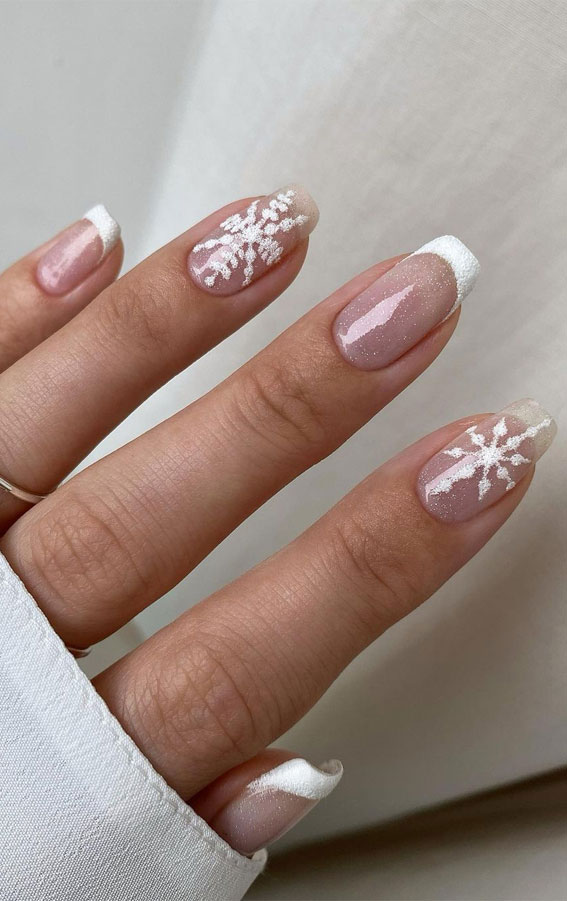
If you prefer a more sophisticated and elegant look, this snowflake nail art tutorial is perfect for you. It is simple yet stunning, and it will give your nails a touch of winter glamour. Start by painting your nails with a nude or light pink base coat. Once this is dry, use a white nail polish and a thin brush to create a large snowflake on each nail. This snowflake can be placed in the center or on one side of the nail, depending on your preference. Next, add some smaller snowflakes around the larger one using a silver or gold glitter polish. You can also add some small rhinestones or pearls for an extra touch of elegance. Finish with a top coat to seal in your design and give it a glossy finish.6. Elegant Snowflake Nail Art Tutorial


6. Elegant Snowflake Nail Art Tutorial

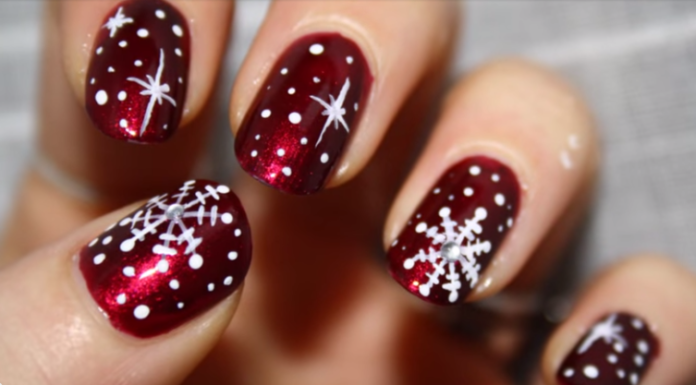
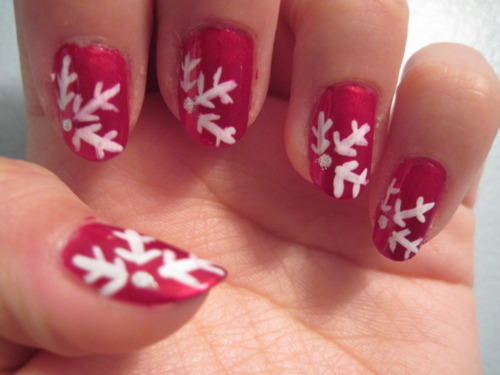
Get into the holiday spirit with this festive snowflake nail art tutorial. It is perfect for Christmas and New Year's Eve parties, and it will make your nails stand out in a crowd. Start by painting your nails with a red or green base coat. Once this is dry, use a white nail polish and a thin brush to create three large snowflakes on each nail. You can also add some smaller snowflakes in between the larger ones to fill up any empty spaces. Next, use a glitter polish in a corresponding color to add some sparkle to your design. You can also add some small dots or lines using a toothpick or a dotting tool to create more intricate details. Finish with a top coat to seal in your design and give it a glossy finish.7. Festive Snowflake Nail Art Tutorial
7. Festive Snowflake Nail Art Tutorial

If you are new to nail art, don't worry! This snowflake nail art tutorial is perfect for beginners. It only requires a few simple steps, and you can easily customize it to your liking. Start by painting your nails with a light blue or white base coat. Once this is dry, use a toothpick or a small dotting tool to create three dots on each nail. These will be the center of your snowflakes. Next, use a thin brush or a toothpick to create six lines around each dot, resembling the spokes of a wheel. This will form the base of your snowflake. Then, add smaller lines and dots to create more intricate designs and give your snowflakes some dimension. Finish with a top coat to seal in your design and give it a glossy finish.8. Snowflake Nail Art Tutorial for Beginners


8. Snowflake Nail Art Tutorial for Beginners
Add a touch of cuteness to your winter nails with this cute snowflake nail art tutorial. It is perfect for those who love a more playful and fun design. Start by painting your nails with a light pink or baby blue base coat. Once this is dry, use a white nail polish and a thin brush to create three large snowflakes on each nail. These snowflakes can be different sizes and shapes to add some variation to your design. Next, use a light blue or silver glitter polish to fill in the snowflakes and add some sparkle. You can also add some small dots or lines using a toothpick or a dotting tool to create more intricate details. Finish with a top coat to seal in your design and give it a glossy finish.9. Cute Snowflake Nail Art Tutorial
9. Cute Snowflake Nail Art Tutorial

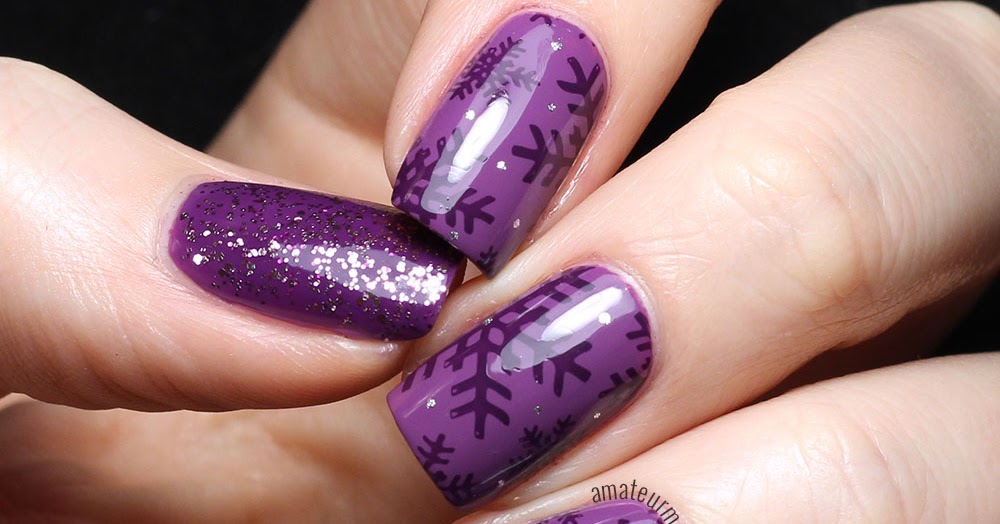
If you have a nail stamping kit, this snowflake nail art tutorial is a must-try. It is quick and easy, and it will give your nails a professional-looking snowflake design. Start by painting your nails with a dark blue or black base coat. Once this is dry, use a white stamping polish and a snowflake stamping plate to transfer the design onto your nails. You can also use a silver or gold stamping polish for a different look. Next, use a silver or gold glitter polish to add some sparkle to your design. You can also add some small dots or lines using a toothpick or a dotting tool to create more intricate details. Finish with a top coat to seal in your design and give it a glossy finish.10. Snowflake Nail Art Tutorial with Stamping
10. Snowflake Nail Art Tutorial with Stamping


Create a Winter Wonderland with Snowflake Nail Art

Transform Your Nails into a Snowy Masterpiece
 If you're looking for a fun and festive way to embrace the winter season, look no further than snowflake nail art. This trendy and intricate design is perfect for adding a touch of sparkle and whimsy to your look. Not only is it easy to achieve, but it also allows for endless creativity and customization. Whether you're a seasoned nail art pro or a beginner, this tutorial will guide you through the steps to create stunning snowflake nails.
Snowflakes
are a symbol of winter and the holiday season, making them the perfect inspiration for nail art. These delicate and unique ice crystals are known for their intricate and symmetrical patterns, making them a popular choice for nail designs. By incorporating snowflakes into your nail art, you can bring a touch of
festivity
and
magic
to your fingertips.
To begin, gather all the necessary tools and materials. You will need a base coat, white nail polish, a thin brush or toothpick, a dotting tool, and a top coat. You can also add some glitter or rhinestones for some extra sparkle. Once you have everything ready, follow these simple steps to create your snowflake nail art.
1. Start by applying a base coat to protect your nails and help the polish last longer.
2. Once the base coat is dry, apply two coats of white nail polish. This will serve as the base for your snowflakes.
3. Using a thin brush or toothpick, create a small "x" shape on your nail. This will be the center of your snowflake.
4. From the "x" shape, create six more lines radiating outwards to create the basic shape of a snowflake.
5. Using a dotting tool, add small dots along the lines to mimic the appearance of ice crystals.
6. Repeat this process on all your nails, creating different snowflake designs for each one.
7. If desired, add some glitter or rhinestones to give your snowflakes some extra sparkle.
8. Once your design is complete and dry, finish off with a top coat to seal and protect your snowflake nail art.
With this simple tutorial, you can easily create a winter wonderland on your nails. This snowflake nail art is perfect for any winter occasion, whether it's a holiday party or a cozy night in. So grab your tools and get ready to embrace the beauty and magic of snowflakes on your fingertips.
If you're looking for a fun and festive way to embrace the winter season, look no further than snowflake nail art. This trendy and intricate design is perfect for adding a touch of sparkle and whimsy to your look. Not only is it easy to achieve, but it also allows for endless creativity and customization. Whether you're a seasoned nail art pro or a beginner, this tutorial will guide you through the steps to create stunning snowflake nails.
Snowflakes
are a symbol of winter and the holiday season, making them the perfect inspiration for nail art. These delicate and unique ice crystals are known for their intricate and symmetrical patterns, making them a popular choice for nail designs. By incorporating snowflakes into your nail art, you can bring a touch of
festivity
and
magic
to your fingertips.
To begin, gather all the necessary tools and materials. You will need a base coat, white nail polish, a thin brush or toothpick, a dotting tool, and a top coat. You can also add some glitter or rhinestones for some extra sparkle. Once you have everything ready, follow these simple steps to create your snowflake nail art.
1. Start by applying a base coat to protect your nails and help the polish last longer.
2. Once the base coat is dry, apply two coats of white nail polish. This will serve as the base for your snowflakes.
3. Using a thin brush or toothpick, create a small "x" shape on your nail. This will be the center of your snowflake.
4. From the "x" shape, create six more lines radiating outwards to create the basic shape of a snowflake.
5. Using a dotting tool, add small dots along the lines to mimic the appearance of ice crystals.
6. Repeat this process on all your nails, creating different snowflake designs for each one.
7. If desired, add some glitter or rhinestones to give your snowflakes some extra sparkle.
8. Once your design is complete and dry, finish off with a top coat to seal and protect your snowflake nail art.
With this simple tutorial, you can easily create a winter wonderland on your nails. This snowflake nail art is perfect for any winter occasion, whether it's a holiday party or a cozy night in. So grab your tools and get ready to embrace the beauty and magic of snowflakes on your fingertips.


